There’s more to pumpkins than just being the ideal squash to carve fun faces into during Halloween or make into a delicious pie filling.
When I started my health journey several years ago, butternut squash was thought to be the ideal squash for those on the GAPS Diet. Intro Diet Recipes like GAPS Pancakes and GAPS waffles were made with butternut squash. Like butternut squash, pumpkins are a winter squash. However, they contain less sugar than butternut squash and are milder, making them easier to digest. This makes pumpkin an even better squash for those on the GAPS Introduction Diet.
If you are interested in growing your own produce for your family, pumpkins are a hardy crop that don’t require a lot of room and are easy to grow for the beginning gardener. When picking your ideal pumpkin, small round baking pumpkins, are easier and better to eat.
Both the pumpkin flesh and the seeds can be eaten. Since pumpkin can be used in so many different recipes, prepping pumpkin in advance will ensure you always have some on hand. It’s easy to freeze so you can enjoy your homegrown produce throughout the winter.
How to Prep + Store Pumpkin Seeds
A pumpkin seed is just like any other seed. It must be prepared properly to ensure proper digestion. Properly preparing your pumpkin seeds is essentially germinating it, changing it from a closed off protector of the treasure inside to an open seed ready to bring nutrition. It’s best to sprout or otherwise properly prepare your seeds to allow more nutrition to be bioavailable to you.
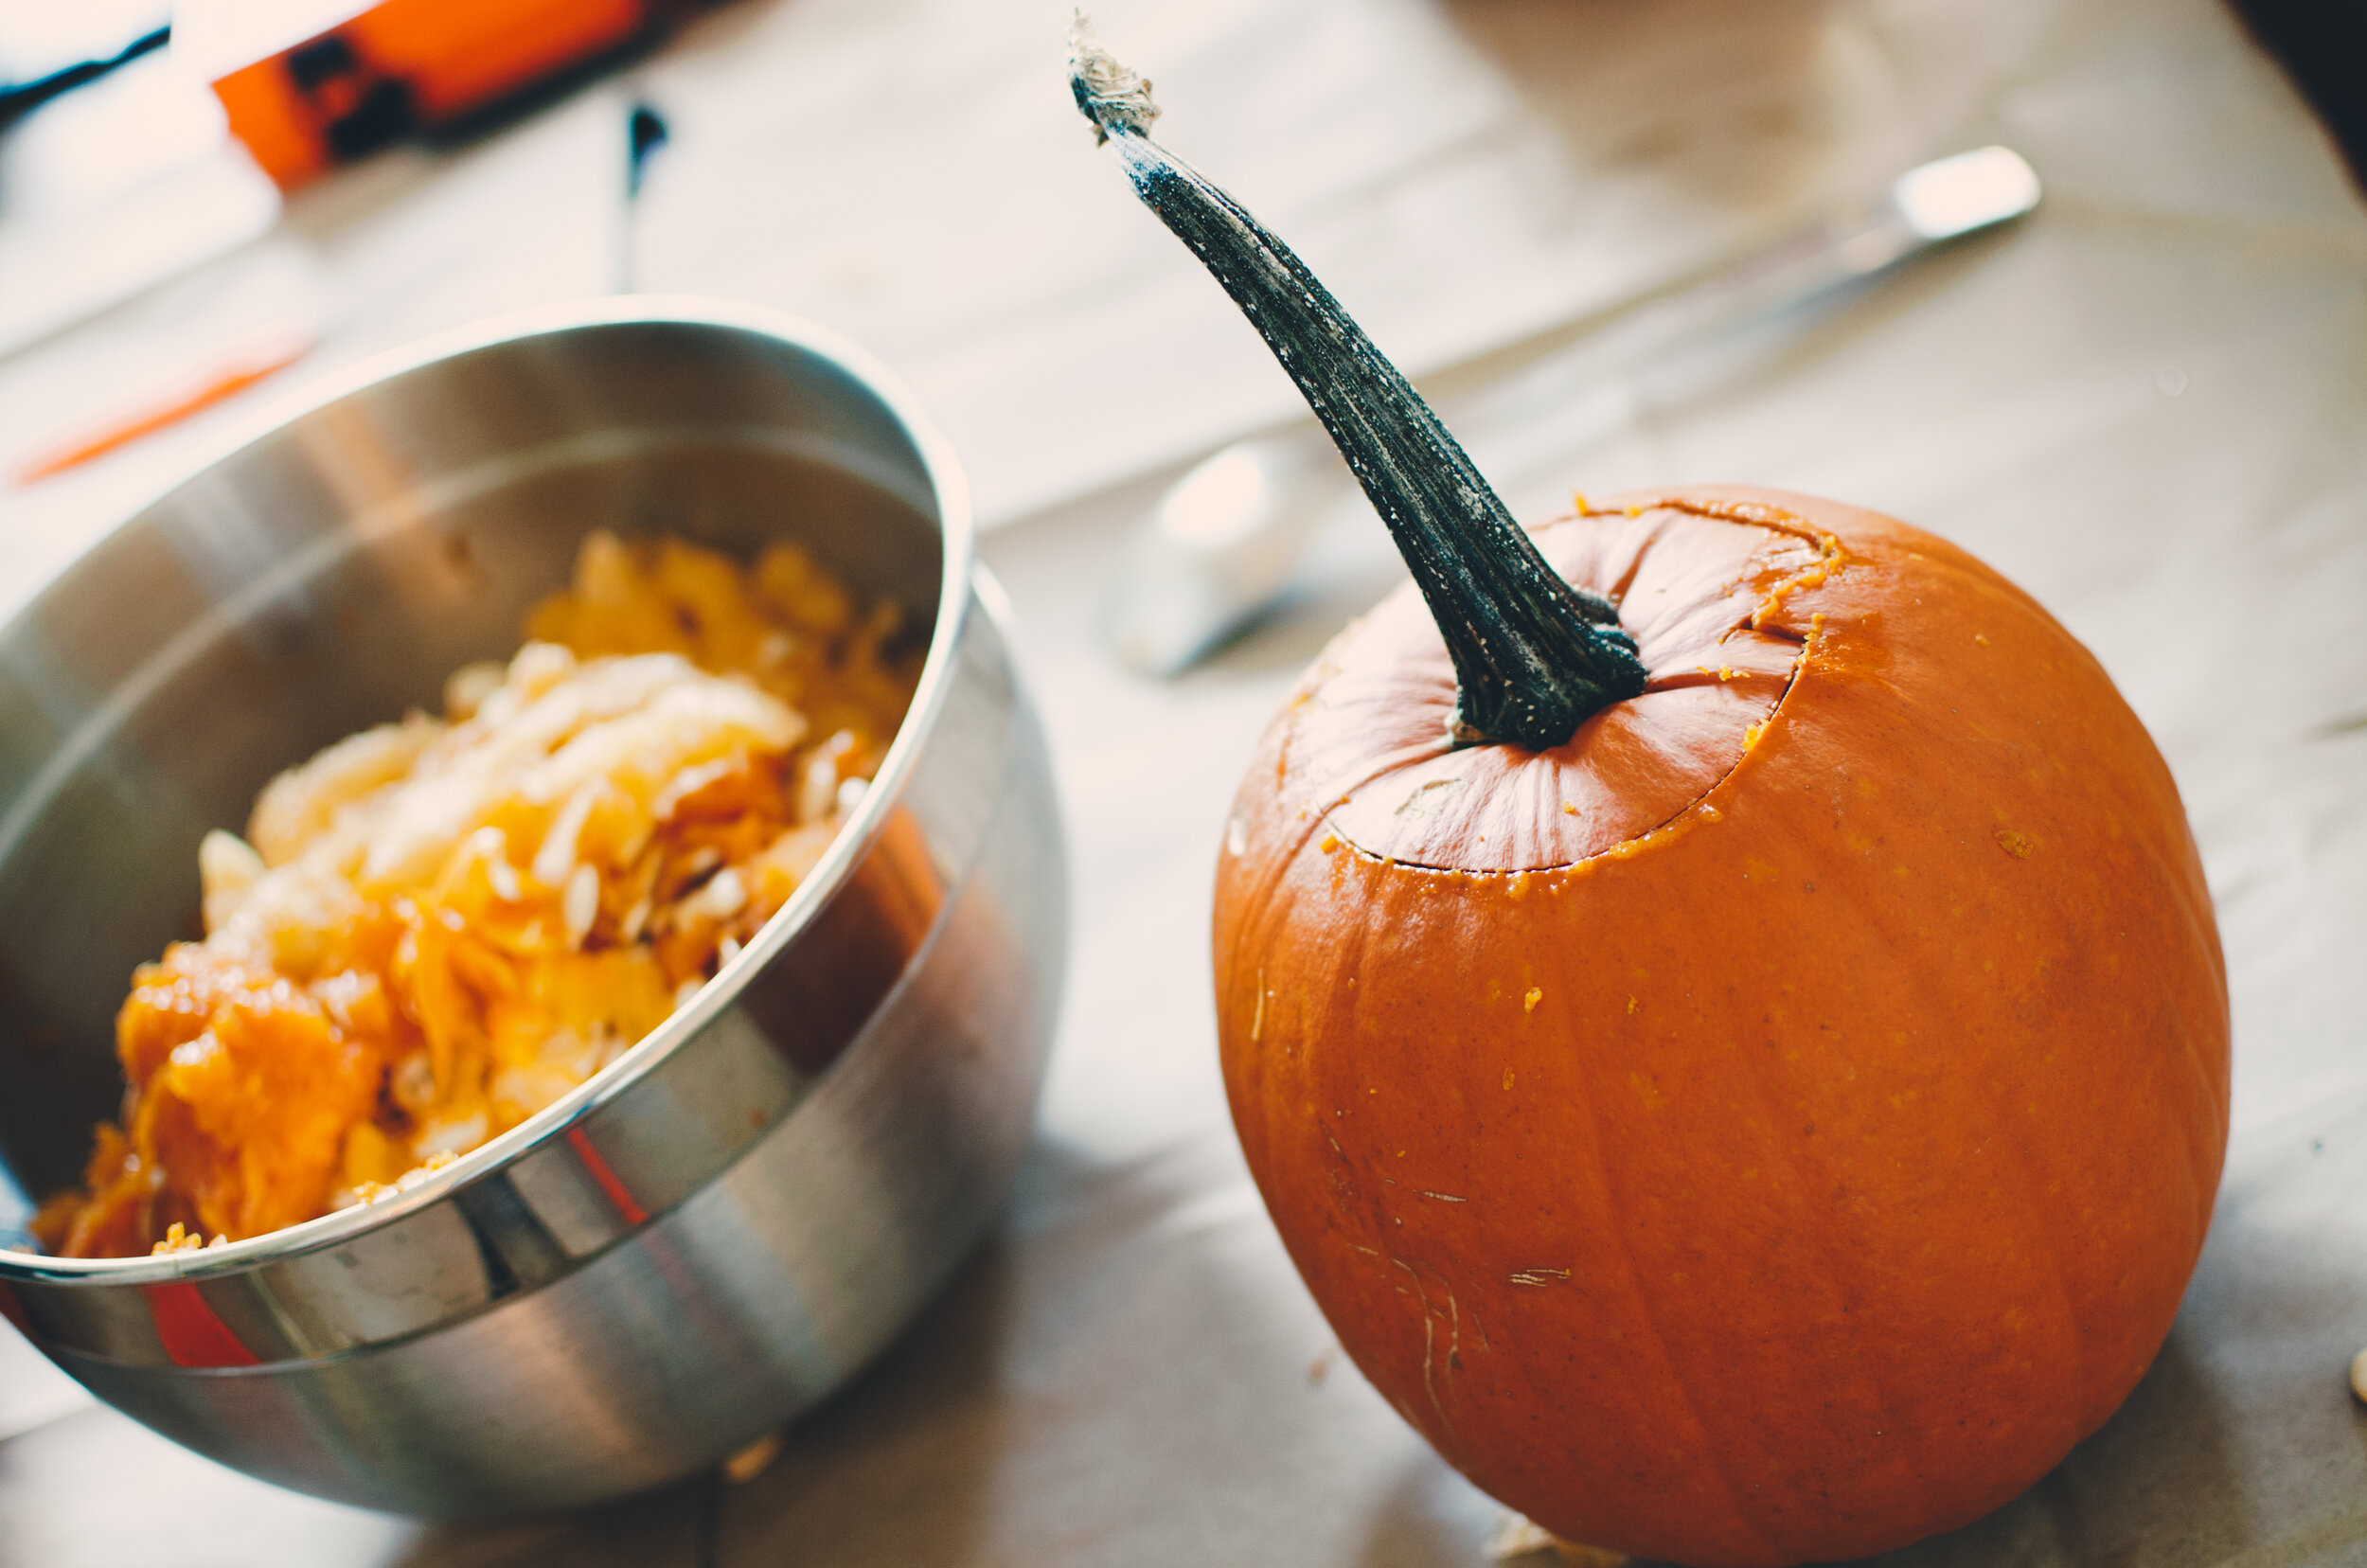
Start by rinsing your pumpkin and then cutting it in half. If your pumpkin has a stem, pop the stem off first - it’s too difficult to cut through but should pop off the pumpkin without too much trouble.
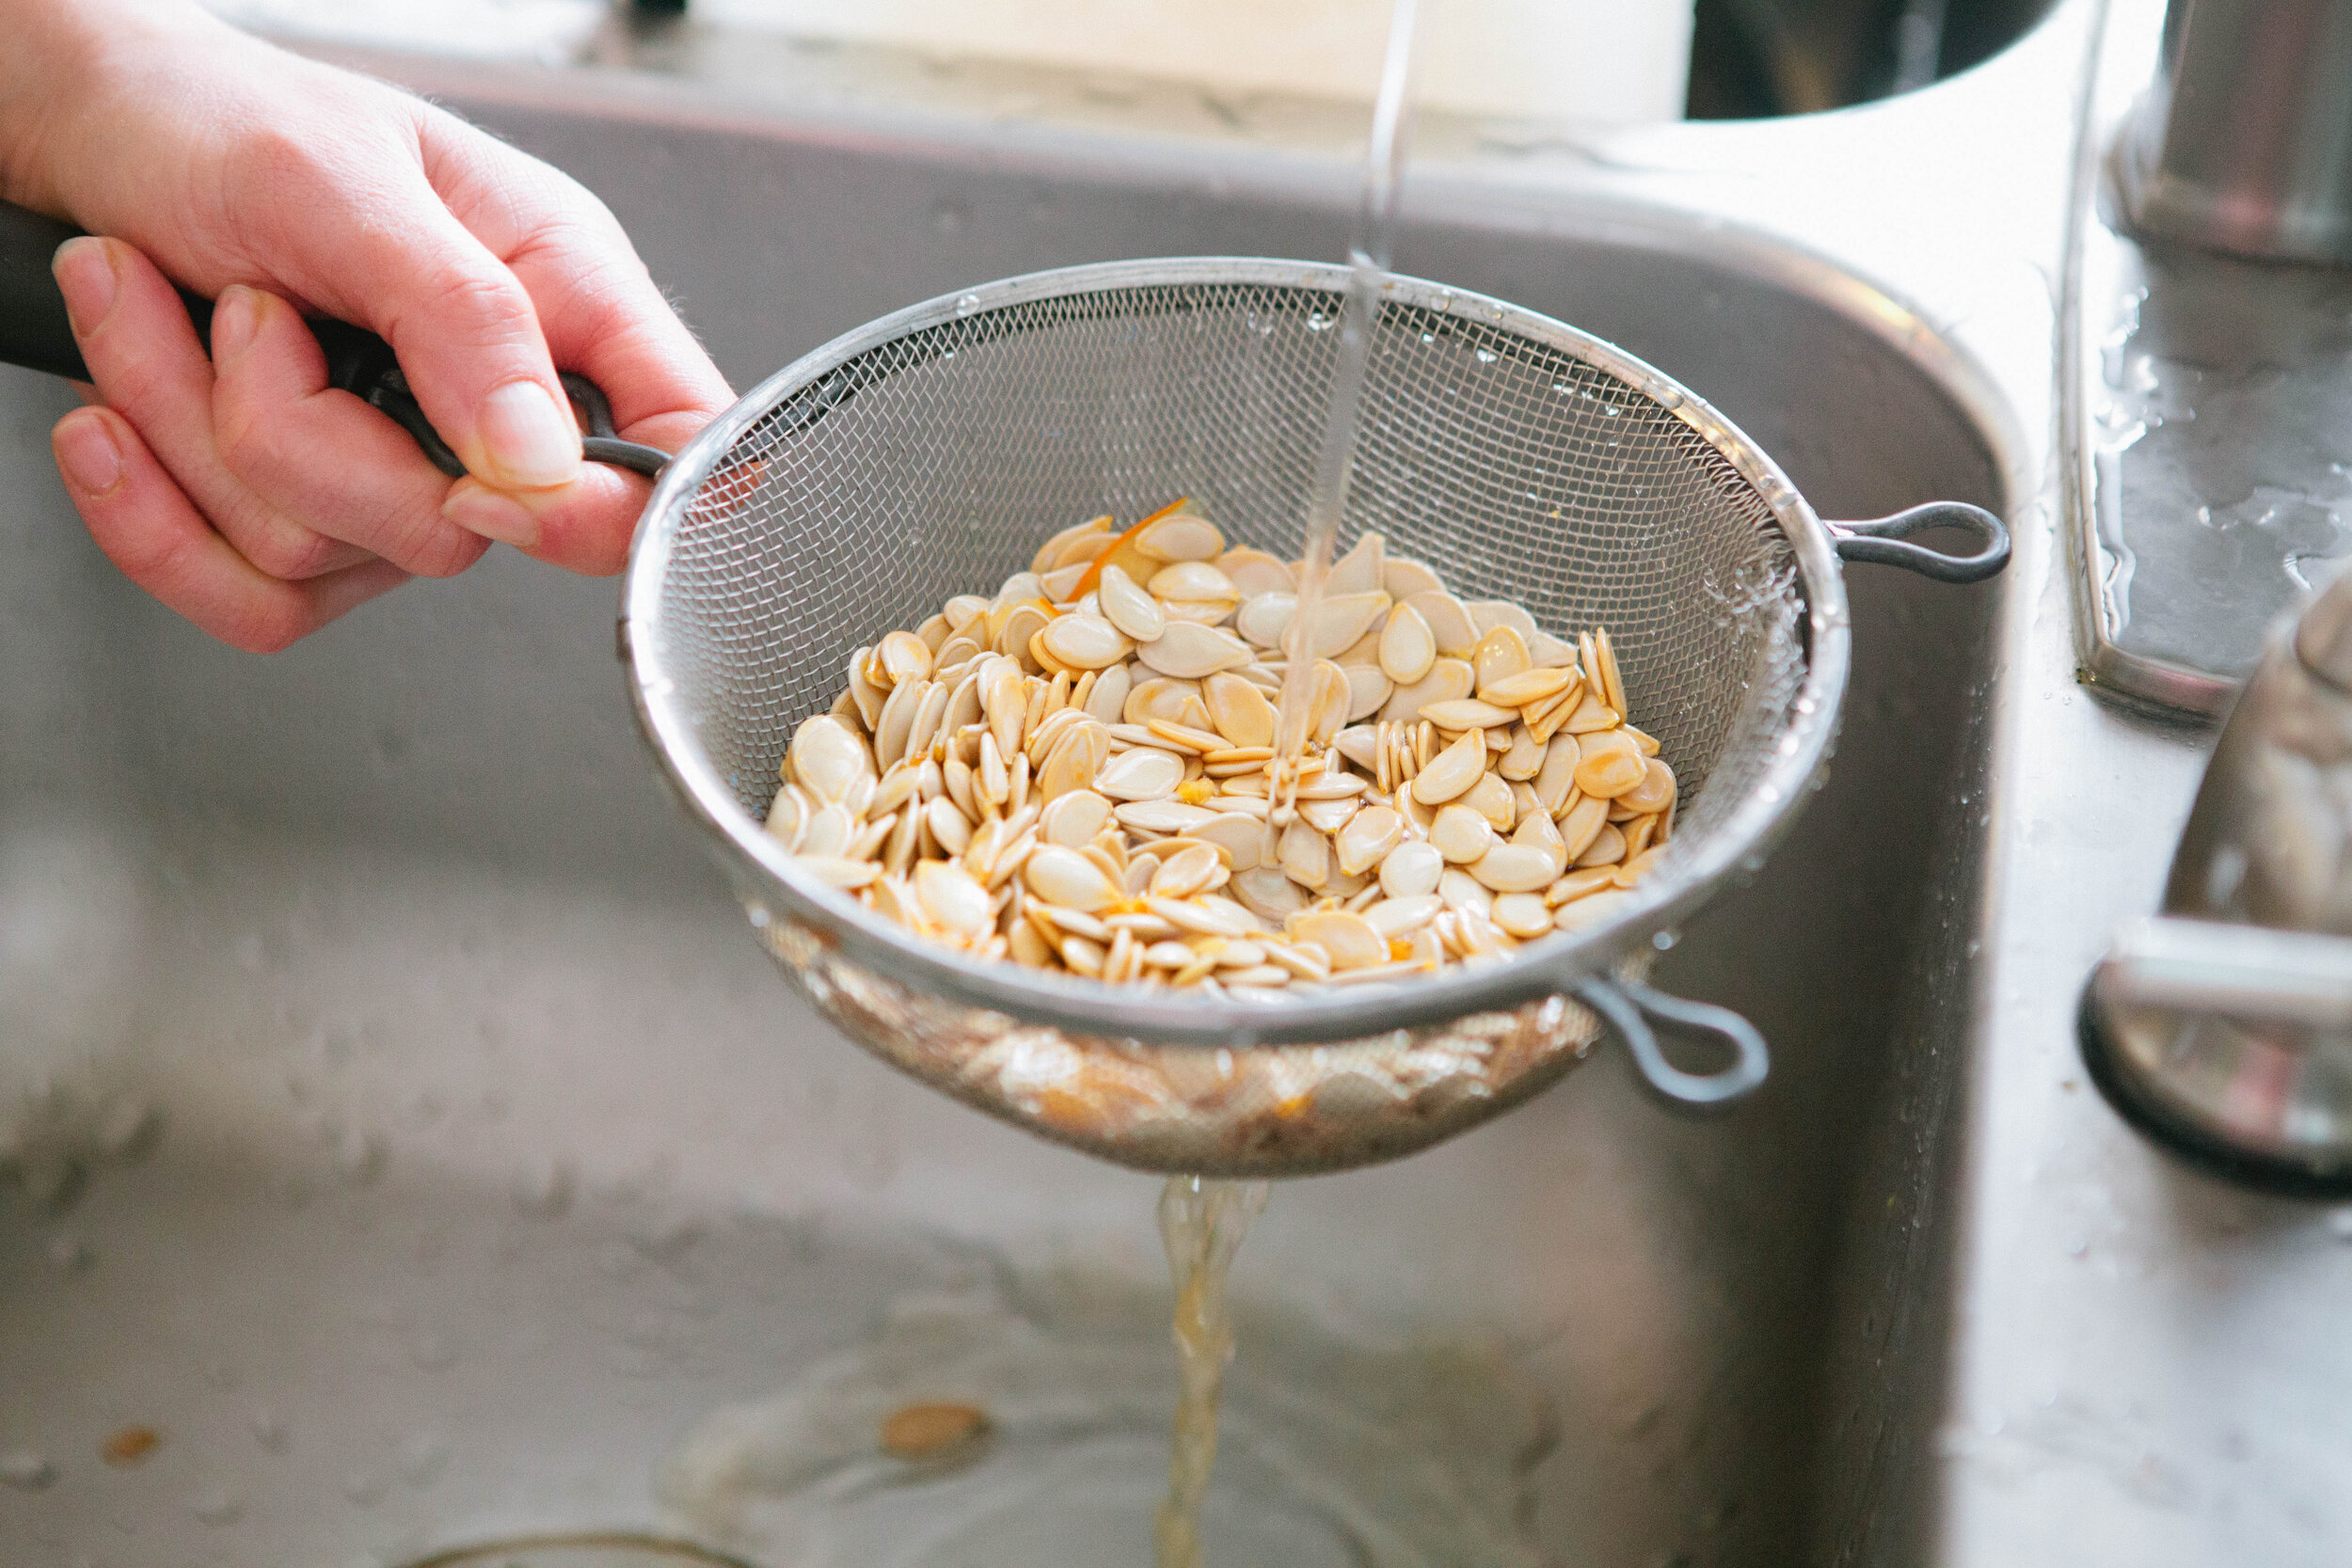
Once your pumpkin is halved, scoop the seeds out. I find using my hands to the easiest but a spoon will also work.Separate the seeds from the flesh. Rinse the pumpkin seeds, add them to a jar and cover with water and salt. Leave to soak overnight and drain them in the morning. Rinse and fill with new water. Repeat the draining, rinsing, and adding new water until your seeds have sprouts. Rinse them one final time and then roast them oven at 250 for several hours.
How to Make and Store Pumpkin Puree
Start by rinsing your pumpkin and then cutting it in half. If your pumpkin has a stem, pop the stem off first - it’s too difficult to cut through but should pop off the pumpkin without too much trouble..
Once your pumpkin is halved, scoop the seeds out. I find using my hands to be the easiest but a spoon will also work.. Set the seeds aside.
Then roast your pumpkins in a 400 oven for about 45 minutes until they are soft. Pumpkins are done when the flesh removes easily from the skin.
Let the pumpkins cool so you can handle them. Using a fork, scrape the pumpkin away from the flesh.
That’s it! Just let your pumpkin cool and then freeze in individual portions. If you’d like a smoother consistency, you can immersion blend your pumpkin or add it to a food processor until it’s smooth.
How will you use your prepared pumpkin?


