Welcome to our new, comprehensive GAPS Program designed for those who are determined to heal their minds and bodies holistically through food and professional naturopathic support. This program is based on the understanding that in order to heal your mind and body, it is necessary to address the foundations of gut health and emotional health.
Cream of Vegetable Soup
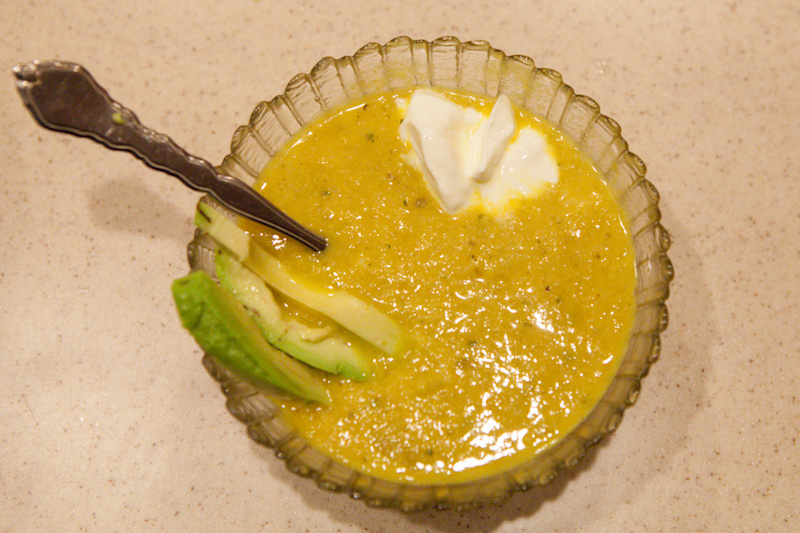
I have two purposes for posting this cream of vegetable soup. Number one if you have recipes that call for cream of vegetable soup, you no longer have to use a canned cream of vegetable soup (similar to this cream of mushroom soup) Number two at different times in our healing journey, our body would like more vegetables so this is a way to get a rich and thick soup that contains meat’s amino acids without having to digest meat pieces.
The goal of this soup is rich flavor. Be liberal in your vegetables and herbal seasonings. You can use other vegetables if you have them!
Ingredients for Homemade Cream of Vegetable Soup:
¼ cup of Butter
1 Medium White Onion
Garlic
3-4 Carrots
1 Large Turnip or Zucchini
2 Stalks of Celery
1 tsp Salt
1 Handful, about 20 sprigs, Parsley
8 Peppercorns
4 cups Stock (whatever you have on hand. I had beef but you can use chicken or vegetable although you won’t get the healing properties of animal amino acids)
16 oz. Sour Cream
Directions for Cream of Vegetable Soup:
In a large stock pot, melt butter. Cut the onion in half and slice it. Add to the melted butter.
Cube the turnip, and slice the carrots and celery. Add to the stock pot. Roughly chop the parsley, and add to the pot with the salt and peppercorns. Mix.
Add in the stock and allow to simmer on low for about 40 - 60 minutes, until the vegetables are soft.
Immersion blend your soup or place it in a blender until it is completely smooth and free of chunks.
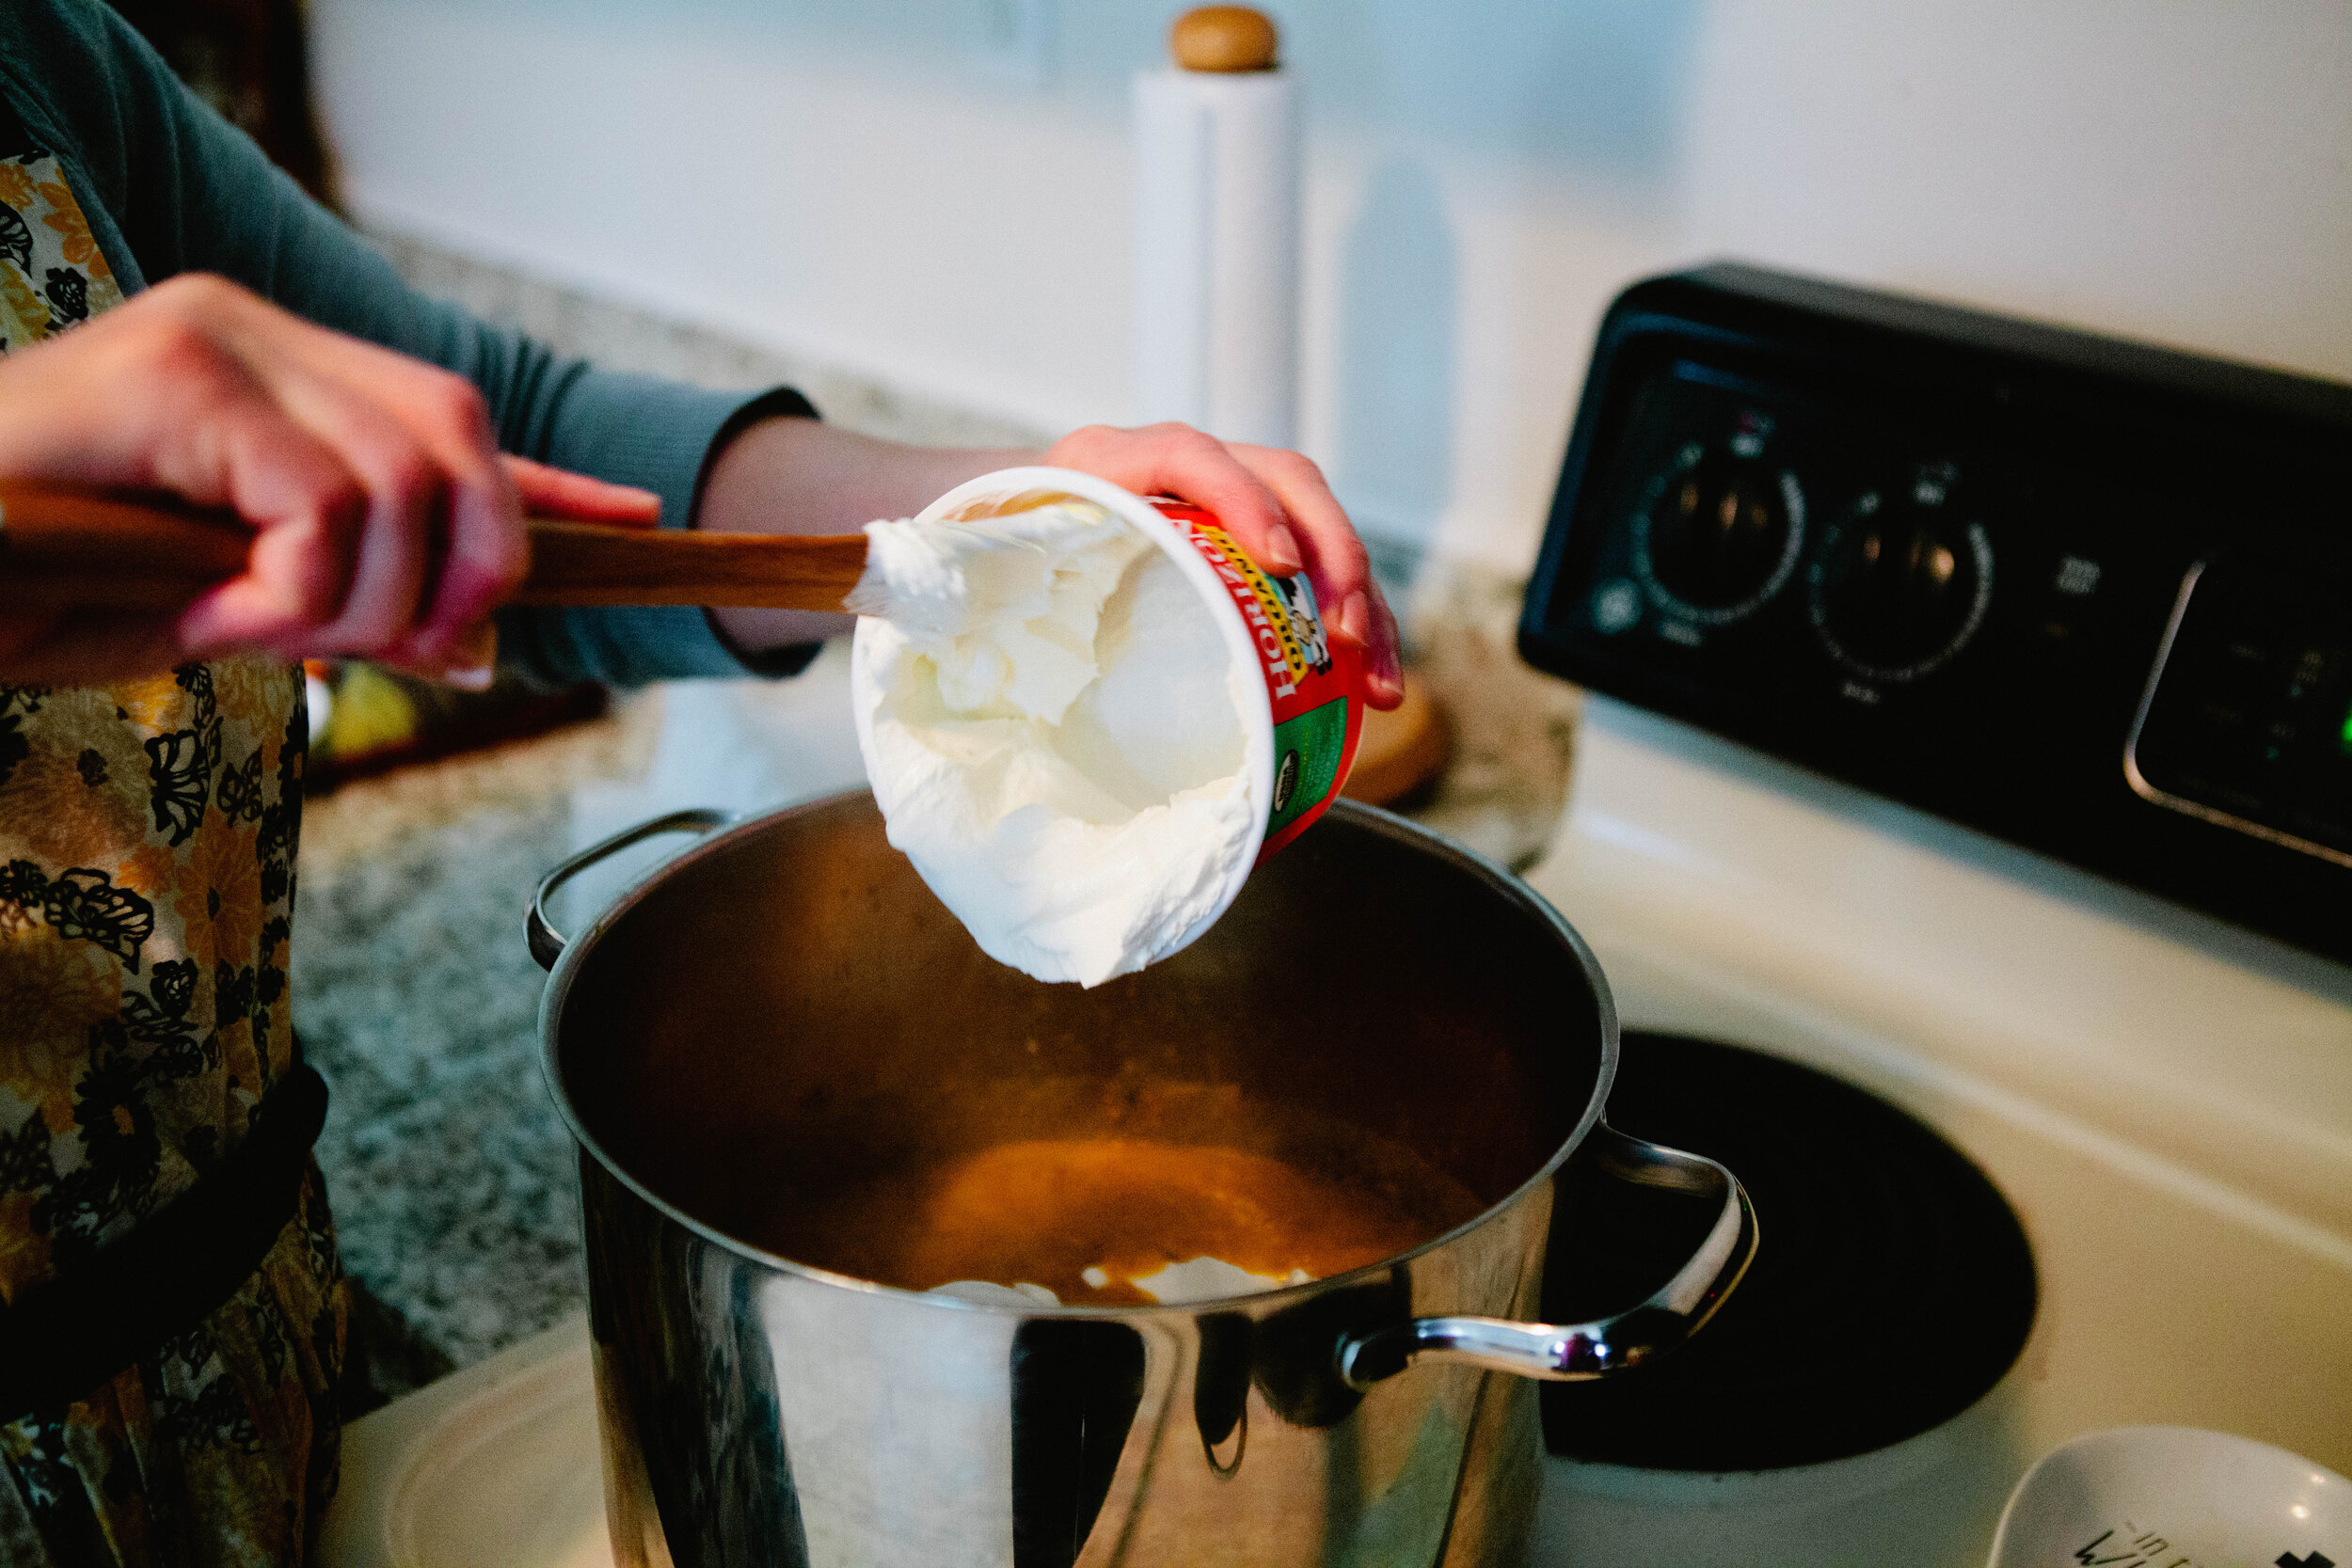
Add in sour cream. Stir to combine and melt the sour cream.
Enjoy!
How to Make Beef Stock
We use a lot of chicken stock around here but that doesn’t mean it’s superior to other kinds of stock. We’ve recently been working on adding soup recipes that are especially delicious with beef stock.
Whatever meat you use, remember it should be 80% meat and 20% bone with a joint. Depending on your cut, you might need to add additional meat to fulfill these ratios.
Meat stock is a pillar in healing a leaky gut but this rich food is beneficial to anyone. It provides large amounts of the immune system’s favorite foods, is very easy to digest, and is a great base to modify for other healing and nutritious recipes.
Meat stock is meant to be a meal in itself. It’s short cooking time allows the meat to remain edible while still enriching stock with easy to absorb nutrients. This is the perfect thing to eat anytime you are feeling ill or stressed or “can’t get filled up” hungry. These are some of the reasons meat stock is such an important part of the healing process of the GAPS Diet. Any time you are consuming meat stock on a regular basis, your body will be receiving the healing benefit.
Meat stock can be made into a soup or simply drunk on its own as a hot beverage with a meal. You can also poach a couple eggs in your stock for a rich breakfast. Stock can also be used to cook rice or other soaked grains to increase their digestibility and nutritional content. In short, this should be considered a staple to have in your kitchen at all times, either in the fridge or the freezer.
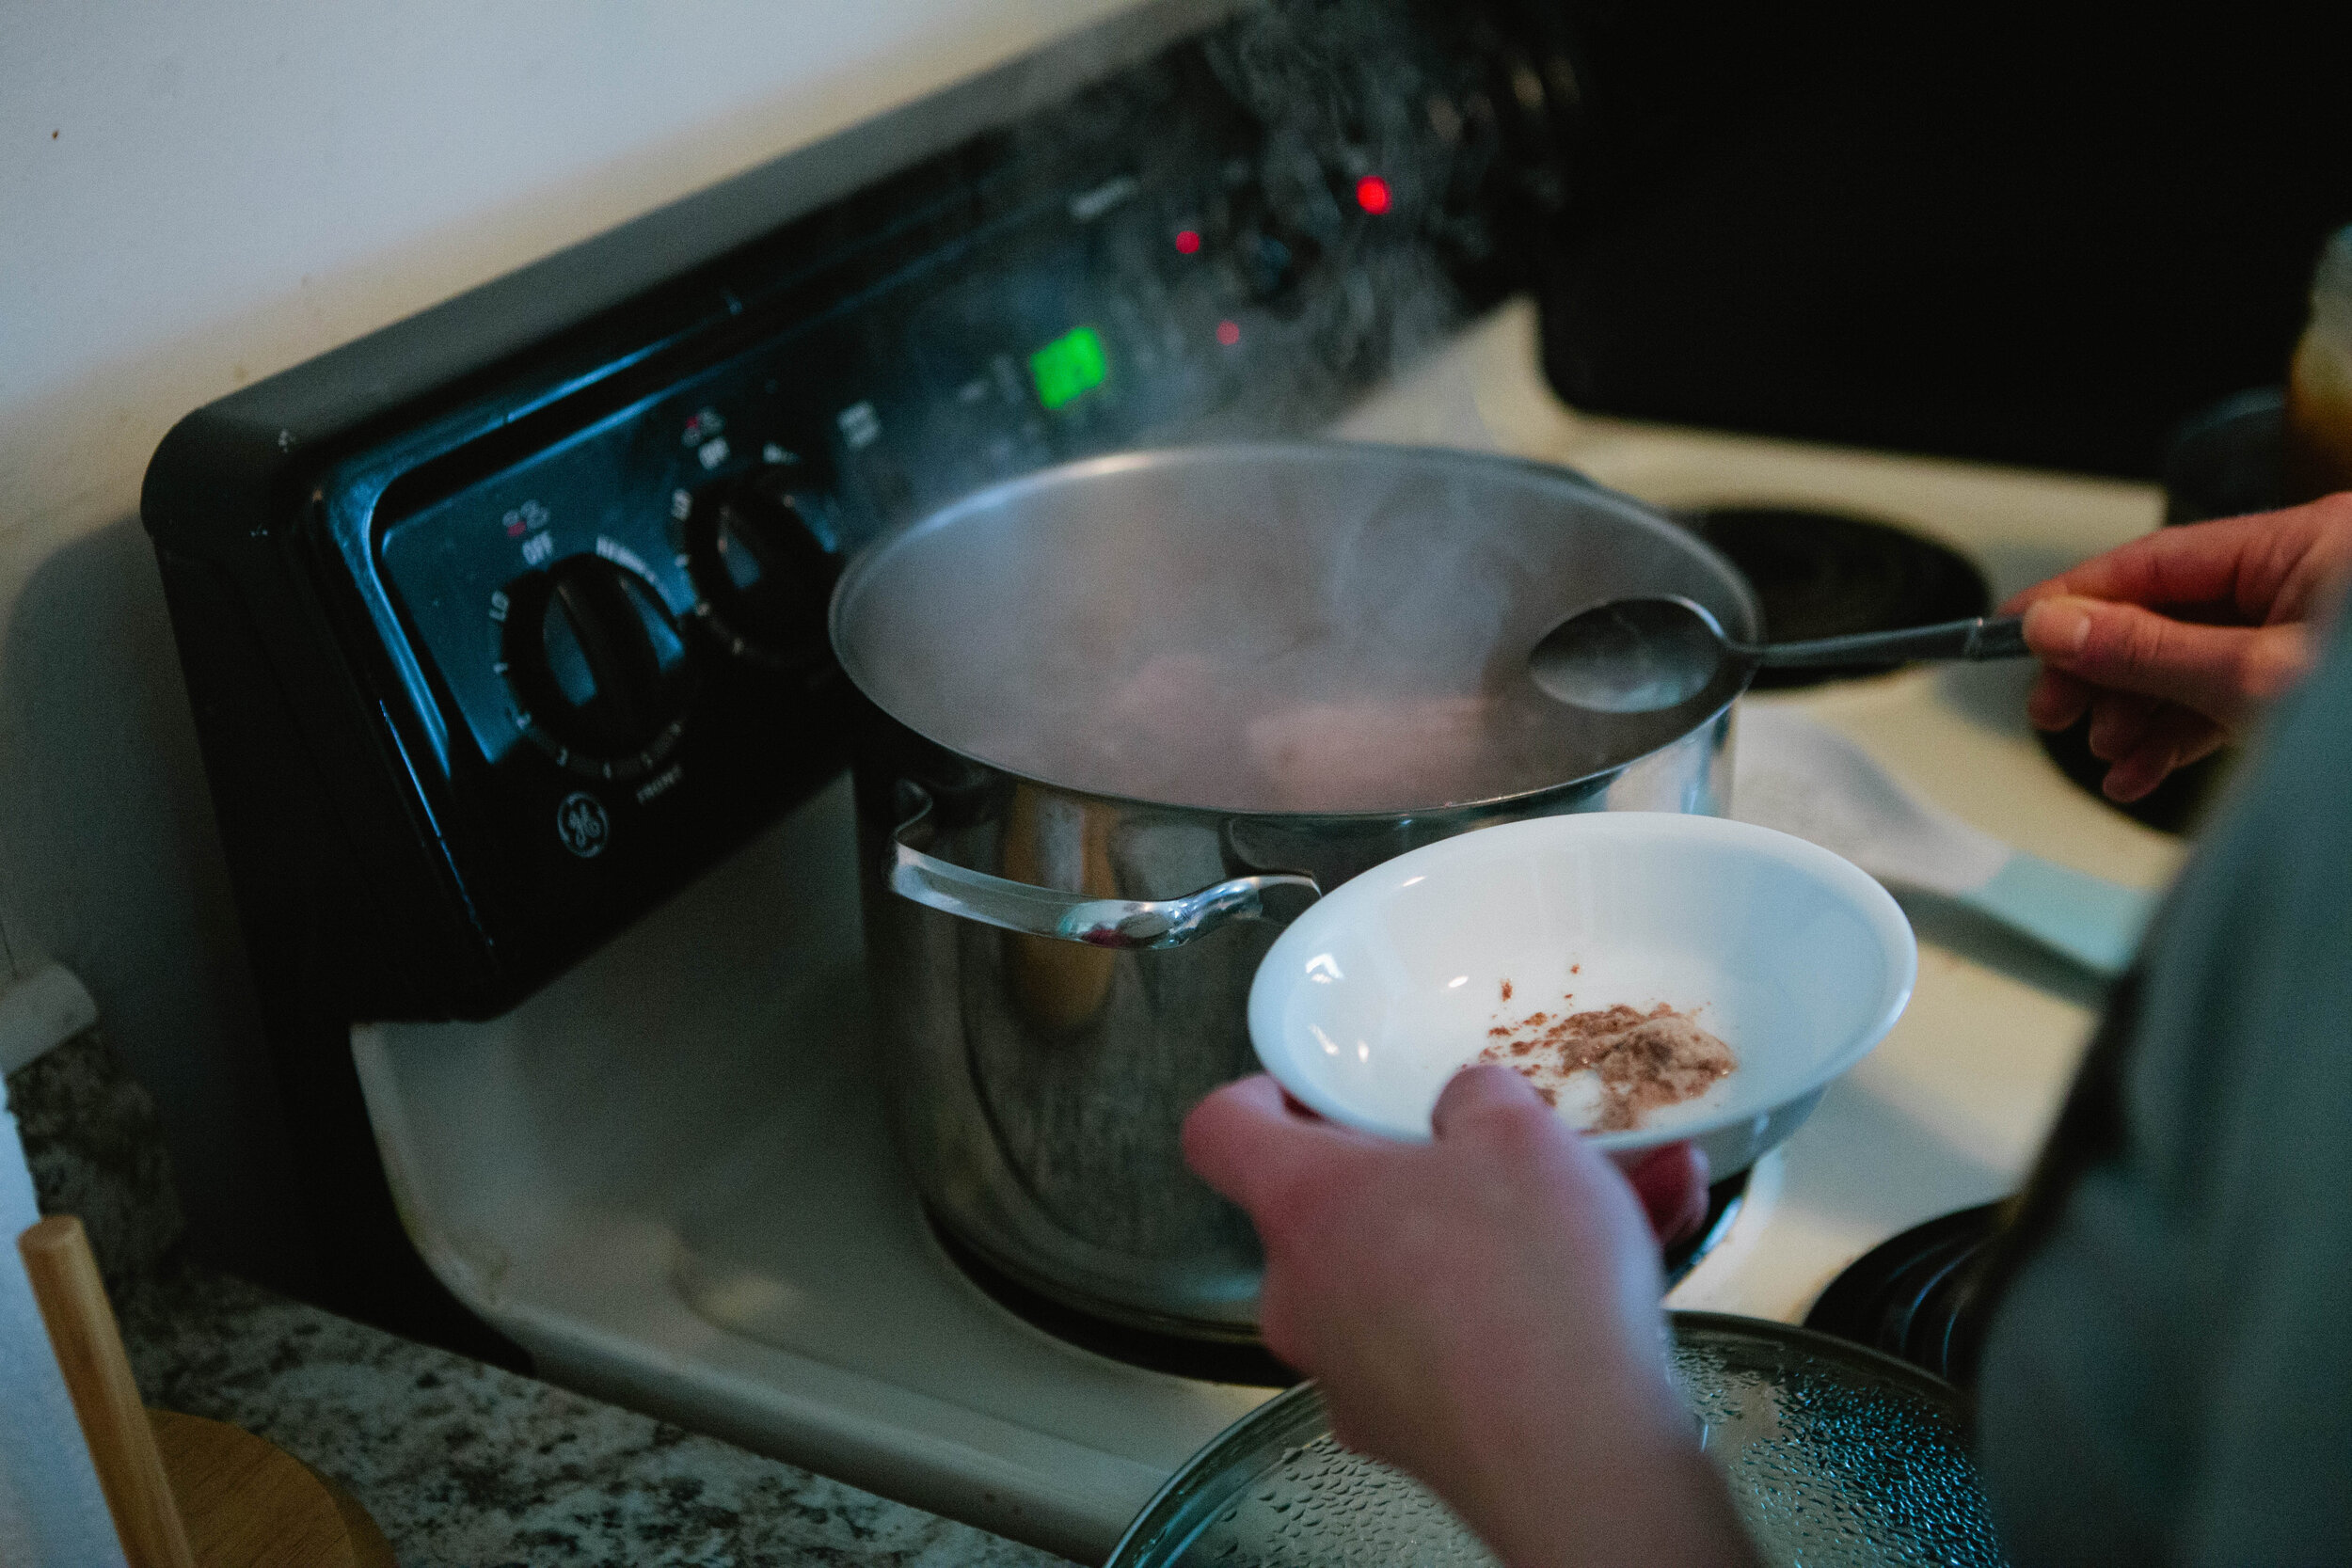
There are a variety of ways you can skim the scum off the top of your stock. I usually use a slotted spoon but you can also use a mesh scum skimmer, a slotted spoon, a small strainer, or a large soup spoon.
Skimming the scum off the top is where you can tell the quality of your meat. If your meat is poor quality, had a lot of hormones or was poorly processed, you’ll get scum that’s heavy, grey and unappetizing. If you have a good quality meat, you will have a small amount of light almost white colored scum that appears as a lighter foam. This is also where you can tell if your meat has gone bad at this point.
You can store your stock in the fridge or the freezer, depending on how quickly you’ll consume the batch.
A NOTE ABOUT MEAT STOCK AND THE GAPS INTRO DIET:
When Dr. Natasha Campbell talks about meat in stage 1, she’s referring to eating primarily the gelatinous meats like skin, joints and connective tissue. When meat is added on Stage 2, she means the muscle eats, the only thing we Americans consider to be meat. Eating a lot of muscle meat can be constipating so if this is your issue, be sure to eat every last bit of the skin and joints.
Ingredients for Beef Stock:
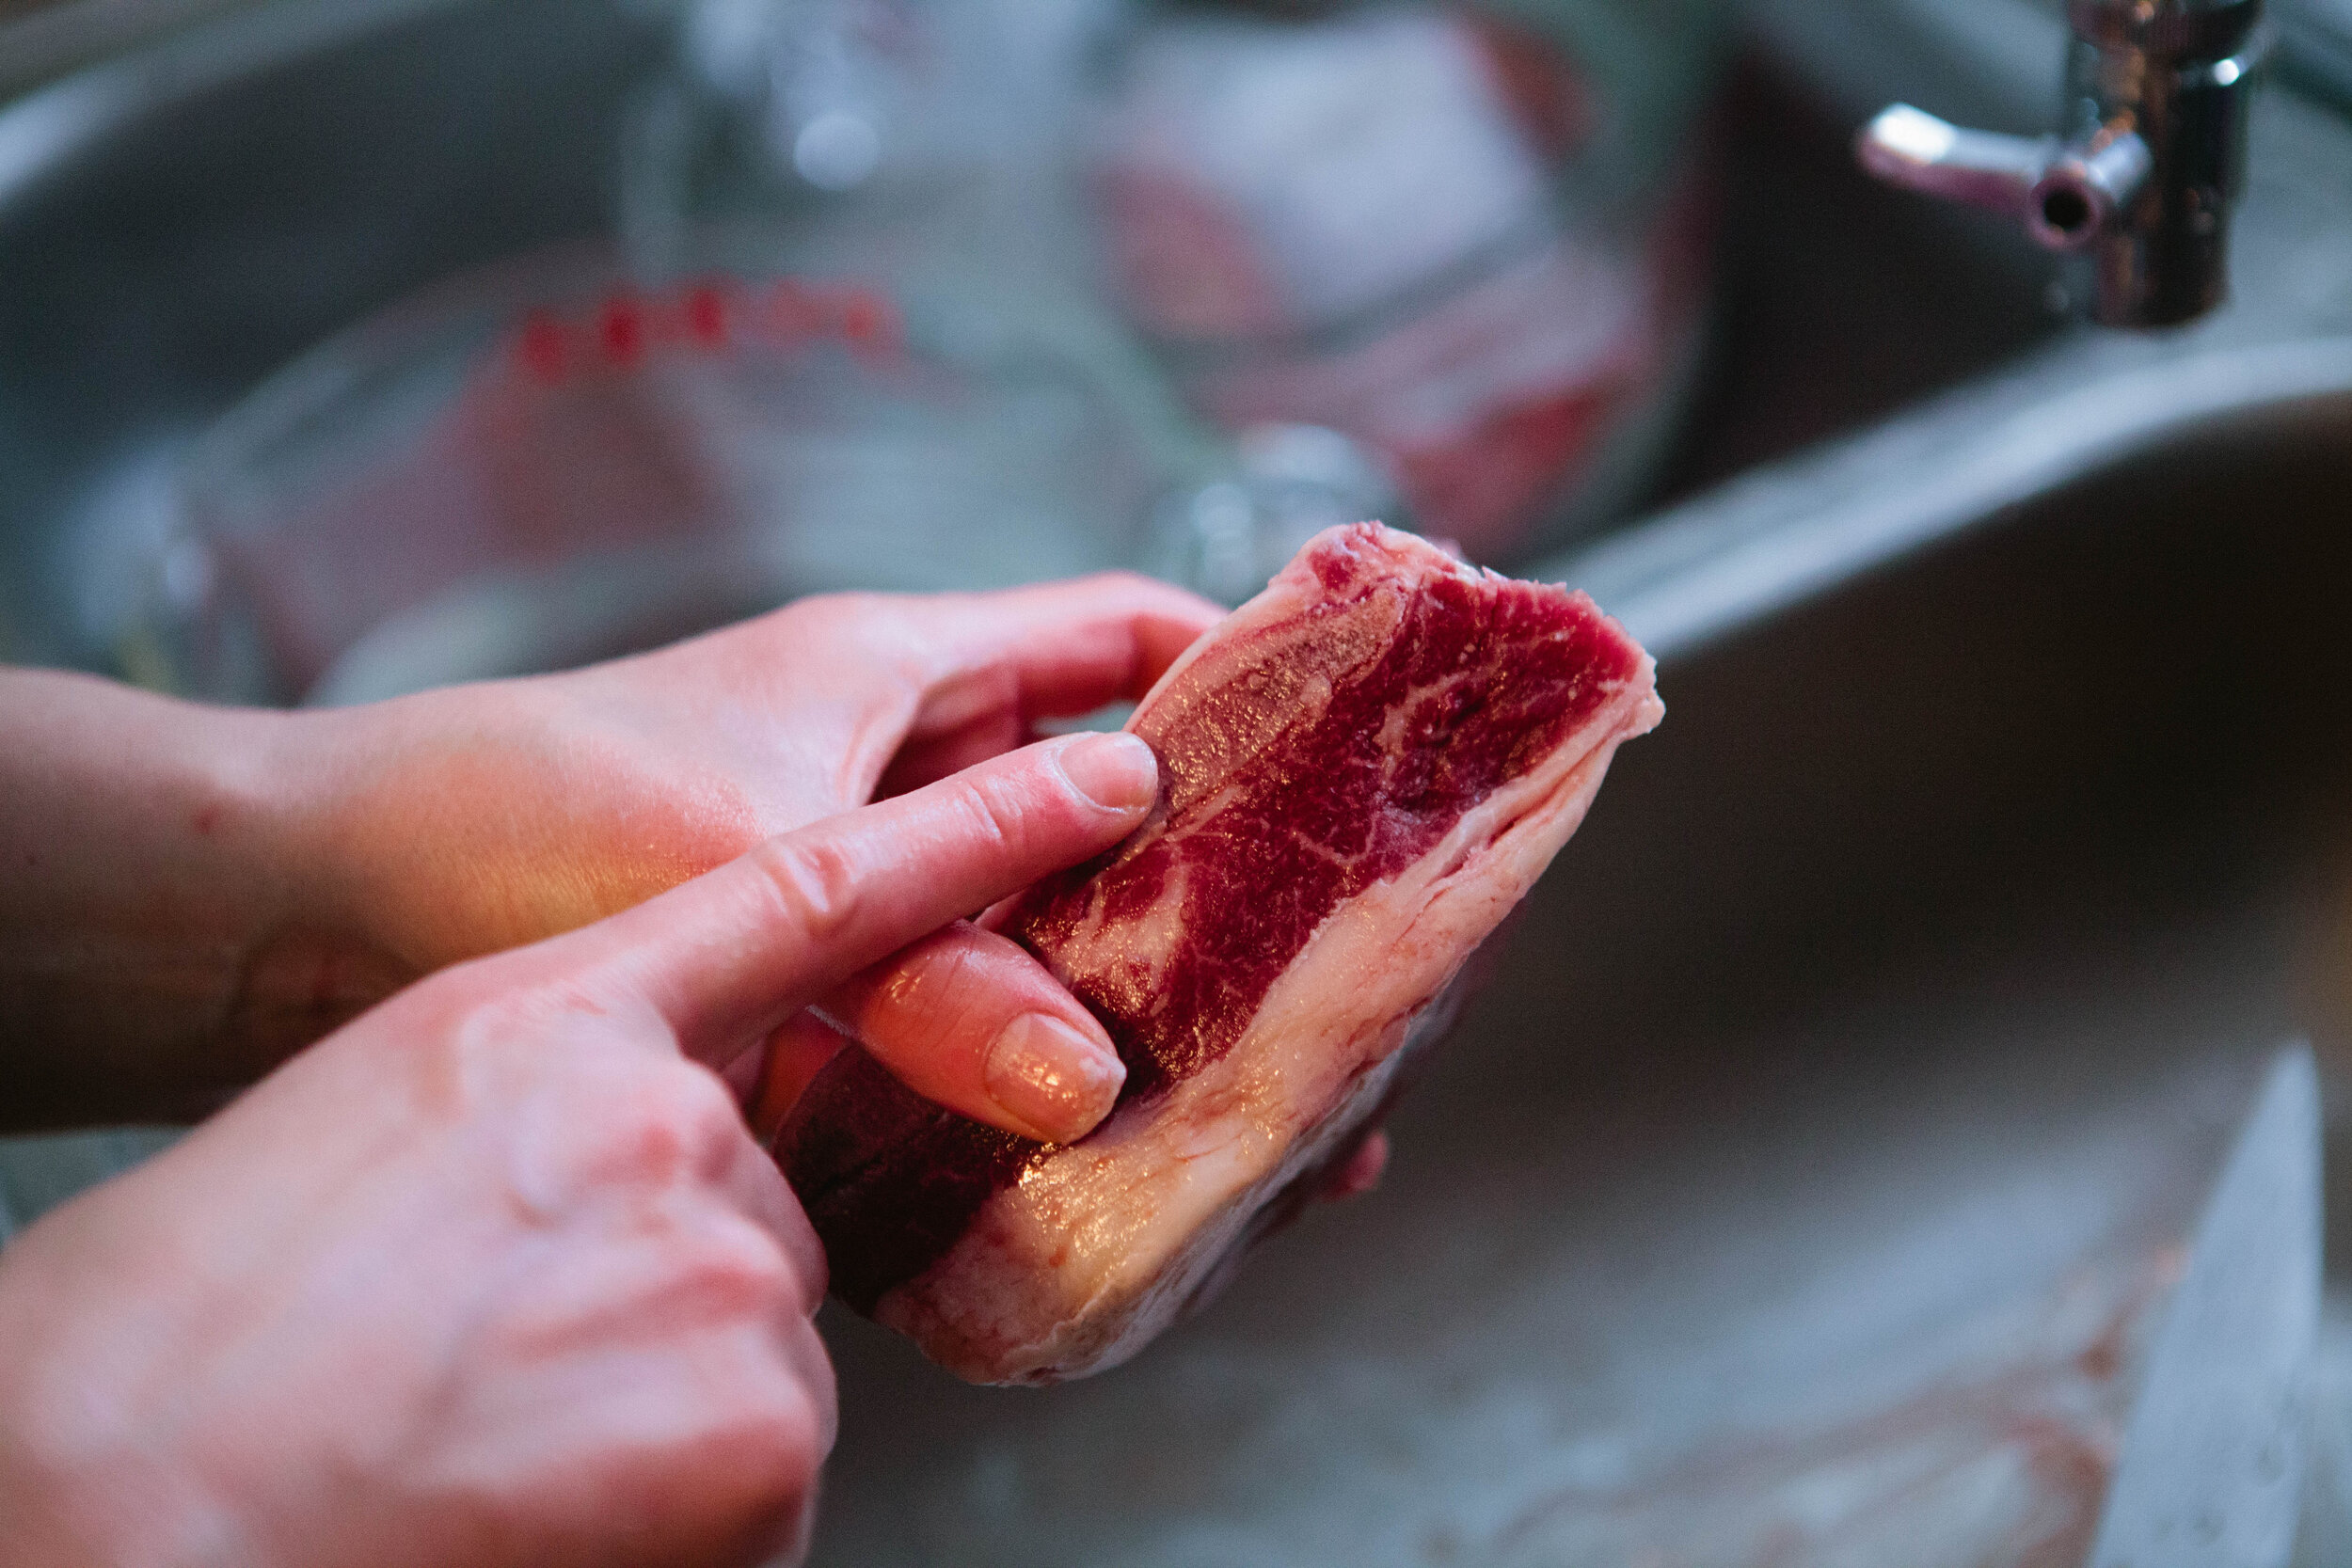
Beef. I am using 3 ½ lbs of beef short ribs. Whatever meat you use, remember it should be 80% meat and 20% bone with a joint. Depending on your cut, you might need to add additional meat to fulfill these ratios.
Small handful of peppercorns
2 Bay Leaves
Filtered Water
Directions for Beef Stock:
Cut your beef ribs apart so that each rib is separated.
Add to a pot and fill with filtered water.
Add peppercorns whole and bay leaves to the pot.
If you are using dry herbs and are on Intro GAPS, pre-stage 4, put your herbs in a reusable herb or tea infuser or muslin pouch for easy removal. This is not necessary if you are using fresh herbs.
Turn pot up to high to bring to a boil. Skim the scum off the top of your pot.
Turn heat down lower to a simmer. Simmer beef stock for 3-5 hours.
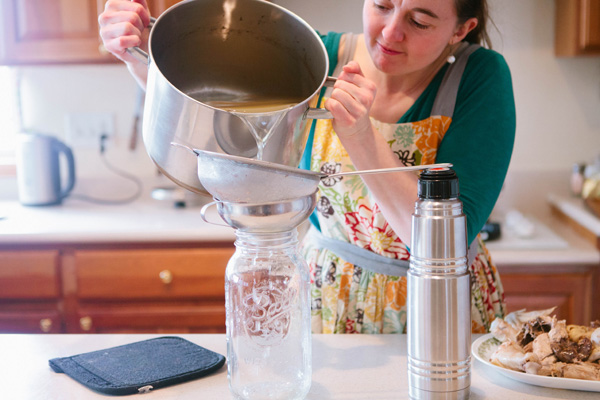
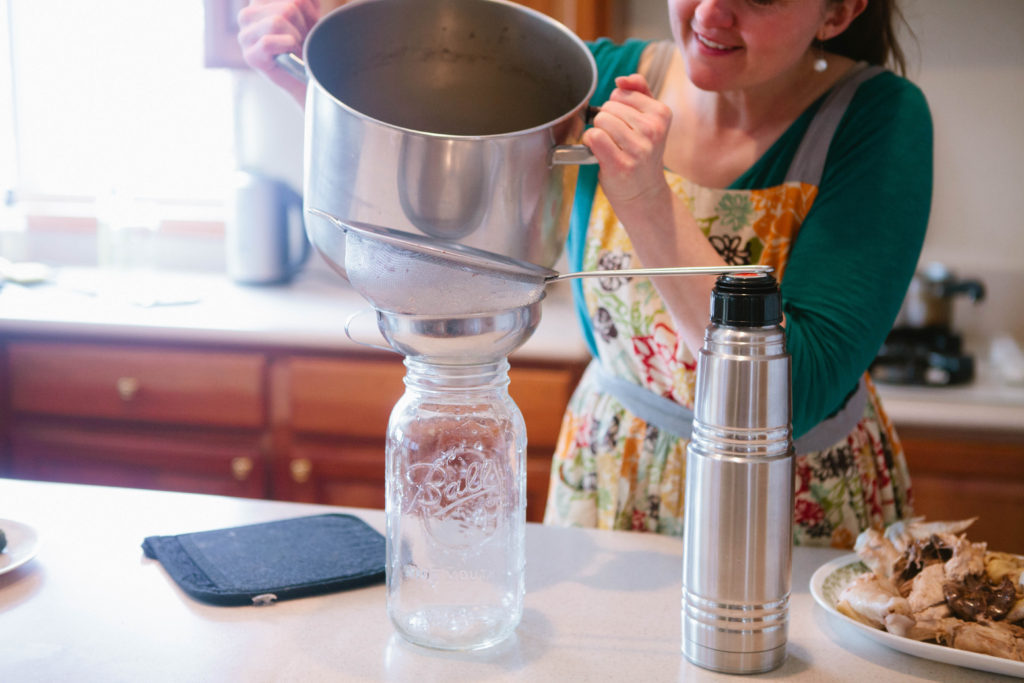
Strain the beef stock using a large mesh strainer and a funnel or large measuring cup with a lip.
Place in jars or a large bowl and allow to cool completely before placing in the fridge or freezer.
Real Dairy Recipes
On GAPS we don't avoid dairy forever, but we do culture it to make it more digestible. Even if you are not following the GAPS diet, you may find your body likes dairy better when it's cultured. Check out these recipes for ideas and directions on culturing and enjoying your dairy products.
How to culture dairy
Making Whey
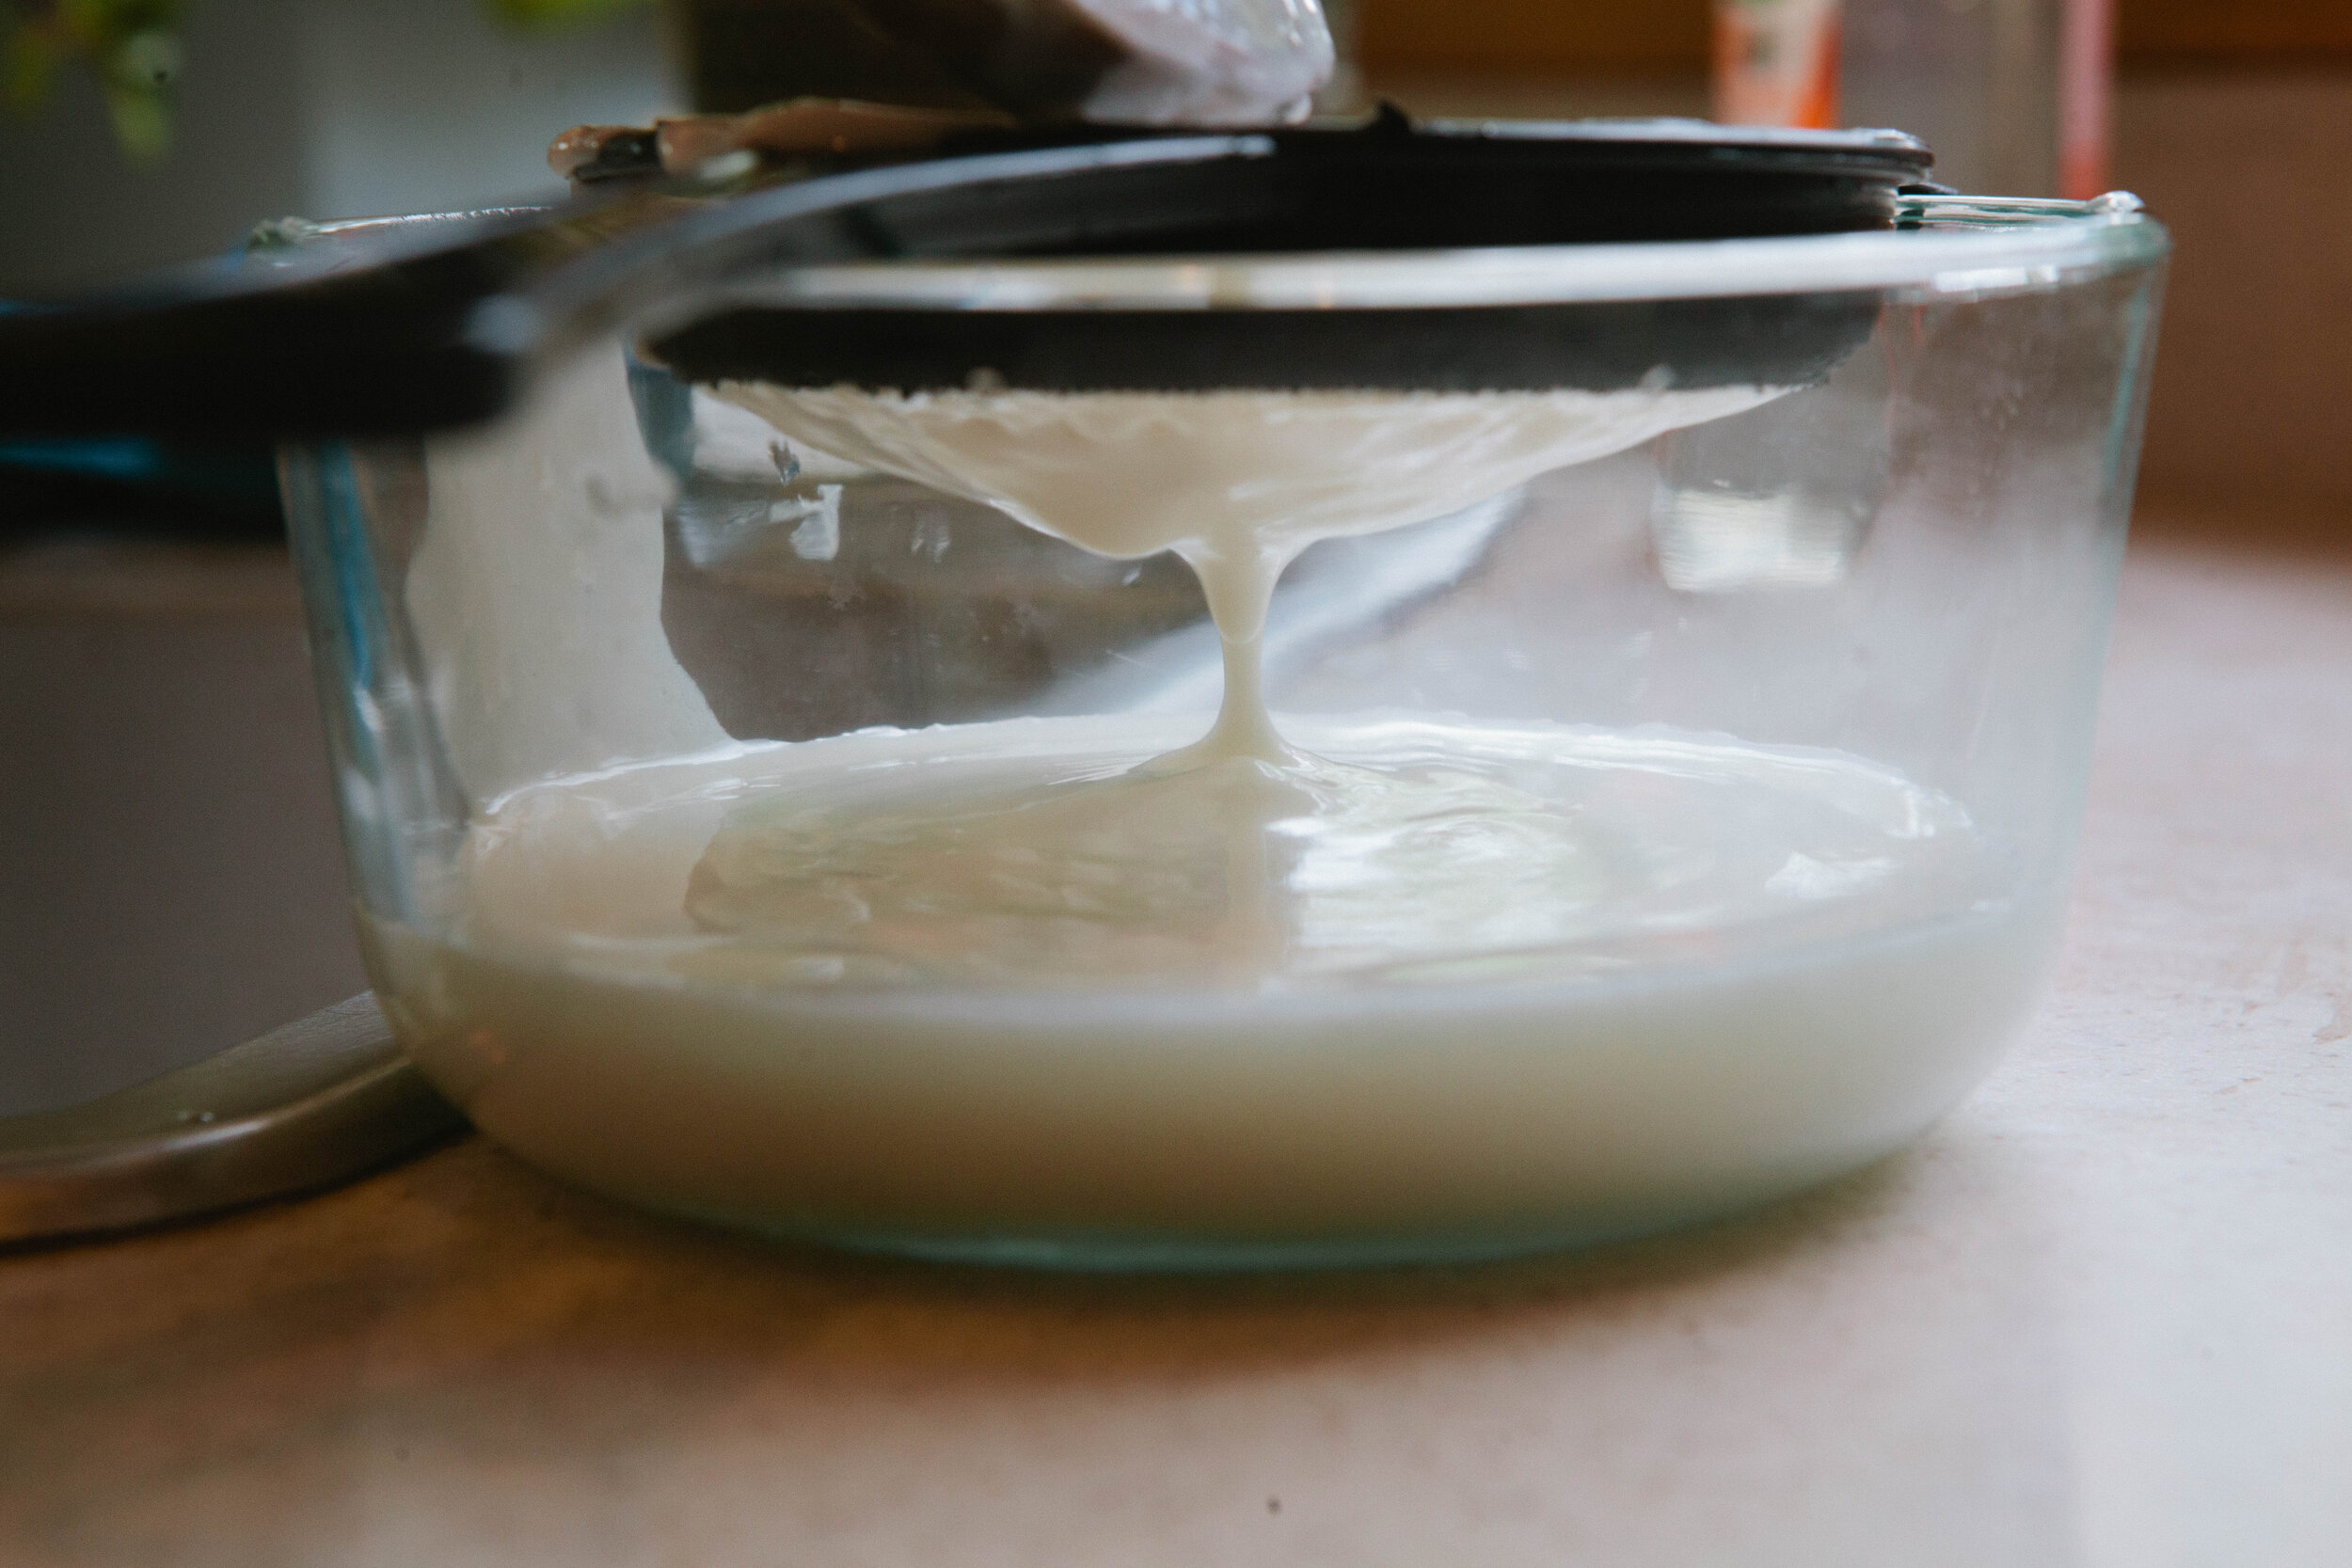
Whey is the other protein in milk aside from casein. It’s only present after milk products have been cultured and it’s a live food. This liquid is teeming with good lactic acid producing bacteria (LABs.) Whey is a basic to keep on hand because it can be used to ferment flours, seeds, nuts, vegetables, or as a starter to culture other dairy.
Making Your Own Kefir
Kefir is a fermented drink made from kefir grains. It’s a bit like a very thin yogurt and has great health benefits!
The great news is, like many fermented drinks, kefir is very easy to make on your own!
Milk Recipes
Decadent Hot Chocolate
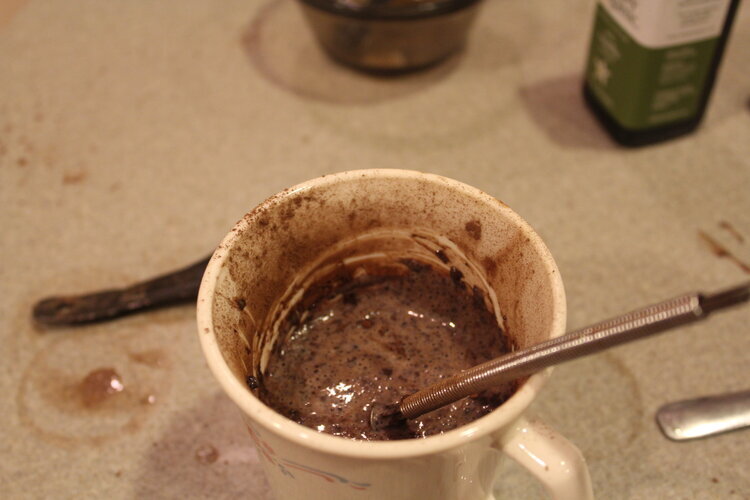
This hot chocolate is amazing. Rich, thick, decadent, filling, indulging, chocolaty goodness.
It even passed the skeptical, hot chocolate-loving teenage boy test.
Which is a big deal. And it's a nutrient-dense food!
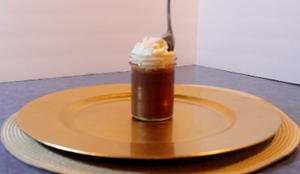
Raw Milk Chocolate Pudding
Some days don't you just miss pudding cups? I know I do. Now you can make your own! The most frequent comment about this pudding (besides "yum", "delicious", and "mmm...") is that it tastes just like a chocolate pudding cup!
Milk Ice Cream
I discovered this delicious ice cream years and years ago from an old ice cream maker recipe book. This is really making a custard base which makes it thick and creamy and allows you to not have to add so many filler ingredients. You can make it with cream or whole milk.
Cheese Recipes
Twice Baked Cauliflower
Stop whatever dinner plans you have and go buy a cauliflower! This recipe is the best side dish I have ever had... and I don't even really like cauliflower that much!
Every time I think about it I involuntarily smile and say "yum" to myself (or out loud).
It may be the butter. Or the cheese…
Spinach & Artichoke Dip
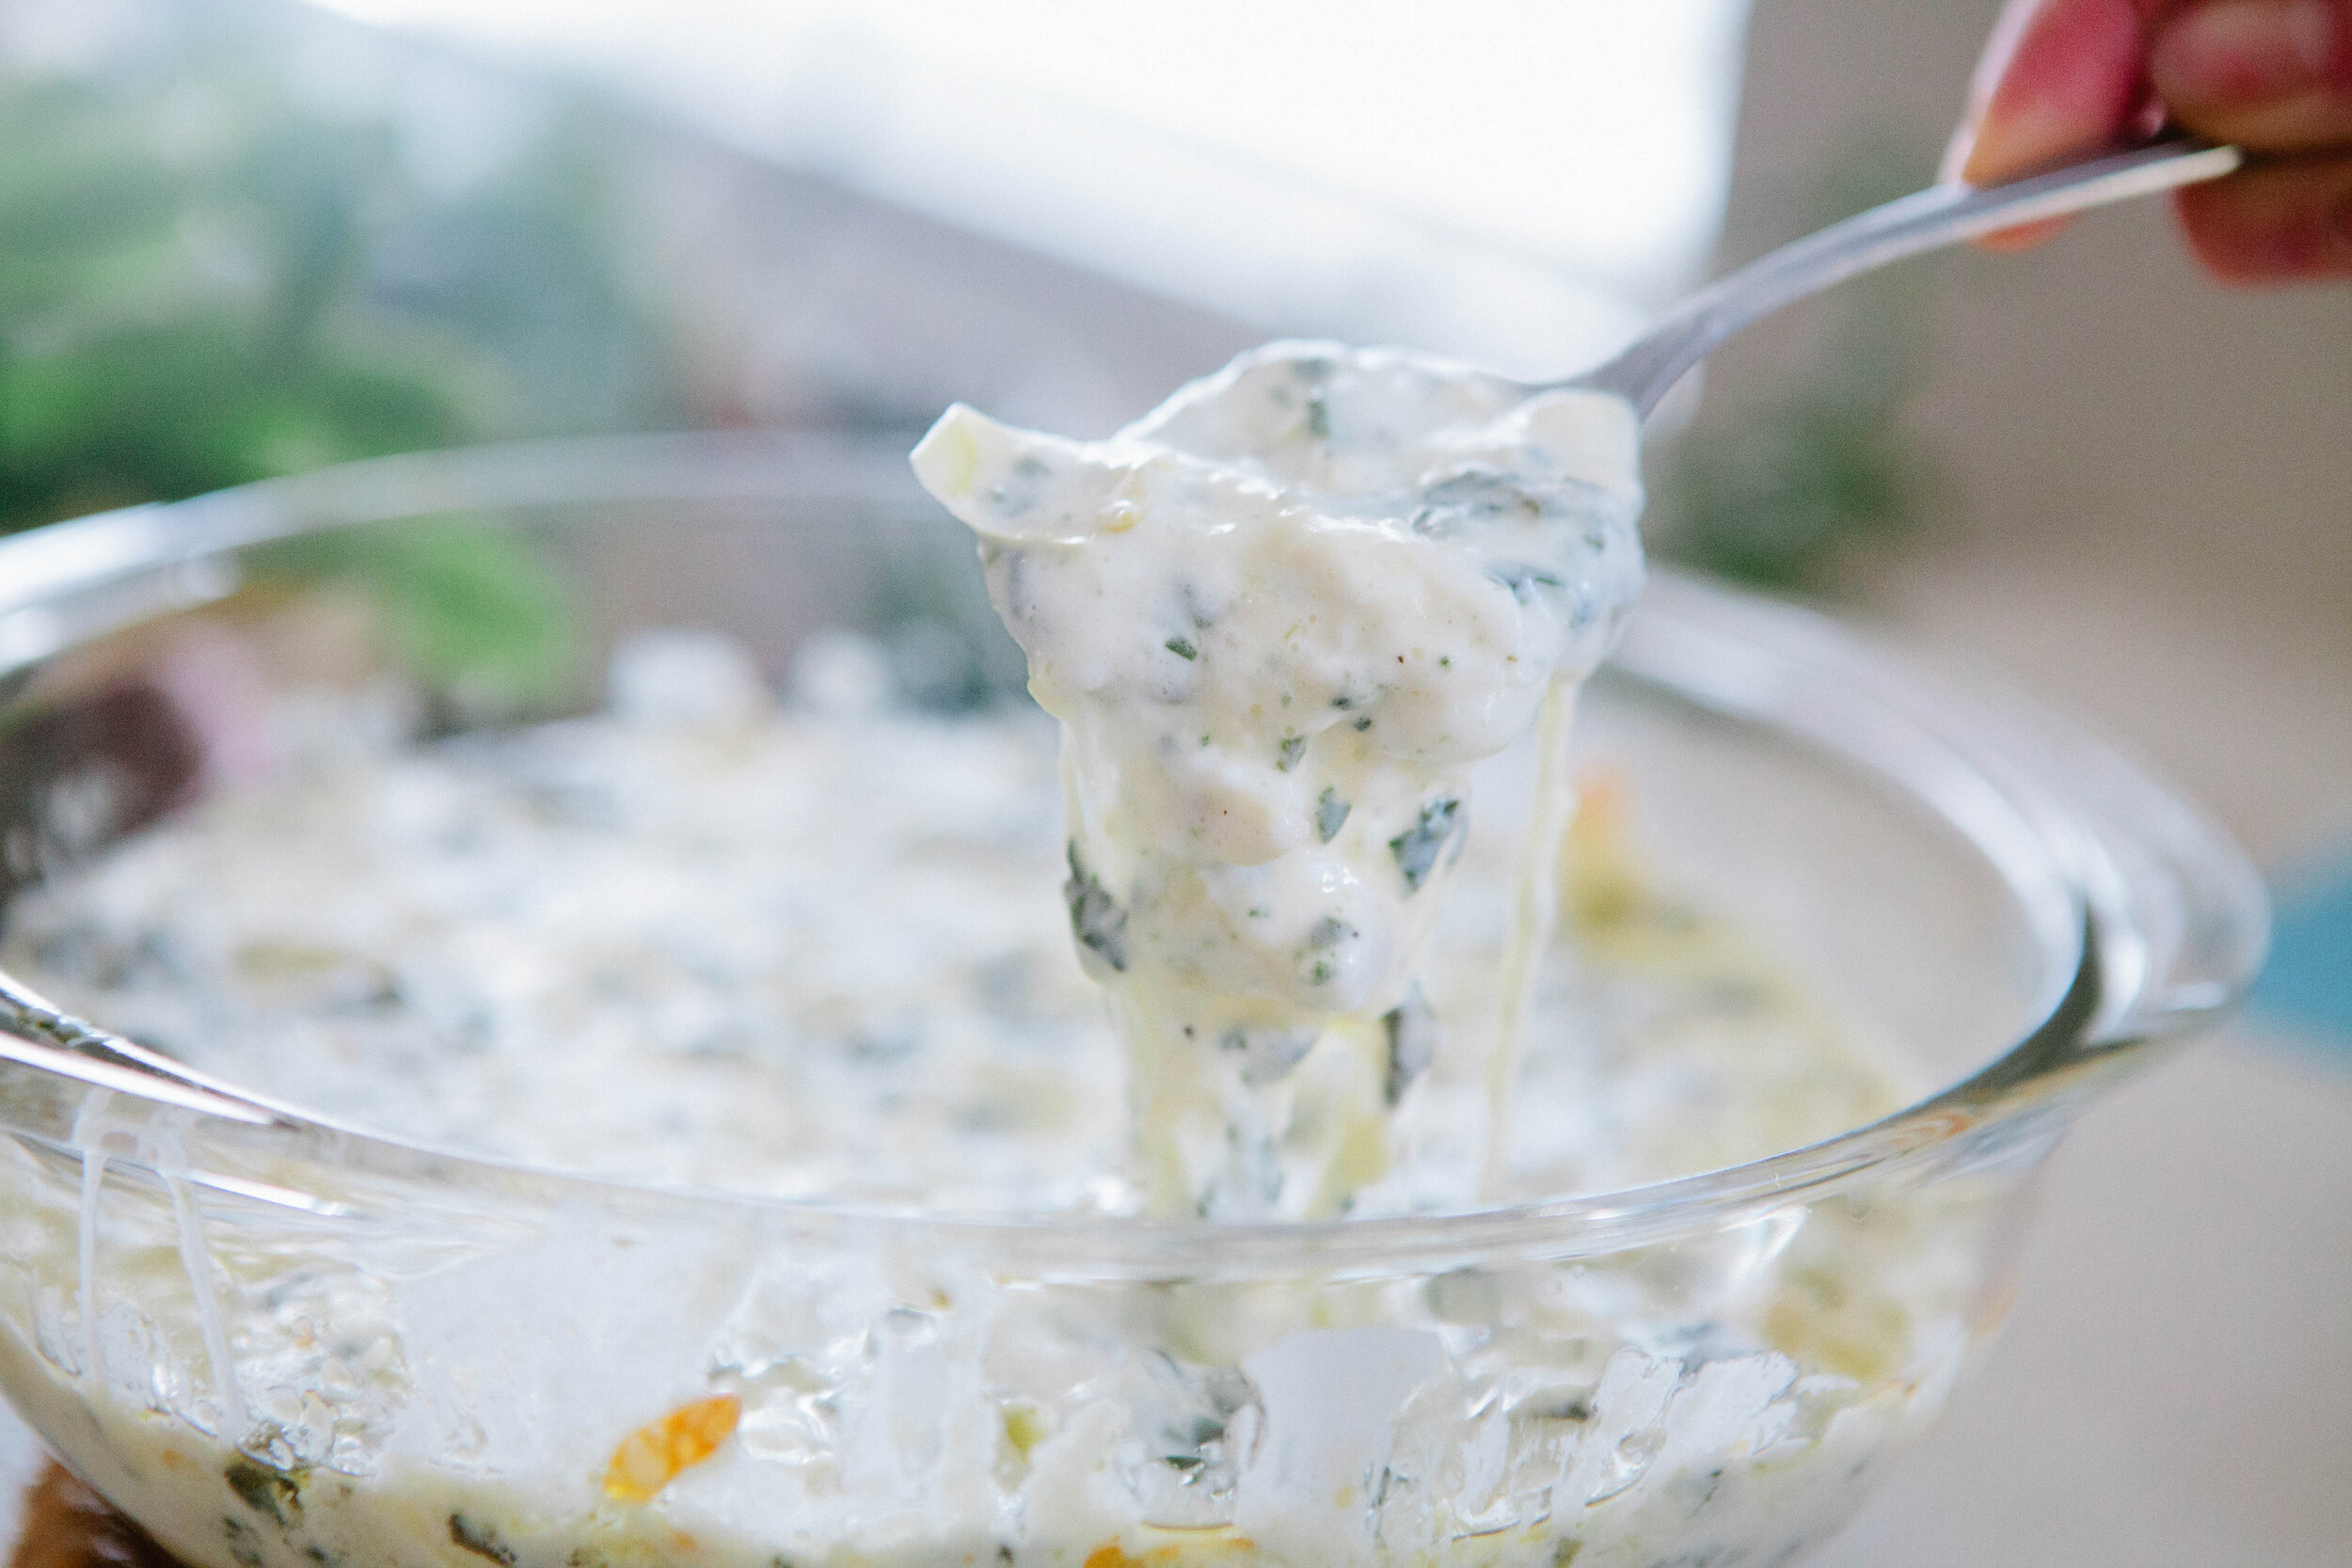
Spinach and artichoke dip - just the name conjures up images of a creamy, delicious dip. This one is made with real foods and no mayonnaise and is as delicious as a traditional spinach and artichoke dip. Spinach and artichoke dip gets a bad rap but this recipe is actually a great source of fat!
Sour cream or creme fraiche
Mayo Free Deviled Eggs
One of the foods I miss most? Mayonnaise. Now I know there are different mayos out there, even ones you can make yourself that are GAPS legal. But unless it tastes like the Real Mayo deliciousness that I remember, I have no interest in consuming it. I was a mayo snob long before I payed attention to what I ate!
Mayo Free Egg Salad
Eggs are a great non-meat protein source. While I usually recommend eating eggs yolks running to preserve the cholesterol on them, sometimes a hard boiled egg is hard to beat! I substitute mayo for sour cream in this recipe and it has even more flavor. It’s delicious!
Make Your Own Ranch Dressing
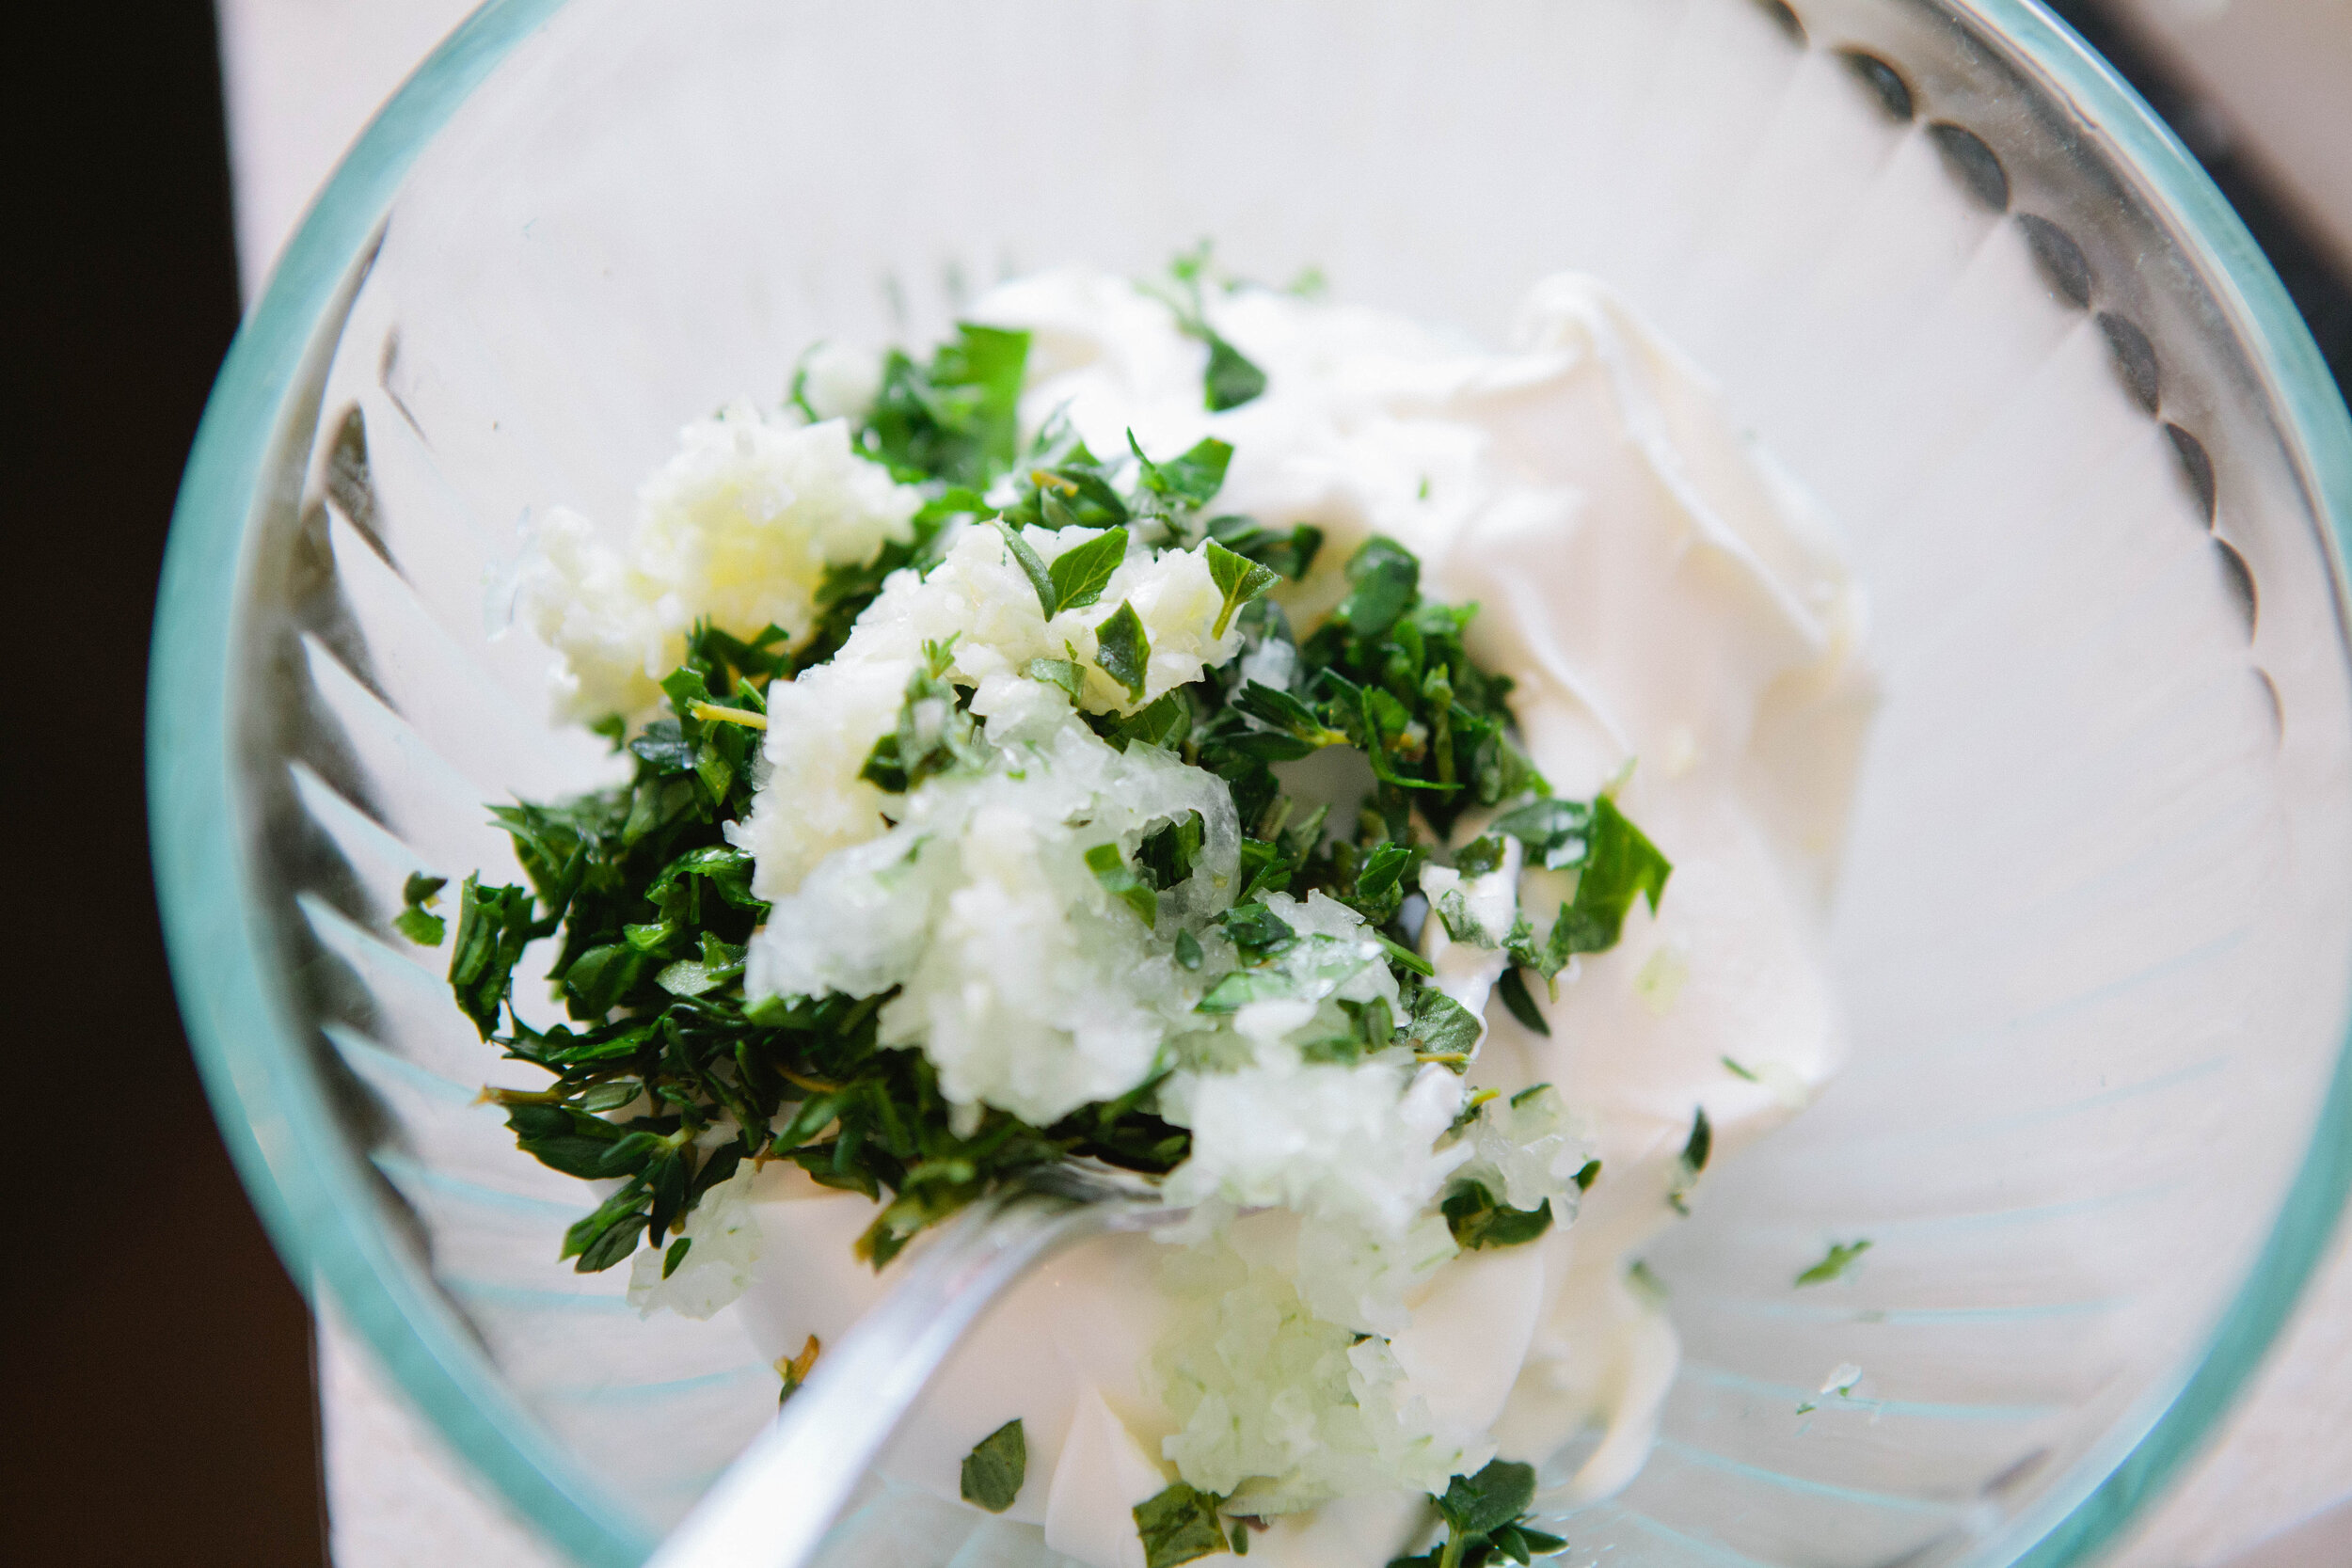
Ranch dressing is typically used as a dip and you can definitely dip any number of cut vegetables into this mixture. However, you could also use this delicious blend as an added flavoring for lots of dishes!
How to Prepare Vegetables
Vegetables are SO versatile. There’s endless ways to season them and eat them. They can be fermented, roasted, fried, or eaten raw. Plants like fruits and vegetables cleanse our bodies. They help our bodies to process and remove the toxins that we are exposed to on a daily basis from the environment around us, even if we do our best to avoid toxins. We mostly benefit from the fiber, antioxidants, enzymes, and other detoxifying substances.
Summer is the time that vegetables shine! Many people are pulling beautiful zucchini, tomatoes, beans, peppers and greens out of their gardens. Fresh vegetables are in season, and you may find yourself desiring them more than usual. Go with it!
Below are a few recipes for how to use the vegetables that you grow in your gardens. If you need help sourcing vegetables without having a garden, check out this blog. To learn about vegetable quality, this blog can help.
Fermented Vegetables
Vegetable Medley
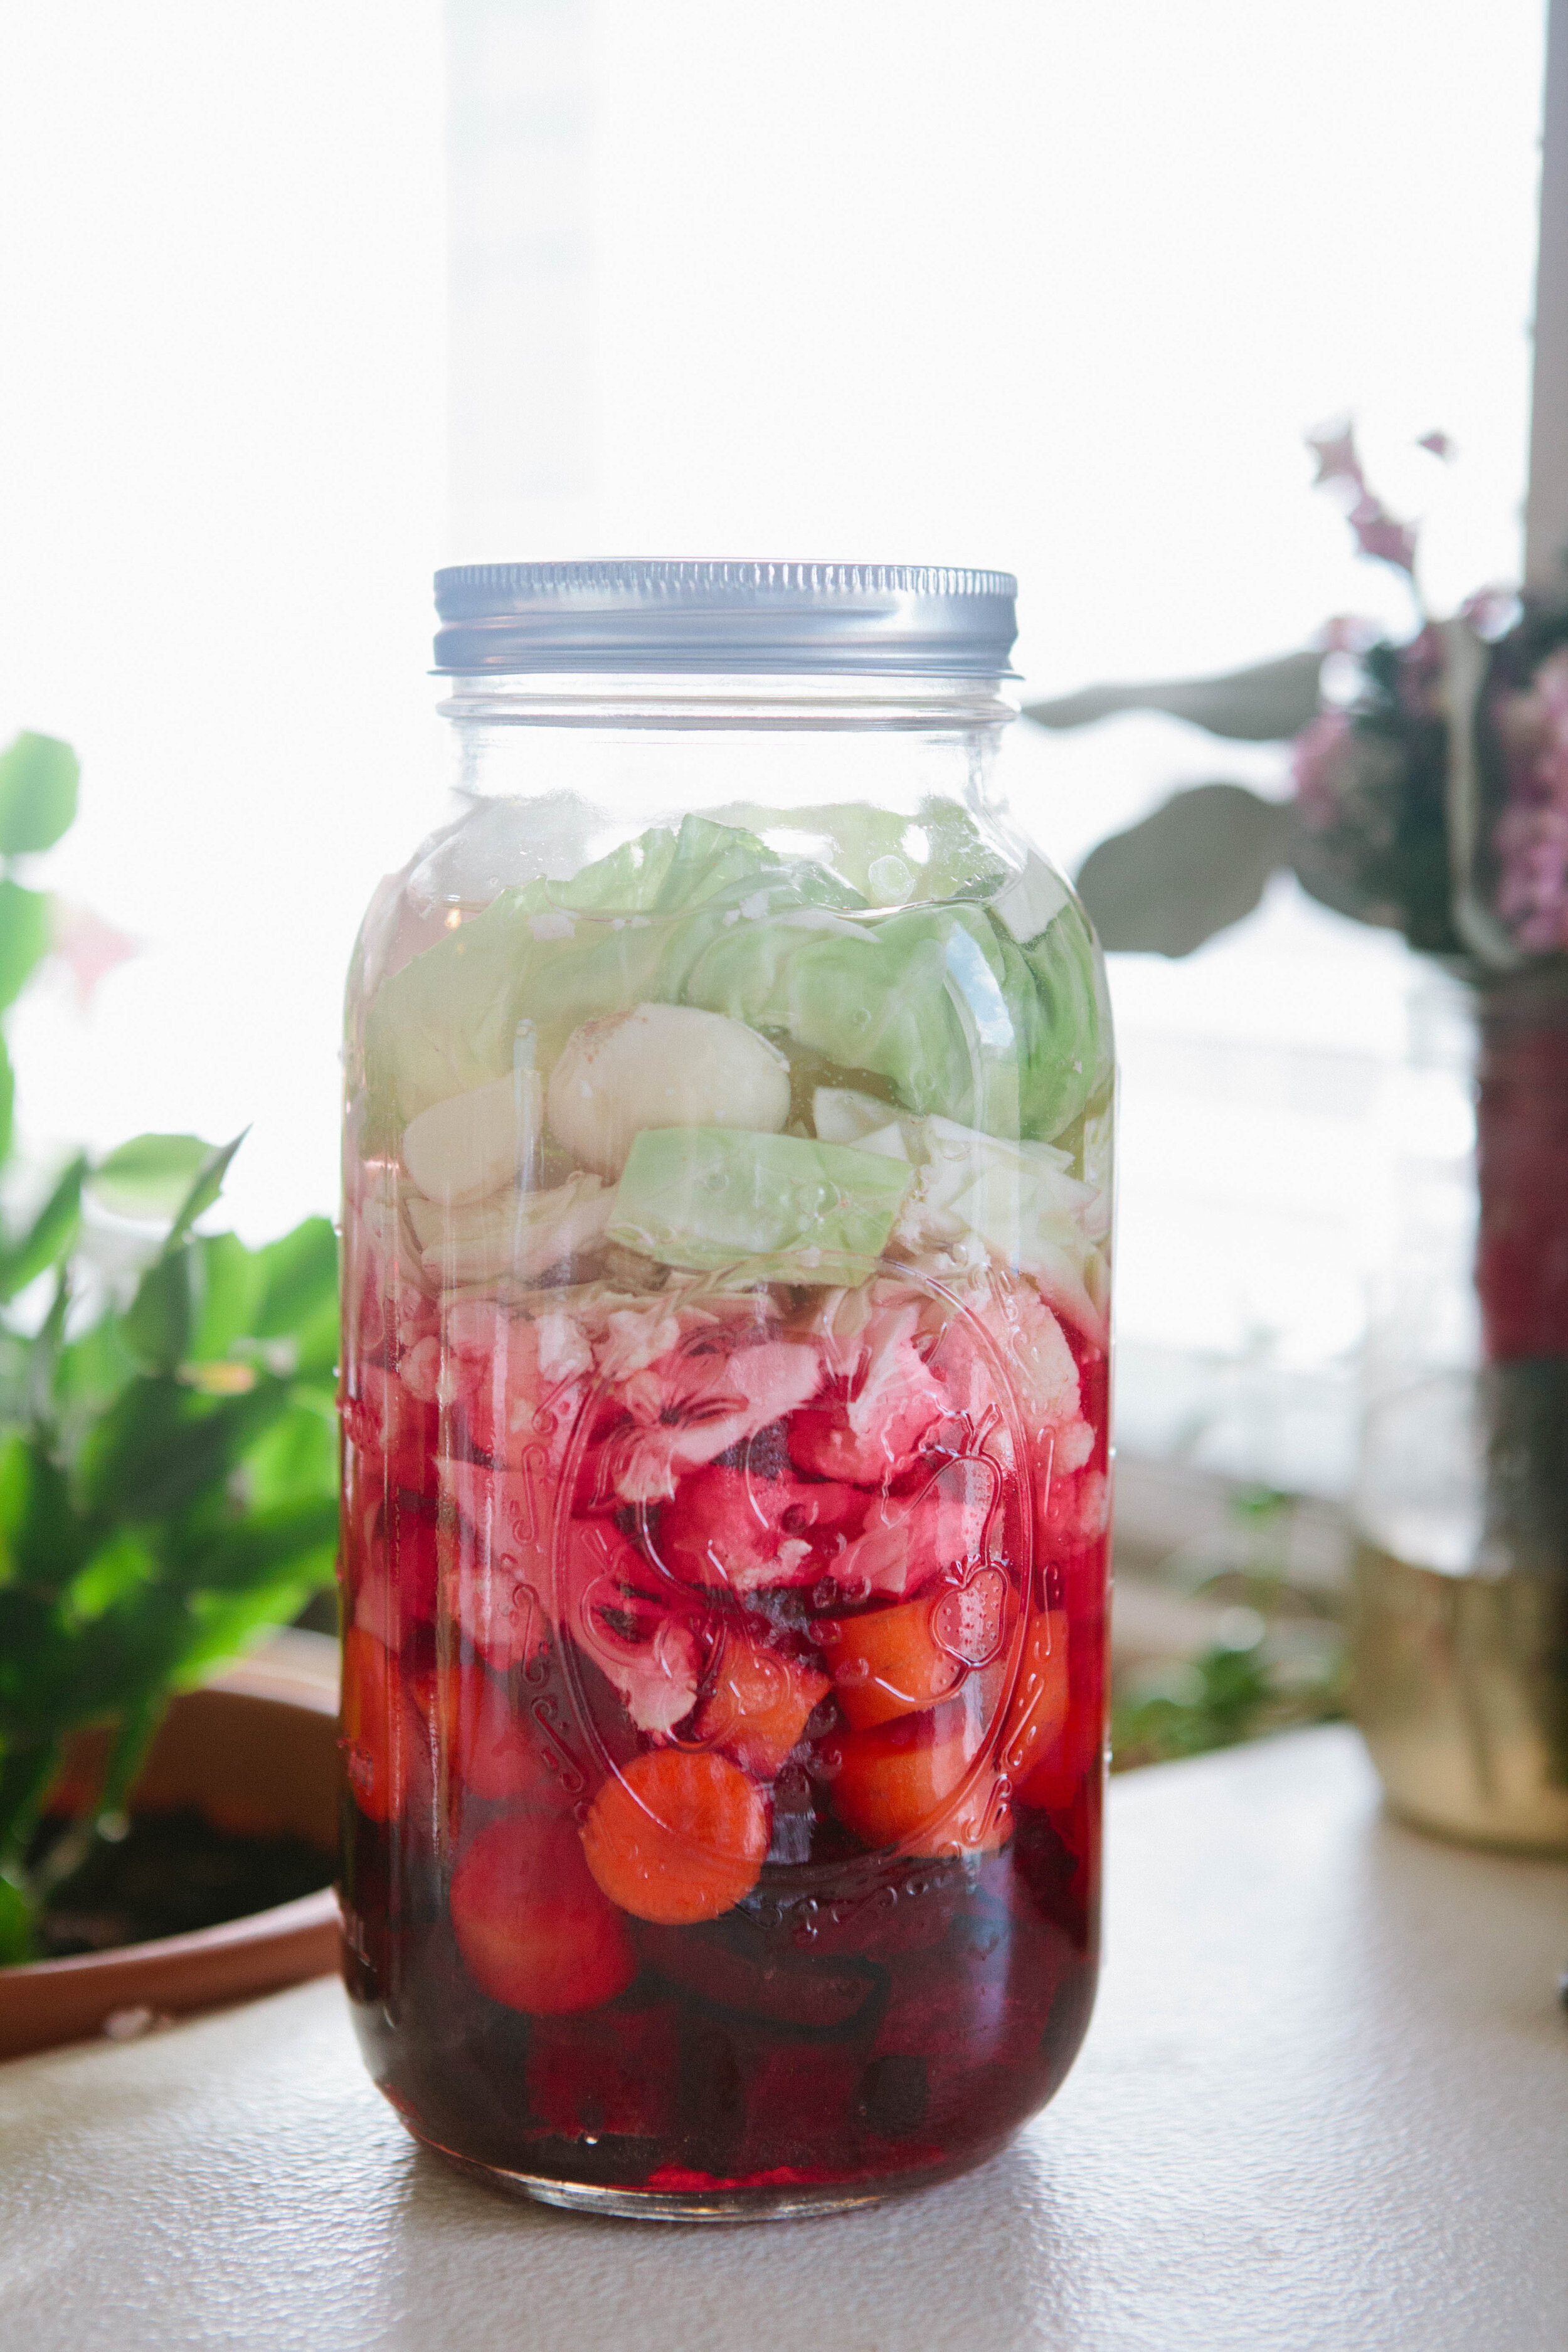
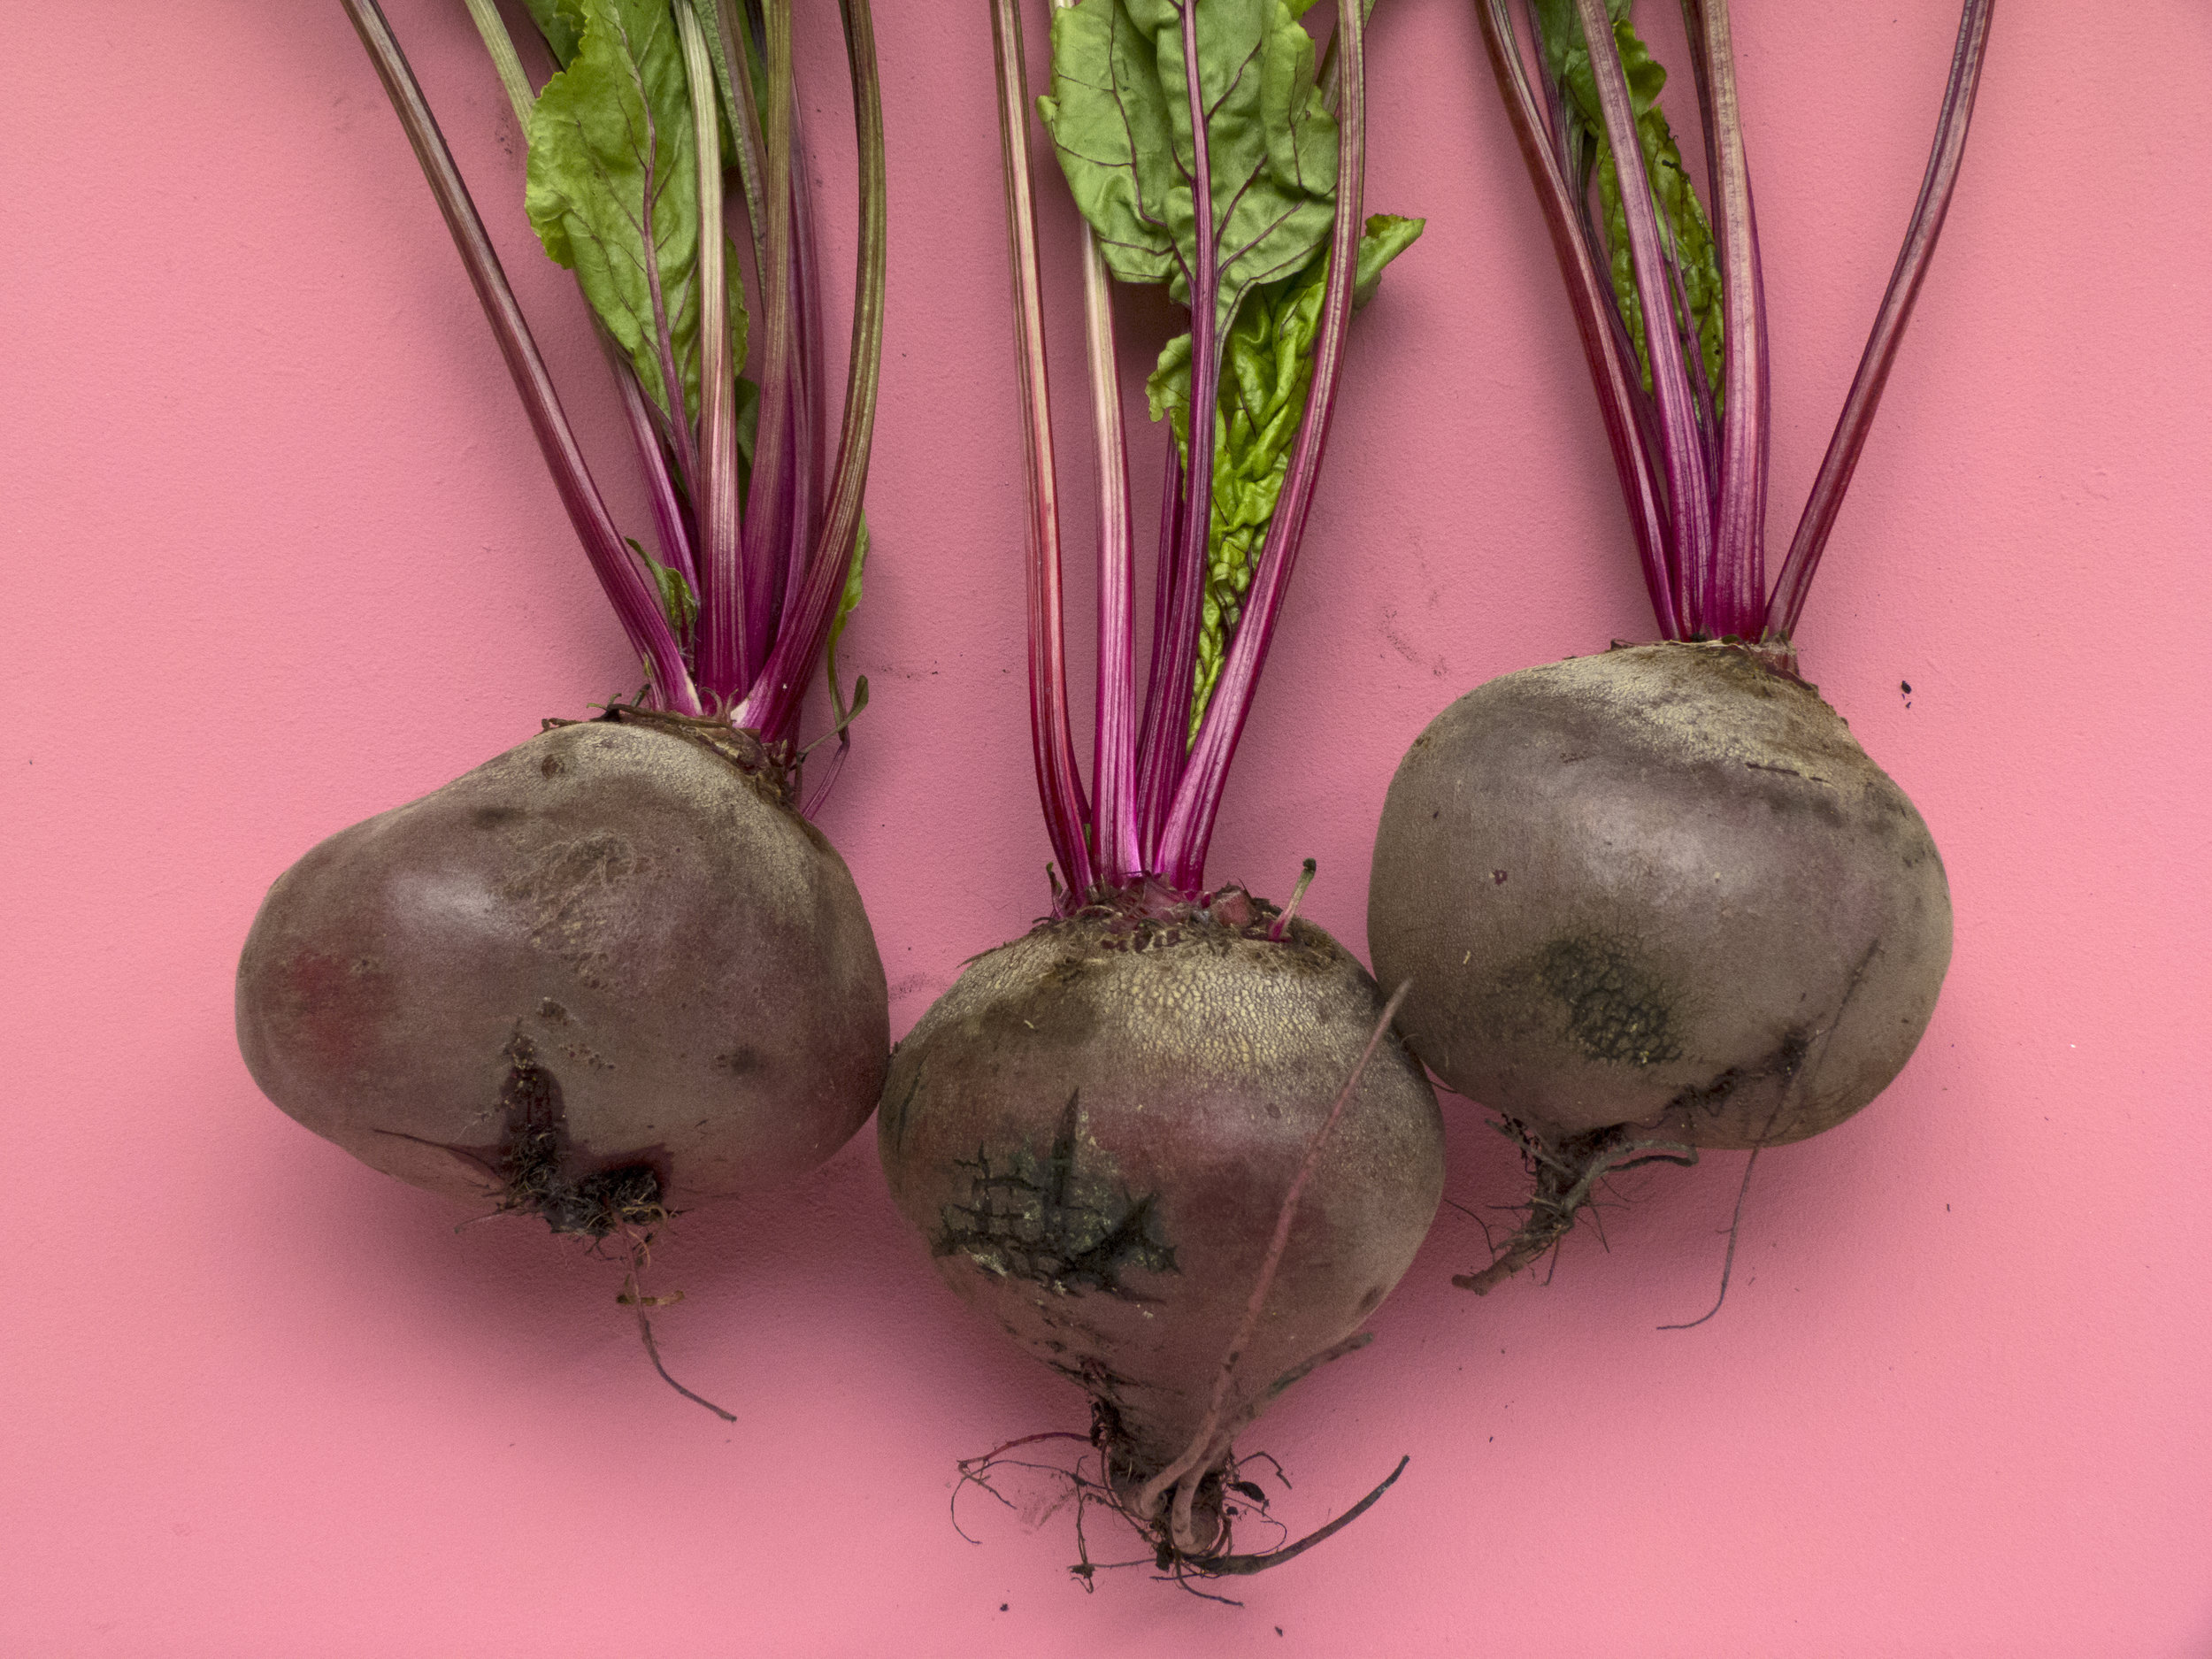
This recipe contains five different vegetables: beets (good for liver and blood cleansing), cabbage (stimulates digestion), carrots (contain vitamin A), and cauliflower (makes it taste better, believe me), and garlic (good for immune support). It makes a very rich and flavorful liquid, which is also a wonderful probiotic drink.
Gluten Free, Dairy Free, Egg Free
Simple Roasted Beets
Not only are beets high in many vitamins and minerals, including vitamin C, beets have been shown to lower blood pressure, detoxify the body (especially by cleansing the blood and the liver), fight inflammation, boost stamina in workouts, and more!
Gluten Free, Dairy Free, Egg Free
Beet Kvass
Beet Kvass is a liver tonic. Anyone can make this simple fermented drink! It requires only a few ingredients, and only a few minutes to "put up."
Want to learn how? Good!
Gluten Free, Dairy Free, Egg Free
Sauerkraut
While good quality sauerkraut can be obtained in most stores now, I still prefer to make my own as I think it tastes the best. I put a lot of love and anticipation into my sauerkraut, as I don’t eat it until it has been fermenting for at least three months.
Gluten Free, Dairy Free, Egg Free
Cabbage Tonic
This cabbage tonic can be taken from the beginning of the Intro Diet of GAPS. Use this tonic daily to help change your gut flora.
Gluten Free, Dairy Free, Egg Free
Vegetables in Soups
Cabbage Soup
I love this cabbage soup. Maybe it’s because of my German roots. Try cutting your cabbage into long strips to resemble noodles for pasta loving children.
Gluten Free, Dairy Free, Egg Free
Raw Vegetables
Carrot Raisin Dessert
This is a quick and easy recipe to whip up. It’s a GAPS Legal dish but is sure to be a crowd pleaser even for those who aren’t on GAPS.
While technically a salad, this is a very sweet dish. I recommend consuming it at the end of a meal as a treat.
Gluten Free, Dairy Free
GAPS Milkshake
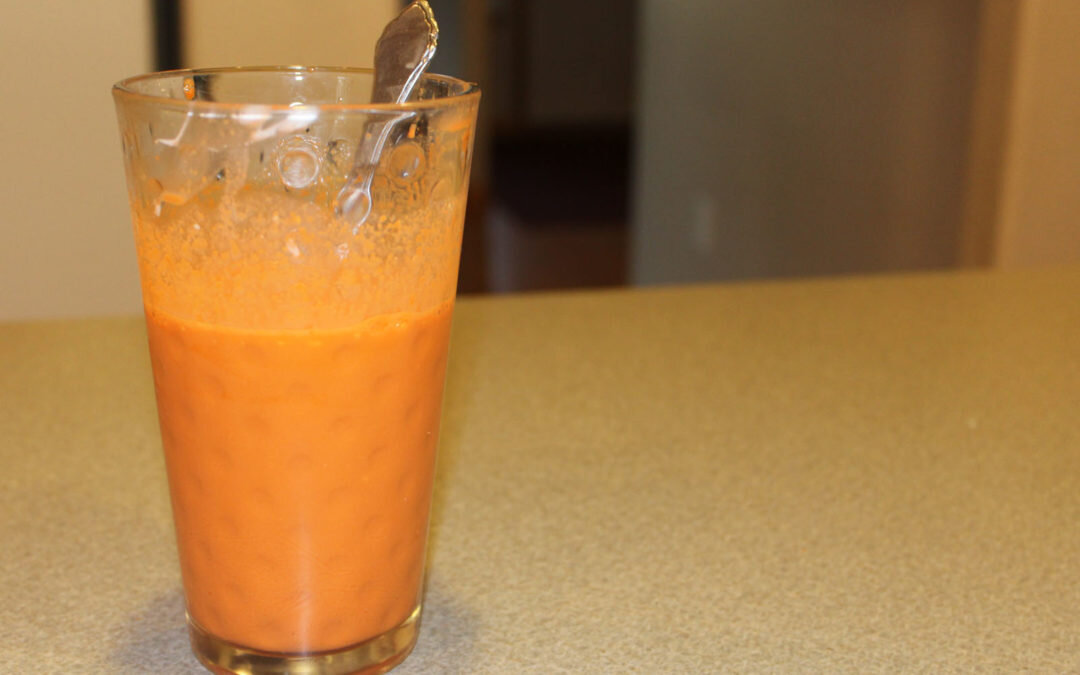
This recipe is a simple, but powerful one! It is called the GAPS™ milkshake, and it packs a powerful punch! This delicious, satisfying and helpful beverage is a wonderful way to daily consume your freshly-pressed juices, and can even be a meal.
Gluten Free, Dairy Free
Cooked Vegetables
Zucchini Pizza Bites
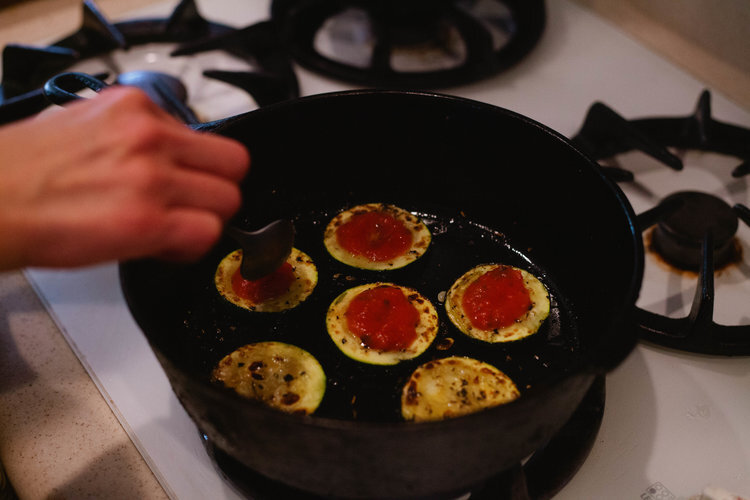
Recently I needed a bit of a change. I needed something exciting to eat! And I really wanted pizza. But even though I know how to make a GAPS legal pizza crust I did not want to spend the time or energy to make it. Then I came up with this brilliant idea... pizza bites... on zucchini!
Gluten Free, Dairy Free, Egg Free
Steamed Broccoli
My main reason for eating broccoli is to use it as a vehicle for butter. Need I say more?
Broccoli itself does have some amazing nutritional content on its own, separate from carrying butter. It's high in both soluble and insoluble fiber, potassium, and the vitamins B6, C and A.
Gluten Free, Dairy Free
Spinach & Artichoke Dip
This Chicken Tortilla Soup recipe is a result of me expanding my horizons in genres of food that I cook and eat! It wasn't too spicy, and it's different than plain meat stock that you typically eat on Stage 1. There were tons of suggestions about different ways to make it, so it's also easy to switch up to match your tastes.
Gluten Free, Dairy Free, Egg Free
Wilted Salad
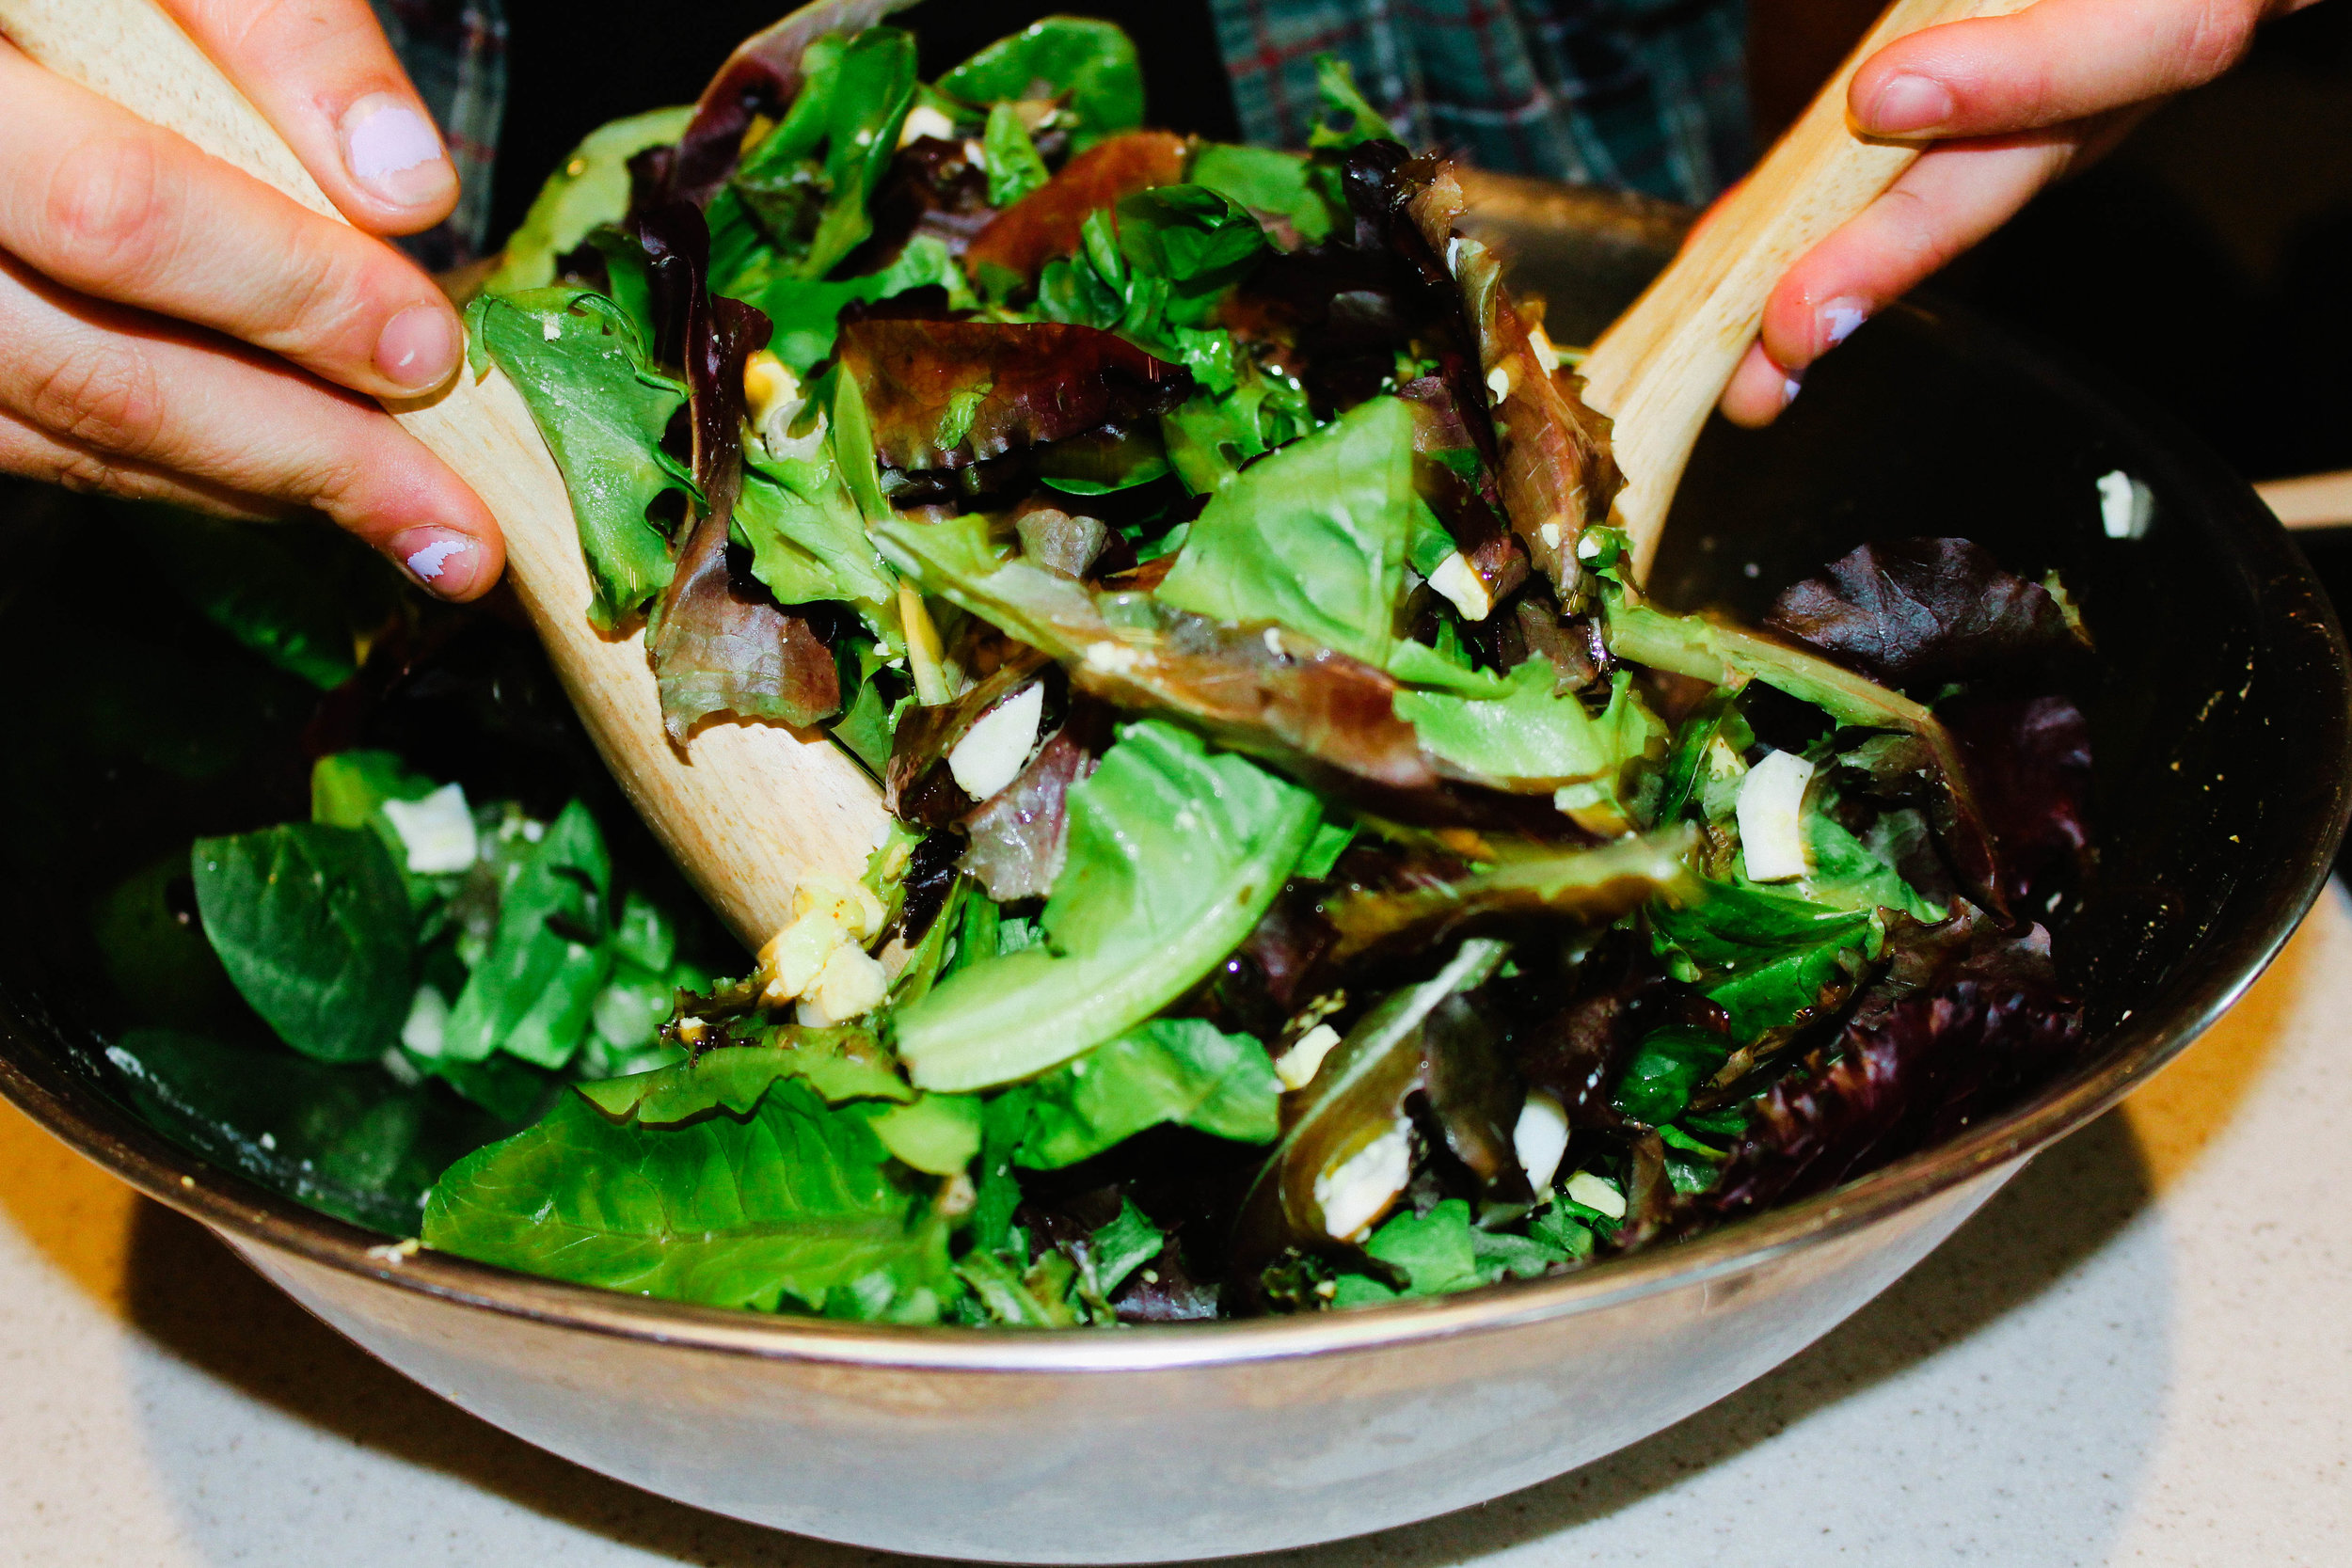
Wilted lettuce salad is an amazing recipe that will make the salad go quicker than you ever thought possible! It was a family favorite when I was growing up, and continues to be so today. It combines just about everything I think is amazing and delicious!
Gluten Free, Dairy Free, Egg Free
Cast Iron Brussels Sprouts
I know most people don’t care for brussels sprouts. I’ve never shared their view. I think it’s probably because my grandma drowned brussels sprouts in butter when she cooked them. Back in the day, we used to talk about how unhealthy this was but now I know better.
Gluten Free, Dairy Free, Egg Free
Meal Prep Recipes for the GAPS Diet
Meal prep means preparing your meals for the week ahead (or even longer) in advance. You can do as much of the process as you want ahead of time. The goal of meal prep is to make eating well easier for you and your family. If meal prep stresses you out, then it’s not helping!
The process of planning your meal prep starts with…you guessed it - planning your meals! I use Plan to Eat to help layout meals. You simply add your favorite recipes to the queue and then drag and drop them to the calendar. Plan to Eat even does your grocery list for you! Start a free trial here. You can also meal plan with any calendar app or simply pen and paper. It’s really up to you and what works best for you and your family.
Whether you’re an avid meal prepper or you’re just looking for a few meals to fill your freezer, these recipes are a great way to always have filling, nutritious, real food on hand to feed yourself and your family.
There’s a few recipes that are always great to have on hand. These are the basic building blocks for a lot of other recipes.
Fermented Garlic
This is an easy beginner ferment to make. Raw garlic, has many supportive health benefits. And when raw garlic is fermented, many of these increase. The fermentation process takes about 6 weeks to complete!
Gluten Free, Dairy Free, Egg Free
Chicken Stock
Meat stock is a pillar in healing a leaky gut but this rich food is beneficial to anyone. It provides large amounts of the immune system’s favorite foods, is very easy to digest, and is a great base to modify for other healing and nutritious recipes. This recipe can be modified for any type of meat stock.
Gluten Free, Dairy Free, Egg Free
Spaghetti Sauce
I’ve always liked spaghetti and spaghetti sauce but when I started making my own spaghetti sauce, I realized I liked my own sauce best of all! I love making my own spaghetti sauce because I get to be in charge of the flavor, texture, and strength. Plus, I know everything that’s in it!
Gluten Free, Dairy Free, Egg Free
Salad Dressing
I was searching for the perfect sausage recipe. I discovered I don’t like a sausage that is heavily flavored with sage. My ideal tasting sausage was Jimmy Dean’s sausage which, of course, contains MSG.
I needed to find a recipe that would keep me from occasionally caving and eating Jimmy Dean.
Gluten Free, Dairy Free, Egg Free
Lovely Lard
Eating animal fat is important to our body's health. But eating enough fat can be challenging, especially when there is a dairy allergy. Lard is a great alternative to butter, and its taste is more mild than that of tallow. You can buy lard at the store, but it is expensive and may be hydrogenated or of poor quality. Making your own lard is simple and easy, and can be done for a fraction of the price.
Gluten Free, Dairy Free, Egg Free
Beef Tongue
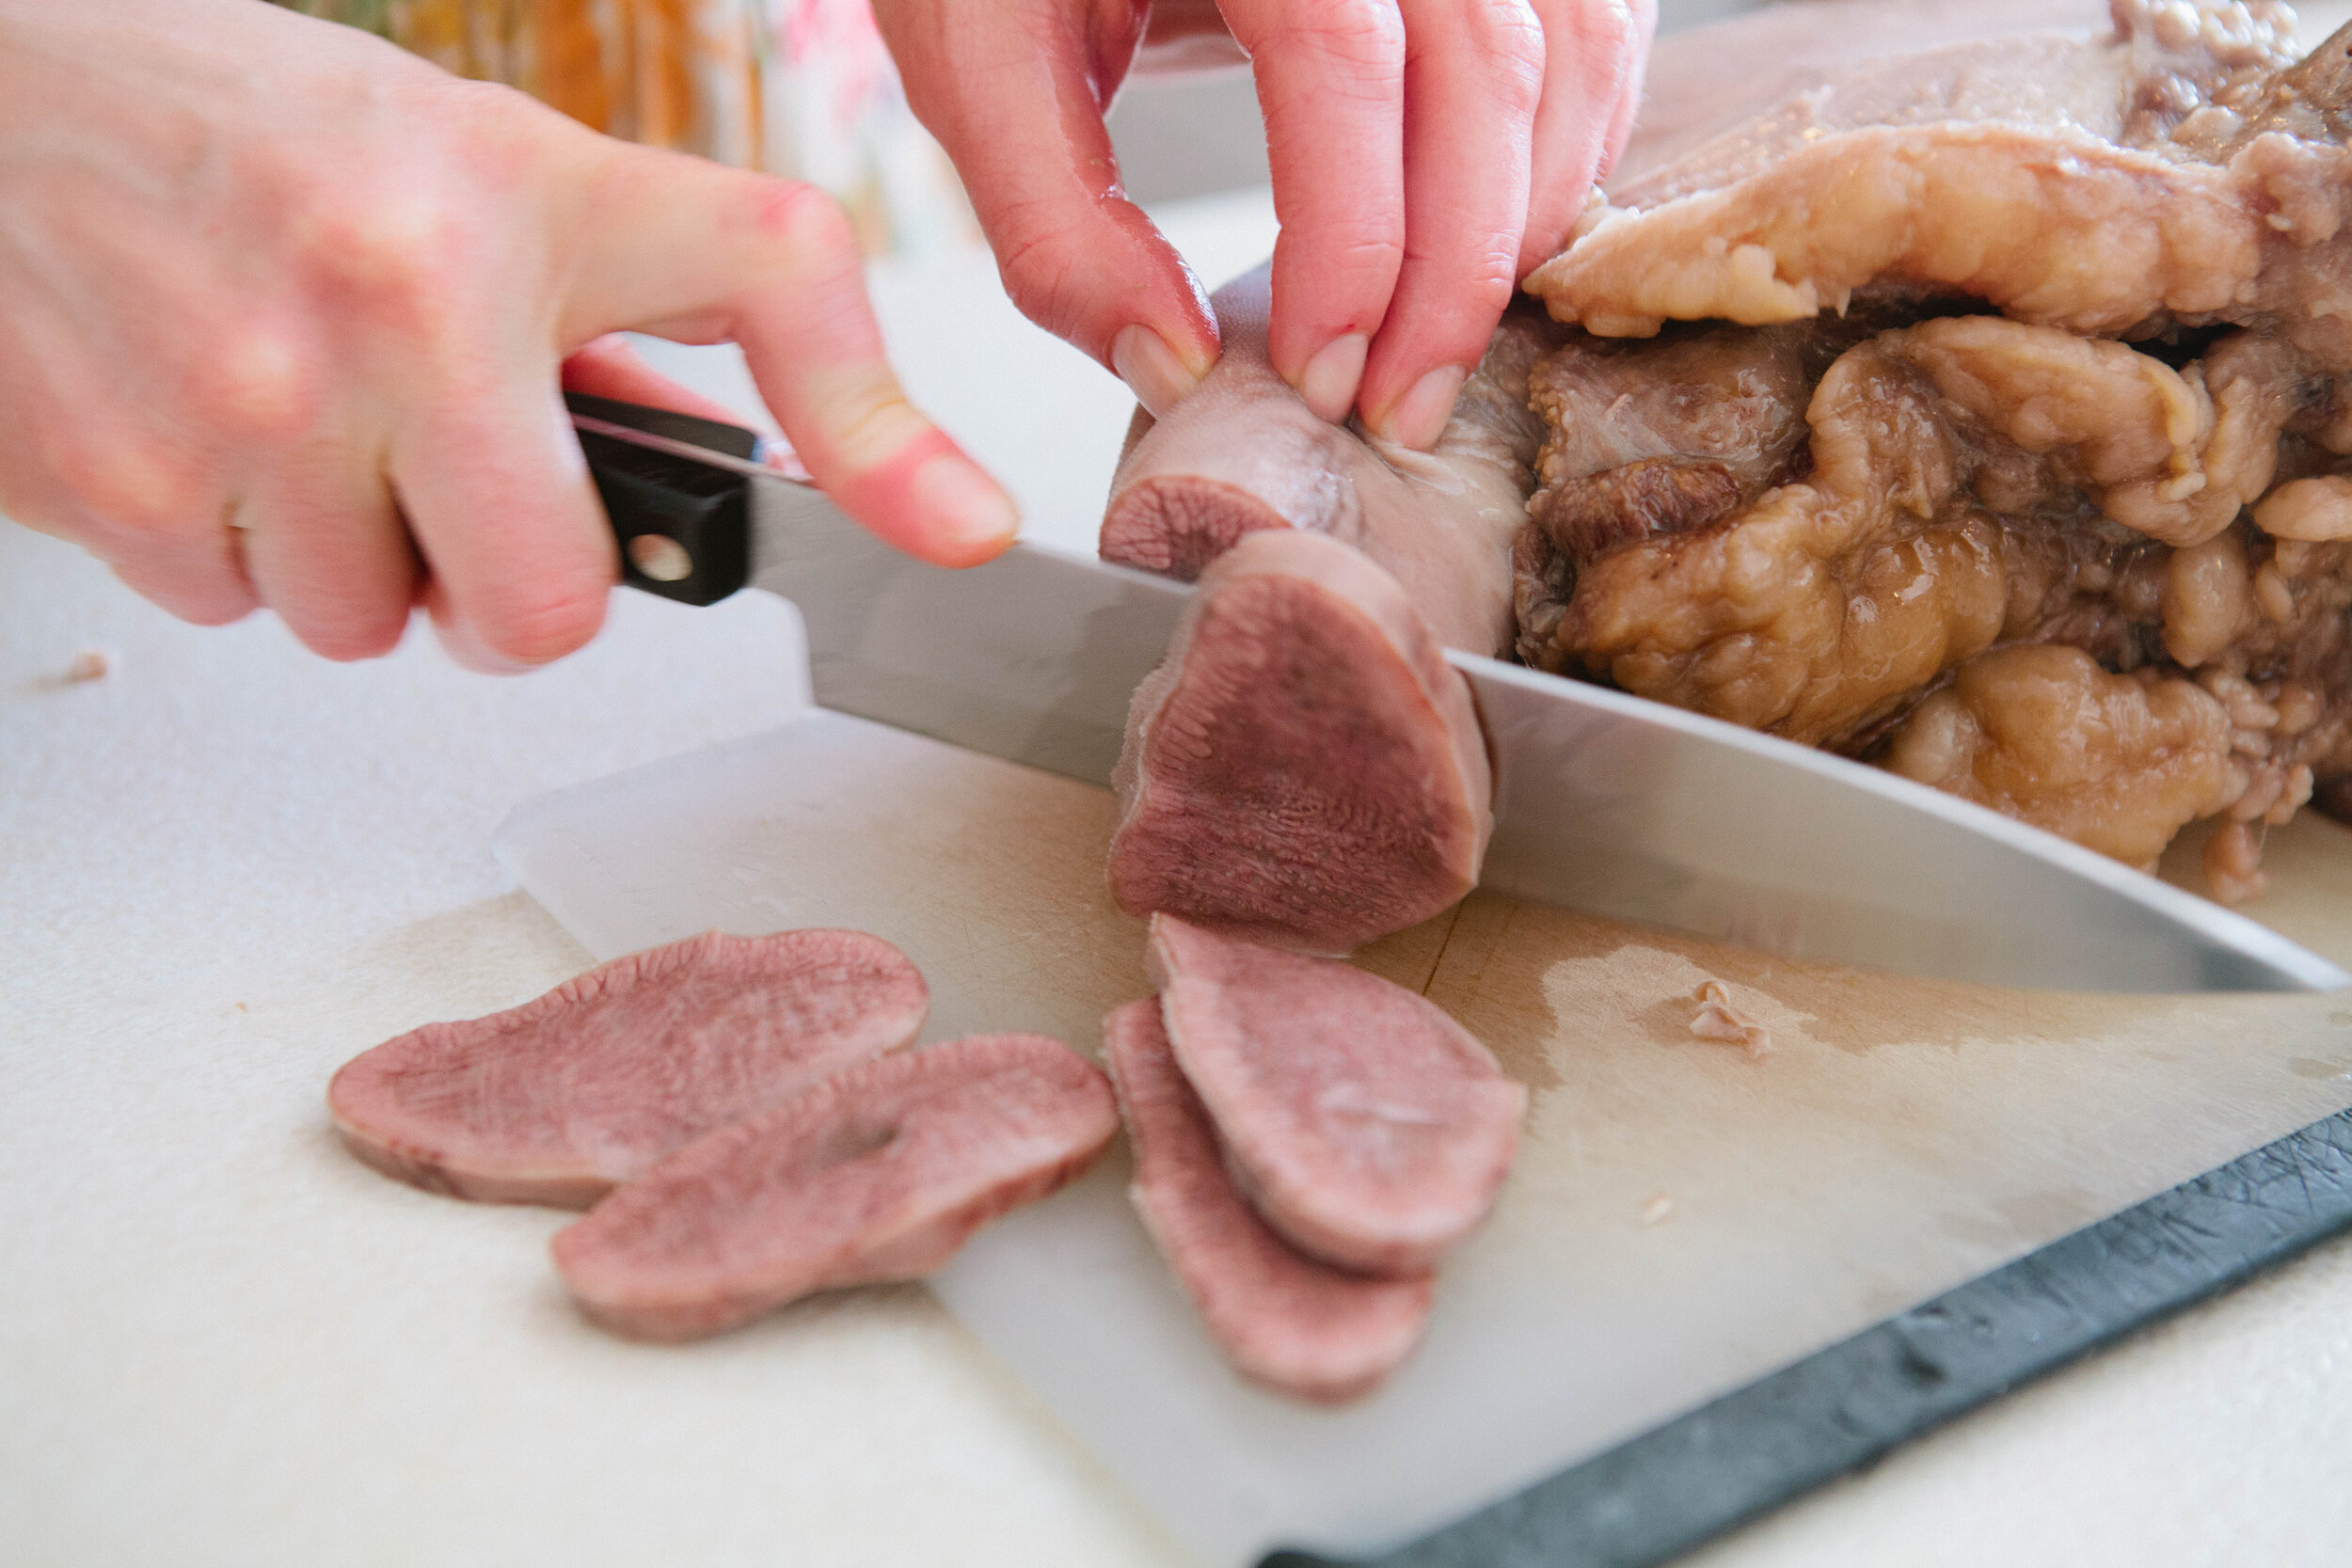
Beef tongue is very simple to prepare. I prefer to boil it, but you can also put it in a slow cooker for 8 hours. Either way, the stock that you’re left with is rich and delicious. I’ve kept my beef tongue stock before and used it to make Egyptian Lentil Soup. You can also shred beef tongue to use it in tacos or slice it to use in a stir fry.
Gluten Free, Dairy Free, Egg Free
The recipes below are easy to make in large quantities and freeze well, making them the ideal meals for meal prepping on the GAPS Diet!
Sprouted Refried Navy Beans
Beans make everything delicious! When they’re properly prepared and you can tolerate them, navy beans are a good addition to your diet. These are great served with anything that has a Mexican theme with them. I like them next to eggs, like a Huervos Rancheros sort of feel.
Gluten Free, Dairy Free, Egg Free
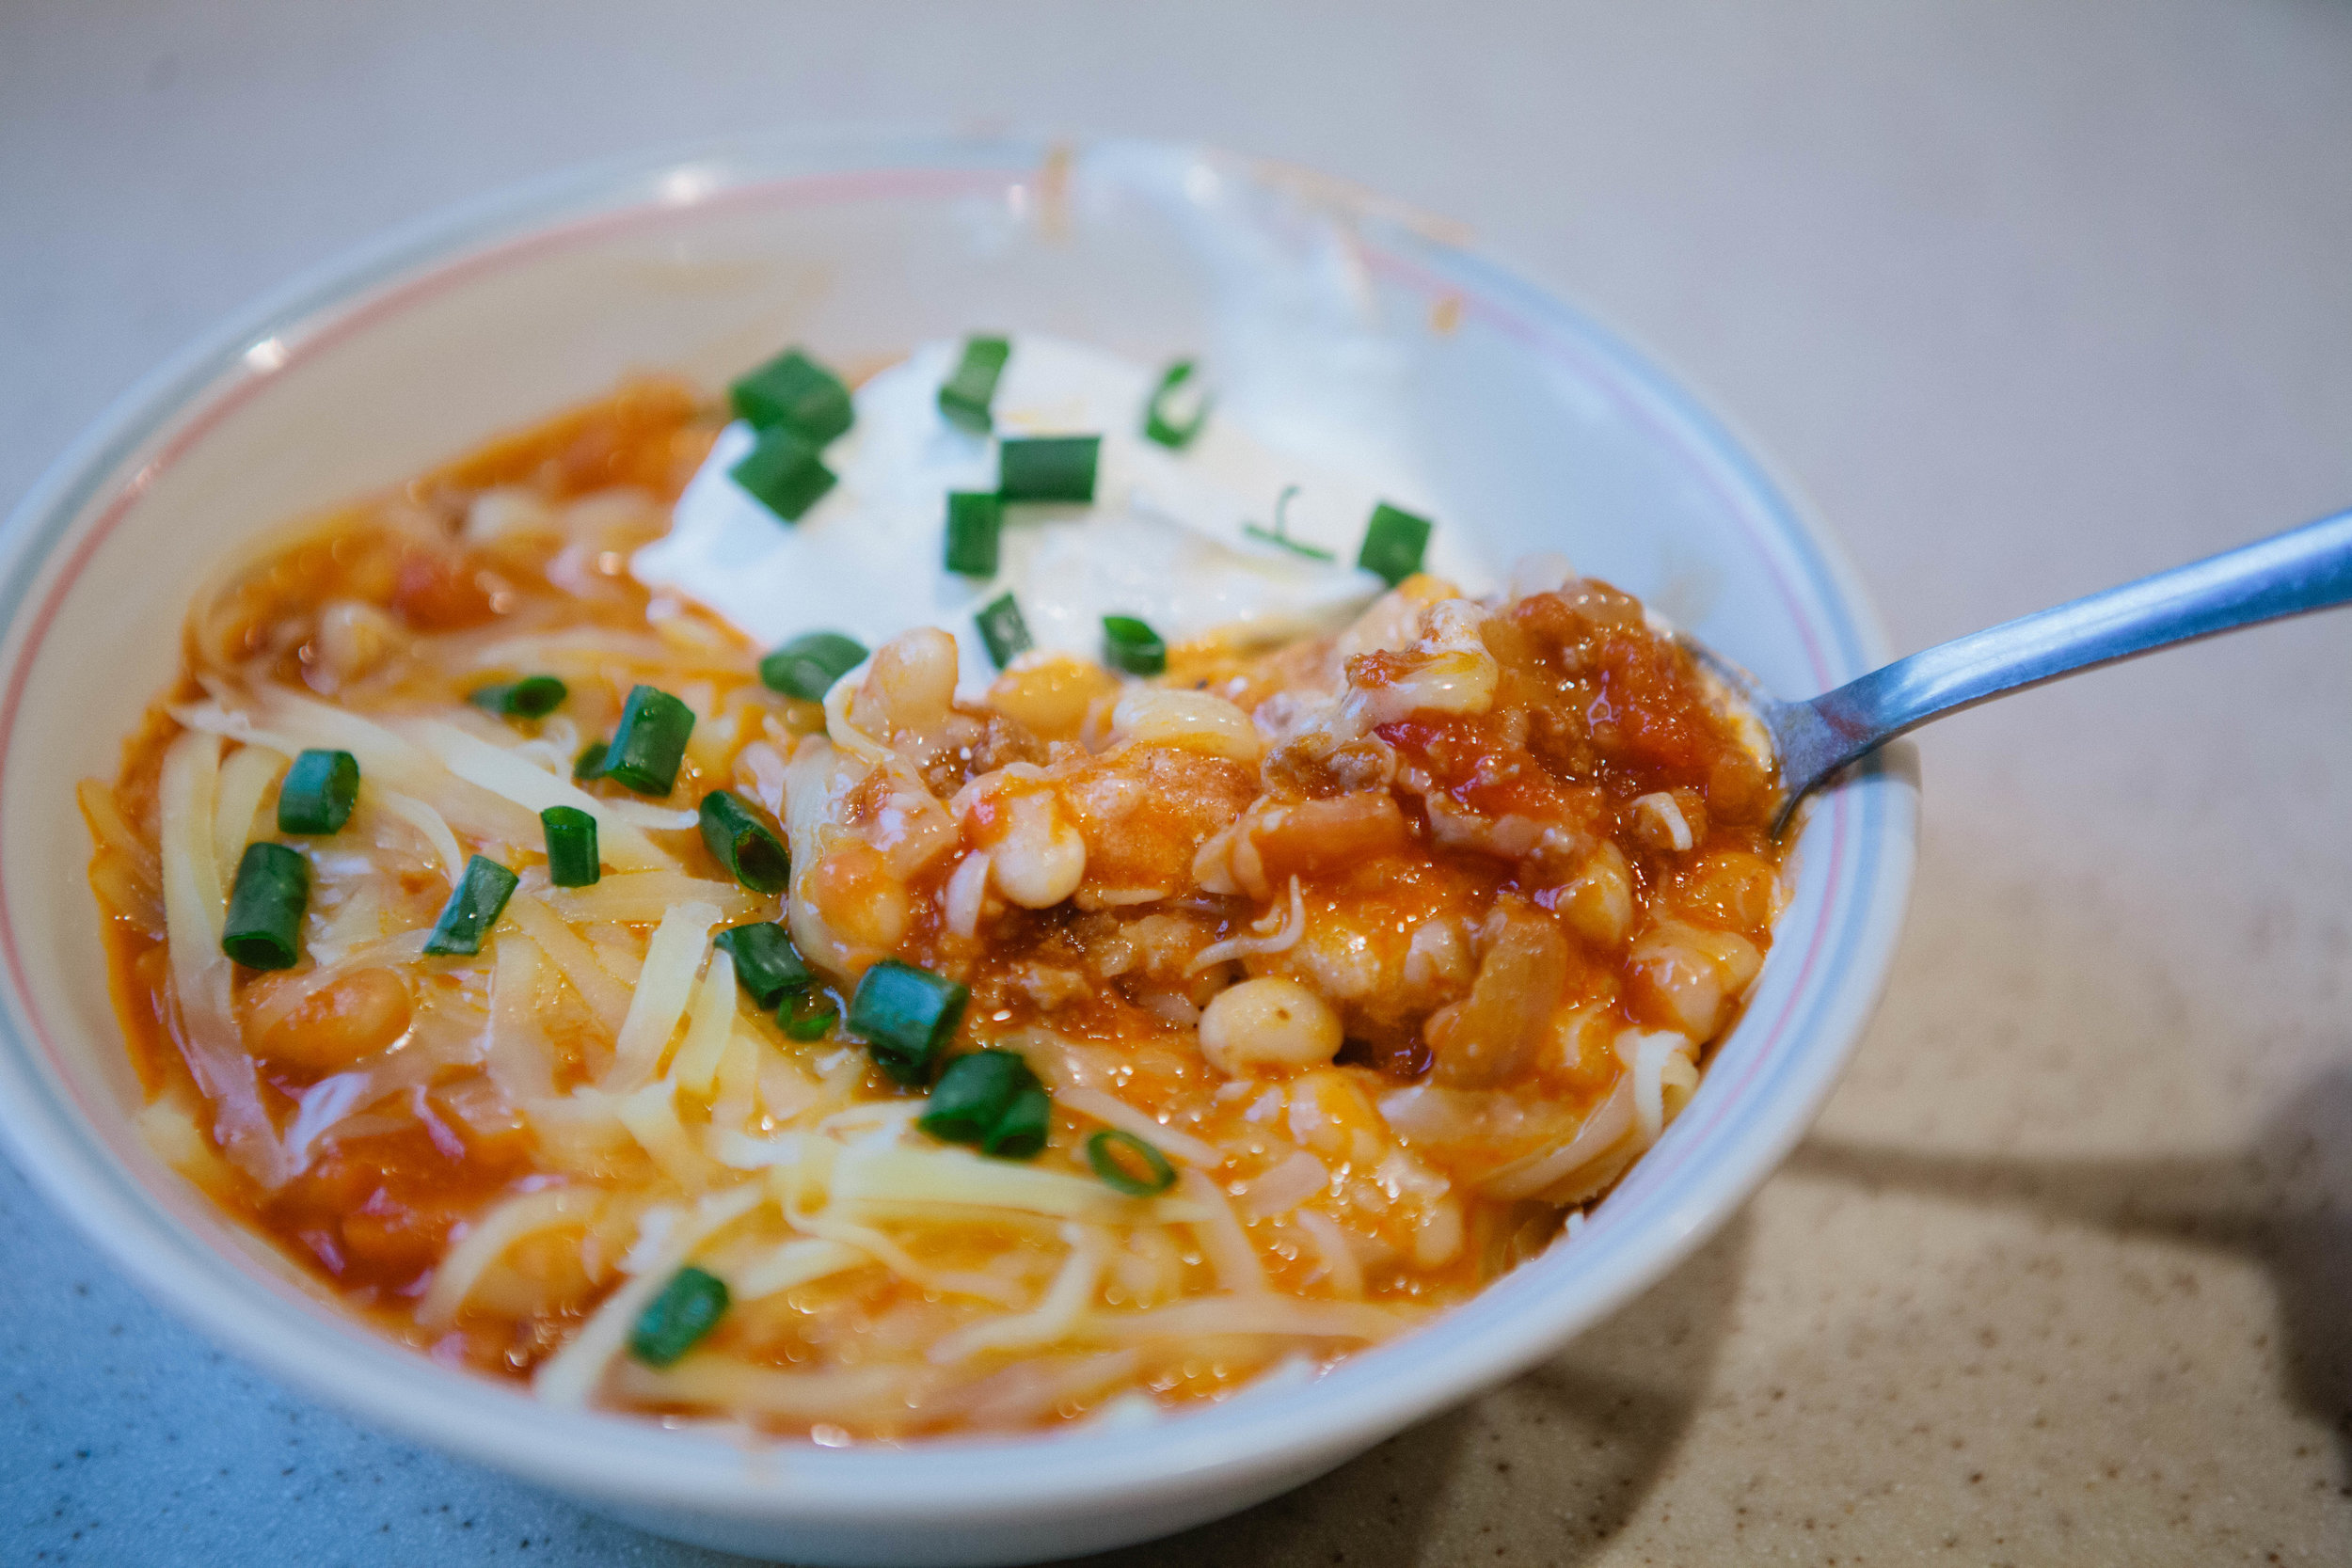
GAPS Legal Chili
I was excited to make this chili as I hadn’t had it for years! This homemade chili was well worth the effort because of how delicious it was - and how many meals it made!
Gluten Free, Dairy Free, Egg Free
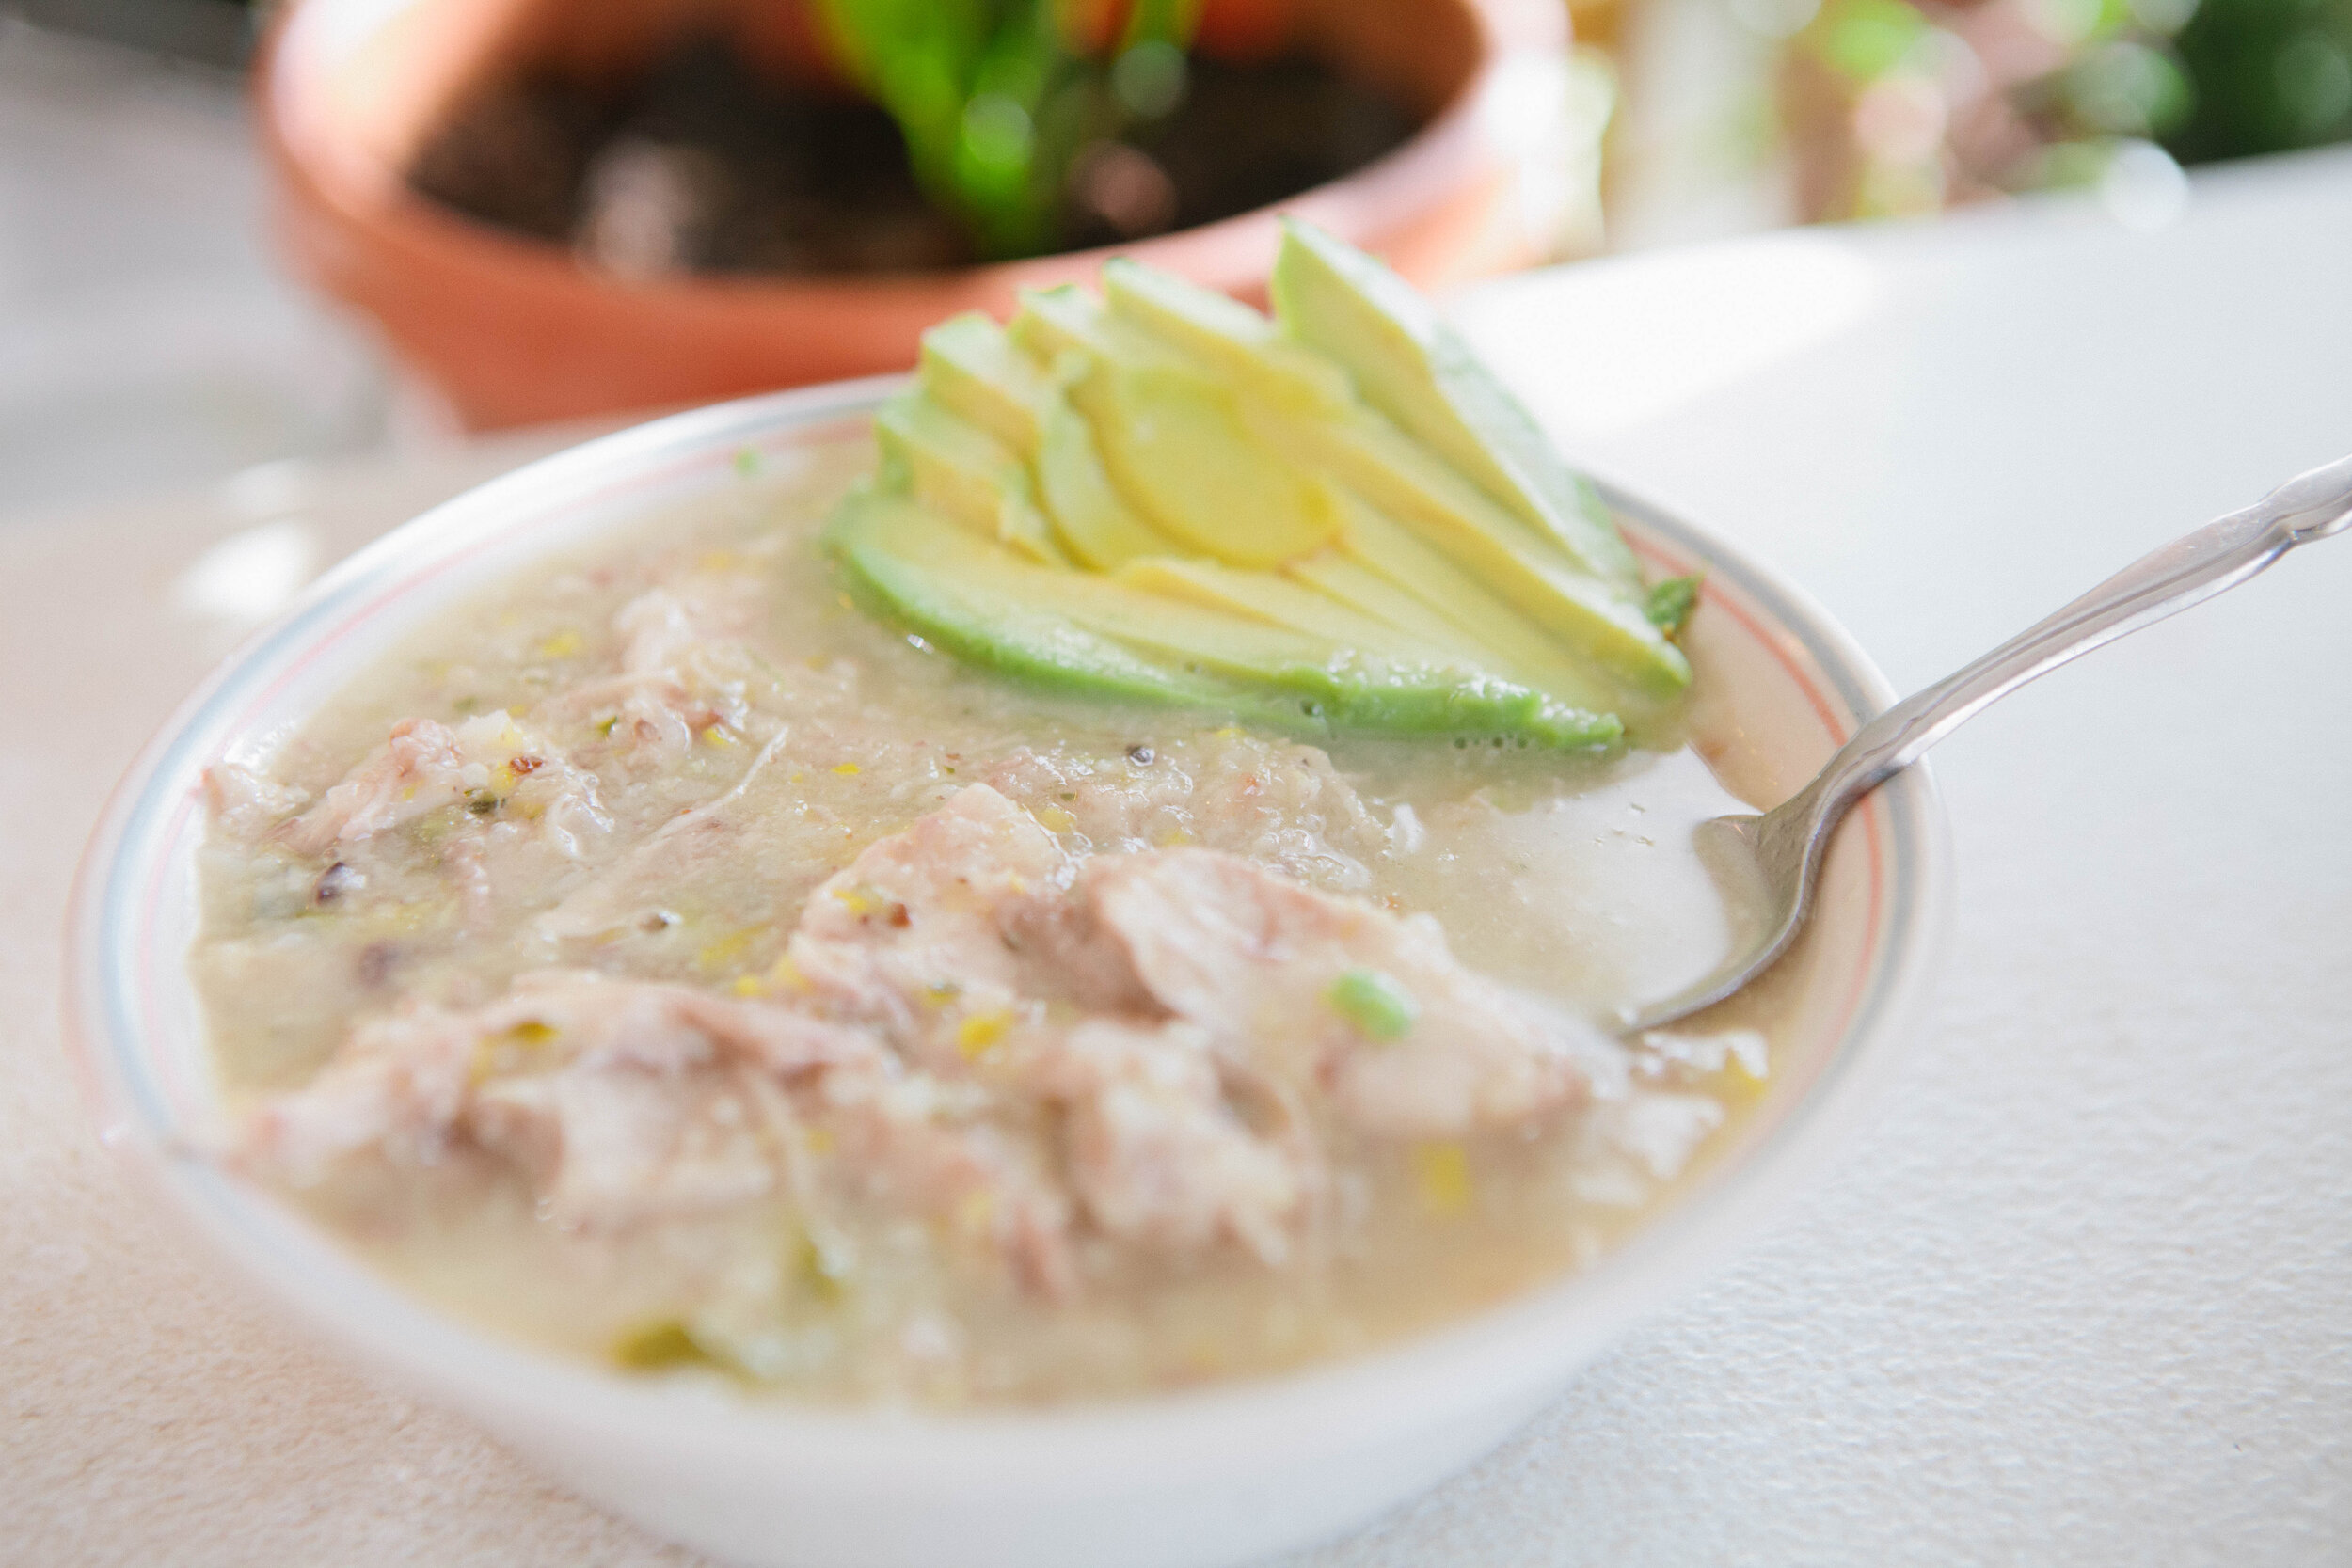
Creamy Garlic Chicken Soup
This is one of my favorite soups! It’s warm and creamy and so delicious. This soup is easy to make in large or small batches depending on how many servings you need.
Gluten Free, Dairy Free, Egg Free
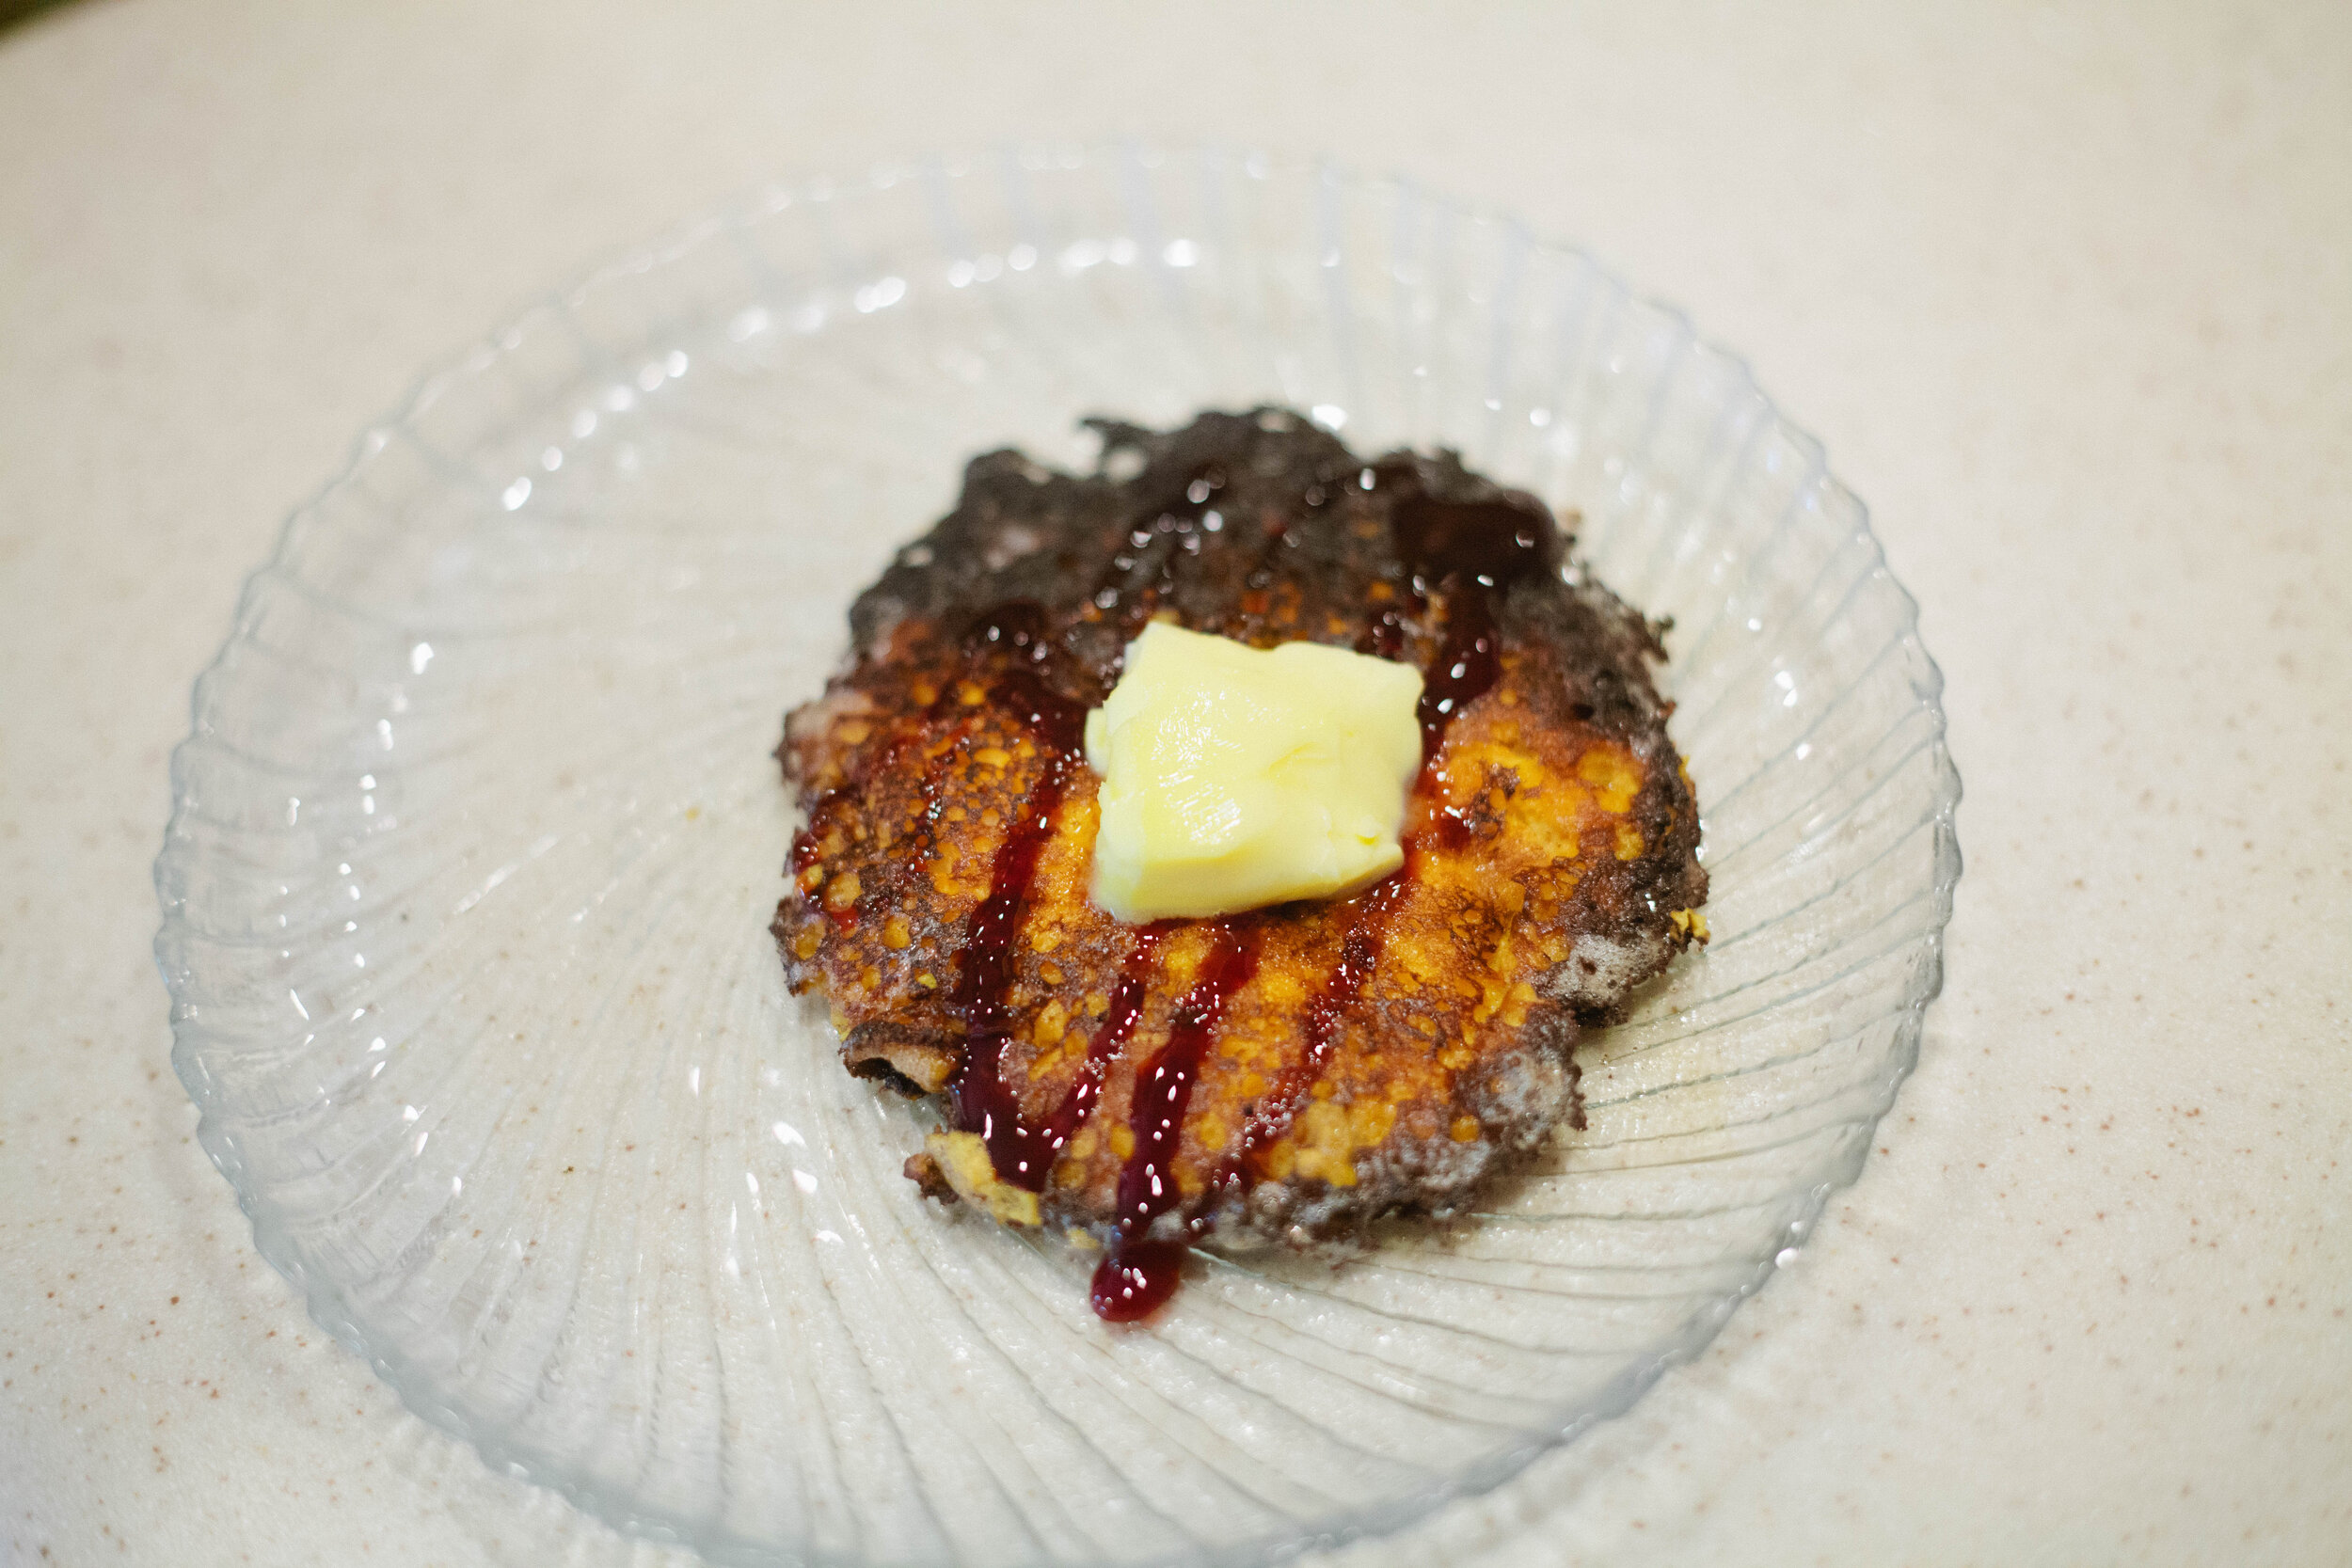
GAPS Legal Pancakes
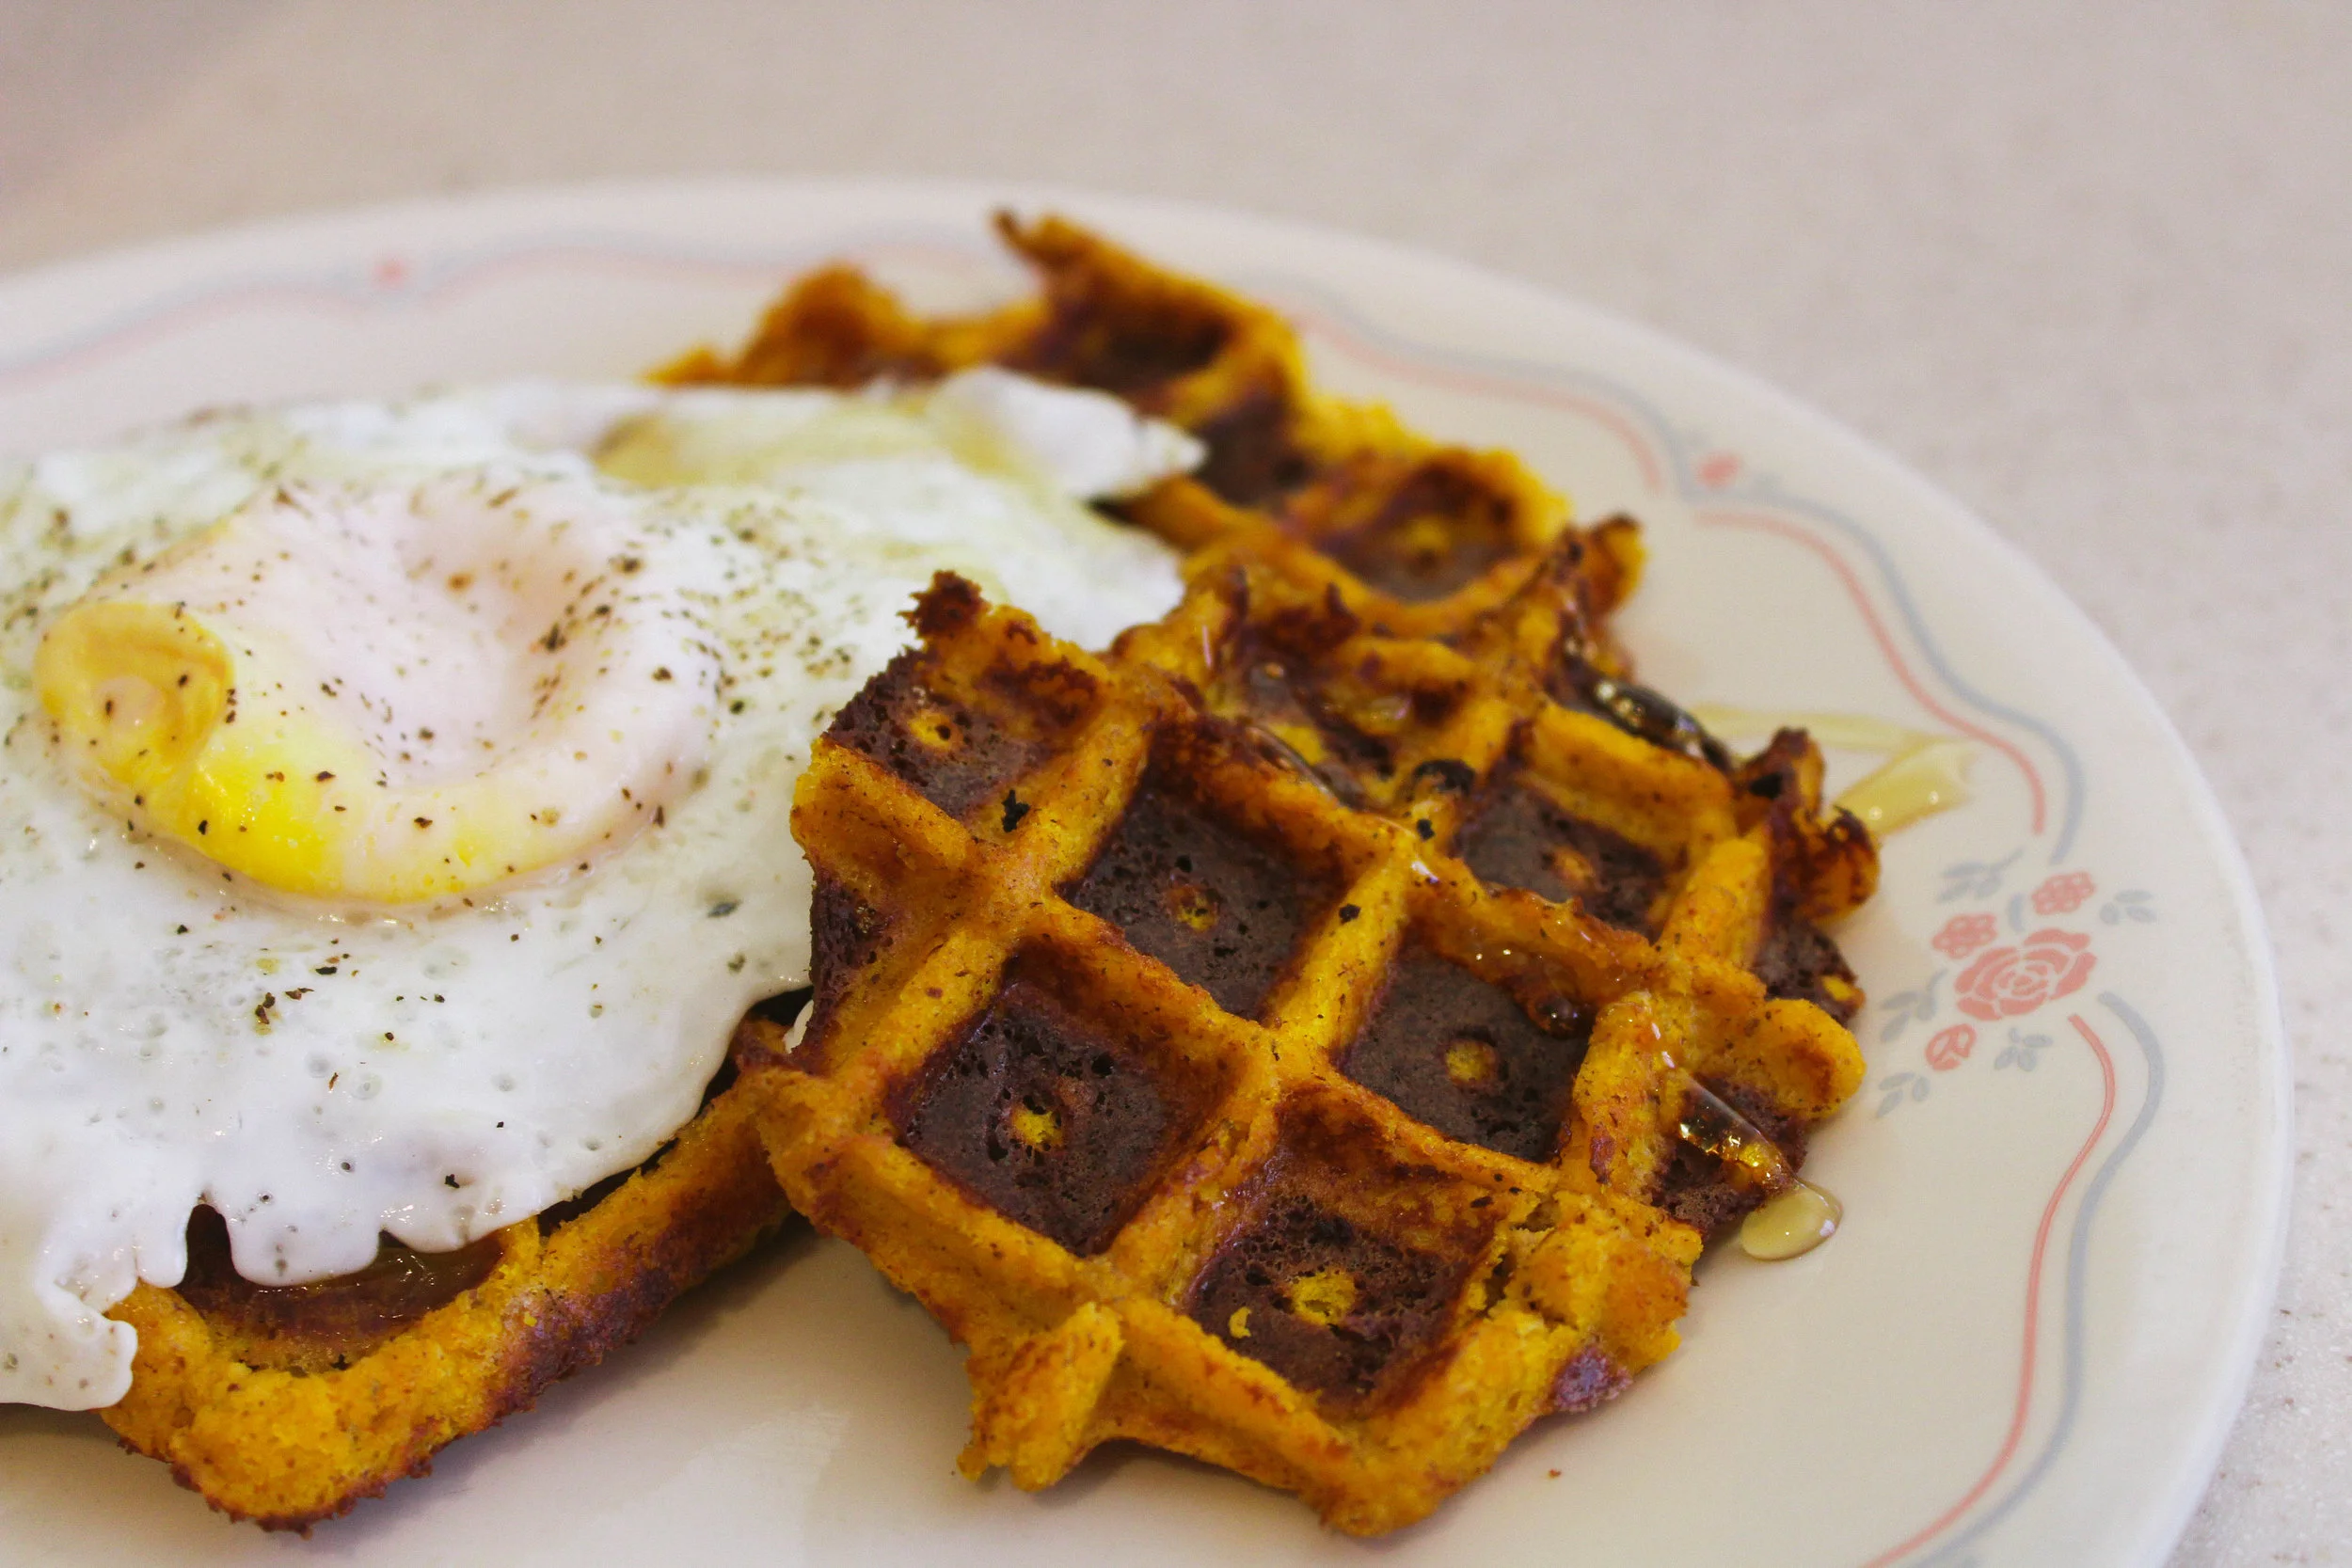
These pancakes are a basic of the GAPS Diet. They can be made with butternut squash or pumpkin. It’s easy to make a large batch and they freeze well for a quick snack.
Gluten Free, Dairy Free
Chicken Tortilla Soup
This Chicken Tortilla Soup recipe is a result of me expanding my horizons in genres of food that I cook and eat! It wasn't too spicy, and it's different than plain meat stock that you typically eat on Stage 1. There were tons of suggestions about different ways to make it, so it's also easy to switch up to match your tastes.
Gluten Free, Dairy Free, Egg Free
Ratatouille
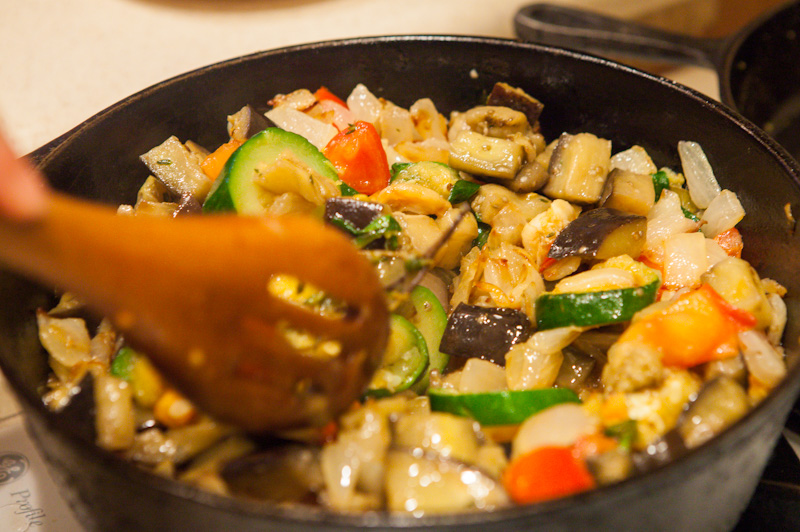
This recipe is a warm and filling side, and can even function as a meal on days your body is wanting very little meat. The lard creates a stoutness to this recipe that fills you up without making it feel like a heavy meal. I have found this recipe to be a wonderful support food when I am stressed, cold or tired and need a little more in the way of carbohydrates and fat.
Gluten Free, Dairy Free, Egg Free
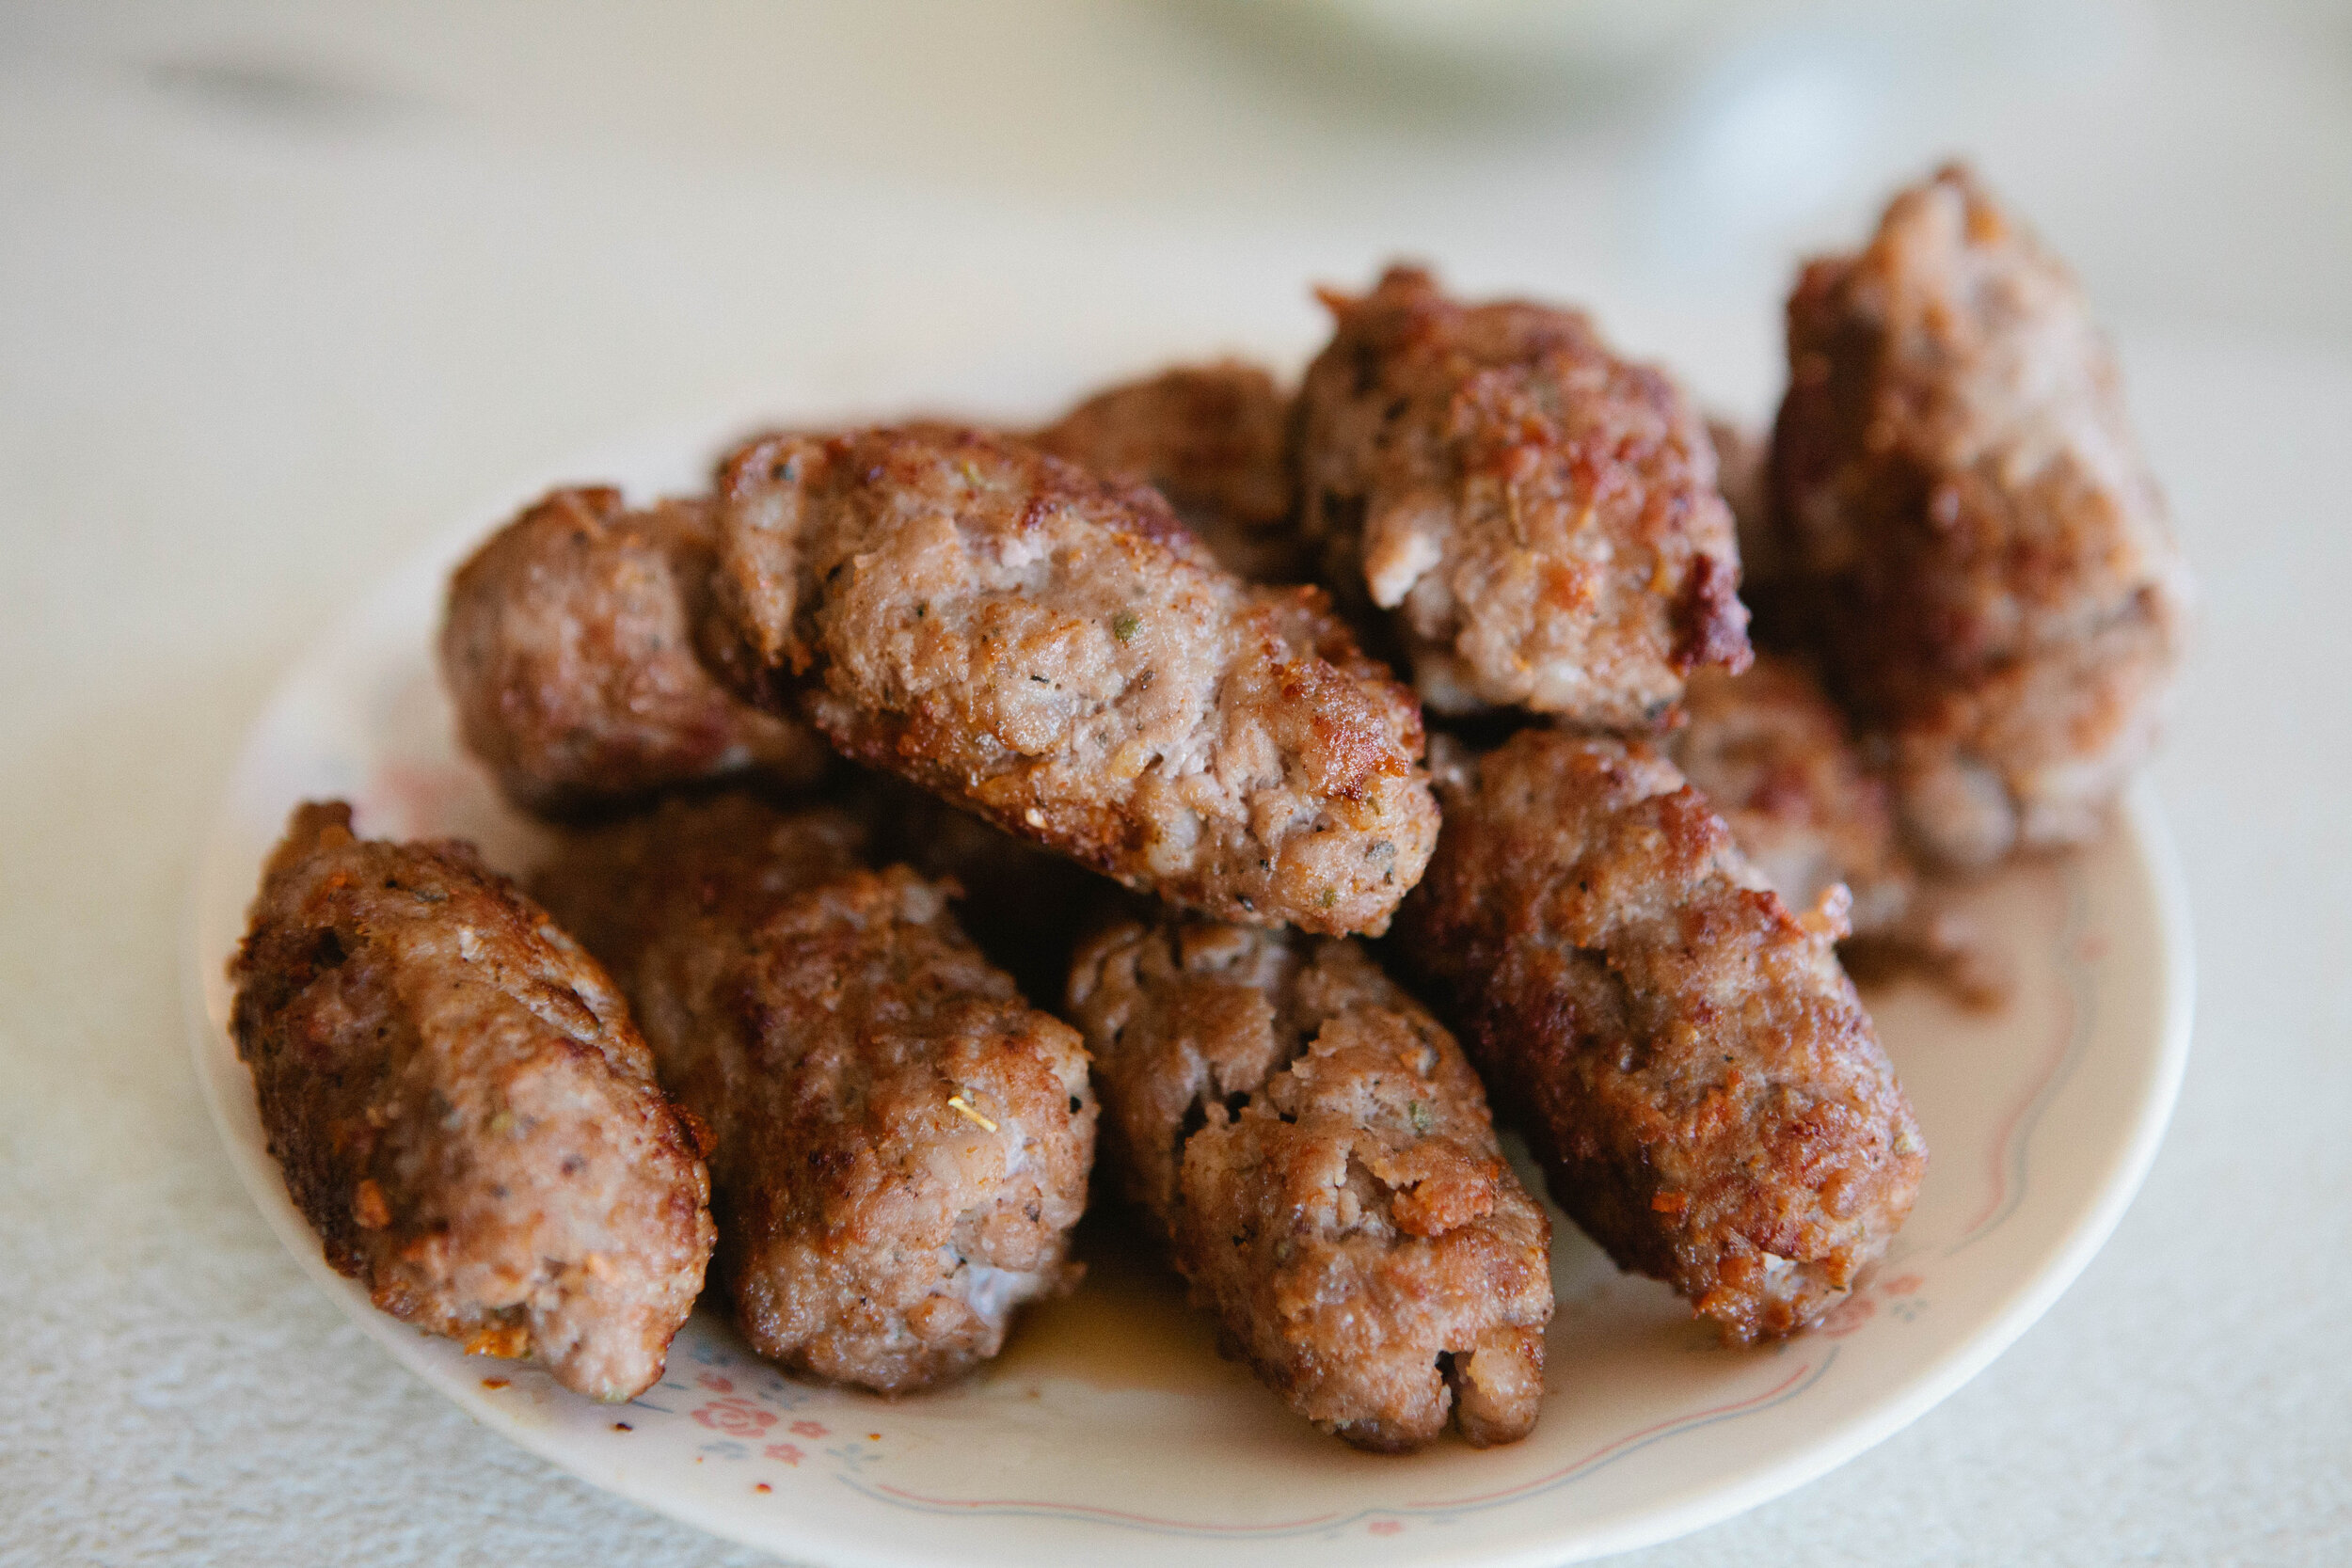
Liver Meatballs
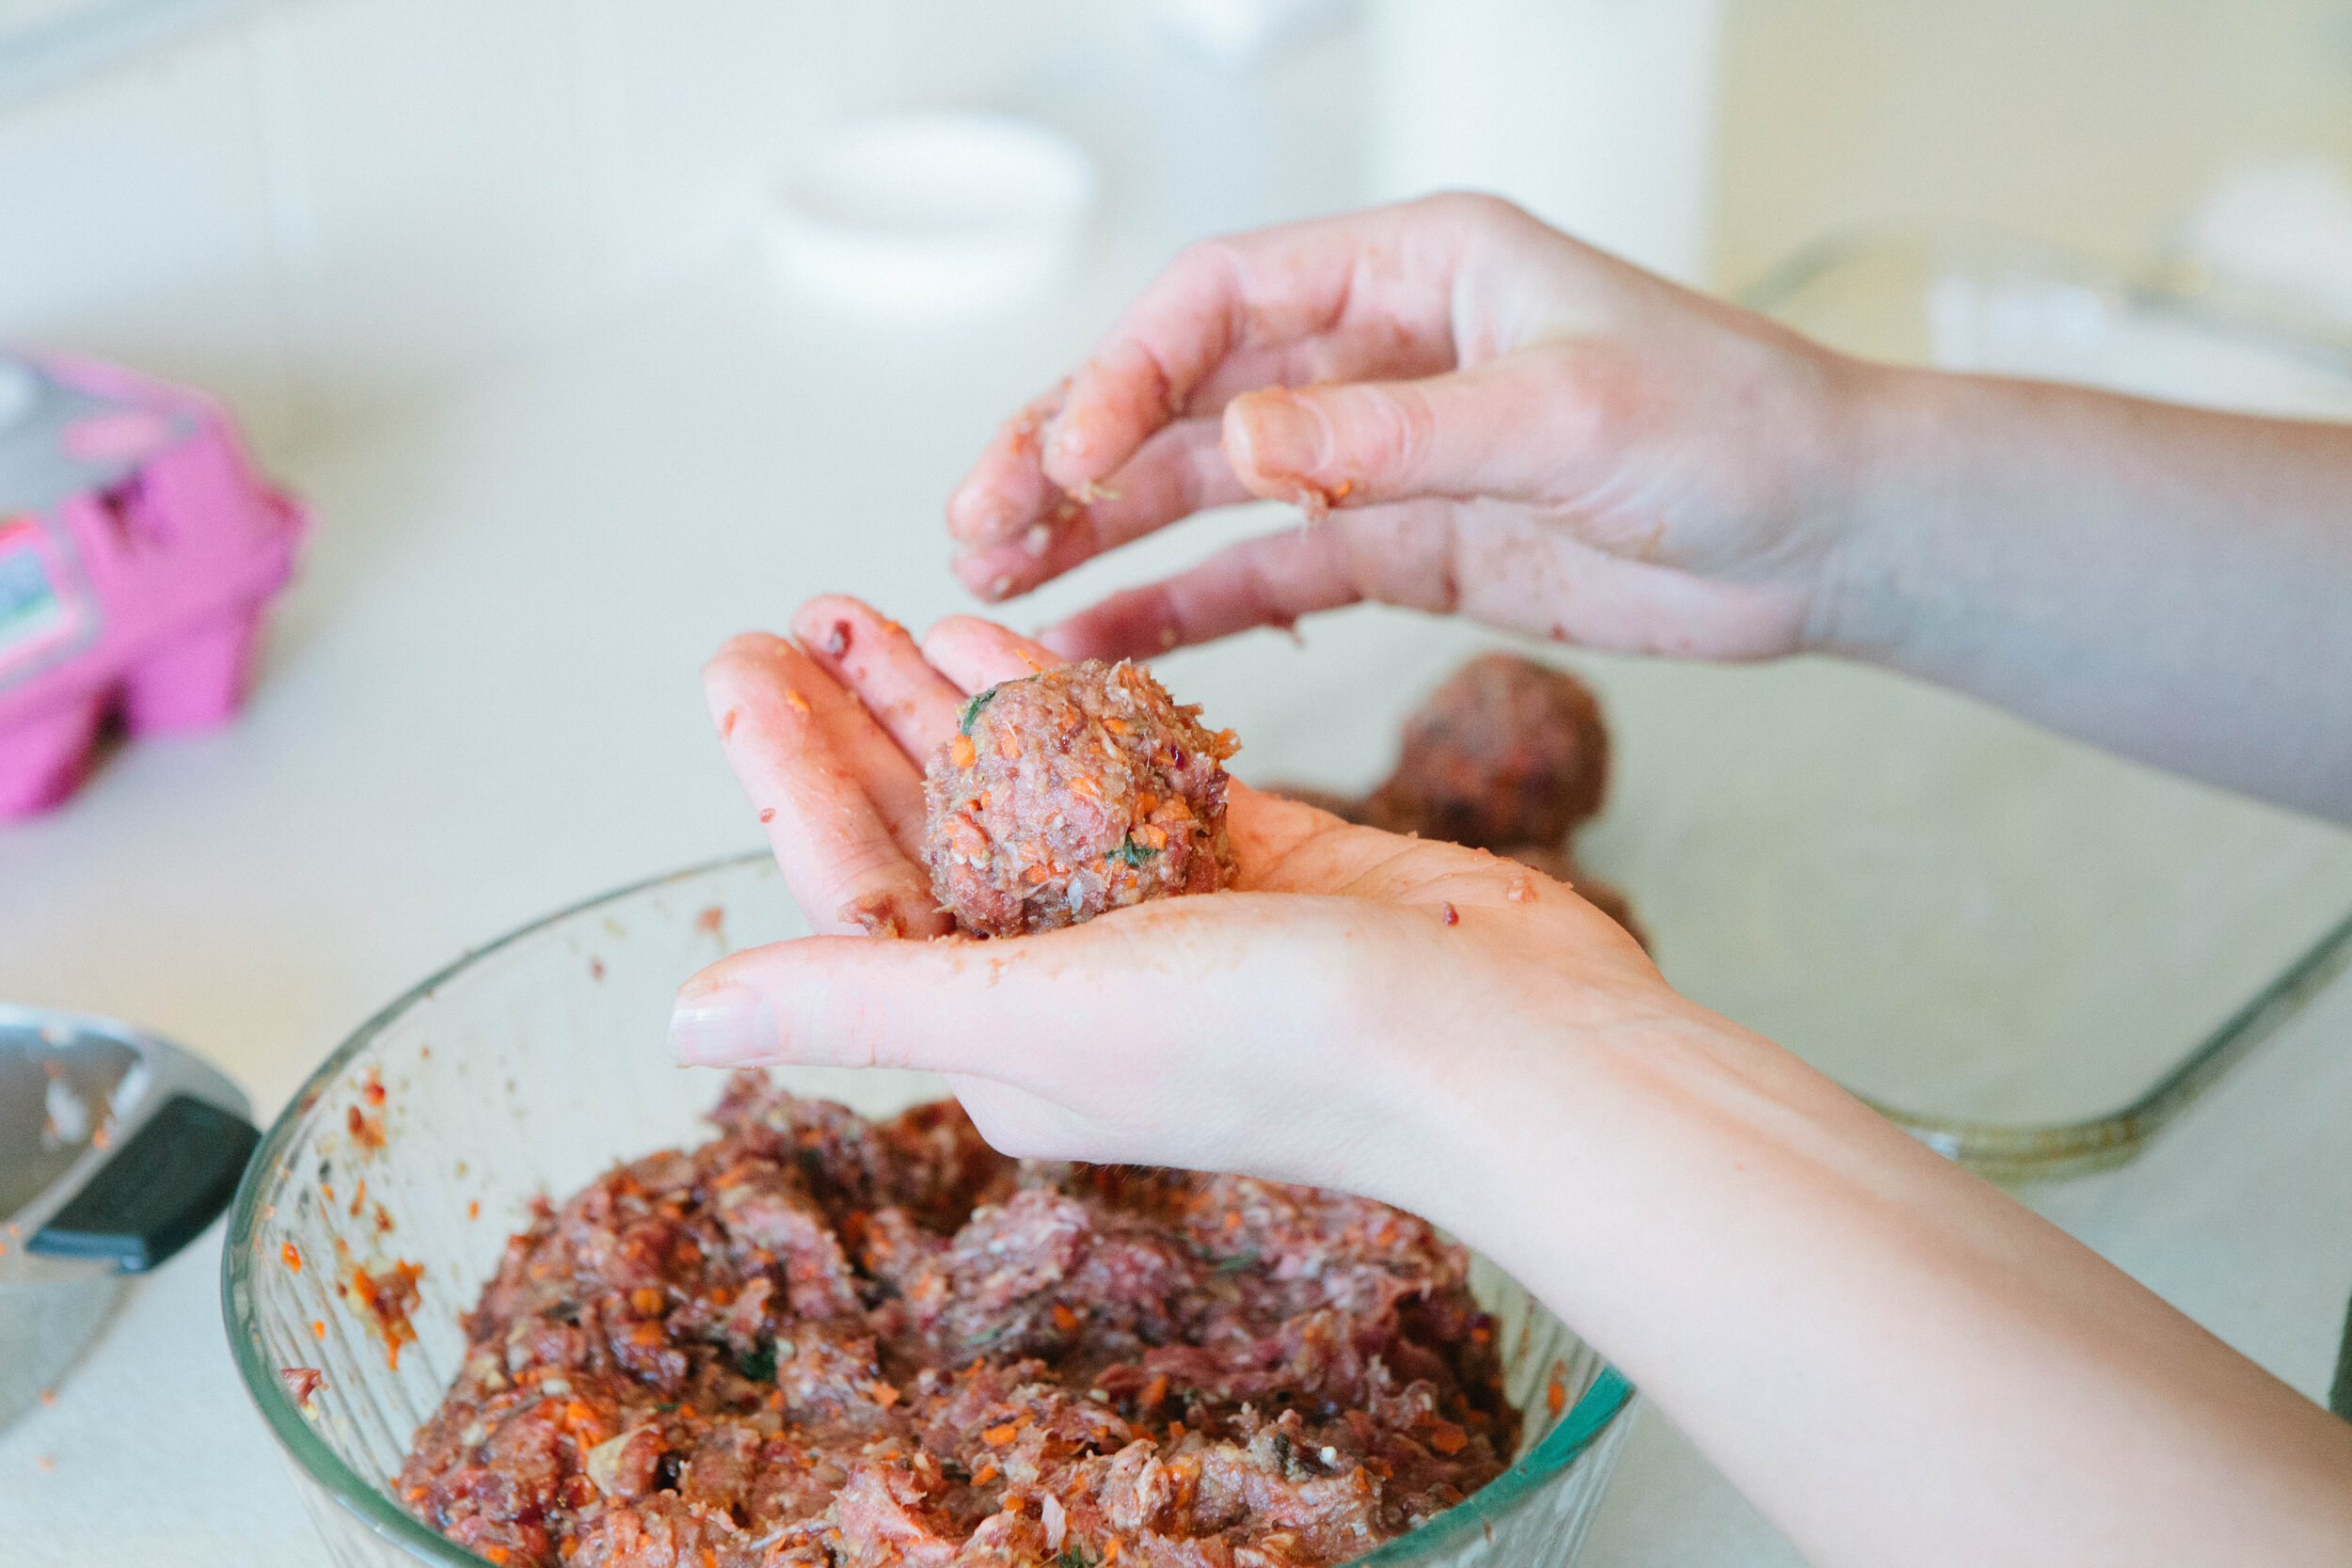
Liver is an amazing superfood! This is a recipe that I recommend to a lot of moms! It’s a great way to help your kids eat a little bit of liver every day, which is the best way to eat liver. This recipe makes a lot of meatballs so you can freeze them and take out a few at a time to have for lunch or dinner.
Gluten Free, Dairy Free, Egg Free
Lamb Meatballs
Meatballs are a simple way to add variety to your diet. They can also be a great way to get your kids to eat vegetables! Add finely chopped onions, zucchini, peppers, etc. in to your meatballs to add vegetables.
I’m making these meatballs with lamb burger but you can do it with any kind of burger.
Gluten Free, Dairy Free, Egg Free
Egyptian Lentil Soup
This delicious soup is legal on Full GAPS, and has been a hit with every single one of the many people I have served it too. This is not a leftover that gets forgotten in the fridge... it has disappeared much sooner than you want it to be gone!
Gluten Free, Dairy Free, Egg Free
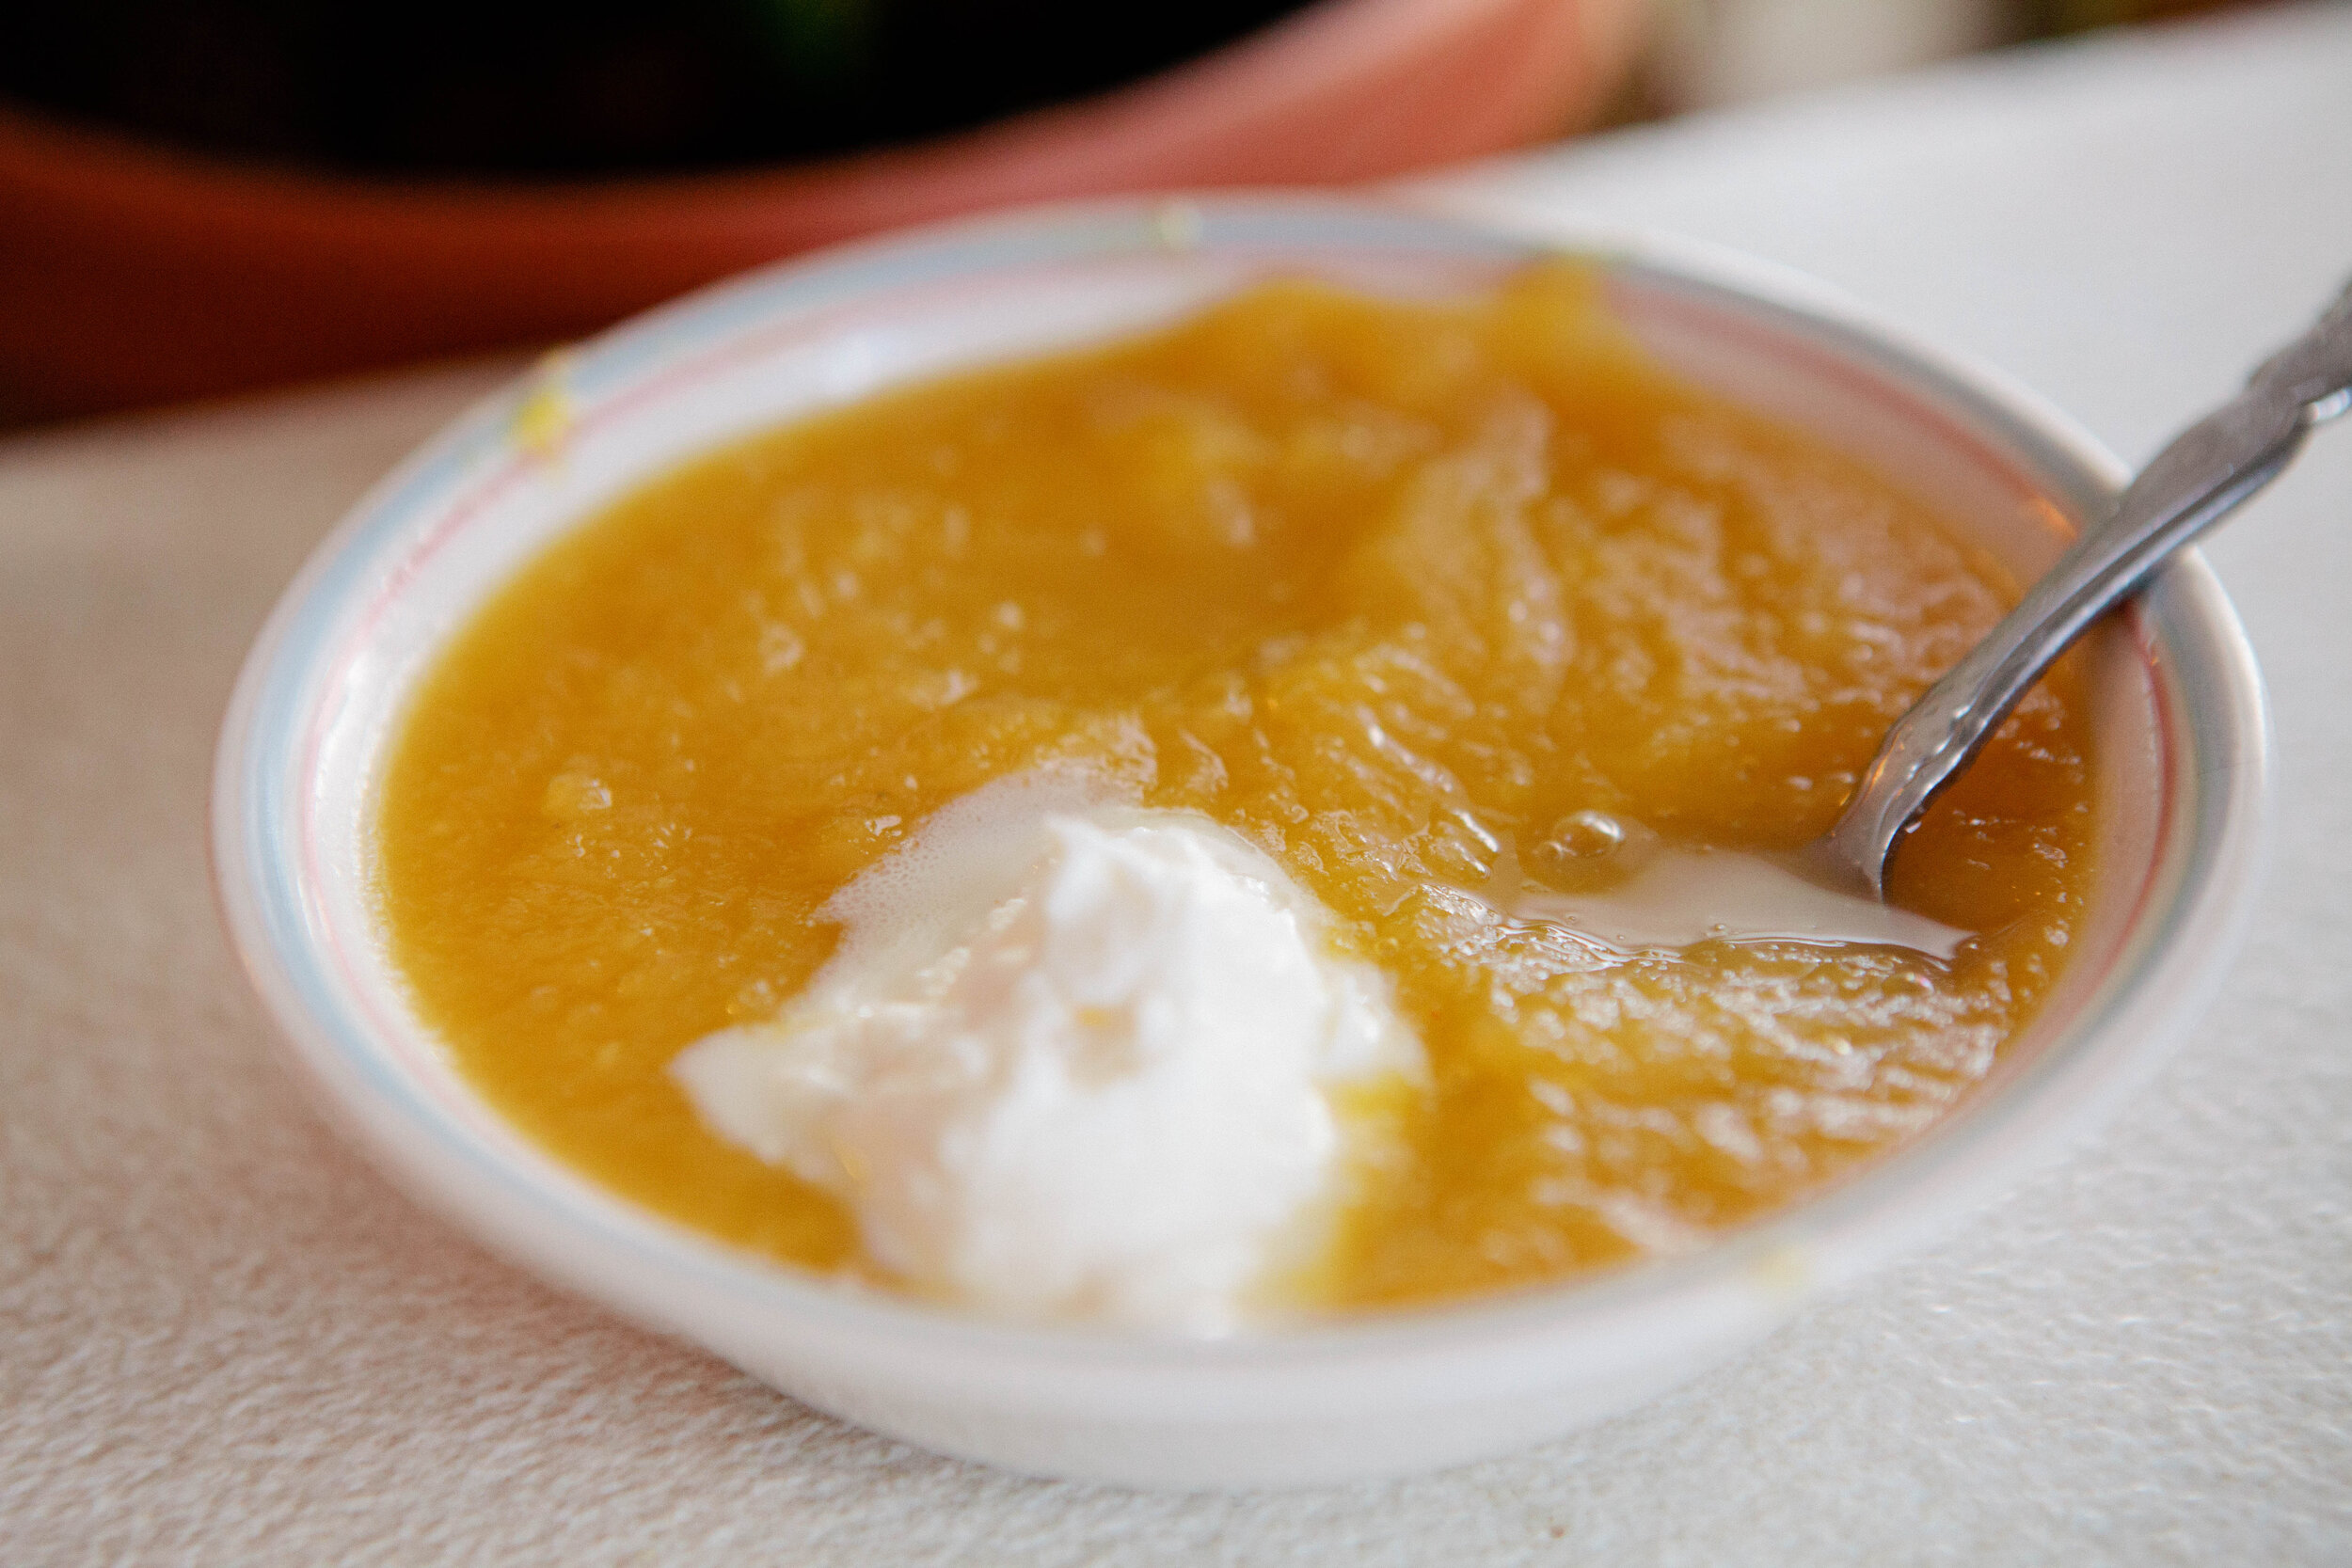
Pumpkin Soup
Once you have the puree for this pumpkin soup recipe, you can also use it to make a pumpkin pie or use it to make GAPS Pancakes.
I usually eat a small bowl of pureed soup alongside a much larger bowl of another soup. It’s a great way to have a multi course meal on the GAPS Intro Diet.
Gluten Free, Dairy Free, Egg Free
Homemade Gummy Snacks
Vitamin C and collagen work together to build healthy cells and mucus membranes, as well as healthy joints and skin. Anything with a structure needs vitamin c alongside collagen. These gummies are a good way for both children and adults to get collagen and vitamin c together! These gummies are stage five legal on the GAPS Diet because they are cooked fruit.
I got the basics proportions for this recipe from Integrative Health Coaching Services and modified it to fit my own needs. Depending on what proportions you use, the chart included on the Integrative Health Coaching Services website can help you decide how many gelatin squares to eat. If your children really love these gummies, you can decrease the amount of acerola cherry powder so that they can consume more gummy treats. These can also be great ABA technique rewards to get your child to eat the foods you want them to eat.
I recommend experimenting with adding other things like probiotic powders,and other supplements in these gummies. Just make sure you add anything live when the gummies are not too hot. Wait until the later stages when the mixture is cool enough so you don’t kill it.
I once made a bold choice and experimented with adding desiccated liver in a quest to figure out what other supplements can be added to the mixture. I don’t think liver was the best choice. There’s nothing wrong with consuming them; they just smell and taste like liver, which isn’t the flavor profile you’d expect.
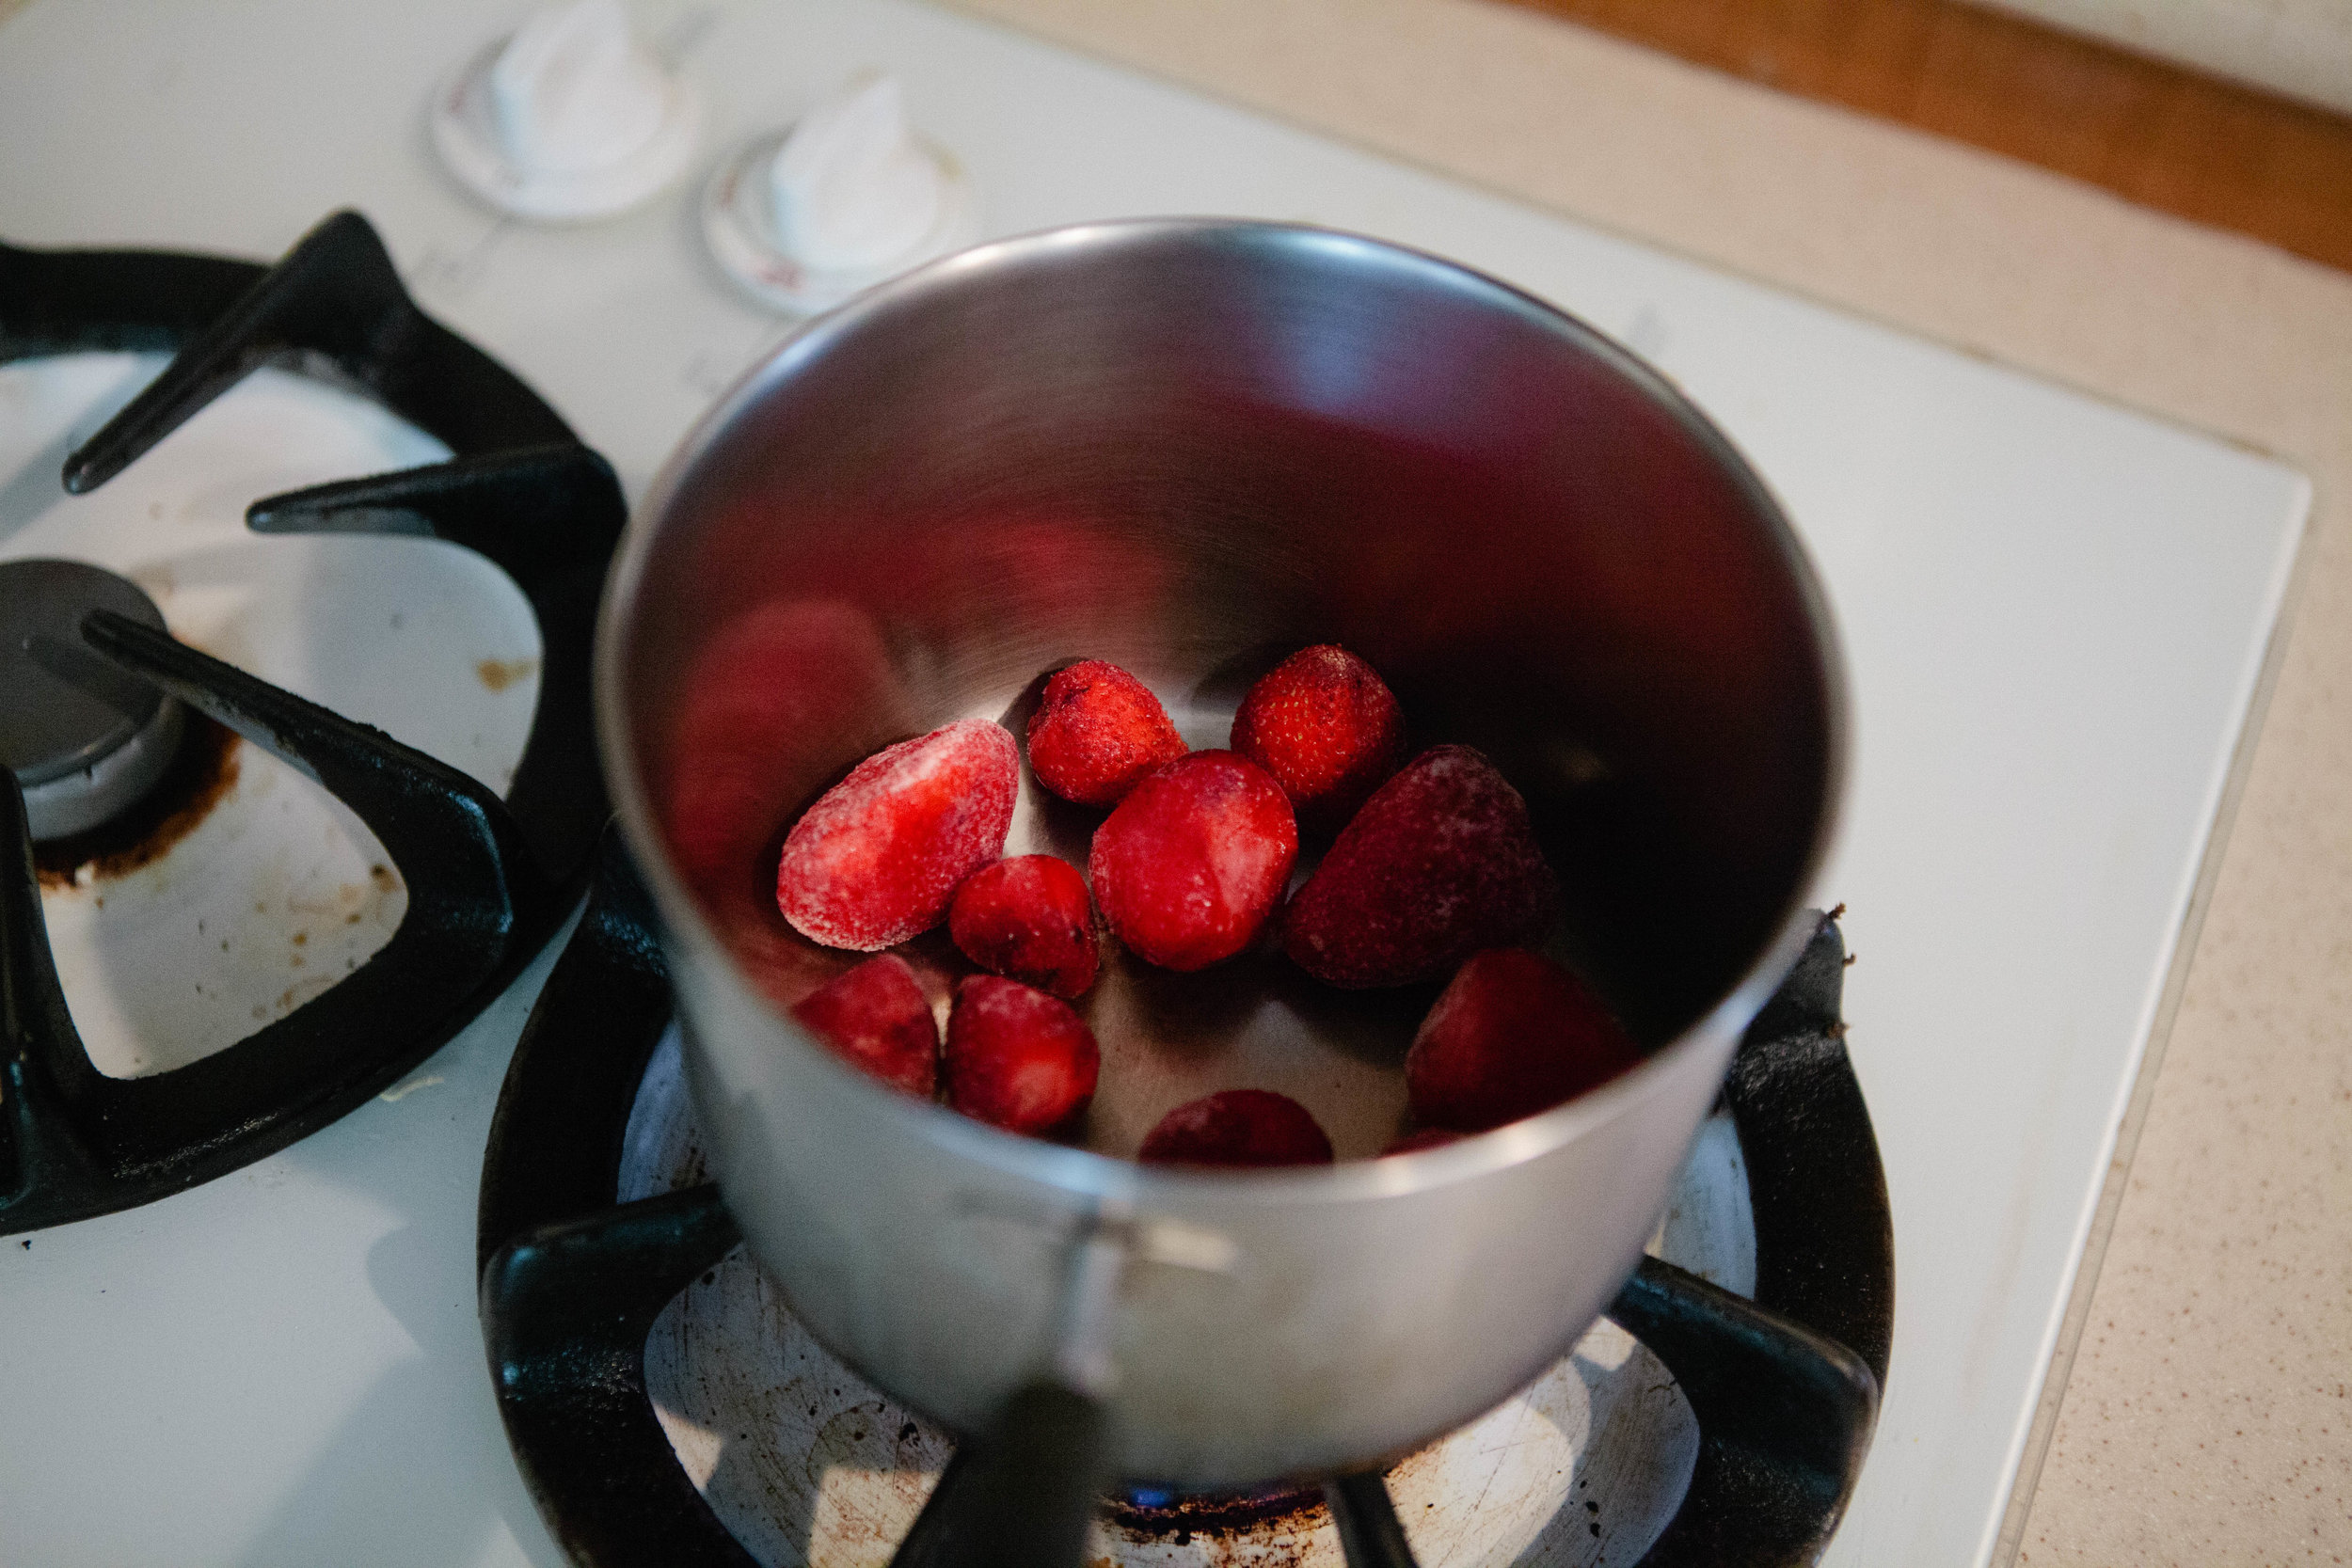
I made strawberry gummies but you could also make any berry into a gummy. Other fruit, like apples and bananas, will not work to make gummies at home. Frozen berries are actually a great choice because they are picked ripe and frozen while in season. You could also harvest your own berries locally and freeze them yourself.
Ingredients;
1 heaping cup frozen berries
1/2 Cup lemon juice
1/4 Cup grass fed gelatin
3-4 Tbsp.. Acerola cherry powder
1 tbsp honey
Directions:
Add 1 heaping cup of frozen strawberries to a pot. Add enough water to cover the bottom. Turn the stove on to medium heat.
Help the berries break apart by stirring them with a spoon.
When they start to get really soft, turn the stove to a low heat simmer.
Blend softened berries and lemon juice in a blender.
Once smooth, add back into pot. Add in gelatin and acerola cherry powder. Whisk well for about ten minutes until all combined.
Add honey at the end so that you are not cooking the honey.
Pour into a glass baking dish.
If you are adding a probiotic powder, make sure your mixture is cooled enough to where you can easily leave a finger in it before adding the powder. This will ensure you do not kill the probiotics.
Set in fridge to chill. Gummies should be chilled in about 40 minutes. Slice around the sides and cut into cubes to remove from glass pan.
Homemade Gummy Snacks
ingredients:
- 1 heaping cup frozen berries
- 1/2 Cup lemon juice
- 1/4 Cup grass fed gelatin
- 3-4 Tbsp.. Acerola cherry powder
- 1 tbsp honey
instructions:
How to cook Homemade Gummy Snacks
- Add 1 heaping cup of frozen strawberries to a pot. Add enough water to cover the bottom. Turn the stove on to medium heat.
- Help the berries break apart by stirring them with a spoon.
- When they start to get really soft, turn the stove to a low heat simmer.
- Blend softened berries and lemon juice in a blender.
- Once smooth, add back into pot. Add in gelatin and acerola cherry powder. Whisk well for about ten minutes until all combined.
- Add honey at the end so that you are not cooking the honey.
- Pour into a glass baking dish.
- If you are adding a probiotic powder, make sure your mixture is cooled enough to where you can easily leave a finger in it before adding the powder. This will ensure you do not kill the probiotics.
- Set in fridge to chill. Gummies should be chilled in about 40 minutes. Slice around the sides and cut into cubes to remove from glass pan.
Northern Colorado GAPS Group Meeting Recap May 21, 2019
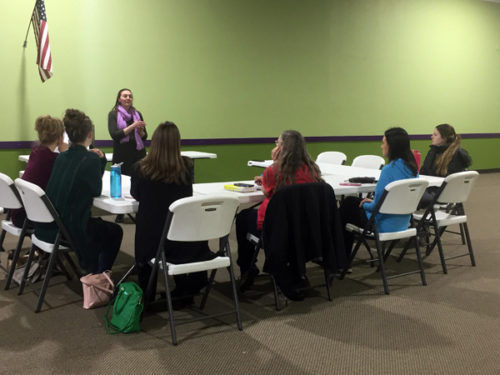
Each week, we gather in Northern Colorado for a meetup centered around the GAPS Diet, started by Dr. Natasha Campbell. During these meetups, we have a lesson about a fundamental aspect of the GAPS Diet, exchange recipes and ideas, support each other through the GAPS Diet, and learn something new from a holistic healthcare speaker or presenter.
The first GAPS Group meeting that you attend is FREE.
If you find the information helpful, individual classes are $15 to attend, or you can buy a punch card for five classes that brings down the cost to $10 per class (recommended). We'll have punch cards for sale when you arrive at Tuesday's meeting.
If you can't make it in-person, we're happy to send you a link for you to watch us LIVE. Send an email to Office@bewellclinic.net to request the link to the broadcast! Costs will still apply to virtual attendance, so we recommend that you come join us to receive all of the benefits of the meeting.
GAPS Group Meeting May 21st, 2019
This week was a recipe presentation on sauerkraut!
This week, the Be Well Clinic’s own Lauren Isenhour did a recipe demonstration on how to make sauerkraut. You can find the directions on how to make your own saurkraut here.
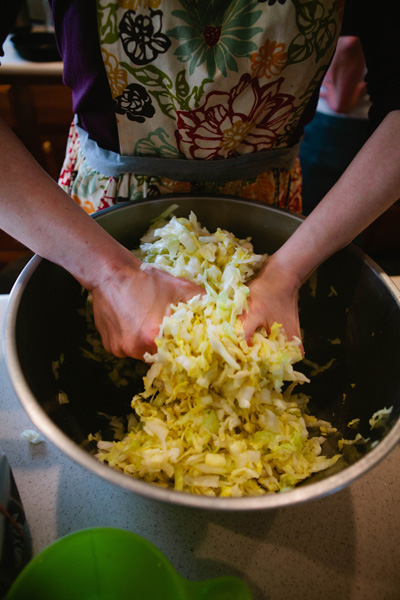
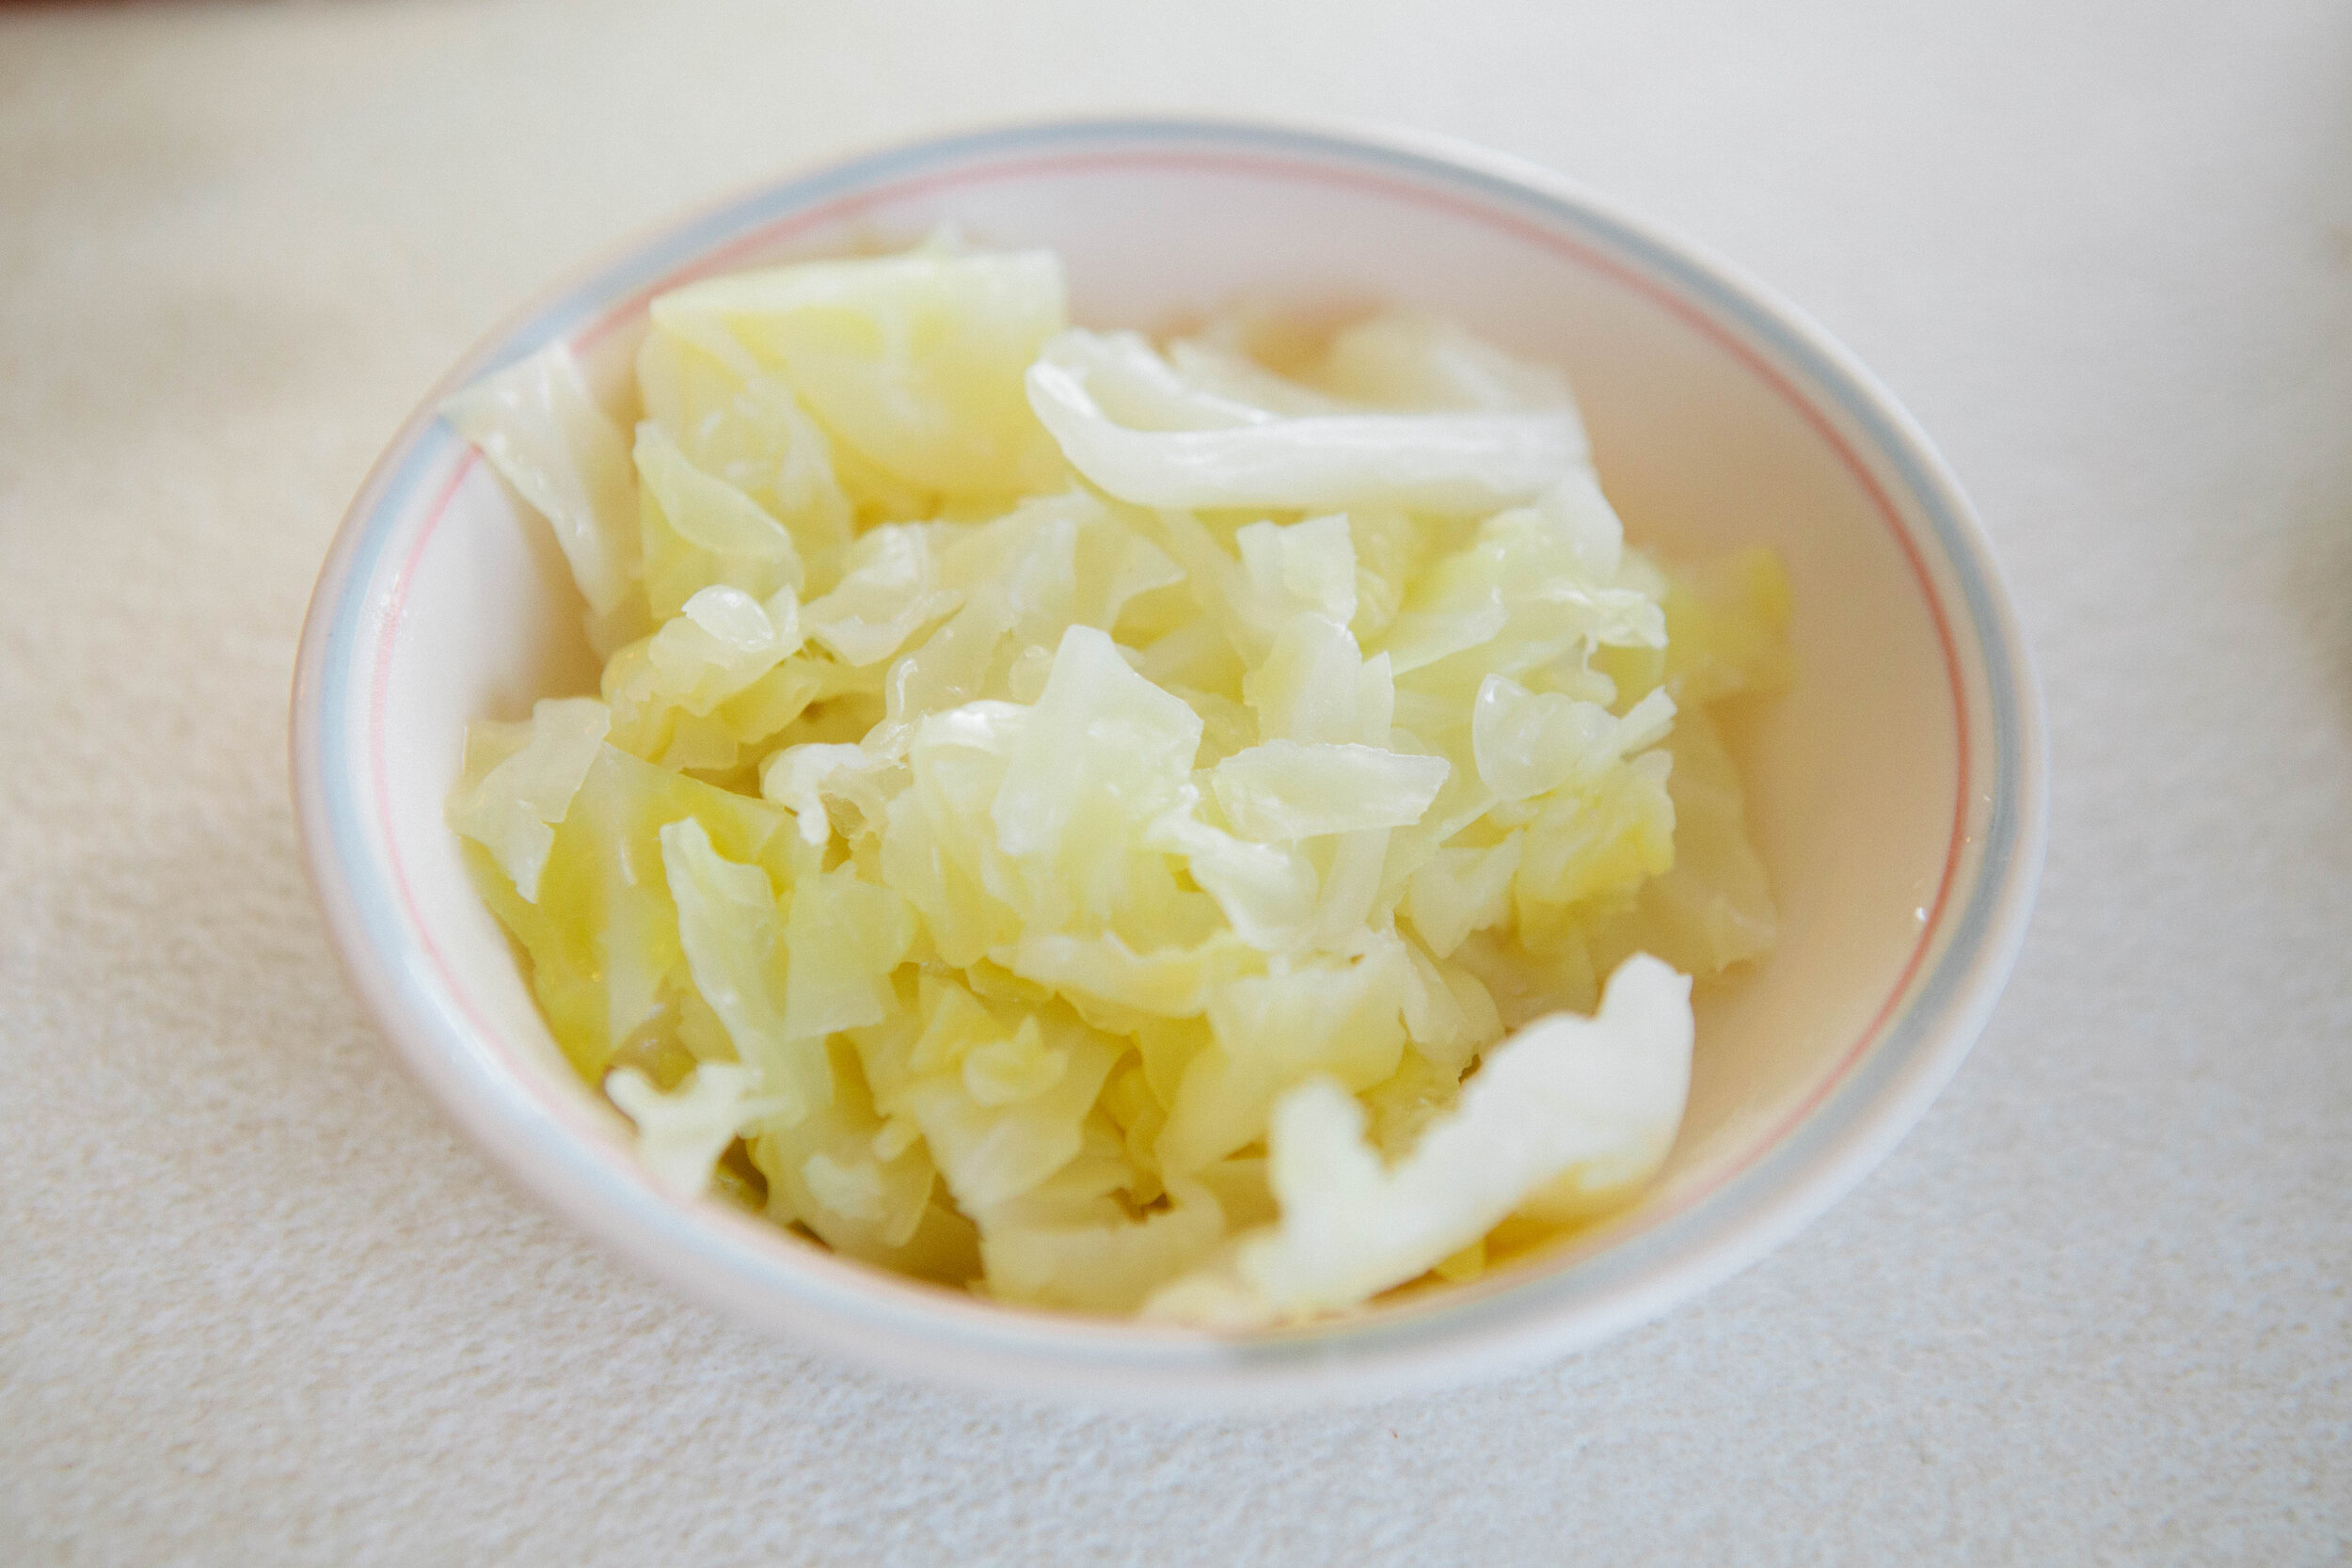
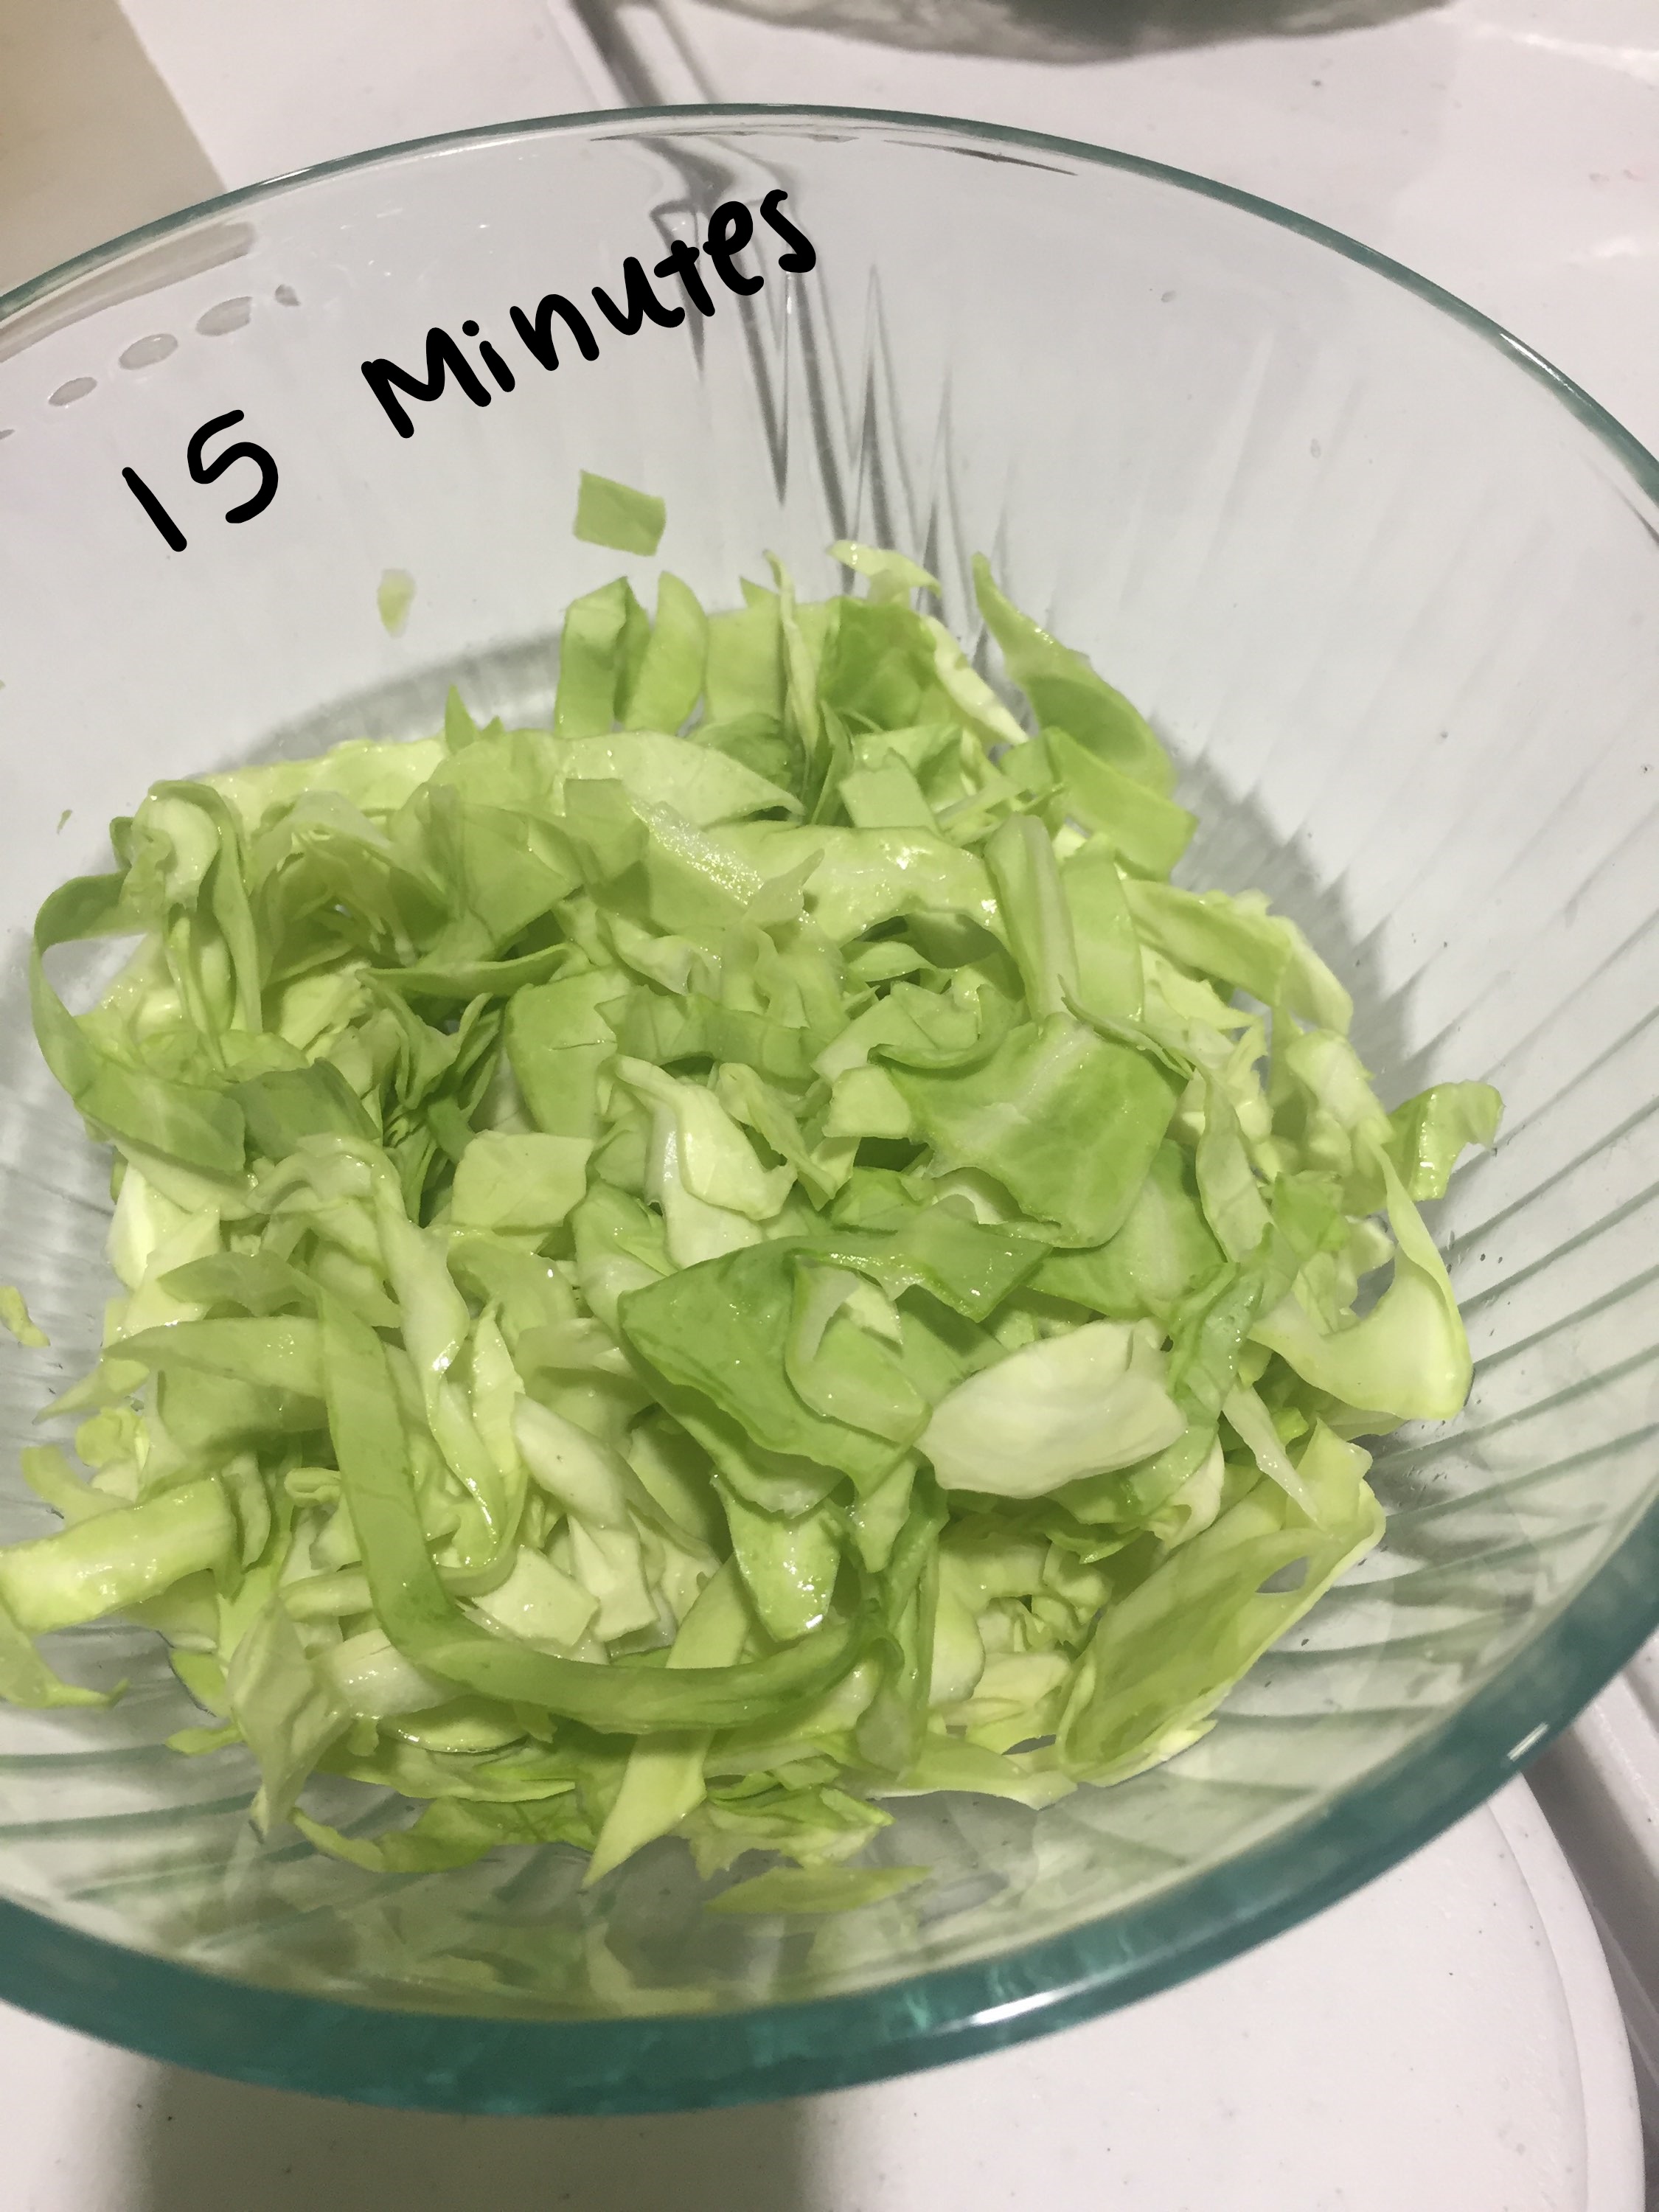
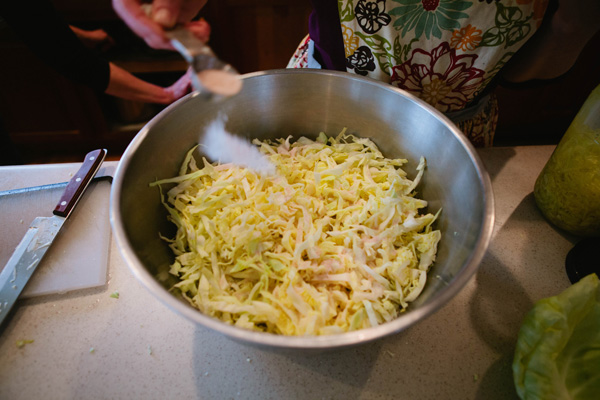
Sauerkraut is a GAPS staple and a delicious ferment to keep in the house. It’s also extremely easy to make! These food demonstrations are a great reason to come to the GAPS Group Meeting because they are supplemental to the blog post recipes. It’s a great way to learn a new way to cook or think about food and it can be helpful to see how to make something first hand. The most important part of this recipe is to note the change in the texture of the cabbage as the salt does it’s job to break down the cell walls of the cabbage. This change is noticeable in a short period of time as you can see by the photos below!
Amy also presented on supplements and how to correctly supplement your food as your body needs it. Amy shared on the benefits of supplements like fermented cod liver oil, iodine, ox bile, and probiotics (which sauerkraut is a great source off!) She also shared about the die-off reaction that happens as we change our health and how to recognize and manage those symptoms.
JOIN US AT OUR NEXT GAPS GROUP MEETING!
Next week's GAPS Group Meeting is the start of a new Getting Started on GAPS Session! Come meet the members of Be Well Clinic's GAPS Group and share your stories.
Our lesson is on Intro GAPS. Amy will share how the stages work and how to nourish the body and heal the gut. We'll talk about how and why all diseases begin in the gut and how you can change your health by healing your gut.
If you feel like you're well-versed on the practical applications of GAPS, you're welcome to skip this part of the meeting and join us at 7:00 PM for our recipe sharing and discussion. This week's we're talking about vegetable ferments!
The Recipe Sharing and Discussion is one of the best things about GAPS Group! You get to try delicious food, and take home the recipe so you can recreate it! It's a great way to diversify your GAPS go-tos, and you get to catch up with everyone on their progress. Sometimes, hearing someone else's success story is the best way to get you to keep going.
Location:
GAPS Group is currently held at the Loveland Outlets, very close to our new office space. It’s located north of McWhinney Blvd. next to The Studio, near Tommy Hilfiger and Sketchers. The best way to get there is to set your GPS to 5613 McWhinney Blvd, Loveland, CO 80538 and walk to suite 5609. Get more details on the exact location here.
See more information and RSVP to the event on our Facebook page.
Northern Colorado GAPS Group Meeting Recap April 30th, 2019
Each week, we gather in Northern Colorado for a meetup centered around the GAPS Diet, started by Dr. Natasha Campbell. During these meetups, we have a lesson about a fundamental aspect of the GAPS Diet, exchange recipes and ideas, support each other through the GAPS Diet, and learn something new from a holistic healthcare speaker or presenter.
The first GAPS Group meeting that you attend is FREE.
If you find the information helpful, individual classes are $15 to attend, or you can buy a punch card for five classes that brings down the cost to $10 per class (recommended). We'll have punch cards for sale when you arrive at Tuesday's meeting.
If you can't make it in-person, we're happy to send you a link for you to watch us LIVE. Send an email to Office@bewellclinic.net to request the link to the broadcast! Costs will still apply to virtual attendance, so we recommend that you come join us to receive all of the benefits of the meeting.
GAPS Group Meeting April 30th, 2019
This week’s presenter was Dr. Carl Malone of The Natural Path.
Dr. Tiffany Wall talked to us about the communication pathways within our bodies, and how stress alone can knock our bodies so far off balance that we get and stay sick.
Then Amy talked about the GAPS protocol and its aims. First and foremost, we want to normalize the fur flora. We also want to heal and seal the gut lining, restore gut function, and restore immunity. The protocol has three parts to it:1: GAPS Diet2: Supplementation3: Detoxing
She talked in detail about all of them, but the most interesting one was the die-off reaction that results from repopulating our bodies with good bacteria.
At one point, she said “sometimes your body has to remind you that what you just ate is not food. I know you tried to eat it as food, but it’s not food”
After our Getting Started on GAPS lesson ended, we all stayed to shared GAPS Legal Recipes and hang out. We swapped stories about things we have and haven't tried, talked about our favorite oils, and enjoyed the food! Finding others on the GAPS journey at the same time is a key to your success!
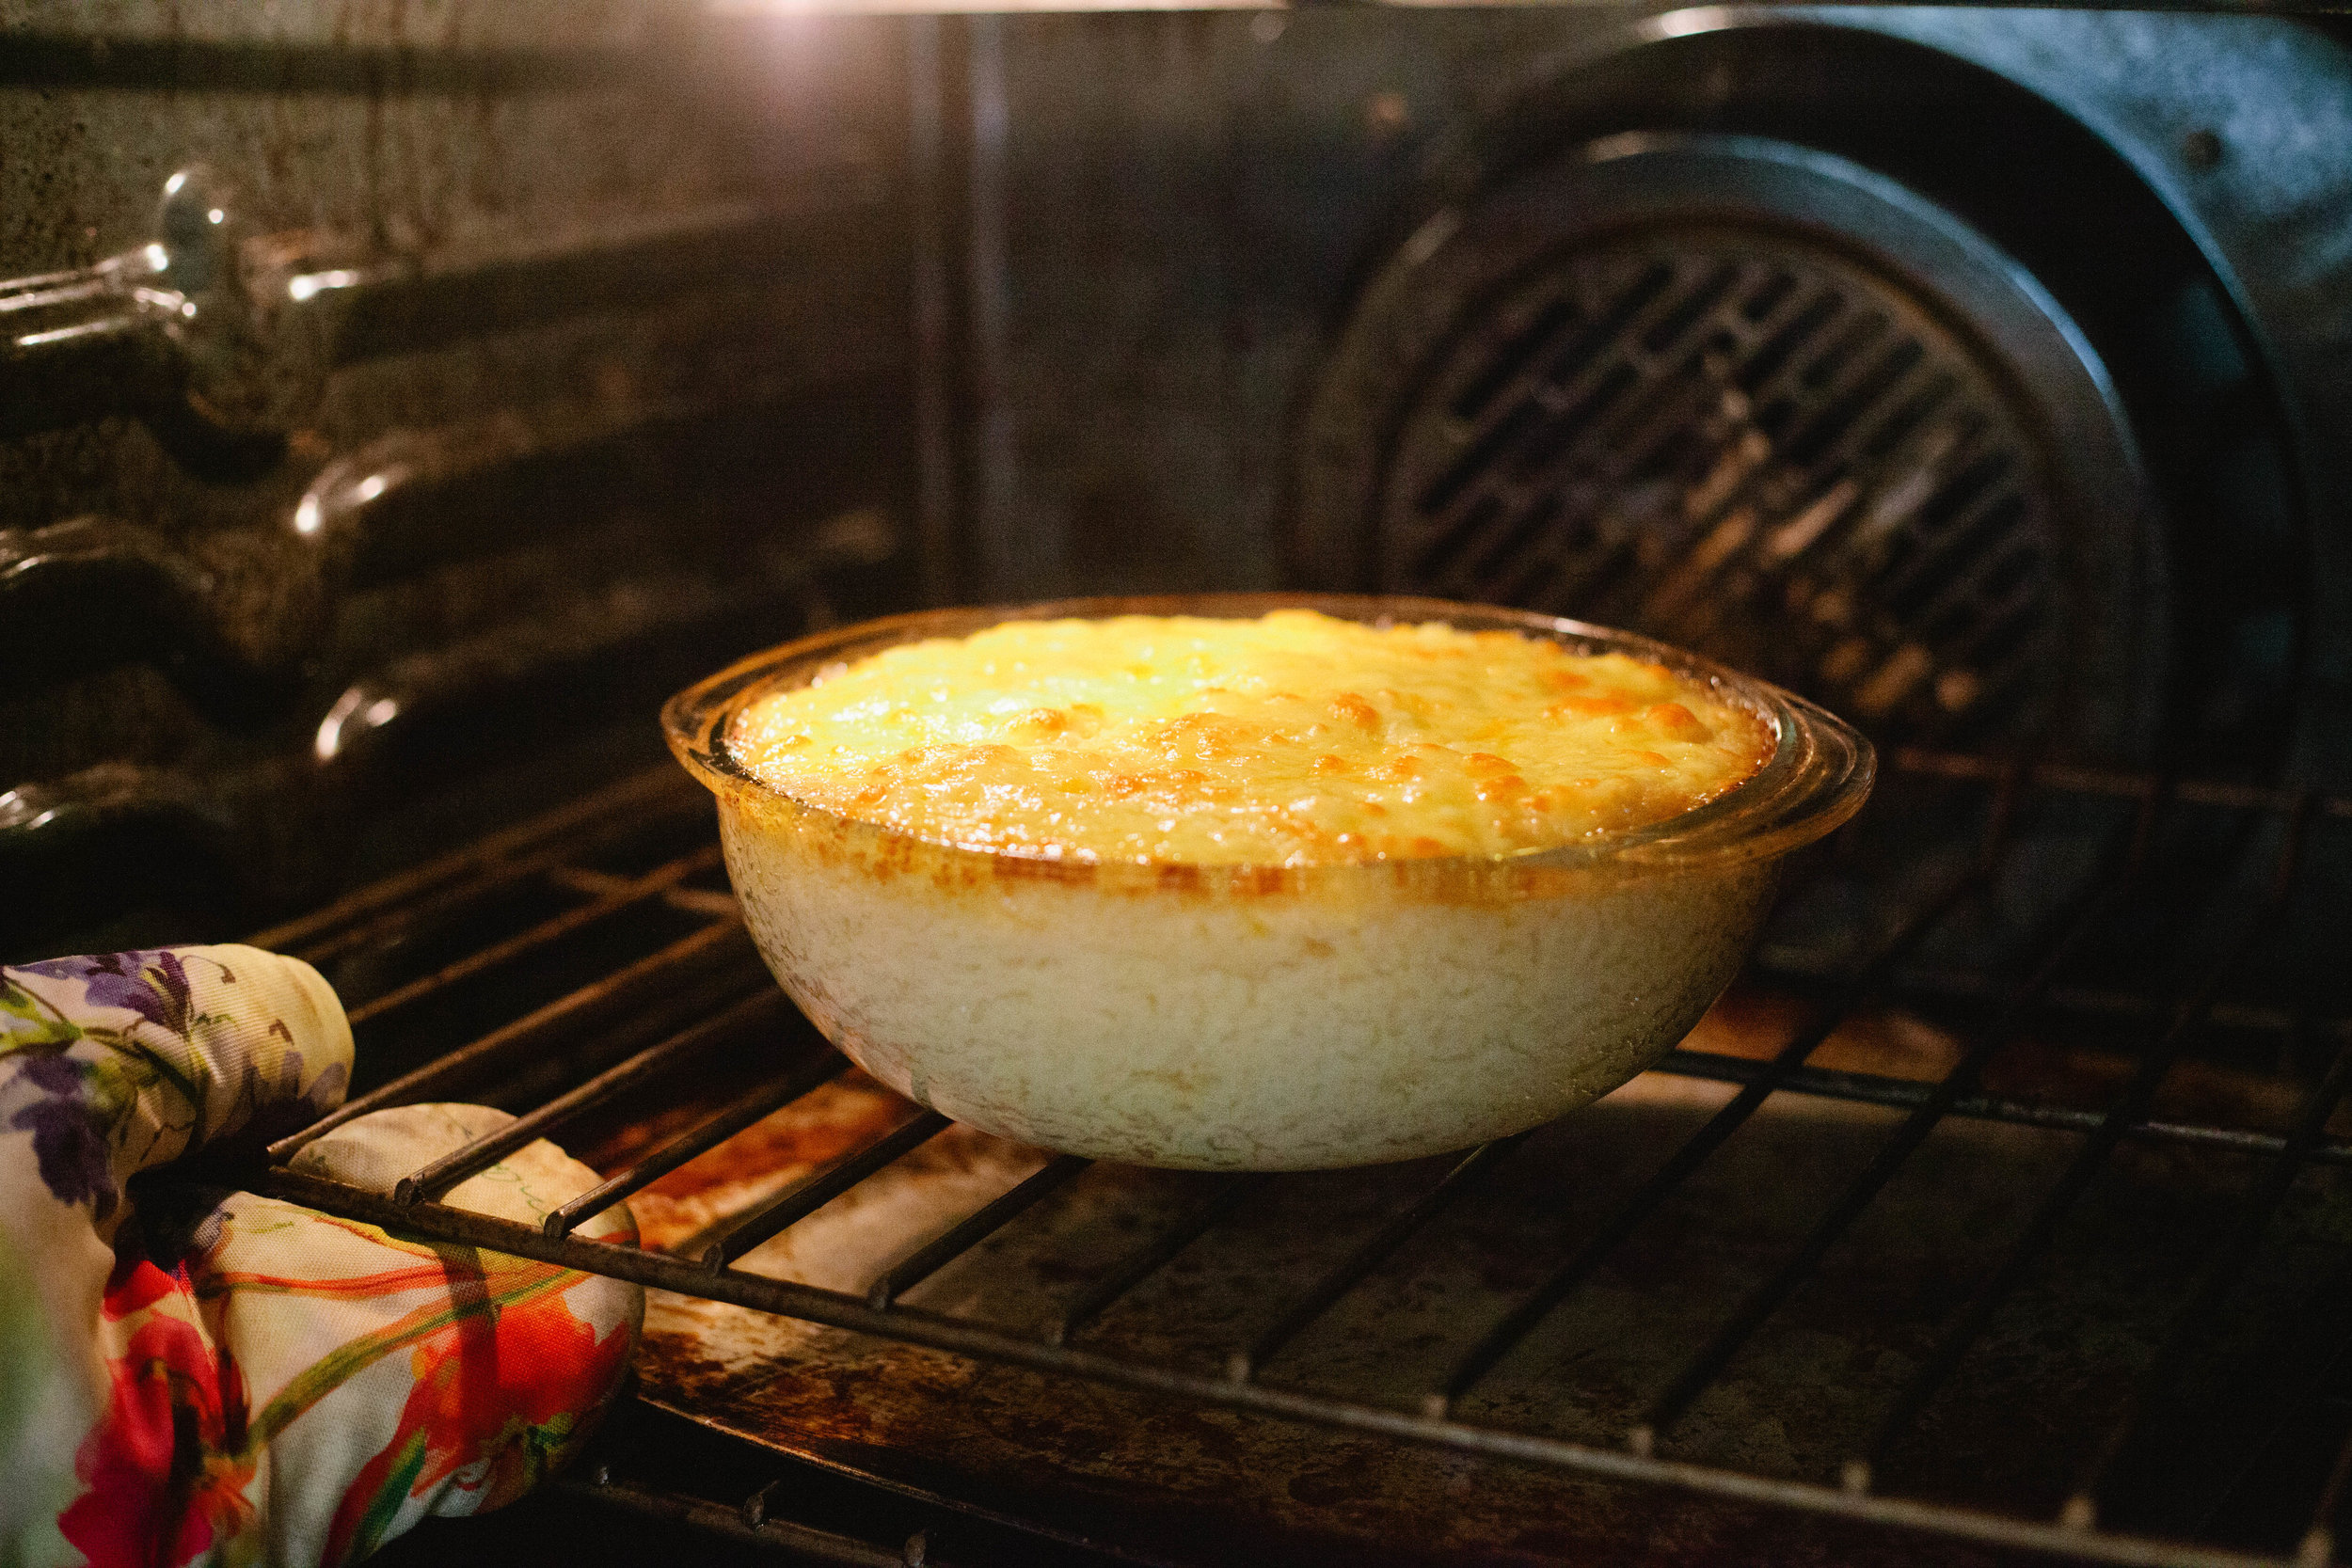
At our meeting, we learned about two soups, a cauliflower rice casserole, and lots and lots of animal fats. You know it's a GAPS meeting because everyone remembers to bring the butter and sour cream!
Join us at our next GAPS Group Meeting!
Next week's GAPS Group Meeting is the start of a new Getting Started on GAPS Session! Come meet the members of Be Well Clinic's GAPS Group and share your stories.
Our lesson is on Intro GAPS. Amy will share how the stages work and how to nourish the body and heal the gut. We'll talk about how and why all diseases begin in the gut and how you can change your health by healing your gut.
If you feel like you're well-versed on the practical applications of GAPS, you're welcome to skip this part of the meeting and join us at 7:00 PM for our recipe sharing and discussion. This week's we're talking about vegetable ferments!
The Recipe Sharing and Discussion is one of the best things about GAPS Group! You get to try delicious food, and take home the recipe so you can recreate it! It's a great way to diversify your GAPS go-tos, and you get to catch up with everyone on their progress. Sometimes, hearing someone else's success story is the best way to get you to keep going.
Location:
GAPS Group is currently held at the Loveland Outlets, very close to our new office space. It’s located north of McWhinney Blvd. next to The Studio, near Tommy Hilfiger and Sketchers. The best way to get there is to set your GPS to 5613 McWhinney Blvd, Loveland, CO 80538 and walk to suite 5609. Get more details on the exact location here.
See more information and RSVP to the event on our Facebook page.
How to Properly Caramelize Onions
Caramelized onions are an amazing supporting food because they are high in vitamin C, calcium, and quercetin. It’s especially helpful for sore throats but is an excellent food to eat anytime you are starting to feel under the weather! (Check out more of my helpful tips for caring for yourself when you’re sick here.)
I recommend a whole onion per person because the onions will reduce in size. You want to use a lot of animal fat with this recipe! I like both butter or lard, so whatever you happen to have on hand is ok. The fat is also great for you while you’re sick. Make sure you add enough salt for the added minerals, which is also very important when you’re ill.
White or yellow onions work for this recipe. I prefer the yellow onions and often have them on hand so that is what I usually use.
For great caramelized onions, make sure your heat is on low. This is a food that is best with patience - and burnt with impatience. Allow 20 - 30 minutes of cooking time to get really good caramelized onions. You can cook multiple onions at a time as long as you are using a large enough pan. If your entire family is sick, you can make a batch for everyone in about the same amount of time as cooking just one.
When slicing your onions, you want to slice them in short slices. Don’t give into the temptation of dicing your onions! Even if it seems they will cook faster, you’ll most likely end up with a burnt or mushy dish.
Make sure you don’t crowd your pan of onions or they won’t properly caramelize. Above is the maximum amount of onions I would put in one pan.
Caramelized onions should be sweet! They shouldn’t really taste like onions at all when they’re finished! As they cook, take a taster. If it still tastes like onions, keep stirring.
Dr Natasha recommends topping a caramelized onion with a little olive oil and a couple fried eggs. (Again fried in plenty of fat.) This is a very filling meal that’s amazing when you’re sick.
However, you don’t need to be sick to enjoy this nourishing food! It can be very soothing when you’ve had a long day and are needing a comfort food.
Ingredients for Caramelized Onions:
2-3 Tbsp Fat of Your Choice Per Onion
Onion (1 Per Person)
Salt (The amount of salt will vary if you’re using salted butter or unsalted lard.)
Directions for Caramelized Onions:
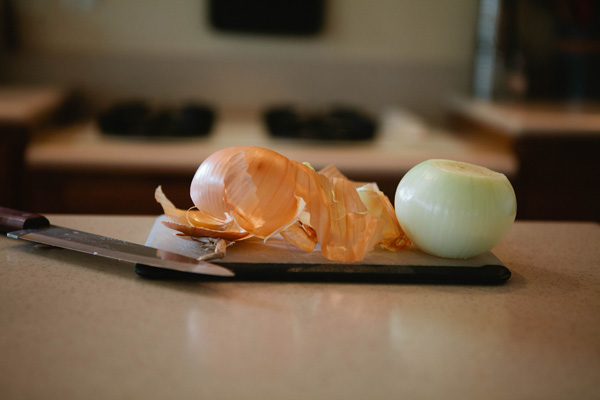
Slice the ends of your onion and peel. Put the peels and “extras” into a bag for use in stock later.
Cut the onion in half. Then cut into half again.
Slice the onion so long strips form.
Start your pan heating on medium high and add the fat of your choice. Heating your pan before your onion is sliced will result in a pan that is too hot.
Add your onions to the pan. Stir to coat in the fat.
Cook onions over medium heat, stirring every few minutes.
When they are nearing translucency (about 25 ish minutes) add a little salt if you are not using salted butter. Even if you are using salted butter, adding a little extra salt will help them break down.
Make sure everyone salts their onions to taste once the onions are on their plates!
Your onions are done when they are golden brown. Enjoy them on their own or as part of a larger meal.
Caramelized Onions
ingredients:
- 2-3 Tbsp Fat of Your Choice Per Onion
- Onion (1 Per Person)
- Salt (The amount of salt will vary if you’re using salted butter or unsalted lard.)
instructions:
How to cook Caramelized Onions
- Slice the ends of your onion and peel. Put the peels and “extras” into a bag for use in stock later.
- Cut the onion in half. Then cut into half again.
- Slice the onion so long strips form.
- Start your pan heating on medium high and add the fat of your choice. Heating your pan before your onion is sliced will result in a pan that is too hot.
- Add your onions to the pan. Stir to coat in the fat.
- Cook onions over medium heat, stirring every few minutes.
- When they are nearing translucency (about 25 ish minutes) add a little salt if you are not using salted butter. Even if you are using salted butter, adding a little extra salt will help them break down.
- Make sure everyone salts their onions to taste once the onions are on their plates!
- Your onions are done when they are golden brown. Enjoy them on their own or as part of a larger meal.
How to Make Cabbage Tonic
Fermented cabbage is very high in vitamin C which is essential for healing a leaky gut. This cabbage tonic can be taken from the beginning of the Intro Diet of GAPS. Use this tonic daily to help change your gut flora. As with all probiotic foods, make sure you begin with only a small amount, about a tablespoon at a time, keeping an eye out for symptoms of die off. If none are present, you can continue gradually increasing your daily amount and the frequency that you consume this tonic throughout the day.
Fermented cabbage is very high in vitamin C which is essential for healing a leaky gut. This cabbage tonic can be taken from the beginning of the Intro Diet of GAPS. Use this tonic daily to help change your gut flora. As with all probiotic foods, make sure you begin with only a small amount, about a tablespoon at a time, keeping an eye out for symptoms of die off. If none are present, you can continue gradually increasing your daily amount and the frequency that you consume this tonic throughout the day.
When you do ferments, your intention and energy really does affect the taste of the ferments. If you’re stressed, it will show in the food. Do ferments at a time that you’re relaxed and enjoying being in the kitchen. If this is not your mindset, take a couple minutes to reset, thinking about how this work is bringing such amazing health and healing to your body and your family. After your mindset is set, smile and preparing your ferment!
When doing ferments, it is important to hand wash your jars. A lot of dishwashers leave a film of soap, even if you’re using a natural soap. Make sure you rinse your jar well with hot water. It’s not necessary to sterilize your jar; we’re not canning. Fermentation creates a live food that will take care of the bad bacteria.
Tidbit from Nourishing Traditions: “Add ¼ - ½ tsp cayenne pepper to 4 ounces of cabbage tonic for a gargle and sore throat remedy.
This recipe is based on the Nourishing Traditions cookbook by Sally Fallon on page 614.
Ingredients for Cabbage Tonic:
¼ Organic Green Cabbage
1 tsp Sea Salt
¼ Cup Whey (how to make whey)
Filtered Water
Directions for Cabbage Tonic:
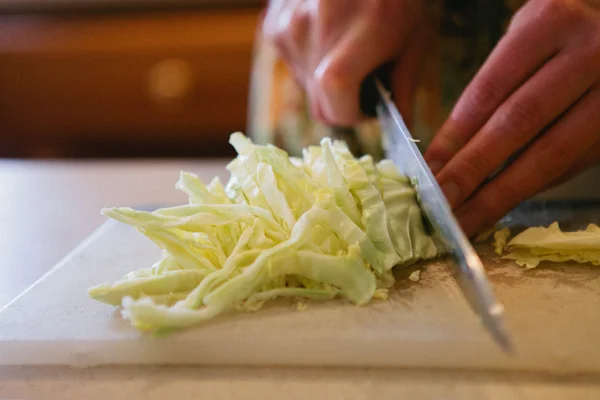
Shred cabbage finely with a knife. You want small even pieces so it ferments evenly. (Similar to cutting onions for even cooking.)
Add cabbage and salt to a bowl.
Using your hands, squish the cabbage for about a minute.
Let the cabbage sit for five minutes.
Squish the cabbage again for a minute.
Put cabbage in a 2 quart jar with whey.
Add enough water to fill the container.
Cover tightly.
Leave at room temperature for 2 days before transferring to the fridge.
Cabbage Tonic
ingredients:
- ¼ Organic Green Cabbage
- 1 tsp Sea Salt
- ¼ Cup Whey
- Filtered Water
instructions:
How to cook Cabbage Tonic
- Shred cabbage finely with a knife. You want small even pieces so it ferments evenly. (Similar to cutting onions for even cooking.)
- Add cabbage and salt to a bowl.
- Using your hands, squish the cabbage for about a minute.
- Let the cabbage sit for five minutes.
- Squish the cabbage again for a minute.
- Put cabbage in a 2 quart jar with whey.
- Add enough water to fill the container.
- Cover tightly.
- Leave at room temperature for 2 days before transferring to the fridge.
All About Fruits and Vegetables
Sweet fruits! Is there anything better than a juicy peach on a summer’s day or a bright red strawberry, straight from the garden and bursting with tart flavor? And vegetables! Their cooling crunch, the endless ways to season them up and add them to everything.
Plants like fruits and vegetables cleanse our bodies. They help our bodies to process and remove the toxins that we are exposed to on a daily basis from the environment around us, even if we do our best to avoid toxins. We mostly benefit from the fiber, antioxidants, enzymes, and other detoxifying substances.
Drinking fresh juices made up of both fruits and vegetables is one of the easiest ways to enjoy the rich nutritional benefits of produce. Adding fruit into juices will especially help children in getting all the benefits that juicing can offer.
Fruits, nuts, and other treats should be limited, even on Full GAPS. So treat yourself to an occasional piece of fruit but don’t overdo it! To see a full list of fruits and vegetables that are acceptable on the GAPS Diet, click here.
Good Fruits and Vegetables: The Clean 15 and the Dirty Dozen
If you’re on a strict food budget or looking for a small change that can have a large impact, try purchasing “The Clean 15.” A non-profit group called the Environmental Working Group conducts ongoing research about pesticides that are in (and on) our food and creates a guide to produce pesticides, which they update every year. They rank 48 popular fruits and vegetables, with the “Clean 15” being the top fifteen fruits and vegetables with the least amount of pesticides.
For fruits in 2019, the “Clean 15” which you can purchase the non-organic versions are:
Avocados
Pineapples
Papayas
Kiwi
Cantaloupe
Honeydew Melons
For vegetables in 2019, the "Clean 15" which you can purchase the non-organic versions are:
Sweet Corn
Sweet Peas
Onions
Eggplants
Asparagus
Cabbage
Cauliflower
Broccoli
Mushrooms
A note on Genetically Engineered seeds: The Environmental Working Group has said that a small amount of papaya, sweet corn, and summer squash sold in the U.S. is produced from Genetically Engineered seeds. To avoid Genetically Engineered produce, buy papayas organic.
Conversely, the “Dirty Dozen” are fruits that you really want to purchase organically. These are the top twelve fruits and vegetables that contain pesticides so to keep yourself toxin free, it’s important to purchase organic.
For fruits in 2019, the “Dirty Dozen” that should be purchased organically are:
Strawberries
Nectarines
Apples
Grapes
Peaches
Cherries
Pears
For vegetables in 2019, the "Dirty Dozen" that should be purchased organically are:
Spinach
Kale
Tomatoes
Celery
Potatoes
Hot Peppers
Better Fruits and Vegetables: Purchasing High Quality Organic Always
Organic means produce is grown without synthetic pesticides, synthetic fertilizers or genetically modified organisms. Purchasing all of your fruits and vegetables organically is beneficial for you and beneficial for the plant! If you’re looking for the better choice in produce, try purchasing high quality organic fruits and vegetables.
Best Fruits and Vegetables: Eating Local and in Season
The best choice when it comes to choosing fruits and vegetables is to eat local and in season fruit. Eating in season means your food is fresher and better tasting! Eating local is also better for the environment because your food travels less miles to be on your table.
To buy local, in season fruits and vegetables, you can check for local farming co-ops or farmer’s markets. Buying local also means you’re supporting a small business. It’s a win-win-win all around! Or consider growing your own fruits and vegetables if you have the space!
To find in-season fruits and vegetables no matter where you are, try the Seasonal Food Guide website.
The Best Way to Add Fermented Food to Your Diet
Fermenting - one of the best things I discovered on my journey of healing!
The process of preserving food by fermenting it is something that’s been around for centuries and is practiced all other world. It’s not just the process of creating alcoholic beverages like beer or wine, or creating different types of dairy like cheese or yogurt. Eating fermented foods is a huge part of the GAPS Diet, but anyone who adds fermented foods to their diet will see some benefit.
There’s so many benefits to fermenting! Fermenting food means you’re helping beneficial bacteria and yeast grow that aid in digestion. Fermented foods are packed full of probiotics, which helps your gut health. It also boosts immunity by producing lactic acid, which pathogenic bacteria cannot live in the presence of. It allows you to preserve food longer which means that you’re throwing less away! It also increases the nutritional availability without adding anything extra.
While any type of ferment that you consume is beneficial, there are good, better, and best ways to ferment.
Good: Buying a Ferment at the Store
There are a variety of common ferments that are available at most grocery stores. Starting small and adding just one ferment to your diet will bring some benefit to your gut health and overall wellbeing.
While purchasing a ferment from a store isn’t the most beneficial for your wallet or your health, if you want to dip your toes into fermented foods, purchasing one can be just fine. Find one that has the least amount of ingredients possible and has the least amount of processing. Fermented foods should be as close to the source as they can be.
Better: Buying Multiple Ferments at the Store
There are many kinds of fermented foods so experiment! Adding a variety of ferments to your diet is important because you and your gut will get a much wider variety of bacteria, all naturally. Fermented foods come in many different varieties, like pickled vegetables, sauerkraut, or even liquids like kombucha and kefir.
A better option for getting ferments into your diet is to purchase a variety of high quality ferments from the store.
Best: Making and Consuming Your Own Variety of Ferments
Making your own ferments is absolutely the best! I love making my own ferments because I can buy large quantities of food in season and locally and preserve it for a long time. I also know what I’m eating because I added it myself!
Consuming a variety of different kinds of ferments is important for our gut health. By making your own, you can save a lot of money and get all the variety you need!
When you make your own ferments, you’re intimately connected with what you’re eating. This is important for thoughtful eating.
If you’re interested in fermenting your own food, I’ve shared a lot about fermenting over the years! You can see more on the process of fermenting here and here, and specifically about lacto-fermenting here. Whey is a great way (get it!) to start the fermentation process for many ferments. You can learn about making your own whey here.
For recipes on fermenting food, check out my beet kvass recipe, my recipe for fermented garlic (learn more about the benefits of fermented garlic) or learn how to ferment almond flour for baking.
10 Ways to Consume Meat Stock
Meat stock is one of the pillars of a healthy gut diet. While bone broth is getting a lot of press lately, I don’t recommend it for most people. (Learn more about why I recommend meat stock over bone broth here.) Meat stock really gets a gold medal as a great nutrient dense food that can boost your immunity, help with healing allergies, and is easy to digest, especially for those with a leaky gut. Even better, meat stock is meant to be a meal all on it’s own! You can make meat stock with any meat, though I think chicken meat stock is the easiest beginner stock.
Consuming meat stock is a habit I encourage my clients to do throughout the day because of it’s great health benefits. There are many ways to consume meat stock and some creative ways so that you don’t get bored with consuming meat stock frequently. Here’s a few of my favorites!
Vary Your Meat Stock Recipe
Try adding different spices and herbs to your meat stock recipe when you cook it. This will change the taste to keep it interesting. You can also vary the vegetables and aromatics that you add - or add no aromatics like onions and your dogs can consume your meat stock as well!
Have It Warm
Heated stock is a great warming beverage, especially on cool winter mornings. Keeping heated stock in a mug next to you will allow you to drink it alongside your morning meal.
If you’re on the go, keep your heated stock in a thermos so it stays warm throughout the day. Then you can sip on it just like a tea or coffee.
Eat It Cold
Drinking cold stock is very refreshing on a hot summer day!
If your stock gets a good gel at the top, you can simply pop the gel off the top of your stock and eat it cold like a meat jelly.
Use Meat Stock as a Base
Meat stock makes an excellent base for different soups and other recipes. I’ve been partial to this chicken tortilla soup recipe recently but you can make it into any variety of soup that sounds delicious.
Add an Egg (or Two)
You can poach eggs in warm stock for a delicious breakfast. Use the stock as a replacement for the water that you would normally poach eggs in.
Or, break and stir a few egg yolks only into warm stock. This will create a cheesy tasting drink that is delicious.
Consume Meat Stock on the Go
Traveling can bring up a whole host of stressors and traveling on the GAPS Diet means paying closer attention to your food. Since meat stock is one of the pillars of the GAPS Diet, it’s important to factor it into your travel plans. There’s a few different ways to consume meat stock on the go, from dehydrating it to making it when you get there.
What are your favorite ways to consume meat stock? If you have other ideas, share them in the comments below!
Liver Pâté Recipe
Liver pâté makes me feel like I am eating a treat when I'm really eating something healthy—very healthy and good for me! You can make pate out of any type of liver, but chicken liver is the most mild, so that is a great one to start with if you are not used to eating liver. Once you make this delicious mixture, you can eat it many ways. Honestly, I mostly just eat it by the spoonful, but there are many other ways you can eat pate, including the ones listed below. After you make this wonderful superfood, let us know in the comments your favorite ways to spice and eat pate.
Ways to Eat liver Pate:
It’s good on it’s own
Spread it on crackers or bread if you are not following the GAPS diet
Create GAPS Legal “crackers” with slices of avocado or zucchini
Layer with fermented veggies like cabbage or sauerkraut
Spread on pieces of cheese
Dip veggies such as carrot sticks,
Add the pate to lean meats like chicken or turkey or game meat like venison or turkey to give it a boost of fat
GAPS Legal Liver Pate Ingredients
½ c Liver
Butter or lard
2 tbsp chopped Onion
3 cloves of Garlic
Spices (If you’re on the GAPS Diet, omit spices until you are tolerating them on a later stage!)
1/16 tsp nutmeg, cloves and ginger
¼ tsp of cinnamon
¼ to ½ tsp Salt
2 small pans
Blender or Food Processor
Directions for making liver pate for the gaps diet
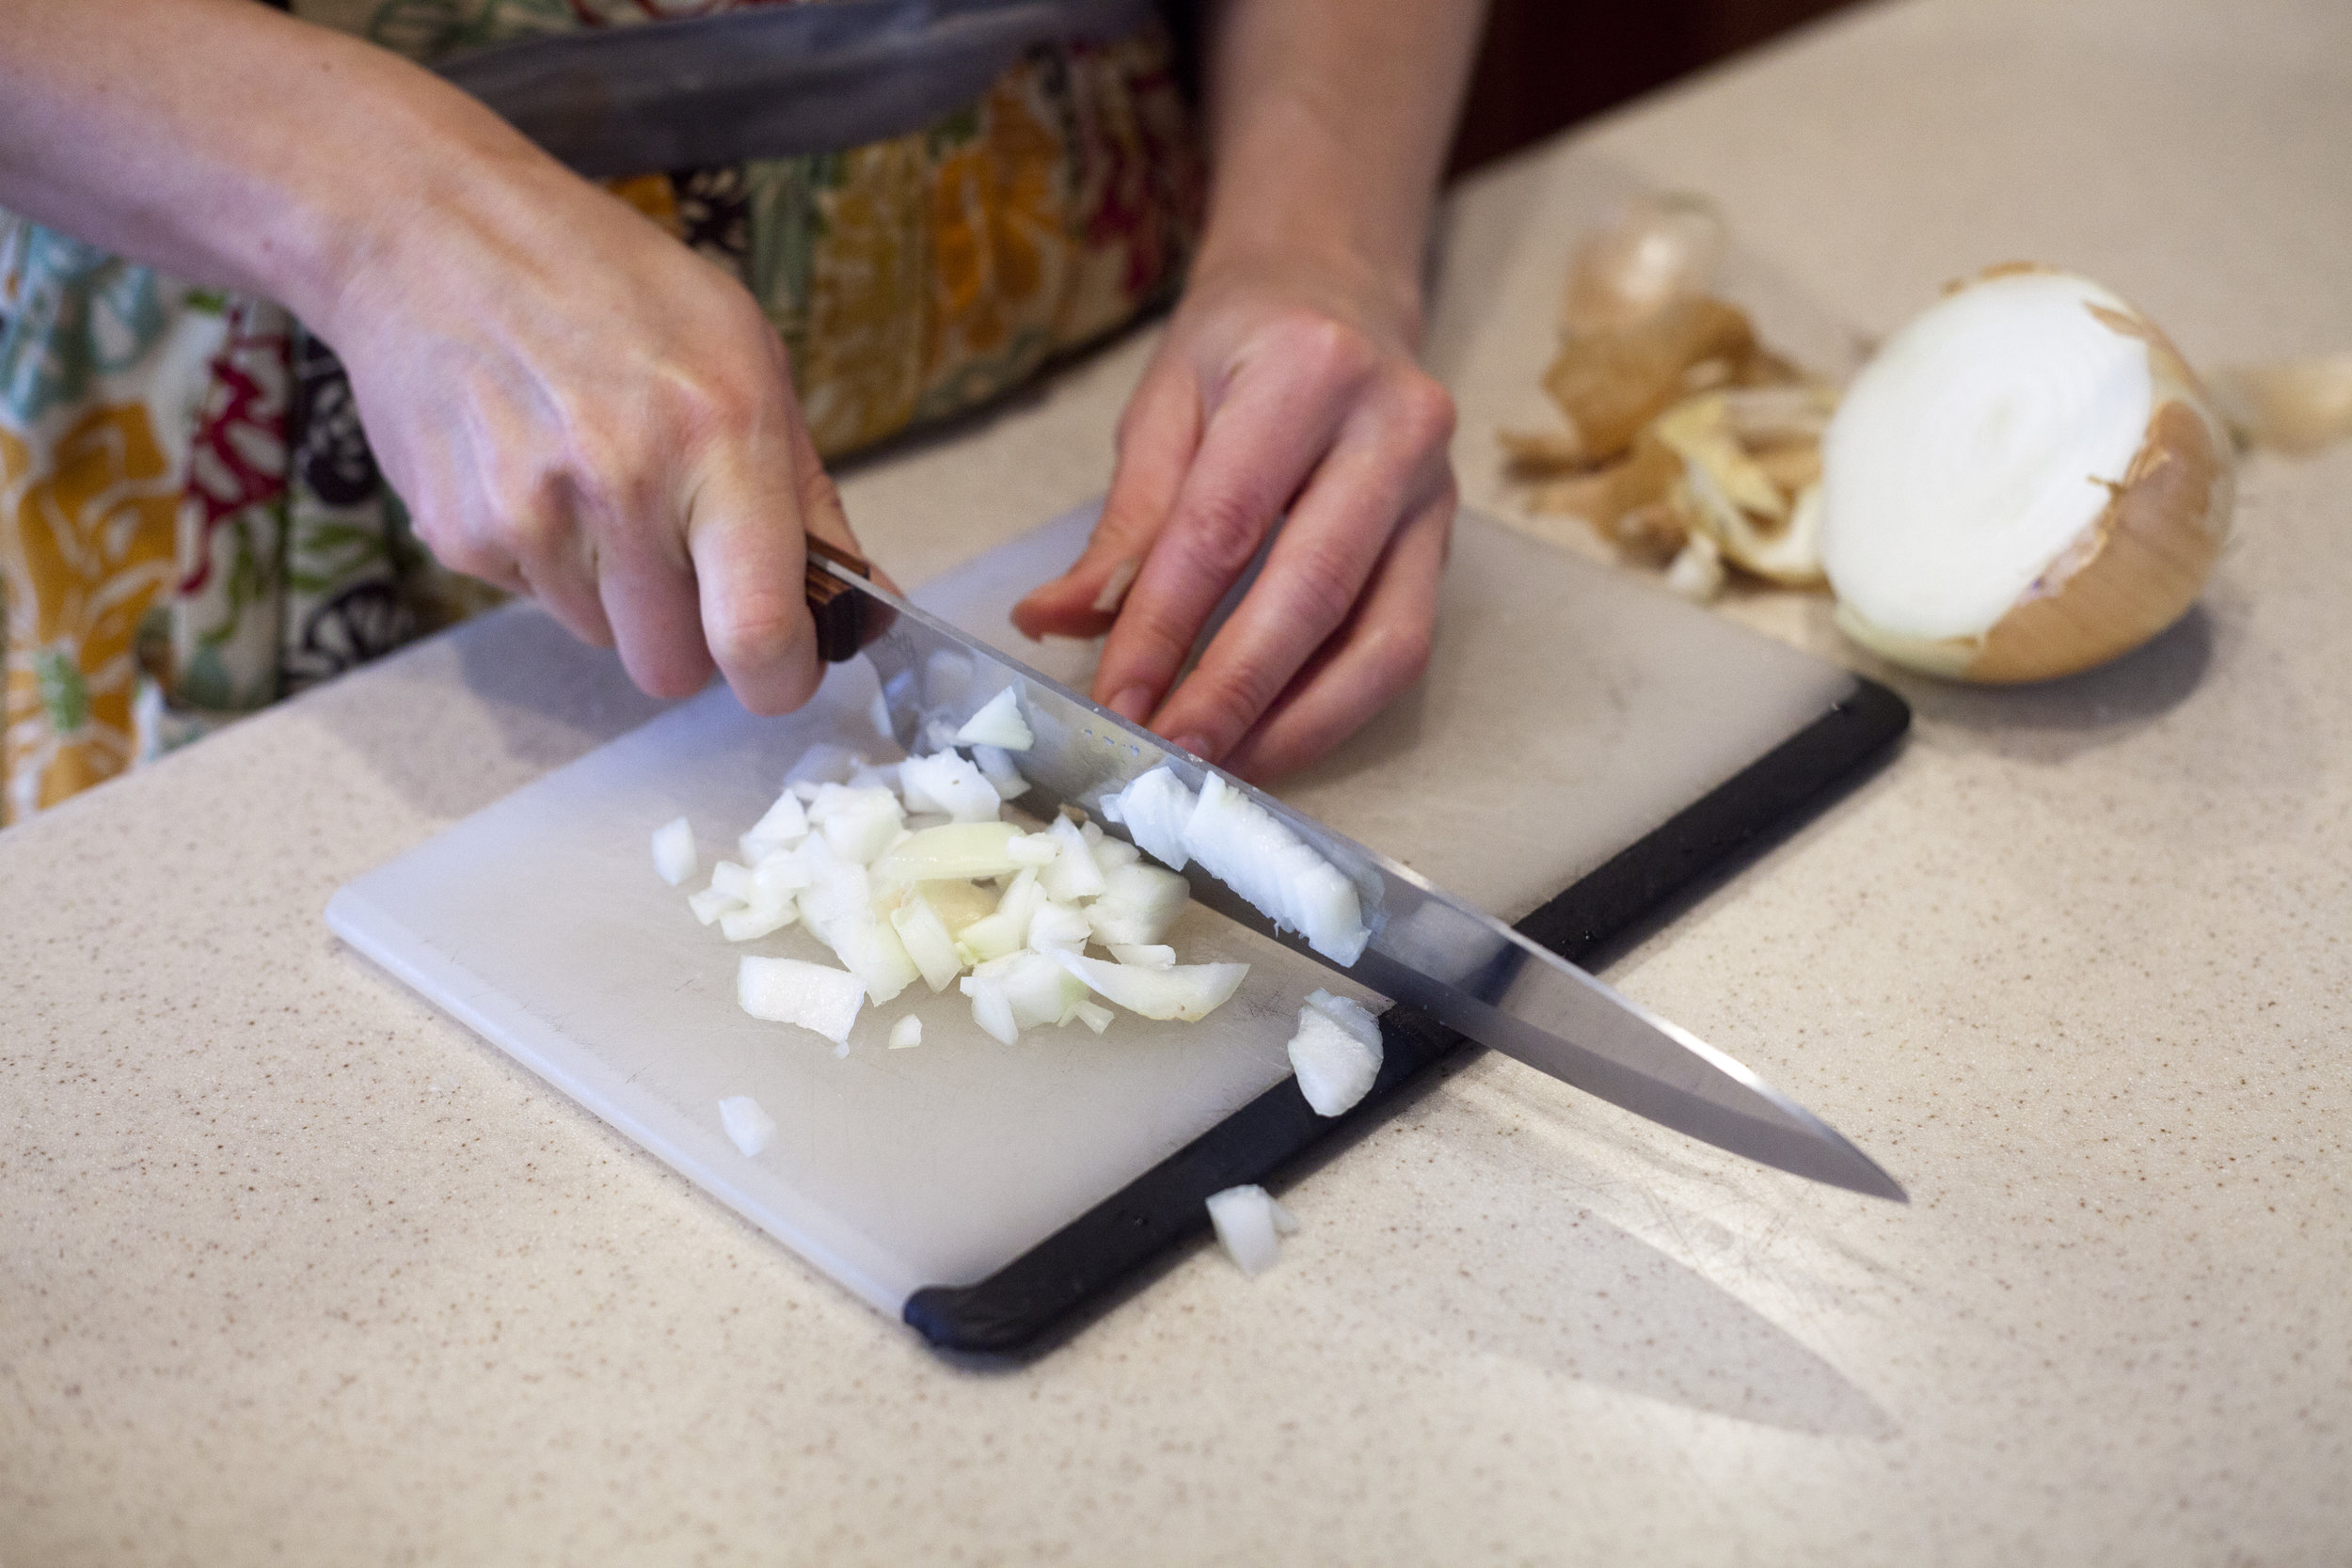
Roughly chop about 2 tbsp of an onion. The smaller you chop your onion, the quicker it will cook but careful - too small and it’s easy to burn!
Add about ½ inch of water to a pan. Add liver to pan to poach.
After 2-3 minutes, flip the liver to poach the other side.
Add butter or lard to a small skillet. Add the onions to the skillet, stir. Add the garlic to the skillet.
The liver is done when it is still a little pink inside but not red. A little blood coming out of the liver when it’s done. If the juices are all clear, the liver is overcooked.
Add liver to the food processor or blender. Process quickly on its own.
Add cooked onions and garlic to food processor or blender. Add enough fat so that the ratio is about 40% fat, 60% liver, about 3 tbsp for ½ cup of liver. Lard has less of a flavor than butter, butter will give your pate a different flavor.
Blend until smooth.
Add spices and ¼ tsp salt to the blender or food processor. Blend until smooth. If needed, add remaining ½ tsp of salt.
Serve pate warm or chilled.
Liver Pate
ingredients:
- ½ c Liver
- Butter or lard
- 2 tbsp chopped Onion
- 3 cloves of Garlic
- Spices
- 1/16 tsp nutmeg, cloves and ginger
- ¼ tsp of cinnamon
- ¼ to ½ tsp Salt
- 2 small pans
- Blender or Food Processor
instructions:
How to cook Liver Pate
- Roughly chop about 2 tbsp of an onion. The smaller you chop your onion, the quicker it will cook but careful - too small and it’s easy to burn!
- Add about ½ inch of water to a pan. Add liver to pan to poach.
- After 2-3 minutes, flip the liver to poach the other side.
- Add butter or lard to a small skillet. Add the onions to the skillet, stir. Add the garlic to the skillet.
- The liver is done when it is still a little pink inside but not red. A little blood coming out of the liver when it’s done. If the juices are all clear, the liver is overcooked.
- Add liver to the food processor or blender. Process quickly on its own.
- Add cooked onions and garlic to food processor or blender. Add enough fat so that the ratio is about 40% fat, 60% liver, about 3 tbsp for ½ cup of liver. Lard has less of a flavor than butter, butter will give your pate a different flavor.
- Blend until smooth.
- Add spices and ¼ tsp salt to the blender or food processor. Blend until smooth. If needed, add remaining ½ tsp of salt.
- Serve pate warm or chilled.
Butternut Squash GAPS Pancakes Recipe
This recipe was adapted from the GAPS Pancake Recipe in the Gut and Psychology Syndrome book by Dr. Natasha Campbell. Makes 3 Pancakes.
GAPS Legal Pancakes Ingredients
1/2 c. cooked Butternut Squash
3 Farm Fresh Eggs
Fat such as lard, butter or sour cream
Salt
Toppings such as date syrup or cinnamon
Food Processor or Blender
Directions for gaps legal pancakes
Cut butternut squash into halves. Deseed and bake face down on a parchment lined baking tray for 40 minutes at 400 degrees until very soft.
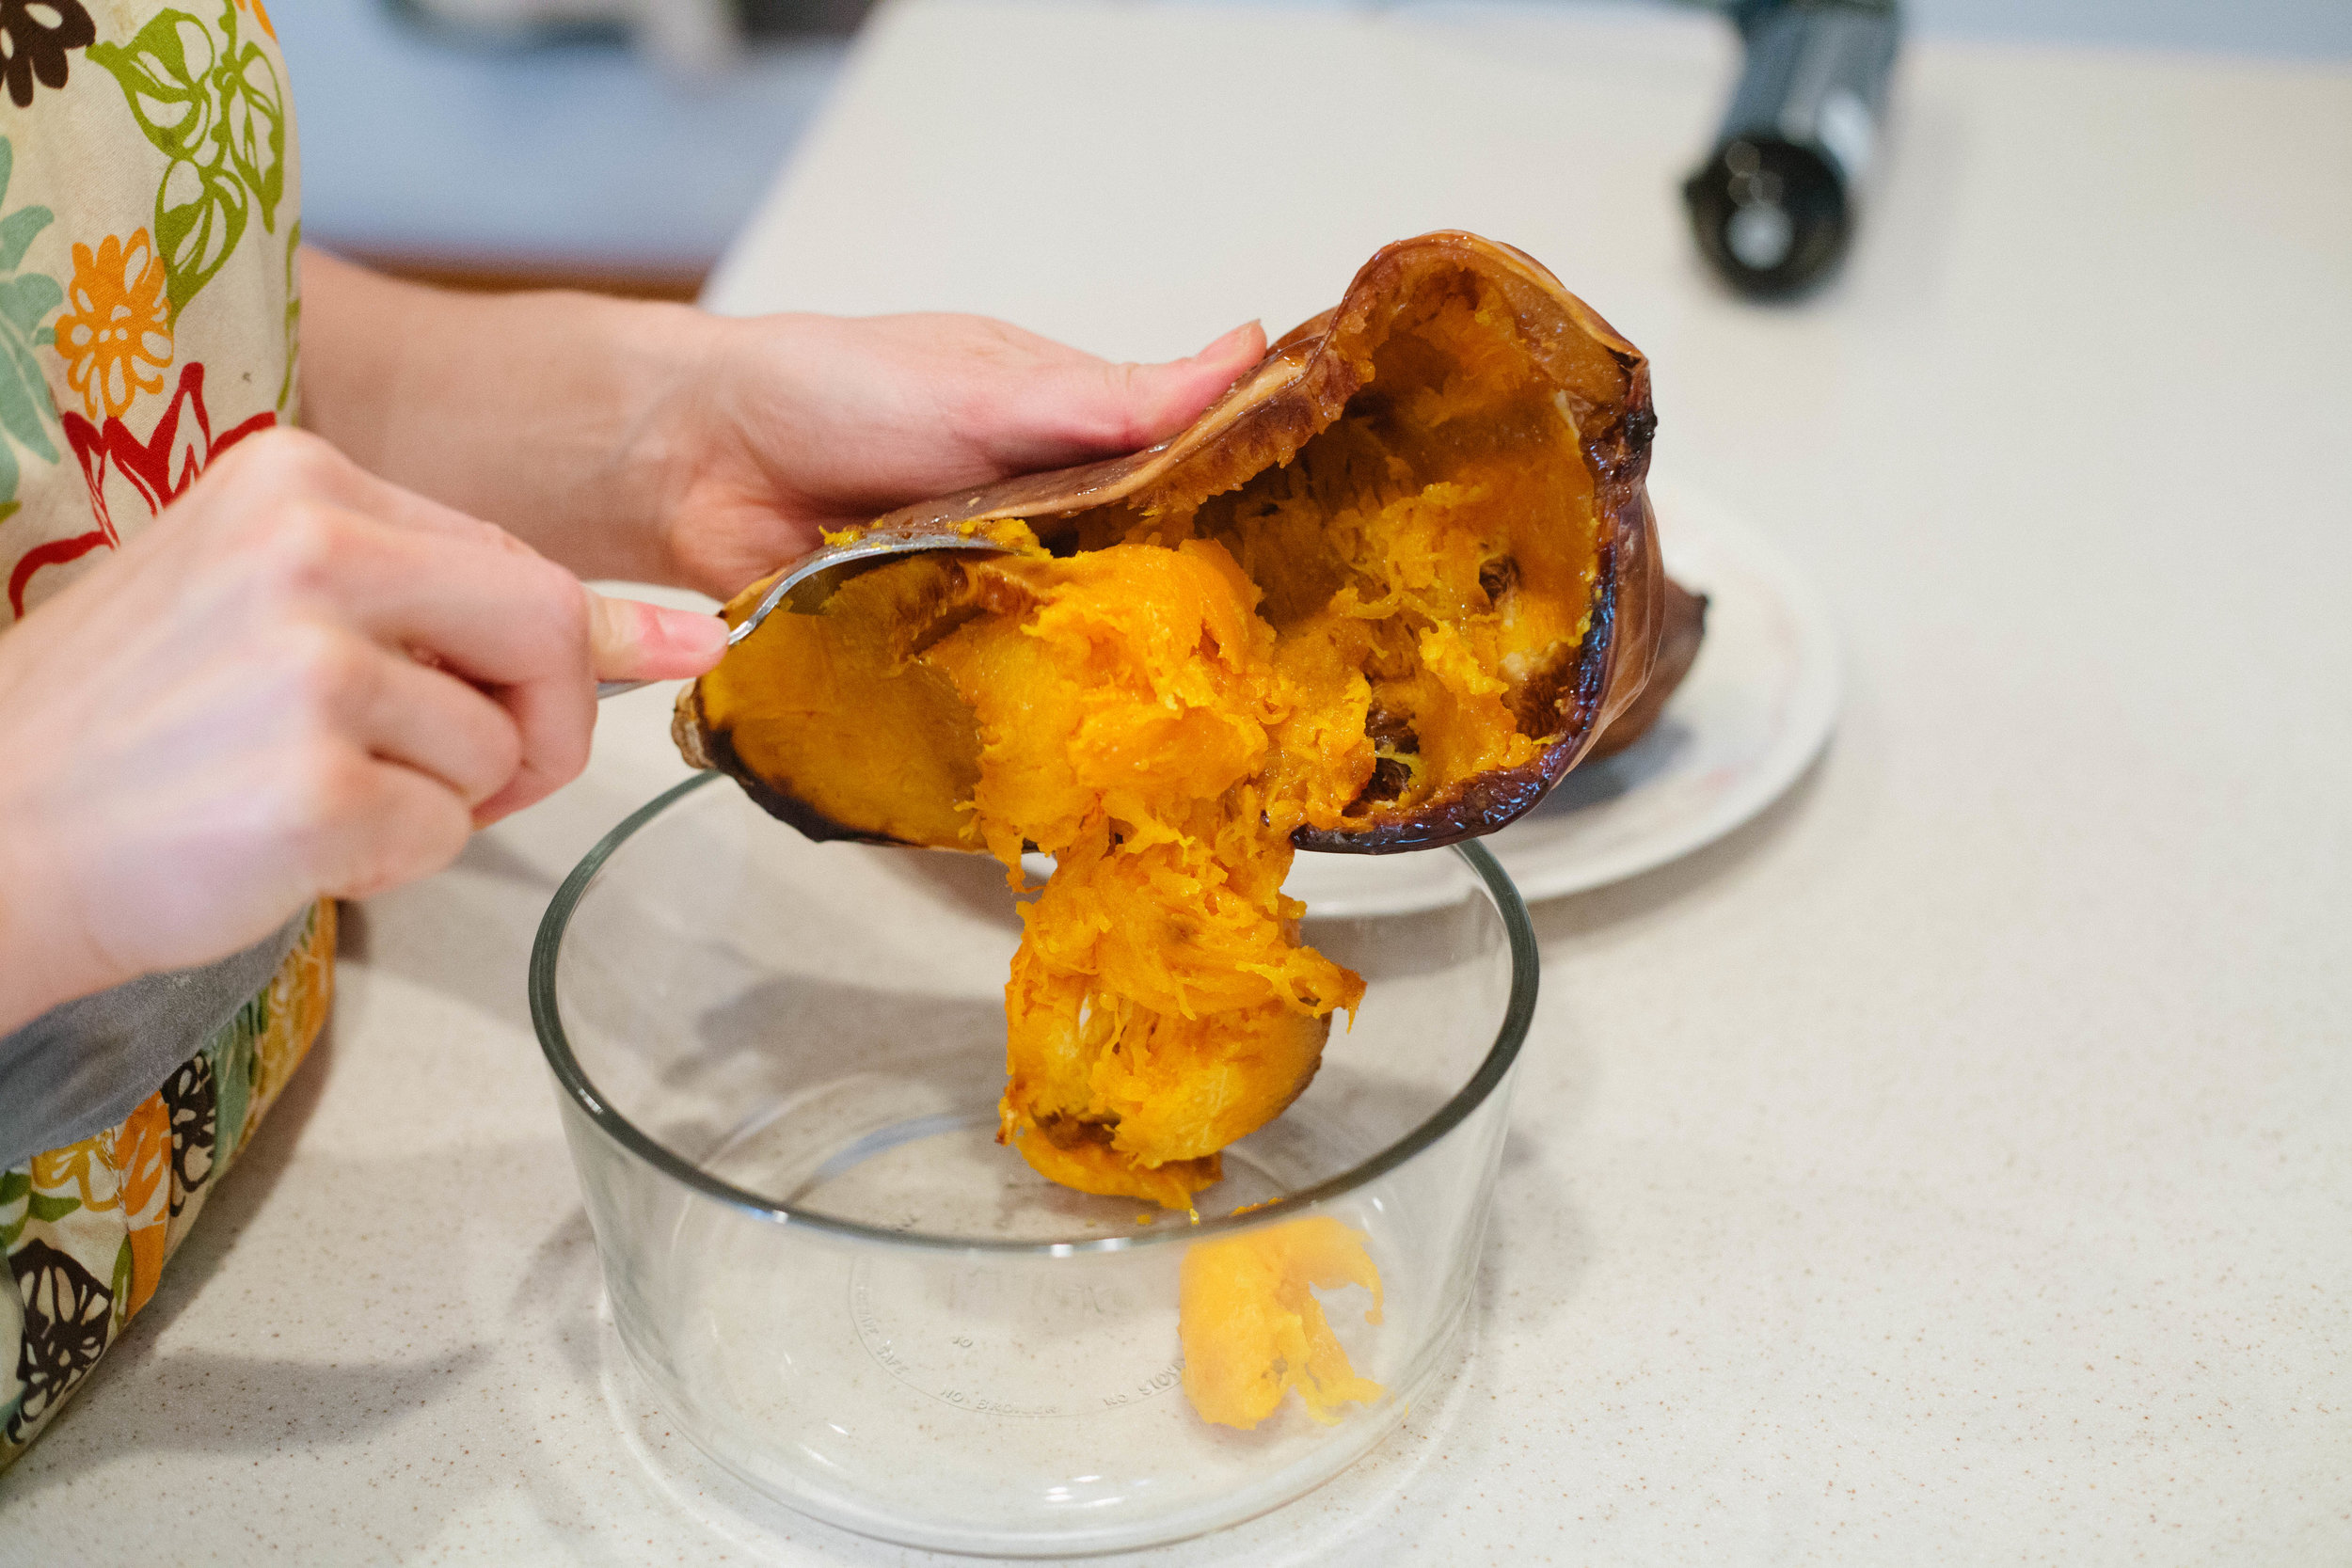
When squash has cooled and can be handled, scoop out the flesh with a spoon into a large bowl.
Add squash, eggs and fat to blender. For every 1/2 cup of squash, add 3 eggs, 1 tbsp of fat and 2 pinches of salt. The traditional GAPS pancake recipe uses almond butter to thicken instead of fat. Since this is a nut free recipe, I used fat to thicken instead. Blend until smooth.
Add a couple tablespoons of fat to a pan. Heat on low heat until oil is simmering.
Make sure your fat is glistening in the pan before adding your pancake batter. You can also add one drop of water into the pan. If it sizzles, the oil is ready.When pan is ready, add scoop of pancake batter. Cook pancake on low heat for about 10 minutes.
You can cook multiple pancakes at a time but I’ve had the best luck cooking one at a time!
Similar to traditional pancakes, they will bubble on top when they are ready to flip.
Cook on the second side for about two to three minutes. Be careful - this second side will cook much faster than the first!
Once cooked, add butter. Keep as a savory pancake or for a sweeter treat, add date syrup or cinnamon. Do not add cinnamon to the mixture before you cook - it will burn!
Notes: If your fat gets too hot and burns, rinse your pan out and start with new fat for the next pancake. Otherwise, all the pancakes will taste burn.
Blackened and burnt sections of the pancake contain high levels of carbon, which is difficult to digest. These should be avoided as much as possible on the introduction stages of the GAPS diet.
Butternut Squash Pancakes
ingredients:
- 1/2 c. cooked Butternut Squash
- 3 Farm Fresh Eggs
- Fat such as lard, butter or sour cream
- Salt
- Toppings such as date syrup or cinnamon
- Food Processor or Blender
instructions:
How to cook Butternut Squash Pancakes
- Cut butternut squash into halves. Deseed and bake face down on a parchment lined baking tray for 40 minutes at 400 degrees until very soft.
- When squash has cooled and can be handled, scoop out the flesh with a spoon into a large bowl.
- Add squash, eggs and fat to blender. For every 1/2 cup of squash, add 3 eggs, 1 tbsp of fat and 2 pinches of salt. The traditional GAPS pancake recipe uses almond butter to thicken instead of fat. Since this is a nut free recipe, I used fat to thicken instead. Blend until smooth.
- Add a couple tablespoons of fat to a pan. Heat on low heat until oil is simmering.
- Make sure your fat is glistening in the pan before adding your pancake batter. You can also add one drop of water into the pan. If it sizzles, the oil is ready.When pan is ready, add scoop of pancake batter. Cook pancake on low heat for about 10 minutes.
- You can cook multiple pancakes at a time but I’ve had the best luck cooking one at a time!
- Similar to traditional pancakes, they will bubble on top when they are ready to flip.
- Cook on the second side for about two to three minutes. Be careful - this second side will cook much faster than the first!
- Once cooked, add butter. Keep as a savory pancake or for a sweeter treat, add date syrup or cinnamon. Do not add cinnamon to the mixture before you cook - it will burn!
- Notes: If your fat gets too hot and burns, rinse your pan out and start with new fat for the next pancake. Otherwise, all the pancakes will taste burn.
- Blackened and burnt sections of the pancake contain high levels of carbon, which is difficult to digest. These should be avoided as much as possible on the introduction stages of the GAPS diet.
Whole Roasted Chicken with Salt Recipe
GAPS Legal Roasted Chicken with Salt Ingredients
Chicken
Salt, about 2 tbsp
Parchment Paper
Aluminum Foil
Directions for roasted chicken with salt
Preheat oven to 400 degrees. I like to start hot so that the skin cooks and then turn the oven down after it’s been cooking for 15 minutes so it holds the juices in.
Pour your salt into a bowl so you don’t contaminate the rest of the salt.
Rinse and pat dry chicken, inside and outside. Remove the giblets and set aside.
Rub salt all over the chicken, taking care to put salt inside the chicken cavity.
Rinse the giblets. Add the giblets to the inside of the cavity.
Cover with unbleached parchment paper and tinfoil. You don’t want aluminum foil to touch your food. You can also use a dutch oven pan and omit the parchment paper/aluminum foil covering.
Put in the oven.
After about 15 minutes, turn the oven down to 350.
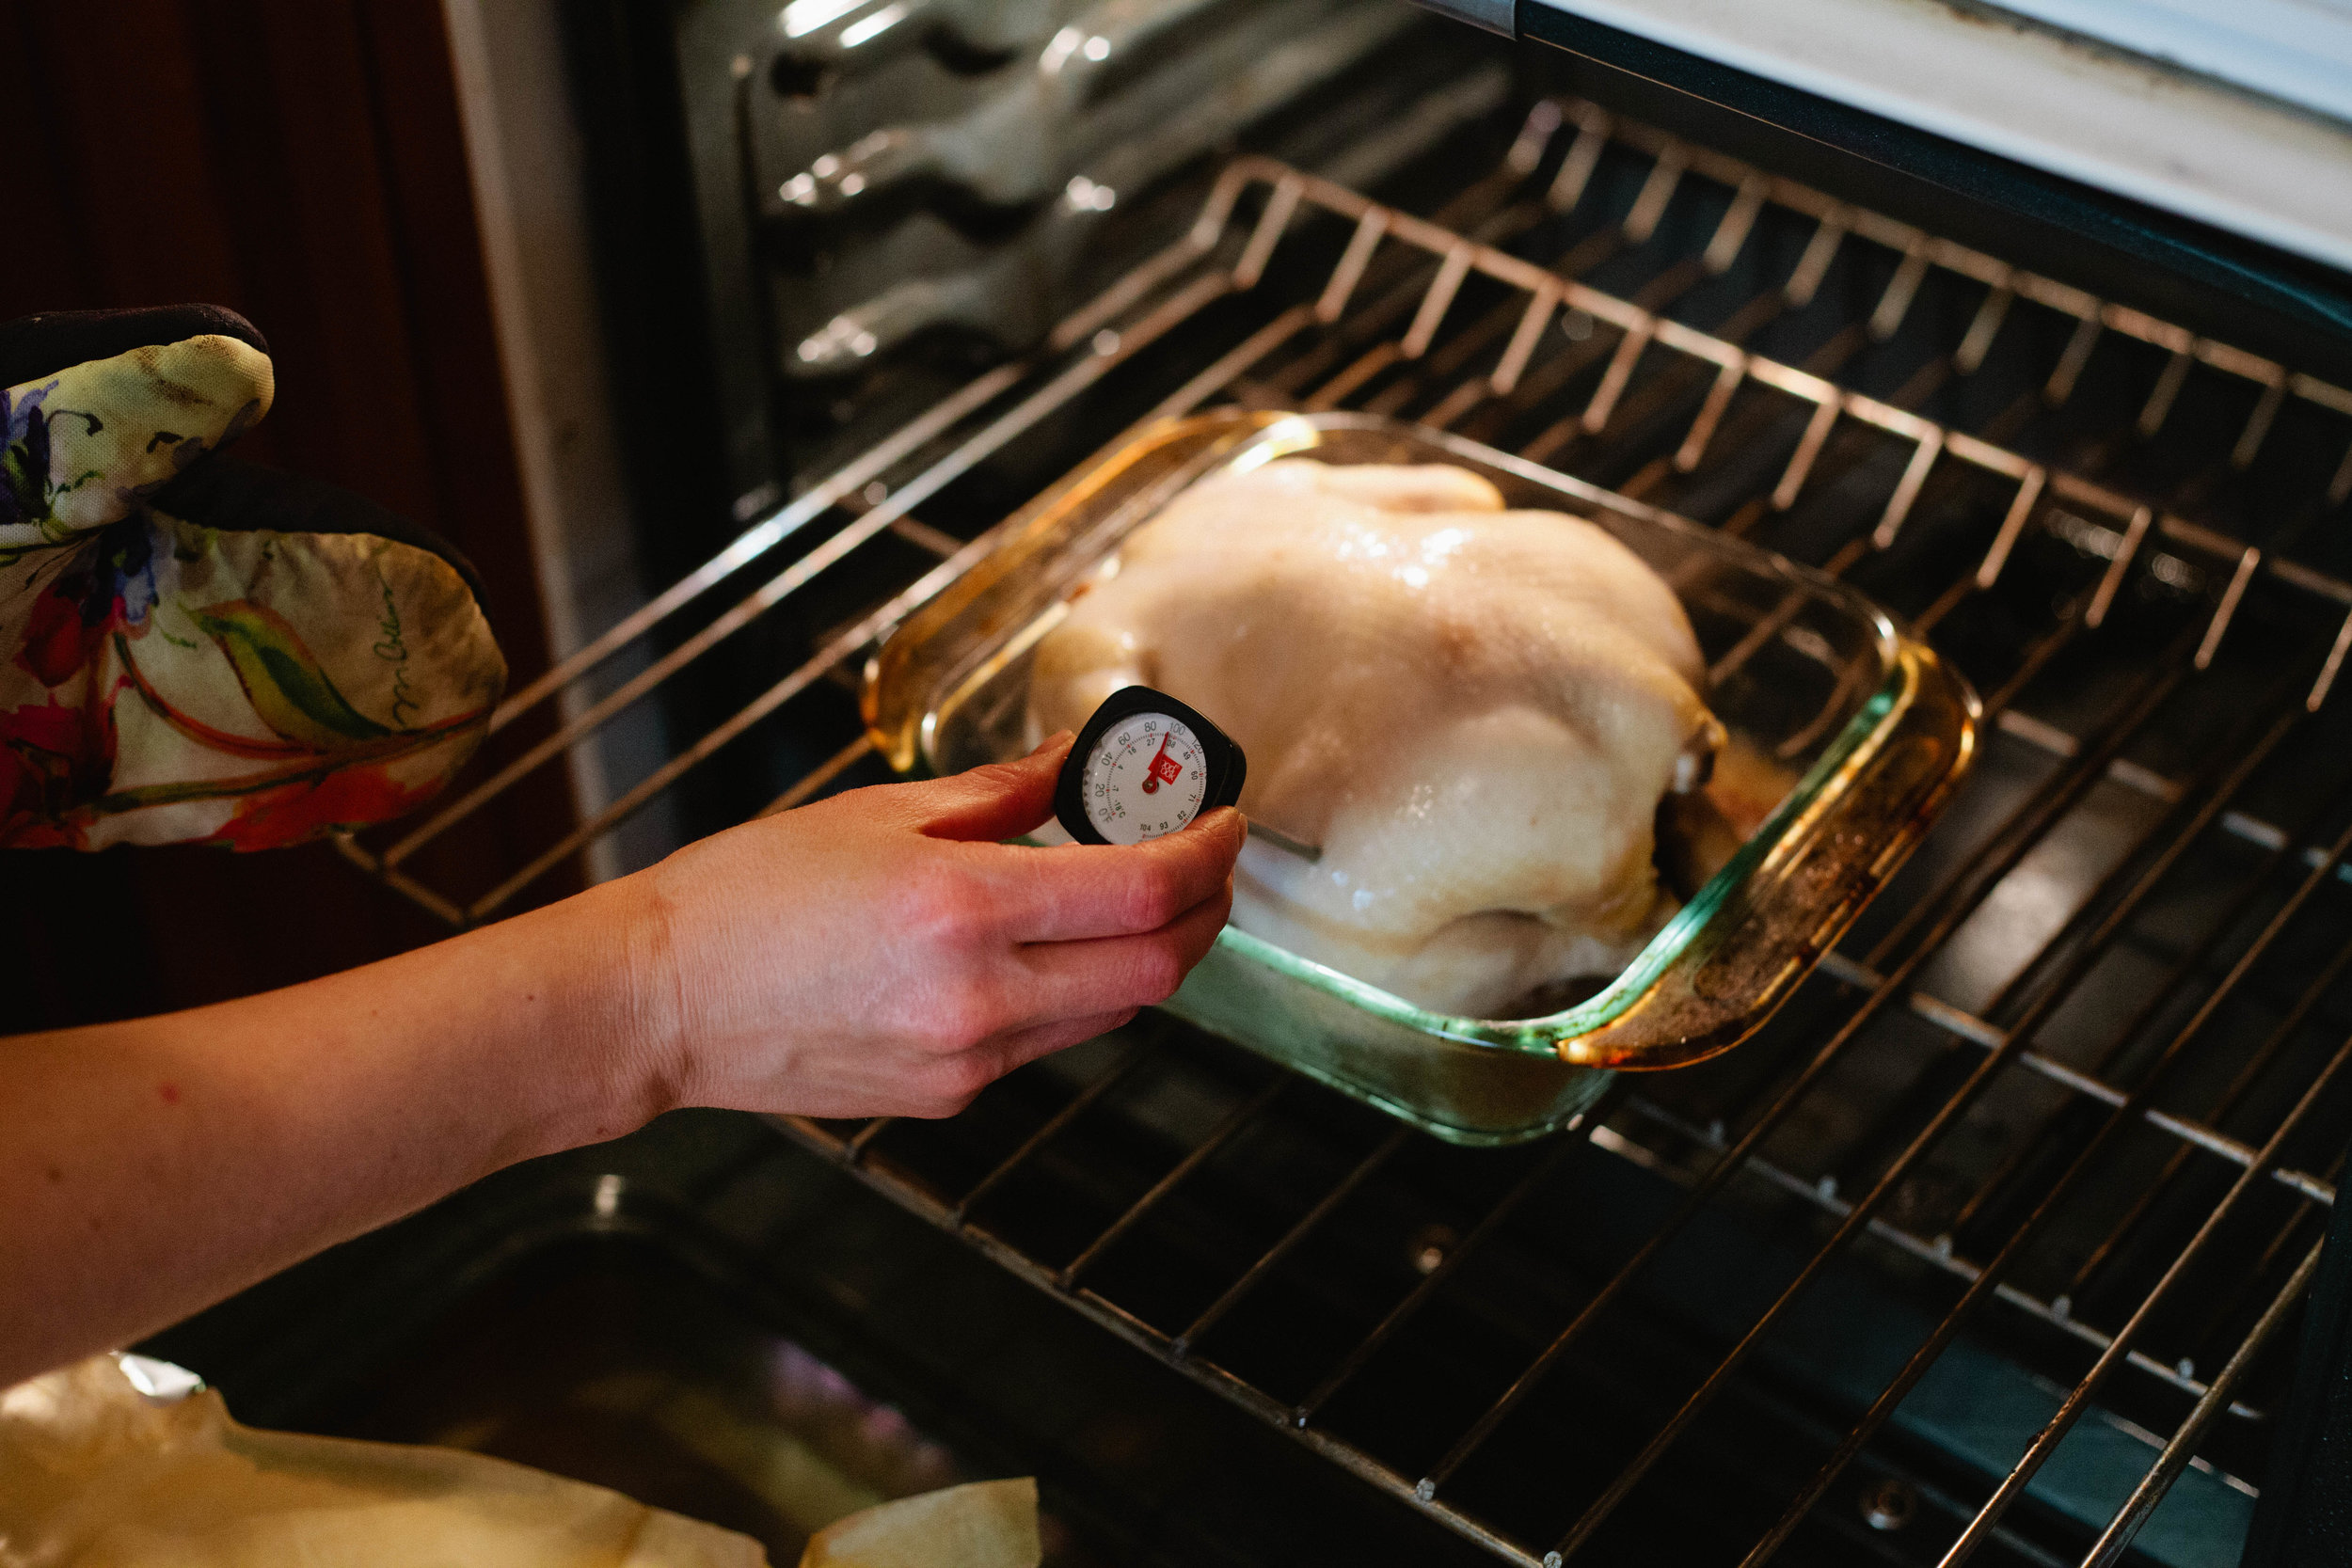
After an hour, check the chicken temperature. Continue cooking chicken for an additional 45 minutes.
If you are doing the GAPS Diet and you are on Stage 4 or above, remove foil and parchment paper covering for about the last 5-10 minutes of cooking to brown up the skin. Chicken is done when it reaches 165 internal temperature on a meat thermometer.
Let the chicken rest for 20 minutes.
Carve chicken. Because of it’s plain flavor, it can be served alongside any other vegetable side. Or, after eating the skin warm, you can also let the chicken cool and use it in other recipes such as chicken salad or chicken soup.
Whole Roasted Chicken with Salt
ingredients:
- Chicken
- Salt, about 2 tbsp
- Parchment Paper
- Aluminum Foil
instructions:
How to cook Whole Roasted Chicken with Salt
- Preheat oven to 400 degrees. I like to start hot so that the skin cooks and then turn the oven down after it’s been cooking for 15 minutes so it holds the juices in.
- Pour your salt into a bowl so you don’t contaminate the rest of the salt.
- Rinse and pat dry chicken, inside and outside. Remove the giblets and set aside.
- Rub salt all over the chicken, taking care to put salt inside the chicken cavity.
- Rinse the giblets. Add the giblets to the inside of the cavity.
- Cover with unbleached parchment paper and tinfoil. You don’t want aluminum foil to touch your food. You can also use a dutch oven pan and omit the parchment paper/aluminum foil covering.
- Put in the oven.
- After about 15 minutes, turn the oven down to 350.
- After an hour, check the chicken temperature. Continue cooking chicken for an additional 45 minutes.
- Remove foil and parchment paper covering for about the last 5-10 minutes of cooking to brown up the skin. Chicken is done when it reaches 165 internal temperature on a meat thermometer.
- Let the chicken rest for 20 minutes.
- Carve chicken. Because of it’s plain flavor, it can be served alongside any other vegetable side. Or, after eating the skin warm, you can also let the chicken cool and use it in other recipes such as chicken salad or chicken soup.
How To Travel On the GAPS Diet
Fruit Chutney for your Thanksgiving
Happy Thanksgiving!
One of the best things about November is the focus on being grateful and thankful. Everywhere you look there are posts and tweets showing gratitude. And we sure have a lot to be thankful for! Some things are so obvious we often forget to be thankful for. These are things like safe drinking water, warm houses, smart phones and electricity are so everyday for us that we forget how much we have.
Sometime this week, I encourage you to write a list of all the things you have to be thankful for. Don't feel silly including things like water, or your favorite pair of jeans. See how long you can make the list! Even if you don't feel like being thankful, I encourage you to do this exercise—gratitude changes our perception and experience of life, even if nothing is circumstantially different.
This is not to say that you don't have hard things in your life, or that you should pretend they aren't difficult. They are. Hard things are part of life and are very, very real. Remembering that there are good things in your life as well will help YOU through difficult situations.
As you know, most of my posts (so far, at least) aren't recipes. But it's Thanksgiving! The start of holidays and delicious, rich, made-with-love food. Well this recipe is definitely delicious, rich and made-with-love!
I took the recipe out of Gut and Psychology Syndrome by Dr. Natasha Cambell-McBride. If you are following the GAPS diet this is legal on stage 5 or 6, when you are tolerating dried spices and peppercorns.
This recipe is very simple—chop and combine ingredients, simmer for a while, then store in jars. It would be a great recipe to make in a crockpot... you really could fix it and forget it! But simple doesn't mean plain. It's delicious and adds flavor to any meat you are eating. And I'm told, quite excellent with turkey!
*This dairy-free, gluten-free, nut-free, sugar-free recipe would be great for gifts as well—ladle into pint jars and add a bow!
Fruit Chutney
Makes 3-4 quarts
Ingredients
2 lbs dried dates (without stones, cut in half)
2 lbs cooking apples (about 7 cups of pieces)
1 lb plumbs (I used packaged prunes)
3 medium onions (about 3 cups, finely diced)
3 peppers (about 2 cups, finely diced)
2 cups raw apple cider vinegar
1-2 tsp whole peppercorns (freshly crushed)
1-2 tsp aromatic seeds (I used cumin and dill)
1 tsp cayenne pepper
1-2 tsp natural salt
Directions:
Cut dates in half (and remove stones (seeds) if needed)
Slowly boil the dates in about 1 cup of water in a large pot until soft (about 10 minutes)
If you live in Colorado like me, and don't use a lid (also like me), you may need to add extra water during this process.
When the dates are soft, turn off heat and mash them with a potato masher—they don't have to be perfectly smooth, just mashed.
While you were softening the dates, I hope you were furiously chopping! I completely underestimated the time it was going to take to chop everything I needed for this recipe. If you want the process to go smoother, I would recommend chopping everything at the beginning. Then as soon as the dates are soft you can add the rest, stir occasionally, and walk away!
The directions from Dr. Natasha are:
Add everything else to the dates and simmer 1-1/2 hours on very low heat, stirring occasionally.
If you are like me and work better with a little note of panic, then by all means, chop furiously and add things as you chop. For all you step-by-steppers like me, below are pictures to show what I added.
Sterilize the jars.
Dr. Natasha recommends doing this in an oven. I had never done this but it seemed to work great! Place cold jars in a cold oven. Heat the oven to 250°F, then leave it at that temperature for 40 minutes to sterilize the jars. Pull the jars out of the oven one-by-one as you are ready to fill them so they stay hot. Use oven mitts!
Ladle the hot chutney into the jars.
A jar funnel is a lifesaver here!
I left just a little room for air, much less than my fermenting self wanted, but no jars exploded so it must be okay!
Wipe off any chutney on the rim of the jar. Then immediately seal the jar, tightening the lid.
Again, use an oven mitt—the jars are hot!
Place the jar on the counter, some distance between them.
It's better to not move the jars until they are cool, so place them where you will not need to move them for many hours, overnight is better.
When cool, place the jars into the refrigerator.
This is not a fermented food, so it does require refrigeration.
Serve with meats and fish. Good cold or warm.
It's delicious! I made this for our Thanksgiving feast in a few days, but tried it out with some chicken today. I enjoyed it thoroughly! I hope you enjoy it as well!
Onward!
Fruit Chutney
ingredients:
- 2 lbs dried dates (without stones, cut in half)
- 2 lbs cooking apples (about 7 cups of pieces)
- 1 lb plumbs (I used packaged prunes)
- 3 medium onions (about 3 cups, finely diced)
- 3 peppers (about 2 cups, finely diced)
- 2 cups raw apple cider vinegar
- 1-2 tsp whole peppercorns (freshly crushed)
- 1-2 tsp aromatic seeds (I used cumin and dill)
- 1 tsp cayenne pepper
- 1-2 tsp natural salt
instructions:
How to cook Fruit Chutney
- Cut dates in half (and remove stones (seeds) if needed)
- Slowly boil the dates in about 1 cup of water in a large pot until soft (about 10 minutes)
- If you live in Colorado like me, and don't use a lid (also like me), you may need to add extra water during this process.
- When the dates are soft, turn off heat and mash them with a potato masher—they don't have to be perfectly smooth, just mashed.
- While you were softening the dates, I hope you were furiously chopping! I completely underestimated the time it was going to take to chop everything I needed for this recipe. If you want the process to go smoother, I would recommend chopping everything at the beginning. Then as soon as the dates are soft you can add the rest, stir occasionally, and walk away!
- The directions from Dr. Natasha are:
- Add everything else to the dates and simmer 1-1/2 hours on very low heat, stirring occasionally.
- If you are like me and work better with a little note of panic, then by all means, chop furiously and add things as you chop. For all you step-by-steppers like me, below are pictures to show what I added.
- Sterilize the jars.
- Dr. Natasha recommends doing this in an oven. I had never done this but it seemed to work great! Place cold jars in a cold oven. Heat the oven to 250°F, then leave it at that temperature for 40 minutes to sterilize the jars. Pull the jars out of the oven one-by-one as you are ready to fill them so they stay hot. Use oven mitts!
- Ladle the hot chutney into the jars.
- A jar funnel is a lifesaver here!
- I left just a little room for air, much less than my fermenting self wanted, but no jars exploded so it must be okay!
- Wipe off any chutney on the rim of the jar. Then immediately seal the jar, tightening the lid.
- Again, use an oven mitt—the jars are hot!
- Place the jar on the counter, some distance between them.
- It's better to not move the jars until they are cool, so place them where you will not need to move them for many hours, overnight is better.
- When cool, place the jars into the refrigerator.
- This is not a fermented food, so it does require refrigeration.
- Serve with meats and fish. Good cold or warm.

