


While you may be tempted to throw all the ingredients together, the taste is incredibly different when you follow the recipe step-by-step. I knew this experientially, but finally came fully onboard after reading many of my old recipe books and realizing how many recipes contain essentially the same ingredients but tasted completely different because of the preparation order. The difference between a good recipe and a great recipe is taking the time to prepare things in a specific order.
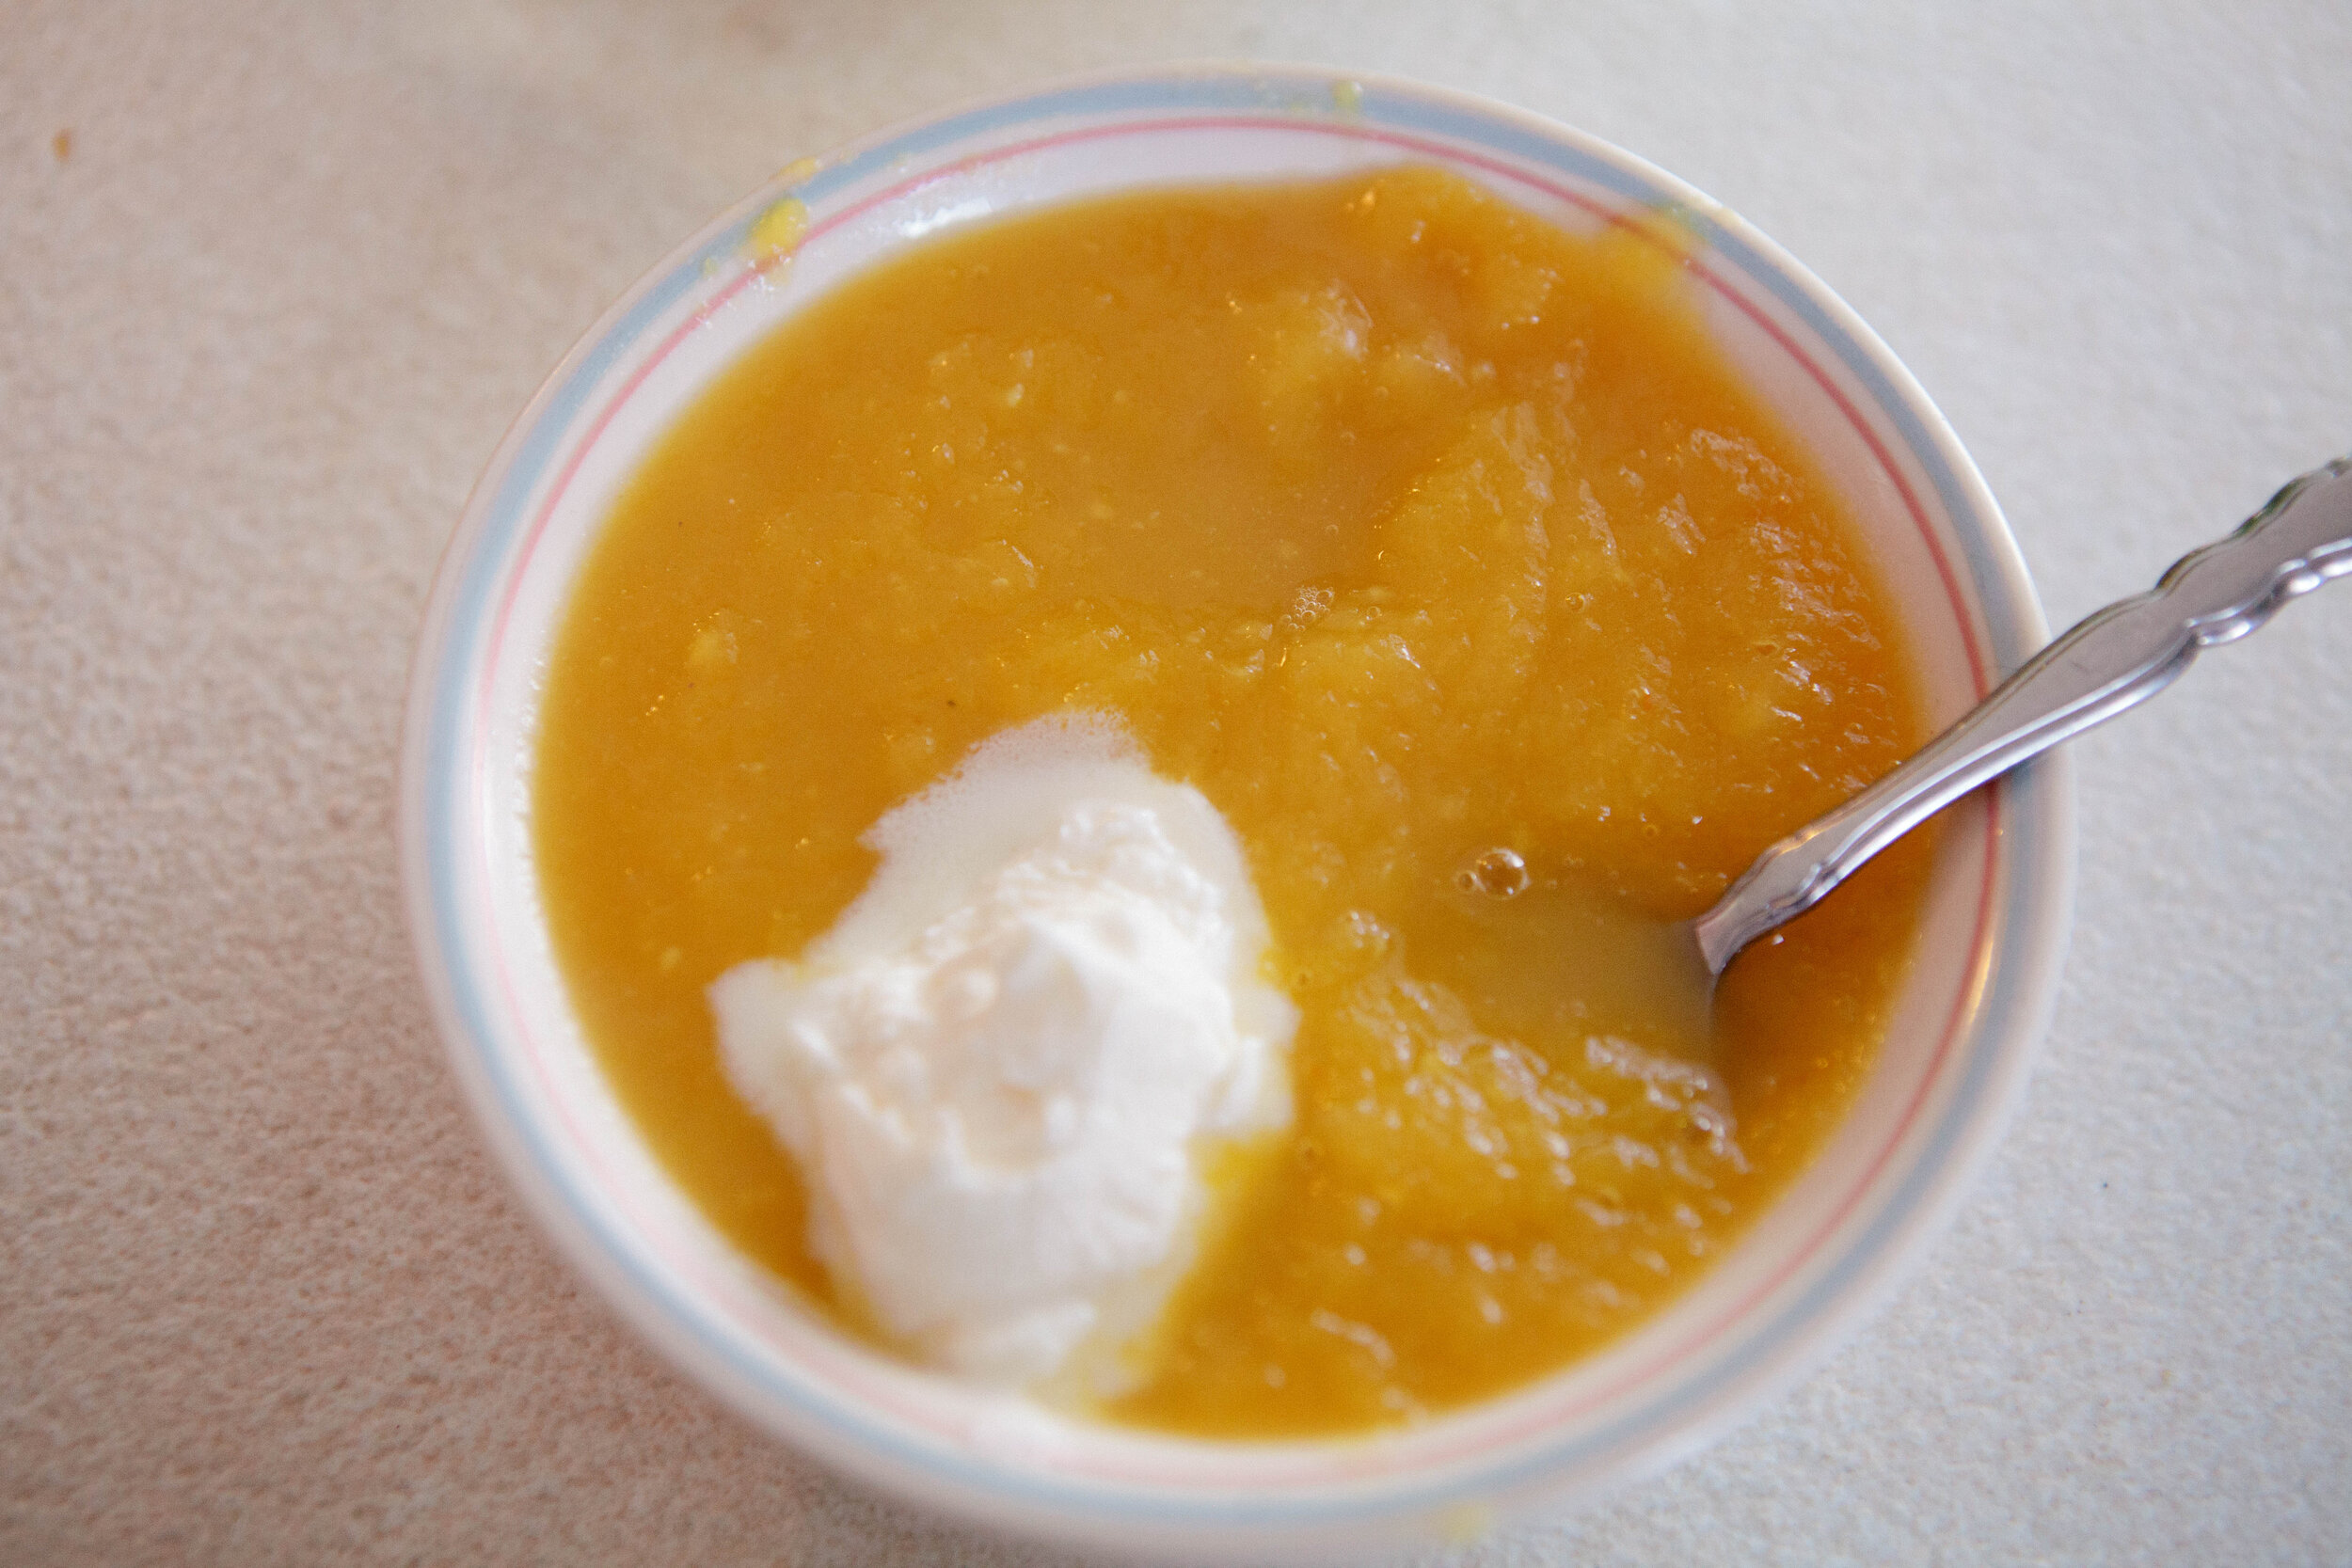
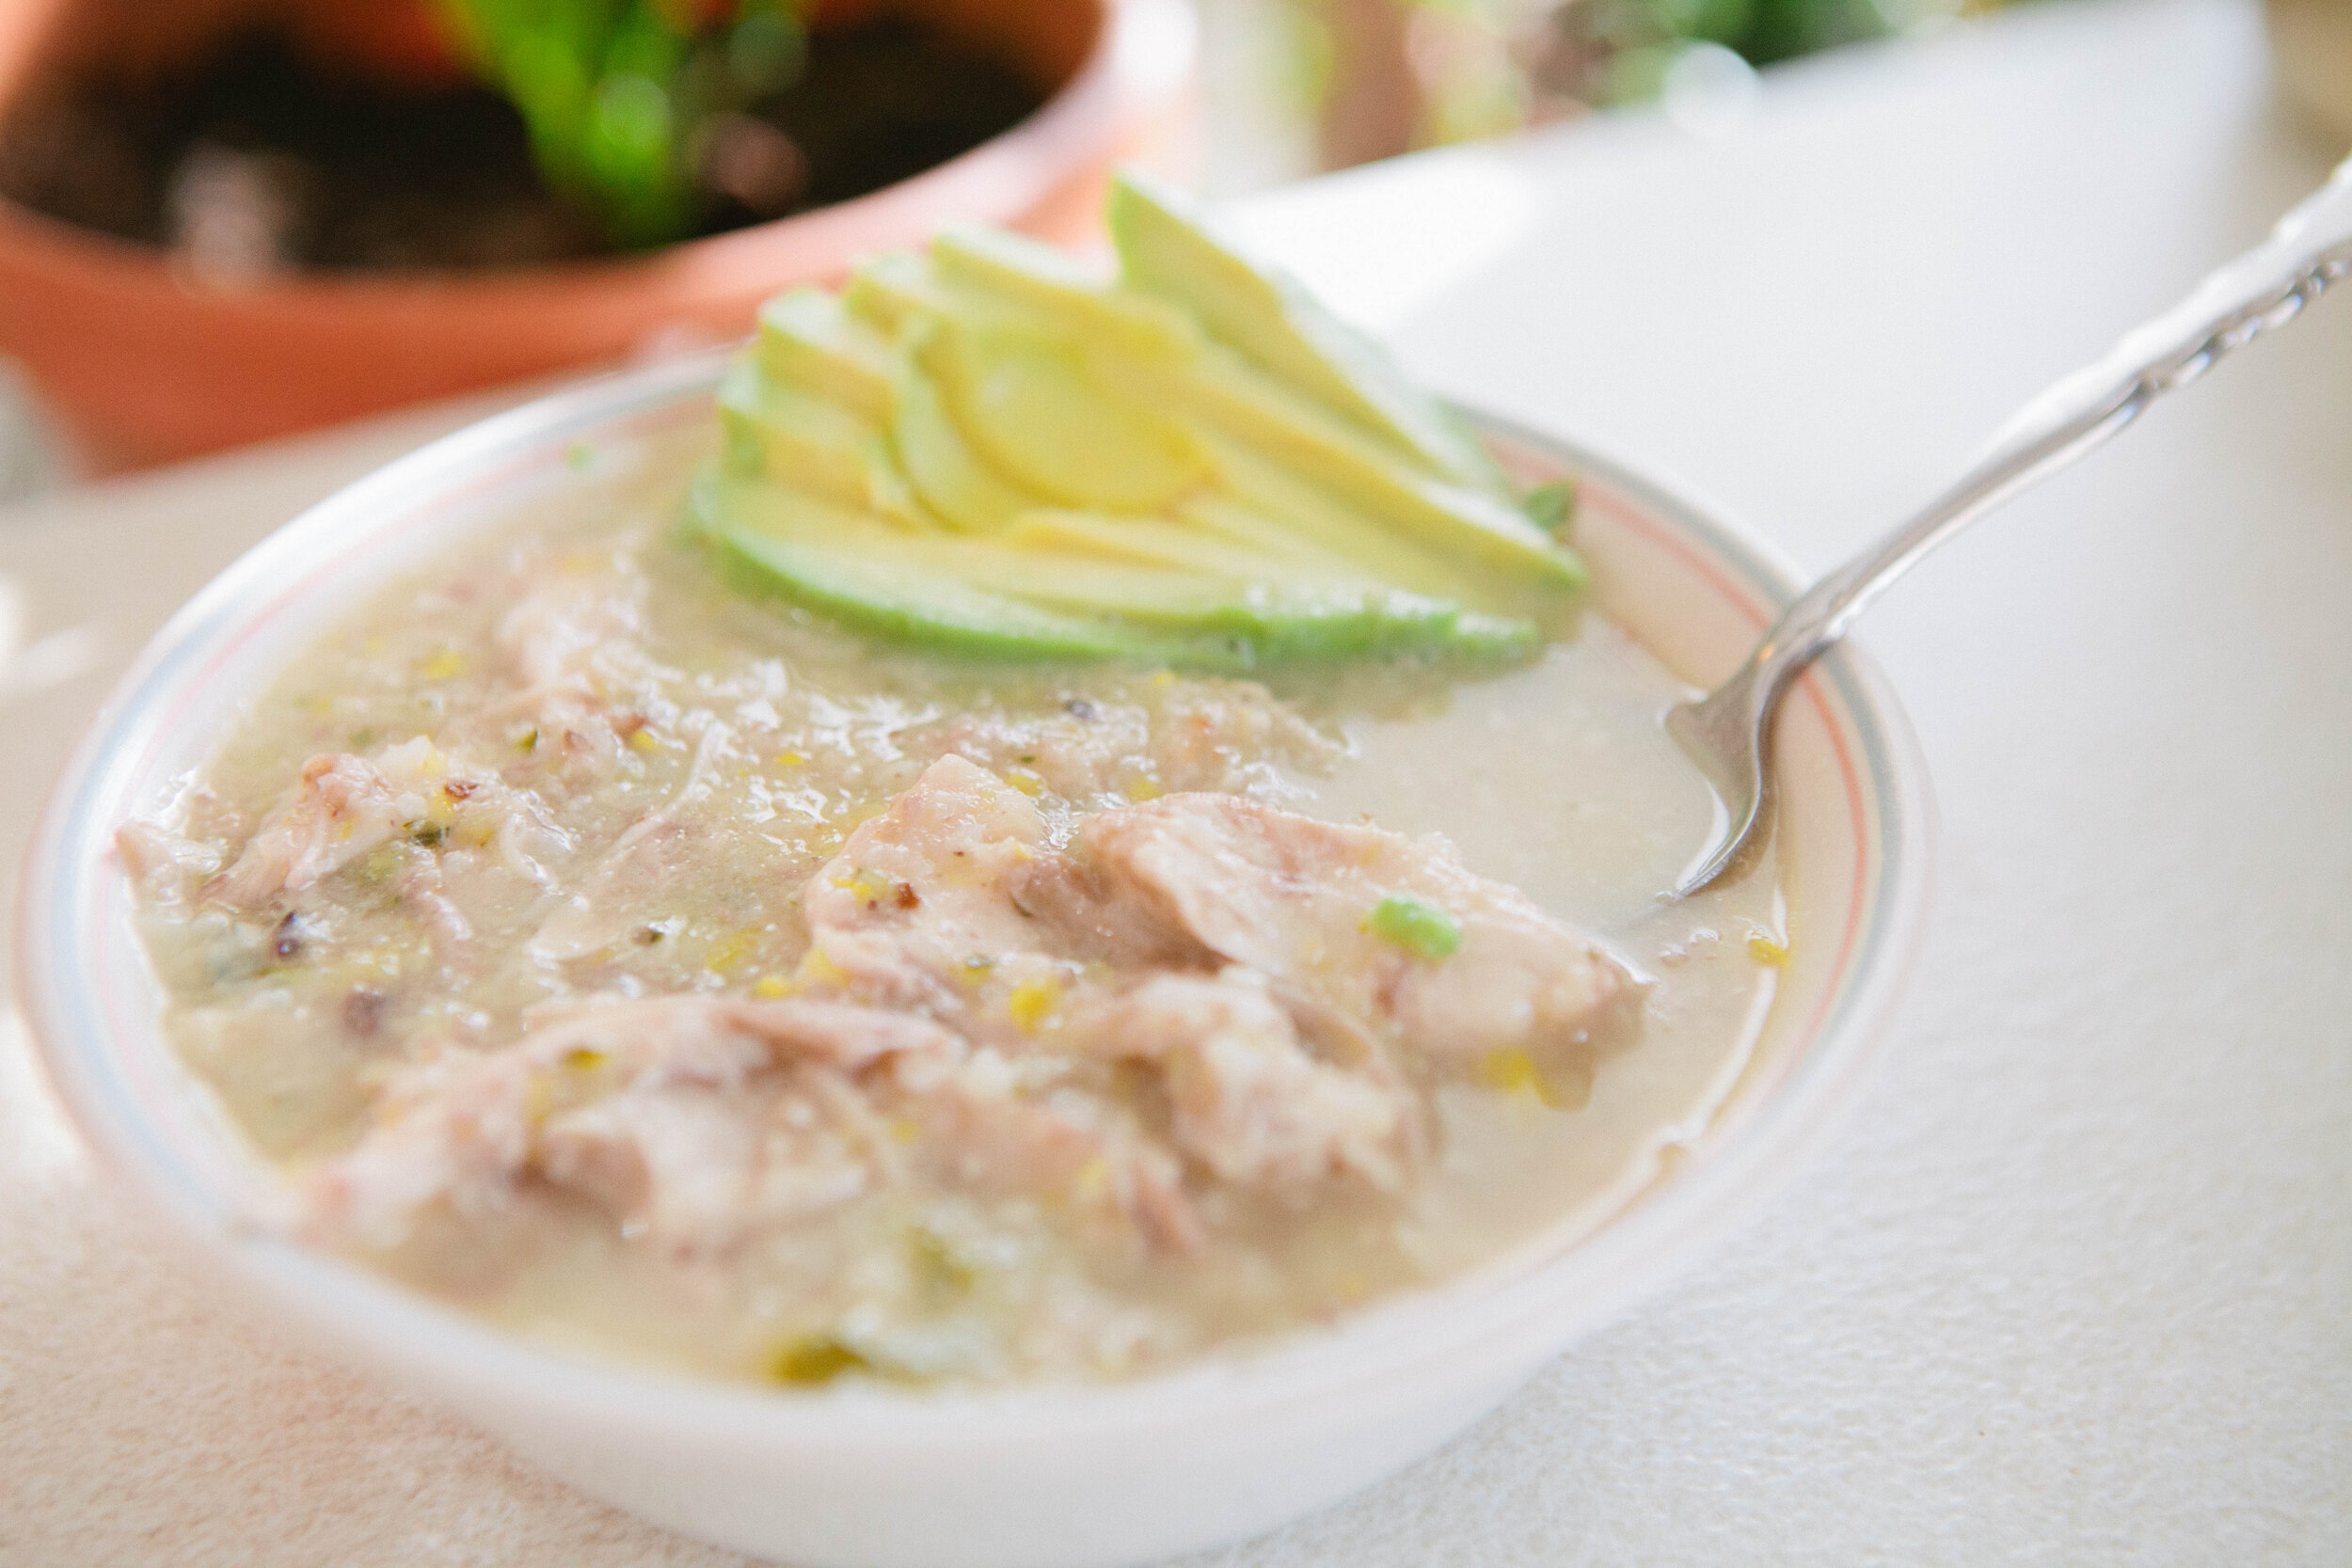
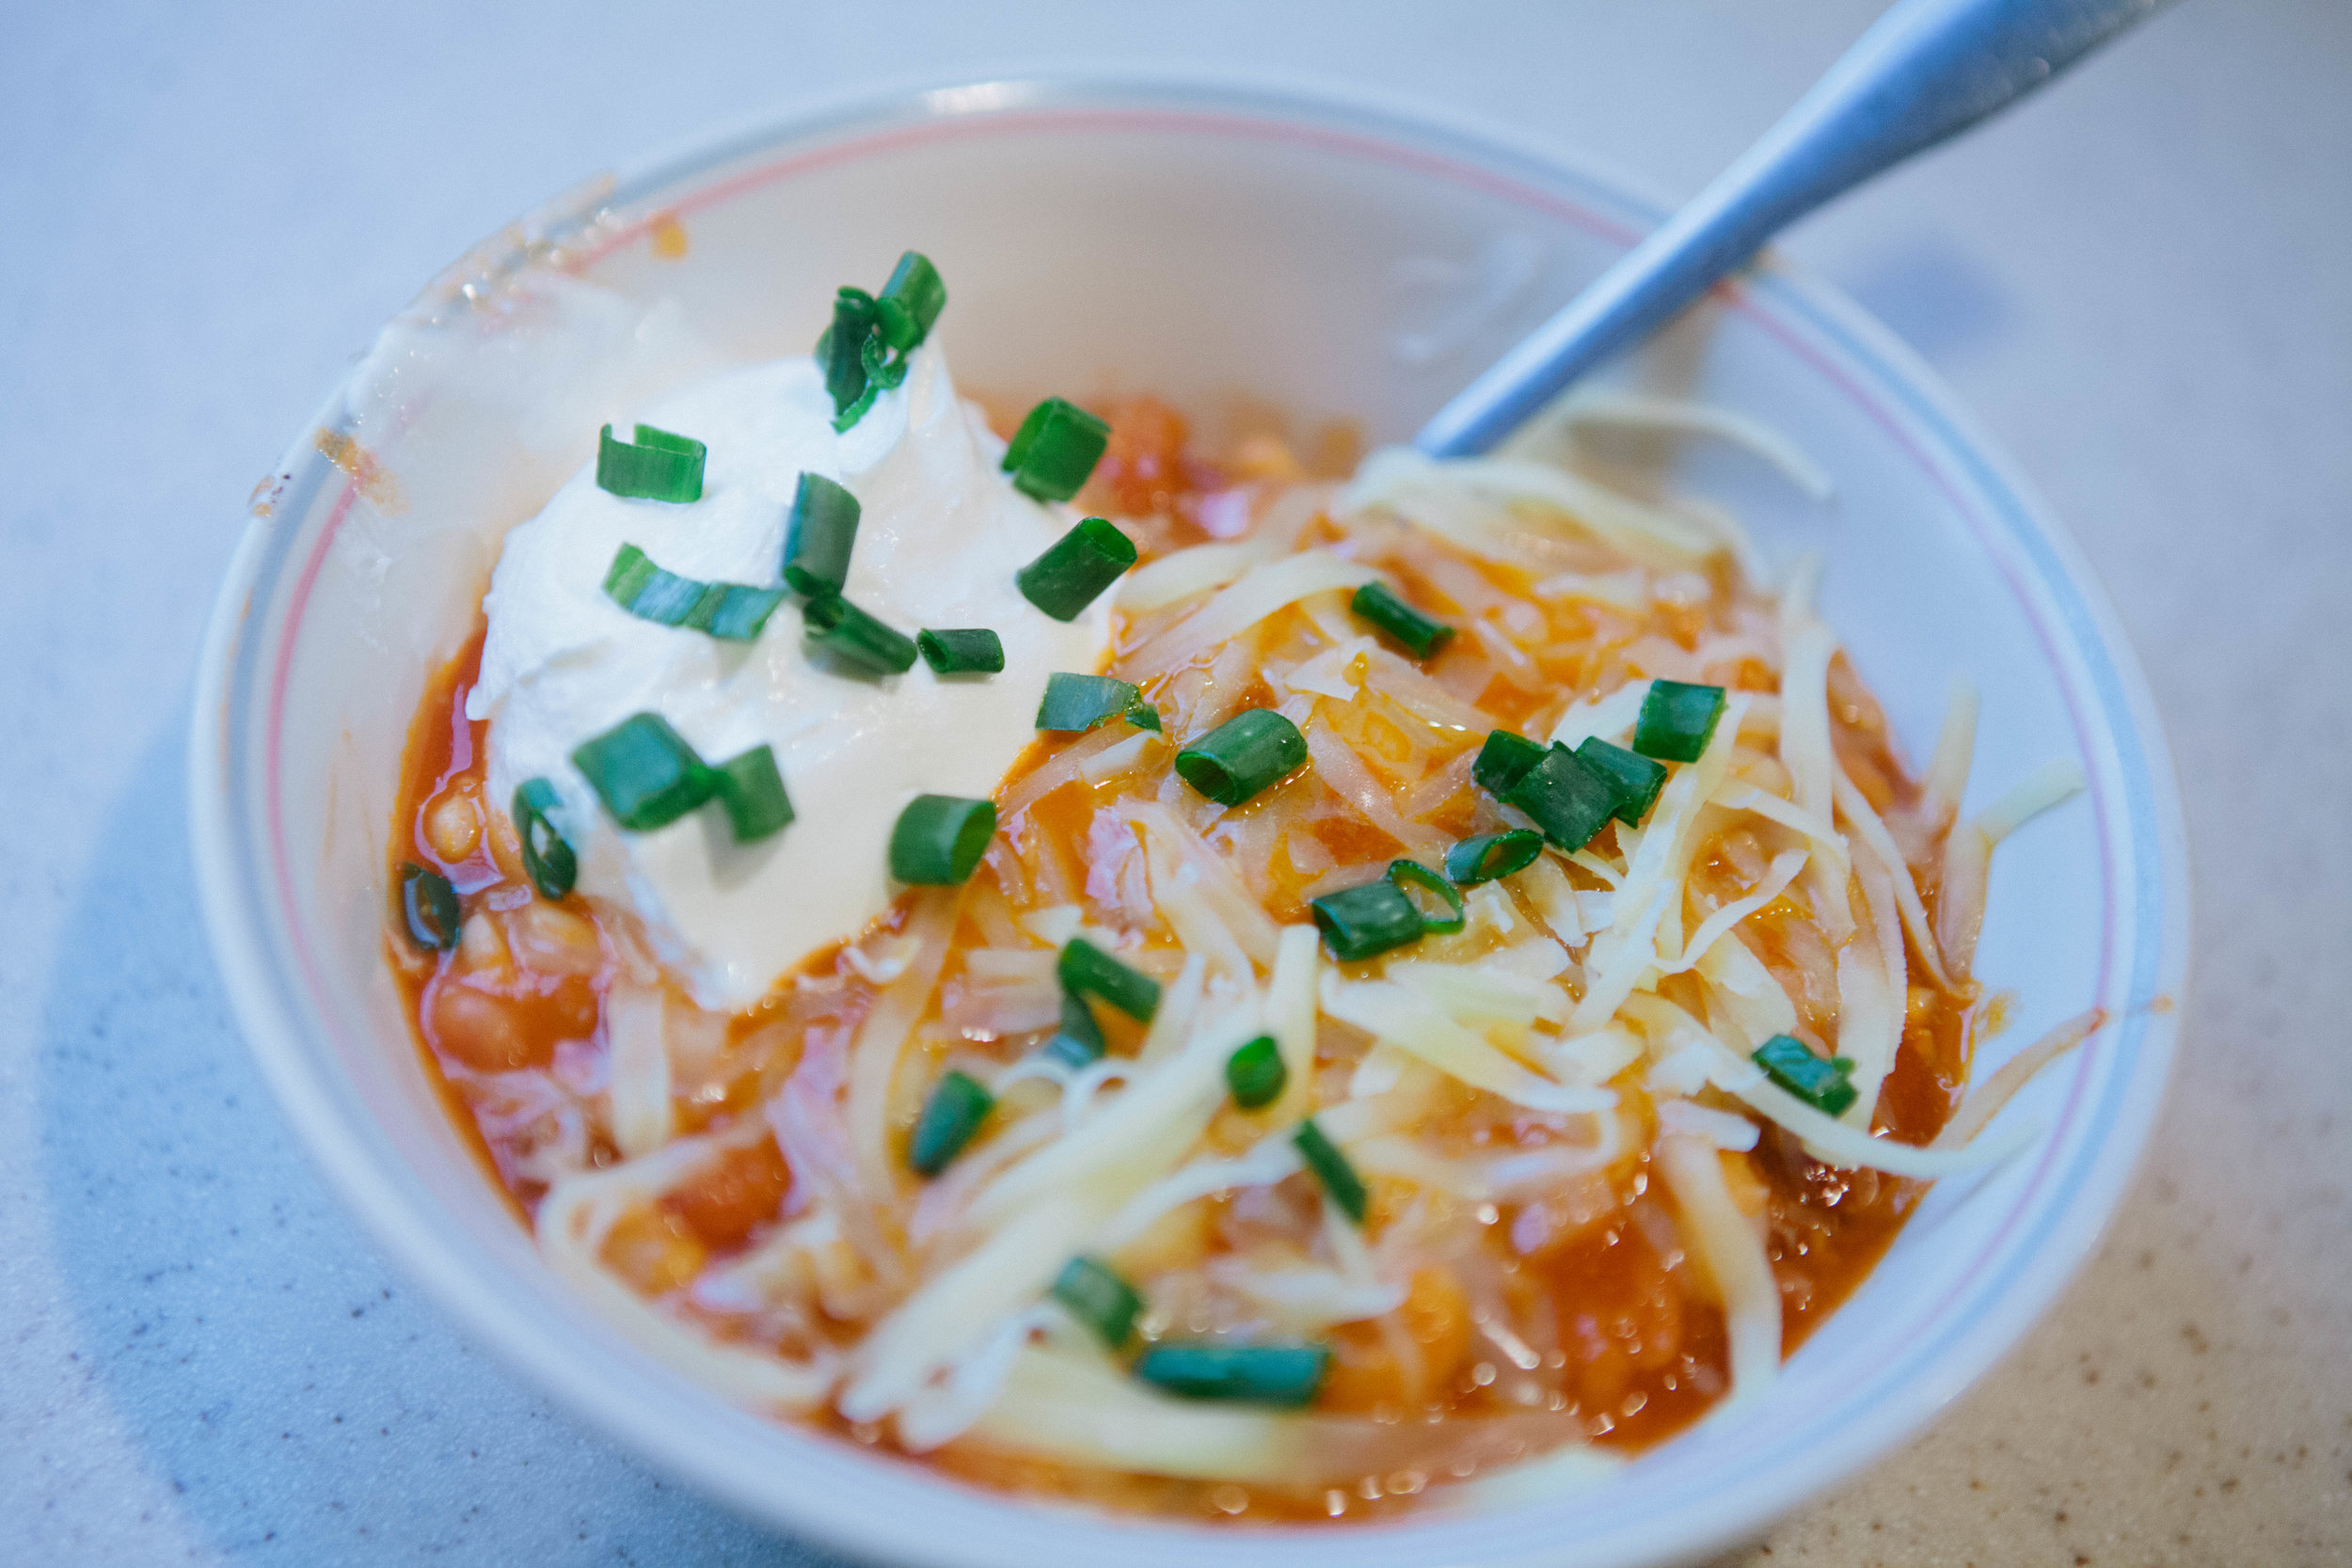
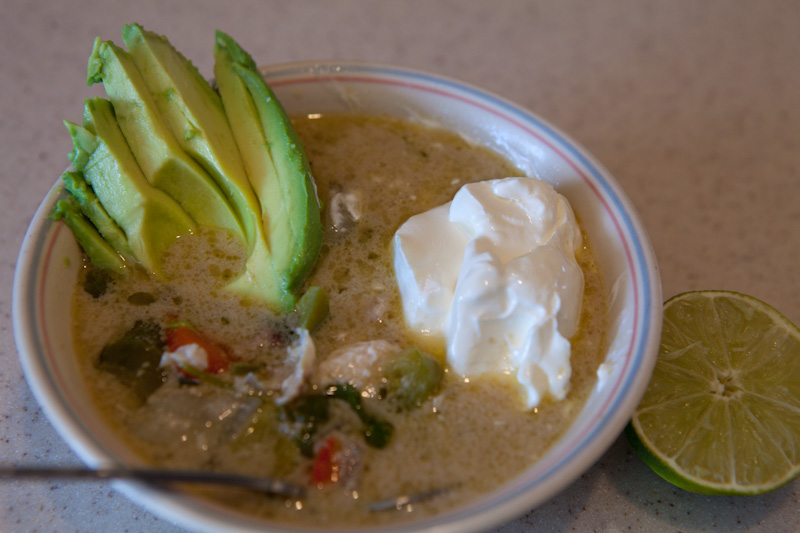
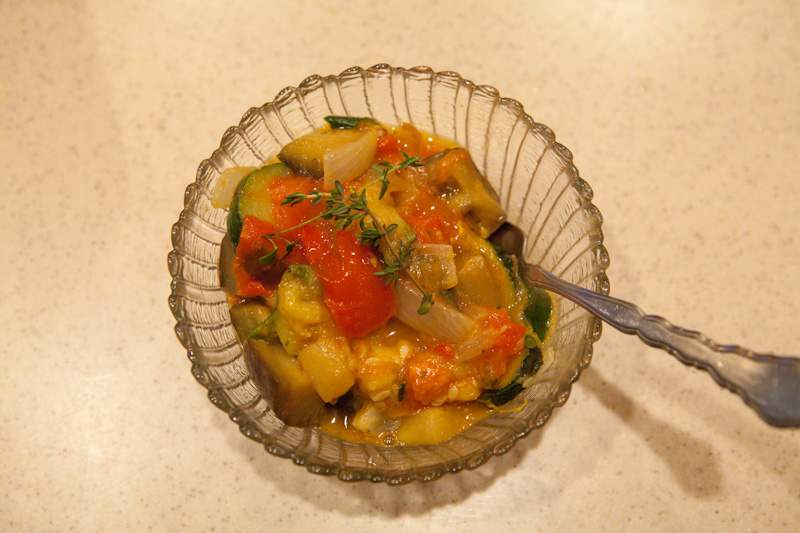
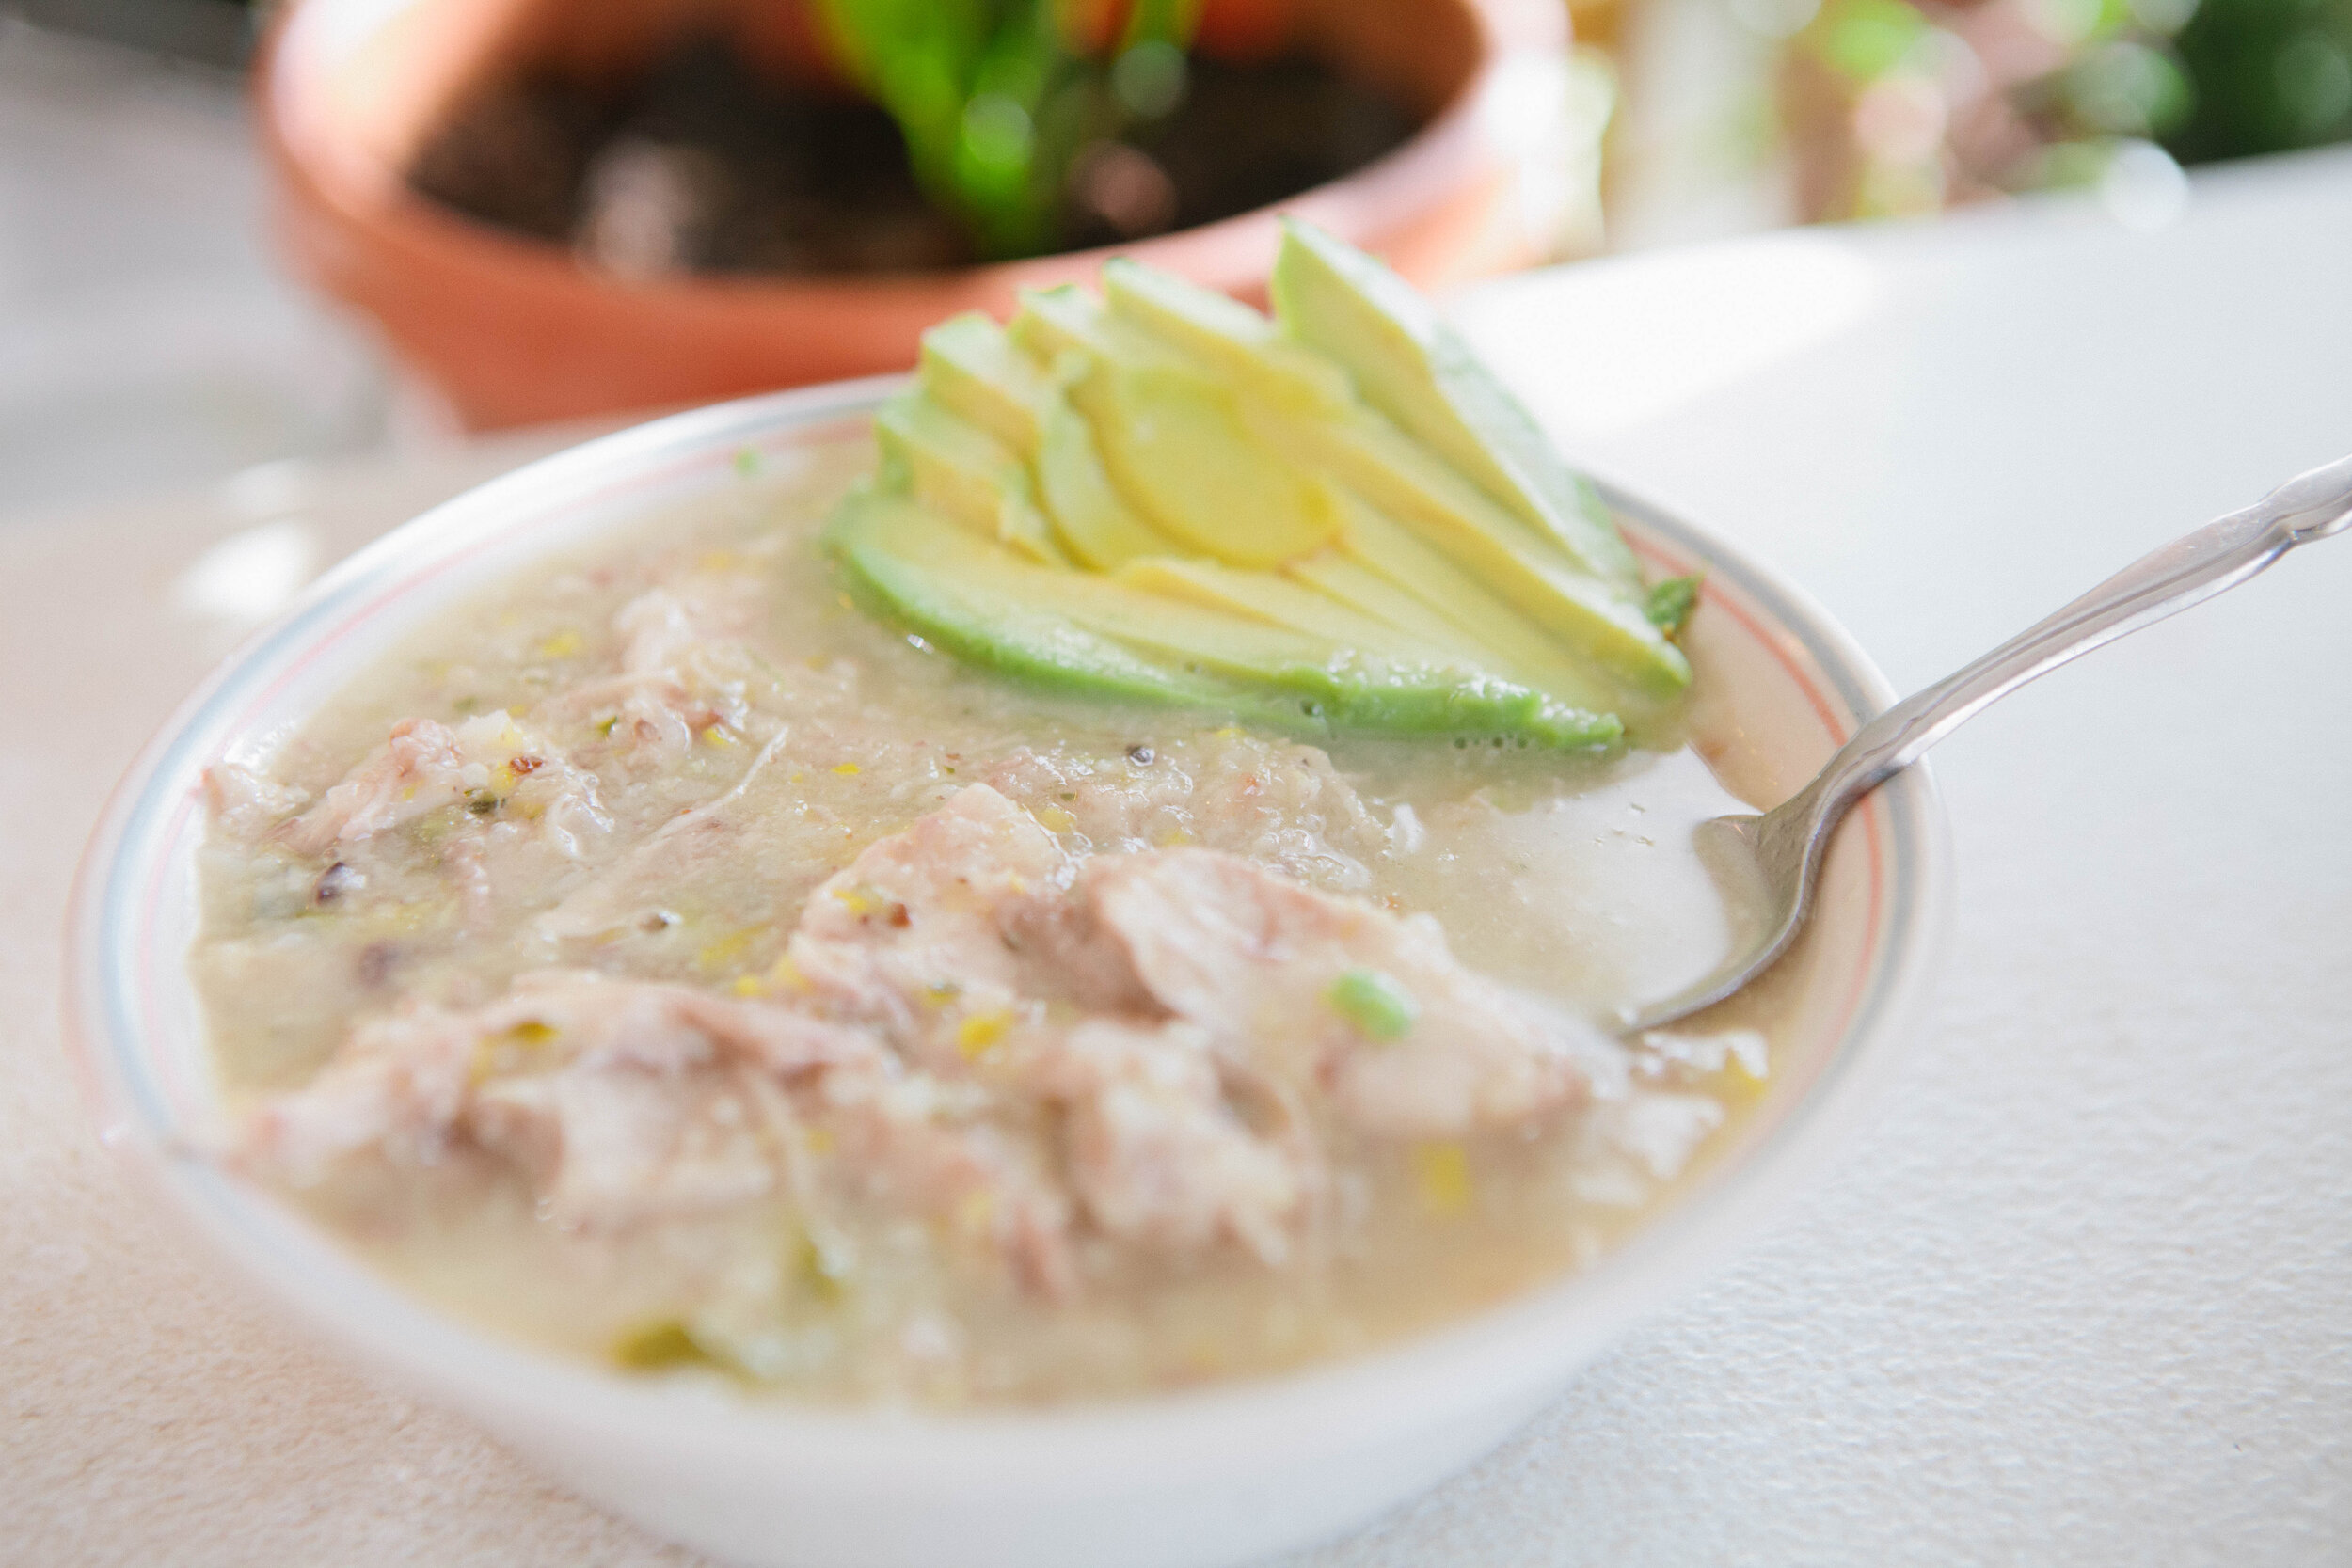
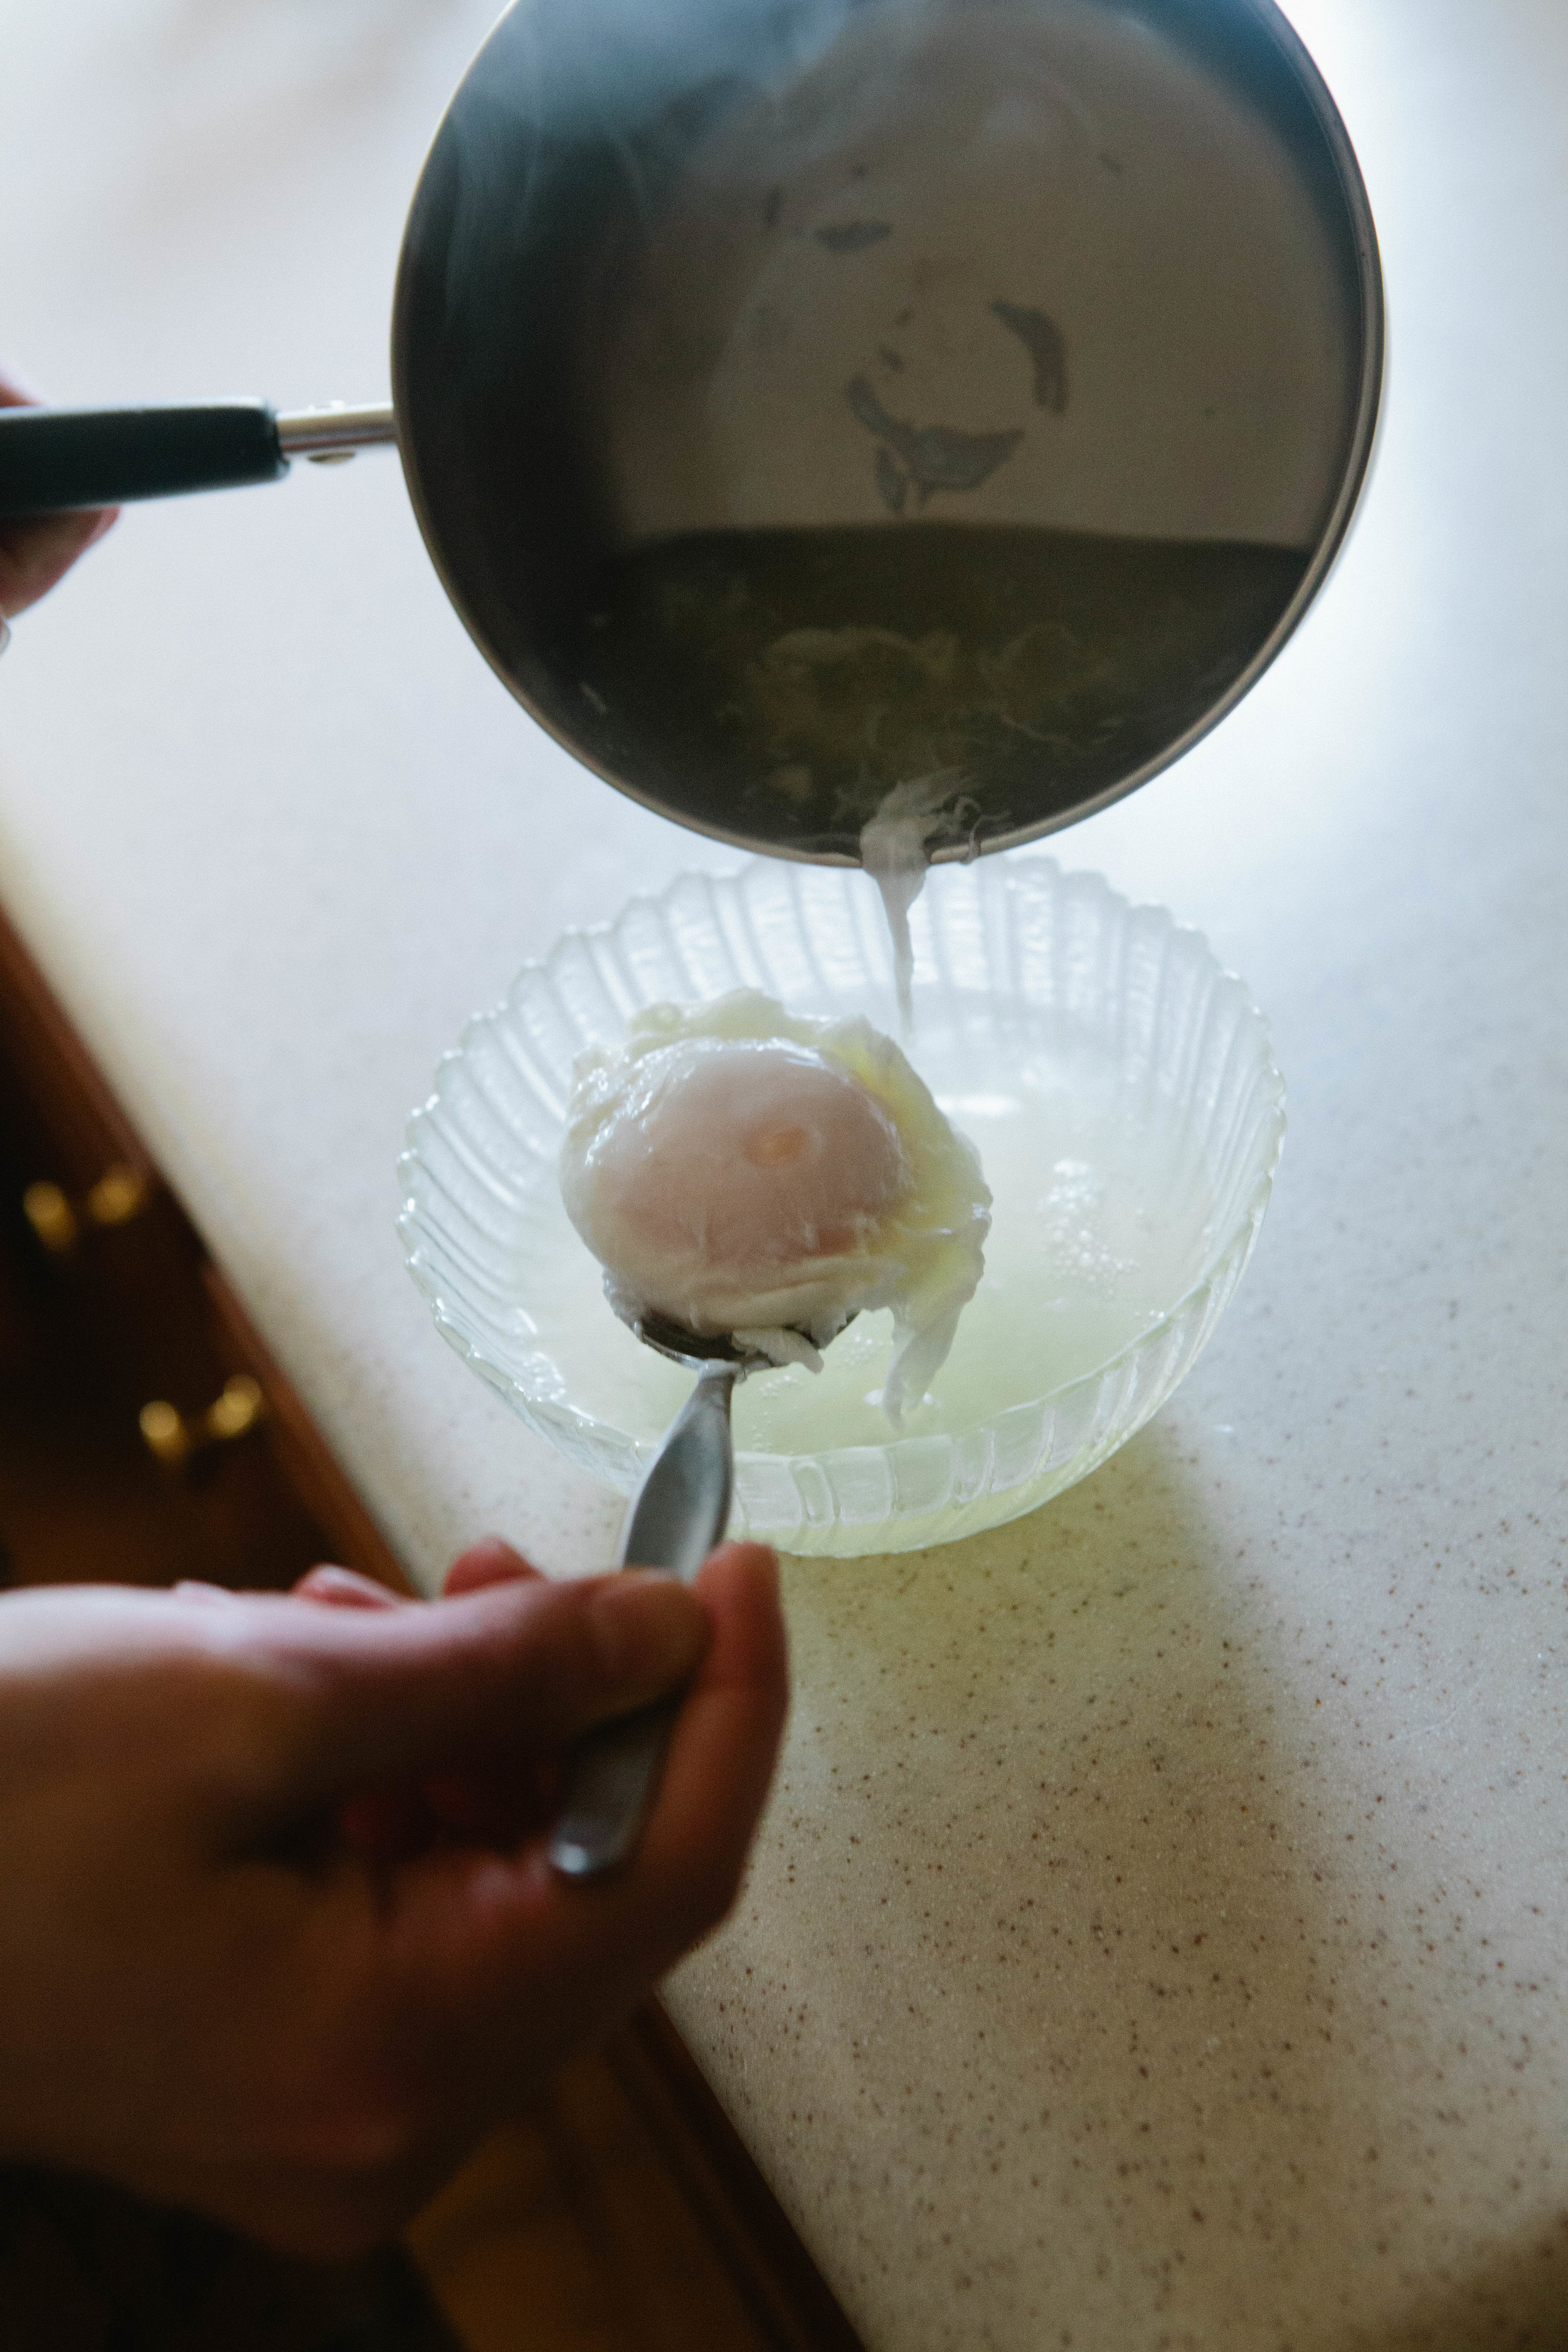
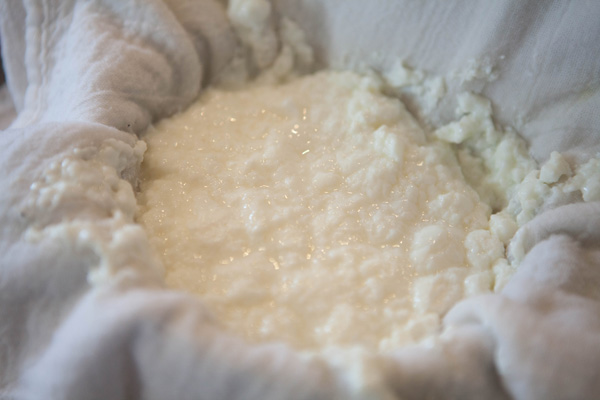
While this is a delicious soup for anyone, it can be very healing for anyone with a short term or long term illness. Each ingredient in this soup contains its own nourishing and healing properties. Onions are high in sulfur, read more here. Sauerkraut is predigested cabbage, link to recipe. Stock is high in easily accessible amino acids and meat contains proteins, minerals, fiber and other vitamins. Make sure to salt to taste using a good quality sea salt, adding minerals to complete this healing food. It also naturally contains copious amounts of animal fat which your body will use to heal and repair your cells as well as feed the immune system. The probiotics in the sauerkraut will be killed in the cooking process however, you still will get the benefits of predigested cabbage. There is also some evidence that even killed bacterial bodies from fermented foods has an immune benefit to your body. The lamb stock I used in the soup made for a delicious flavor. But all my taste senses were focused on the sauerkraut. Which brought a richness and layered complexity.
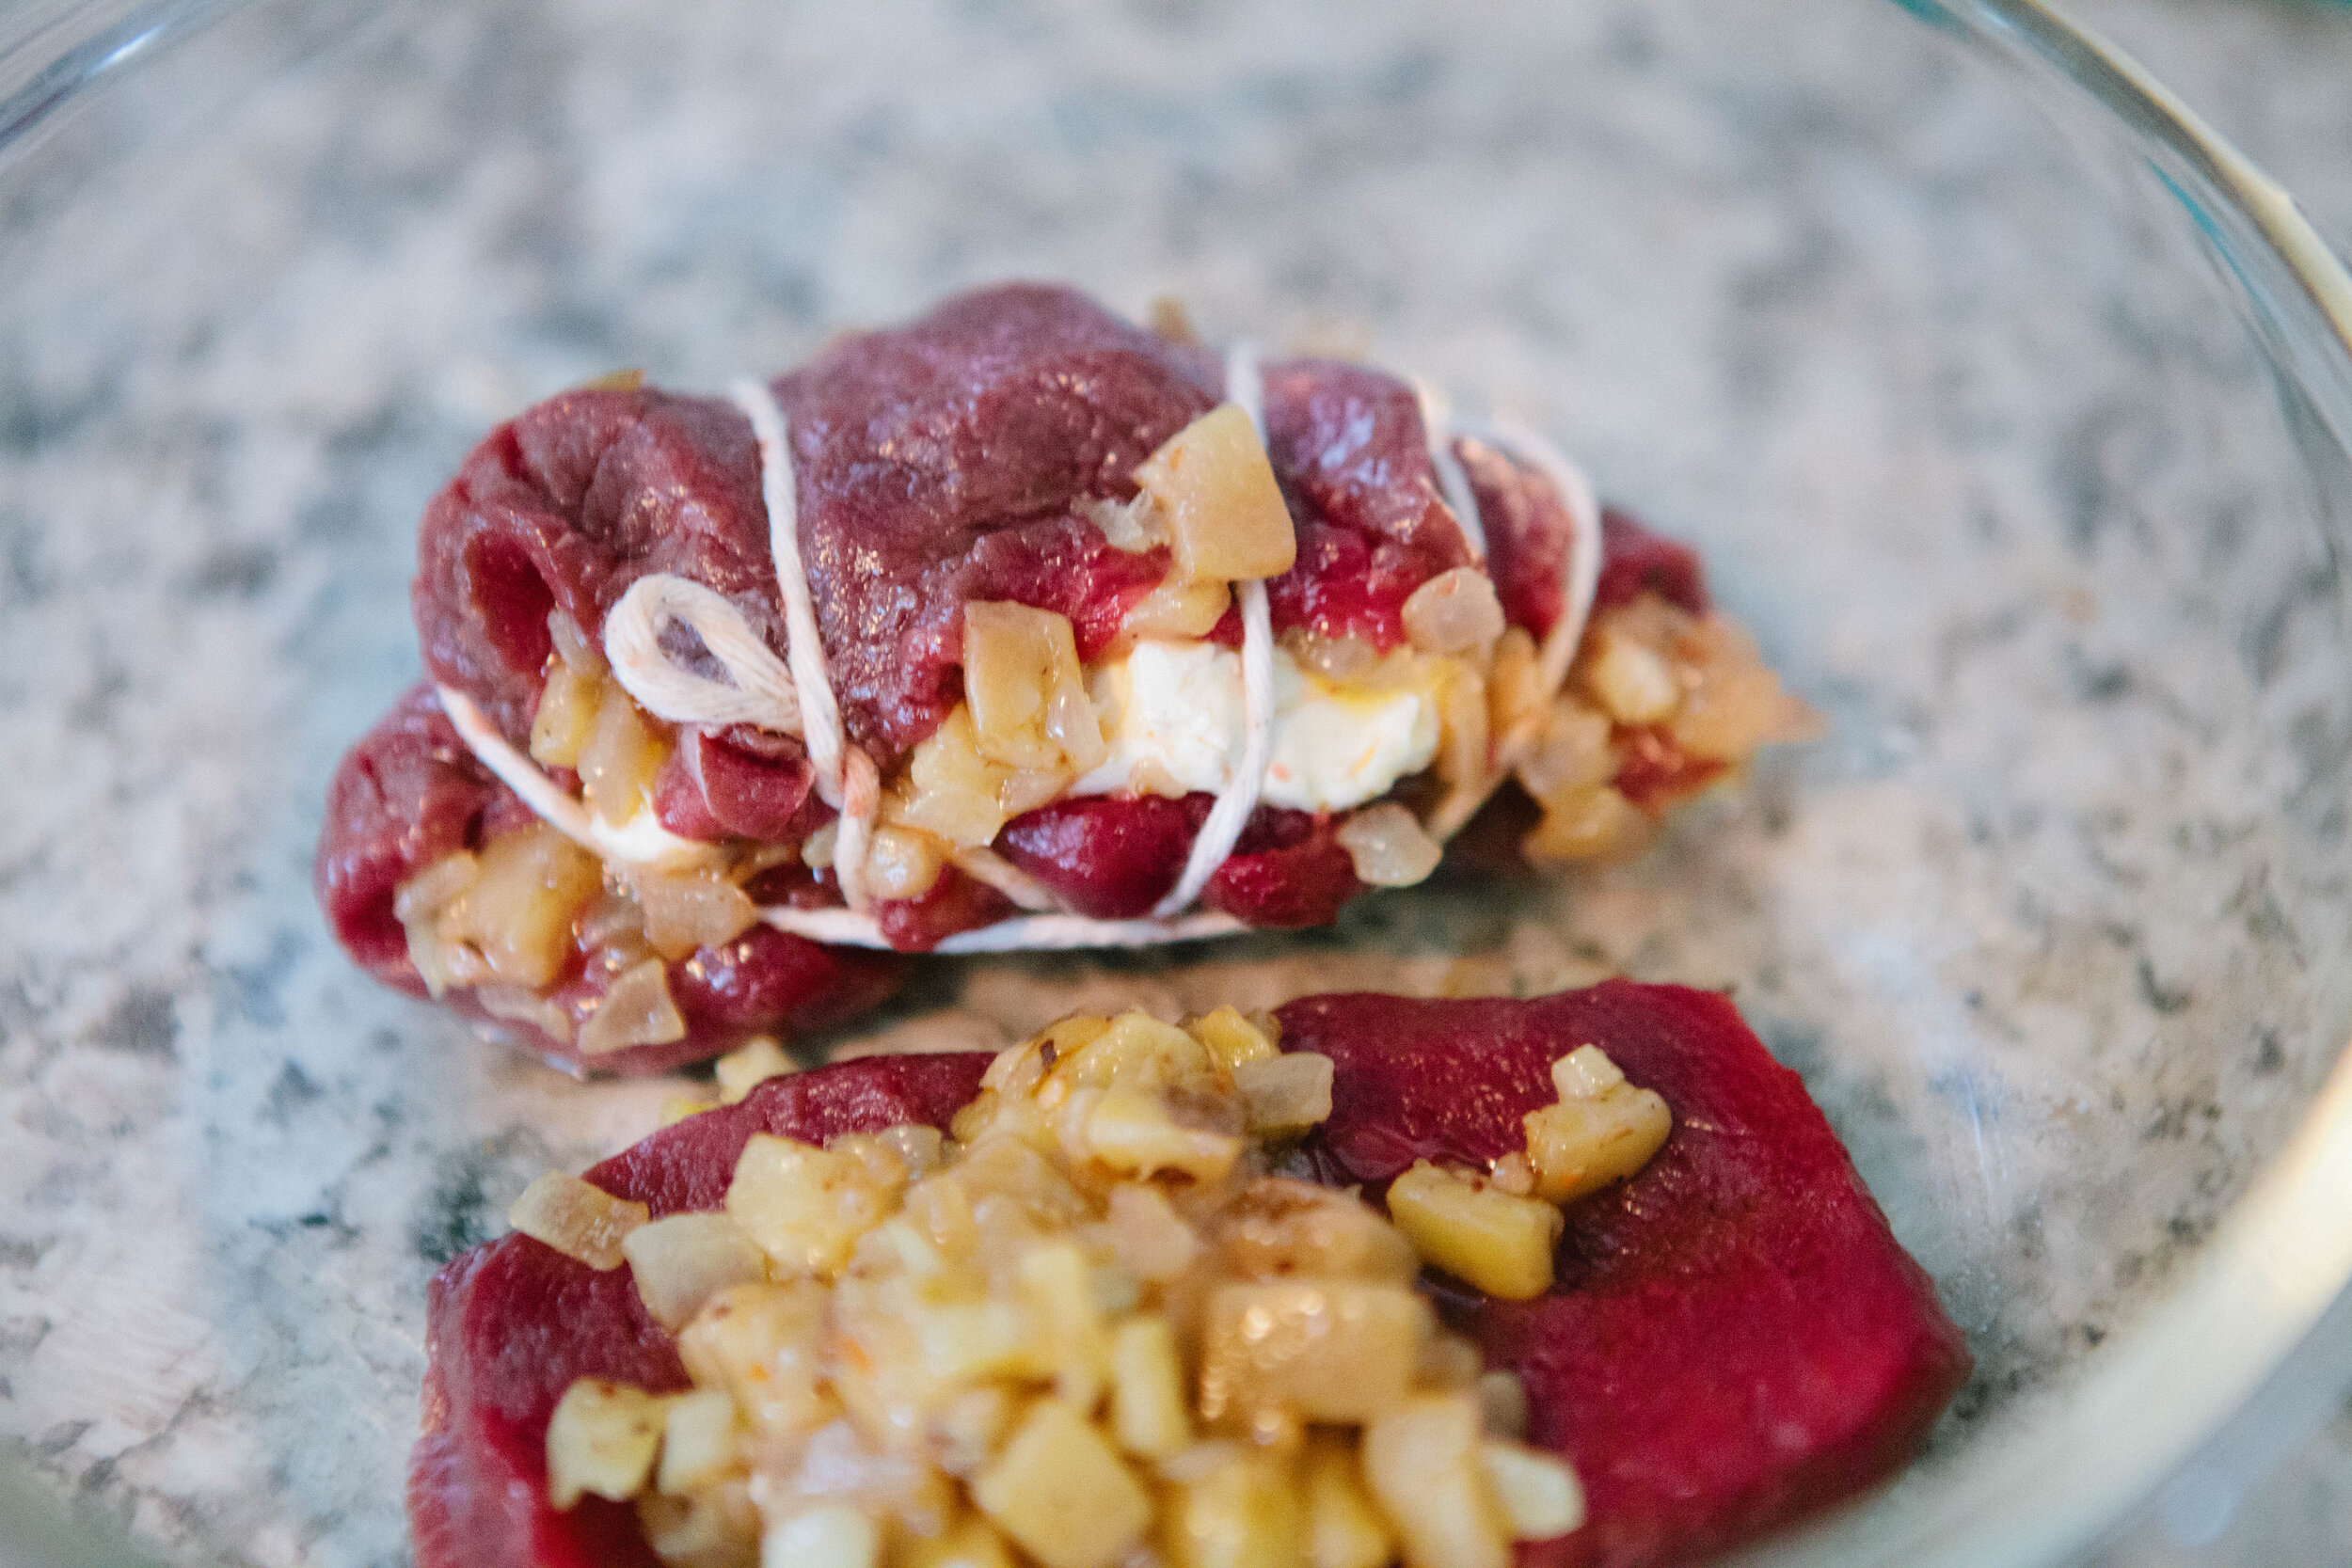
Ingredients for Beef and Sauerkraut Soup:
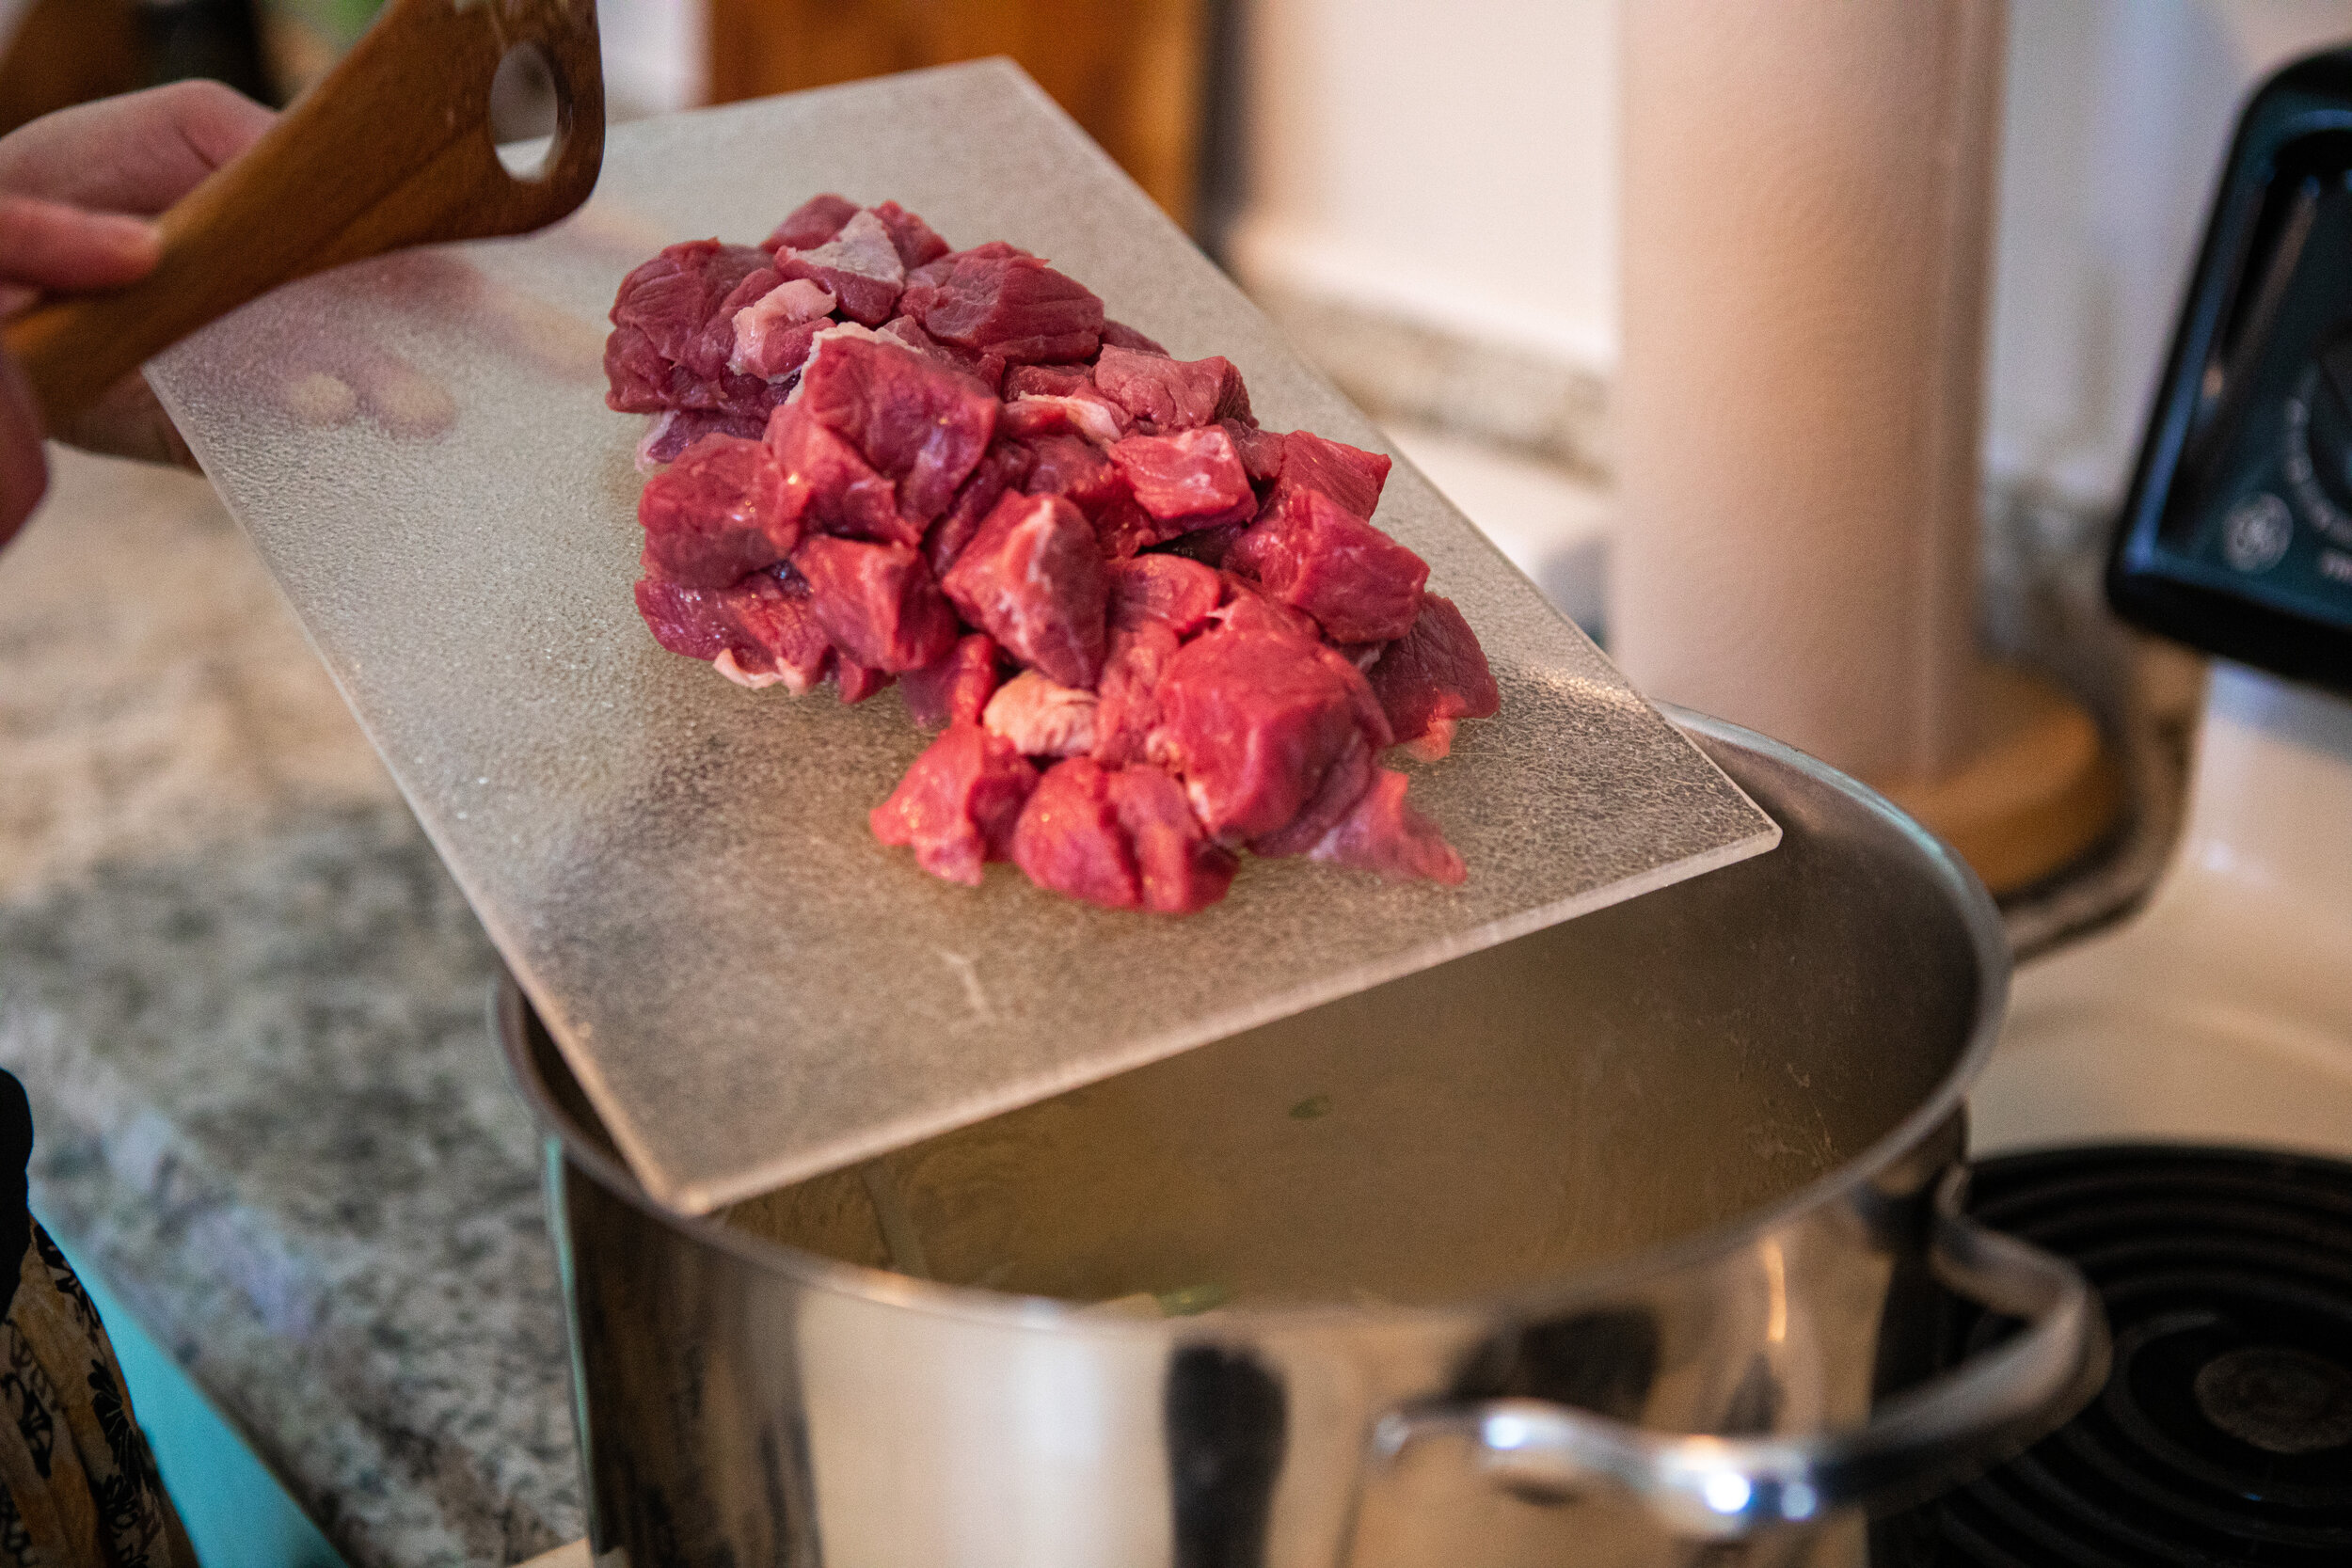
Chuck Roast
½ Stick Butter
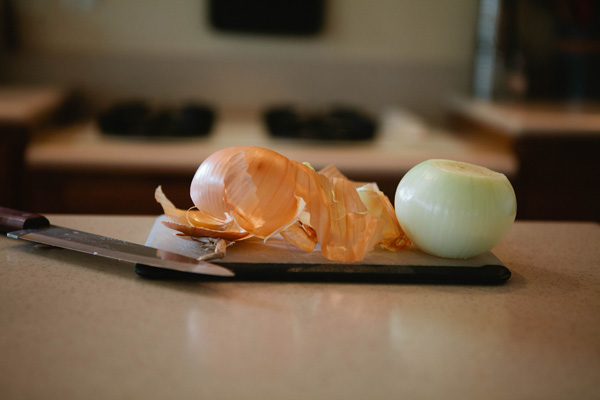
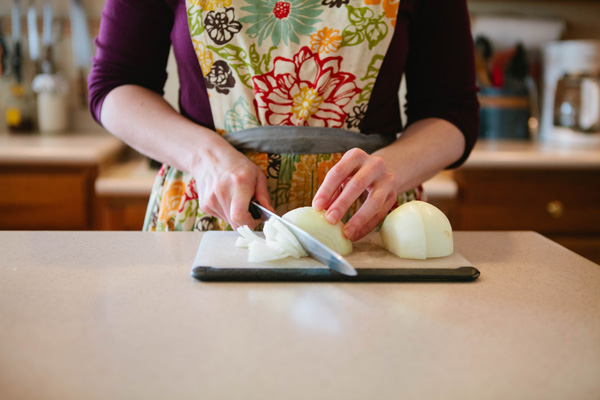
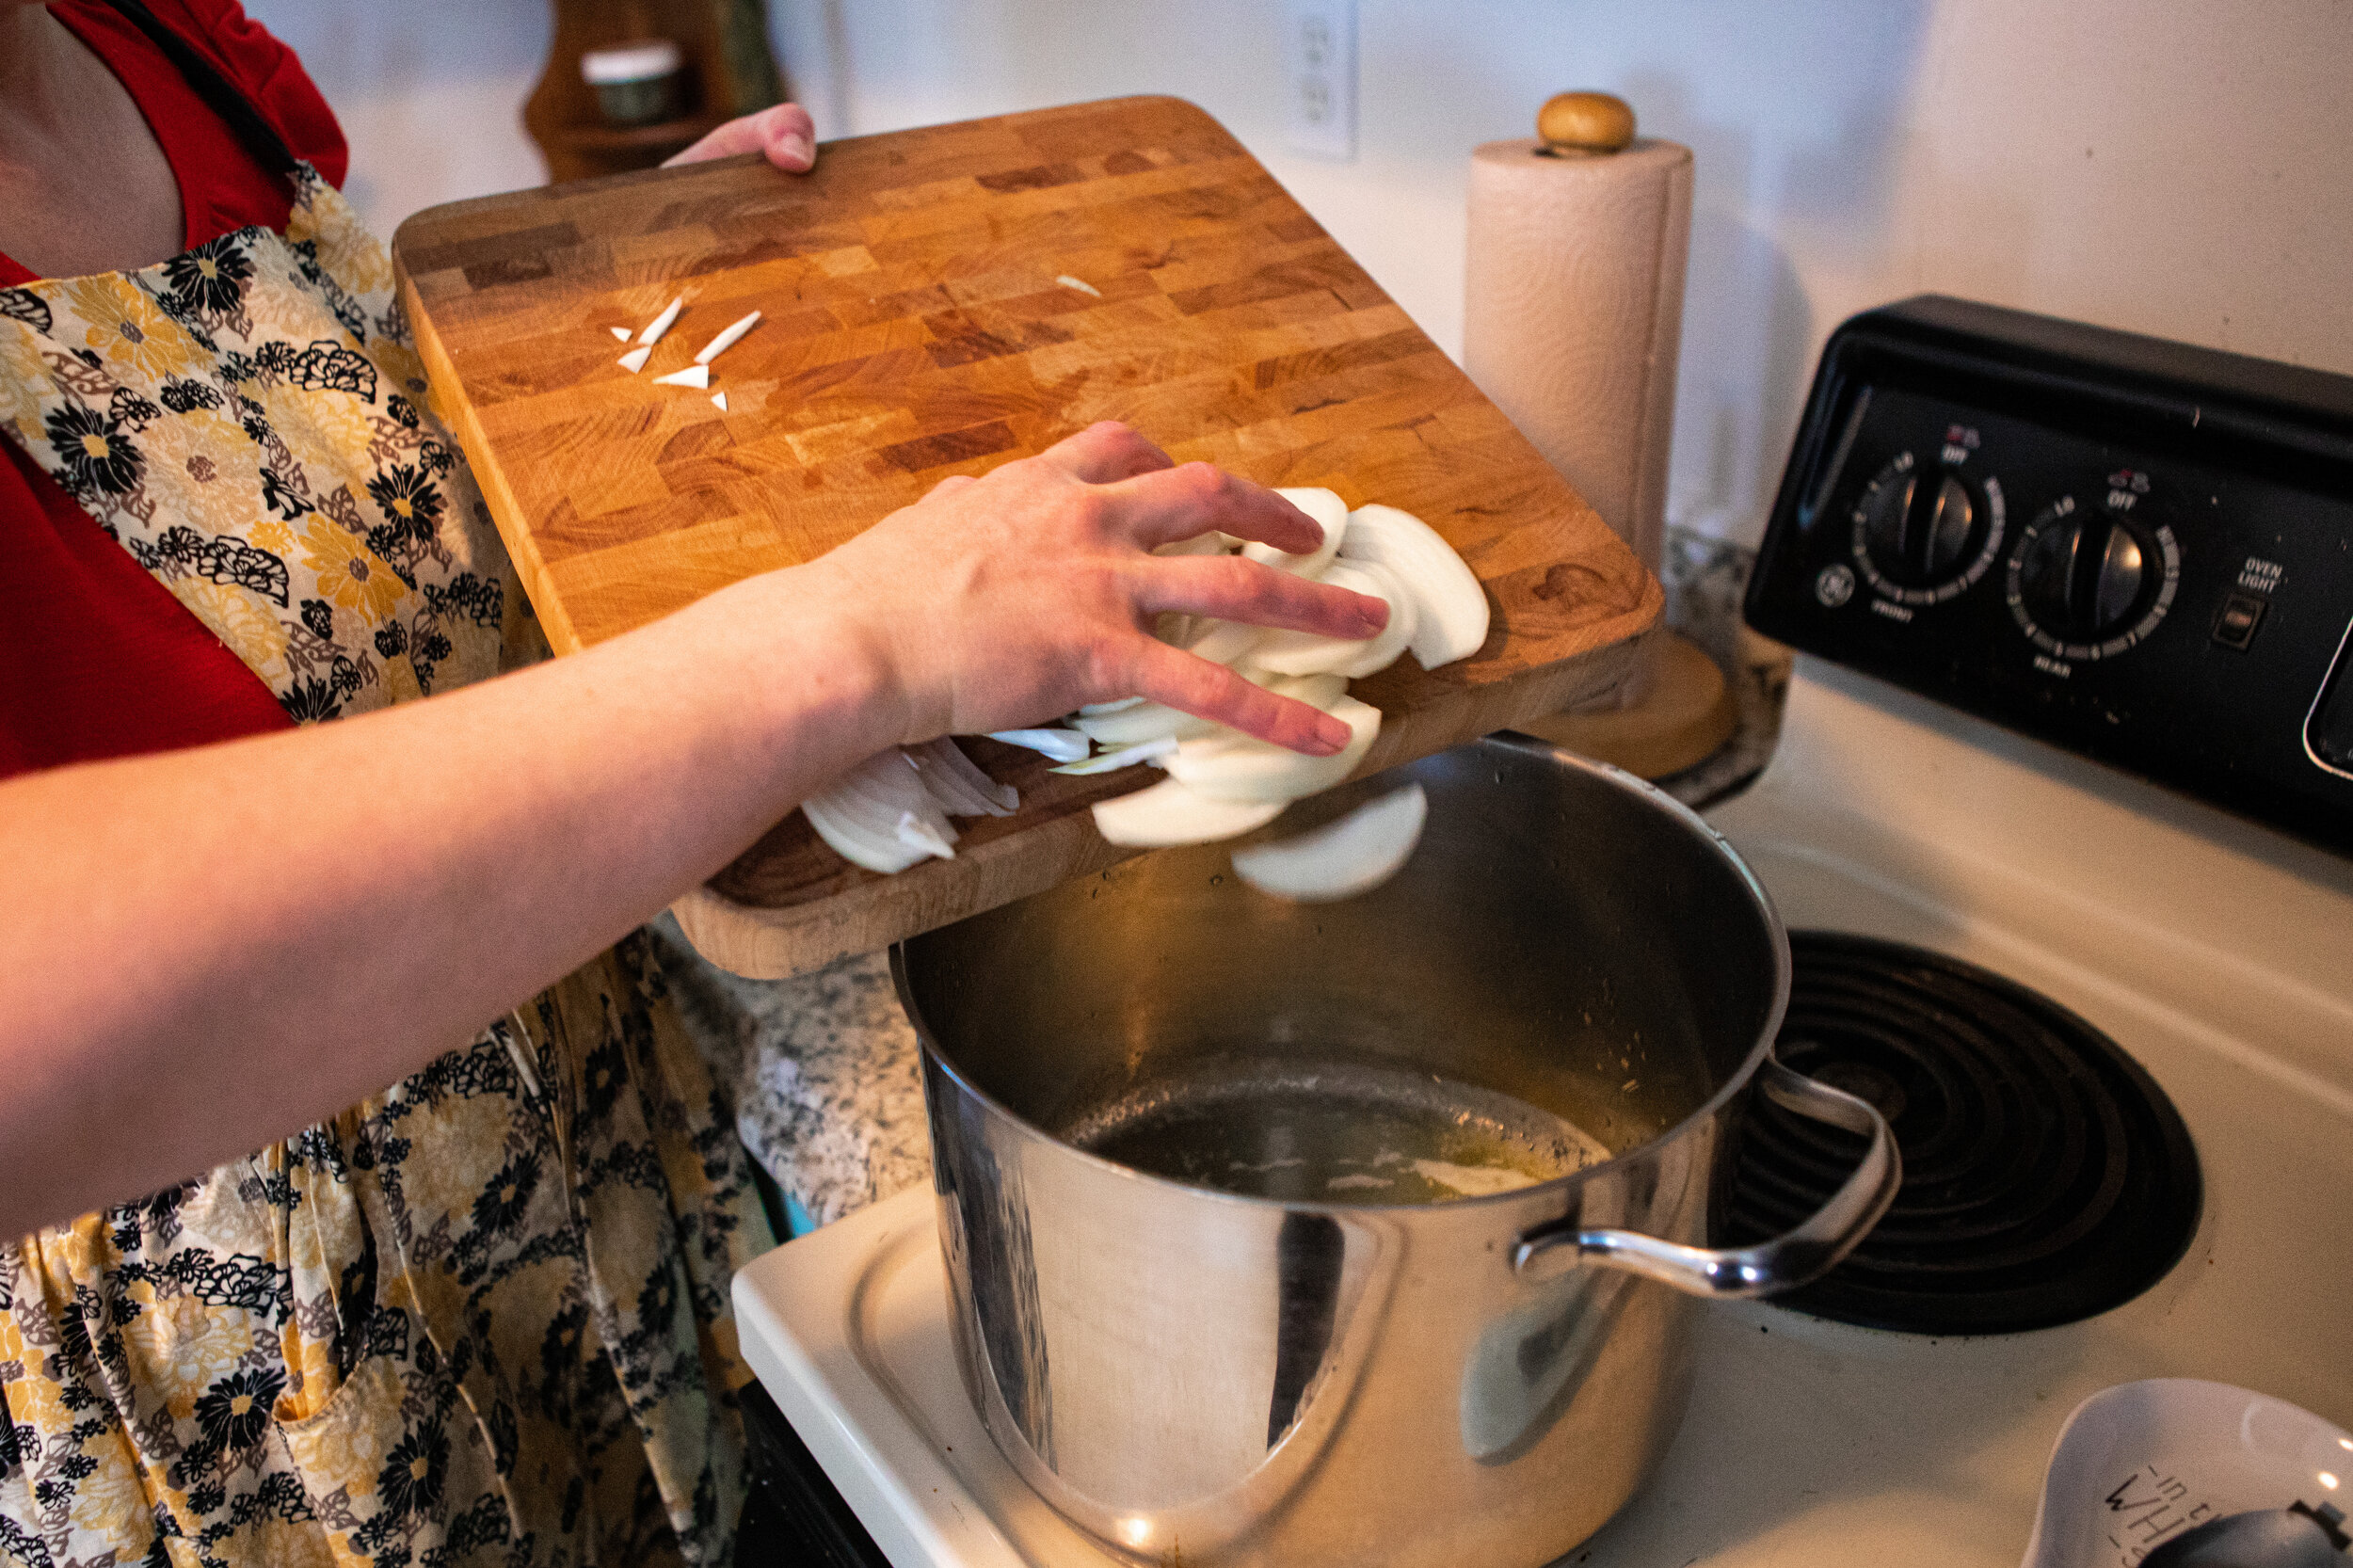
Chopped Onions
Salt
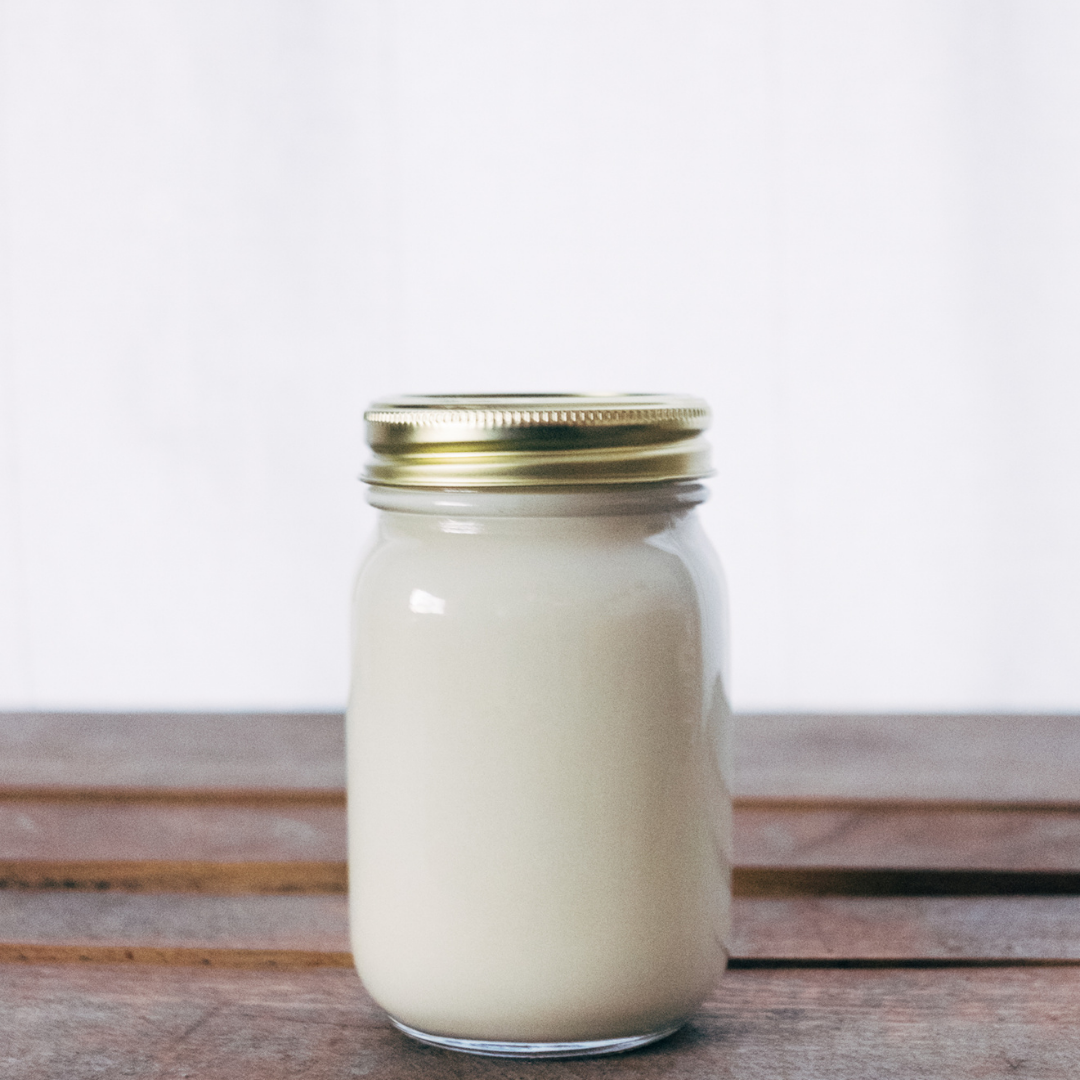
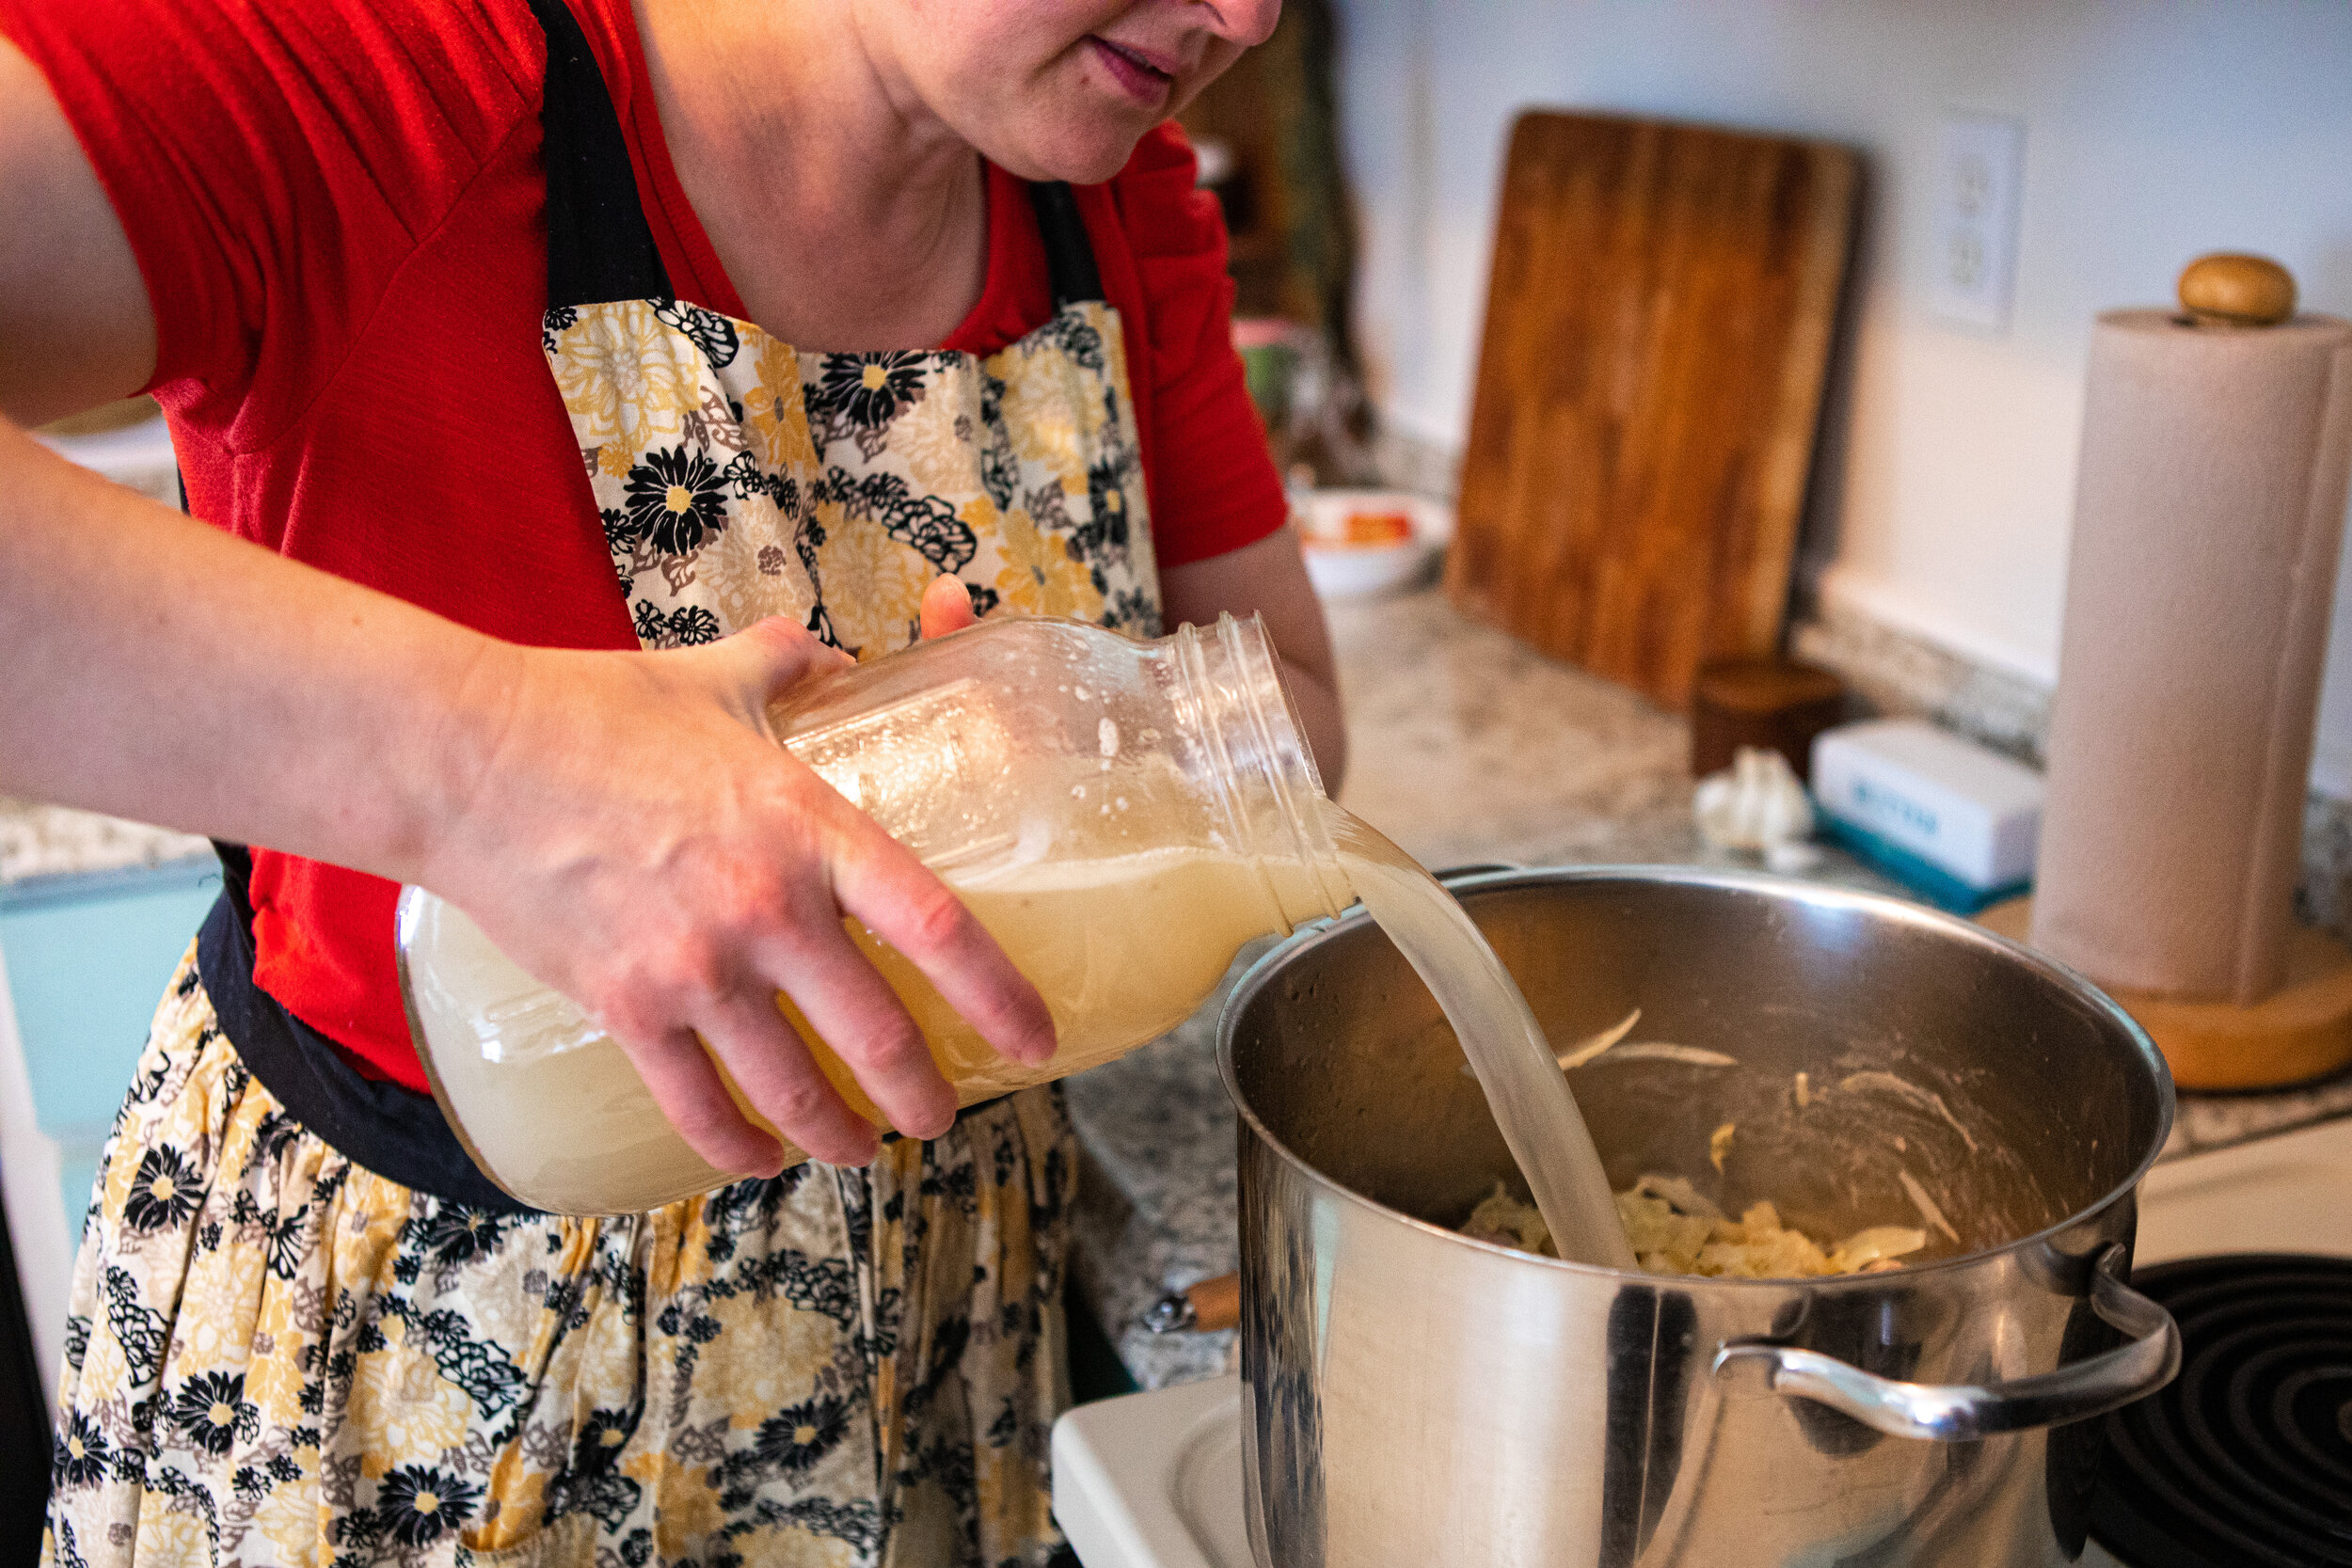
6 Cups Meat Stock (beef or lamb)
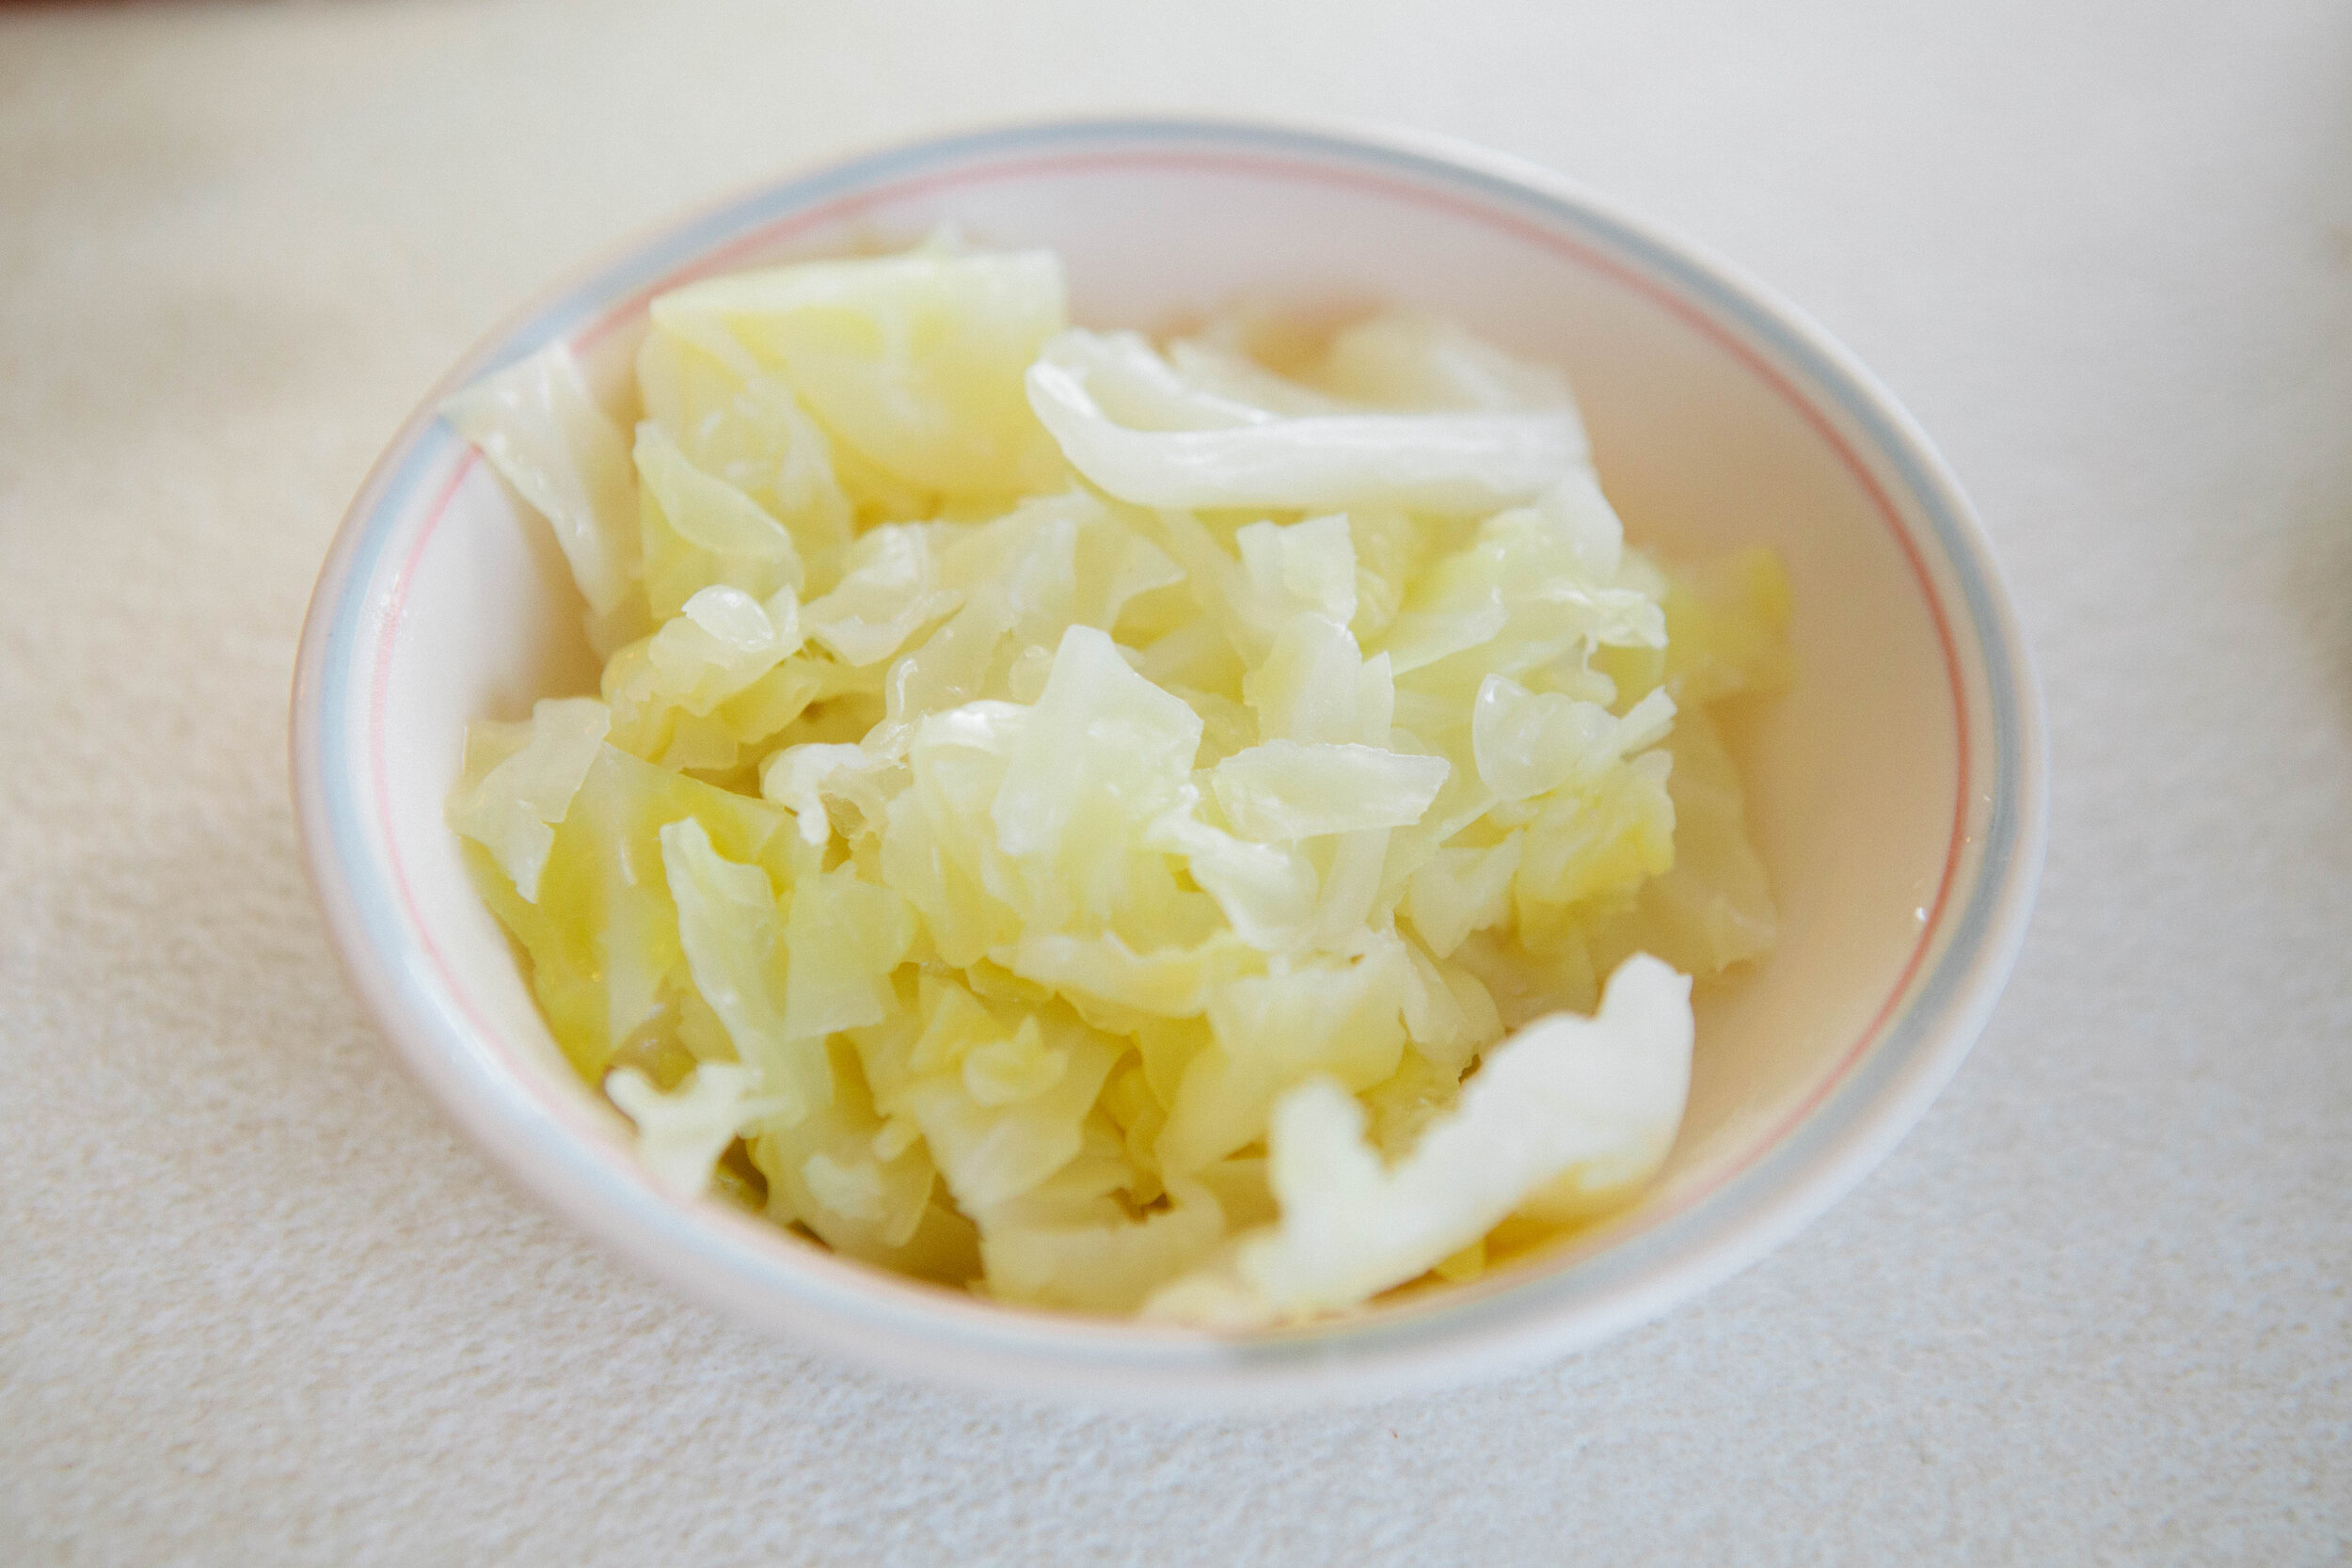
Sauerkraut
Directions for Beef and Sauerkraut Soup
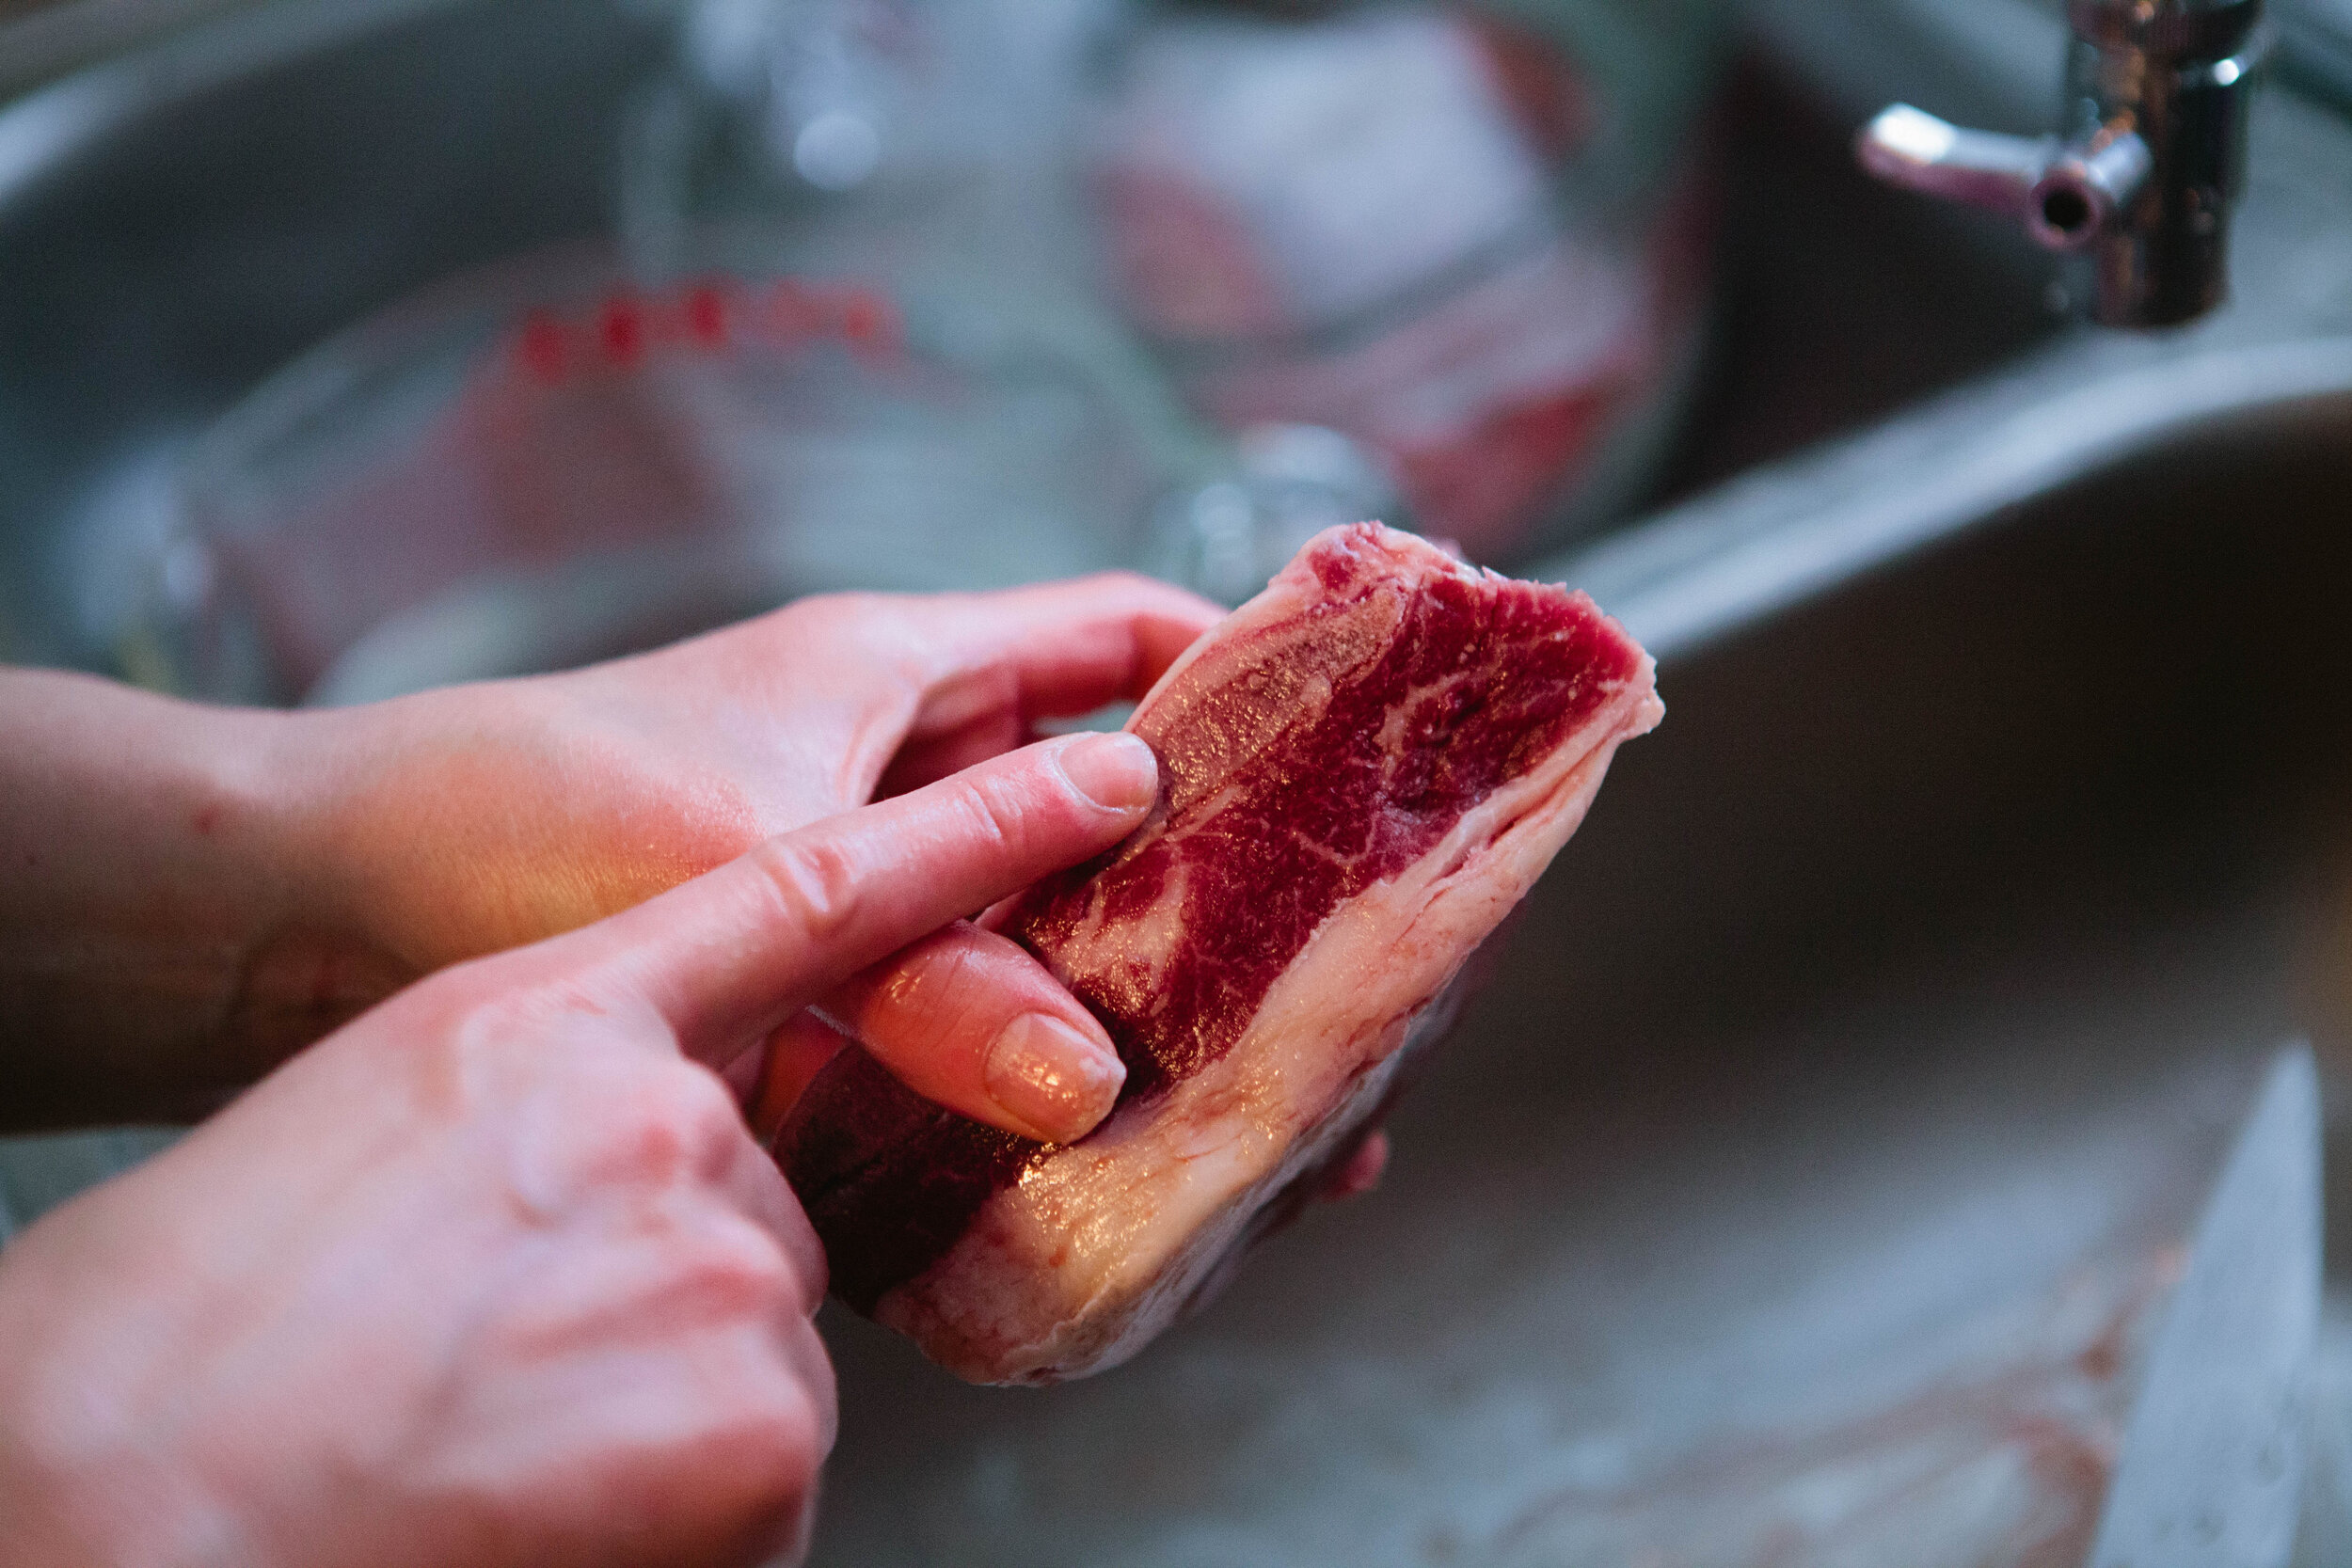
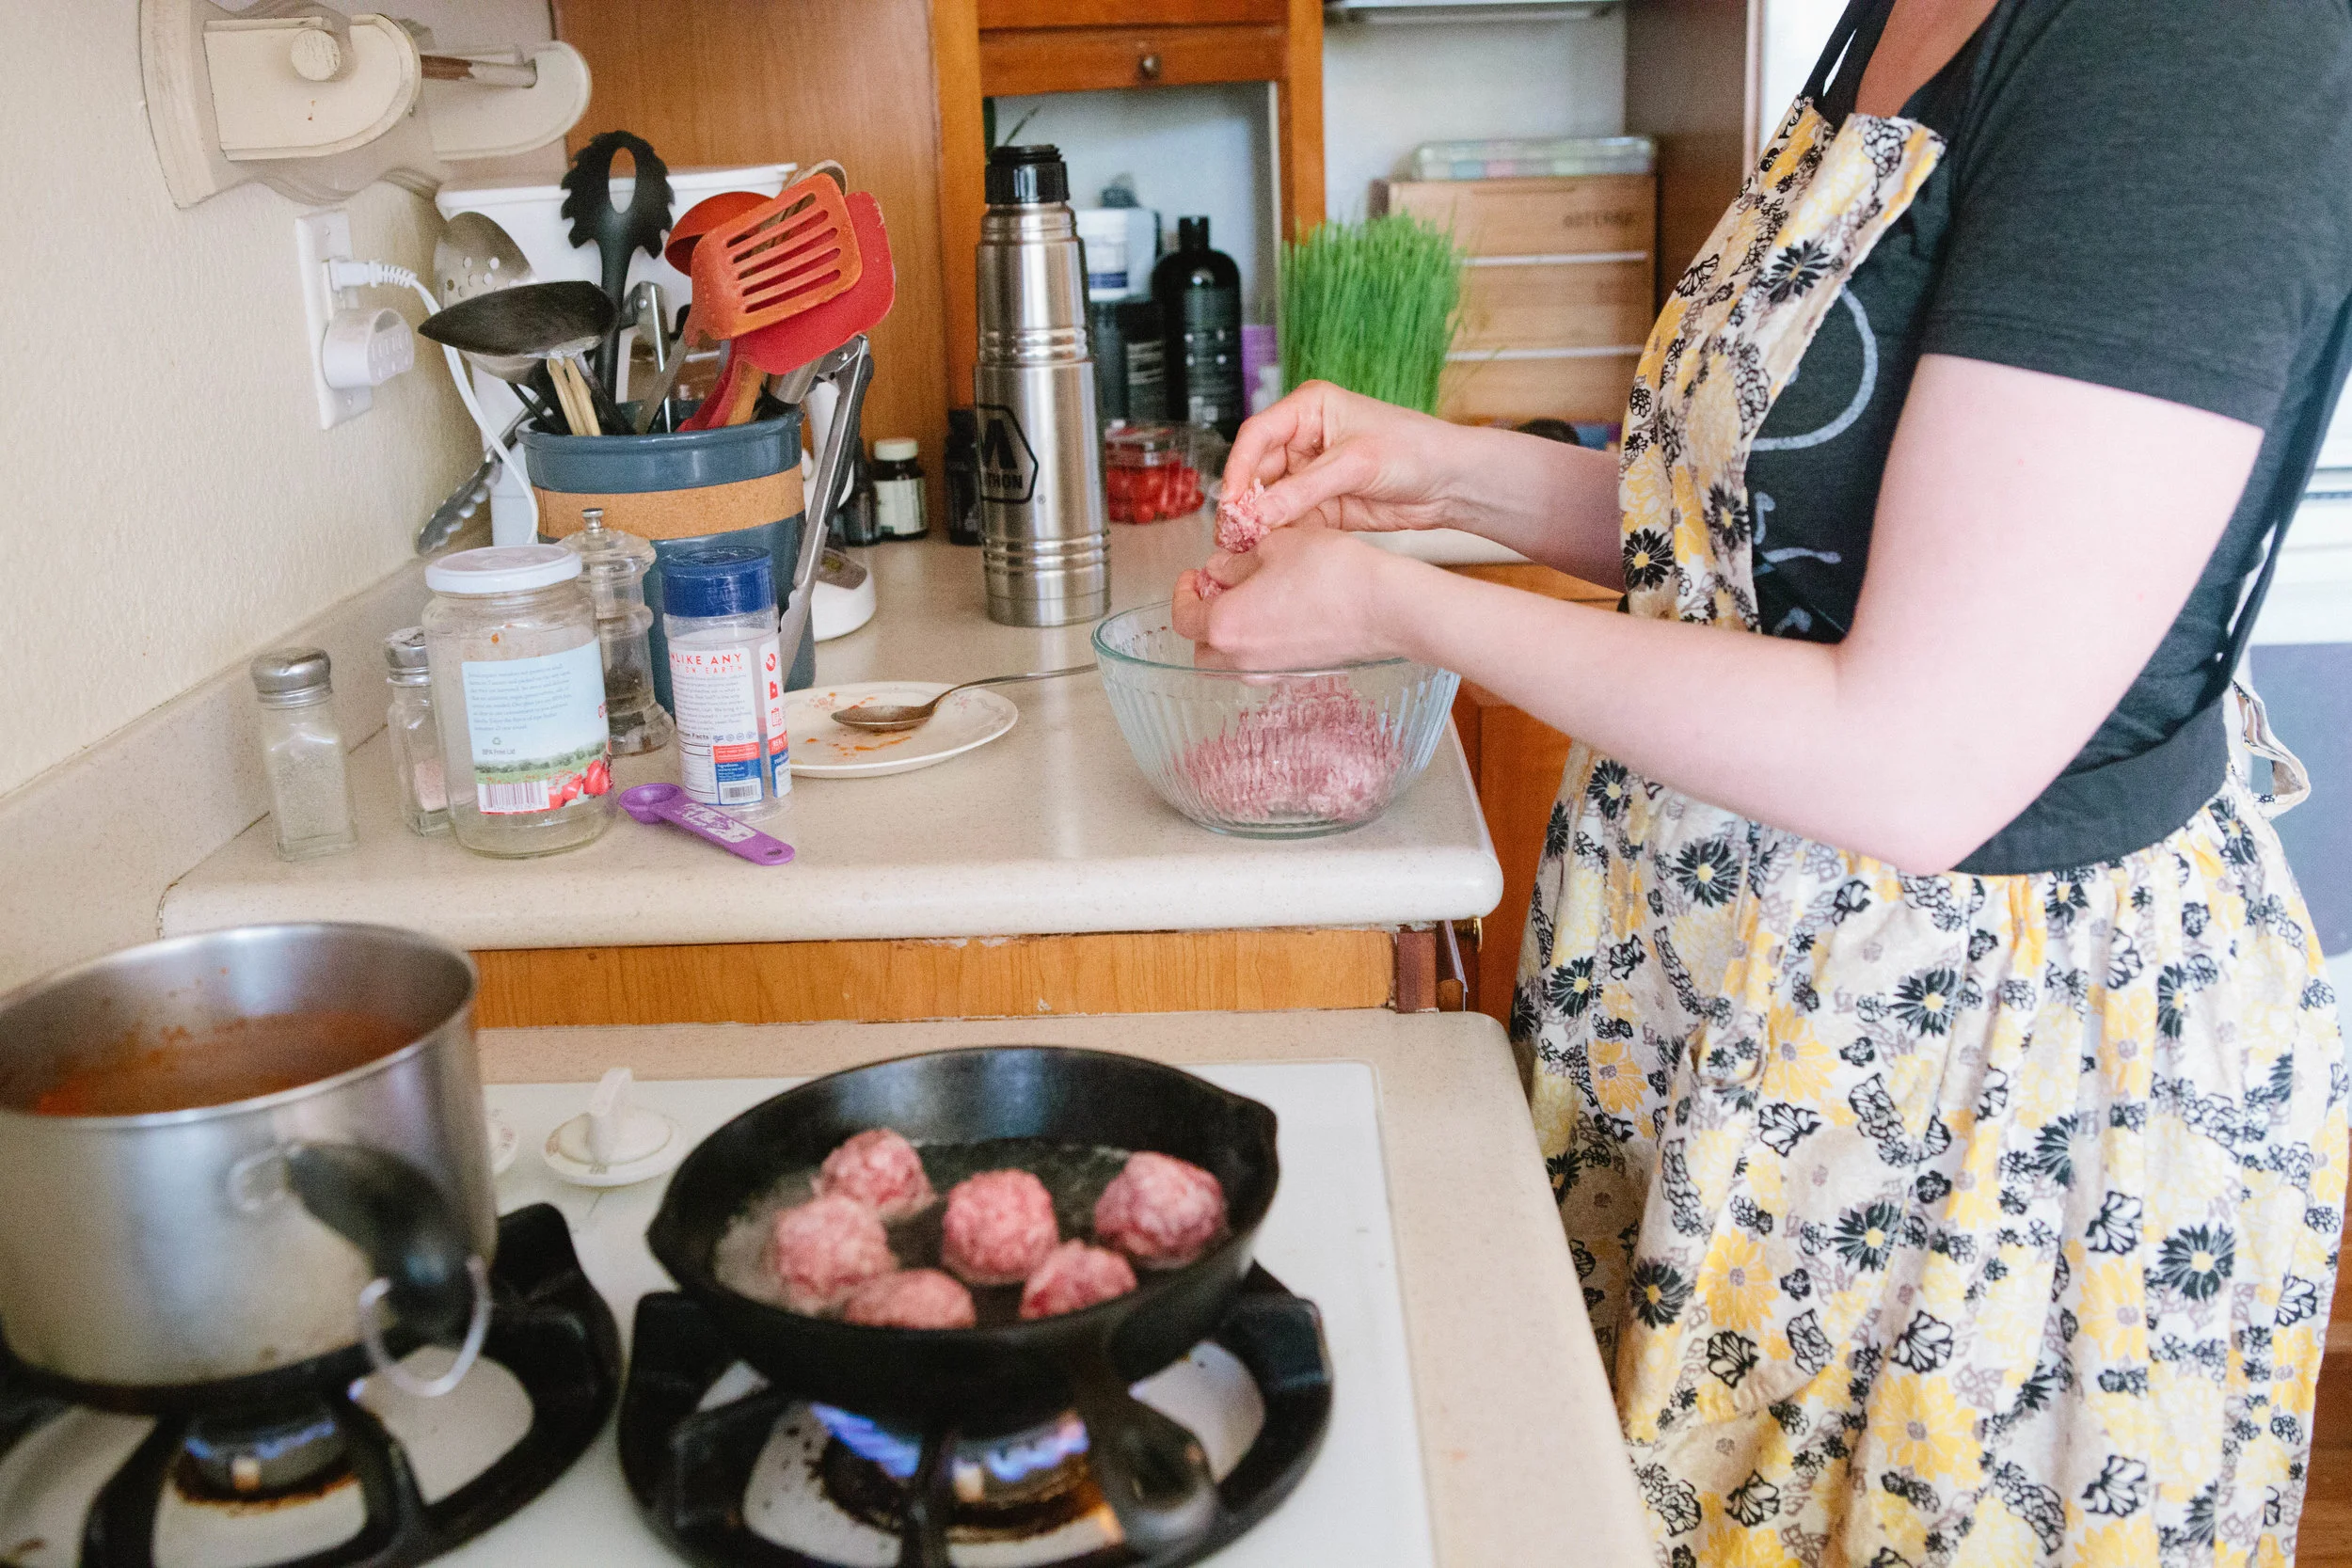
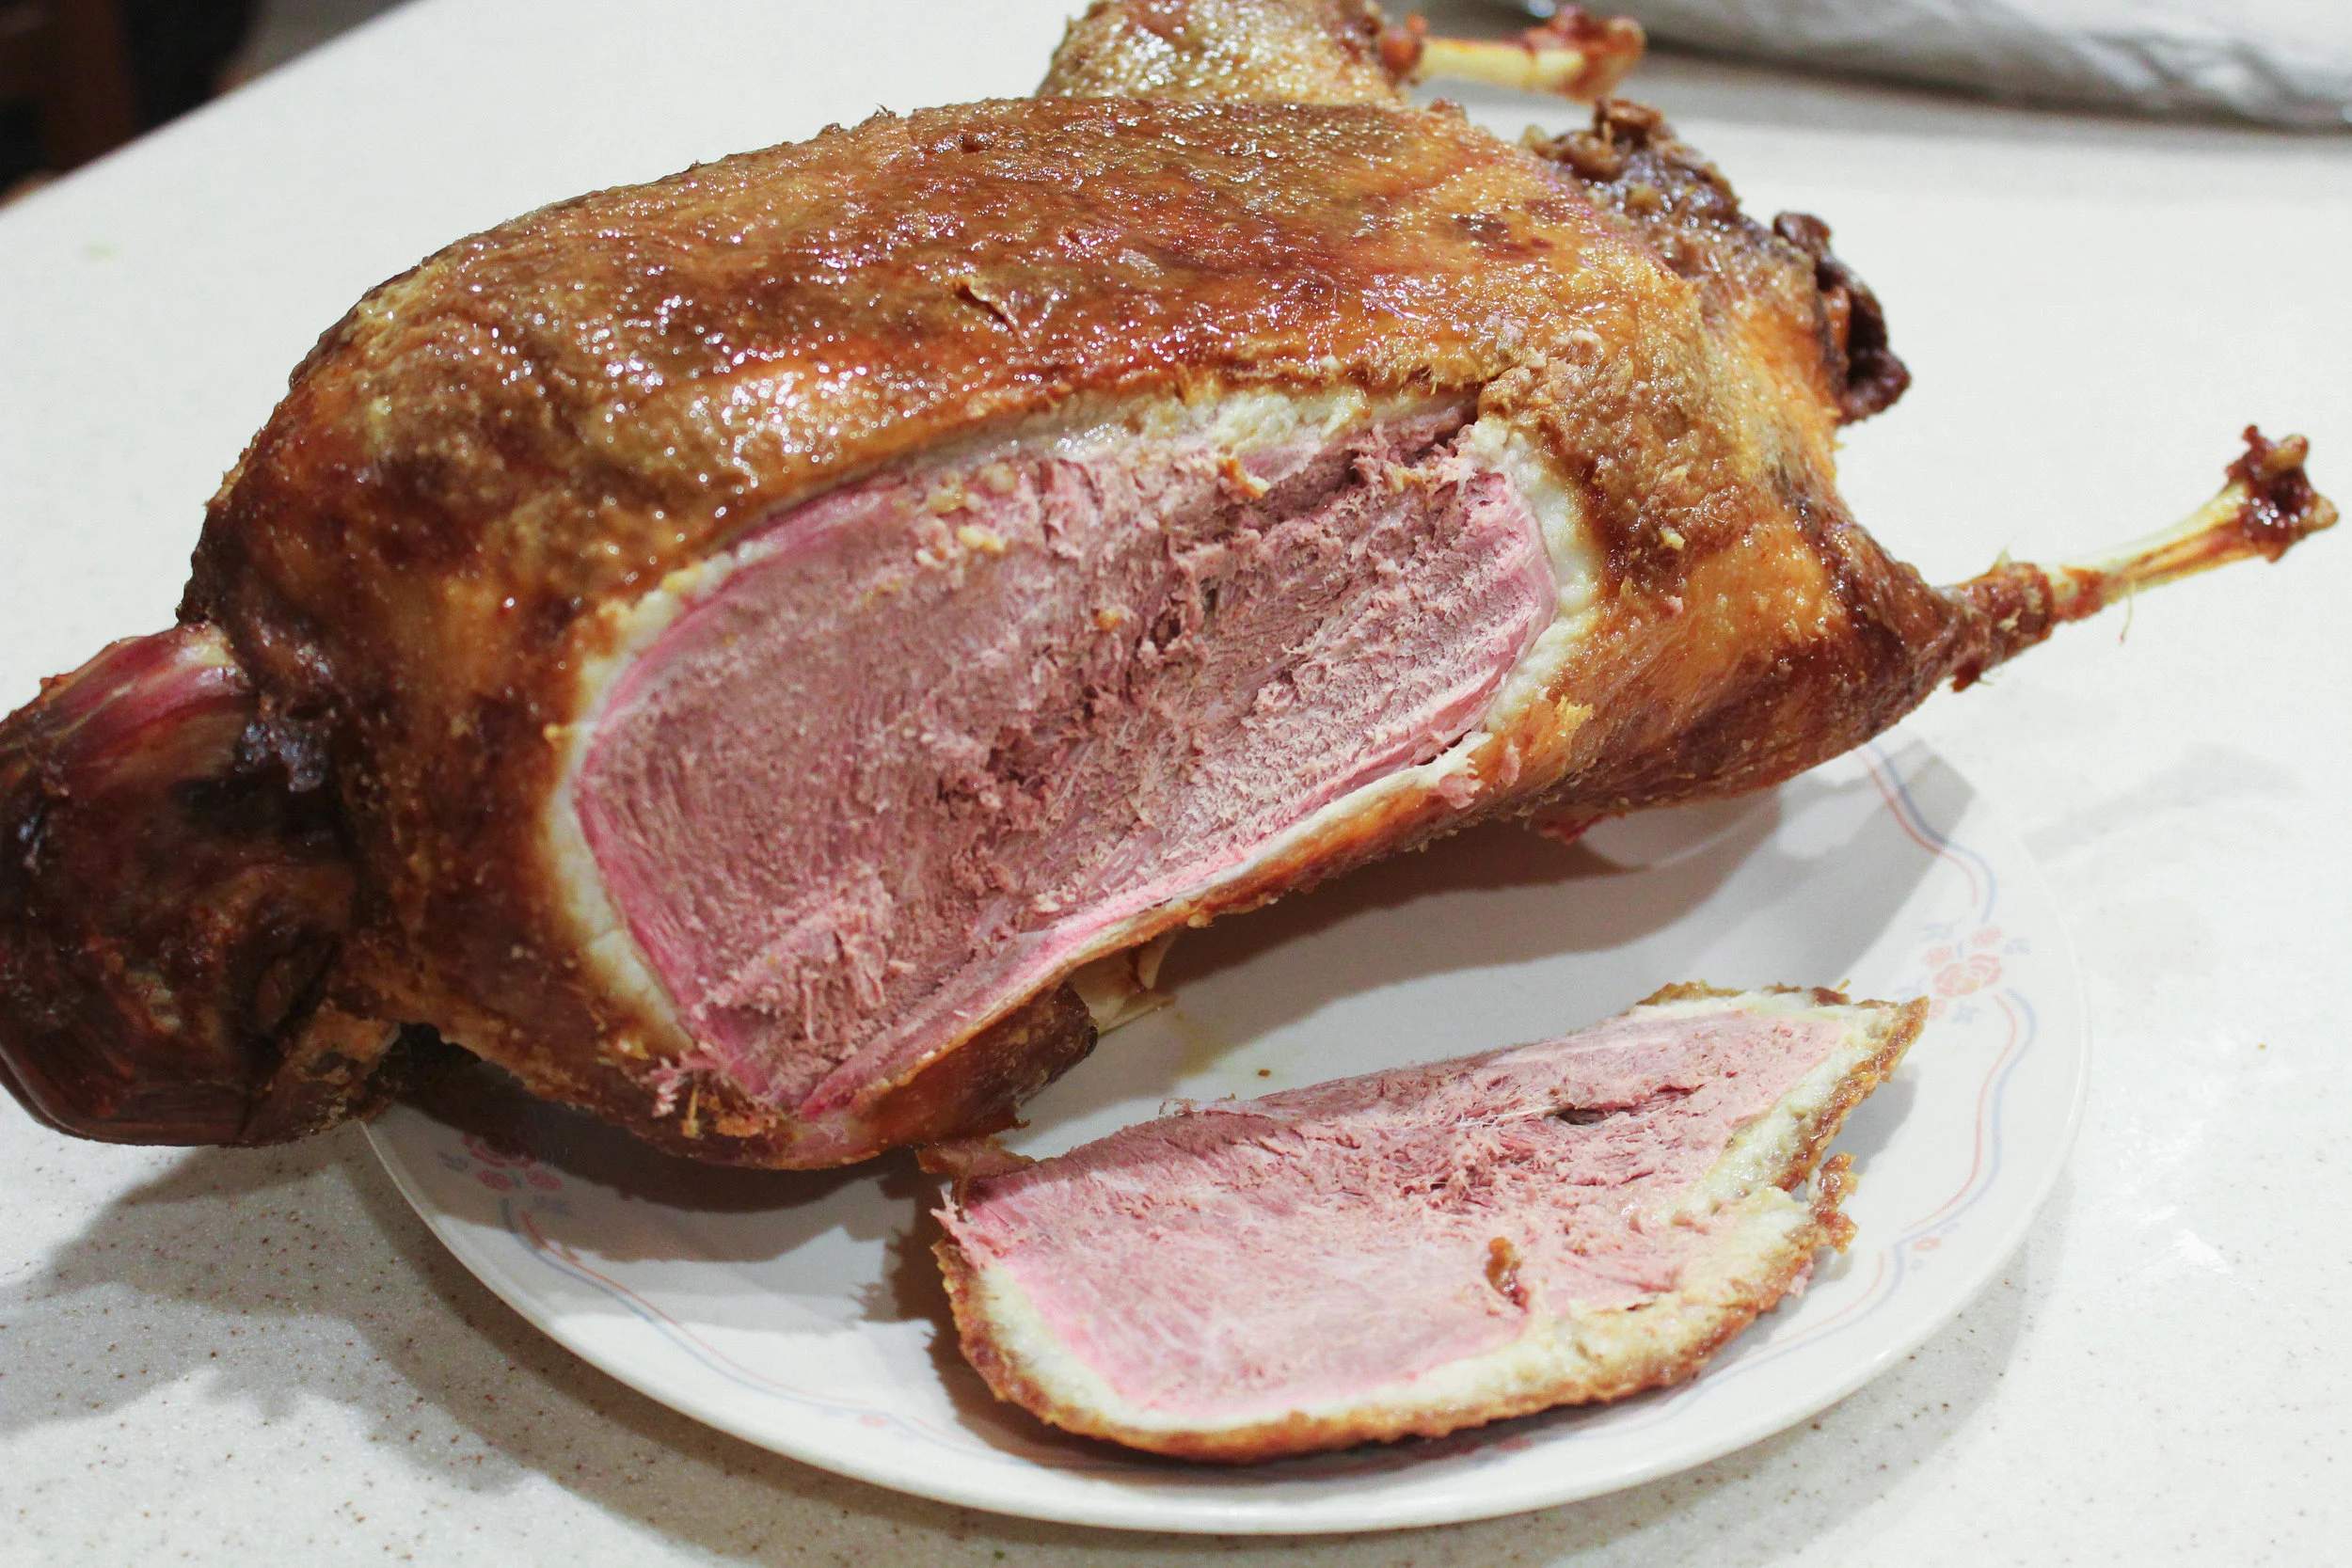
Cube by slicing perpendicular to the grain into half inch slices, then cubing from there. In this recipe, I use a chuck roast, but any cut of meat would be fine. You could also start with stew meat, but be sure to cube it down to bite-sized pieces. Stew meat is often very expensive cuts of meat that did not end up in a pretty cut, so I recommend purchasing and using stew meat to get quality, affordable meat. I often purchase stew meat to get tender cuts at affordable prices.

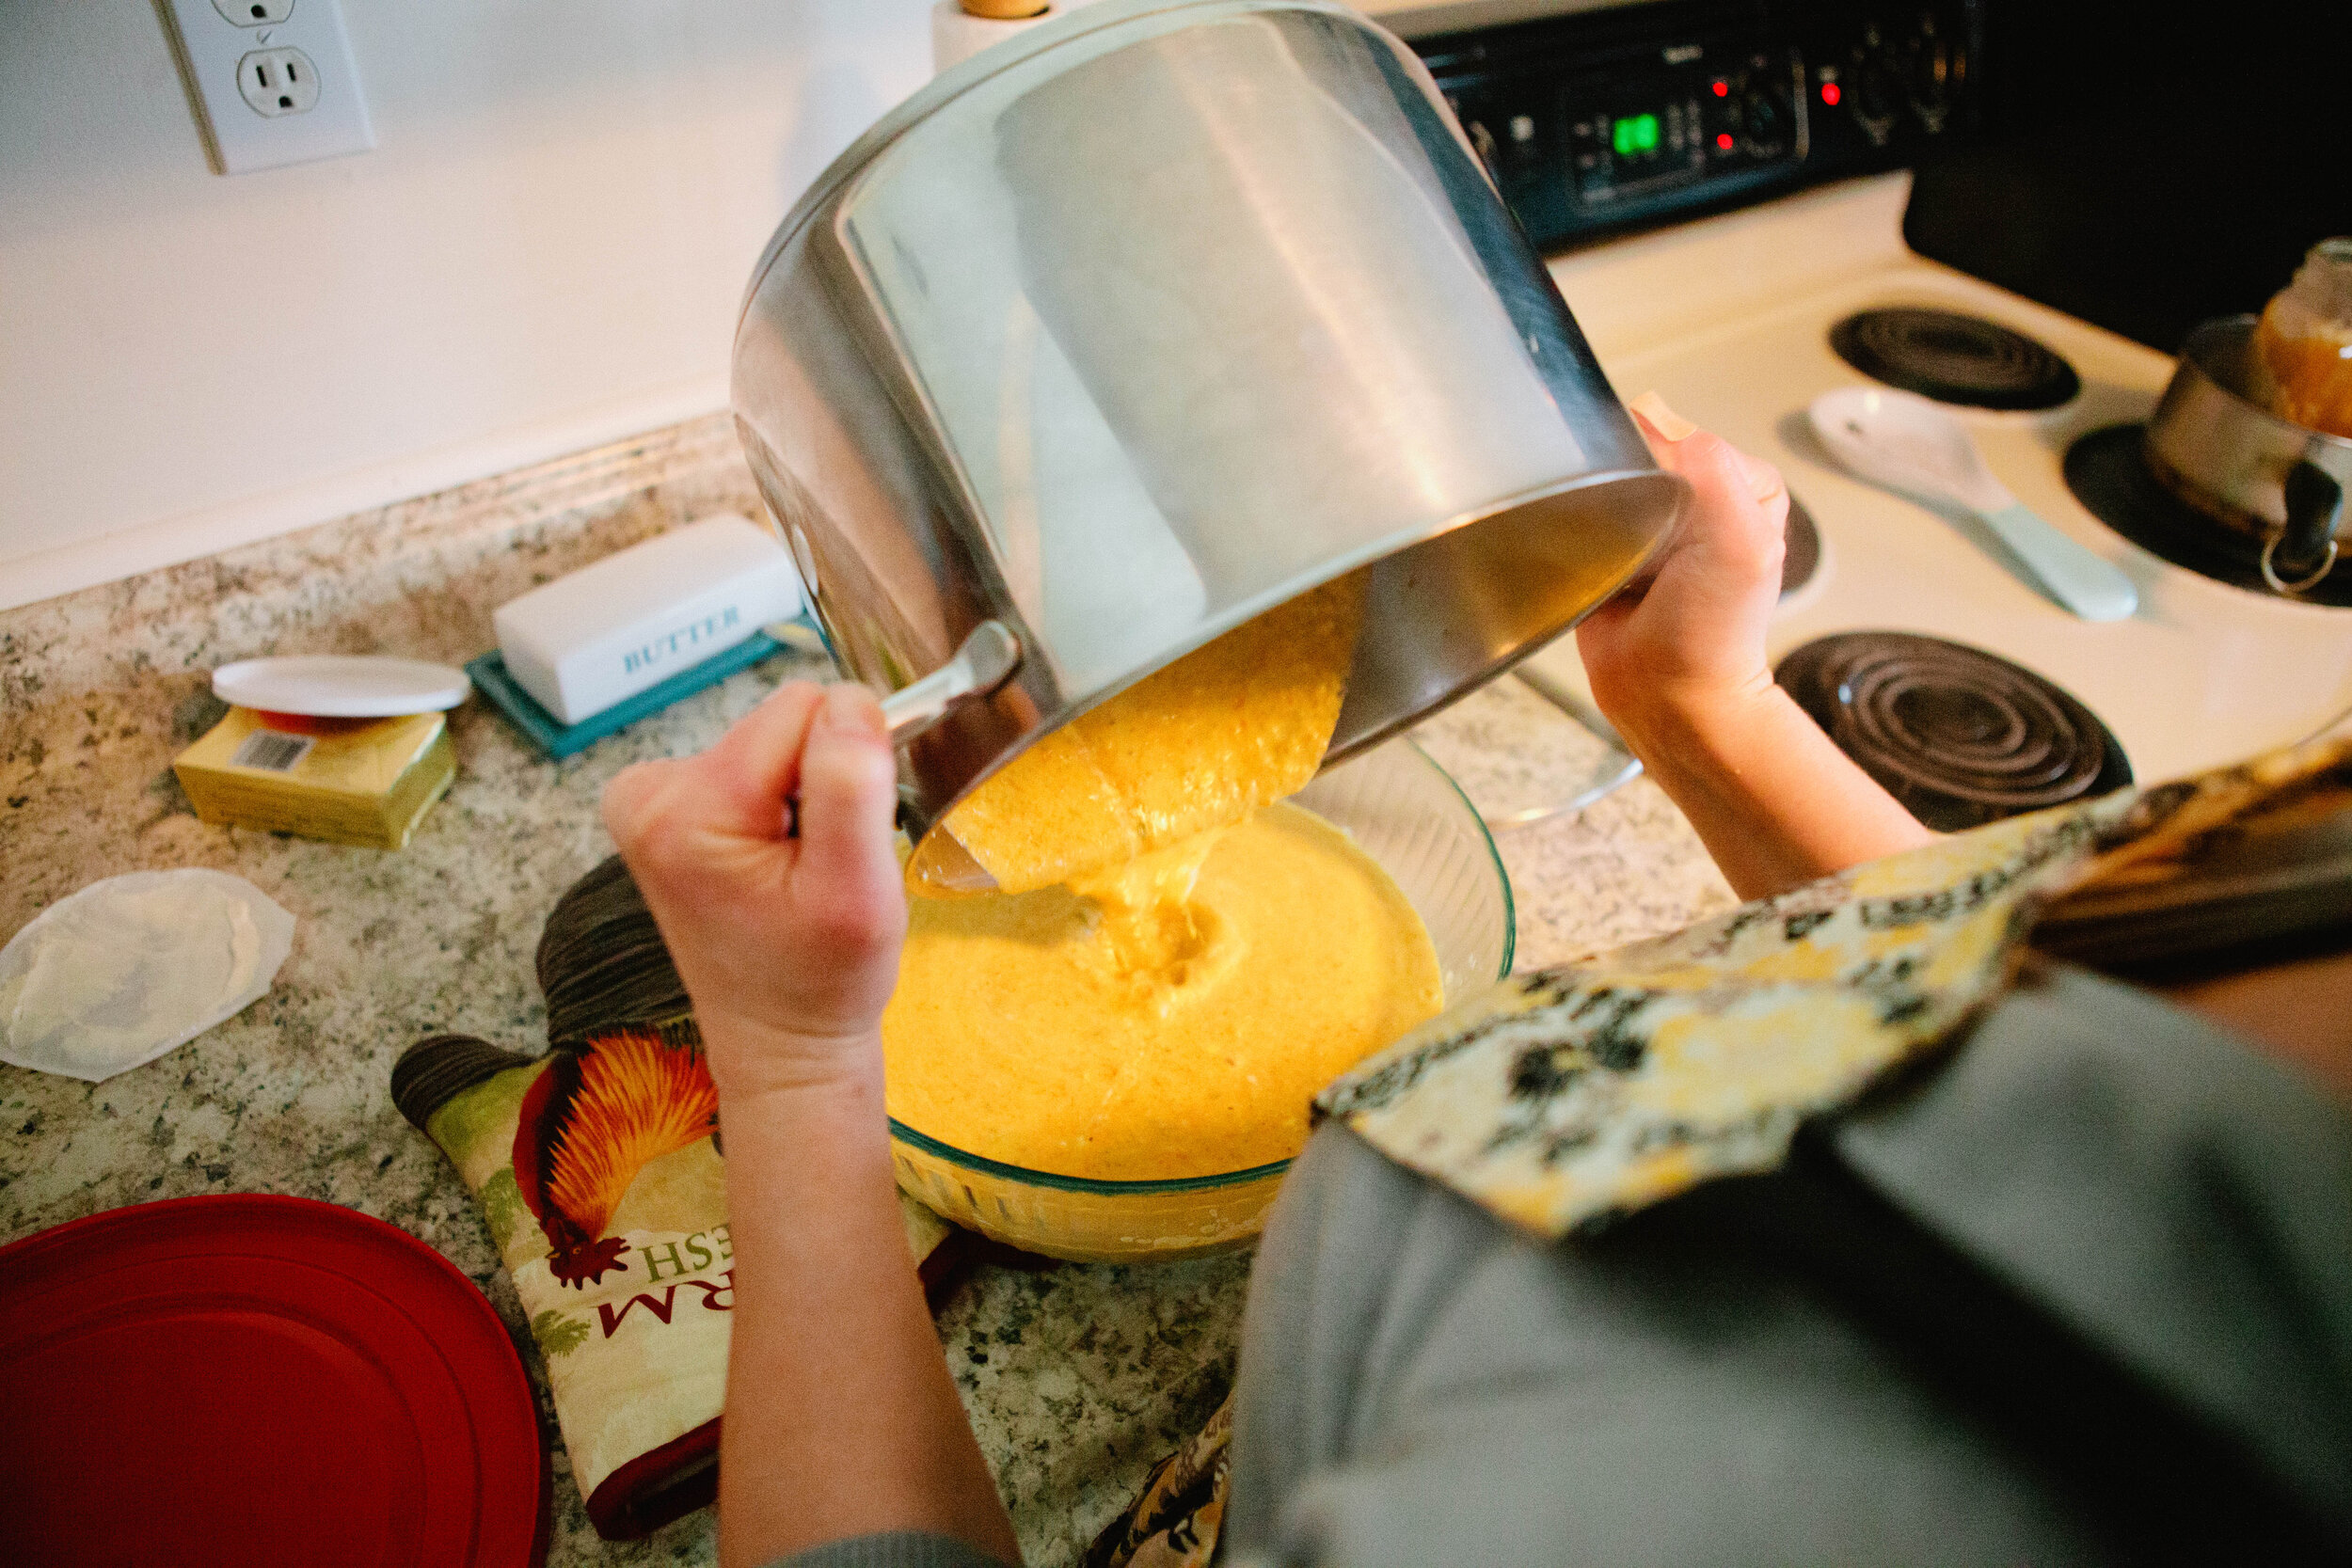
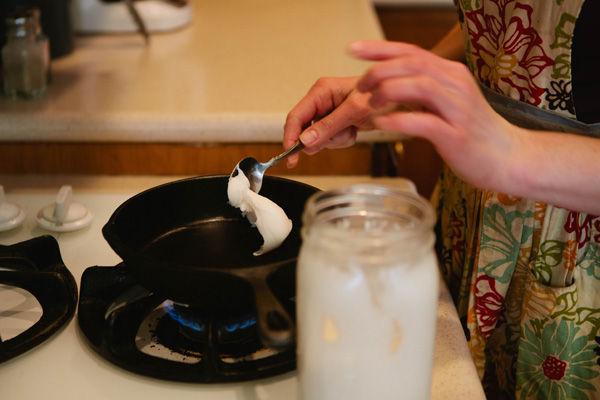
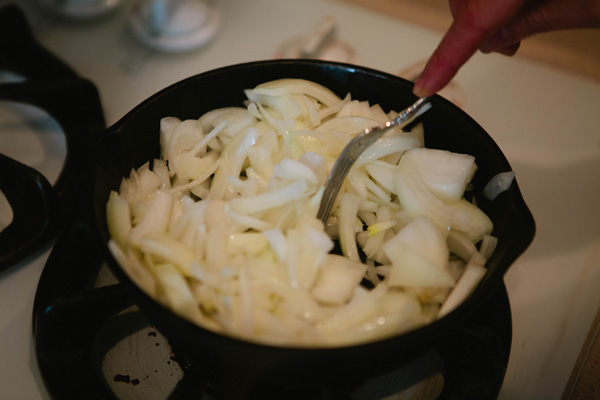
Melt ½ stick butter, add chopped onions, salt and cook 5-6 minutes until the onions begin to soften.
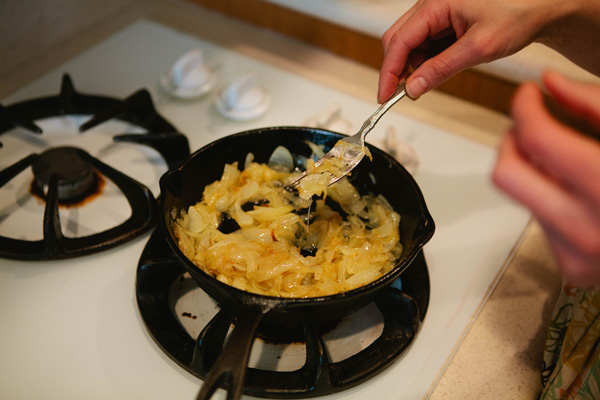
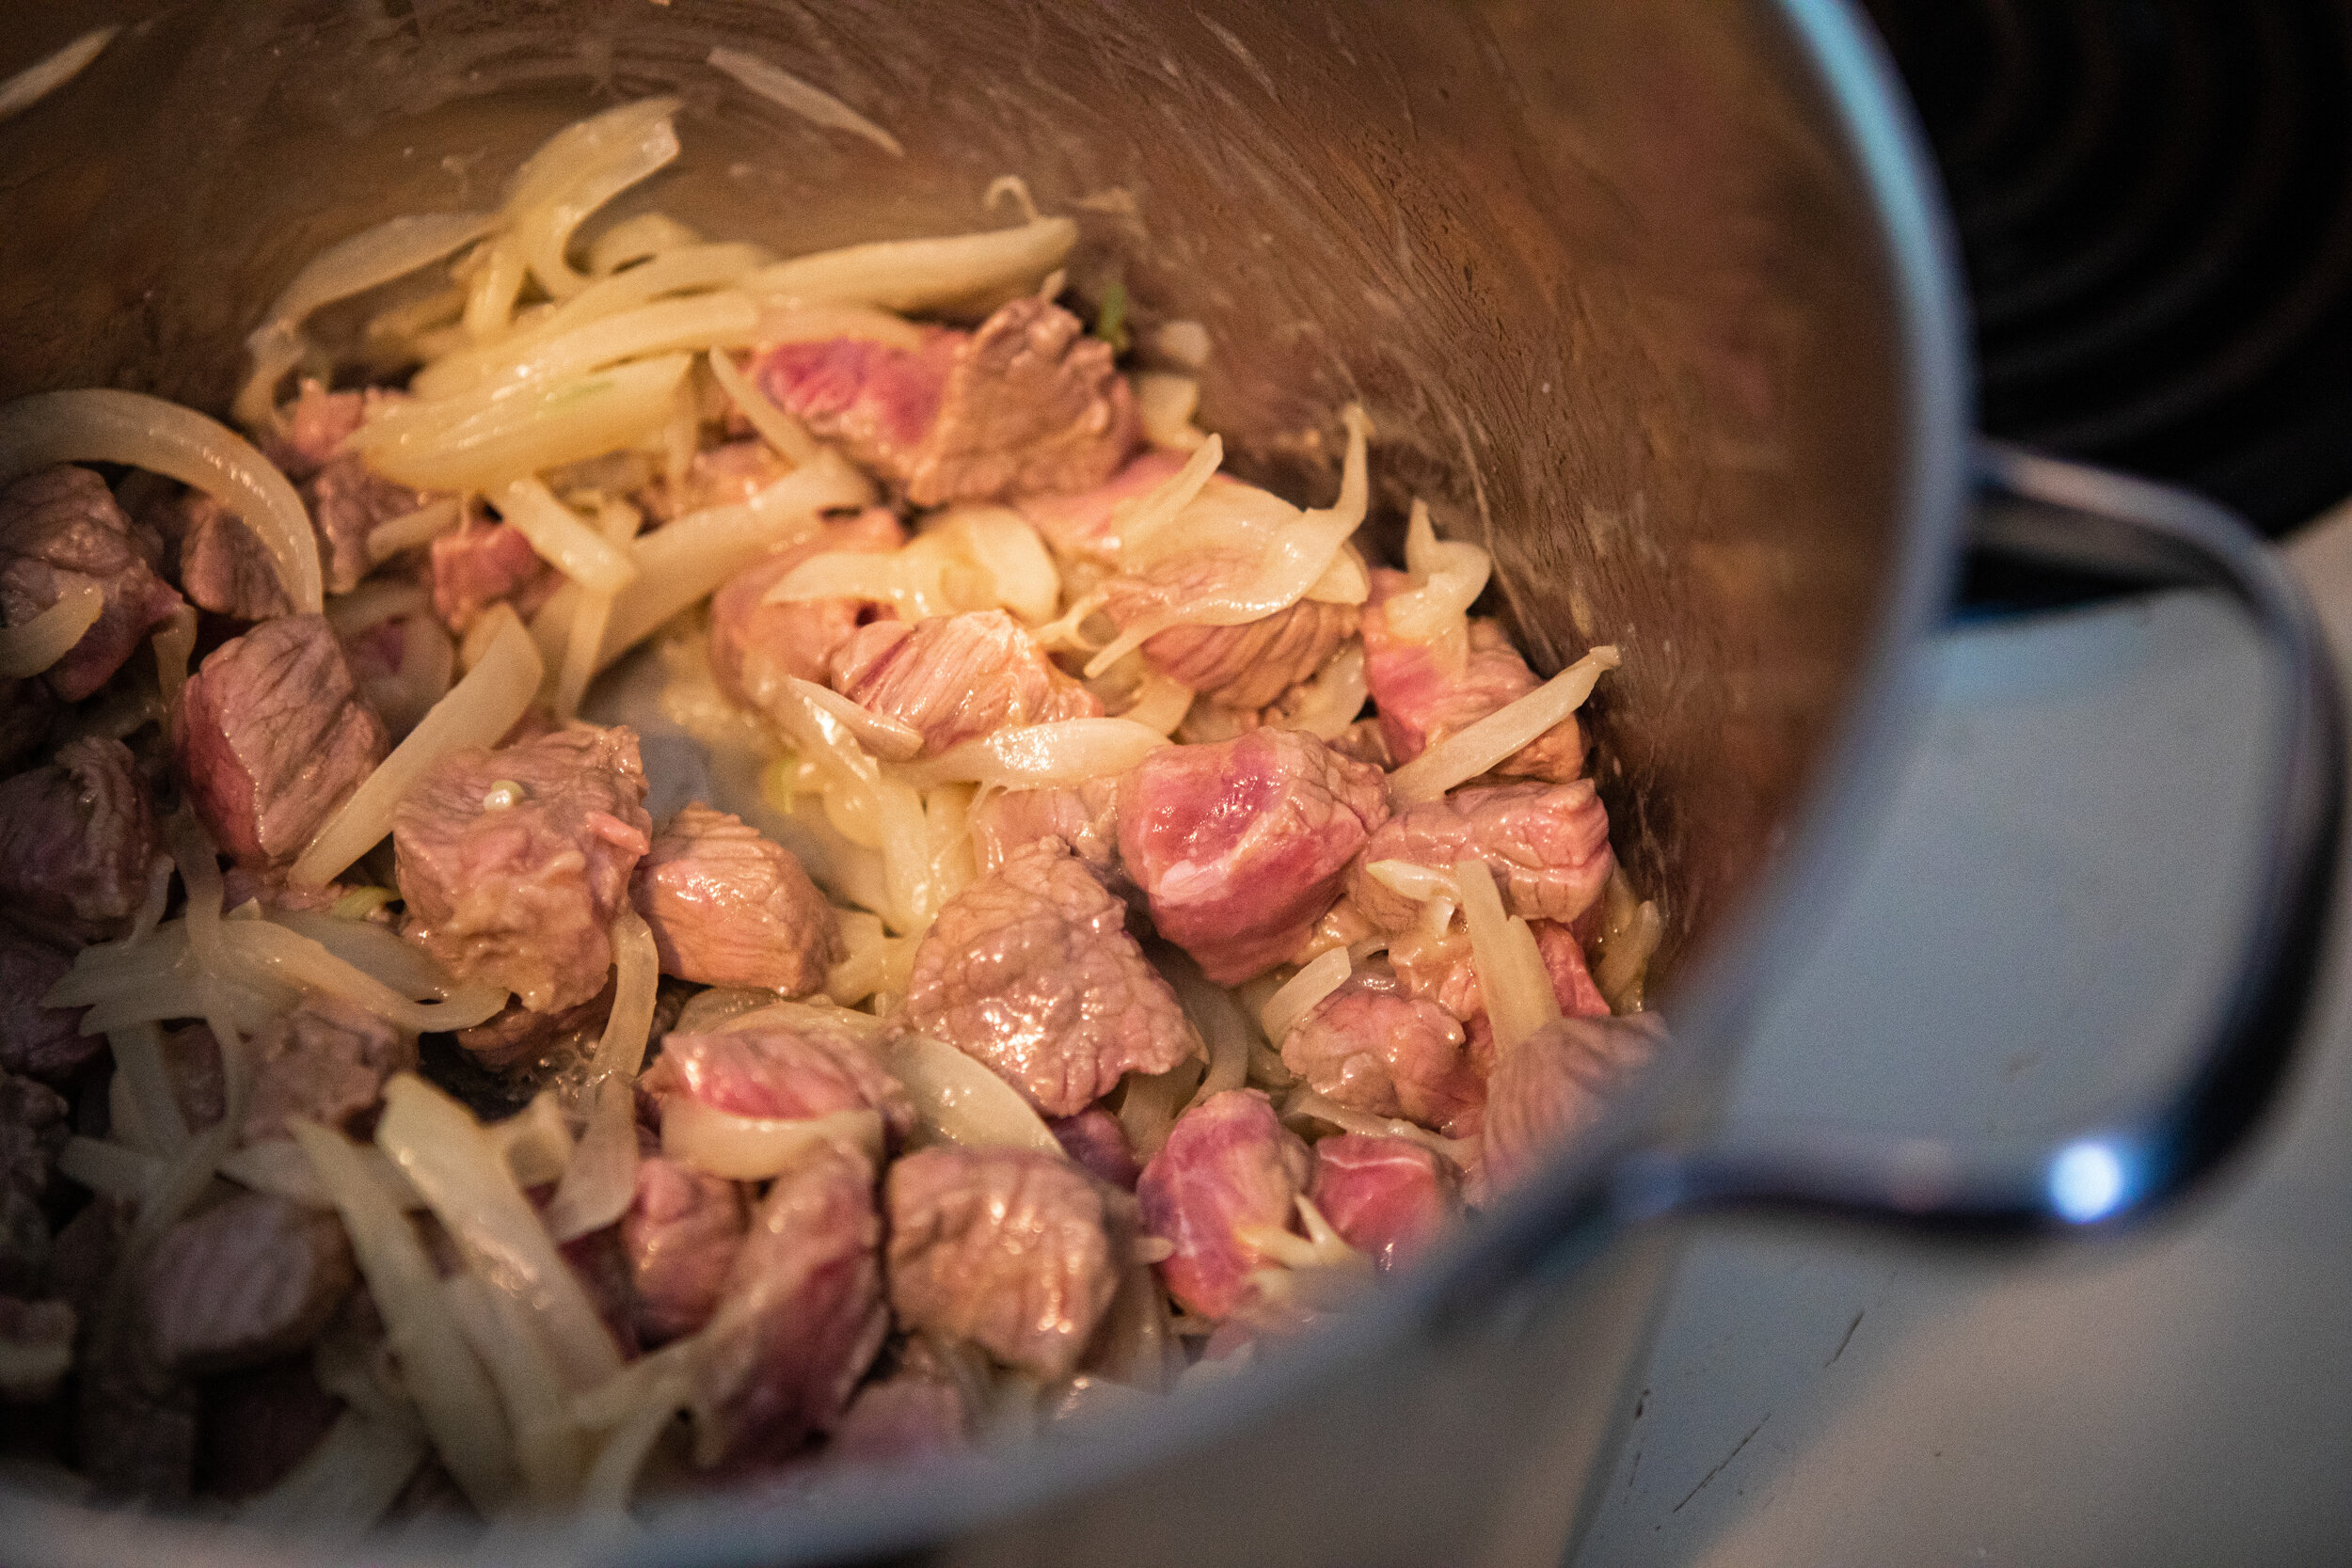
When the onions are becoming soft, add beef and brown the outside of the meat cubes to trap the flavors. Sauté for 5-7 minutes to brown the outside of the cubes to trap the flavor and moisture inside. Medium High Heat.
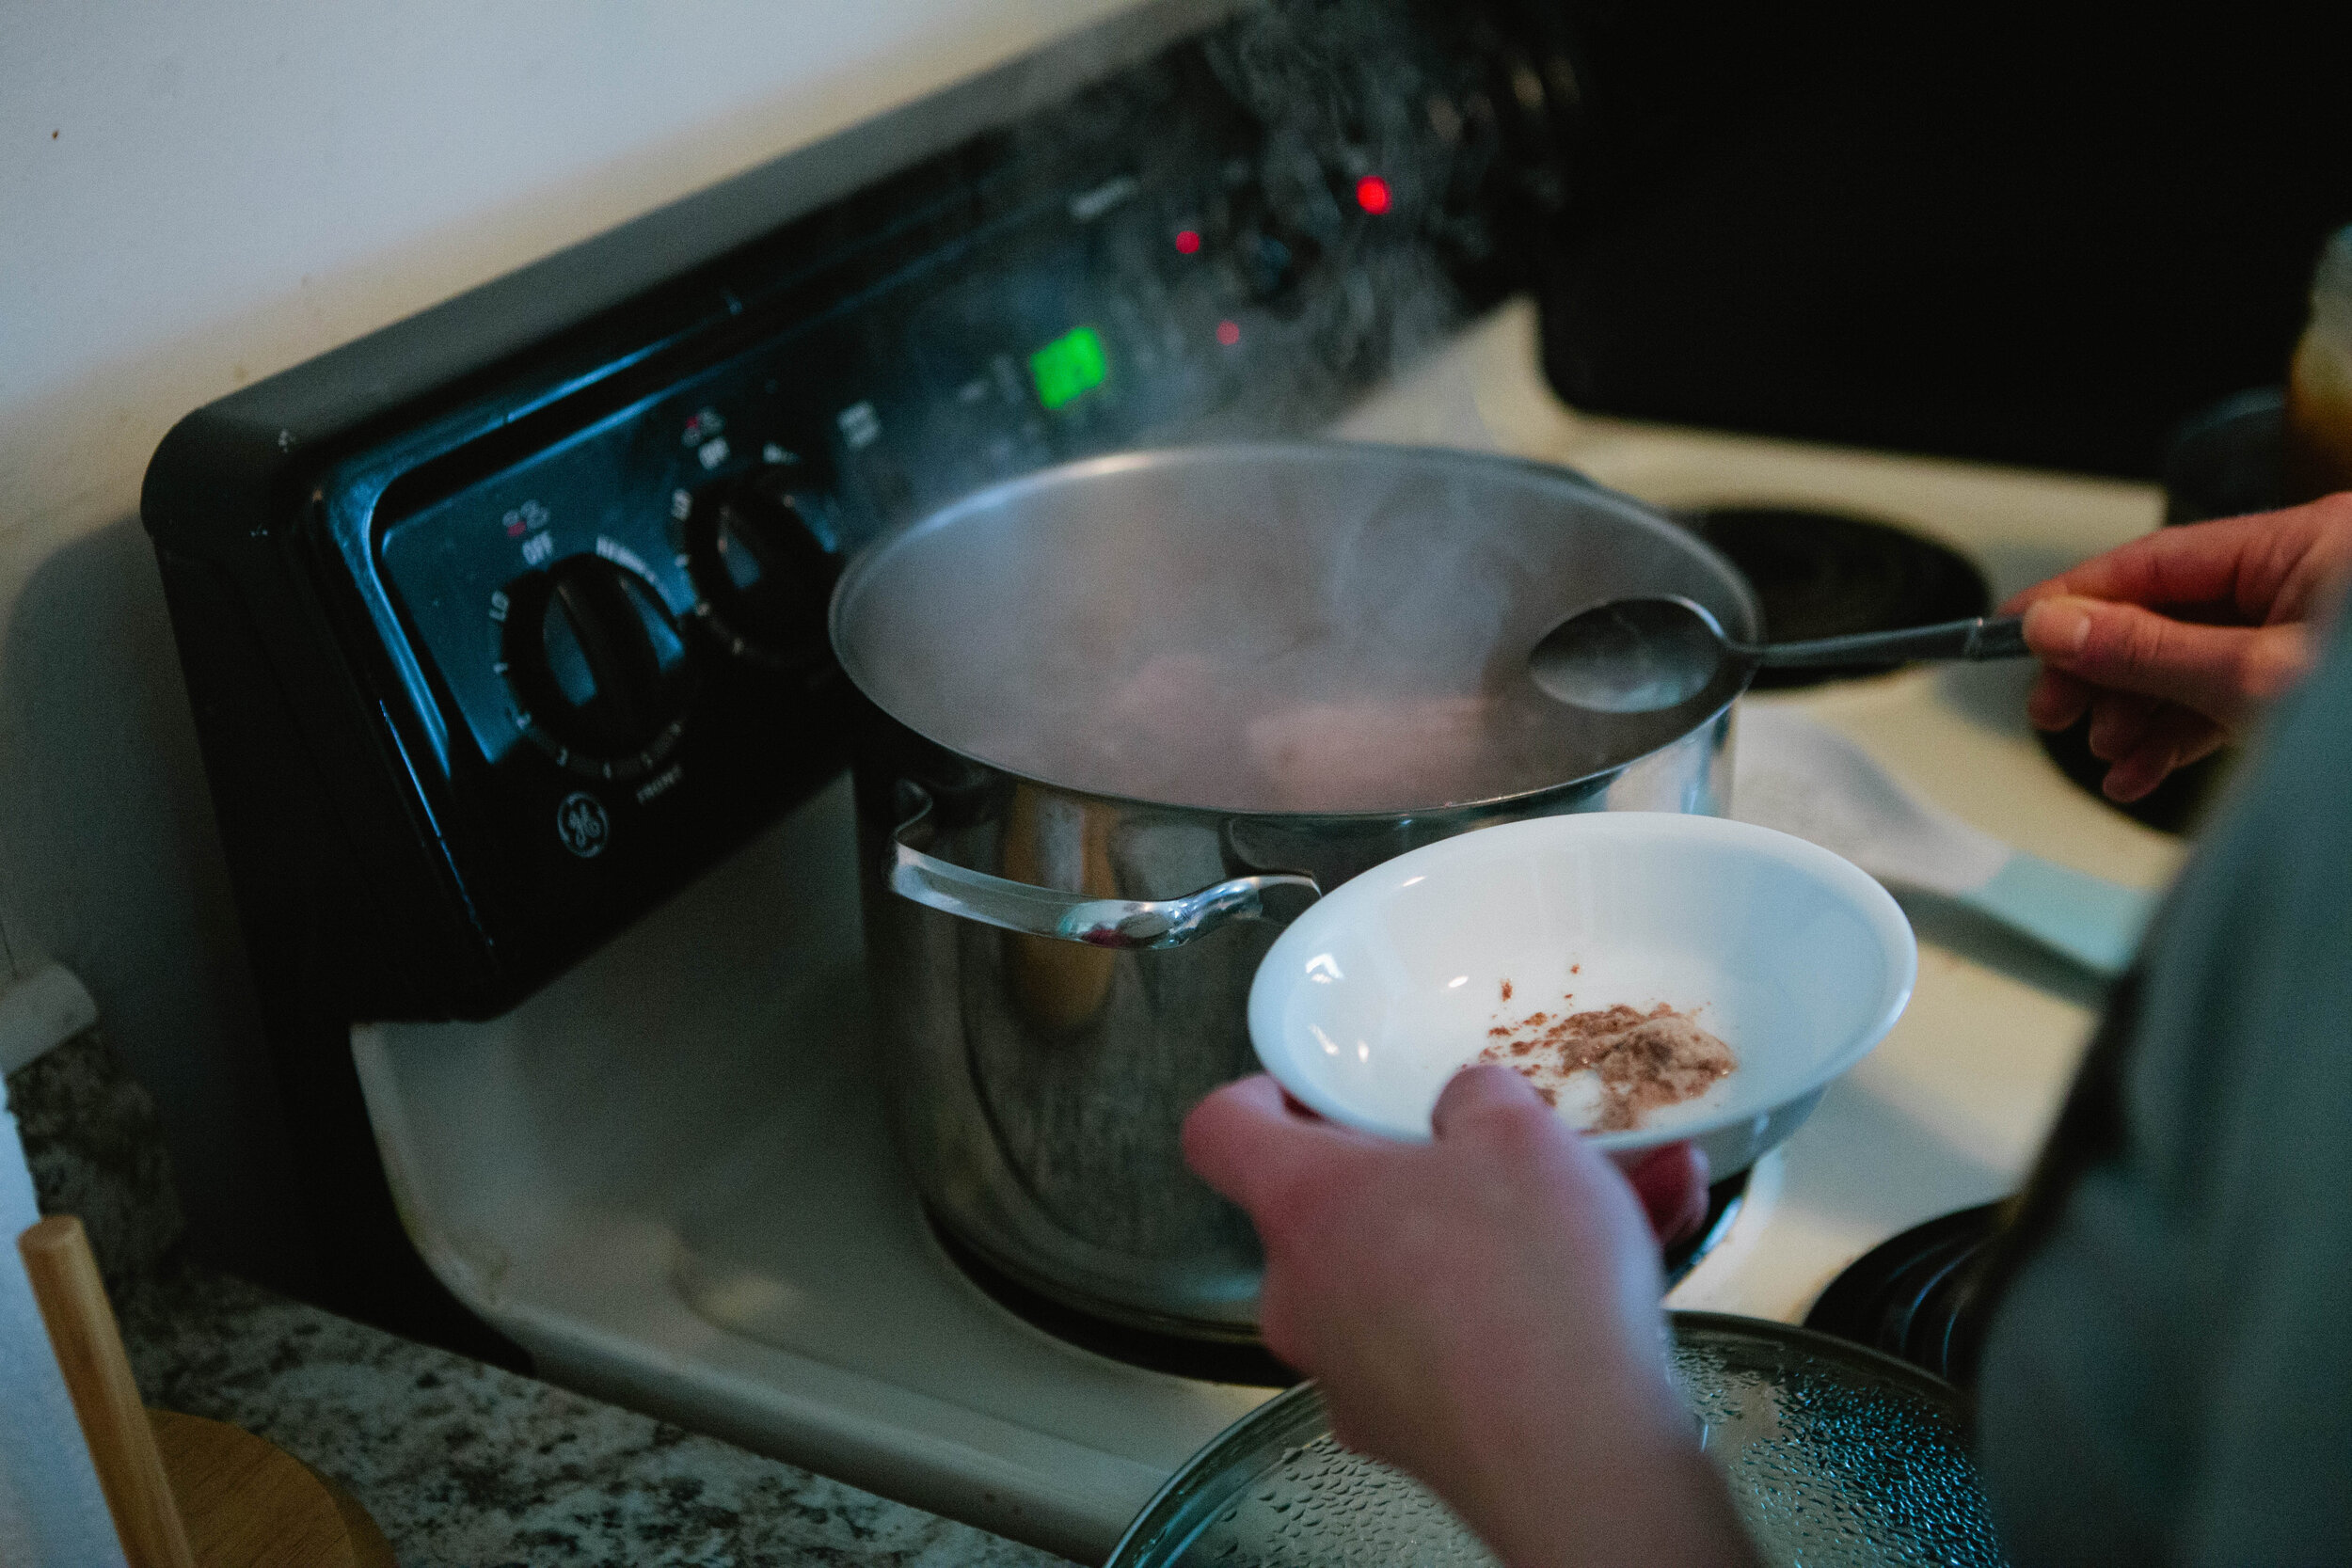
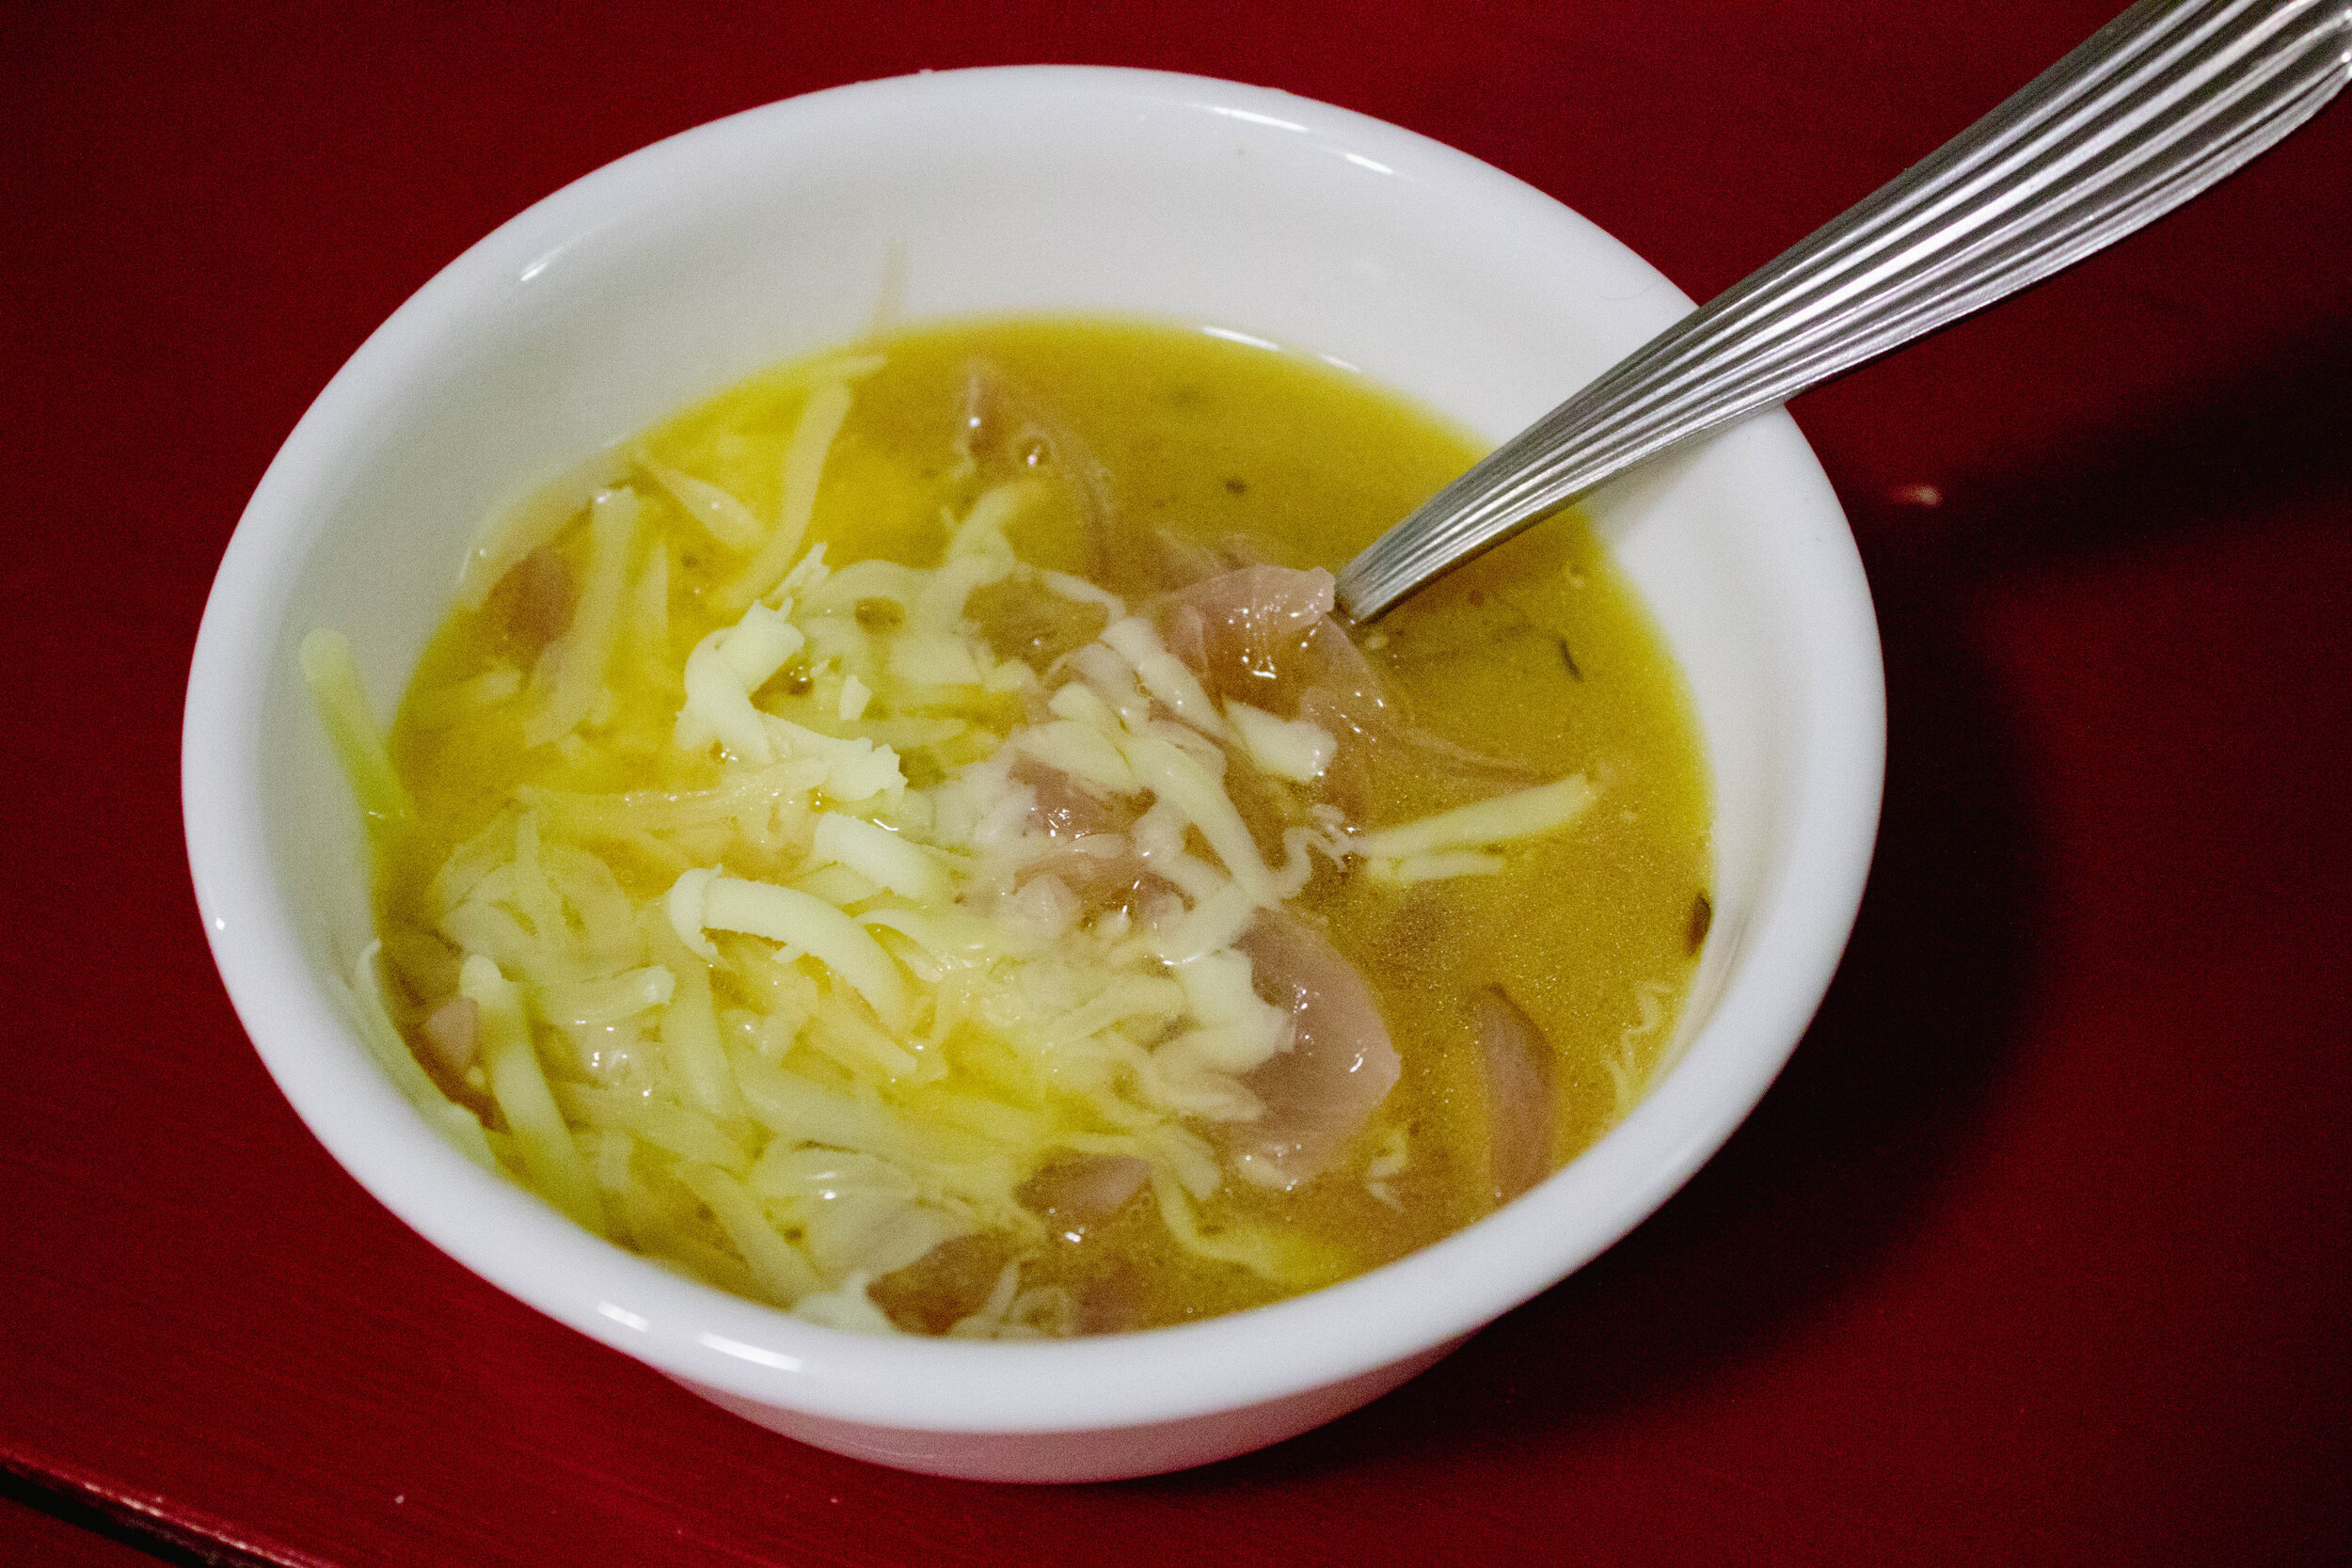
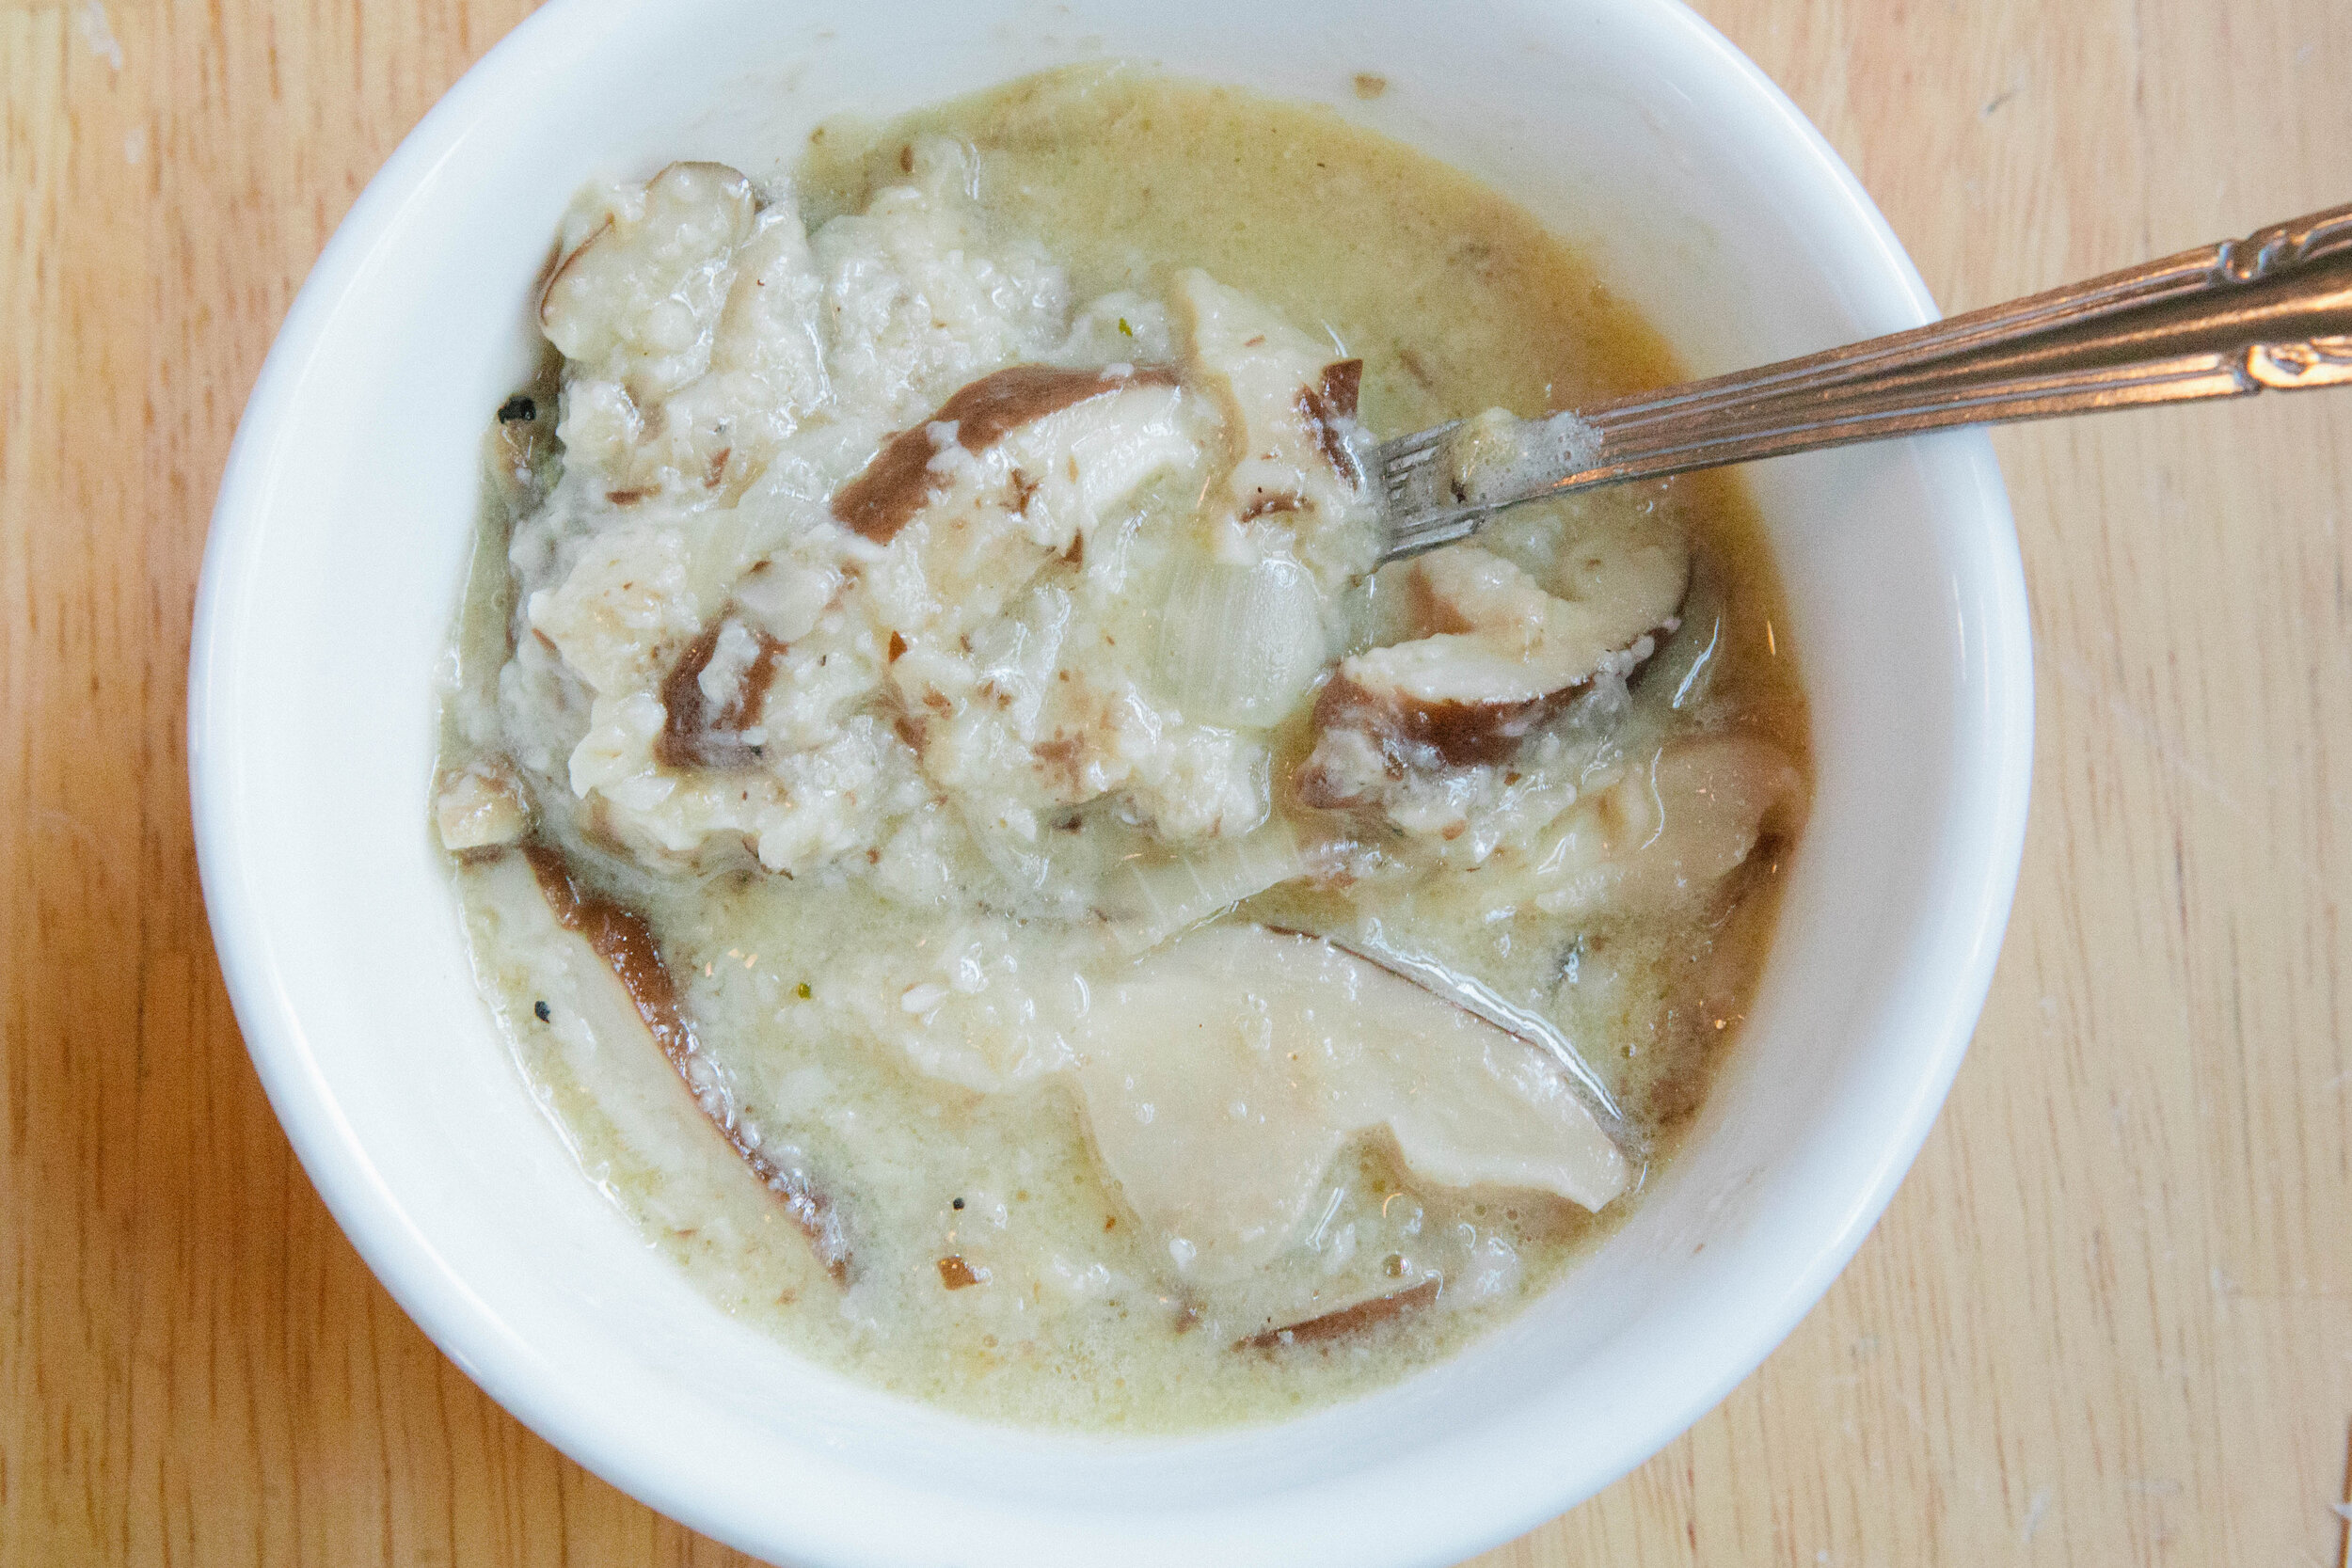
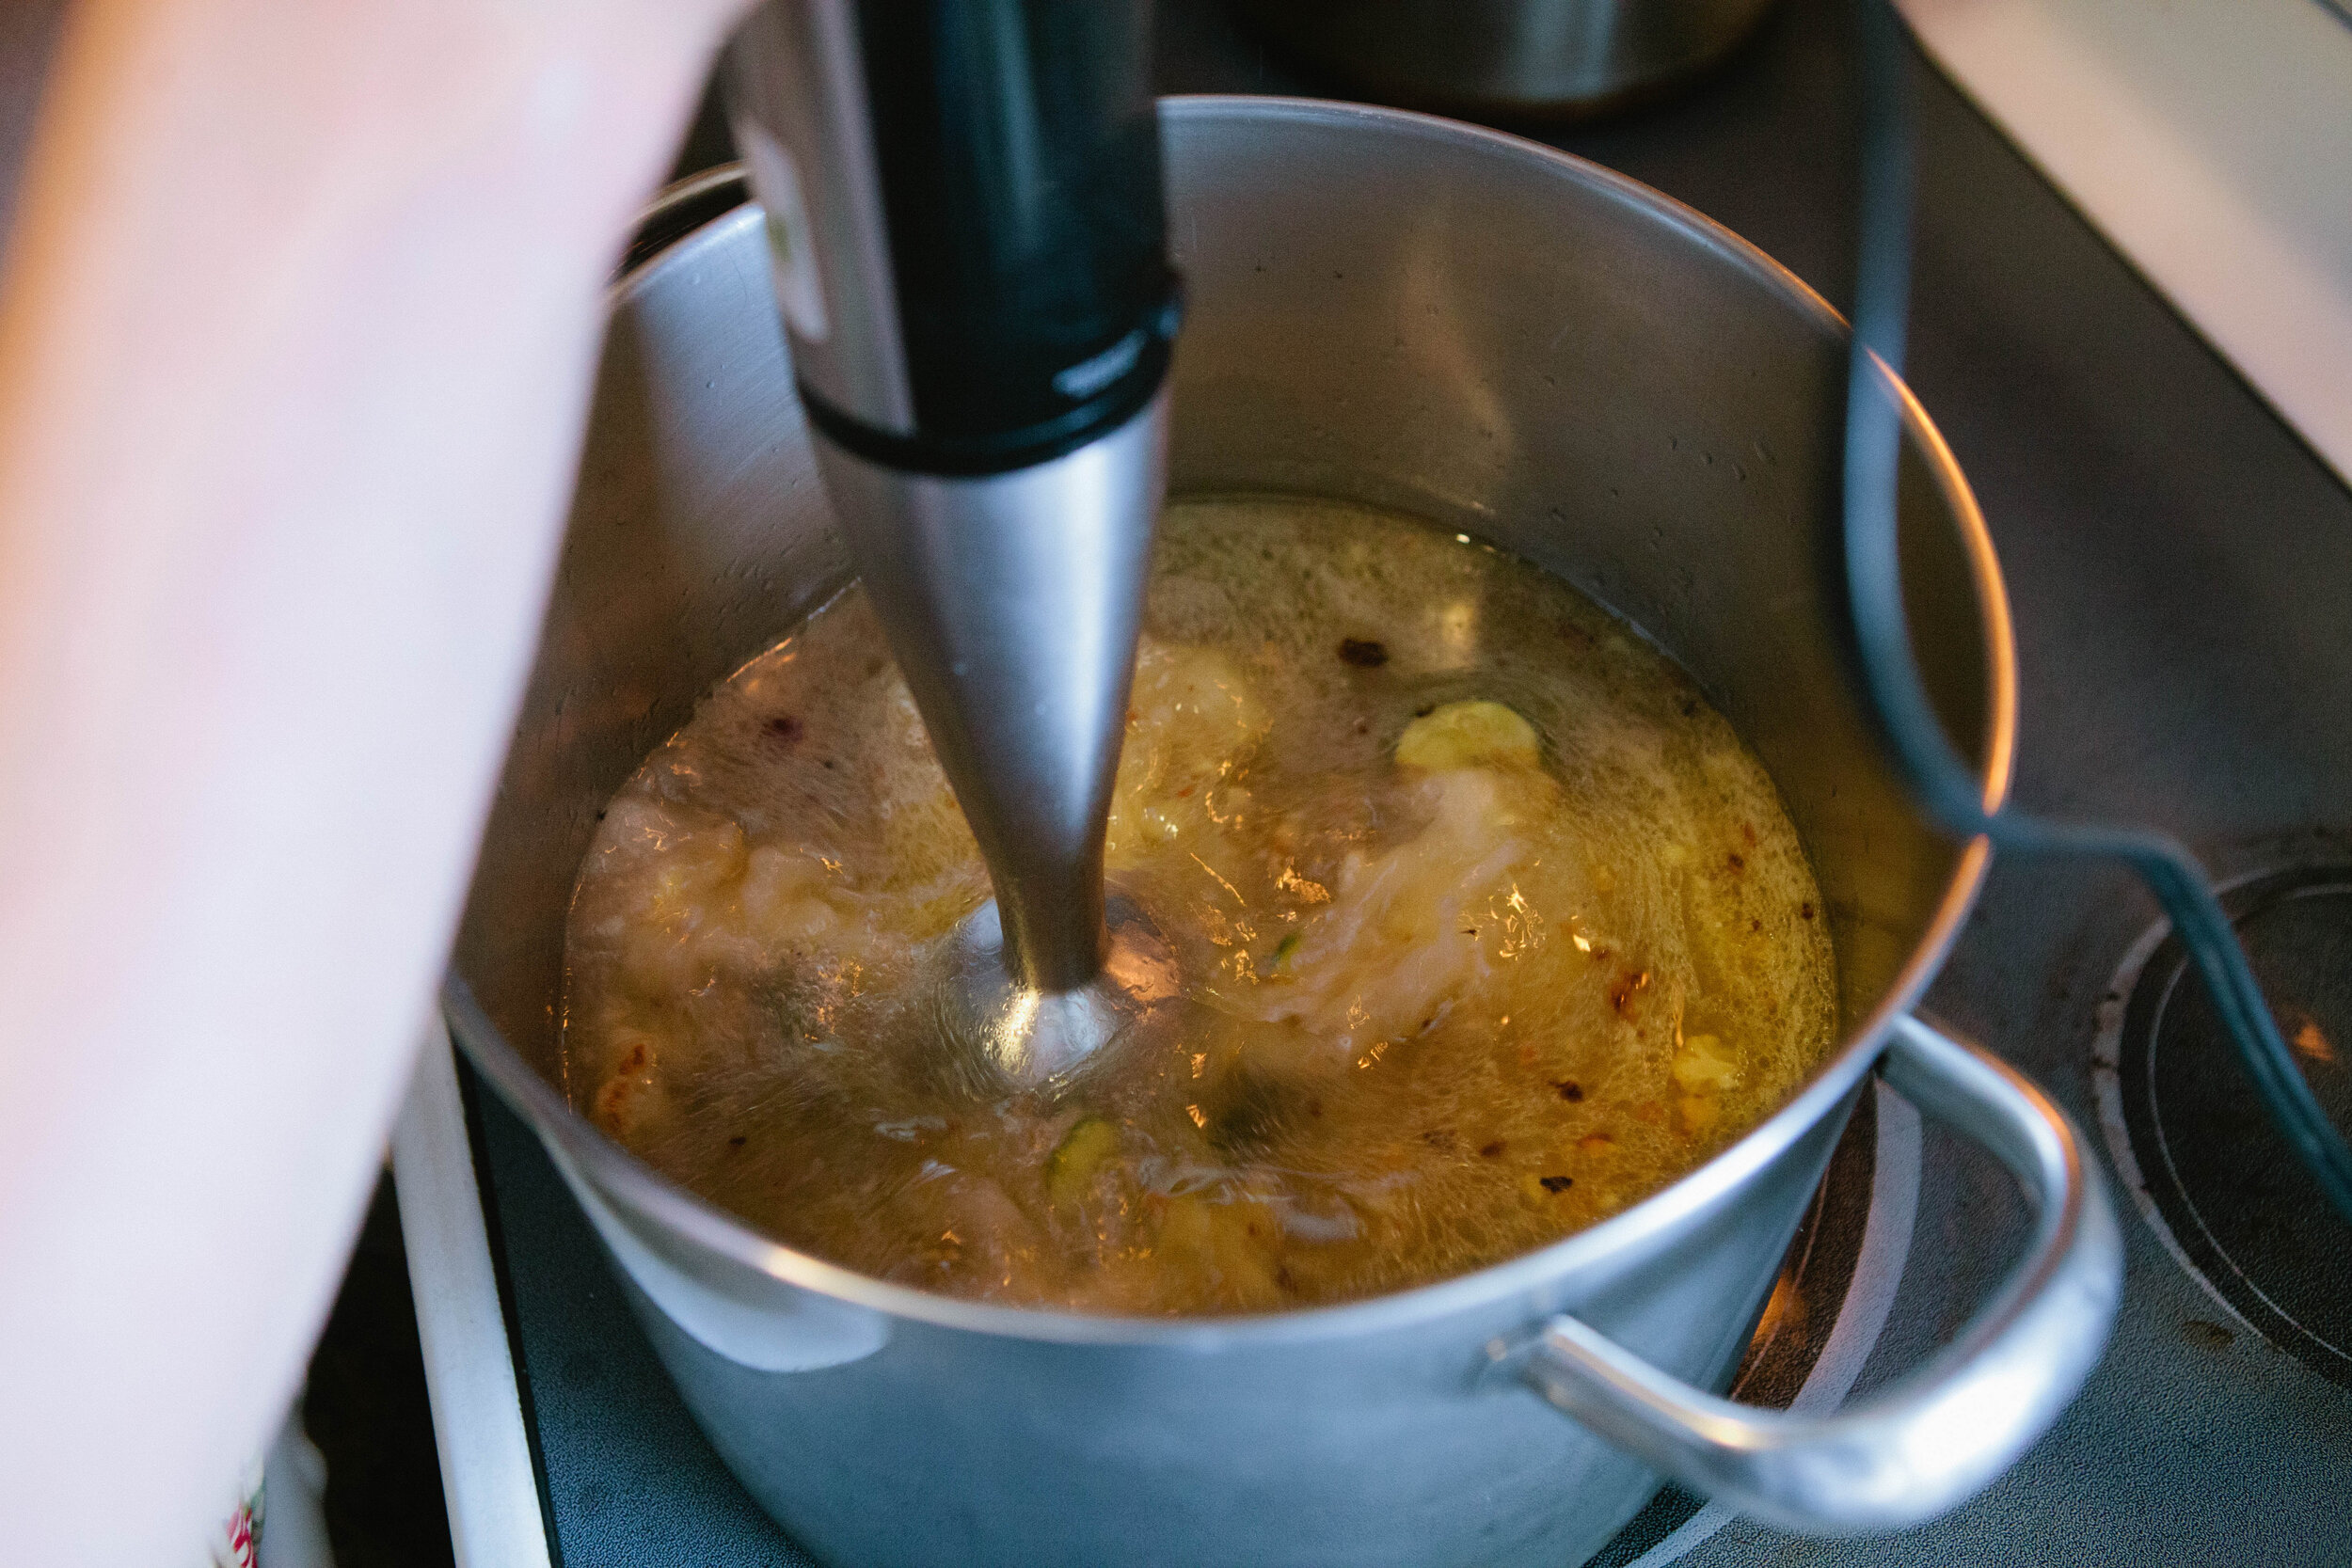
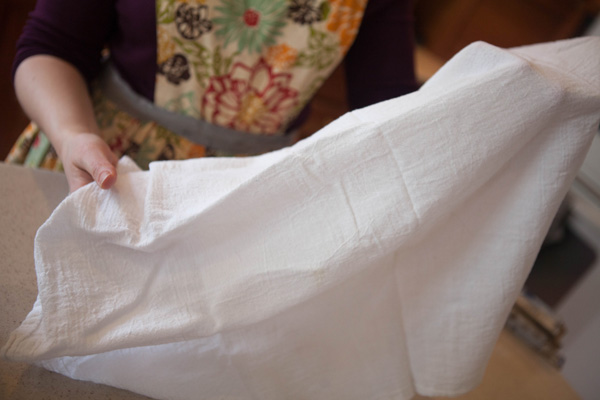
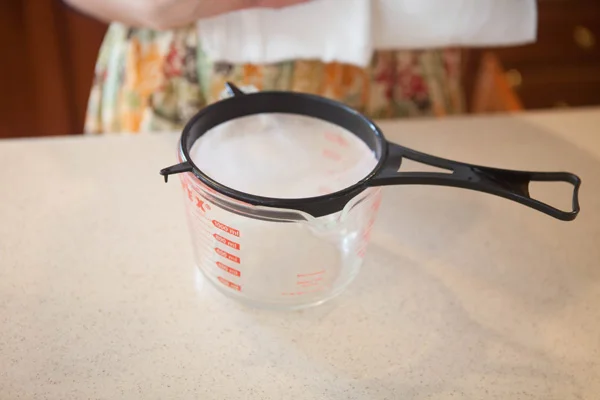
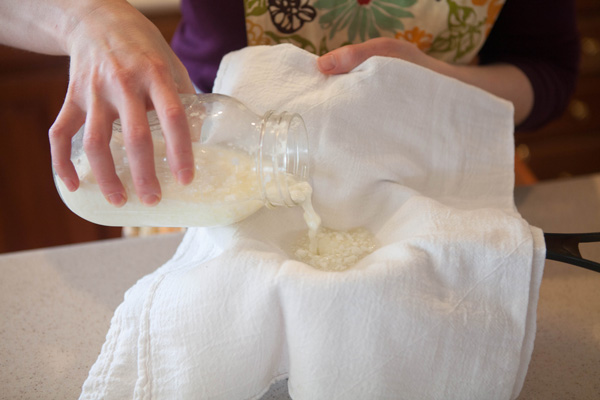
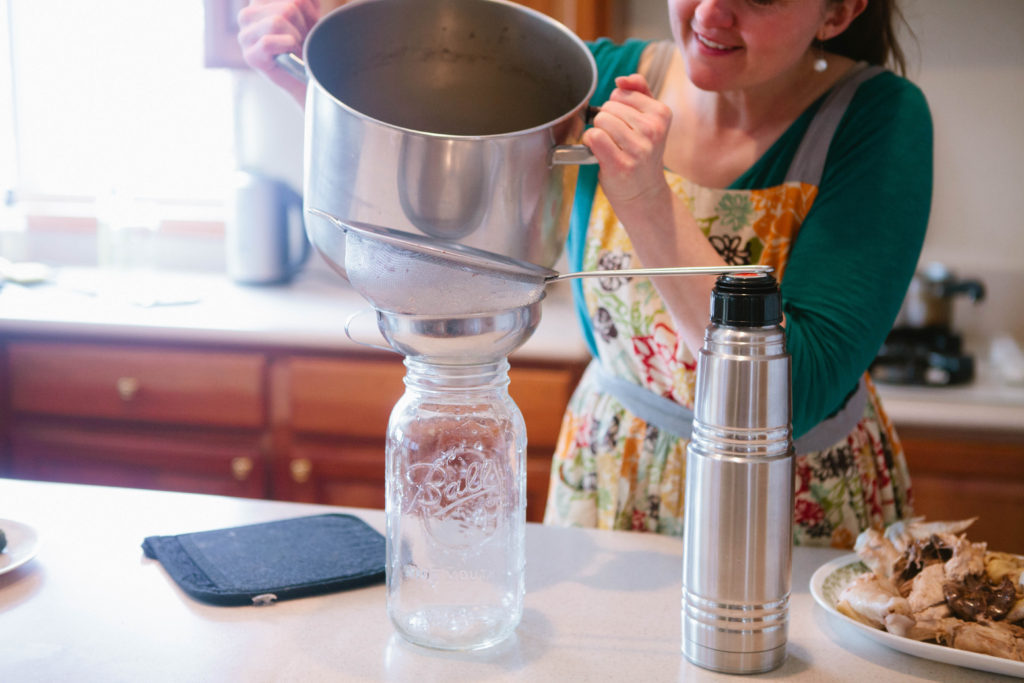
Drain the sauerkraut and set aside the juice. When most sides are brown-ish, add drained sauerkraut and stock. Turn down heat, cover and simmer for 30 minutes, salt to taste.
This recipe is not as boring as it looks, it is actually complex and rich. Feel free to add more sauerkraut and enjoy!!


Beef and Sauerkraut Soup
Ingredients
- Chuck Roast
- ½ Stick Butter
- Chopped Onions
- Salt
- 6 Cups Meat Stock (beef or lamb)
- Sauerkraut
Instructions
- Cube by slicing perpendicular to the grain into half inch slices, then cubing from there. In this recipe I use a chuck roast, but any cut of meat would be fine. You could also start with stew meat, but be sure to cube it down to bite-sized pieces. Stew meat is often very expensive cuts of meat that did not end up in a pretty cut, so I recommend purchasing and using stew meat to get quality, affordable meat. I often purchase stew meat to get tender cuts at affordable prices.
- Melt ½ stick butter, add chopped onions, salt and cook 5-6 minutes until the onions begin to soften.
- When the onions are becoming soft, add beef and brown the outside of the meat cubes to trap the flavors. Sauté for 5-7 minutes on medium high heat to brown the outside of the cubes and trap the flavor and moisture inside.
- Drain the sauerkraut and set aside the juice. When most sides are brown-ish, add drained sauerkraut and stock. Turn down heat, cover and simmer for 30 minutes, salt to taste.
- Add the sauerkraut juice and enjoy!!