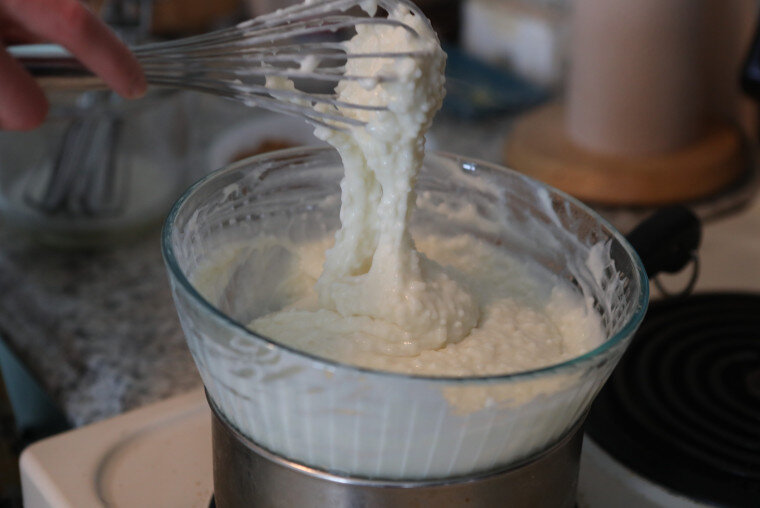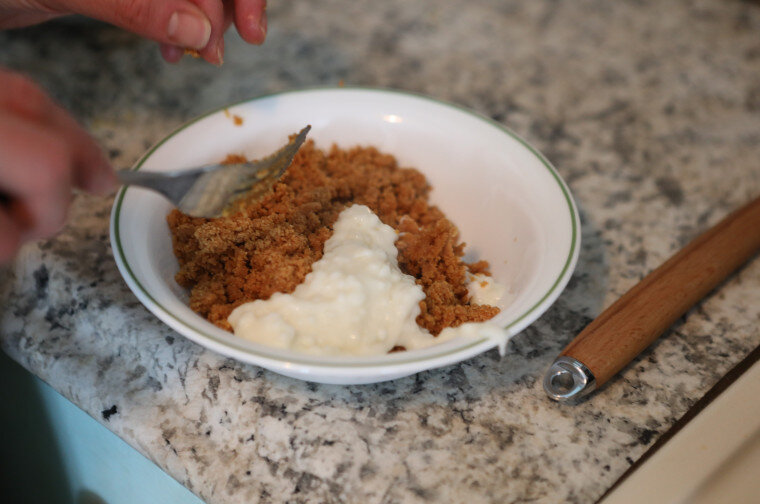


So you know what sour cream and yogurt are, maybe you’ve even dabbled with kefir a bit, but have you ever heard of creme fraiche? This is a go-to for my family, we try to make sure we always have a supply! It is not only delicious, but it is full of probiotics and high quality fat (so it’s very helpful for anyone dealing with constipation). For anyone who can do dairy, I recommend you try it out! A lot of the “sour cream” sold commercially in the United States is technically creme fraiche, but when you make it at home it is so much better (of course), and it is actually very easy to make!
Check out the recipe below, and happy culturing!
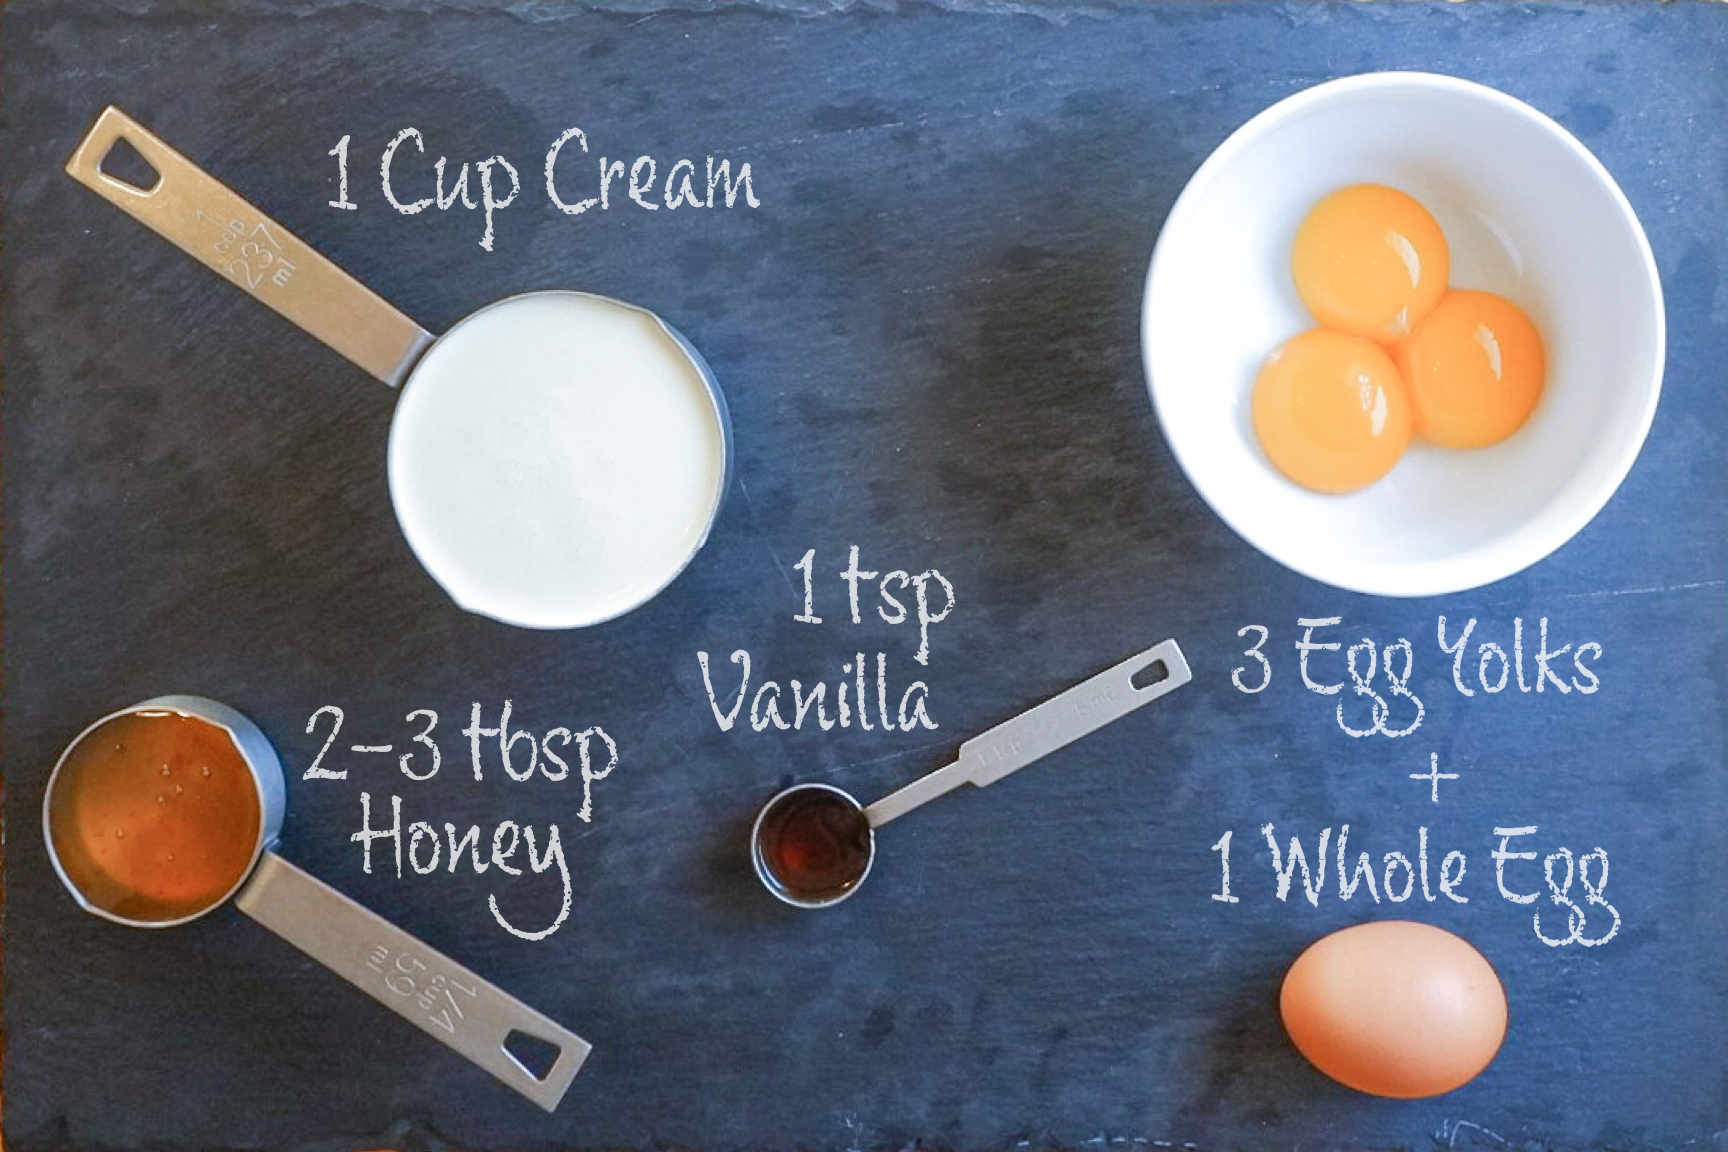
Ingredients for crème fraiche:
1 pint raw cream or organic heavy cream from grass-fed cows (pasteurized is ok, just not UHT pasteurized - note the difference between methods with raw and pasteurized)
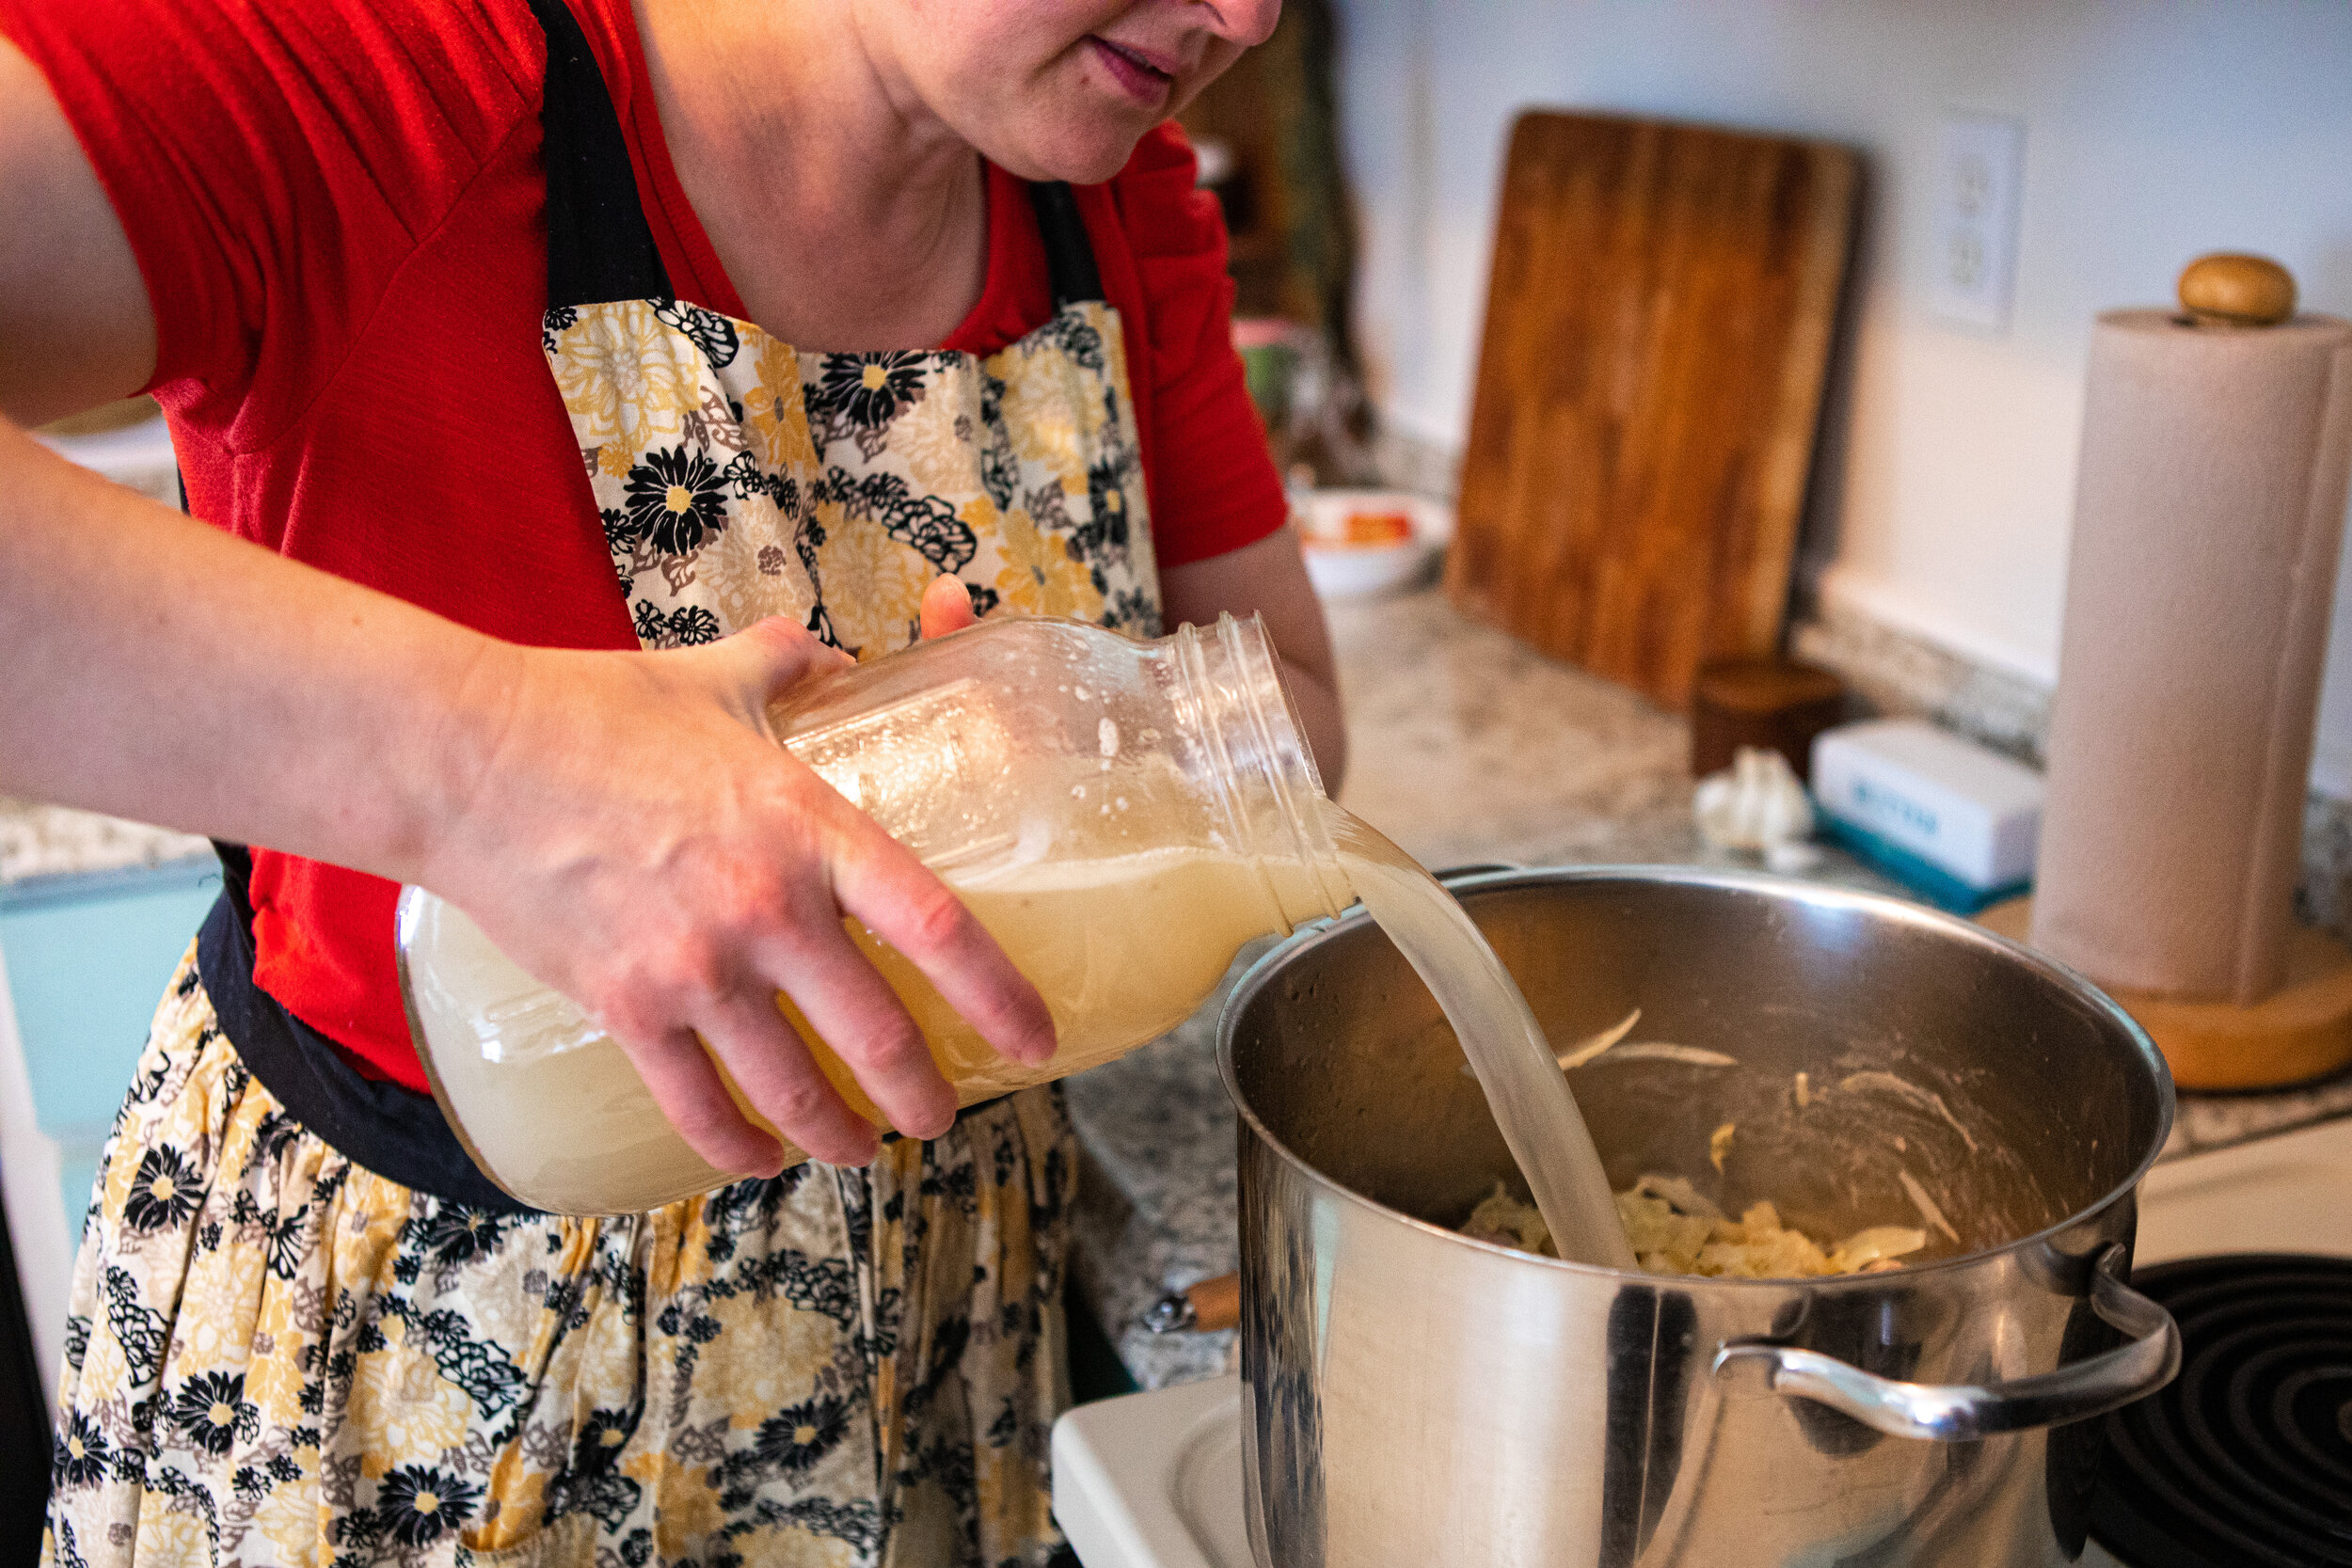
¼ cup culture (whey, yogurt, or previous crème fraiche*)
Directions for Crème Fraiche:
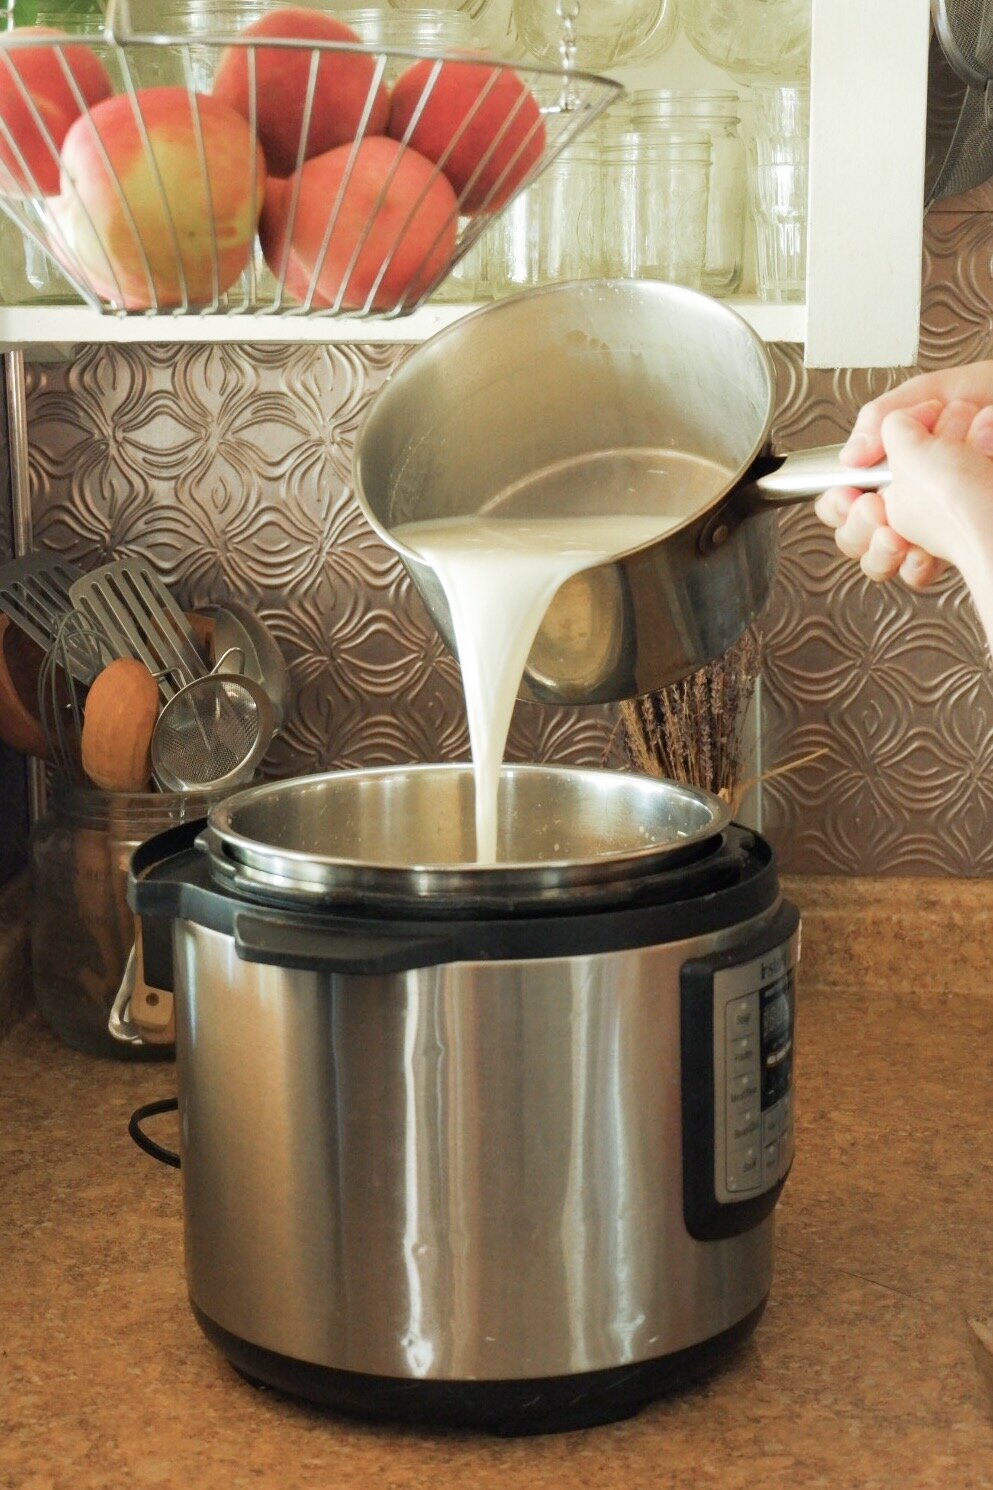
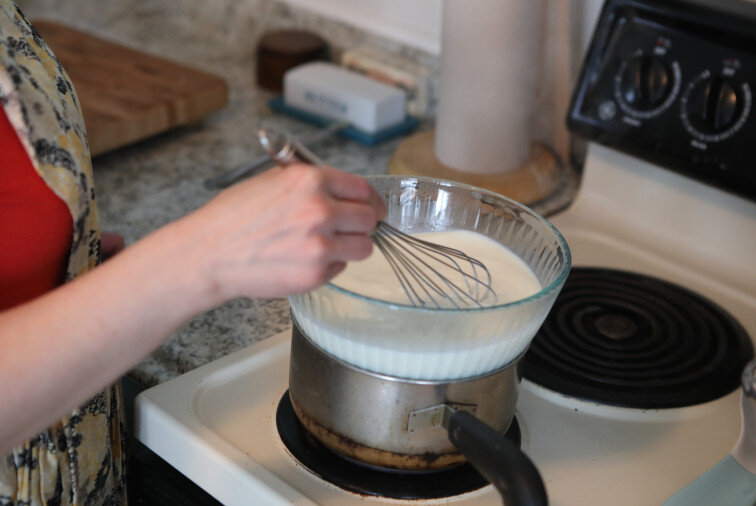
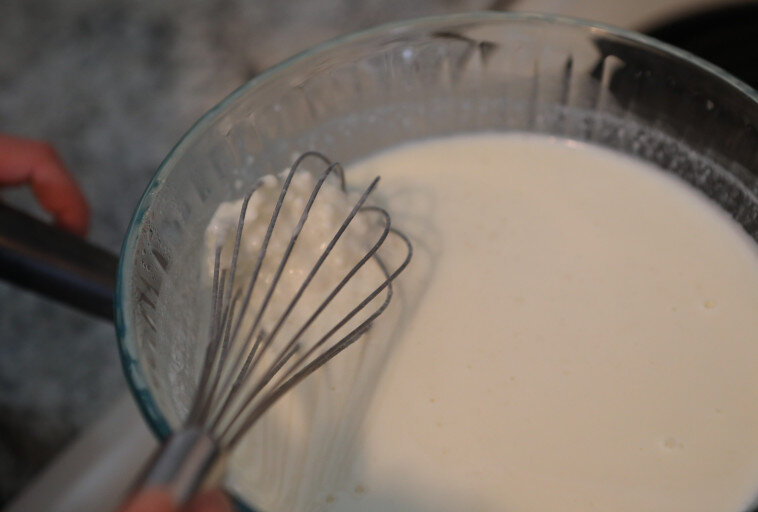
Pour cream into small pot, place on stovetop
If using raw cream, slowly heat to 100-110F.
If using pasteurized cream, slowly heat to 180F then let cool to 100-110F
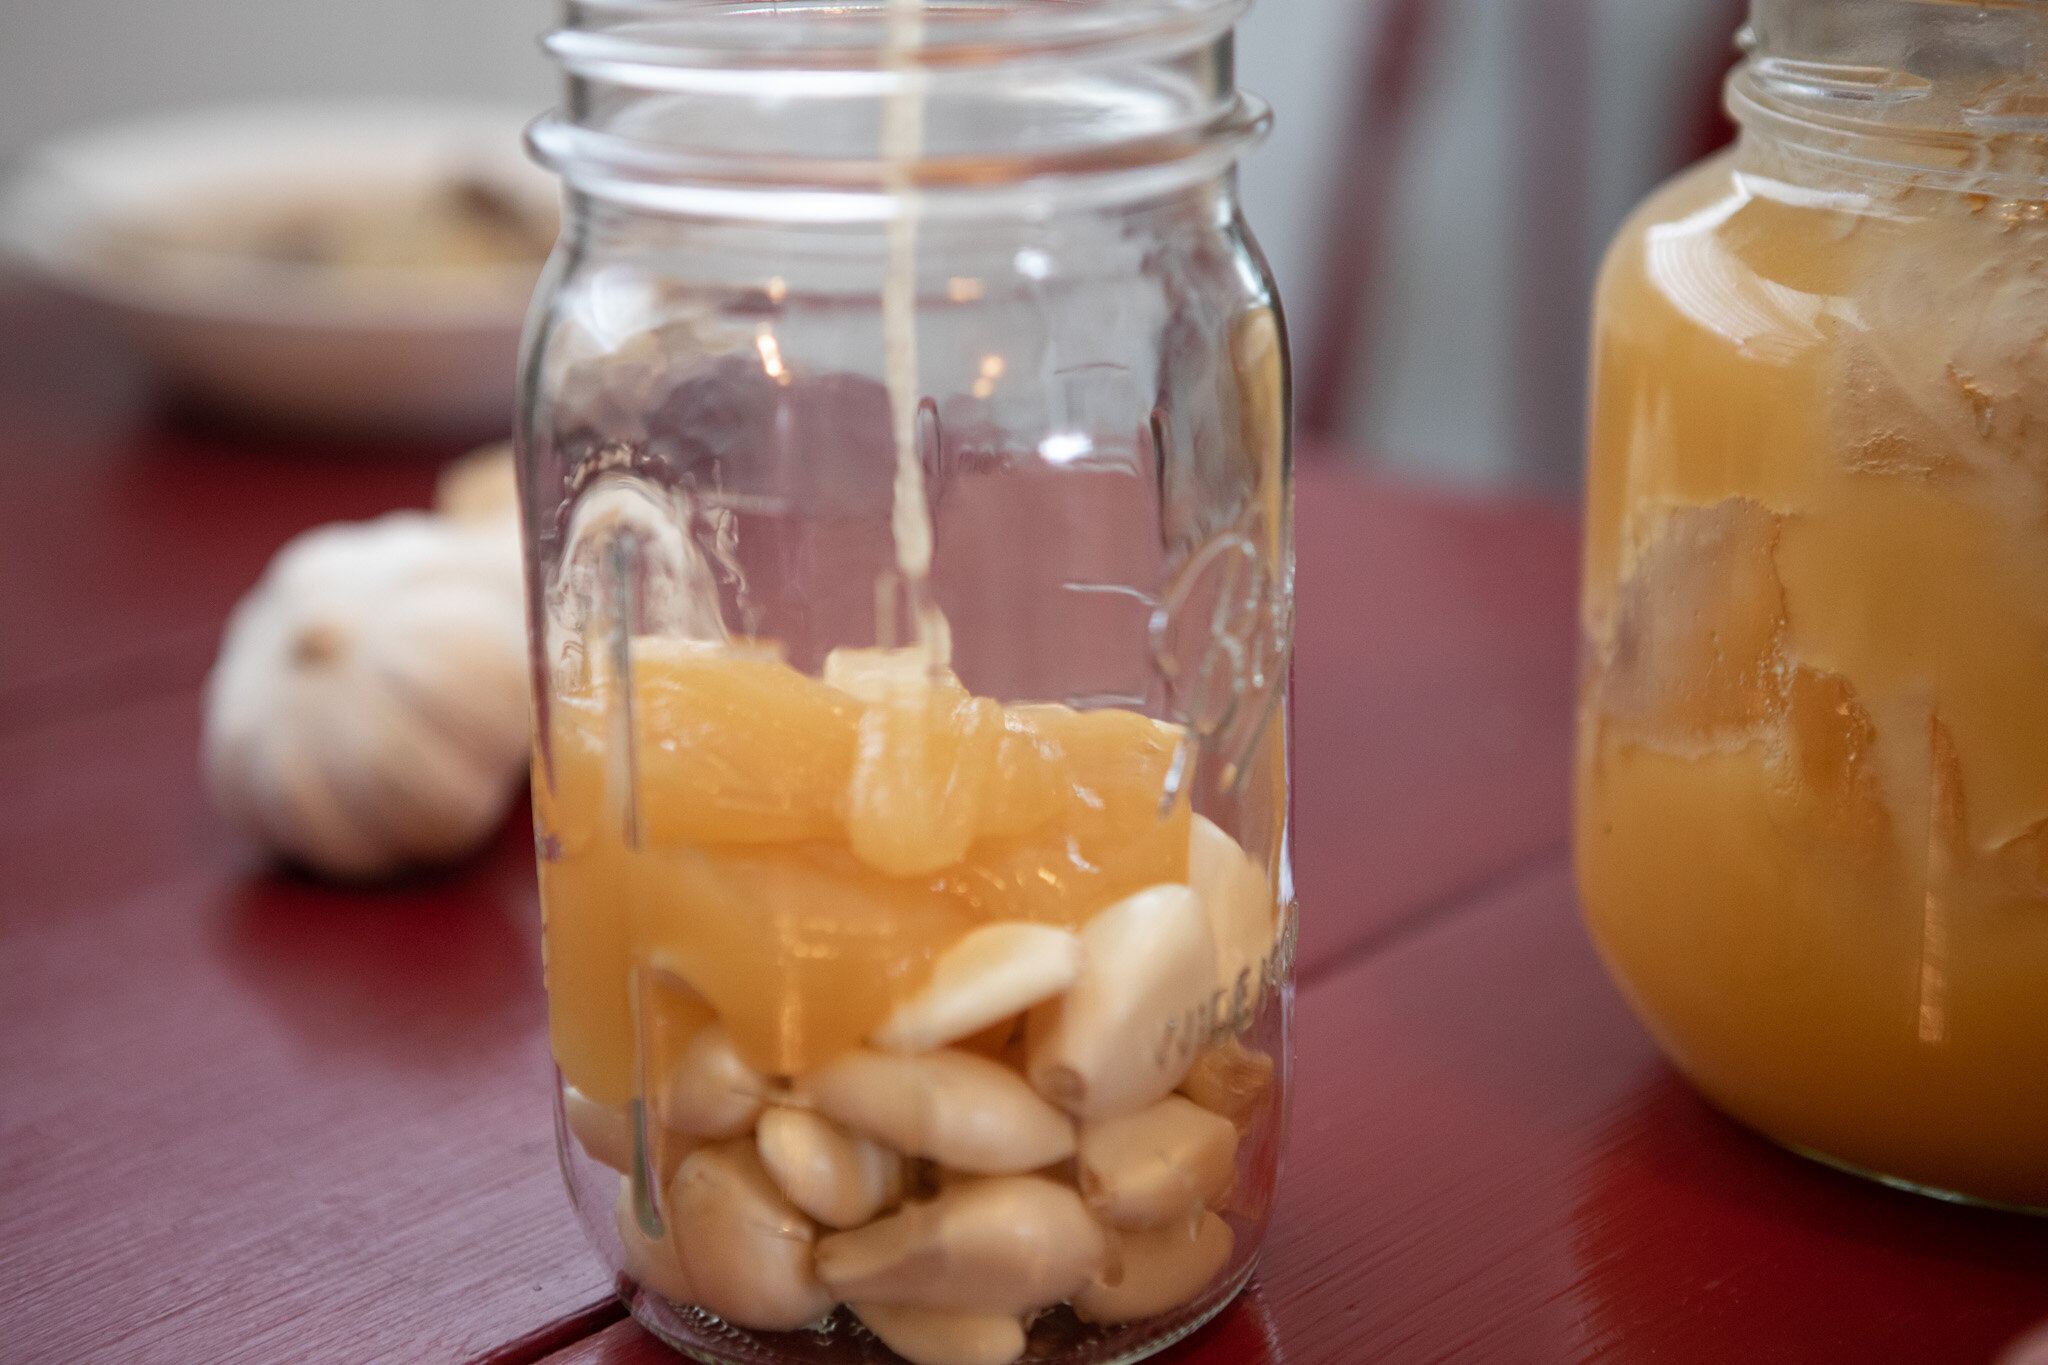
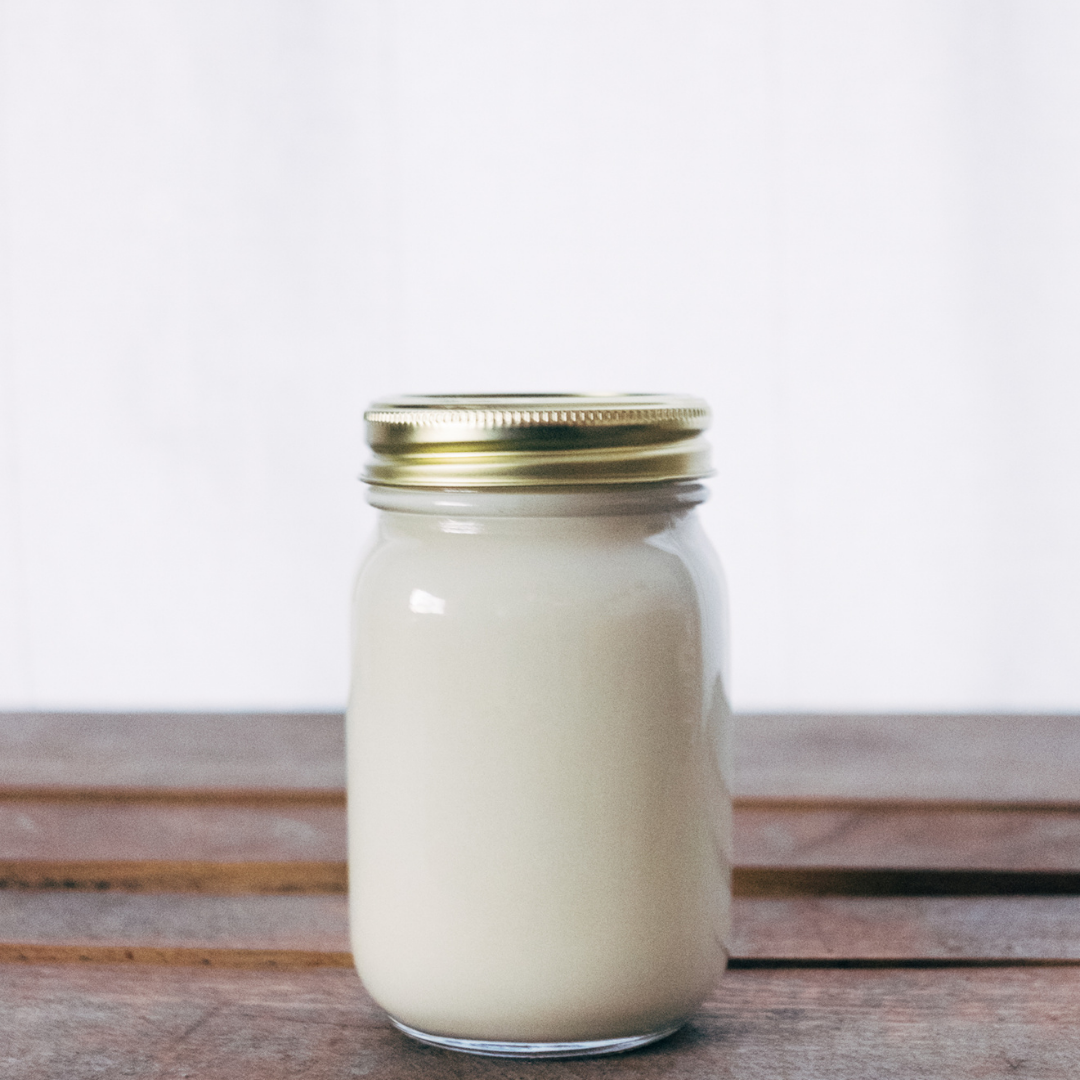
After appropriate heating is done, pour into a pint-sized wide-mouth glass jar (mason jar style)
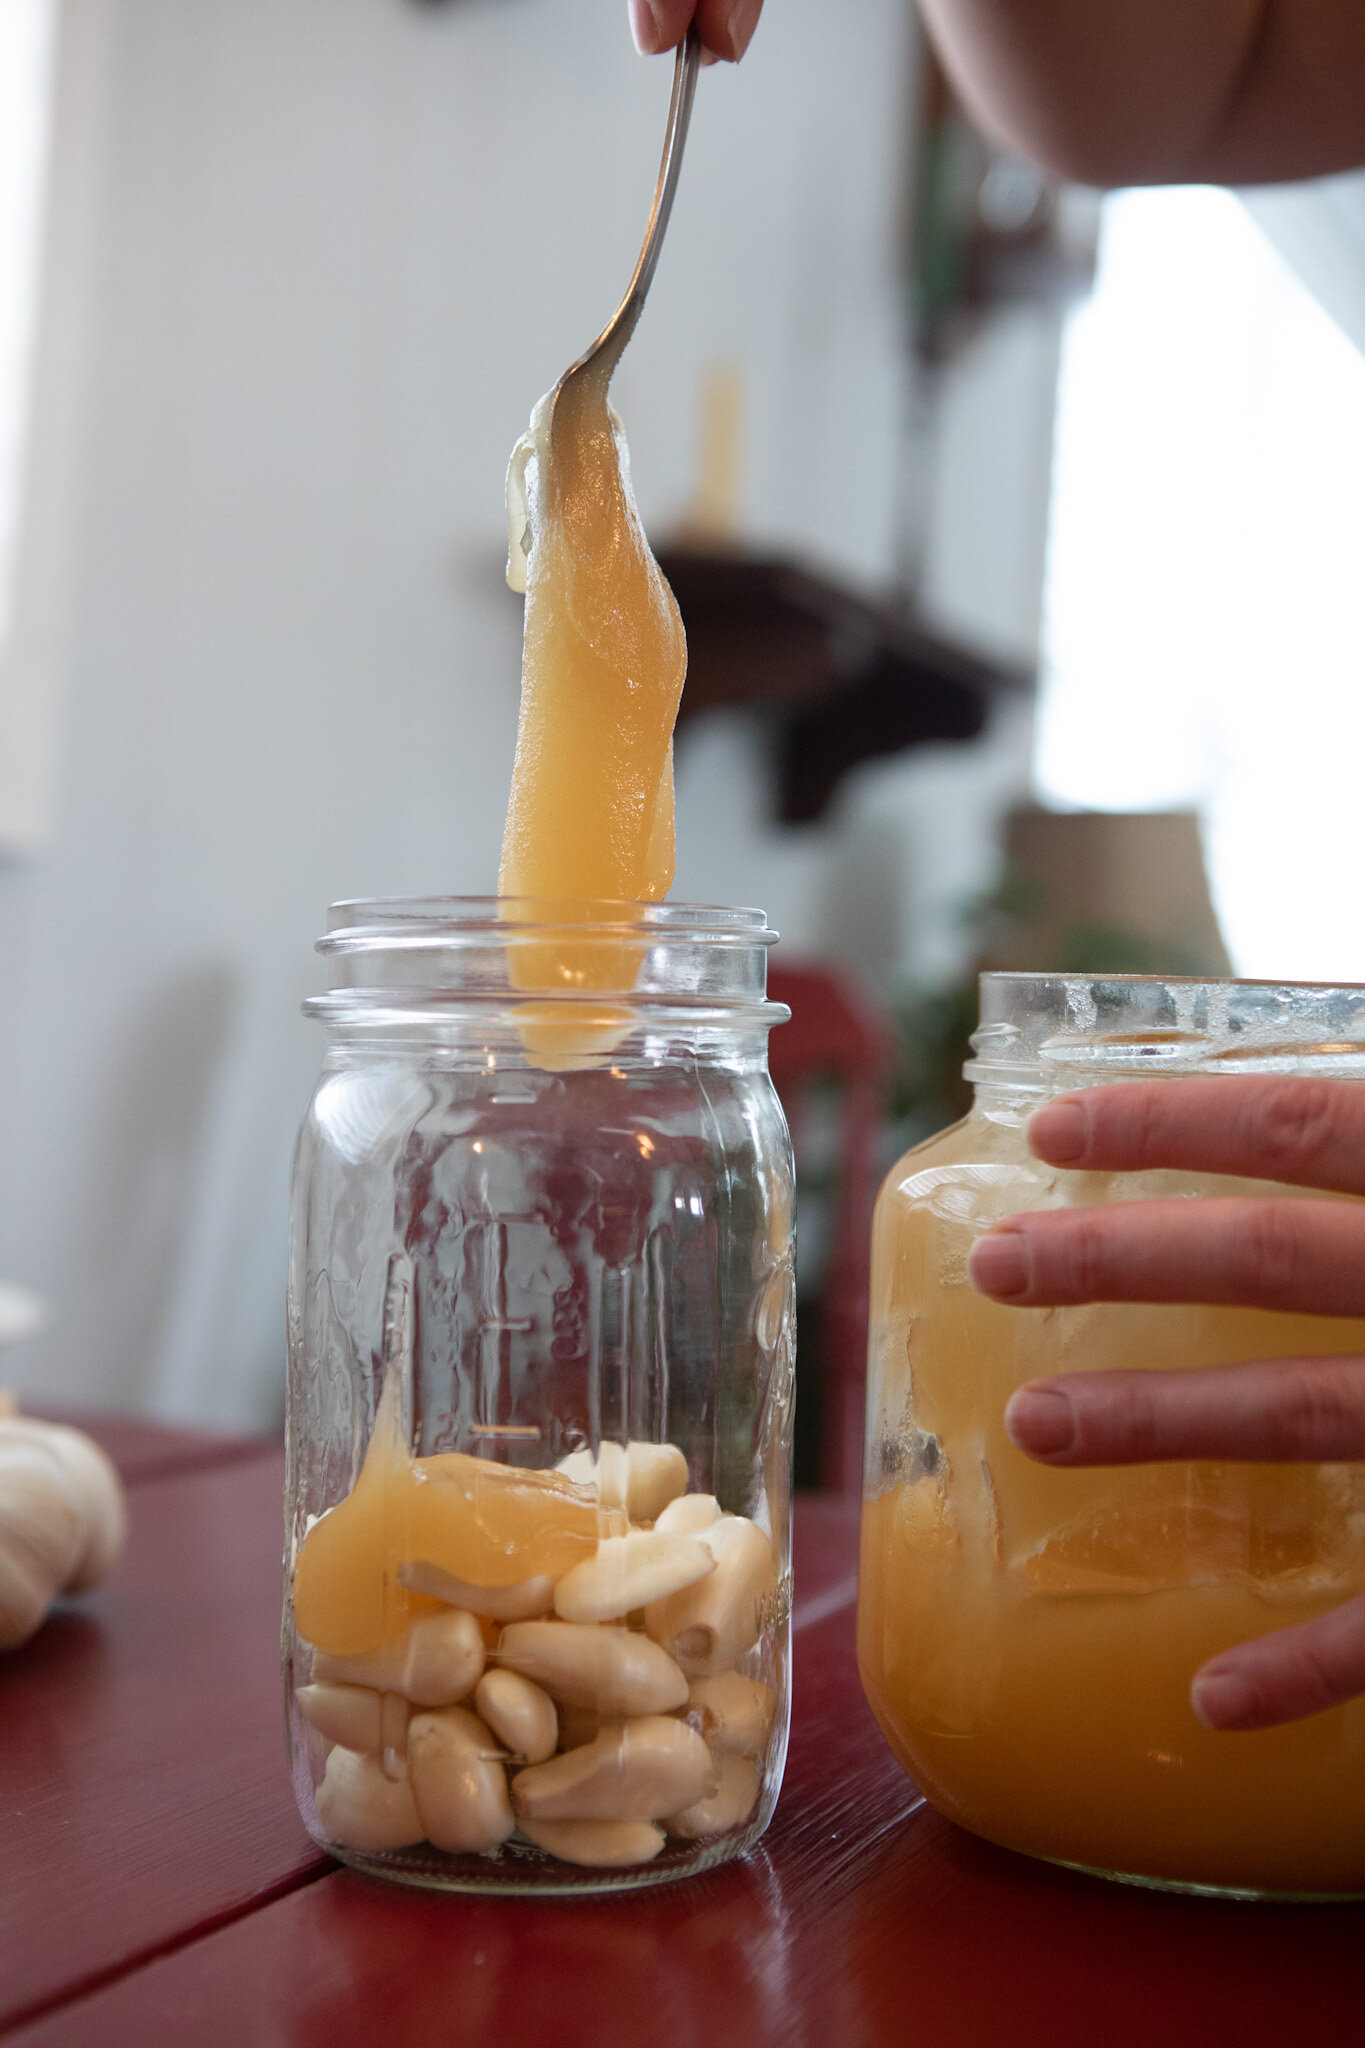
Add your culture, stir to combine
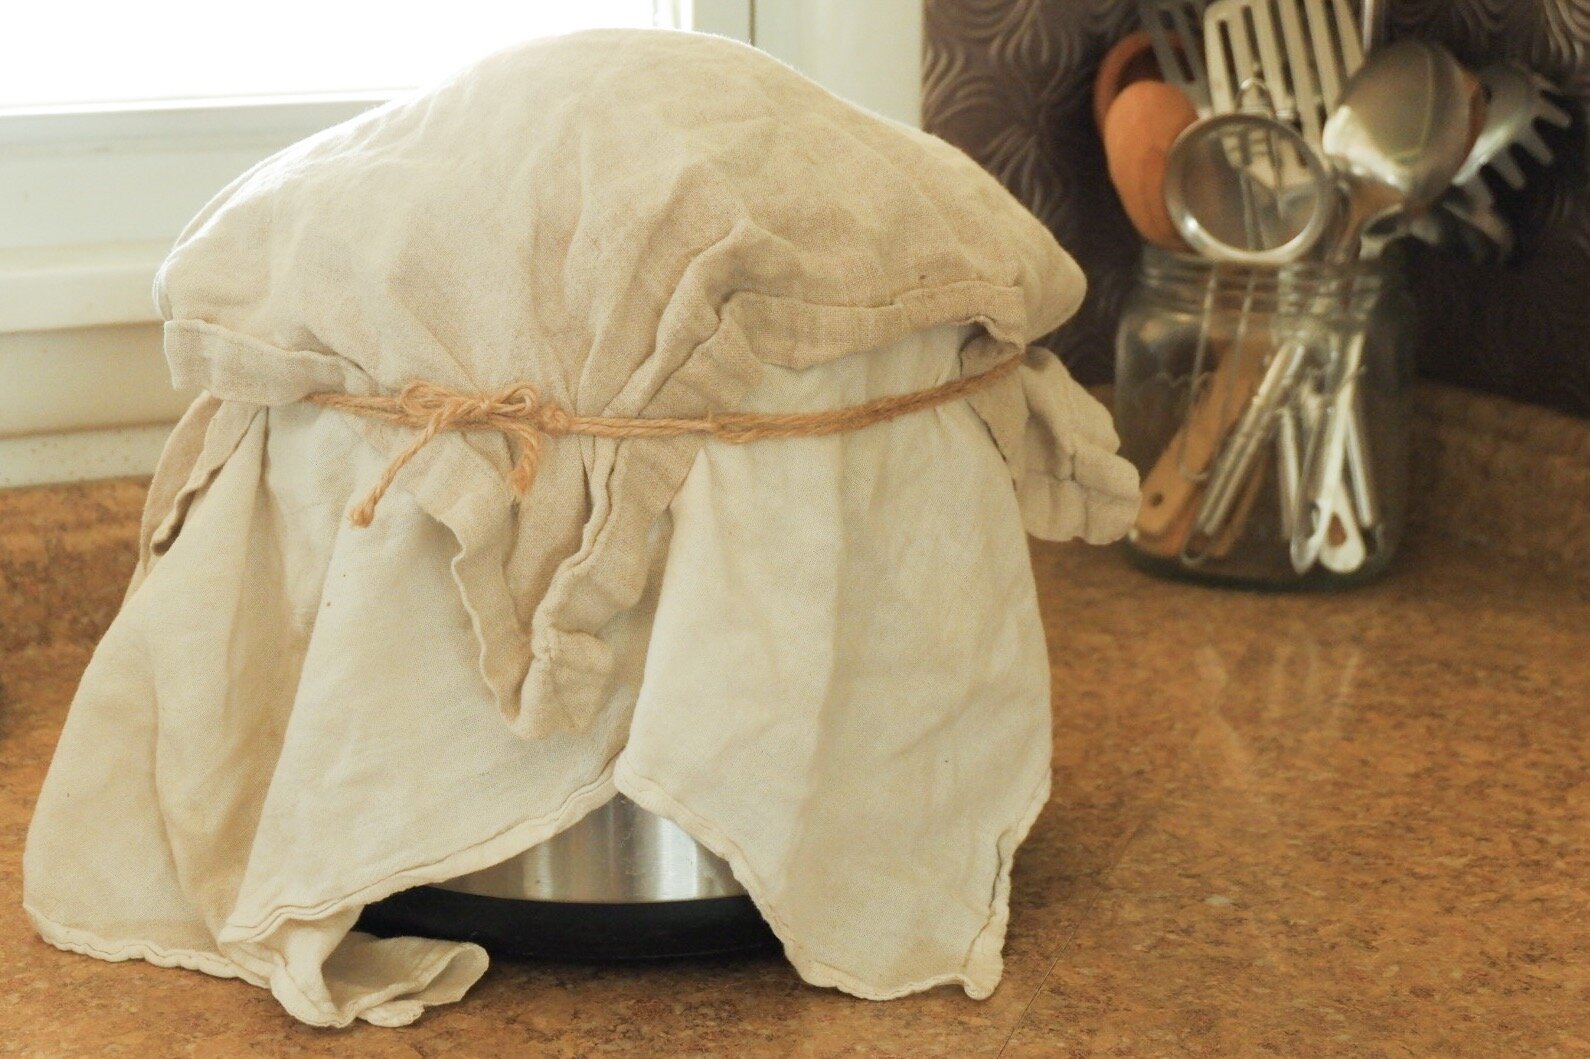
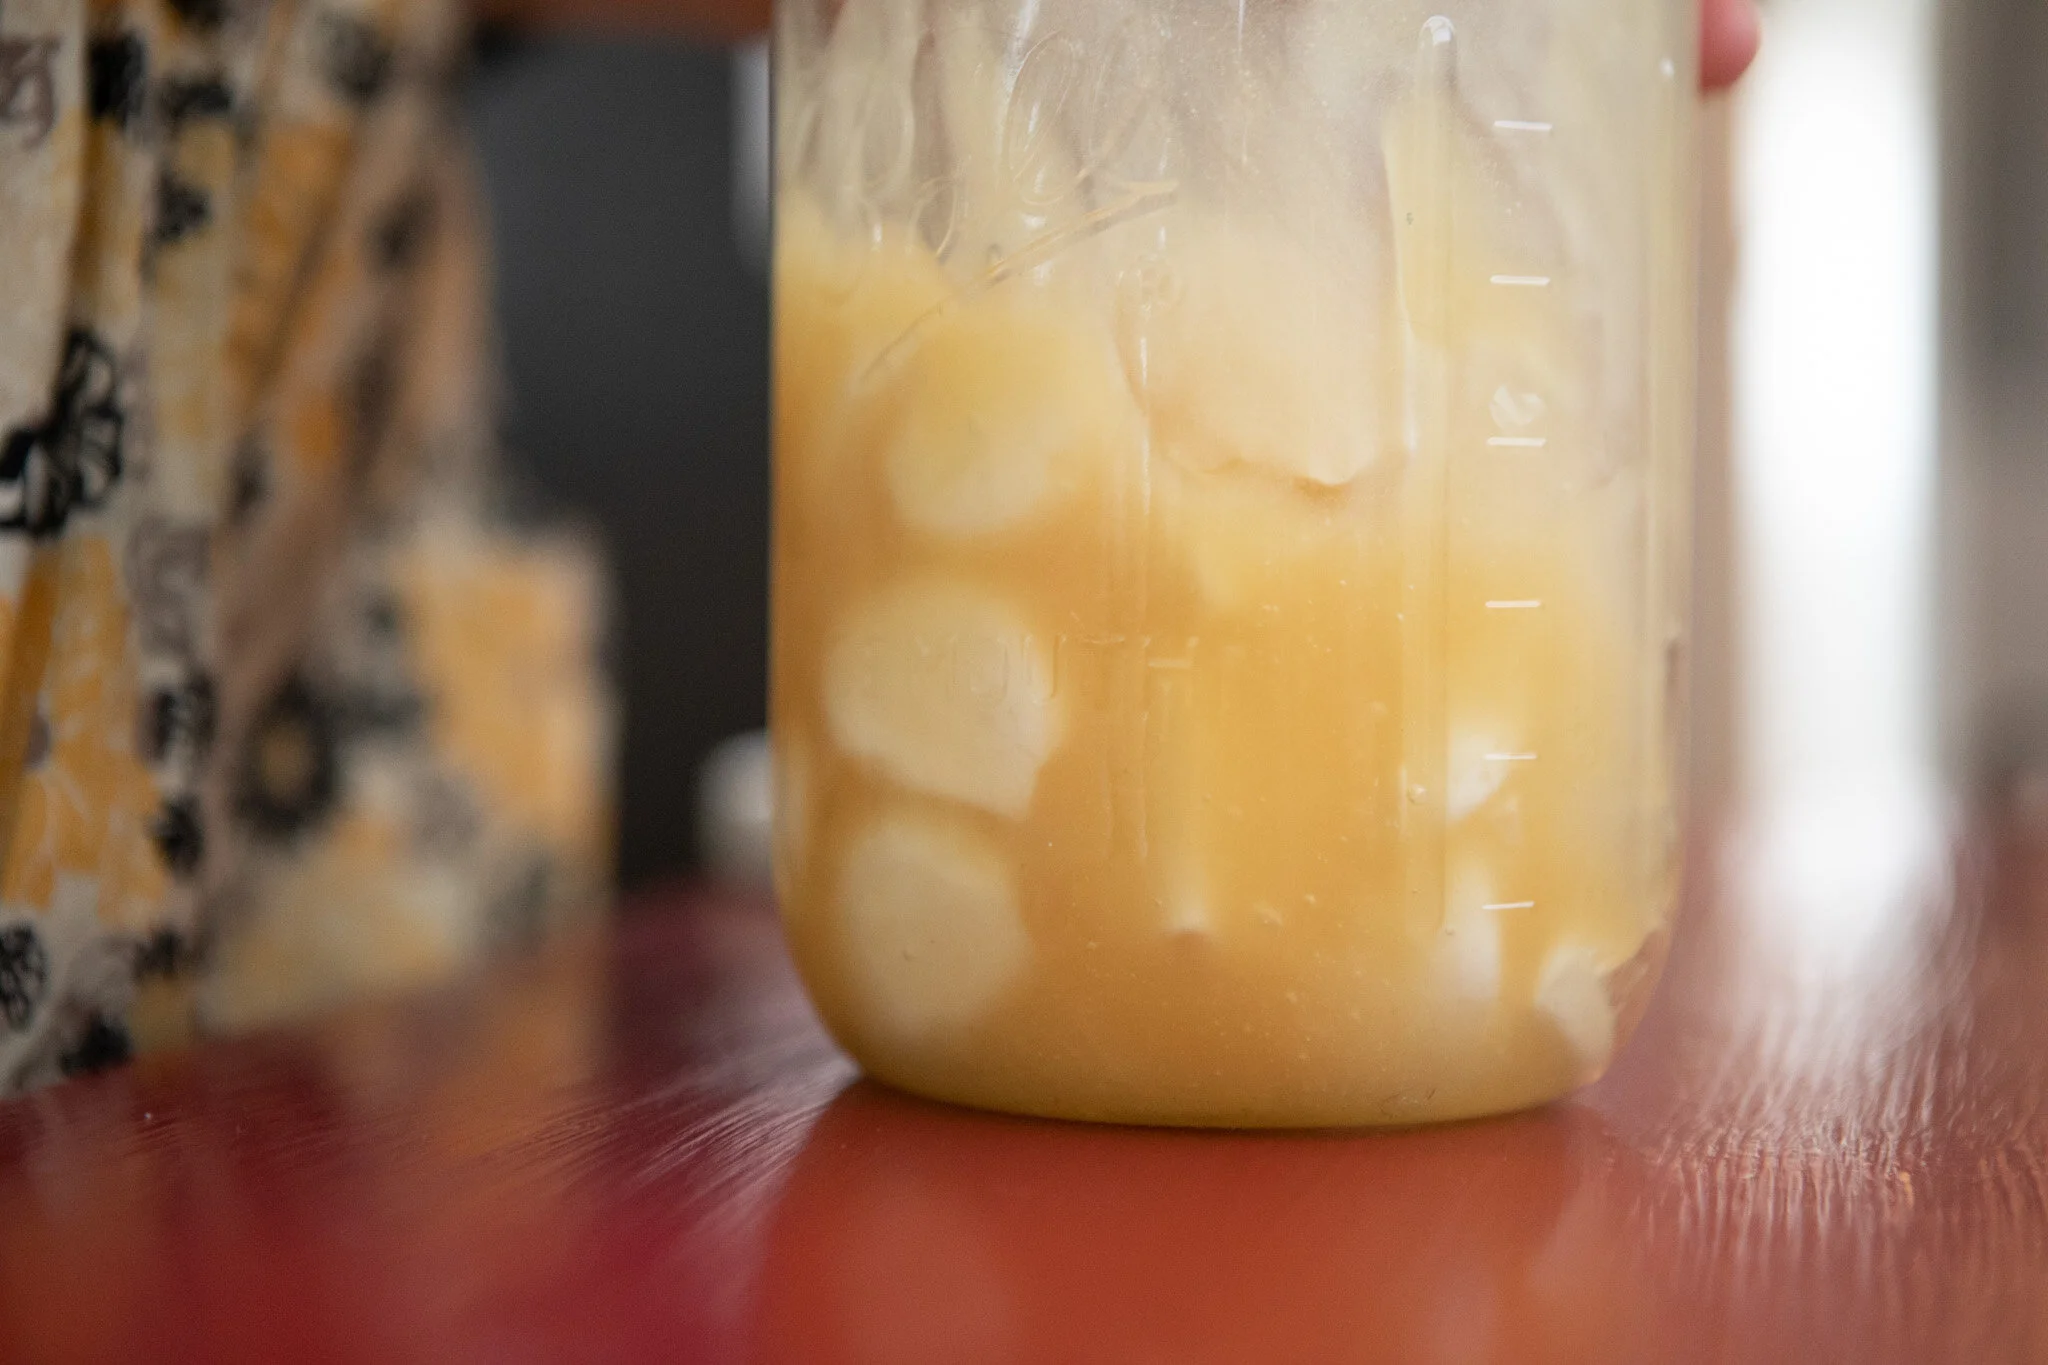
Cover and leave on counter for 24-36 hours**
Store in the fridge.
*If you use whey, you will have a thinner product. If you use yogurt, it will be thicker, if you use a previous crème fraiche, it will be creamier.
**The longer it sits, the more sour and more probiotic it will be.
Crème Fraiche
Ingredients
- 1 pint raw cream or organic heavy cream from grass-fed cows (pasteurized is ok, just not UHT pasteurized - note the difference between methods with raw and pasteurized)
- ¼ cup culture (whey, yogurt, or previous crème fraiche*)
Instructions
- Pour cream into small pot, place on stovetop
- If using raw cream, slowly heat to 100-110F.
- If using pasteurized cream, slowly heat to 180F then let cool to 100-110F
- After appropriate heating is done, pour into a pint-sized wide-mouth glass jar (mason jar style)
- Add your culture, stir to combine
- Cover and leave on counter for 24-36 hours**
- Store in the fridge.
- *If you use whey, you will have a thinner product. If you use yogurt, it will be thicker, if you use a previous crème fraiche, it will be creamier.