Do you or someone you love have a baby who is ready to start eating food besides breast milk or formula? Does your baby have symptoms of leaky gut such as trouble sleeping, rashes, eczema, or colic, or have they been on medications or formula? If so, Hollie has created an online course just for you!
Crème Fraiche
So you know what sour cream and yogurt are, maybe you’ve even dabbled with kefir a bit, but have you ever heard of creme fraiche? This is a go-to for my family, we try to make sure we always have a supply! It is not only delicious, but it is full of probiotics and high quality fat (so it’s very helpful for anyone dealing with constipation). For anyone who can do dairy, I recommend you try it out! A lot of the “sour cream” sold commercially in the United States is technically creme fraiche, but when you make it at home it is so much better (of course), and it is actually very easy to make!
Check out the recipe below, and happy culturing!
Ingredients for crème fraiche:
1 pint raw cream or organic heavy cream from grass-fed cows (pasteurized is ok, just not UHT pasteurized - note the difference between methods with raw and pasteurized)
¼ cup culture (whey, yogurt, or previous crème fraiche*)
Directions for Crème Fraiche:
Pour cream into small pot, place on stovetop
If using raw cream, slowly heat to 100-110F.
If using pasteurized cream, slowly heat to 180F then let cool to 100-110F
After appropriate heating is done, pour into a pint-sized wide-mouth glass jar (mason jar style)
Add your culture, stir to combine
Cover and leave on counter for 24-36 hours**
Store in the fridge.
*If you use whey, you will have a thinner product. If you use yogurt, it will be thicker, if you use a previous crème fraiche, it will be creamier.
**The longer it sits, the more sour and more probiotic it will be.
Crème Fraiche
Ingredients
- 1 pint raw cream or organic heavy cream from grass-fed cows (pasteurized is ok, just not UHT pasteurized - note the difference between methods with raw and pasteurized)
- ¼ cup culture (whey, yogurt, or previous crème fraiche*)
Instructions
- Pour cream into small pot, place on stovetop
- If using raw cream, slowly heat to 100-110F.
- If using pasteurized cream, slowly heat to 180F then let cool to 100-110F
- After appropriate heating is done, pour into a pint-sized wide-mouth glass jar (mason jar style)
- Add your culture, stir to combine
- Cover and leave on counter for 24-36 hours**
- Store in the fridge.
- *If you use whey, you will have a thinner product. If you use yogurt, it will be thicker, if you use a previous crème fraiche, it will be creamier.
Switchel
What is switchel? Switchel is a fermented lemon/ginger drink that is especially refreshing during the summer when working in the heat! The fermented aspect provides probiotics for the gut, the apple cider vinegar helps you be able to drink greater amounts without feeling bloated, and the lemon and ginger help hydrate you more effectively! Plus, it is simply delicious. I try to always have a few bottles brewing throughout the summer.
Ingredients for switchel:
2-3 inches of fresh ginger (peeled and chopped)
1 cup hot water + enough filtered water to fill the jar
4 Lemons (juiced)
¼ - ⅓ cup Apple Cider Vinegar - raw, unfiltered with the mother
¼ cup raw honey
A ½ gallon mason jar (or similar vessel that can close tightly)
Additional Supplies for switchel:
½ Gallon sized mason jar or similar vessel with a sealing lid
Metal strainer
Directions for making switchel:
In a small bowl, combine the hot water with the honey. We want the water to be just hot enough to allow the honey to dissolve - it should not be boiling, or this will kill off the beneficial microbes in the honey.
To the mason jar, add the chopped ginger, fresh lemon juice and apple cider vinegar. Add the honey-water mixture, then add filtered water to fill up to approximately 1 inch from the top of the jar. Cover tightly and give the jar a few shakes to mix everything up. Loosen the lid slightly and leave on the counter at room temperature for 24-36 hours.
Once done, strain the switchel into a clean glass vessel (I use just another mason jar or a swing-top bottle) and store in the refrigerator.
Pour over ice and enjoy!
- Hollie
Switchel
Ingredients
- 2-3 inches of fresh ginger (peeled and chopped)
- 1 cup hot water + enough filtered water to fill the jar
- 4 Lemons (juiced)
- ¼ - ⅓ cup Apple Cider Vinegar - raw, unfiltered with the mother
- ¼ cup raw honey
- A ½ gallon mason jar (or similar vessel that can close tightly)
Instructions
- In a small bowl, combine the hot water with the honey. We want the water to be just hot enough to allow the honey to dissolve - it should not be boiling, or this will kill off the beneficial microbes in the honey.
- To the mason jar, add the chopped ginger, fresh lemon juice and apple cider vinegar. Add the honey-water mixture, then add filtered water to fill up to approximately 1 inch from the top of the jar. Cover tightly and give the jar a few shakes to mix everything up. Loosen the lid slightly and leave on the counter at room temperature for 24-36 hours.
- Once done, strain the switchel into a clean glass vessel (I use just another mason jar or a swing-top bottle) and store in the refrigerator.
- Pour over ice and enjoy!
Honey Sweetened Vanilla Custard
Honey Sweetened Vanilla Custard:
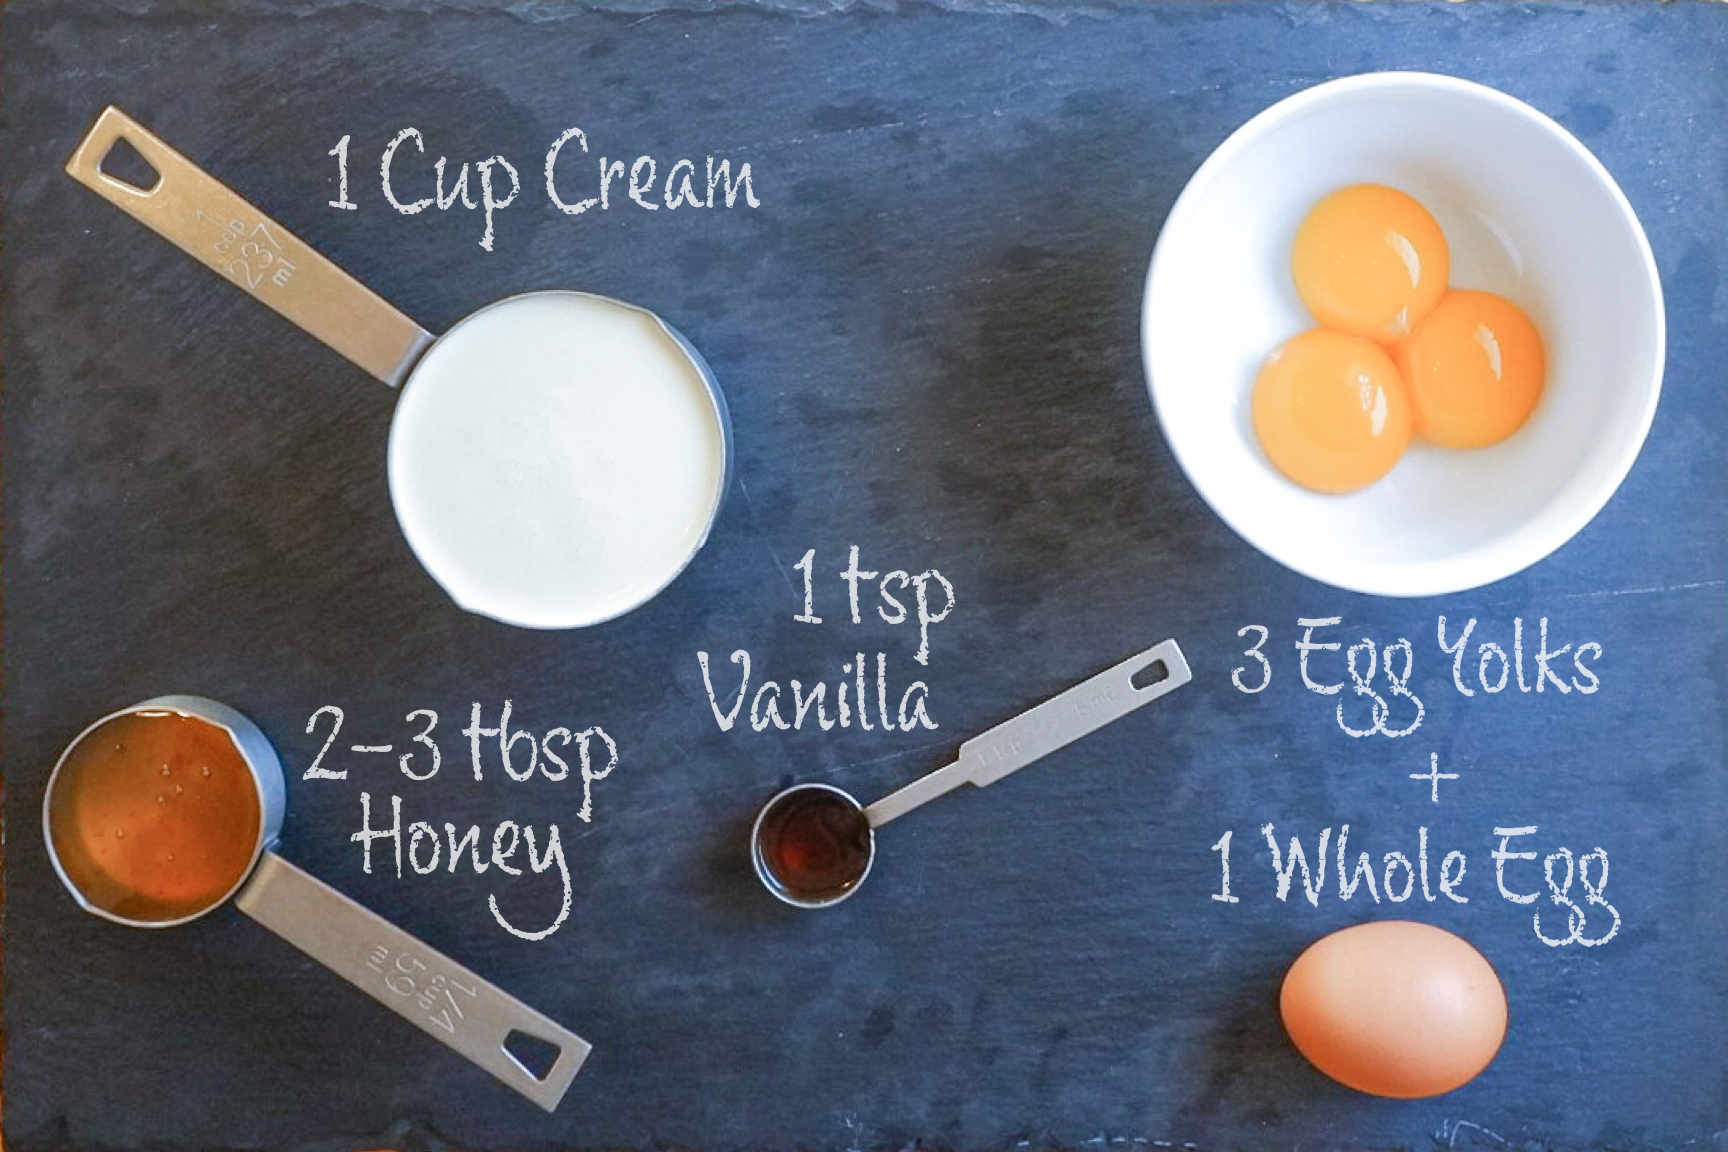
Ingredients for Honey Sweetened Vanilla Custard:
1 cup cream
3 egg yolks + 1 whole egg
1 tsp vanilla
2-3 tbsp honey
(sprinkle of cinnamon or nutmeg if desired)
Directions for Honey Sweetened Vanilla Custard:
Preheat oven to 340F
Place all ingredients in a blender, blend on low until just combined. Try not to blend too long - we don’t want it getting frothy.
3. Pour equally into small oven-safe cups (depending on the size, it will fill 6-10 cups).
4. Place all of the cups in a baking pan with sides at least 1.5 inches high.
5. Add water to the pan (careful not to get it in the cups!) to fill about ⅔ of the height of the cups to create a water bath.
6. Place the baking pan in the oven, bake for 45 minutes or until custard is set and not runny when poked with a toothpick.
*Note: depending on the size of your cups, you may need to adjust the baking time. If you take it out and it is still runny you can leave the custard cups in the hot water bath to set.
Practical uses:
To help relieve headaches (while pregnant or not!)
For help sleeping if you typically wake up around 1-3 am
To help babies sleep (after you’ve introduced dairy/eggs) - for this one just omit the honey, it’s still great!
For a pick-me-up snack in the afternoon when you might crave sugar or caffeine
Honey Sweetened Vanilla Custard
Ingredients
- 1 cup cream
- 3 egg yolks + 1 whole egg
- 1 tsp vanilla
- 3 tbsp honey
- (sprinkle of cinnamon or nutmeg if desired)
Instructions
- Preheat oven to 340F
- Place all ingredients in a blender, blend on low until just combined. Try not to blend too long - we don’t want it getting frothy.
- Pour equally into small oven-safe cups (depending on the size, it will fill 6-10 cups).
- Place all of the cups in a baking pan with sides at least 1.5 inches high.
- Add water to the pan (careful not to get it in the cups!) to fill about ⅔ of the height of the cups to create a water bath.
- Place the baking pan in the oven, bake for 45 minutes or until custard is set and not runny when poked with a toothpick.
- Note: depending on the size of your cups, you may need to adjust the baking time. If you take it out and it is still runny you can leave the custard cups in the hot water bath to set.
Headaches During Pregnancy
Headaches are not normal. They are a common symptom in pregnancy, but this does not mean they are normal or should be expected. A diet emphasizing nutrients to support the brain, liver, pancreas, gallbladder and gut are necessary in pregnancy anyway, but even more so when it comes to preventing and relieving headaches. My hope for this article is that rather than simply shutting up your body with Tylenol, you are able to see your body’s symptoms as cries for help and know how to respond accordingly.
GAPS Friendly Homemade Yogurt
Let’s make yogurt! Around here we are very into fermented and cultured foods. Not only are they delicious but they are so full of probiotics, vitamins and minerals that are easy for our bodies to utilize!
Fermented and cultured foods can seem intimidating to those who have not made them, but once you’ve started in the world of ferments and cultures, you will see how easy, quick, and fun they are.
Yogurt is one of my family’s favorites. We use raw milk, but you can use pasteurized milk if that is all you have access to. It will need to be whole milk, preferably organic, and grass fed, and it cannot be UHT (or ultra-high temperature) pasteurized. You’ll treat it a little differently than raw milk, so pay attention to those directions. You can also use numerous types of starters - whey, creme fraiche, another yogurt - if you have any of these on hand, you can make yogurt! Like the milk, if you are using yogurt as a starter, you can use one that you previously made, or you can use yogurt from the store. Just make sure it is whole milk, organic, plain, with no other ingredients added beside the milk and the probiotic strains.
As far as cultured dairy products go, yogurt is high in protein versus fat. For this reason, we usually recommend it to people who are more prone to diarrhea or soft stools instead of people who are constipated (for whom we would recommend a higher fat content dairy like sour cream or creme fraiche).
Let’s dive in!
Ingredients for Homemade Yogurt:
Milk
Whey
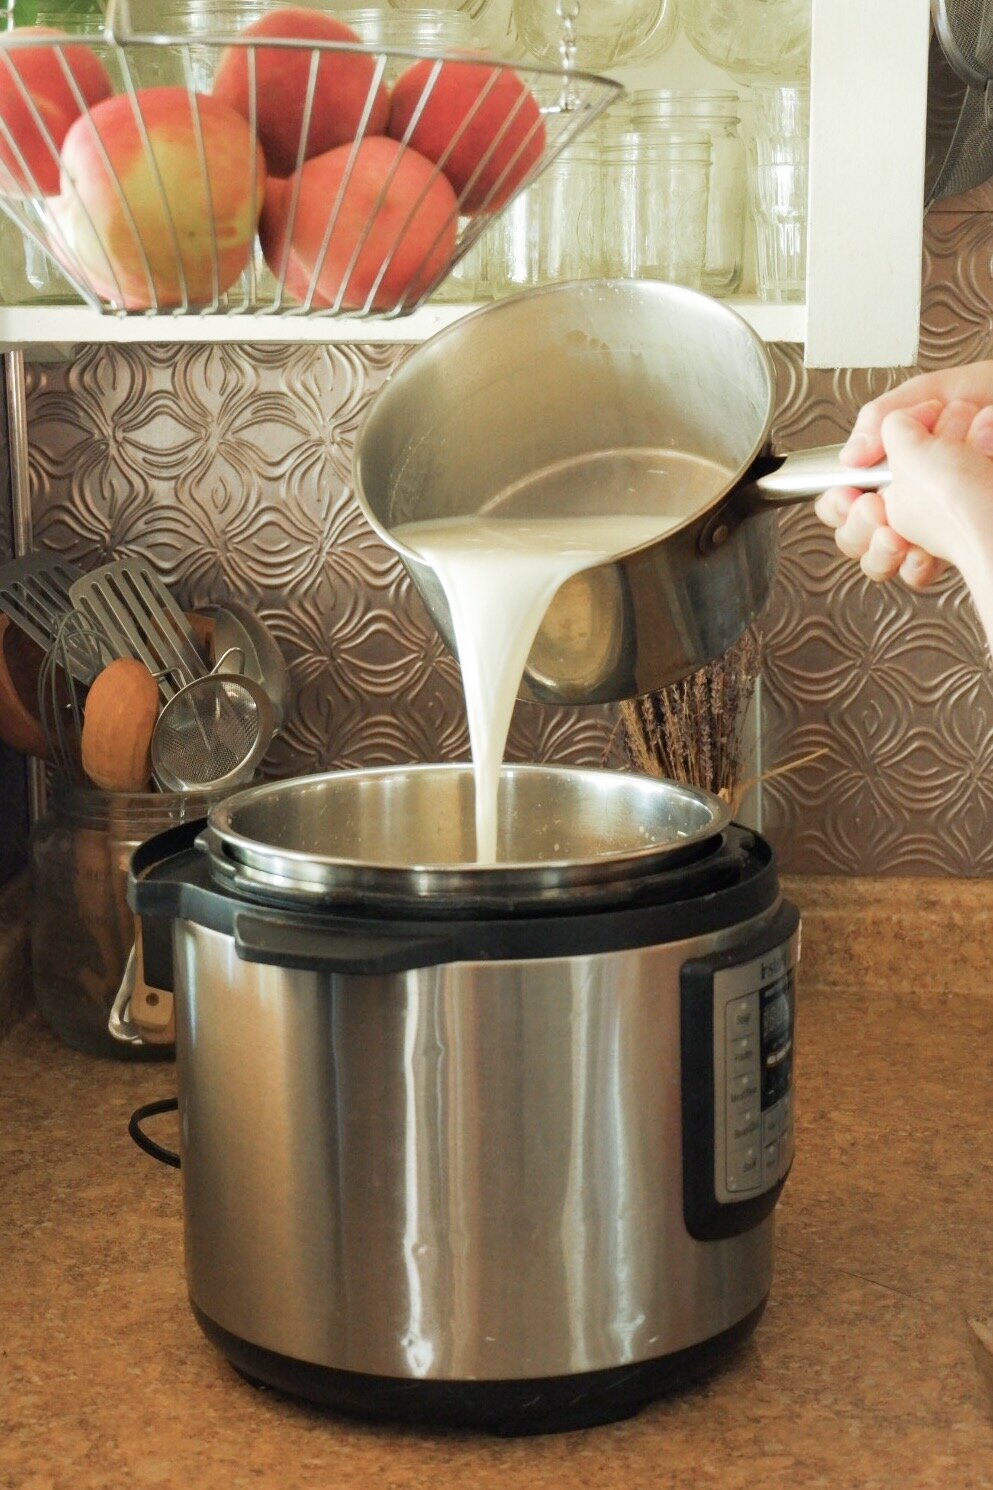
Pour your milk into a pot and slowly heat it over the stove. Raw milk should be heated to 110 F. Pasteurized milk needs to be heated up to 180 F, then cooled to 110 F.
This is very important because when milk is pasteurized, it starts growing bacteria that are not beneficial, and can actually be quite harmful (this is why pasteurized milk has an expiration date and why it “goes bad” when it is too old or left out of refrigeration). We have to kill these off first before we let the culturing process happen.
Once your milk is at temperature, remove from heat and add your starter. This can be yogurt, whey or crème fraiche. Whey generally makes a thinner yogurt, a previous yogurt will make a thicker yogurt, and crème fraiche tends to make a creamier yogurt. Stir briefly to combine.
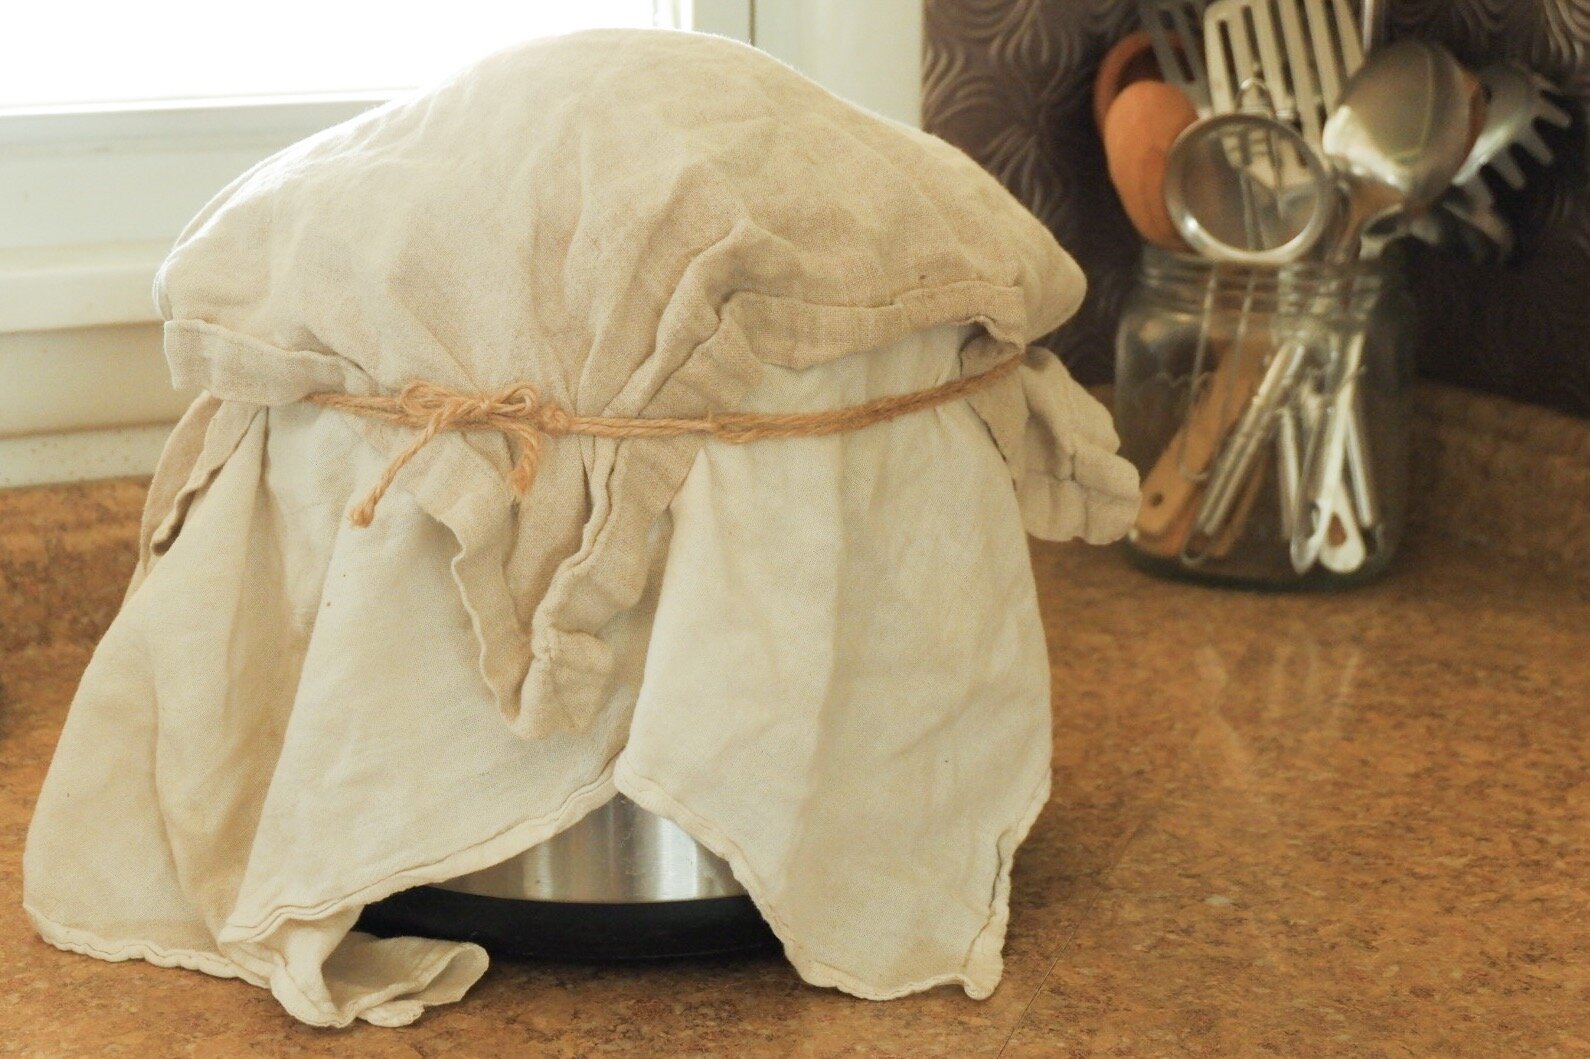
Pour the milk/starter mixture into an insulated container. I use my instant pot with it unplugged and covered. Then I wrap a couple towels around it to keep any heat from leaking out. You can use a thermos, or place your milk in a jar and put it somewhere where you can regulate the temperature such as in a dehydrator or in the oven with the pilot light on. The goal is to keep the milk at 110 F for the next 24-36 hours. Many recipes will say 8-12 hours is fine. When trying to reduce the lactose level and predigest the proteins as much as possible, we aim for at least 24 hours. I find that closer to 28-30 hours produces my favorite consistency/flavor balance. (If you are following the GAPS nutritional protocol, stick to the longer timeframe.)
When the culturing process is done (24-36 hours later), your yogurt is complete! Pour into a glass jar, store in the fridge and enjoy!
Homemade Yogurt
Ingredients
- Milk
- Whey
Instructions
- Pour your milk into a pot and slowly heat it over the stove. Raw milk should be heated to 110 F. Pasteurized milk needs to be heated up to 180 F, then cooled to 110 F.
- This is very important because when milk is pasteurized, it starts growing bacteria that are not beneficial, and can actually be quite harmful (this is why pasteurized milk has an expiration date and why it “goes bad” when it is too old or left out of refrigeration). We have to kill these off first before we let the culturing process happen.
- Once your milk is at temperature, remove from heat and add your starter. This can be yogurt, whey or crème fraiche. Whey generally makes a thinner yogurt, a previous yogurt will make a thicker yogurt, and crème fraiche tends to make a creamier yogurt. Stir briefly to combine.
- Pour the milk/starter mixture into an insulated container. I use my instant pot with it unplugged and covered. Then I wrap a couple towels around it to keep any heat from leaking out. You can use a thermos, or place your milk in a jar and put it somewhere where you can regulate the temperature such as in a dehydrator or in the oven with the pilot light on. The goal is to keep the milk at 110 F for the next 24-36 hours. Many recipes will say 8-12 hours is fine. When trying to reduce the lactose level and predigest the proteins as much as possible, we aim for at least 24 hours. I find that closer to 28-30 hours produces my favorite consistency/flavor balance. (If you are following the GAPS nutritional protocol, stick to the longer timeframe.)
- When the culturing process is done (24-36 hours later), your yogurt is complete! Pour into a glass jar, store in the fridge and enjoy!
Can I do GAPS while pregnant?
When I first began my deep-dive into the world of GAPS (Gut and Physiology Syndrome) several years ago, I would have said a resounding "no" to the question of working through GAPS while pregnant. There is some merit to this. The reasoning behind this mindset is that GAPS is a powerful protocol marked by detoxification and healing. While the healing aspect could be priceless for both the mother and the unborn child, the detox could potentially be dangerous for the baby.
Morning Sickness Bars
Morning sickness bars are nutrient dense, and easy on the stomach. This is Hollie’s go to food when “morning sickness” lasts morning, noon and night. Morning sickness bars will nourish your body even when you do not feel like eating. This recipe is so easy and quick once the nuts/seeds are soaked and dried. Try to soak and dry nuts and seeds in bulk to have ready when a craving for a new kind of fruit pops up! These can be whipped up within 5 minutes, and even eaten before they make it to the freezer!!
Ingredients for Morning Sickness Bars:
2 cups dates
2 cups soaked and dried assorted nuts (cashews, almonds, walnuts and pecans work well)
1 tsp sea salt
2 cup shredded coconut
1 cup soaked and dried pumpkin seeds (chopped)
2 tsp lemon zest
1 cup dried fruit (chopped)
Directions for Morning Sickness Bars:
Blend 2 cups of dates. Add in the nuts and blend well, scraping down the sides and blending as needed (approximately 1-2 min). Add sea salt and coconut and blend for 30 seconds.
Turn out mixture onto parchment paper. Knead in seeds, lemon zest and dried fruit just enough to combine evenly throughout the mixture.
Place another sheet of parchment paper on top and the mixture out until approximately 1/4-1/2 inch thick. Cut into bars (whatever shape and size you want).
Place in freezer for about 20 minutes, then wrap individually in parchment paper and keep in the fridge. Take a few out before bed and keep them on your nightstand. Eat immediately when you wake up before rising out of bed to help ease morning sickness.
Feel free to change up the nuts, fruit, add dried ginger, whatever sounds good to you at the moment.
Enjoy, mamas!
Morning Sickness Bars
Ingredients
- 2 cups dates
- 2 cups soaked and dried assorted nuts (cashews, almonds, walnuts and pecans work well)
- 1 tsp sea salt
- 2 cup shredded coconut
- 1 cup soaked and dried pumpkin seeds (chopped)
- 2 tsp lemon zest
- 1 cup dried fruit (chopped)
Instructions
- Blend 2 cups of dates. Add in the nuts and blend well, scraping down the sides and blending as needed (approximately 1-2 min).
- Add sea salt and coconut and blend for 30 seconds.
- Turn out mixture onto parchment paper. Knead in seeds, lemon zest and dried fruit just enough to combine evenly throughout the mixture.
- Place another sheet of parchment paper on top and the mixture out until approximately 1/4-1/2 inch thick. Cut into bars (whatever shape and size you want).
- Place in freezer for about 20 minutes, then wrap individually in parchment paper and keep in the fridge.
- Take a few out before bed and keep them on your nightstand. Eat immediately when you wake up before rising out of bed to help ease morning sickness.
- Feel free to change up the nuts, fruit, add dried ginger, whatever sounds good to you at the moment.
How do I get through Morning Sickness!?
After experiencing "Morning Sickness" with each of my 3 pregnancies, I have probably read every blog/recommendation possible. Many of them go into the nitty-gritty details of vomiting day and night. Let me spare you my own details, and just say that morning sickness can last all day, all night, from a few days to the entire pregnancy. It is discouraging, it changes your mood, your patience level, and your motivation.
Feeding Your Baby
How do you start feeding your baby so that you can give them the gift of health? When I had my first baby I was terrified that she would have a peanut allergy. It seemed like one of those things that just happened, like drawing the short end of the stick. I had no idea that what I allowed into my baby’s body would help determine whether or not she developed allergies, sensitivities and other health issues.
How to Make Beef Stock
We use a lot of chicken stock around here but that doesn’t mean it’s superior to other kinds of stock. We’ve recently been working on adding soup recipes that are especially delicious with beef stock.
Whatever meat you use, remember it should be 80% meat and 20% bone with a joint. Depending on your cut, you might need to add additional meat to fulfill these ratios.
Meat stock is a pillar in healing a leaky gut but this rich food is beneficial to anyone. It provides large amounts of the immune system’s favorite foods, is very easy to digest, and is a great base to modify for other healing and nutritious recipes.
Meat stock is meant to be a meal in itself. It’s short cooking time allows the meat to remain edible while still enriching stock with easy to absorb nutrients. This is the perfect thing to eat anytime you are feeling ill or stressed or “can’t get filled up” hungry. These are some of the reasons meat stock is such an important part of the healing process of the GAPS Diet. Any time you are consuming meat stock on a regular basis, your body will be receiving the healing benefit.
Meat stock can be made into a soup or simply drunk on its own as a hot beverage with a meal. You can also poach a couple eggs in your stock for a rich breakfast. Stock can also be used to cook rice or other soaked grains to increase their digestibility and nutritional content. In short, this should be considered a staple to have in your kitchen at all times, either in the fridge or the freezer.
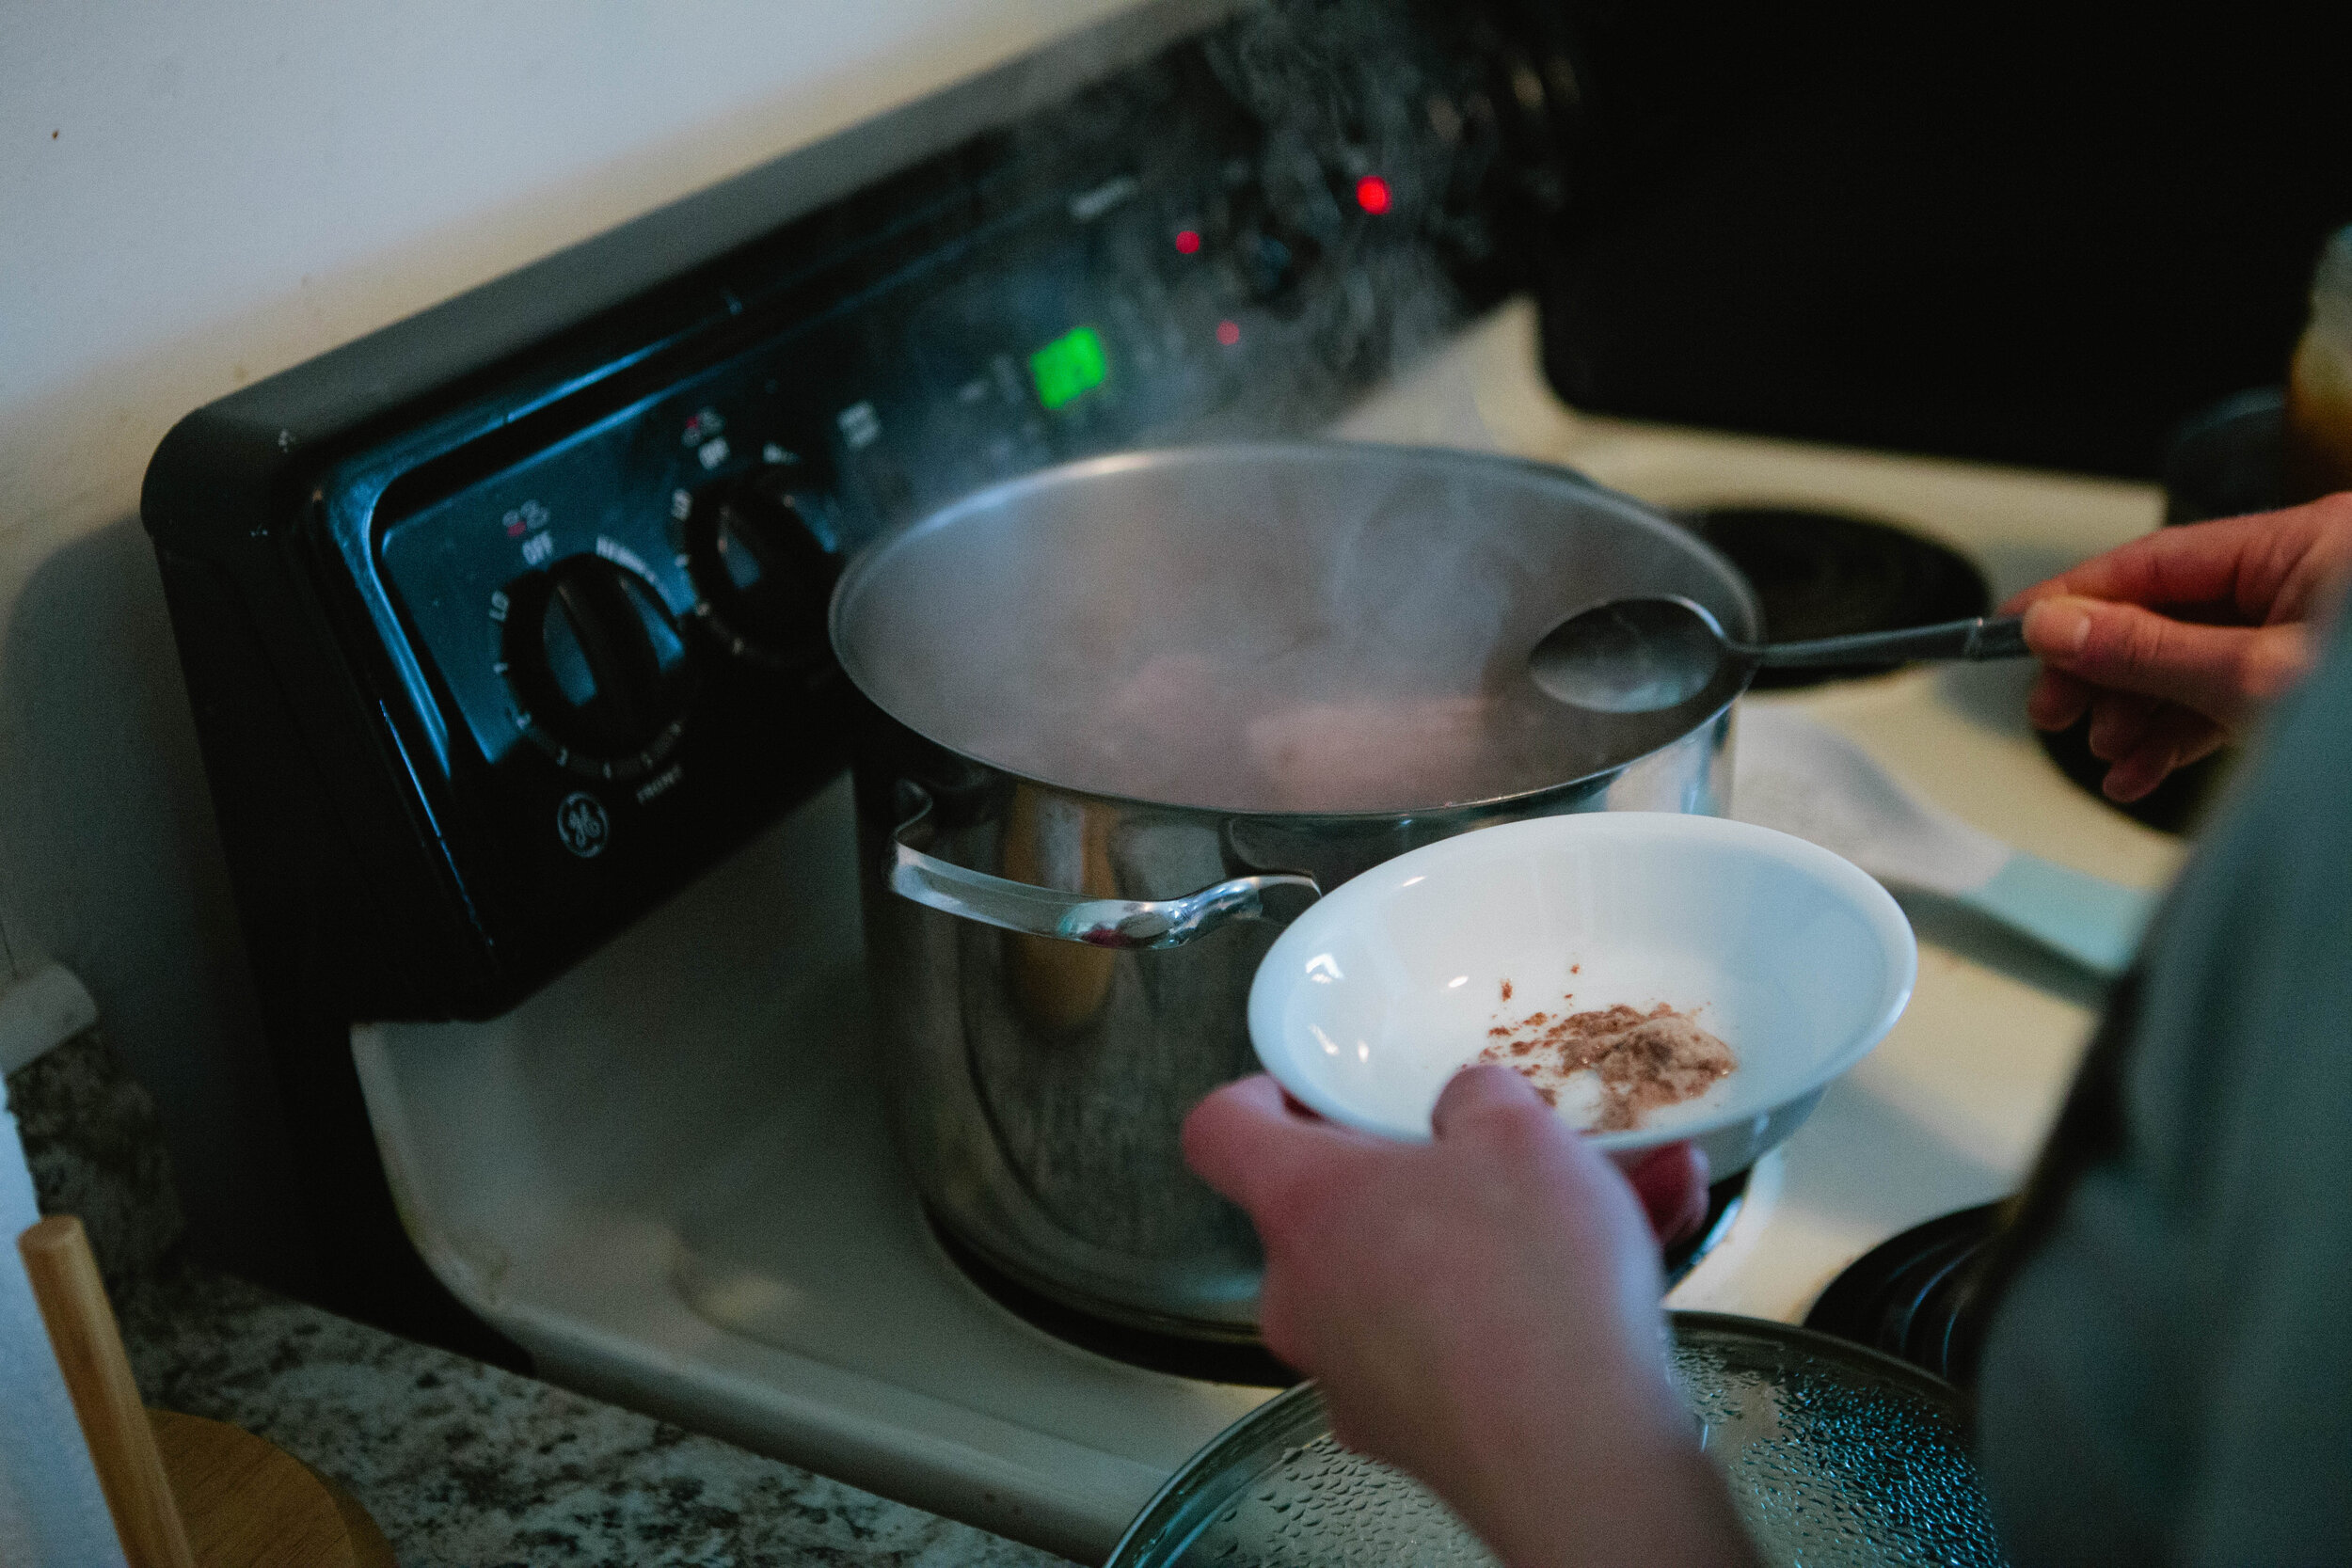
There are a variety of ways you can skim the scum off the top of your stock. I usually use a slotted spoon but you can also use a mesh scum skimmer, a slotted spoon, a small strainer, or a large soup spoon.
Skimming the scum off the top is where you can tell the quality of your meat. If your meat is poor quality, had a lot of hormones or was poorly processed, you’ll get scum that’s heavy, grey and unappetizing. If you have a good quality meat, you will have a small amount of light almost white colored scum that appears as a lighter foam. This is also where you can tell if your meat has gone bad at this point.
You can store your stock in the fridge or the freezer, depending on how quickly you’ll consume the batch.
A NOTE ABOUT MEAT STOCK AND THE GAPS INTRO DIET:
When Dr. Natasha Campbell talks about meat in stage 1, she’s referring to eating primarily the gelatinous meats like skin, joints and connective tissue. When meat is added on Stage 2, she means the muscle eats, the only thing we Americans consider to be meat. Eating a lot of muscle meat can be constipating so if this is your issue, be sure to eat every last bit of the skin and joints.
Ingredients for Beef Stock:
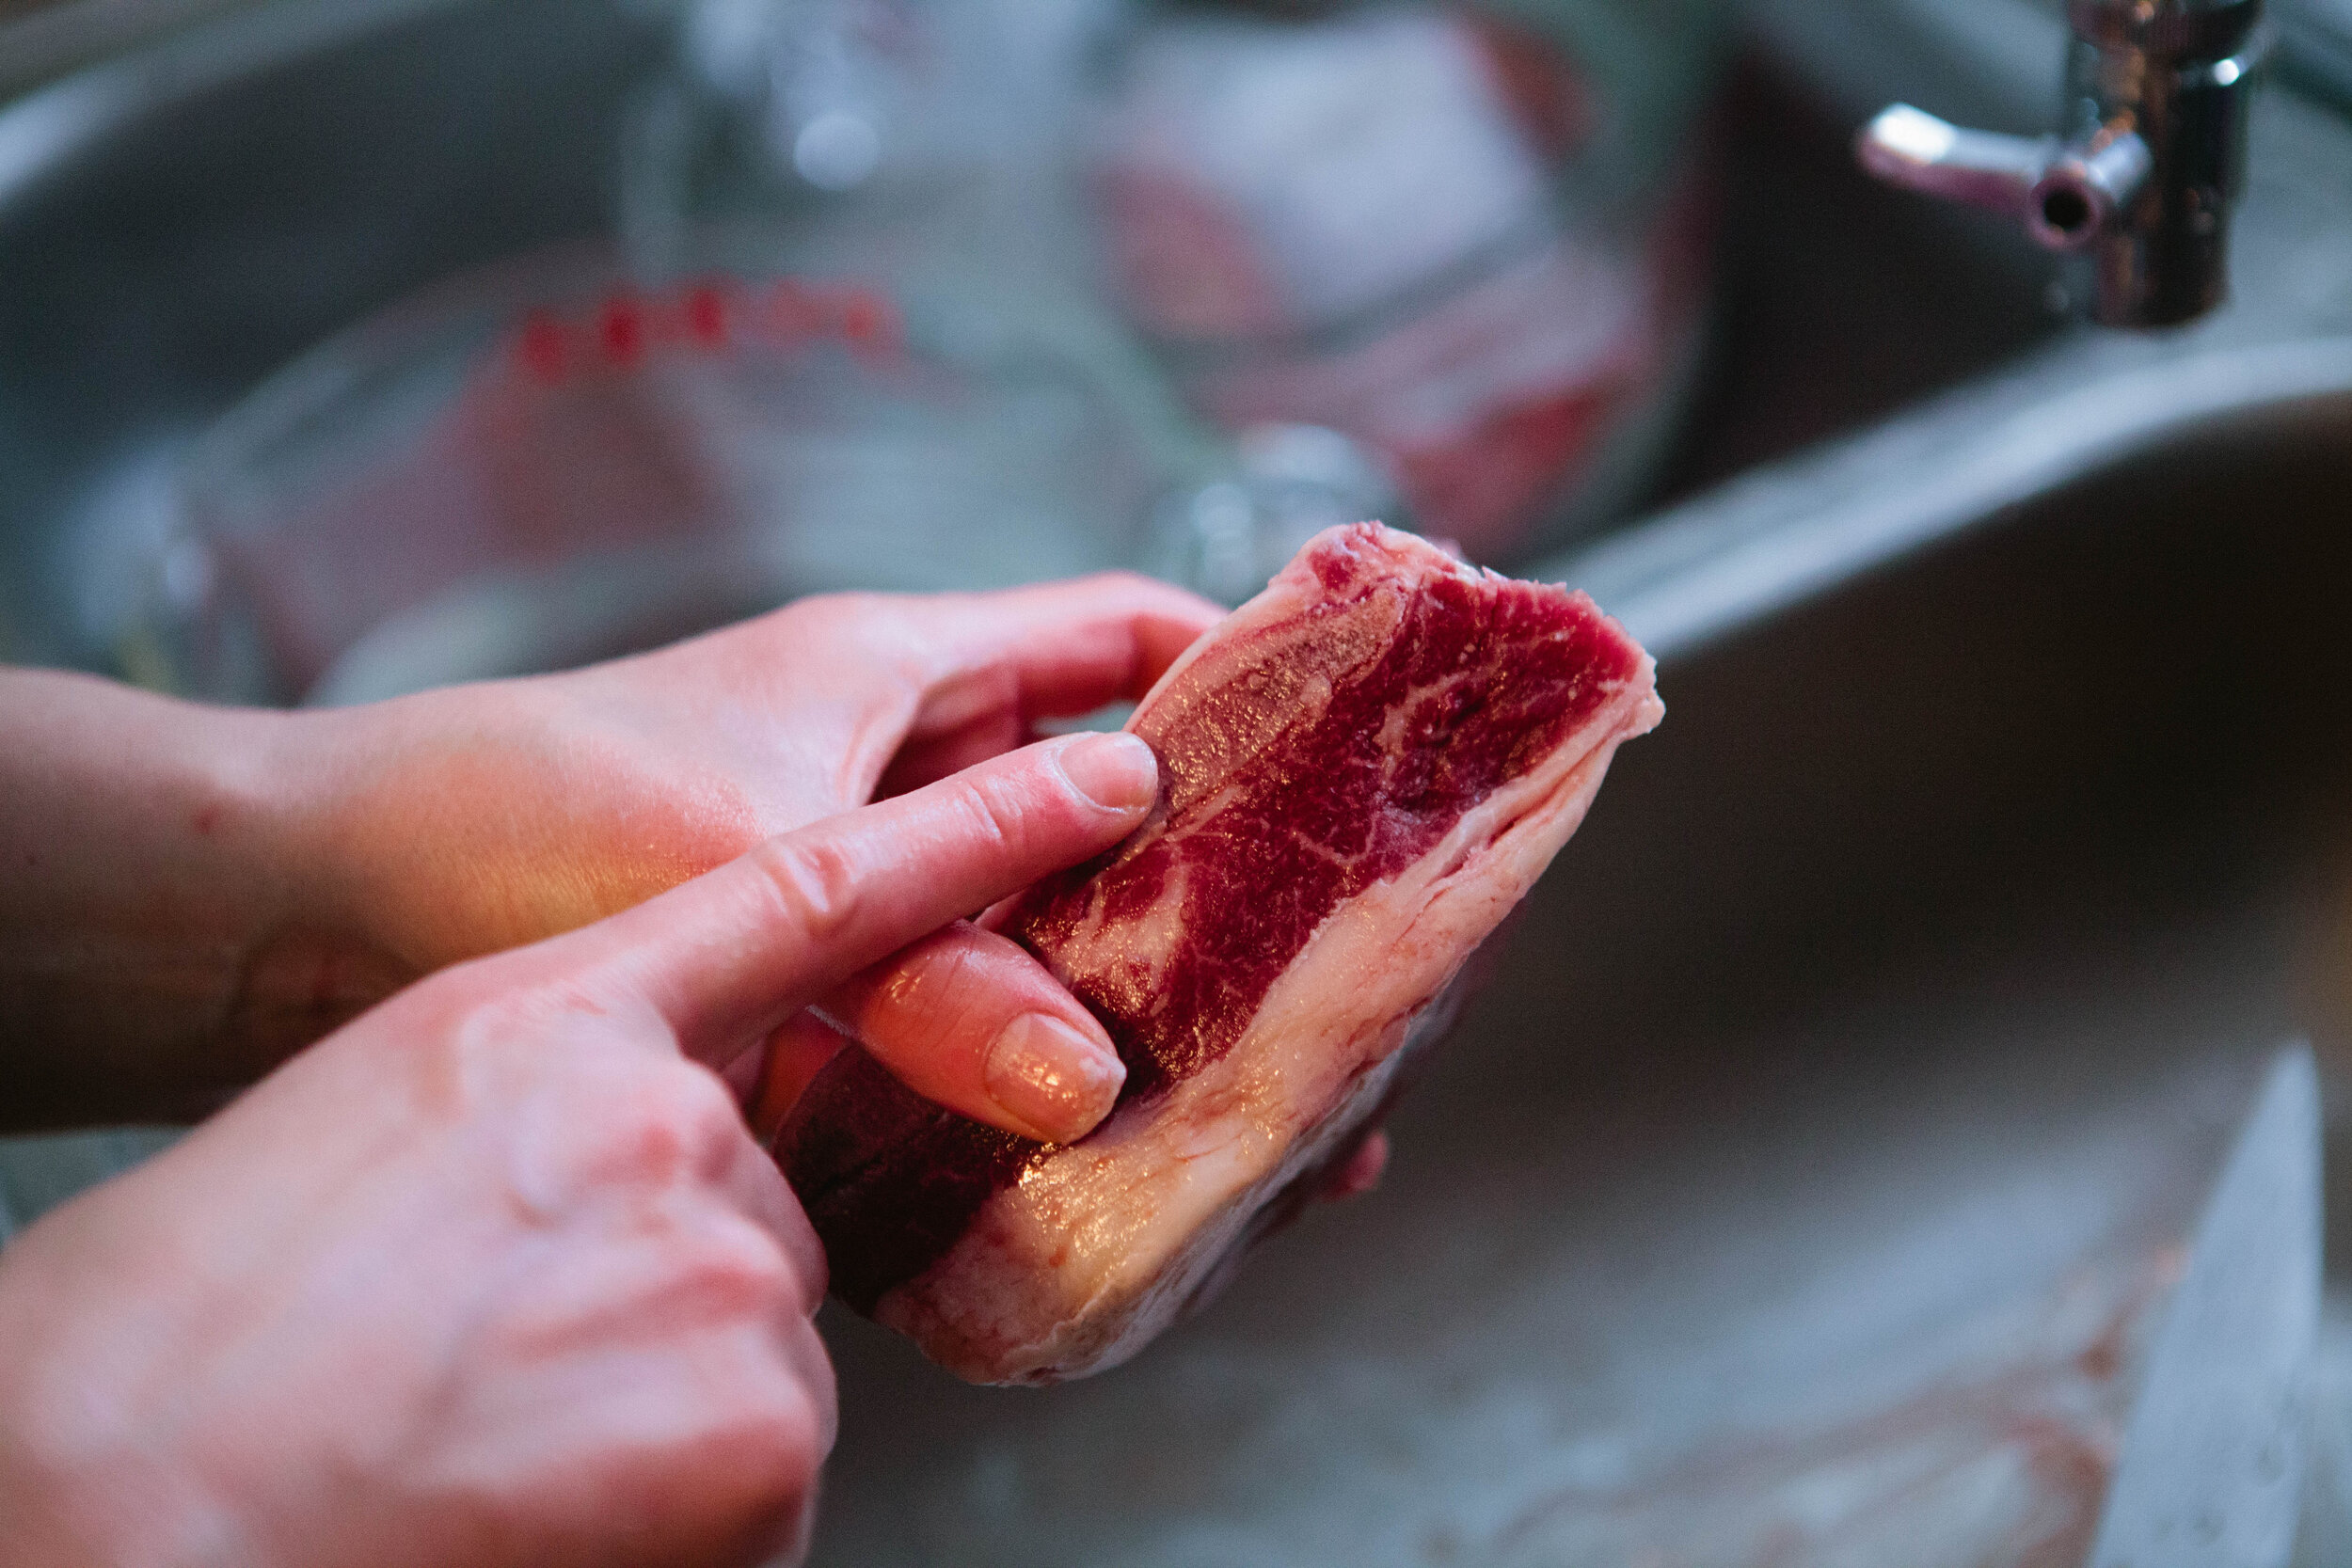
Beef. I am using 3 ½ lbs of beef short ribs. Whatever meat you use, remember it should be 80% meat and 20% bone with a joint. Depending on your cut, you might need to add additional meat to fulfill these ratios.
Small handful of peppercorns
2 Bay Leaves
Filtered Water
Directions for Beef Stock:
Cut your beef ribs apart so that each rib is separated.
Add to a pot and fill with filtered water.
Add peppercorns whole and bay leaves to the pot.
If you are using dry herbs and are on Intro GAPS, pre-stage 4, put your herbs in a reusable herb or tea infuser or muslin pouch for easy removal. This is not necessary if you are using fresh herbs.
Turn pot up to high to bring to a boil. Skim the scum off the top of your pot.
Turn heat down lower to a simmer. Simmer beef stock for 3-5 hours.
Strain the beef stock using a large mesh strainer and a funnel or large measuring cup with a lip.
Place in jars or a large bowl and allow to cool completely before placing in the fridge or freezer.

