


We use a lot of chicken stock around here but that doesn’t mean it’s superior to other kinds of stock. We’ve recently been working on adding soup recipes that are especially delicious with beef stock.
Whatever meat you use, remember it should be 80% meat and 20% bone with a joint. Depending on your cut, you might need to add additional meat to fulfill these ratios.
Meat stock is a pillar in healing a leaky gut but this rich food is beneficial to anyone. It provides large amounts of the immune system’s favorite foods, is very easy to digest, and is a great base to modify for other healing and nutritious recipes.
Meat stock is meant to be a meal in itself. It’s short cooking time allows the meat to remain edible while still enriching stock with easy to absorb nutrients. This is the perfect thing to eat anytime you are feeling ill or stressed or “can’t get filled up” hungry. These are some of the reasons meat stock is such an important part of the healing process of the GAPS Diet. Any time you are consuming meat stock on a regular basis, your body will be receiving the healing benefit.
Meat stock can be made into a soup or simply drunk on its own as a hot beverage with a meal. You can also poach a couple eggs in your stock for a rich breakfast. Stock can also be used to cook rice or other soaked grains to increase their digestibility and nutritional content. In short, this should be considered a staple to have in your kitchen at all times, either in the fridge or the freezer.
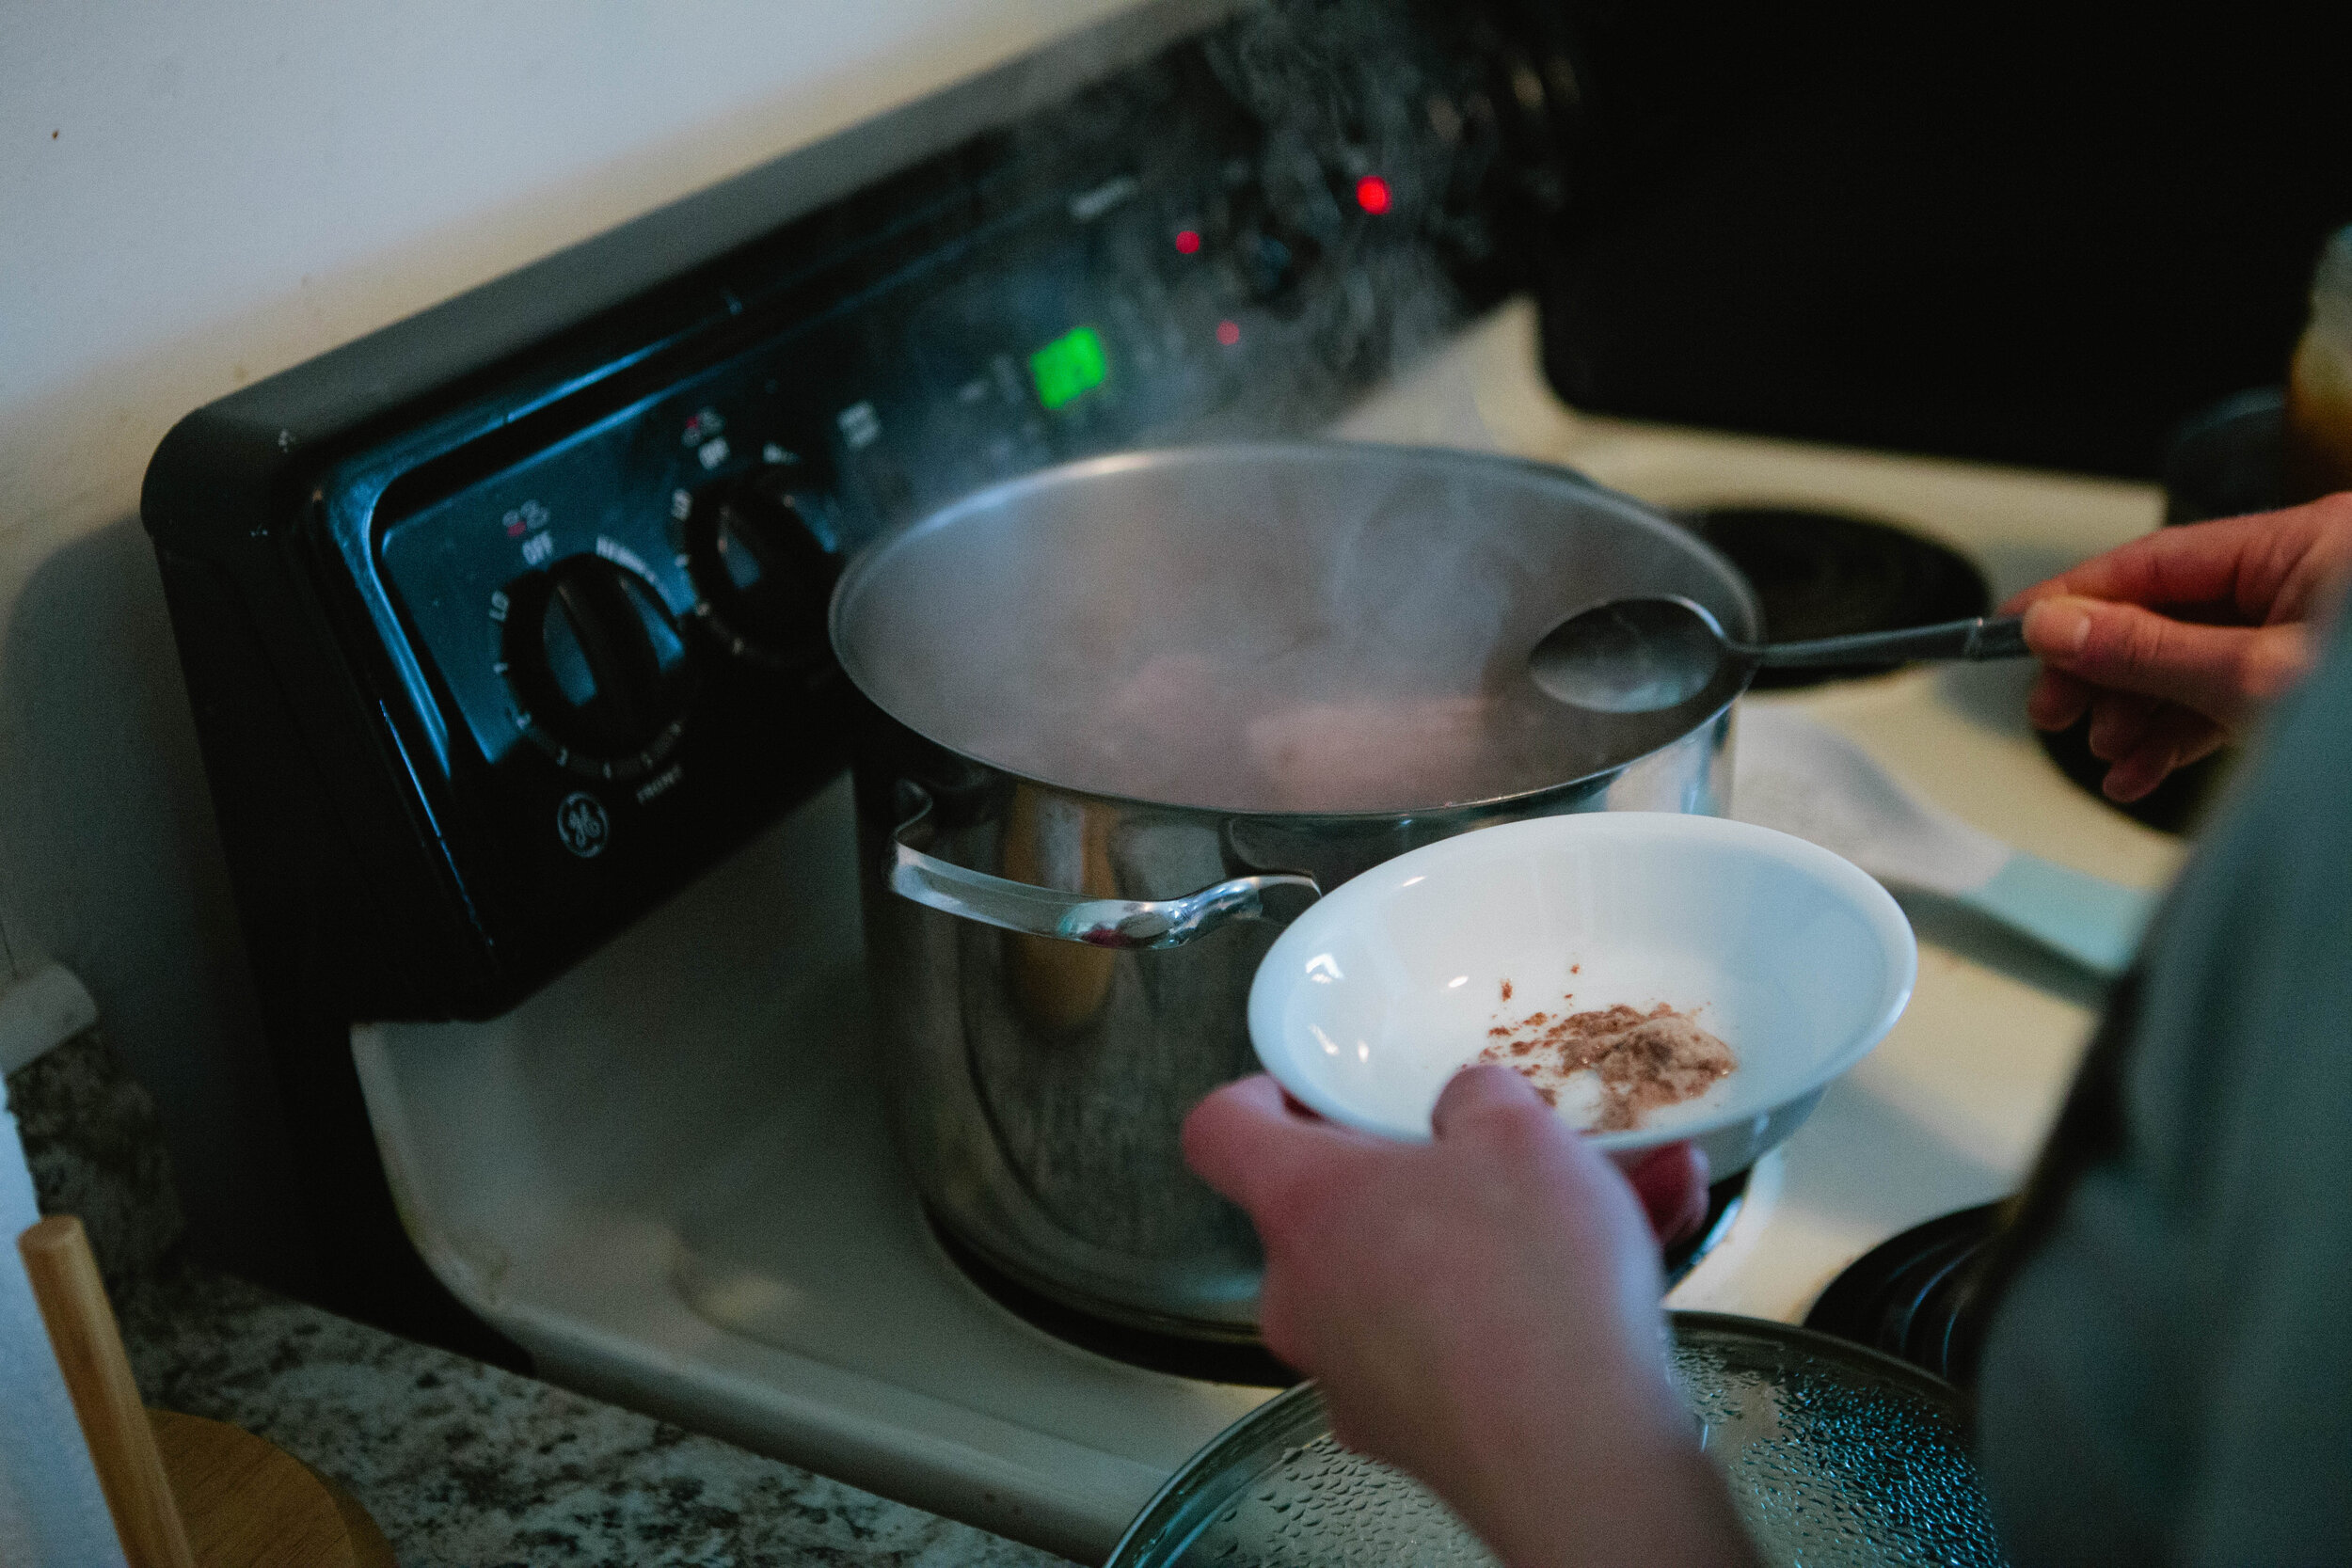
There are a variety of ways you can skim the scum off the top of your stock. I usually use a slotted spoon but you can also use a mesh scum skimmer, a slotted spoon, a small strainer, or a large soup spoon.
Skimming the scum off the top is where you can tell the quality of your meat. If your meat is poor quality, had a lot of hormones or was poorly processed, you’ll get scum that’s heavy, grey and unappetizing. If you have a good quality meat, you will have a small amount of light almost white colored scum that appears as a lighter foam. This is also where you can tell if your meat has gone bad at this point.
You can store your stock in the fridge or the freezer, depending on how quickly you’ll consume the batch.
A NOTE ABOUT MEAT STOCK AND THE GAPS INTRO DIET:
When Dr. Natasha Campbell talks about meat in stage 1, she’s referring to eating primarily the gelatinous meats like skin, joints and connective tissue. When meat is added on Stage 2, she means the muscle eats, the only thing we Americans consider to be meat. Eating a lot of muscle meat can be constipating so if this is your issue, be sure to eat every last bit of the skin and joints.
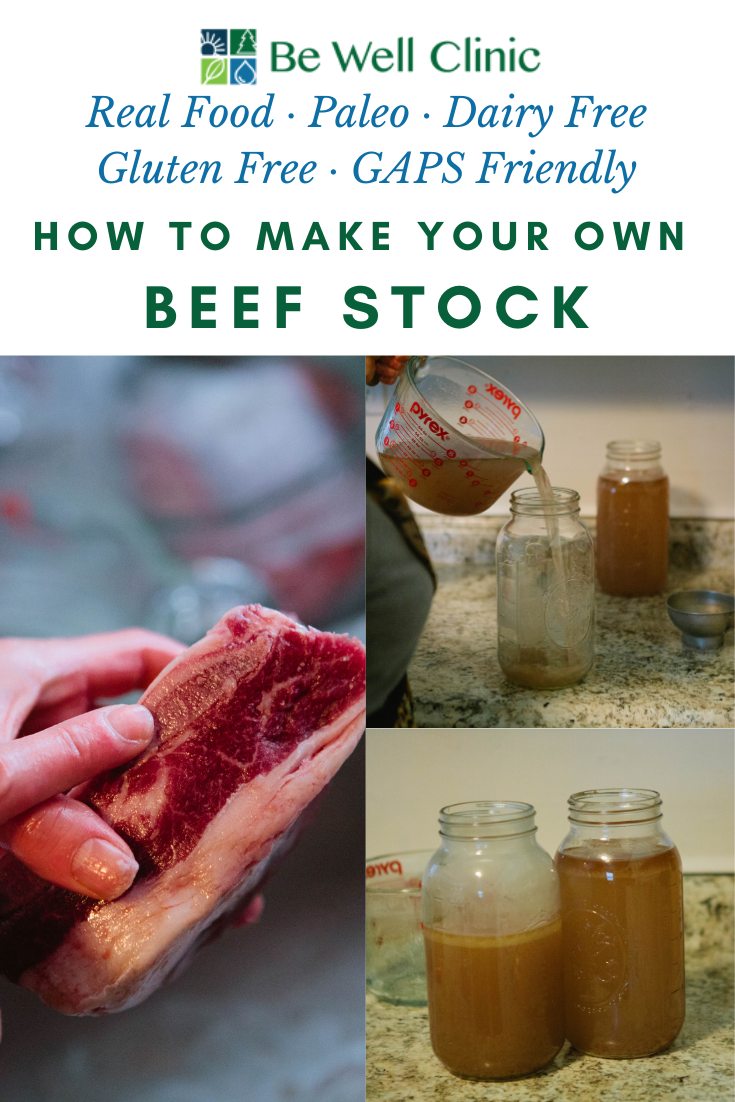
Ingredients for Beef Stock:
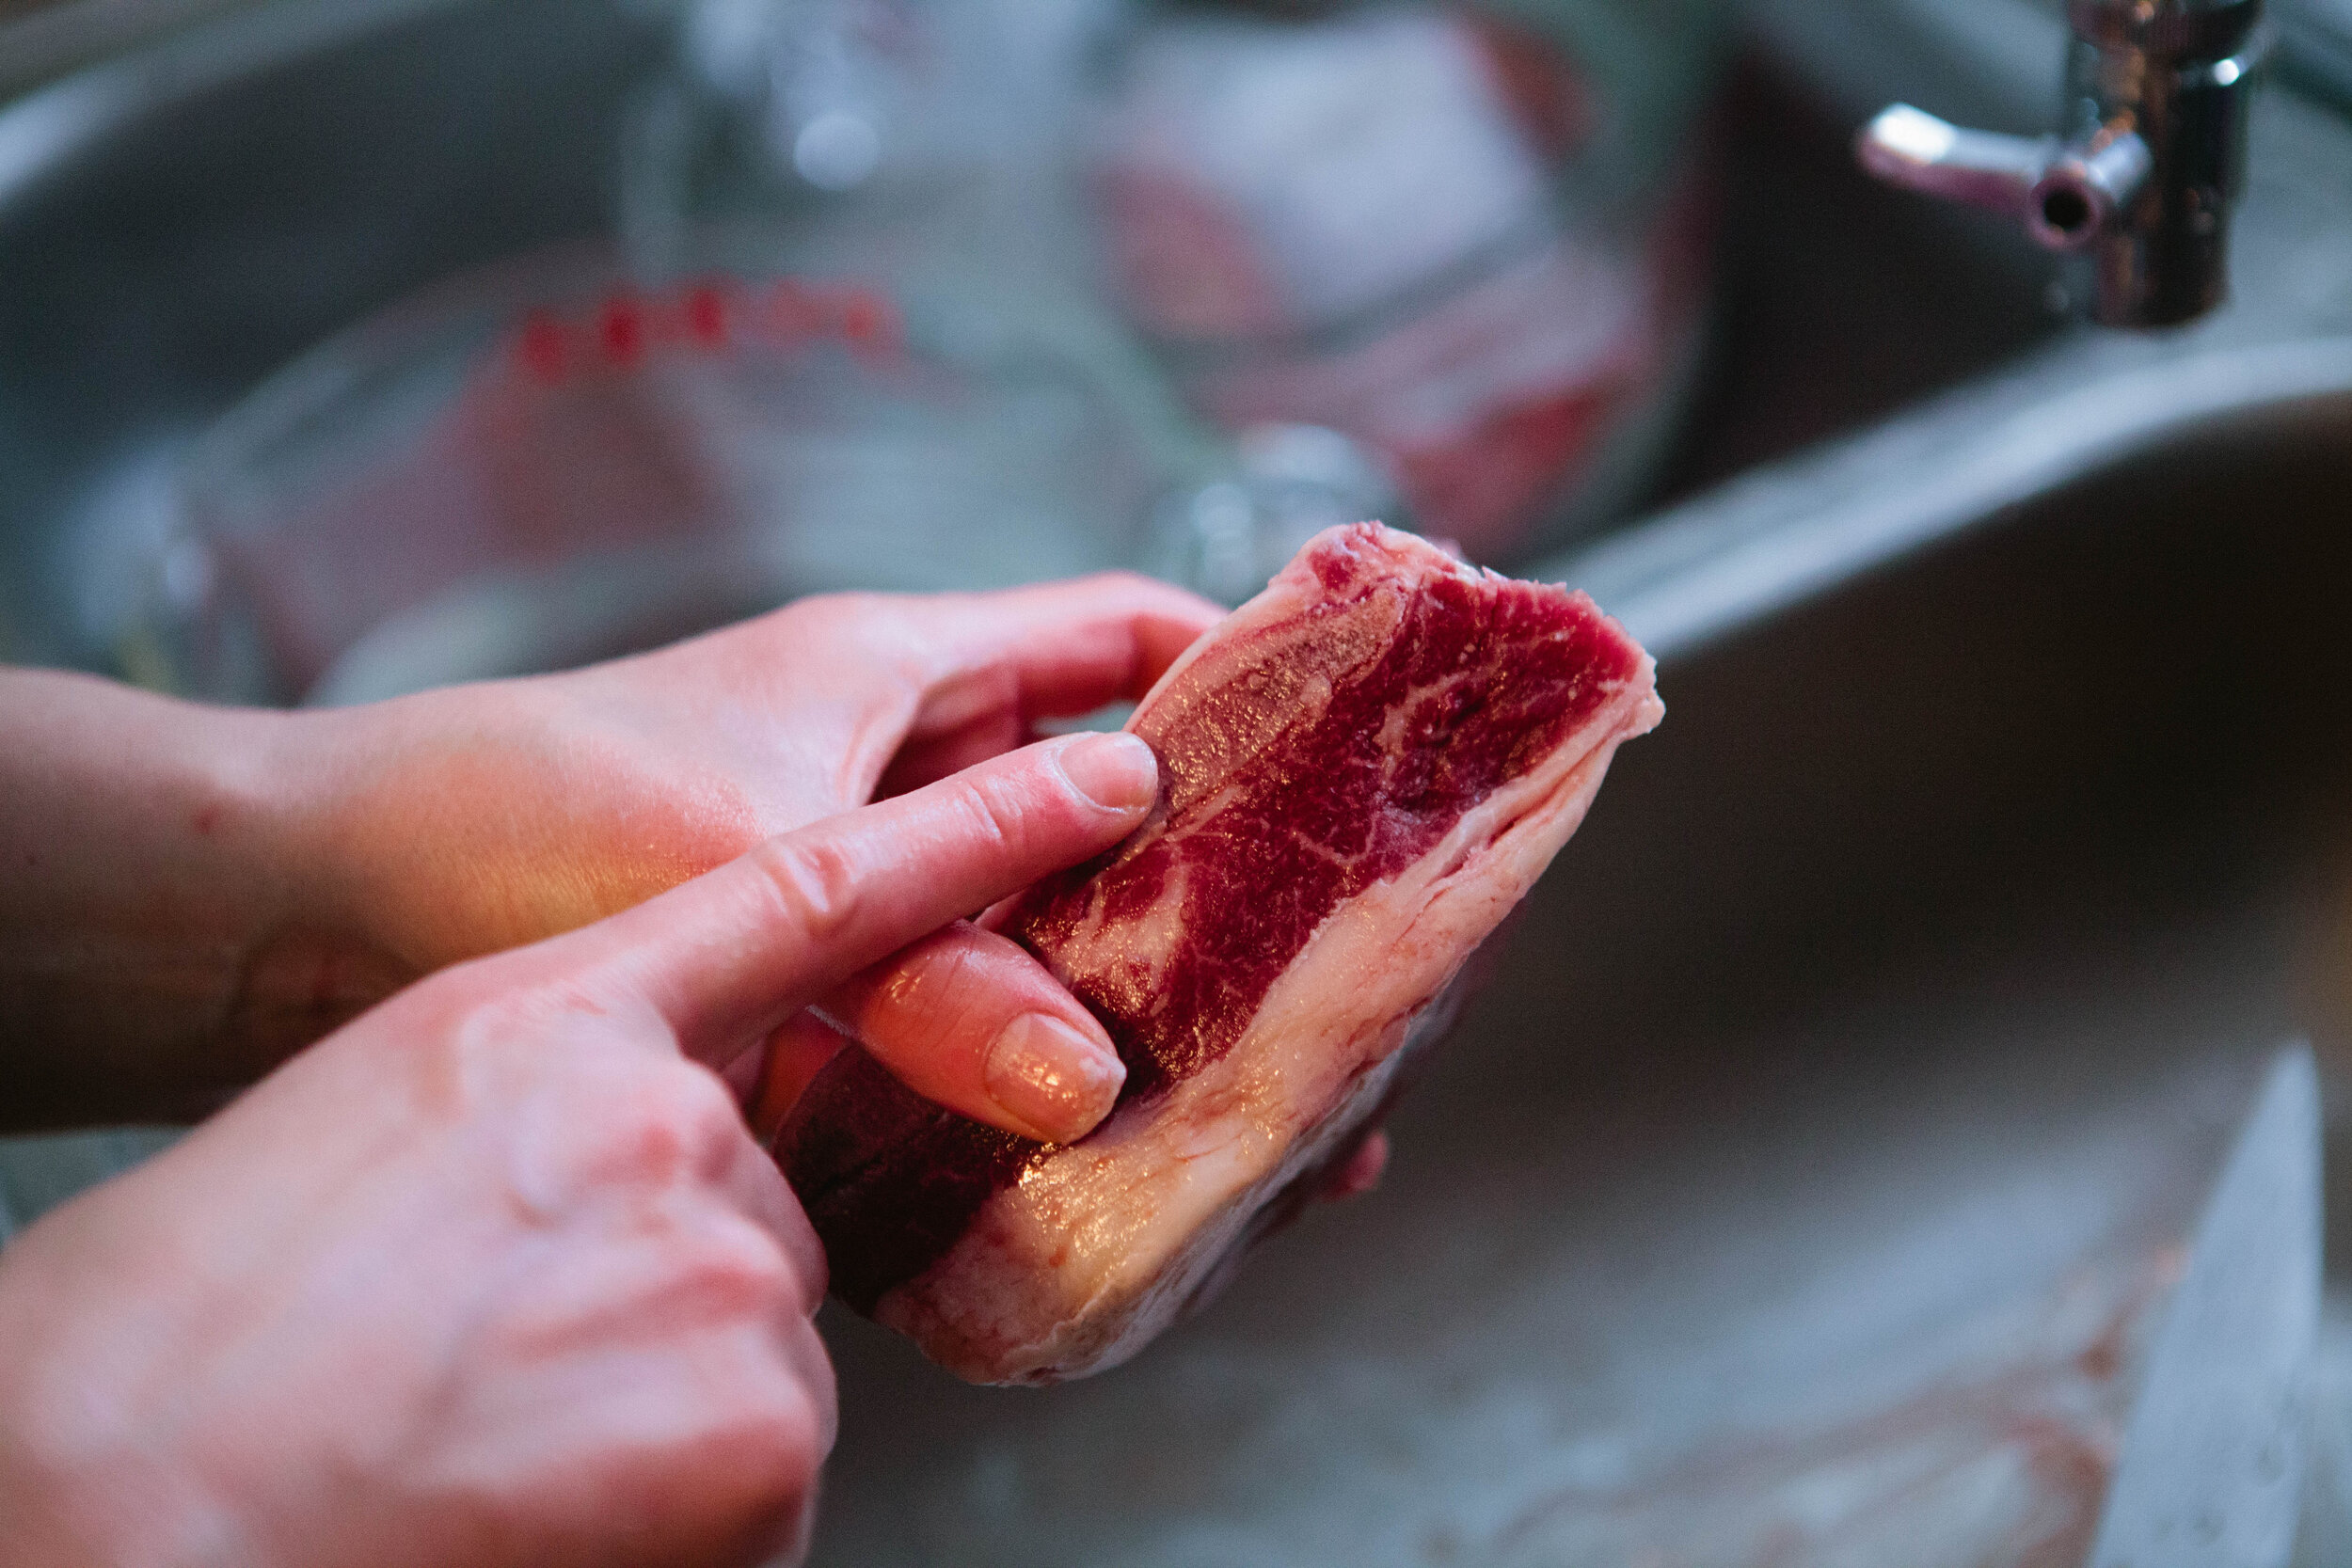
Beef. I am using 3 ½ lbs of beef short ribs. Whatever meat you use, remember it should be 80% meat and 20% bone with a joint. Depending on your cut, you might need to add additional meat to fulfill these ratios.
Small handful of peppercorns
2 Bay Leaves
Filtered Water
Directions for Beef Stock:

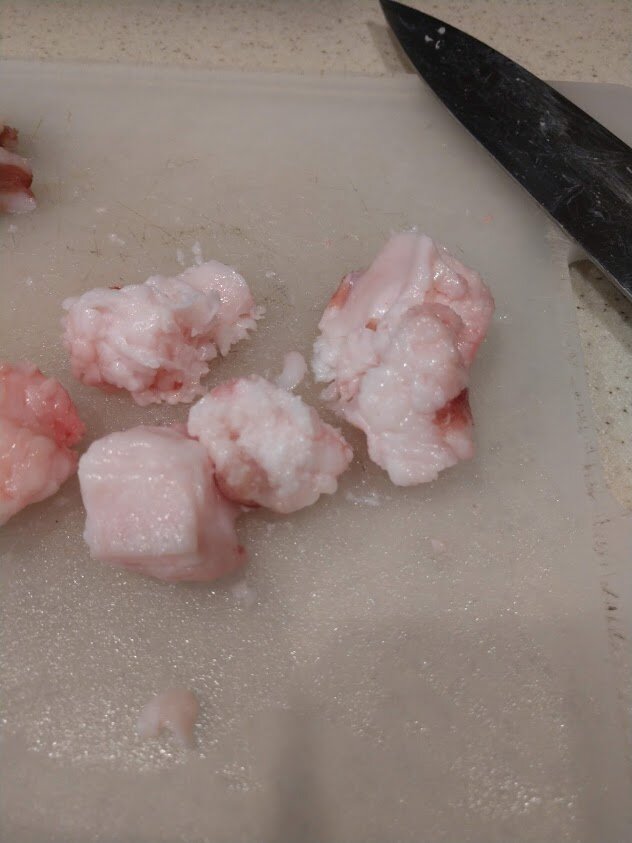
Cut your beef ribs apart so that each rib is separated.
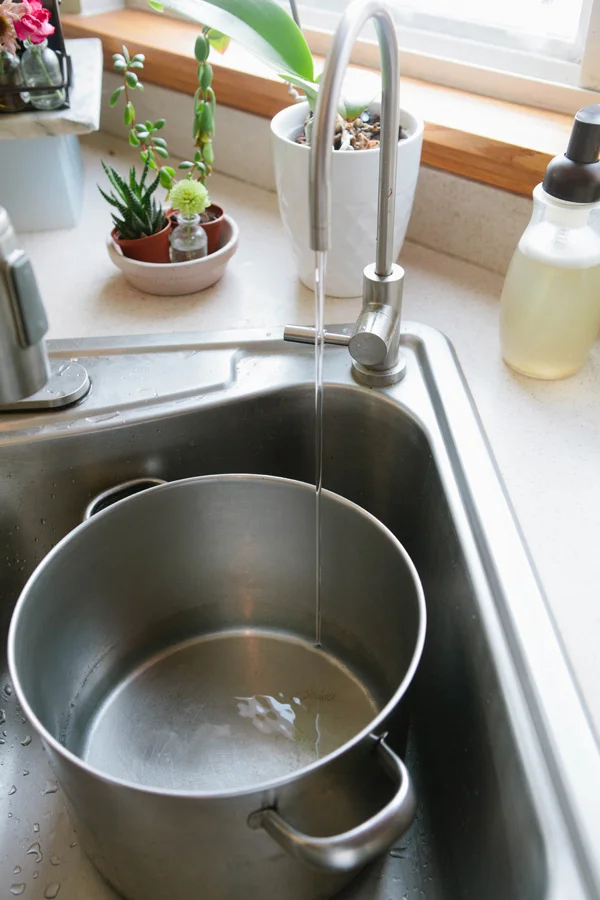
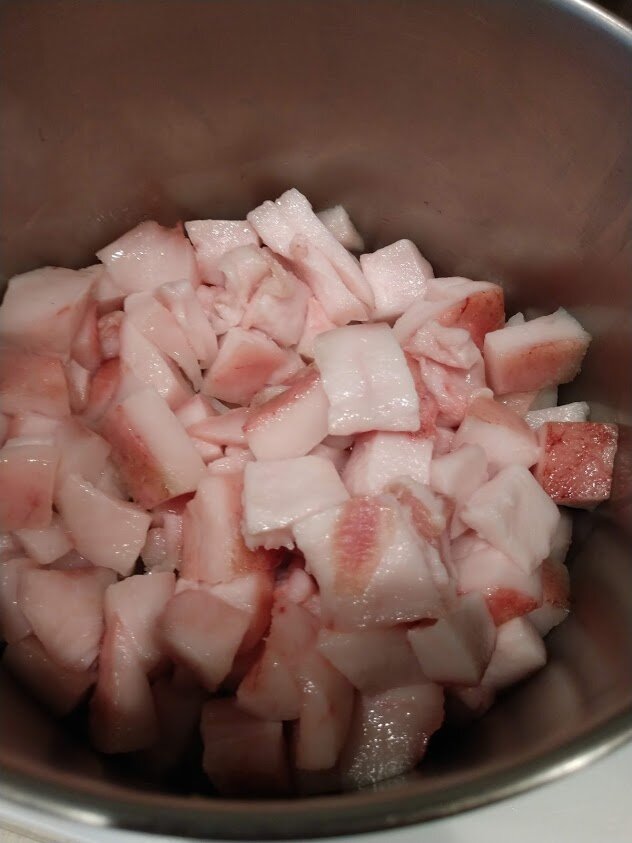
Add to a pot and fill with filtered water.

Add peppercorns whole and bay leaves to the pot.
If you are using dry herbs and are on Intro GAPS, pre-stage 4, put your herbs in a reusable herb or tea infuser or muslin pouch for easy removal. This is not necessary if you are using fresh herbs.
Turn pot up to high to bring to a boil. Skim the scum off the top of your pot.
Turn heat down lower to a simmer. Simmer beef stock for 3-5 hours.

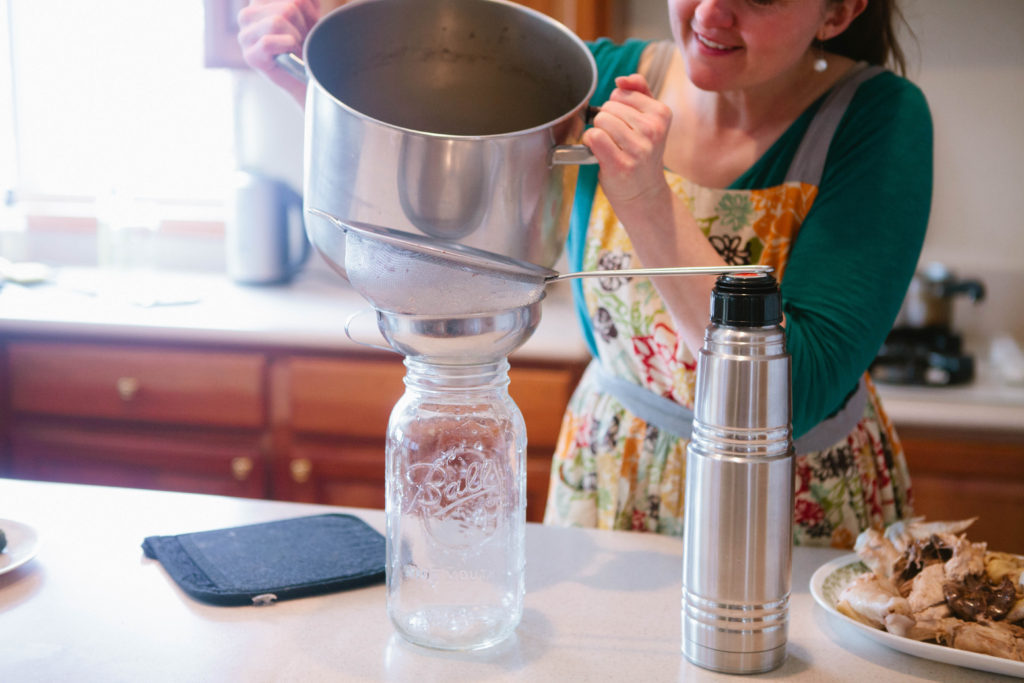
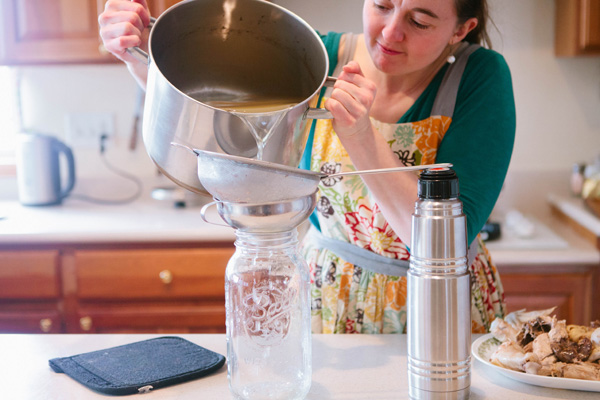
Strain the beef stock using a large mesh strainer and a funnel or large measuring cup with a lip.
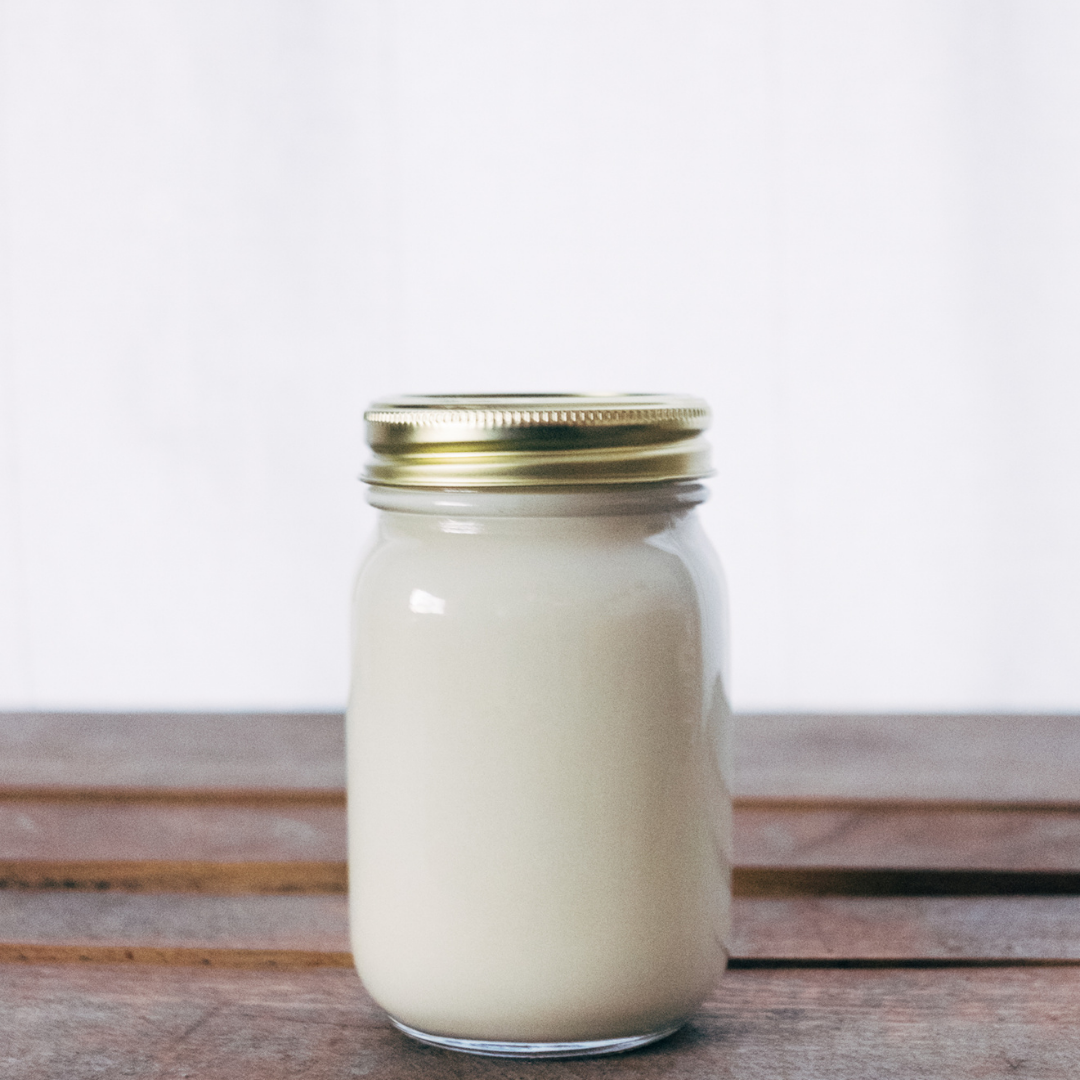
Place in jars or a large bowl and allow to cool completely before placing in the fridge or freezer.