


Chicken is such a versatile and easy to meat to cook! It’s a mild meat so it can be easily adapted to many different recipes and flavors.
Purchase the highest quality meat you can afford! For me, this means buying chickens directly from farmers whenever possible. If I buy a chicken from a store, I buy organic and antibiotic free. And make sure you get the organs whenever possible! If you have the space, time and allowance from your city, consider raising your own chickens. I loved raising chickens, both for the fresh eggs and the delicious meat. I knew exactly where my food was coming from - and everything that had gone into it!
To help your budget, make sure you’re using as much of your chicken as possible. Chicken feet and gizzards can be added to stocks. The skin and joint cartilage can be blended in a stock. Liver can be made into pate. And the chicken heart is my favorite treat!
Below are some of my favorite recipes for chicken!

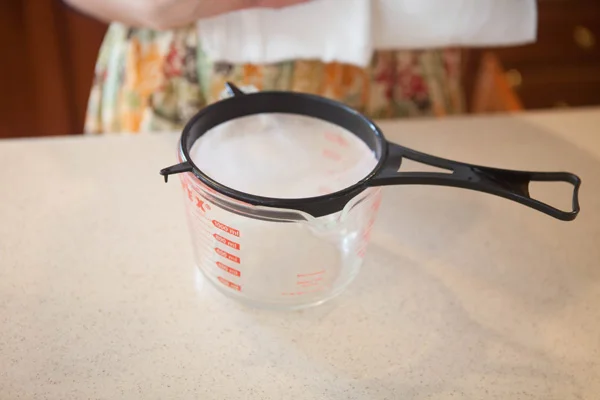
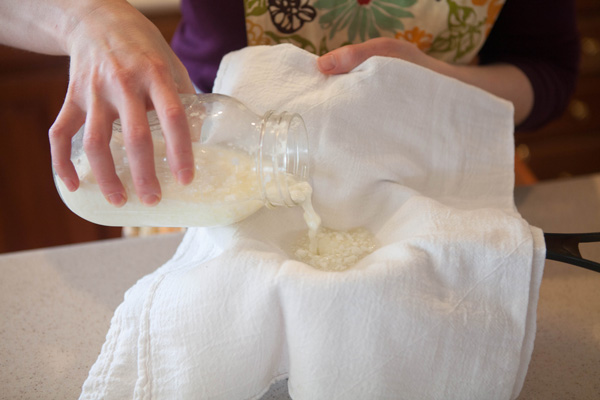
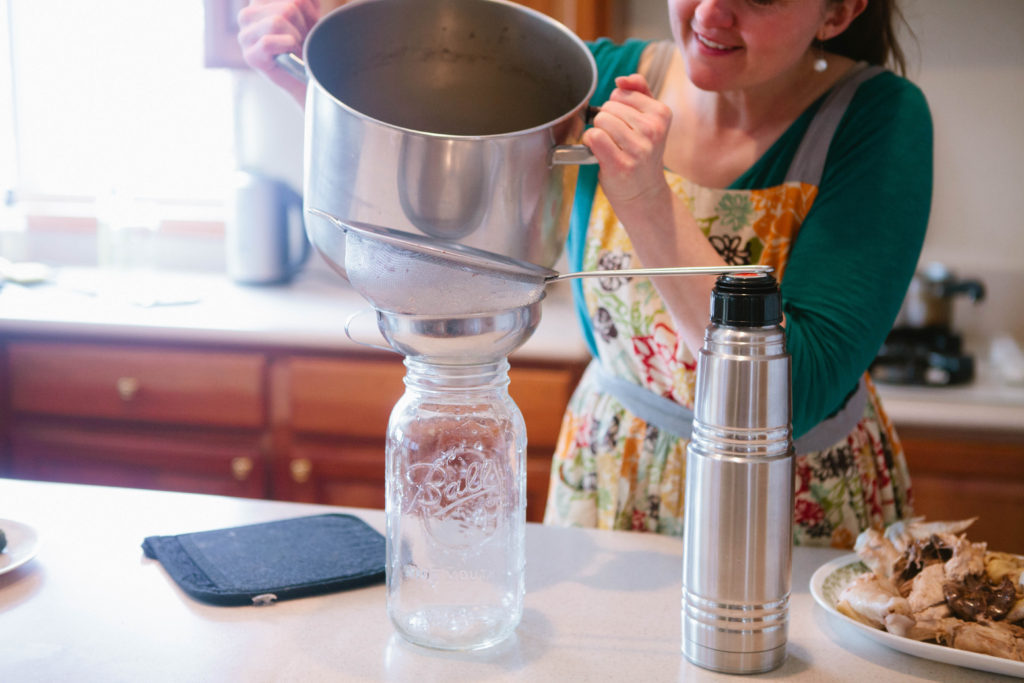
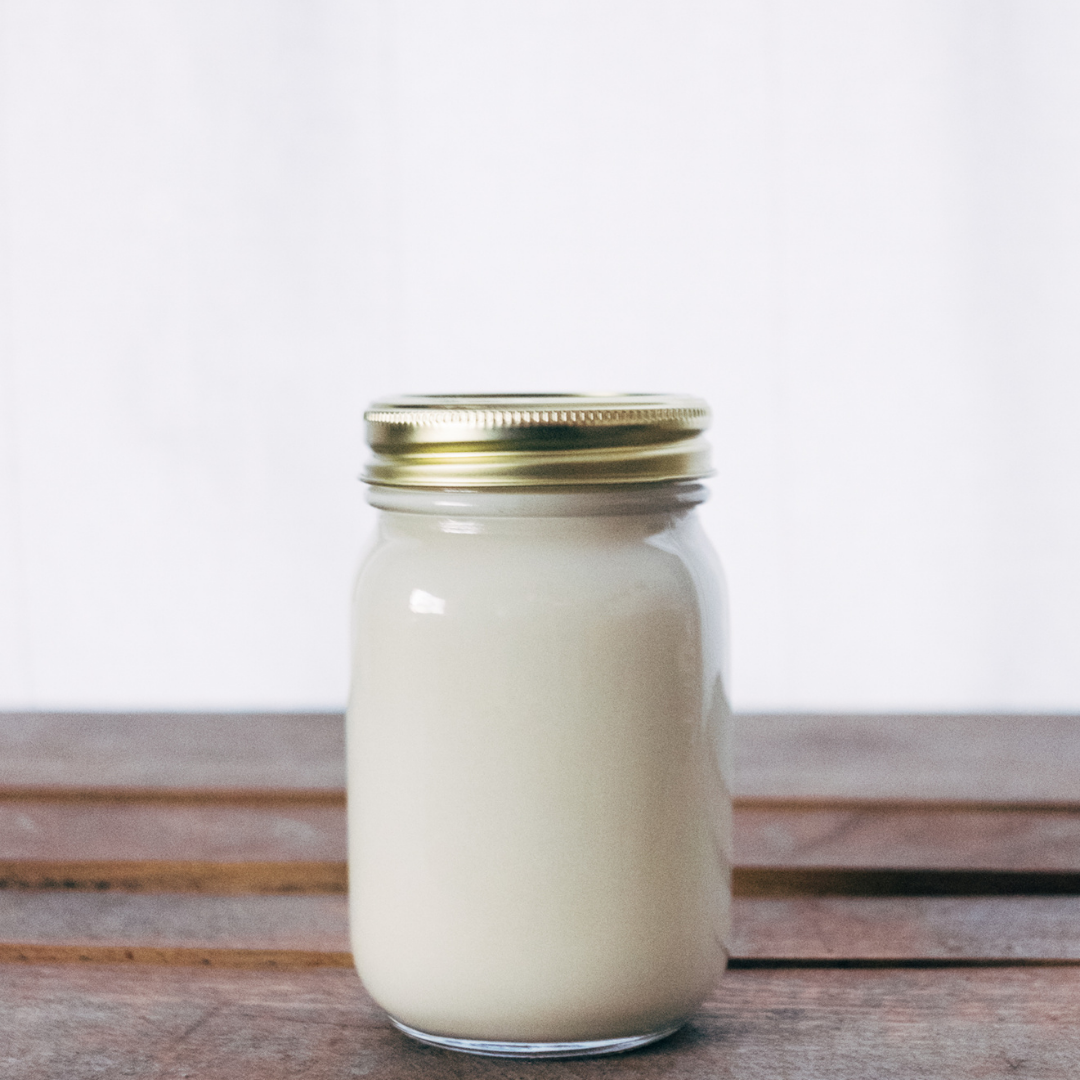
Chicken Stock
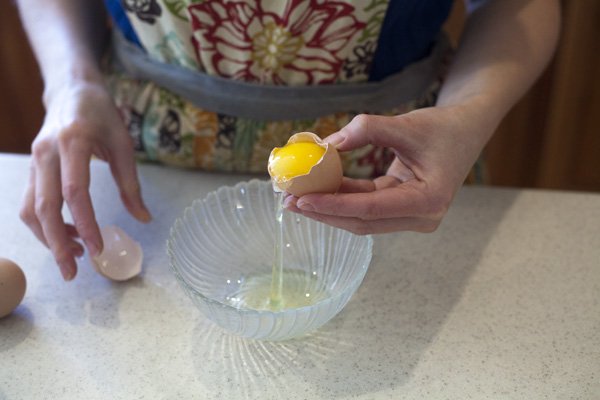
Meat stock can be made into a soup or simply drunk on its own as a hot beverage with a meal. You can also poach a couple eggs in your stock for a rich breakfast. Stock can also be used to cook rice or other soaked grains to increase their digestibility and nutritional content. In short, this should be considered a staple to have in your kitchen at all times, either in the fridge or the freezer.
Gluten Free, Dairy Free, Egg Free
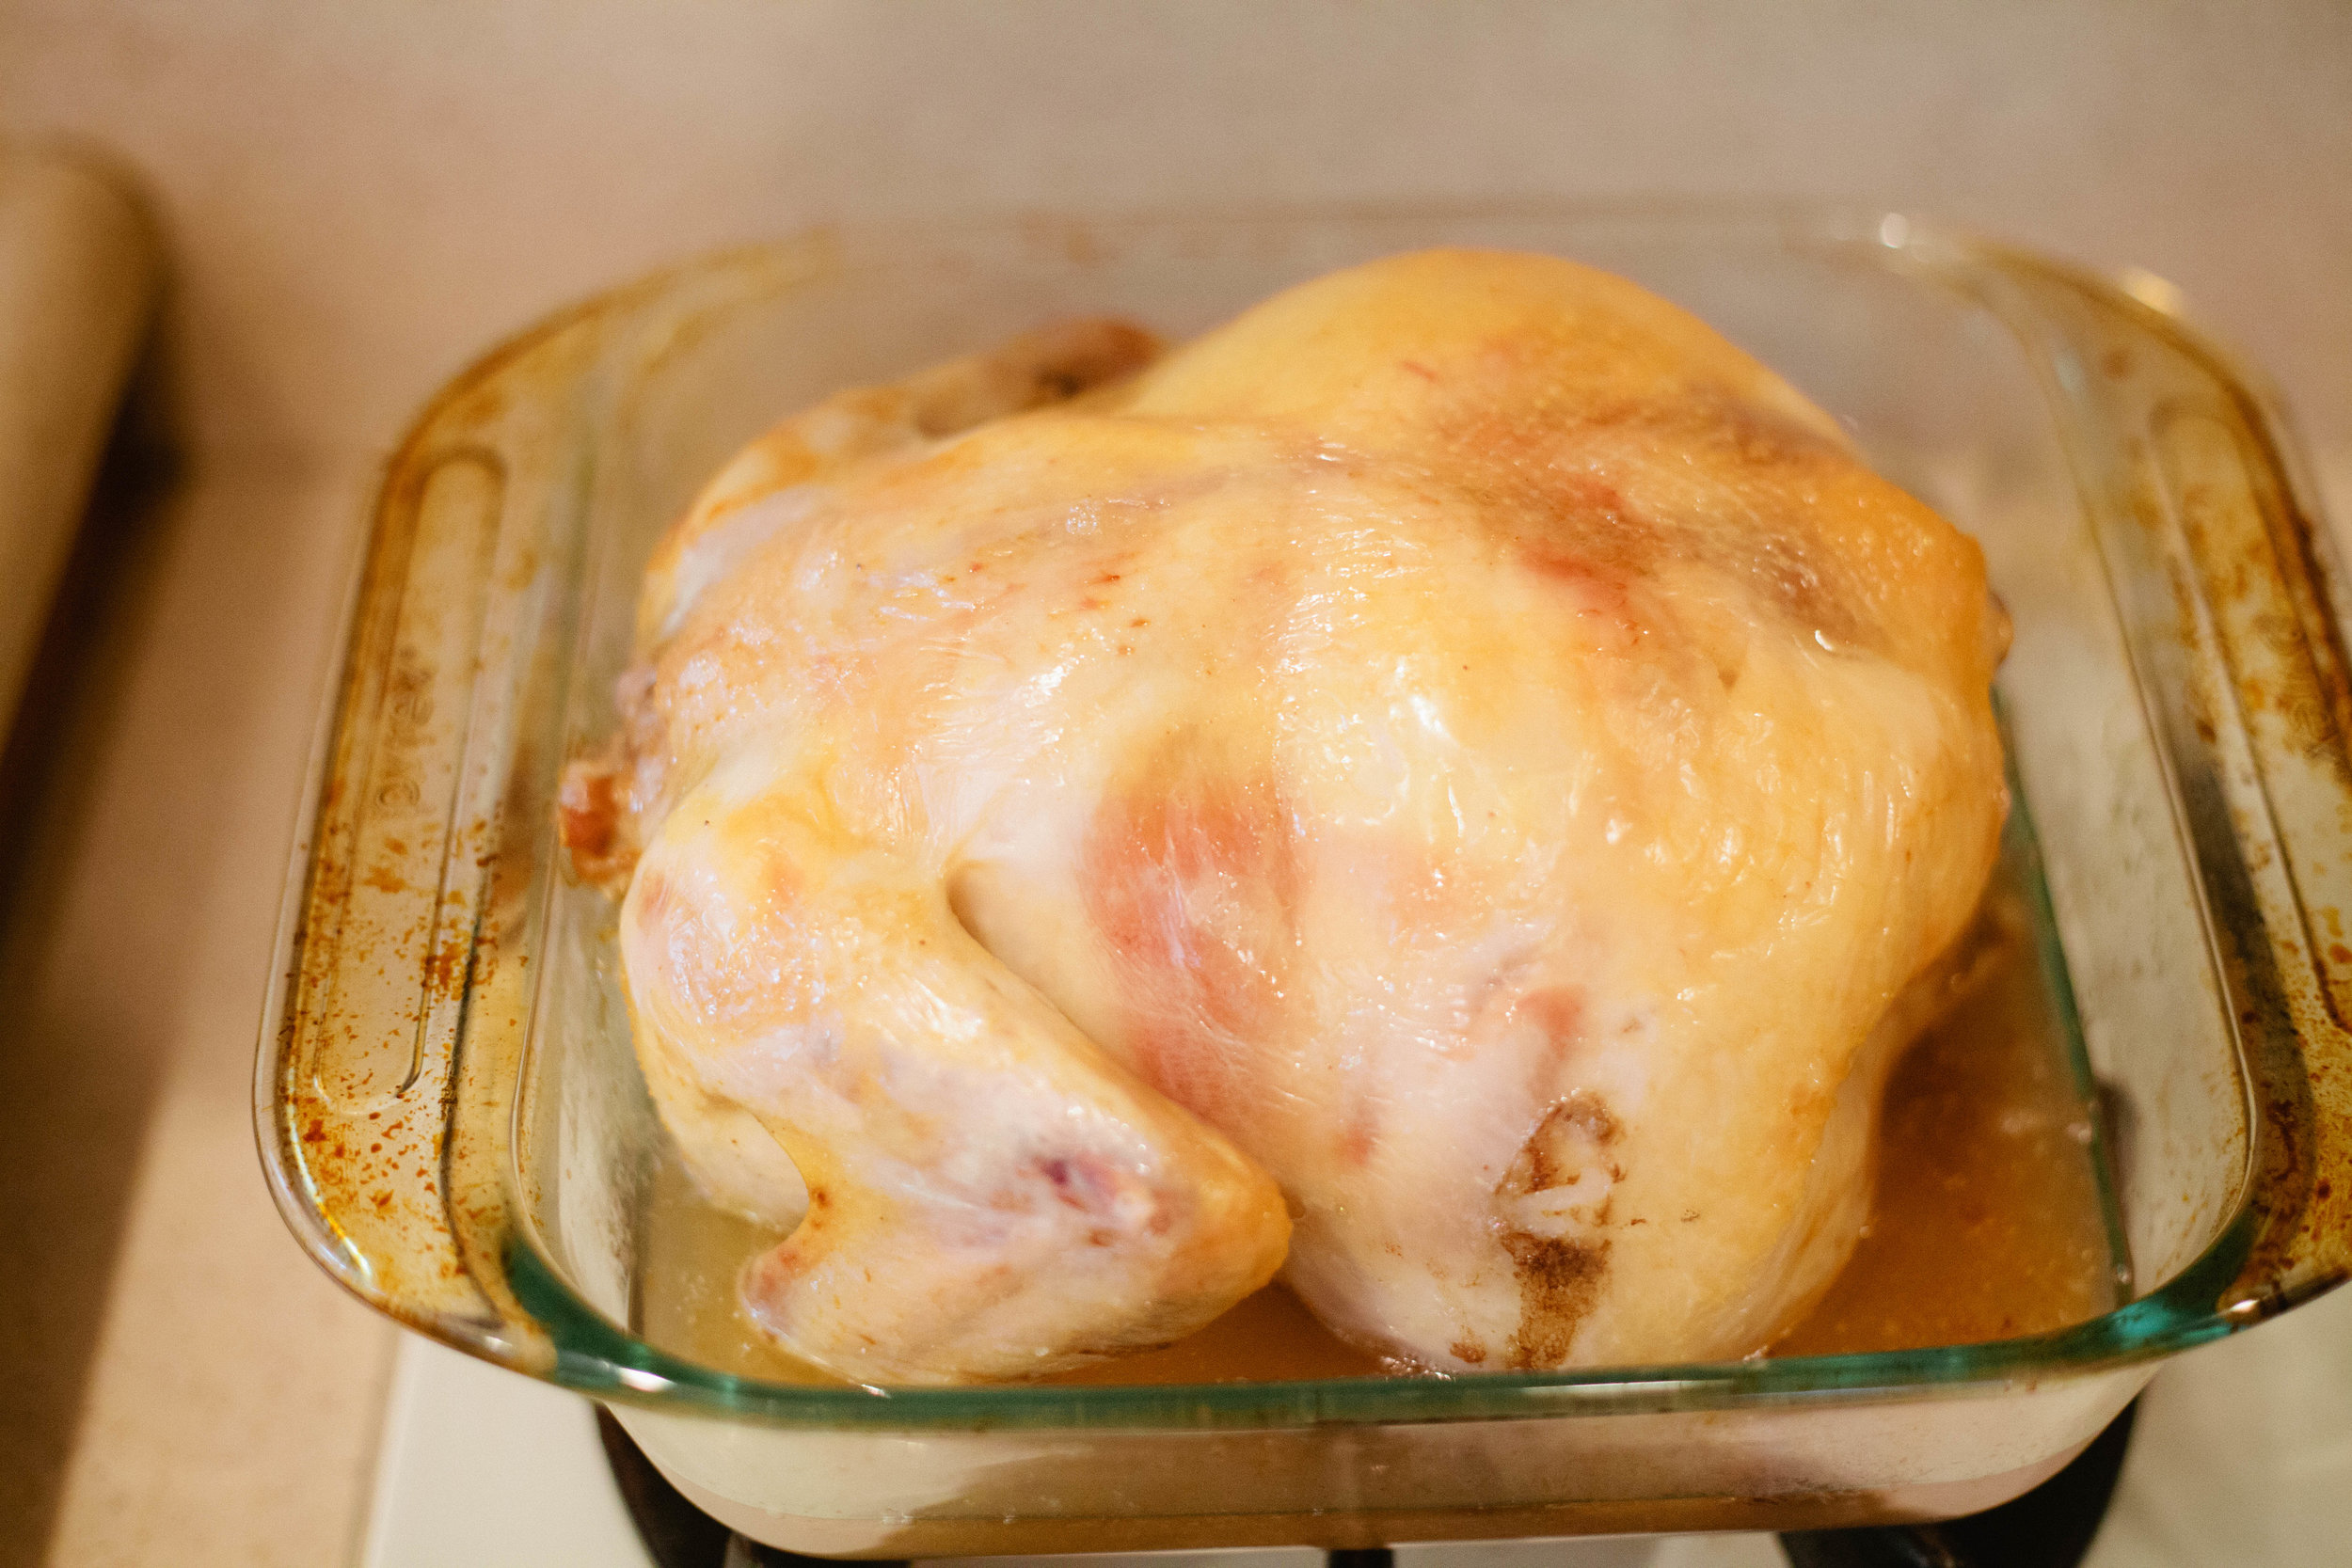
Whole Roasted Chicken with Salt
This is a very simple recipe that makes a whole, juicy roasted chicken. It takes just two simple ingredients and is a very hands off recipe.
Gluten Free, Dairy Free, Egg Free

Honey Roasted Chicken
Roasting a chicken is a great and simple way to make a meal. This particular roasting recipe requires a little more attention than others, as you need to baste and adjust the temperature often, but it's definitely worth it!
Gluten Free, Dairy Free, Egg Free

Chicken Tortilla Soup
This is a good GAPS soup because of all of the sour cream. It wasn't too spicy, and it's different than plain meat stock that you typically eat on Stage 1. There are many different ways to make it, so it's also easy to switch up to match your tastes.
Gluten Free, Dairy Free, Egg Free
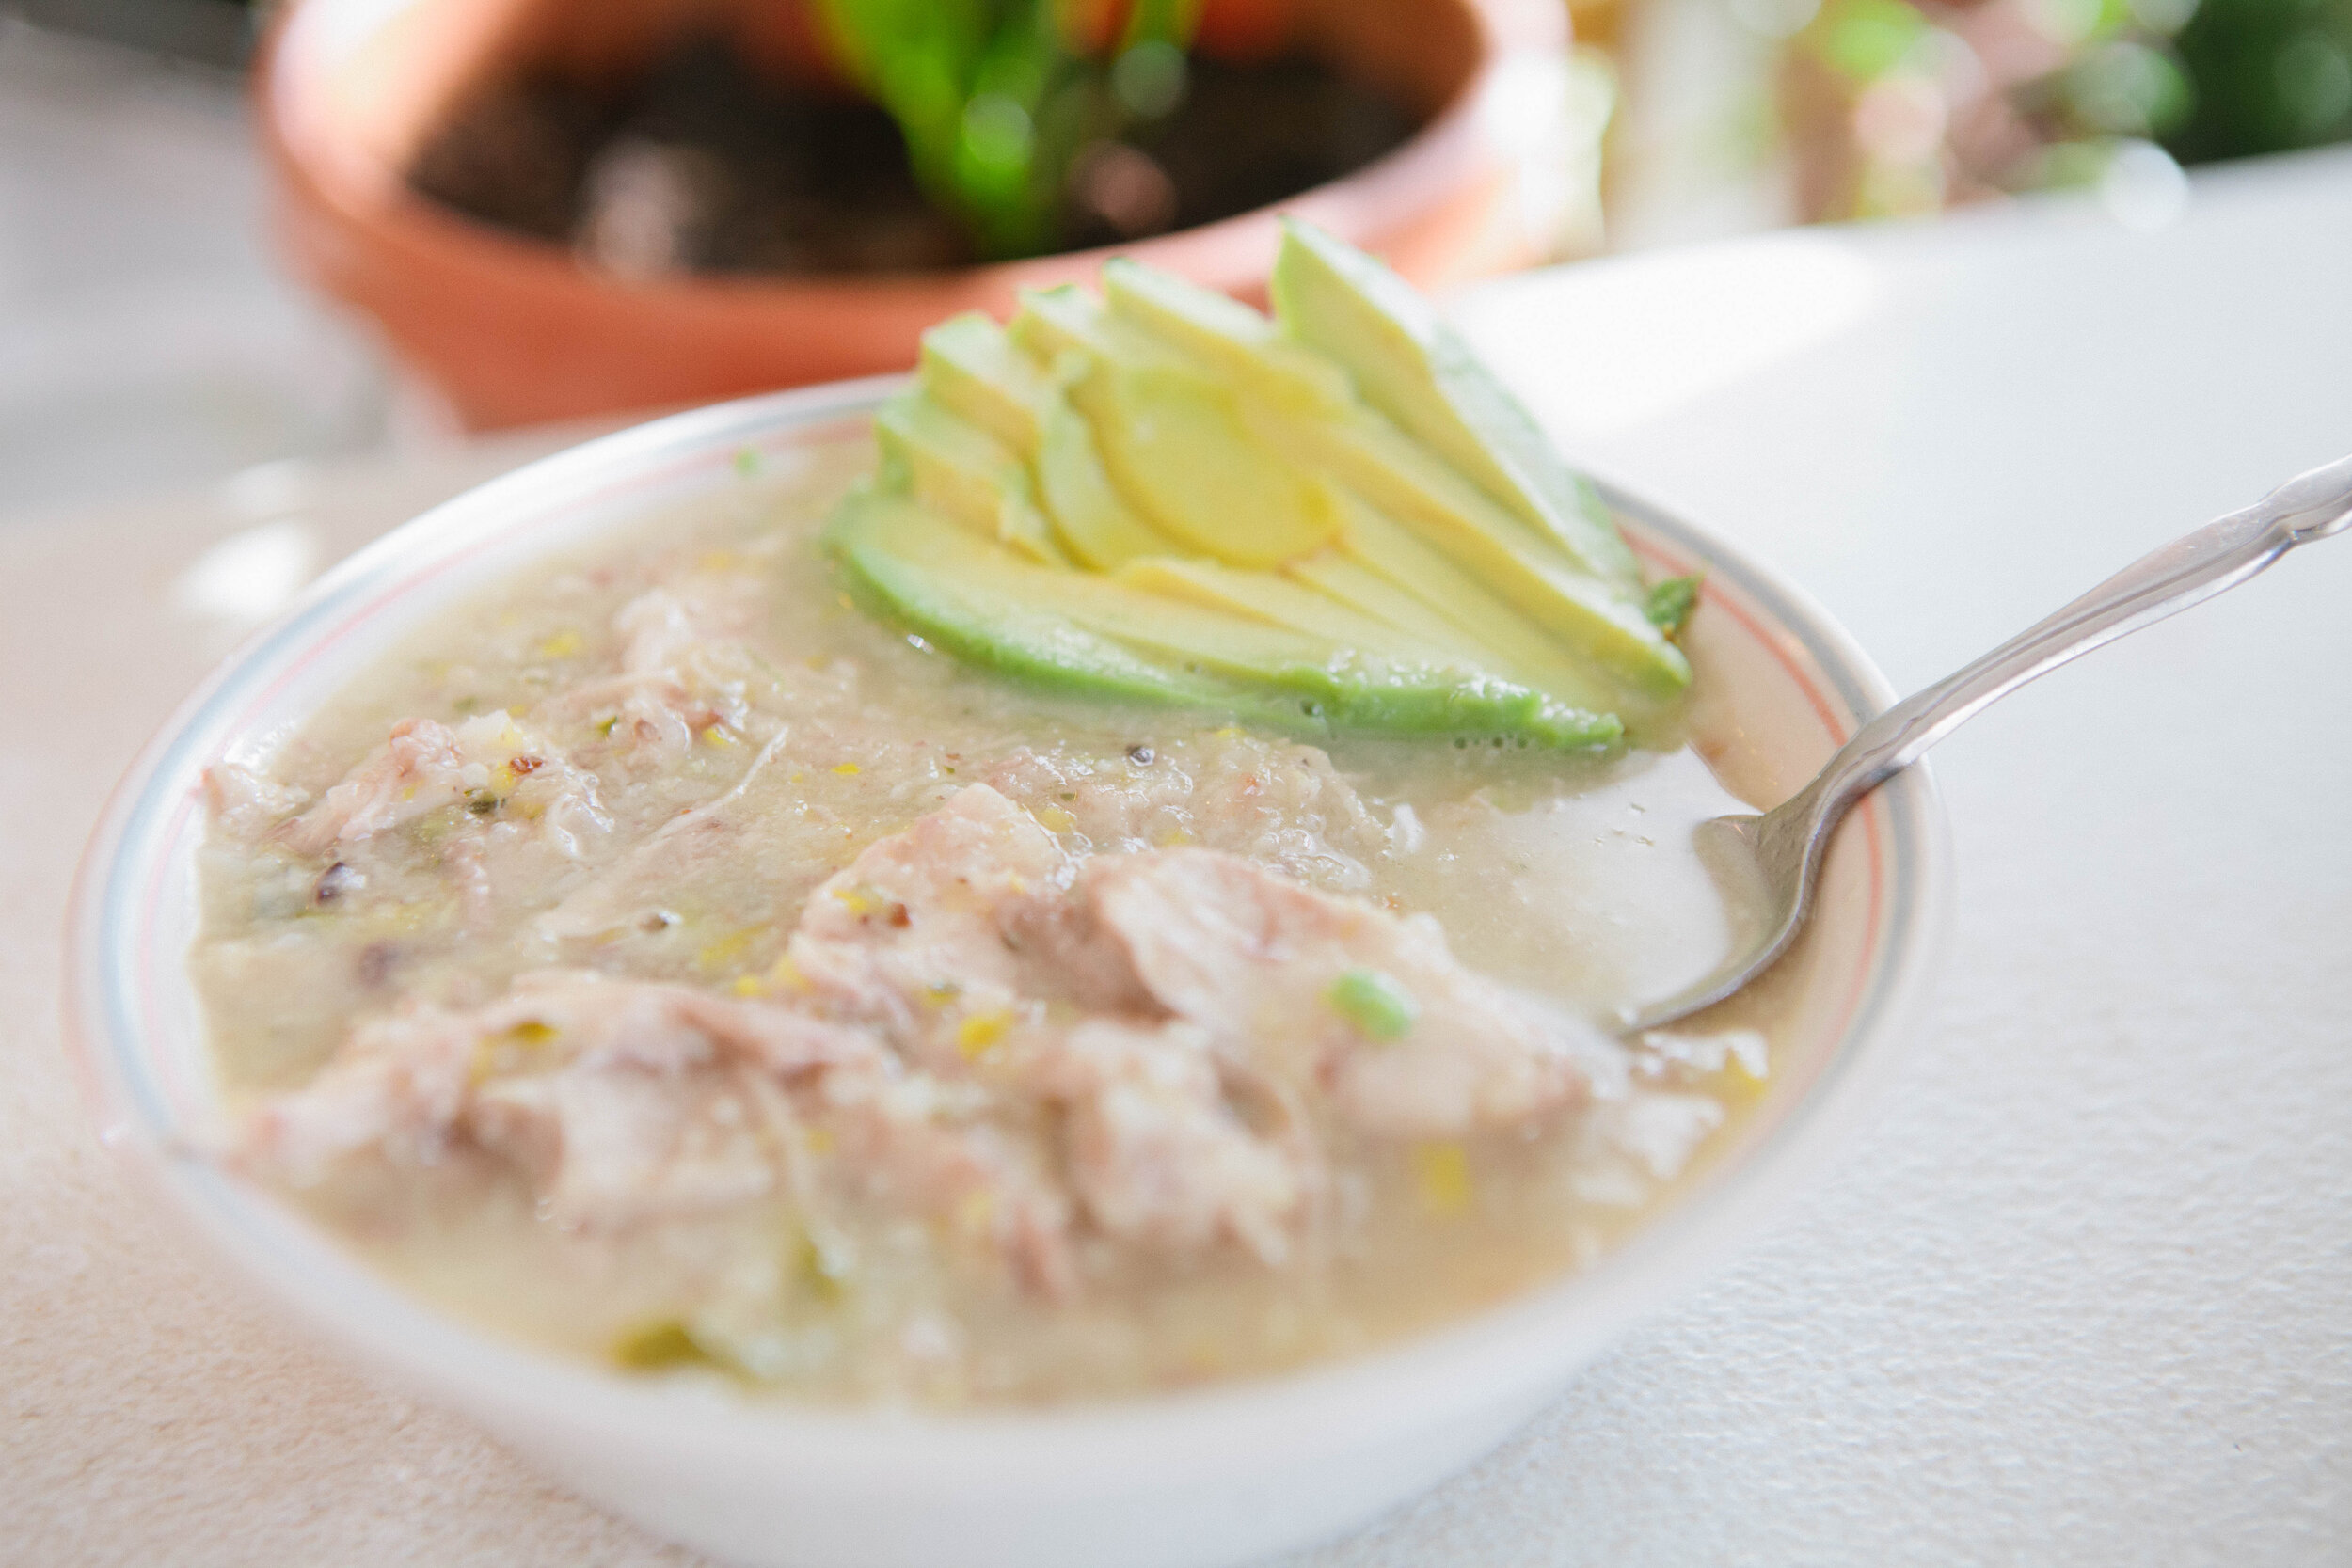

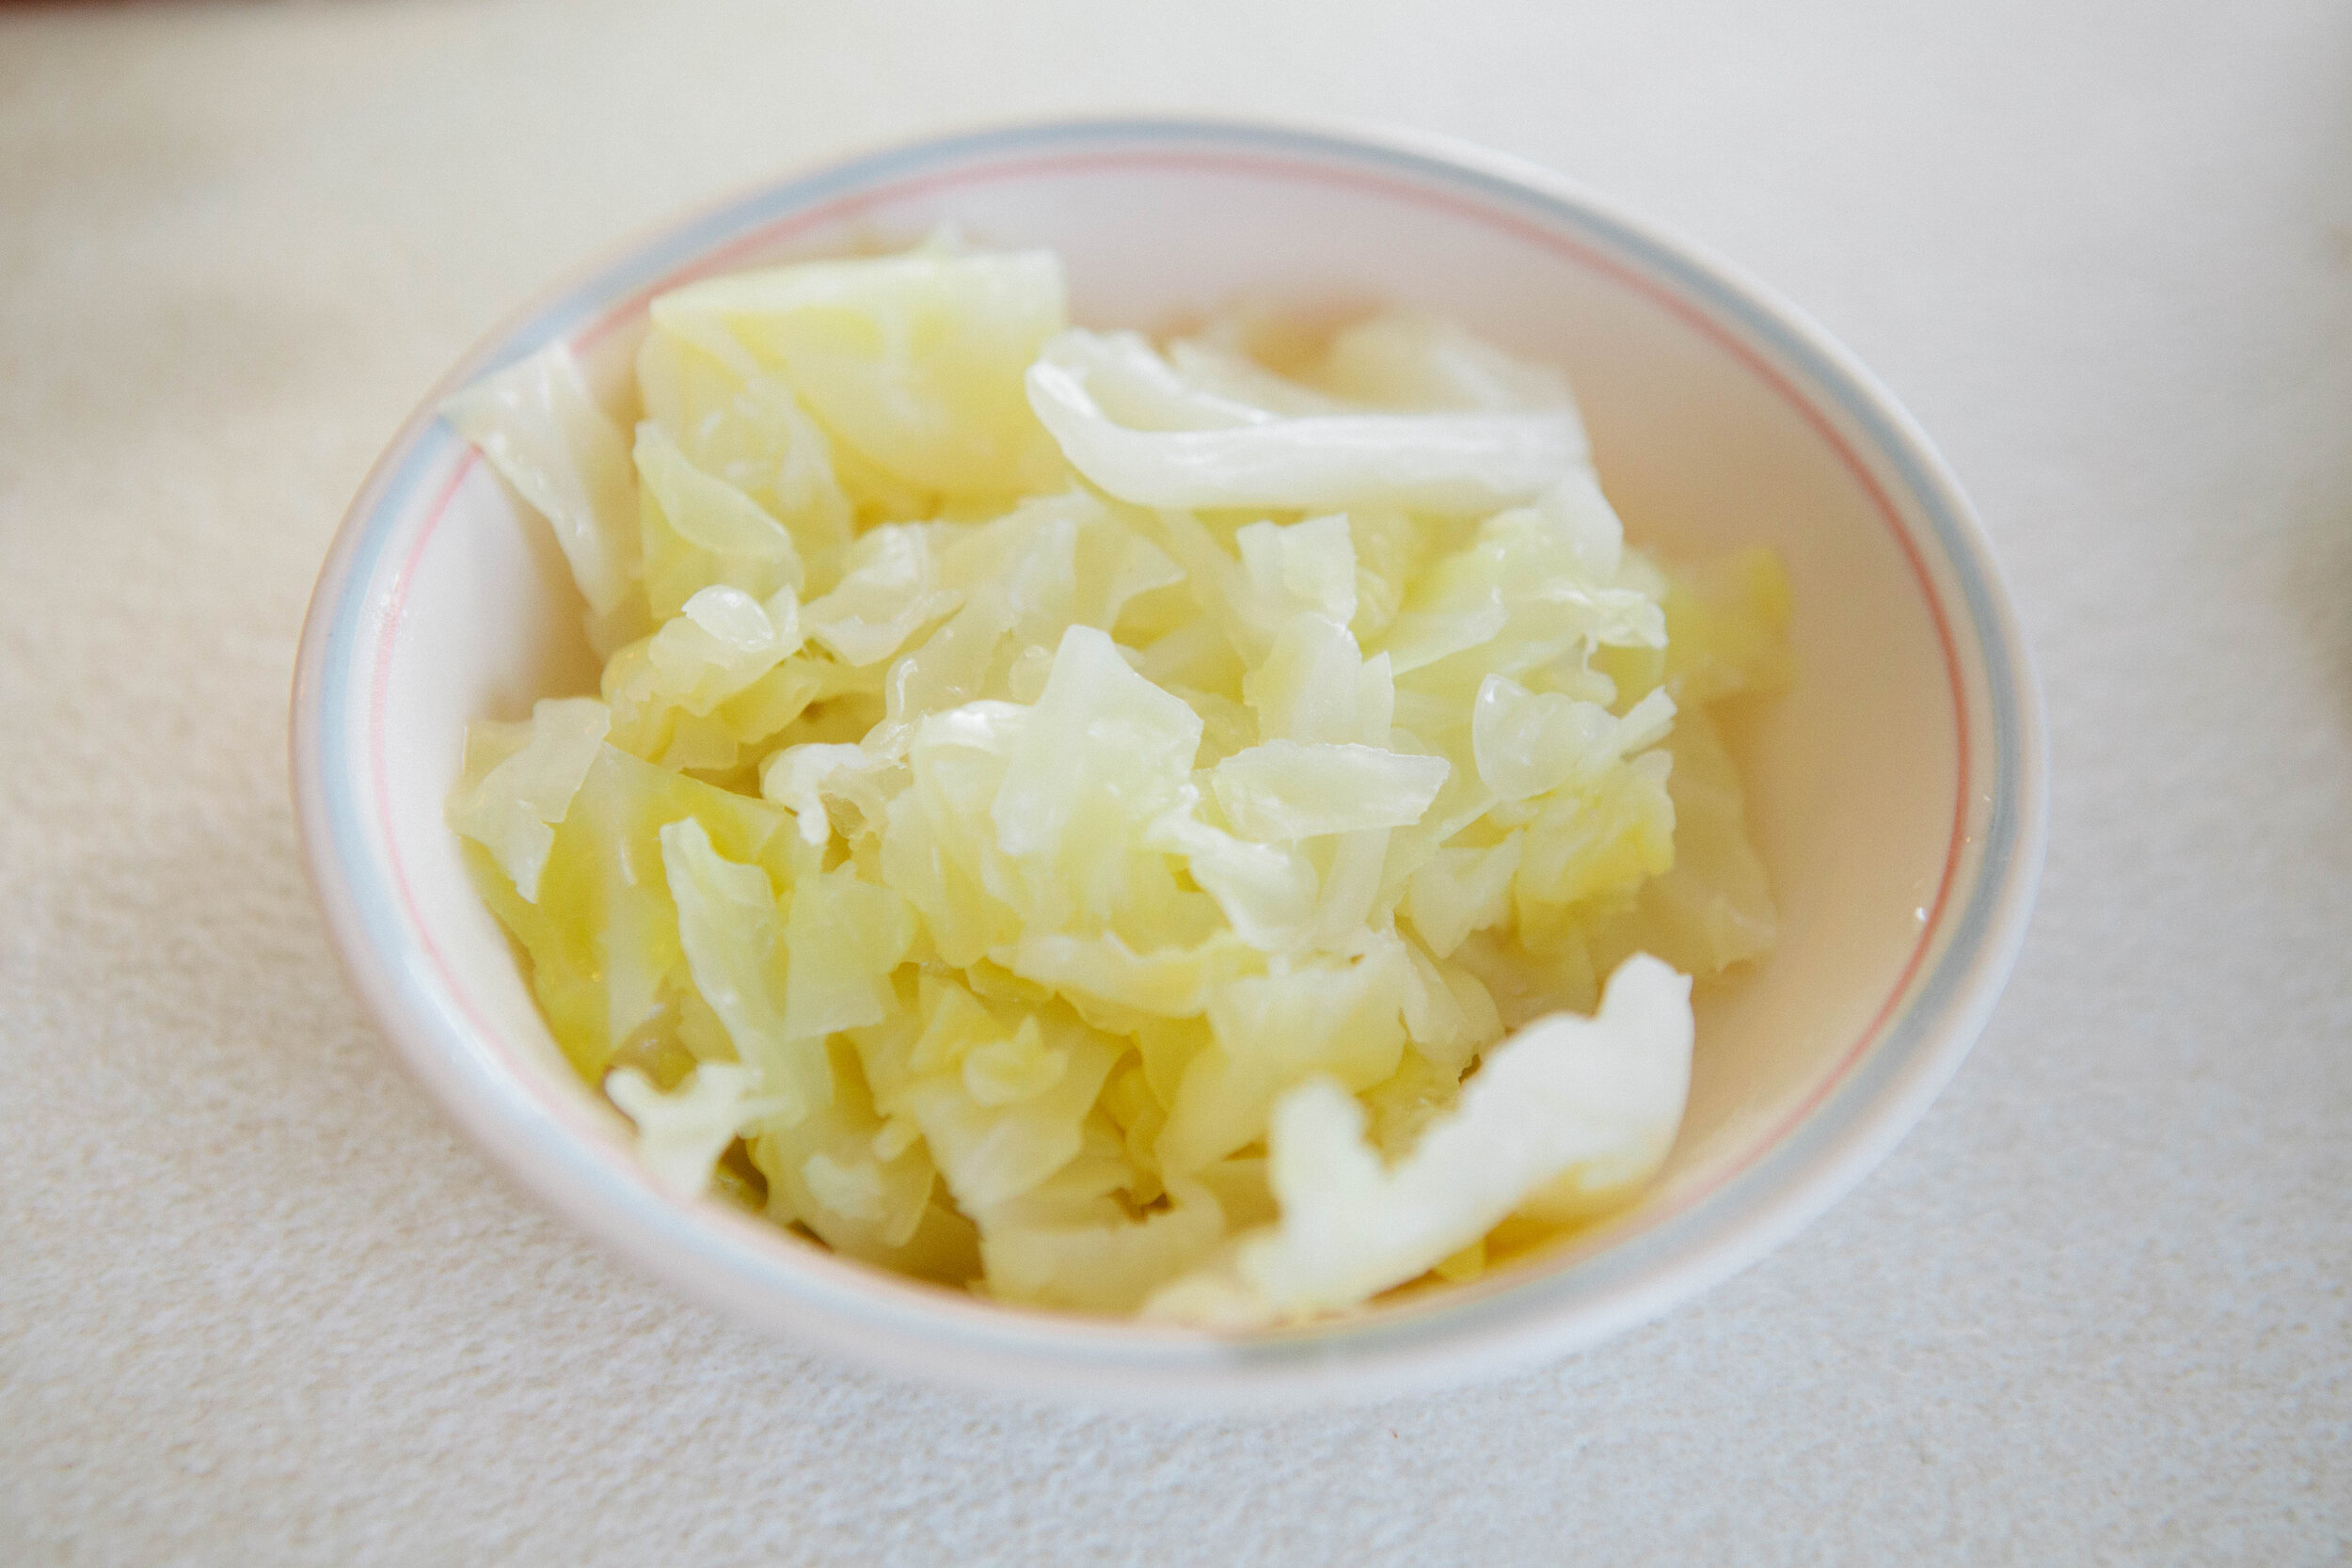
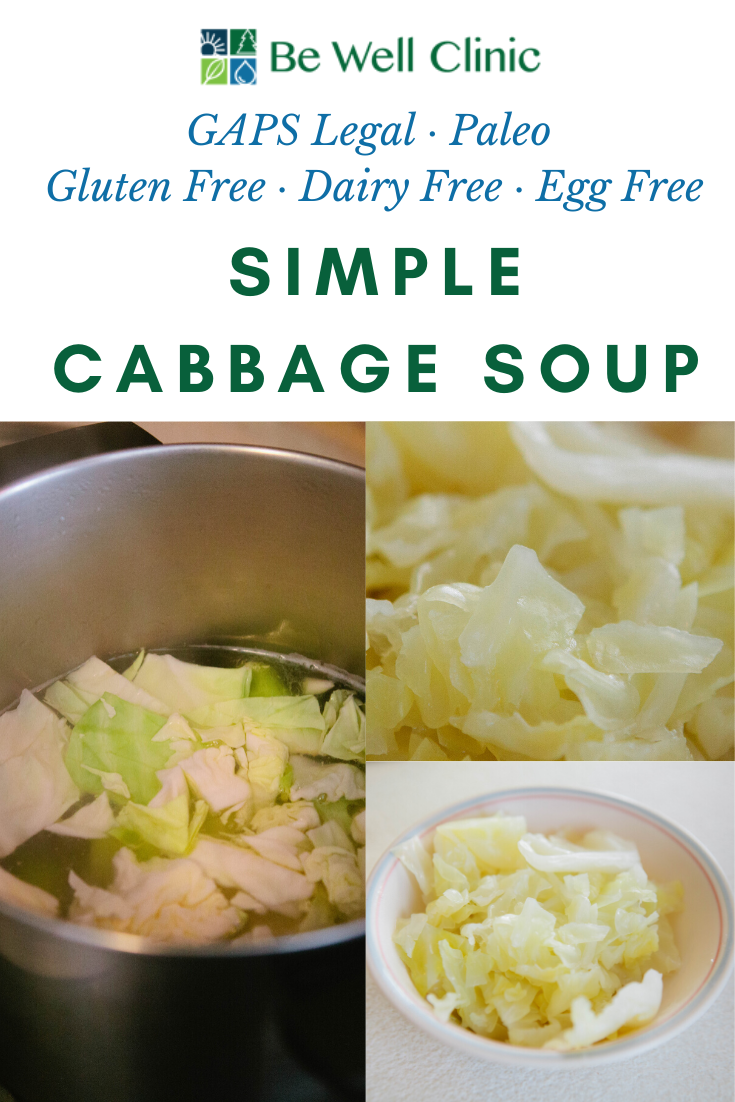
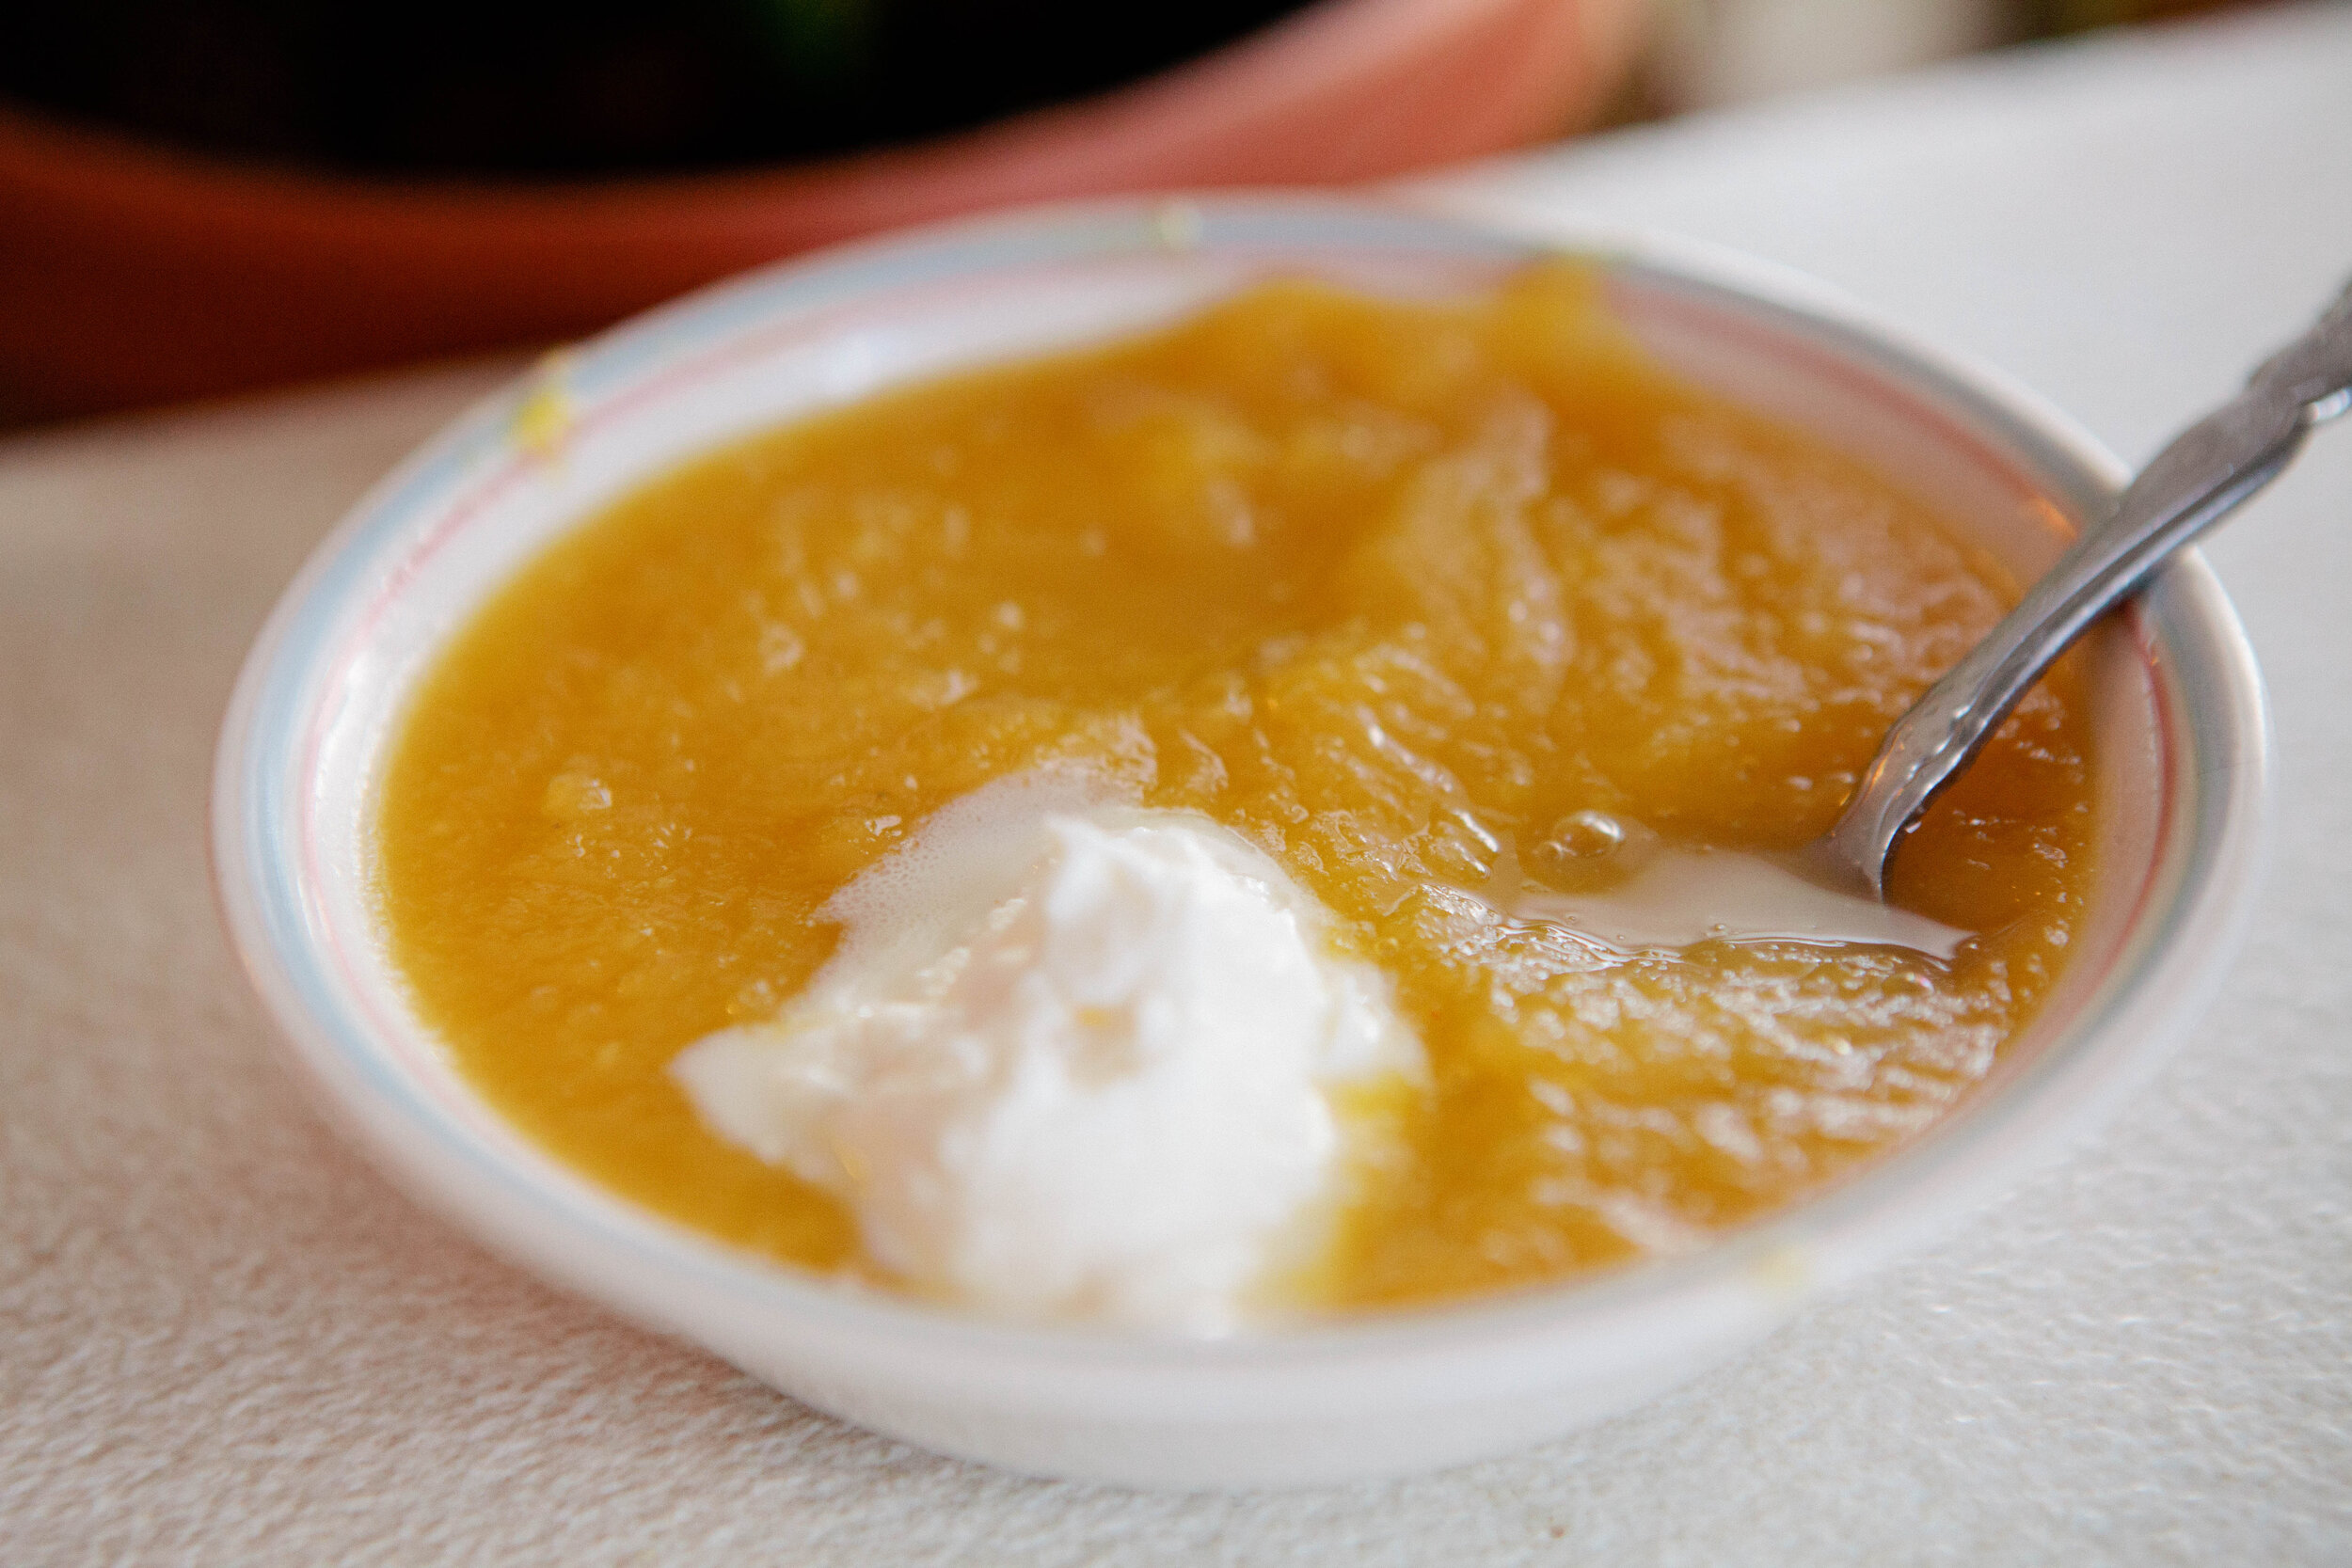
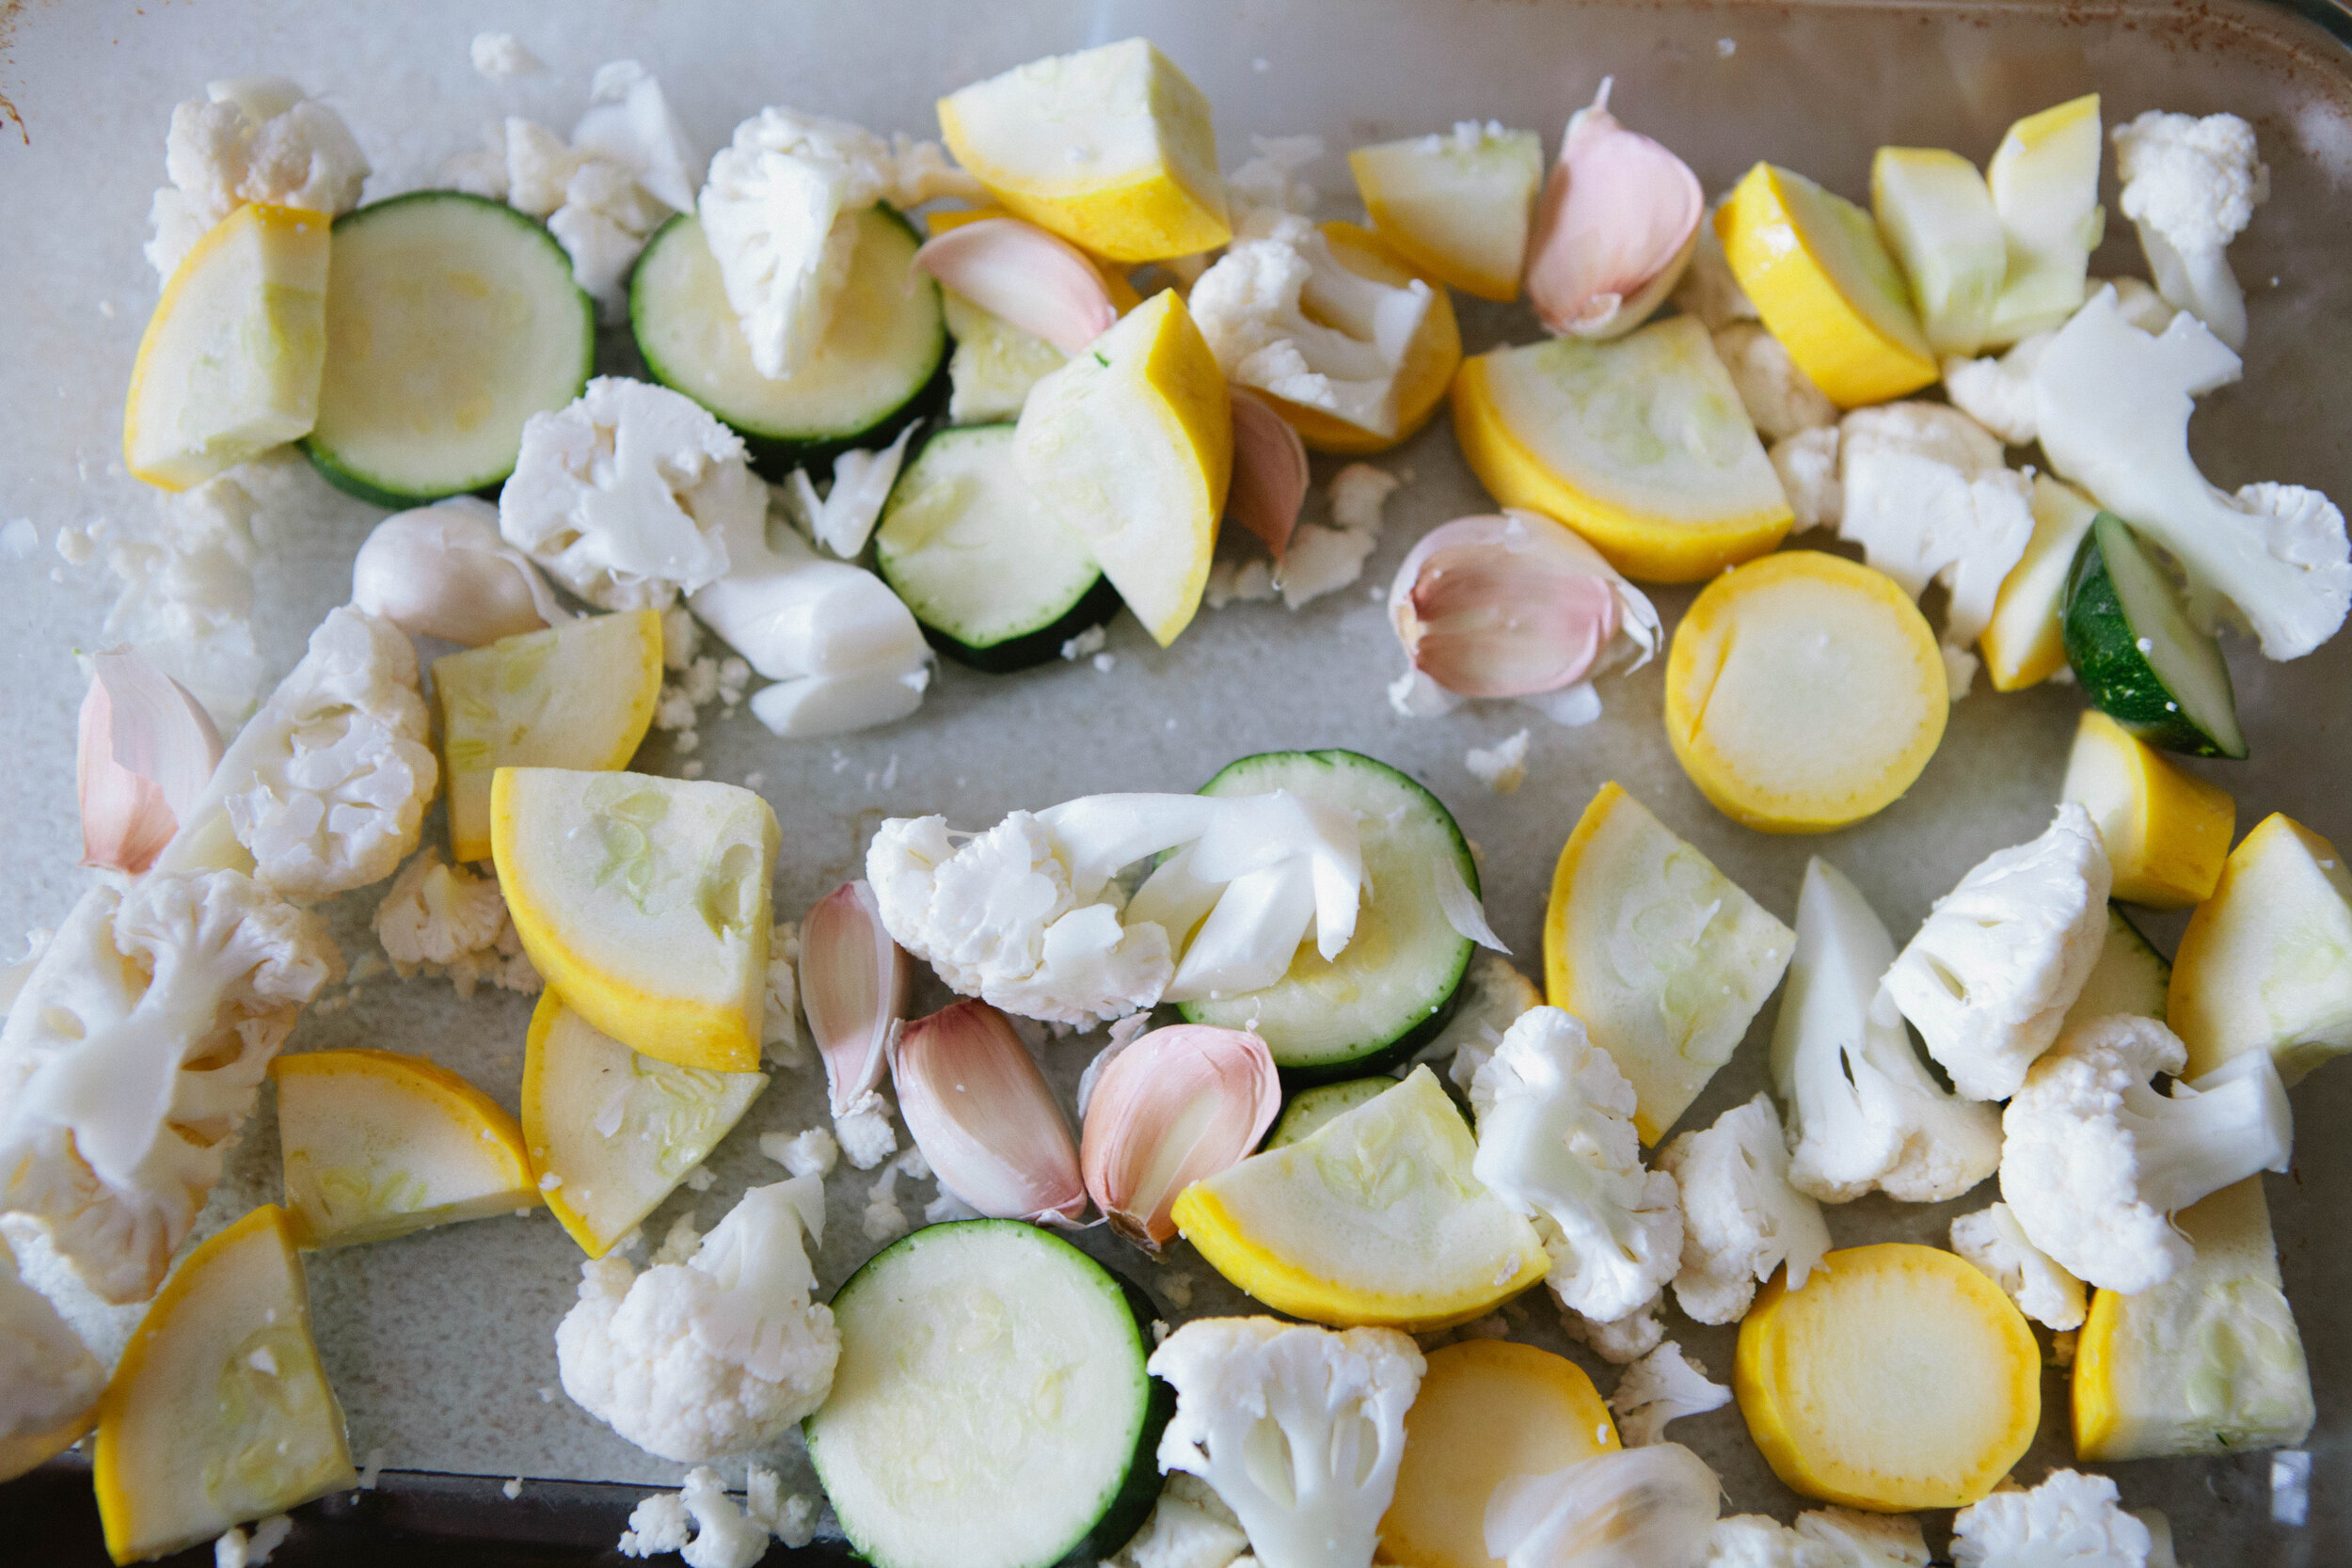
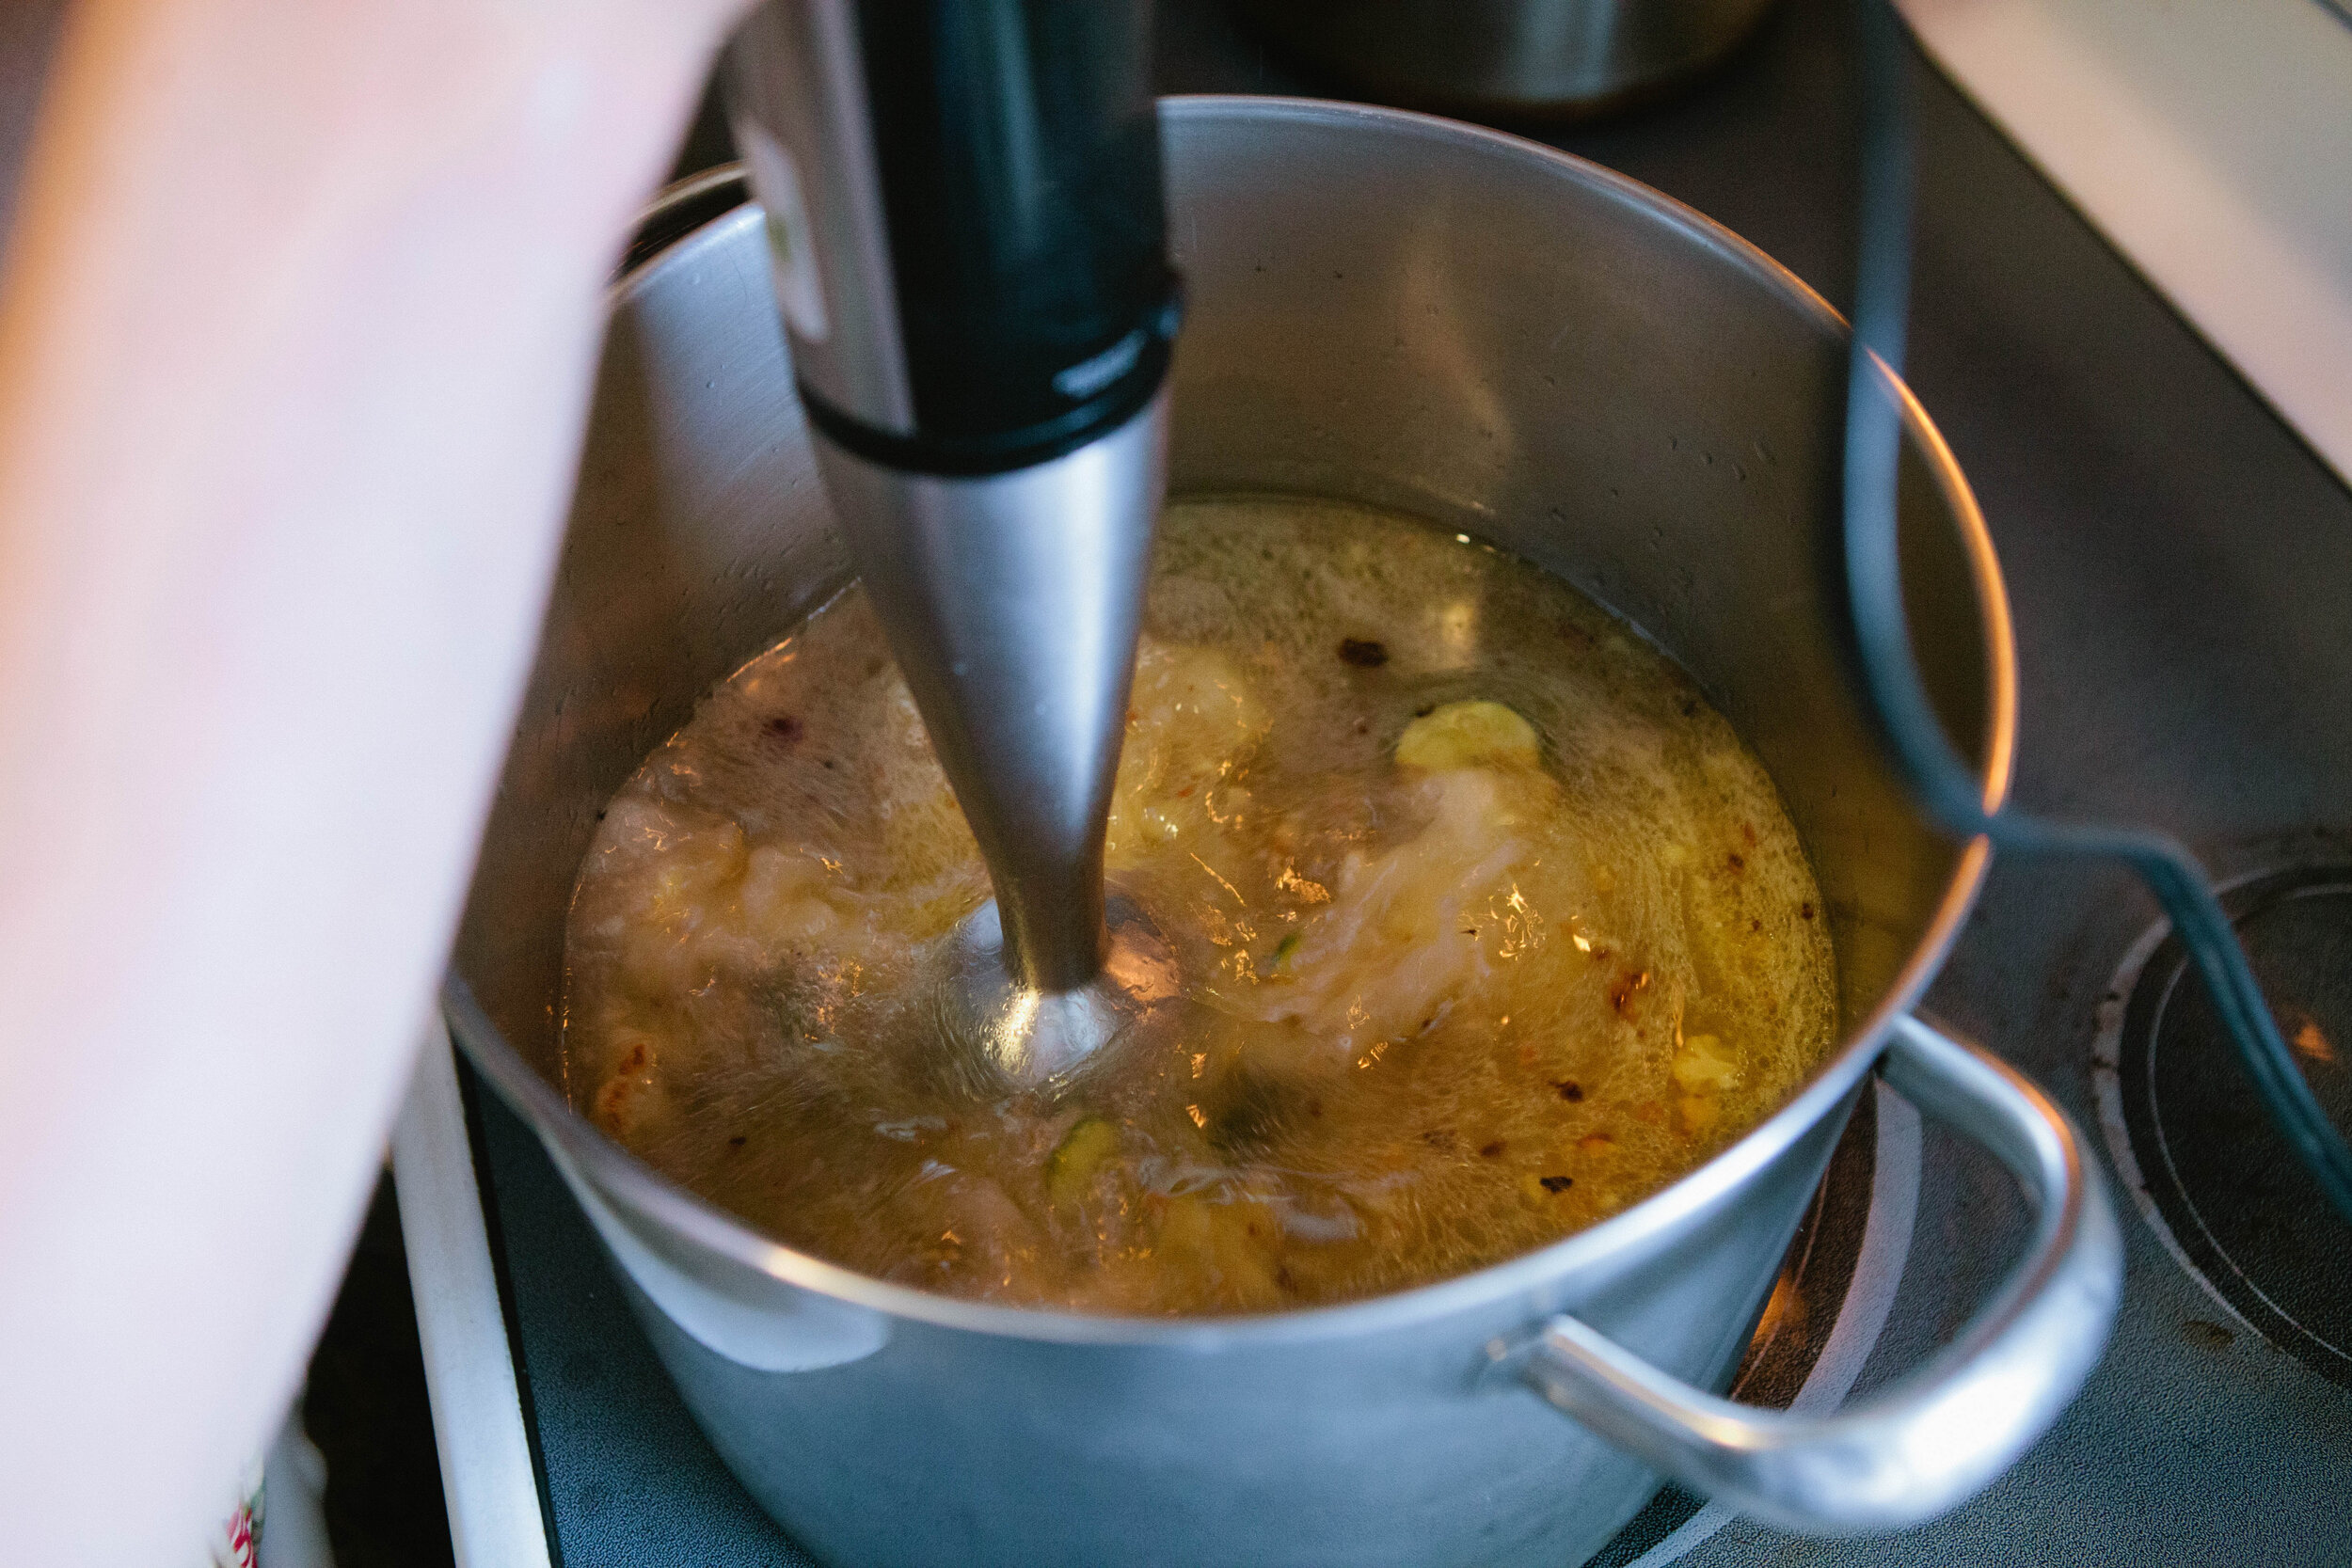
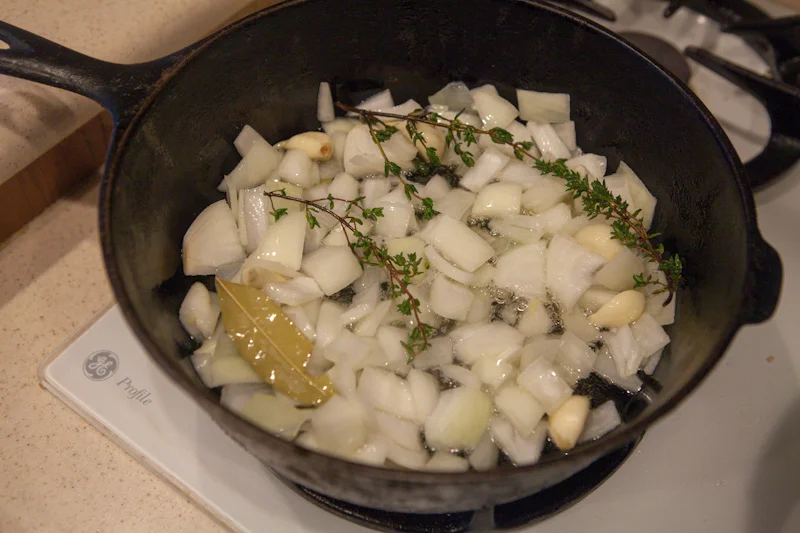
Creamy Garlic Chicken Soup
Because you immersion blend the vegetables into the stock, this is a great recipe to also blend in the the joint cartilage, skin and any of the other parts of the chicken that you may be tempted to throw away. I separate the chicken into three parts usually - bones, chicken meat, and everything else.
Gluten Free, Dairy Free, Egg Free
Creamy Chicken Pot Pie Soup
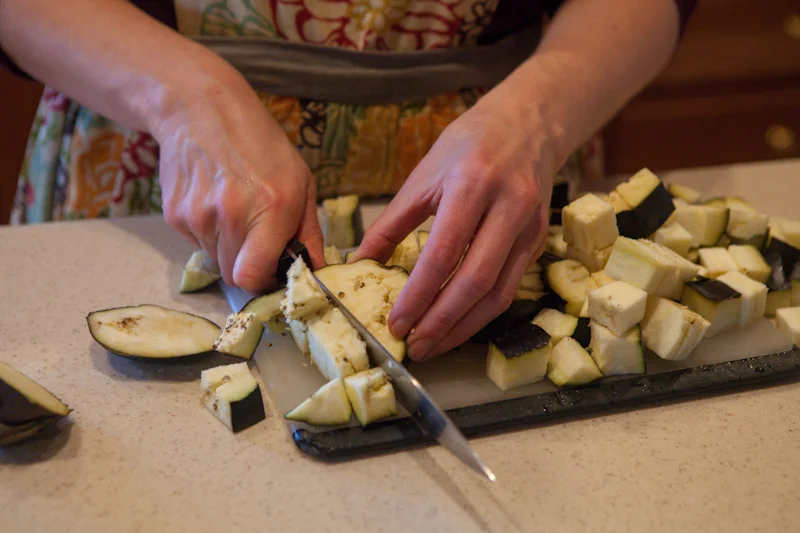
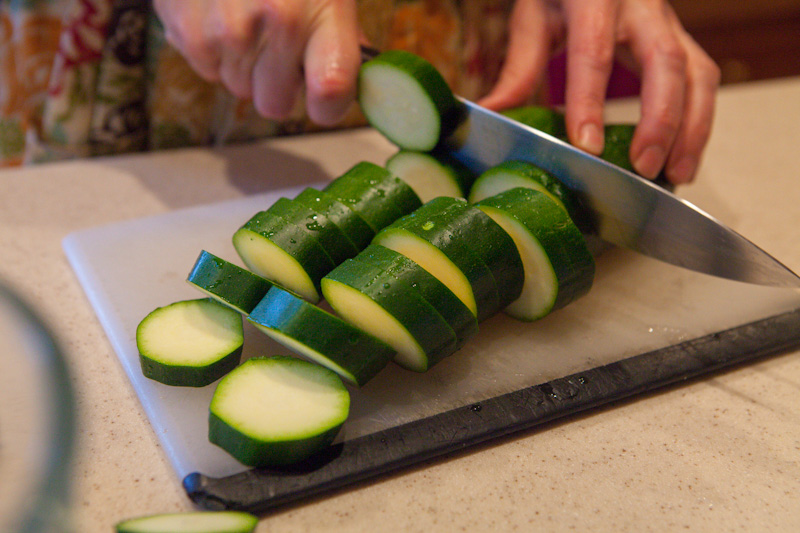
The key to this soup being reminiscent of a pot pie is to cut the vegetables into bite size pieces and make a consistency that’s more like a stew than a soup. Included in this recipe are a few tricks to thicken the soup so it more closely resembles the gravy that we associate with chicken pot pie.
Gluten Free, Dairy Free, Egg Free