GAPS treats

How to Make Apple Chips - Dehydrated Apples

I love apples! I think they’re one of the easiest things to preserve. If you are trying to eat in season and preserve your own food, apples are a great way to start! (Check out our other recipes using apples!)

My dad is the best at stopping to ask people if they are going to use their apples. I have so many memories of spending hours with him in the evening drying apples and making applesauce. Every evening when he brings them home, he will spend hours making applesauce and getting them in a dehydrator.

For a long time my parents gave up making dried apples because my siblings and I would open up the dehydrator before the apples were ready and eat them.

You can use any variety of apples to do these. Some apples will end up sweeter than others but when you dry them, it doesn’t really matter much as we don’t generally eat dried apples for sweetness, only for crunch. I like to use firm apples only for dried apples. If you have any apples that are older or softer, you can turn them into apple sauce! 

I have an antique apple corer & slicer that I love to use and that makes this process so much faster. You can also manually peel, core or slice them using a knife or a mandolin but that takes longer.

Any dehydrator will do for this recipe! I’ve been using this one recently but have to keep a close eye on the temperature. You can also make them in the oven but you must keep a close eye on them. Use the lowest temperature setting. It takes about 2-4 hours depending on how crunchy you want them. Err on the side of caution when checking dryness levels. They will continue to dry when you take them out of the oven as they cool so if you dry them too much in the oven, you’ll end up with an apple that is too dry. 

When I process large amounts of apples, I always think about making apple cider vinegar! Save your peels and cores (but not any rotting or bruised parts) to make your own apple cider vinegar.

These dried apples should keep for a few months if you manage proper moisture control on them but we always ate them much faster!

P.s> Raw apples are stage 6 on the GAPS Diet. Dried fruit counts as raw fruit.

Ingredients for Dried Apples:

  • Apples: Peeled, Cored & Sliced

  • Lemons

  • Filtered Water

  • Essential Oils (Optional)

  • Cinnamon (Optional)

  • Dehydrator


Directions for Dried Apples:

IMG_0369.jpg

Fill a bowl with filtered water and lemon juice. You can also add some drops of essential oils if you’d like. On Guard is pretty delicious! Lemon essential oil will not work to keep the apples from turning brown; it is the acid in the lemon that does that.

IMG_0371.jpg

Rinse your apples & start to peel and core them. As they come off the machine, add them to the bowl with lemon juice and water. 

Set the peels and cores aside to use to make your own Apple Cider Vinegar. 

IMG_0400.jpg

Once you have the amount of apples that you want to dry, lay them out in single layers on dehydrator racks or on a pan. You can top them with cinnamon if you’d like.

Allow the apples to dry in a dehydrator for 5 to 6 hours.

Enjoy!

IMG_0776.jpg

HowToDryApplesDIYAppleChips.png
Author: The Be Well Clinic

Ingredients

  • Apples: Peeled, Cored & Sliced
  • Lemons
  • Filtered Water
  • Essential Oils (Optional)
  • Cinnamon (Optional)
  • Dehydrator

Instructions

  1. Fill a bowl with filtered water and lemon juice. You can also add some drops of essential oils if you’d like. On Guard is pretty delicious! Lemon essential oil will not work to keep the apples from turning brown; it is the acid in the lemon that does that.
  2. Rinse your apples & start to peel and core them. As they come off the machine, add them to the bowl with lemon juice and water.
  3. Set the peels and cores aside to use to make your own Apple Cider Vinegar.
  4. Once you have the amount of apples that you want to dry, lay them out in single layers on dehydrator racks or on a pan. You can top them with cinnamon if you’d like.
  5. Allow the apples to dry in a dehydrator for 5 hours.

Notes:


Created using The Recipes Generator

Chocolate Recipe Round Up

Ah chocolate. So delicious and so many different ways to enjoy it.

Good quality chocolate with high cocoa content also contains high levels of antioxidants, flavonoids, fiber, iron, magnesium, copper and manganese. It also contains caffeine. If you’re not tolerating caffeine yet, avoid chocolate.

If you are on the GAPS Diet, you can enjoy chocolate if you are on Full GAPS, meaning you have finished all the stages and your symptoms have gone away. Use pure organic cocoa powder or cacao! If you are reintroducing it for the first time, make sure to start with a small amount.

If you’re looking for a way to enjoy chocolate on Valentine’s Day, below is a selection of real food recipes that feature chocolate. Remember - chocolate should be enjoyed in moderation! But since these recipes are made with real food and some are nutrient dense foods, they can be enjoyed without guilt.

Chocolate Fudge Sauce

This rich chocolate sauce is made with cocoa powder and is a delicious topping to raw milk homemade ice cream.

Gluten Free, Dairy Free, Egg Free

Peppermint Chocolate Fudge with Coconut

The GAPS Legal Fudge is a delicious holiday recipe and easy to share with family and friends! Leave the chocolate fudge on it’s own or top it with the citrus fudge for an richer treat.

Gluten Free, Dairy Free, Egg Free

Raw Milk Chocolate Pudding

Some days don't you just miss pudding cups? I know I do. Now you can make your own! The most frequent comment about this pudding (besides "yum", "delicious", and "mmm...") is that it tastes just like a chocolate pudding cup!

Gluten Free

Decadent Hot Chocolate

I present you with an amazing hot chocolate recipe. No really, it's amazing. Rich, thick, decadent, filling, indulging, chocolaty goodness. And it's a nutrient-dense food!  

Gluten Free


Almond Flour Cookies with Cacao Nibs

These cookies are made with fermented almond flour and cacao nibs. Yet they taste just like chocolate chip cookies!

Gluten Free


Snacks to Eat on the GAPS Diet

I’m often asked about snacking on the GAPS Diet. Below is a selection of ‘snack’ type foods that are all GAPS friendly, including a variety of ferments.

Some of these are great to take on the go, like the sausages or trail mix. I often also bring cheese, cuts of meat and cut up vegetables as snacks on the go. Some of these GAPS friendly snacks are great to feed a crowd and would be the perfect dish to bring to a potluck, like the spinach and artichoke dip and mayo free deviled eggs. These would be enjoyed even on those not on the GAPS Diet.

As the video below shows, sometimes the simplest food is the best!


Homemade sausage is easy

Homemade sausage is easy

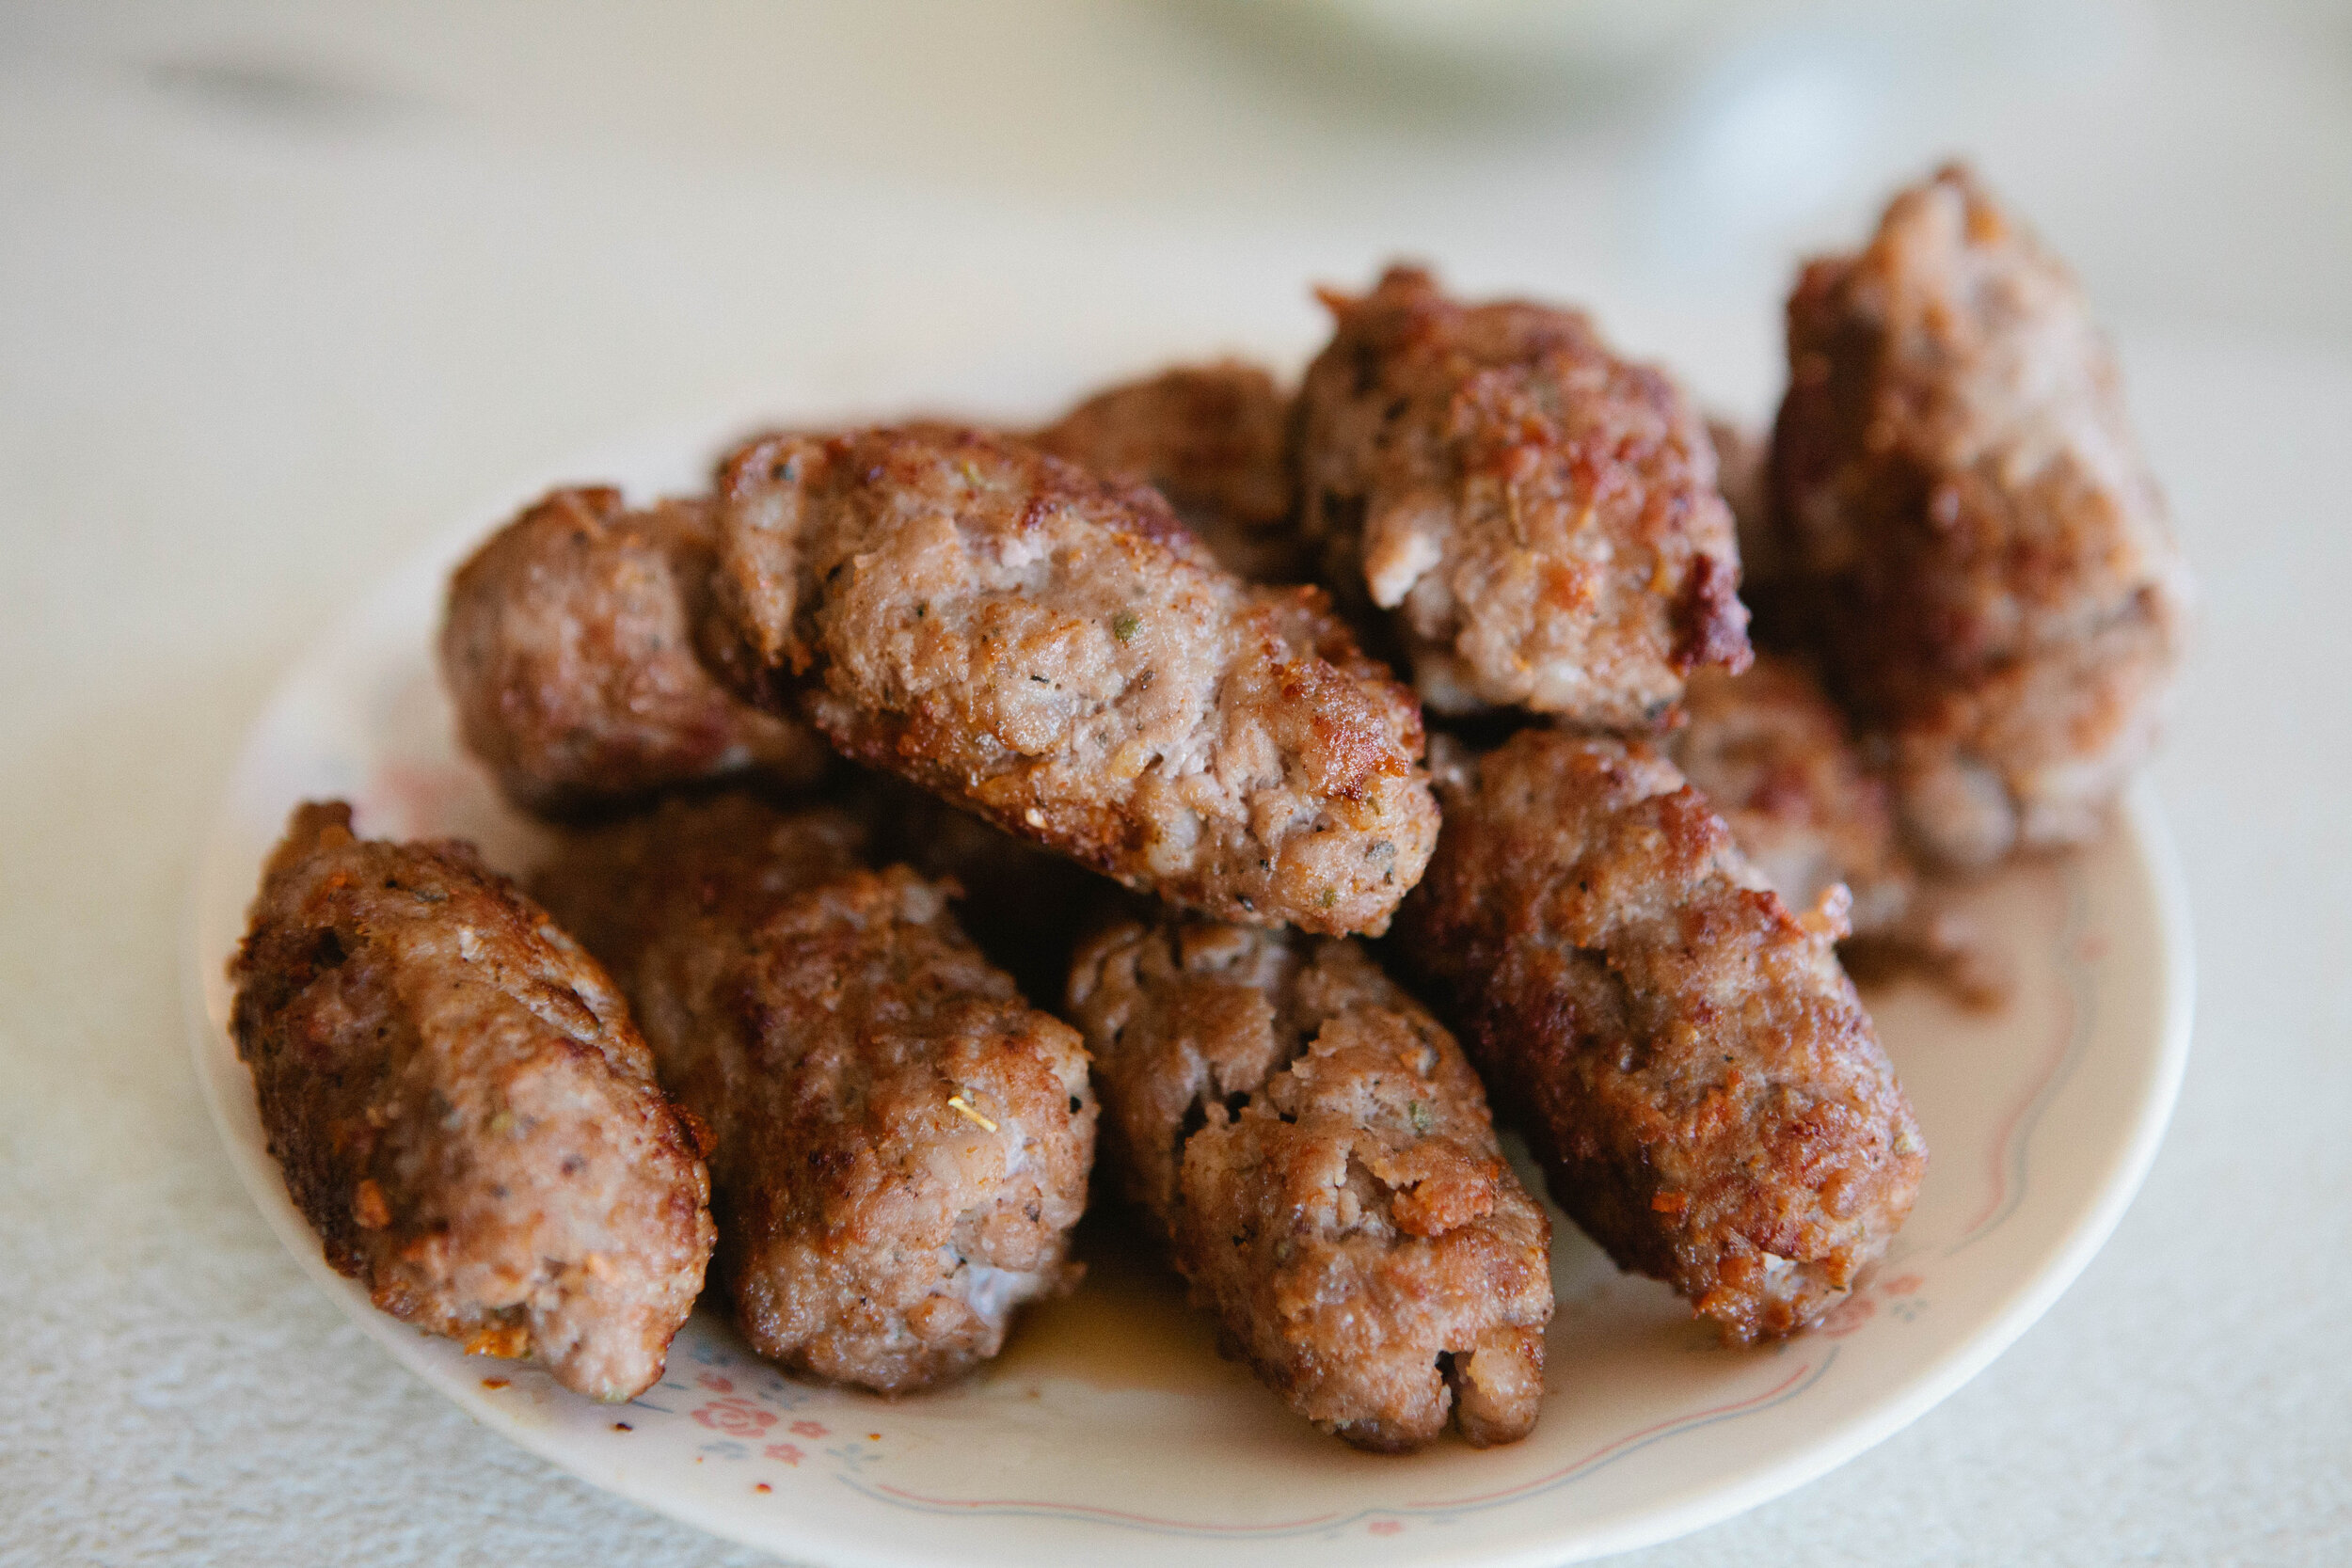
Homemade Sausage

Enjoy these homemade sausages warm or cold! These also freeze extremely well, cooked or raw! I cooked and took a large batch of them with me when I went hunting and ate them for breakfast cold.

Gluten Free, Dairy Free, Egg Free

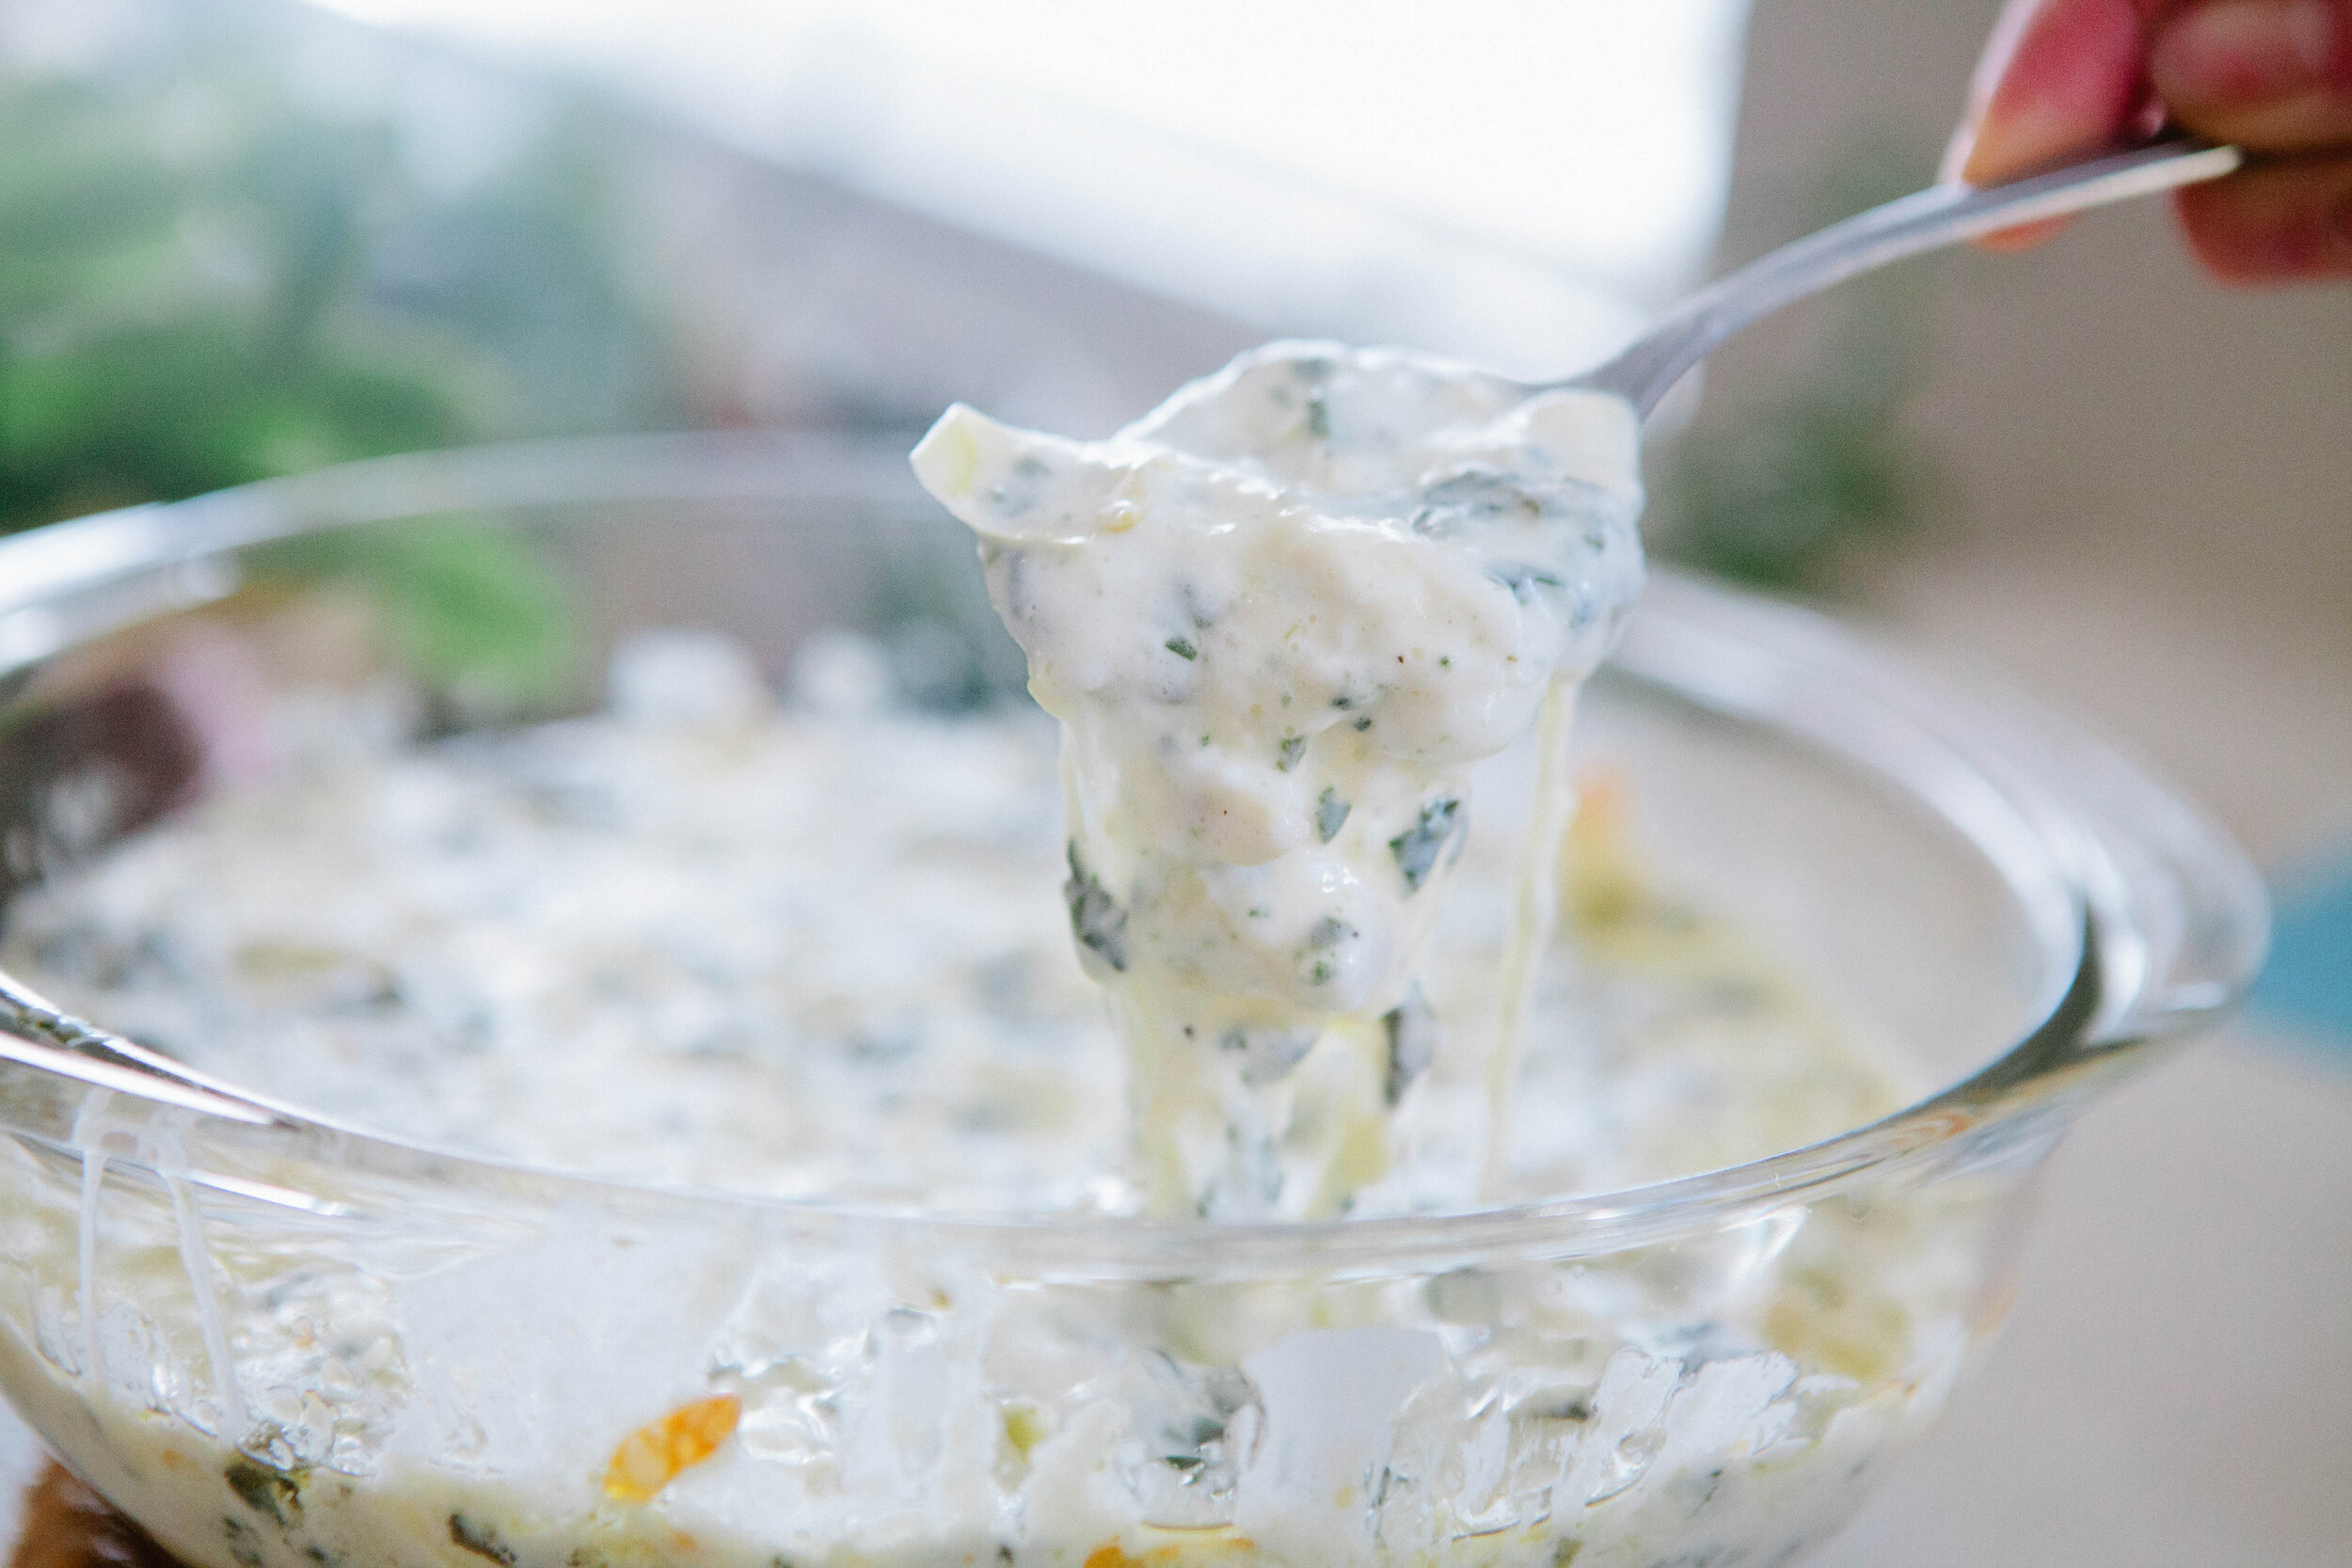
Full GAPS Spinach + Artichoke Dip

Spinach and artichoke dip - just the name conjures up images of a creamy, delicious dip. This one is made with real foods and no mayonnaise and is as delicious as a traditional spinach and artichoke dip.

Gluten Free, Egg Free

Homemade Gummy Snacks

These gummies are a good way for both children and adults to get collagen and vitamin c together! These gummies are stage five legal on the GAPS Diet because they are cooked fruit.

Gluten Free, Dairy Free, Egg Free

GAPS Legal Banana Splits

Ah, the banana split. It’s so delicious on a hot summer’s day. This one is made with all natural ingredients and real food. This recipe is GAPS Legal if you’ve been on full GAPS for about six months, and you’re tolerating raw milk, and you make it exactly as directed.

Gluten Free

GAPS Legal Onion Rings

These onion rings are my first foray into creating GAPS Legal fried foods. These onion rings use a fermented almond flour batter and are legal on the GAPS Diet at stage 4!

Gluten Free, Dairy Free, Egg Free

Mayo Free Deviled Eggs

Because I haven't found a mayo my taste buds approve of there is no mayonnaise in my refrigerator. So one day when I had a hankerin' for deviled eggs I got the creative juices flowing and started experimenting with recipes

Gluten Free, Dairy Free

Russian Custard

Russian custard is a delicious desert or afternoon snack. It is rich, and just sweet enough. You can whip it up in just a few minutes, and it is easy to double or triple to feed another (or more for yourself).

Gluten Free, Dairy Free

Swedish Gravlax

This is a brined fish meal legal on GAPS stage 2. You eat little pieces, one small piece a day.

Gluten Free, Dairy Free, Egg Free

Liver Pate

Liver pâté makes me feel like I am eating a treat when I'm really eating something healthy—very healthy and good for me! You can make pate out of any type of liver, but chicken liver is the most mild, so that is a great one to start with if you are not used to eating liver.

Gluten Free, Dairy Free, Egg Free

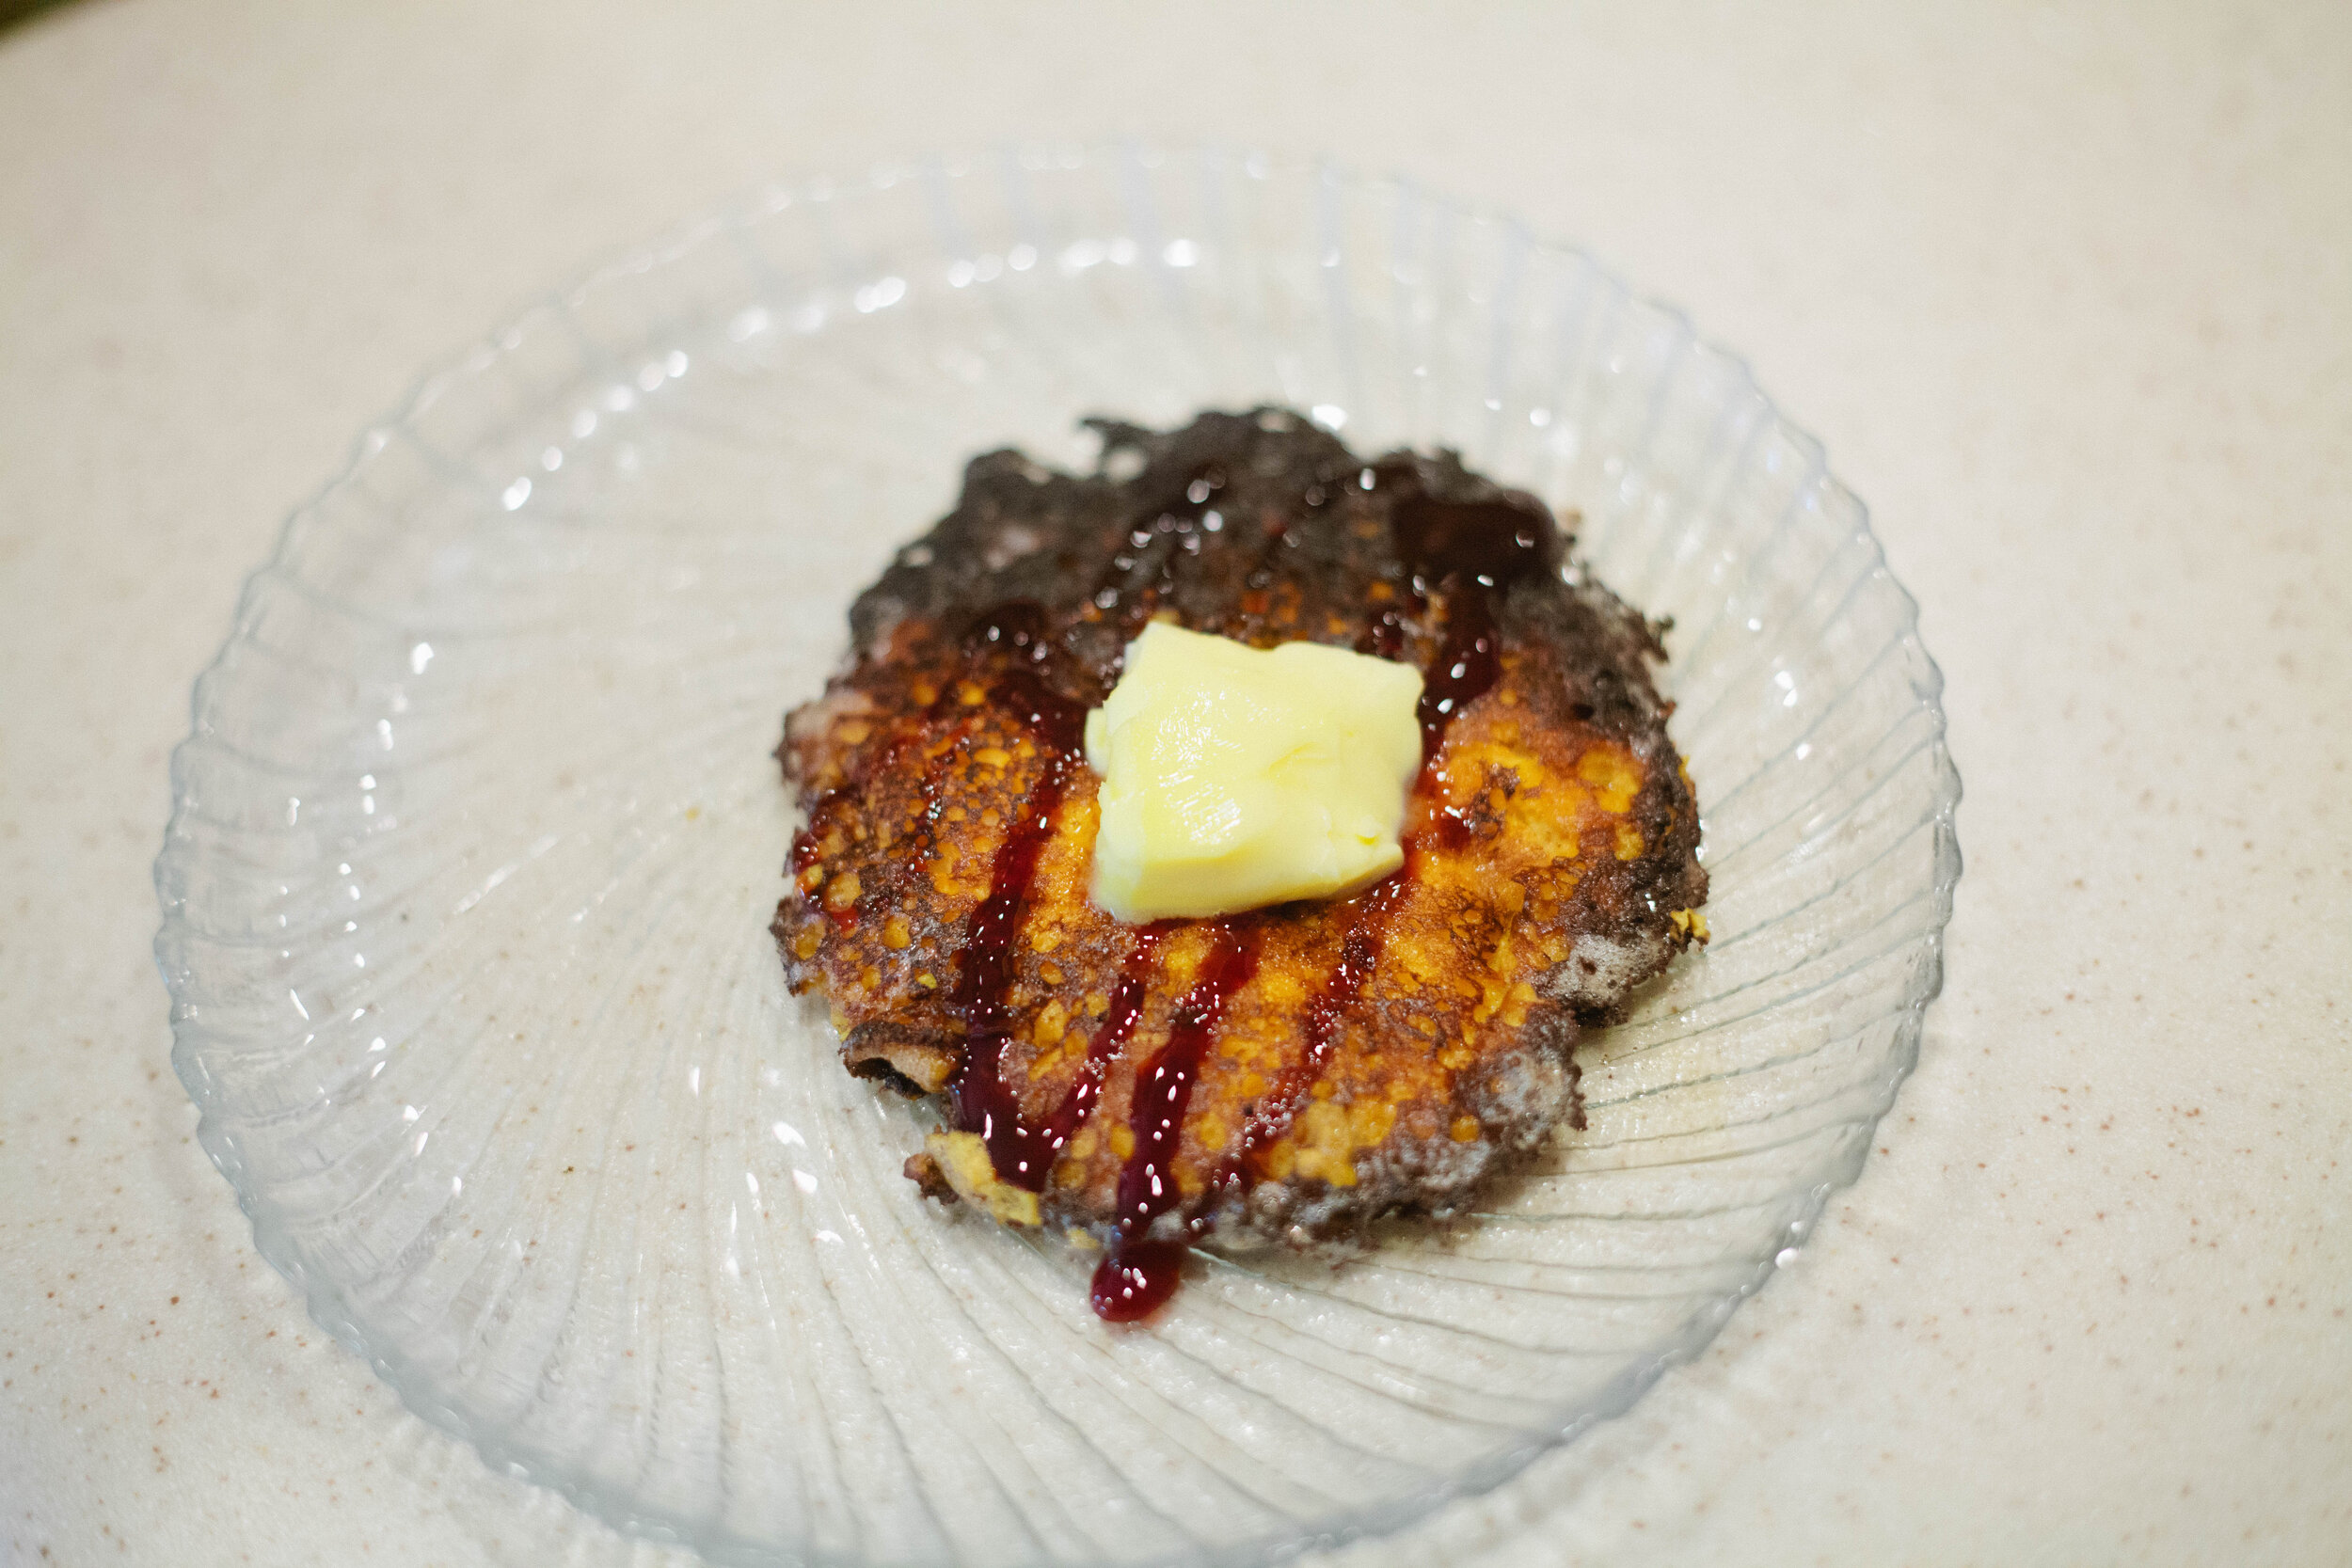
GAPS Pancakes

Make these pancakes with pumpkin or butternut squash. Keep as a savory pancake or for a sweeter treat, add date syrup or cinnamon to the toppings.

Gluten Free, Dairy Free, Egg Free


GAPS Legal Trail Mix

With all the hiking and camping that happens in Colorado, trail mix is almost a main food group. But commercial trail mixes contain candy, sweetened fruit, and unprepared nuts: not the superfoods they claim to be!

Gluten Free, Dairy Free, Egg Free

Fruit Chutney

If you are following the GAPS diet this is legal on stage 5 or 6, when you are tolerating dried spices and peppercorns. This recipe is very simple—chop and combine ingredients, simmer for a while, then store in jars.

Gluten Free, Dairy Free, Egg Free

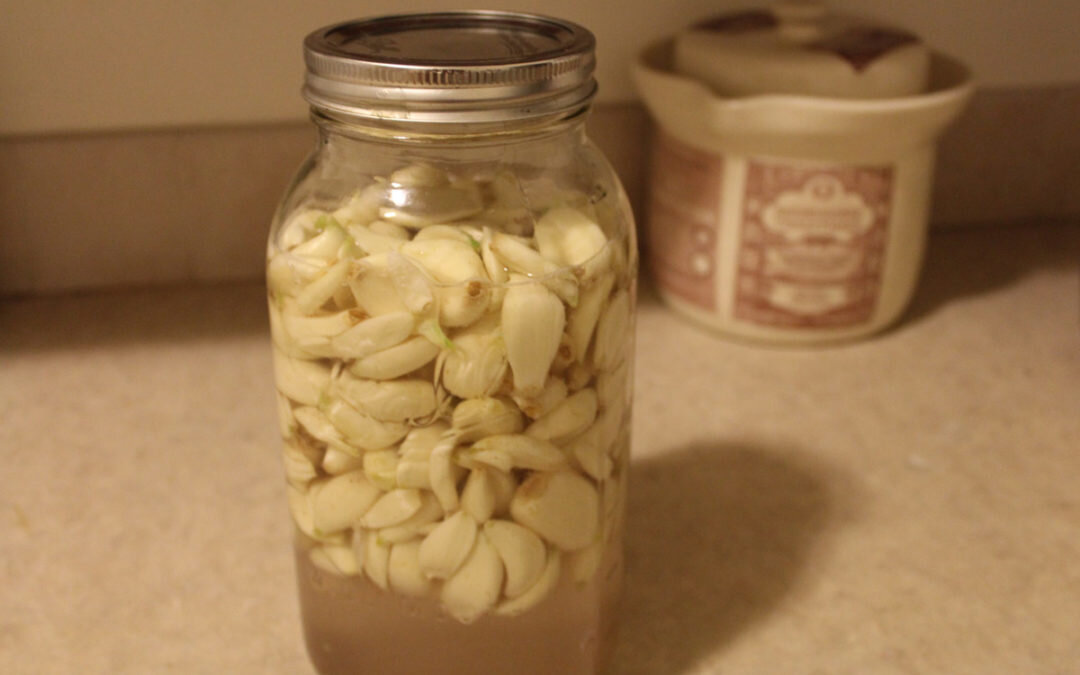
Fermented Garlic

Raw garlic, however, has many supportive health benefits. And when raw garlic is fermented, many of these increase. Fermenting garlic is very simple.

Gluten Free, Dairy Free, Egg Free

Vegetable Medley

This recipe contains five different vegetables: beets (good for liver and blood cleansing), cabbage (stimulates digestion), carrots (contain vitamin A), and cauliflower (makes it taste better, believe me), and garlic (good for immune support). It makes a very rich and flavorful liquid, which is also a wonderful probiotic drink.

Gluten Free, Dairy Free, Egg Free

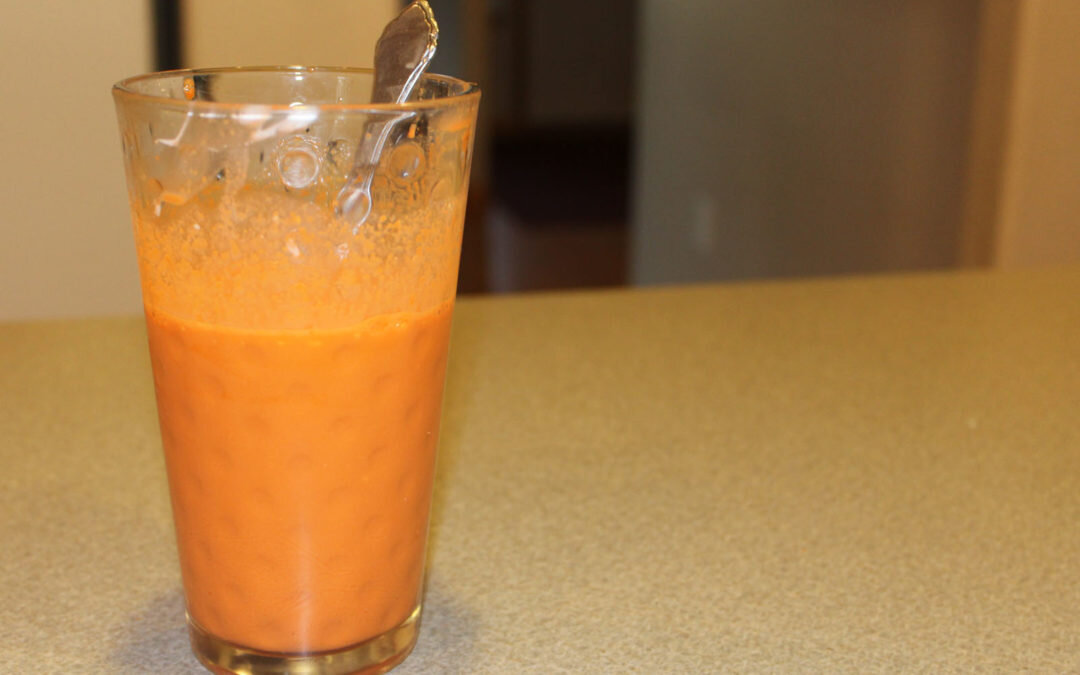
GAPS Milkshake

This delicious, satisfying and helpful beverage is a wonderful way to daily consume your freshly-pressed juices, and can even be a meal. The GAPS milkshake is mix of juice, protein, and fat.

Gluten Free, Dairy Free, Egg Free

Beet Kvass

Beet Kvass is a liver tonic. Anyone can make this simple fermented drink! It requires only a few ingredients, and only a few minutes to "put up."

Gluten Free, Dairy Free, Egg Free

Sprouted Refried Navy Beans Recipe

Beans make everything delicious! The old adage about beans isn’t true. If you’re worried about the unsightly smells and noises that beans so often bring, worry no more. The reason that beans are known for producing flatulence is because of the strong anti-nutrients present in the bean seed. Once you properly prepare these beans, the anti-nutrients are no longer present so there’s no reason for any symptoms.  When they’re properly prepared and you can tolerate them, navy beans are a good addition to your diet. If you do experience flatulence while eating the beans, it means your body is not ready for the starch and you still have work to do on your gut flora. 

Even if you are tolerating them well, remember that beans are a starch and should always be consumed alongside a generous amount of animal fat. 

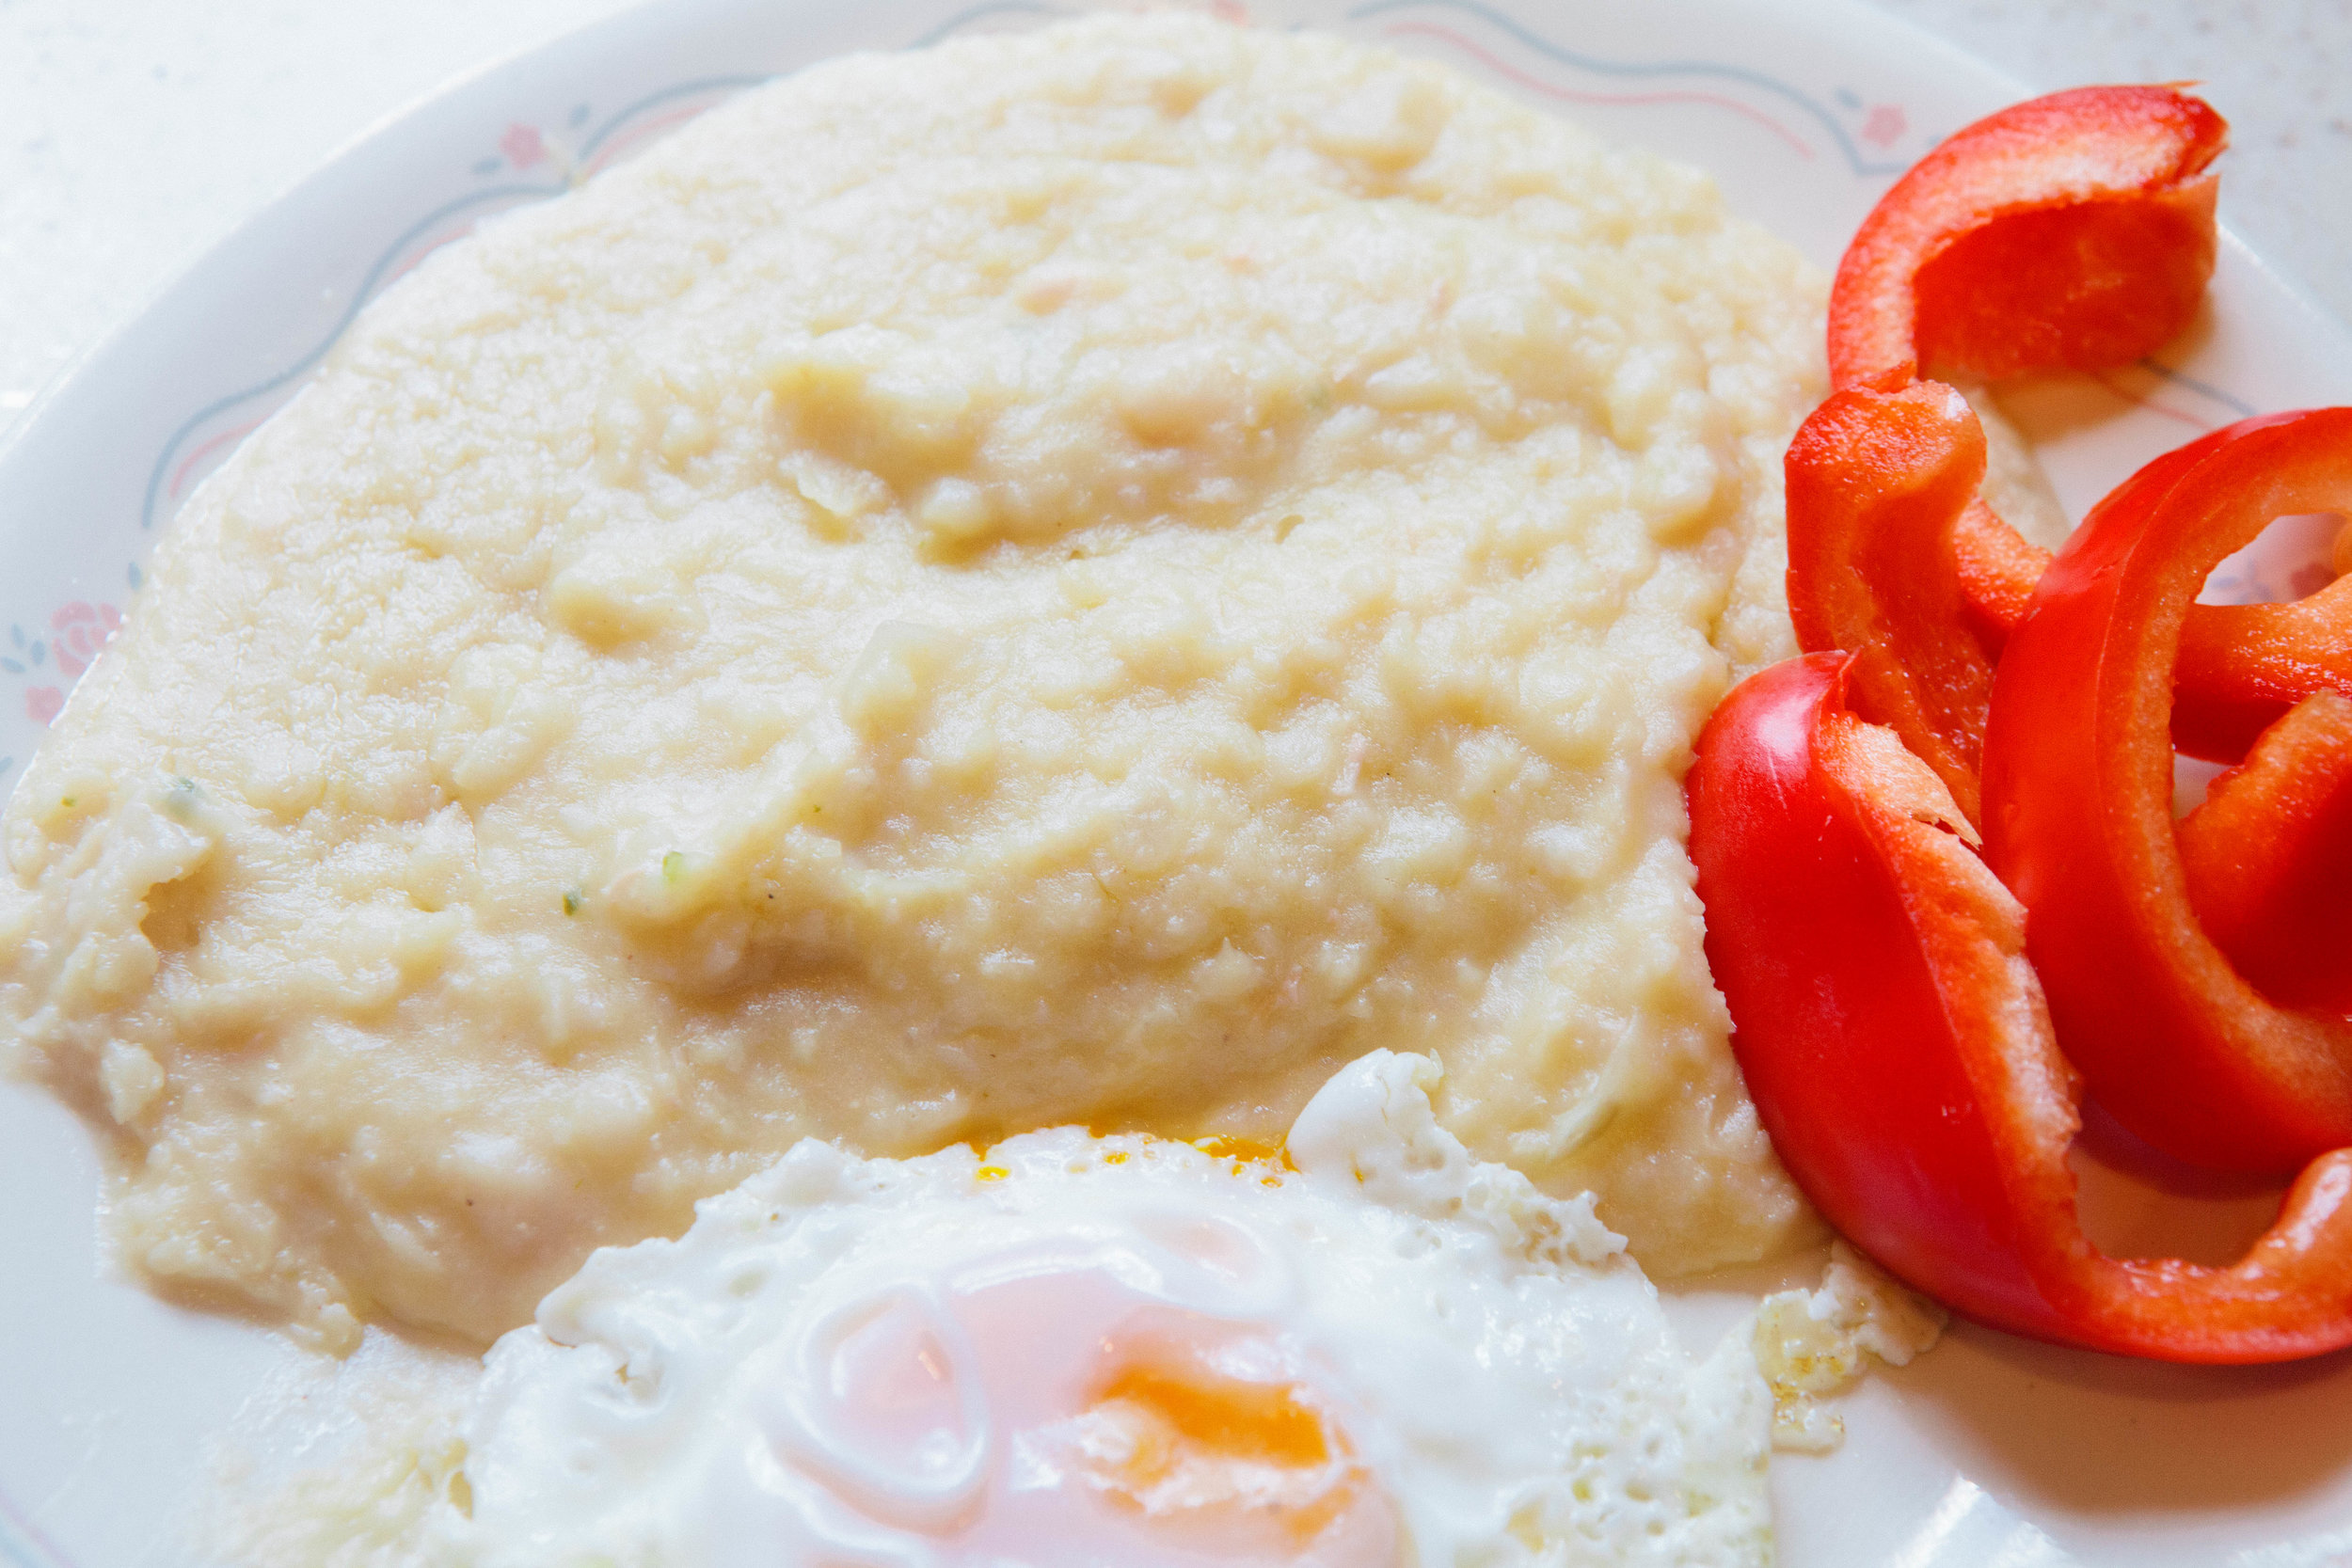
These are great served with anything that has a Mexican theme with them. I like them next to eggs, like a Huervos Rancheros sort of feel.

IMG_5209.jpg

You can freeze this recipe into smaller portion sizes so that you can pull it out quickly to use as a side for a meal. I tried freezing this in muffin tins since they are about the correct proportion of a serving of beans. I lined the muffin tin with unbleached large baking cups and then scooped beans into them. I let them freeze over a weekend and then took them out of the muffin tin and placed them in a gallon bag to protect them from freezer burn. 

Makes about 12 servings

Ingredients for Sprouted Refried Beans

  • 6 cups sprouted navy beans

  • ½ onion

  • ½ jalapeno

Directions for Sprouted Refried Beans

IMG_4871.jpg

Add sprouted navy beans to a large pot.

IMG_4975.jpg

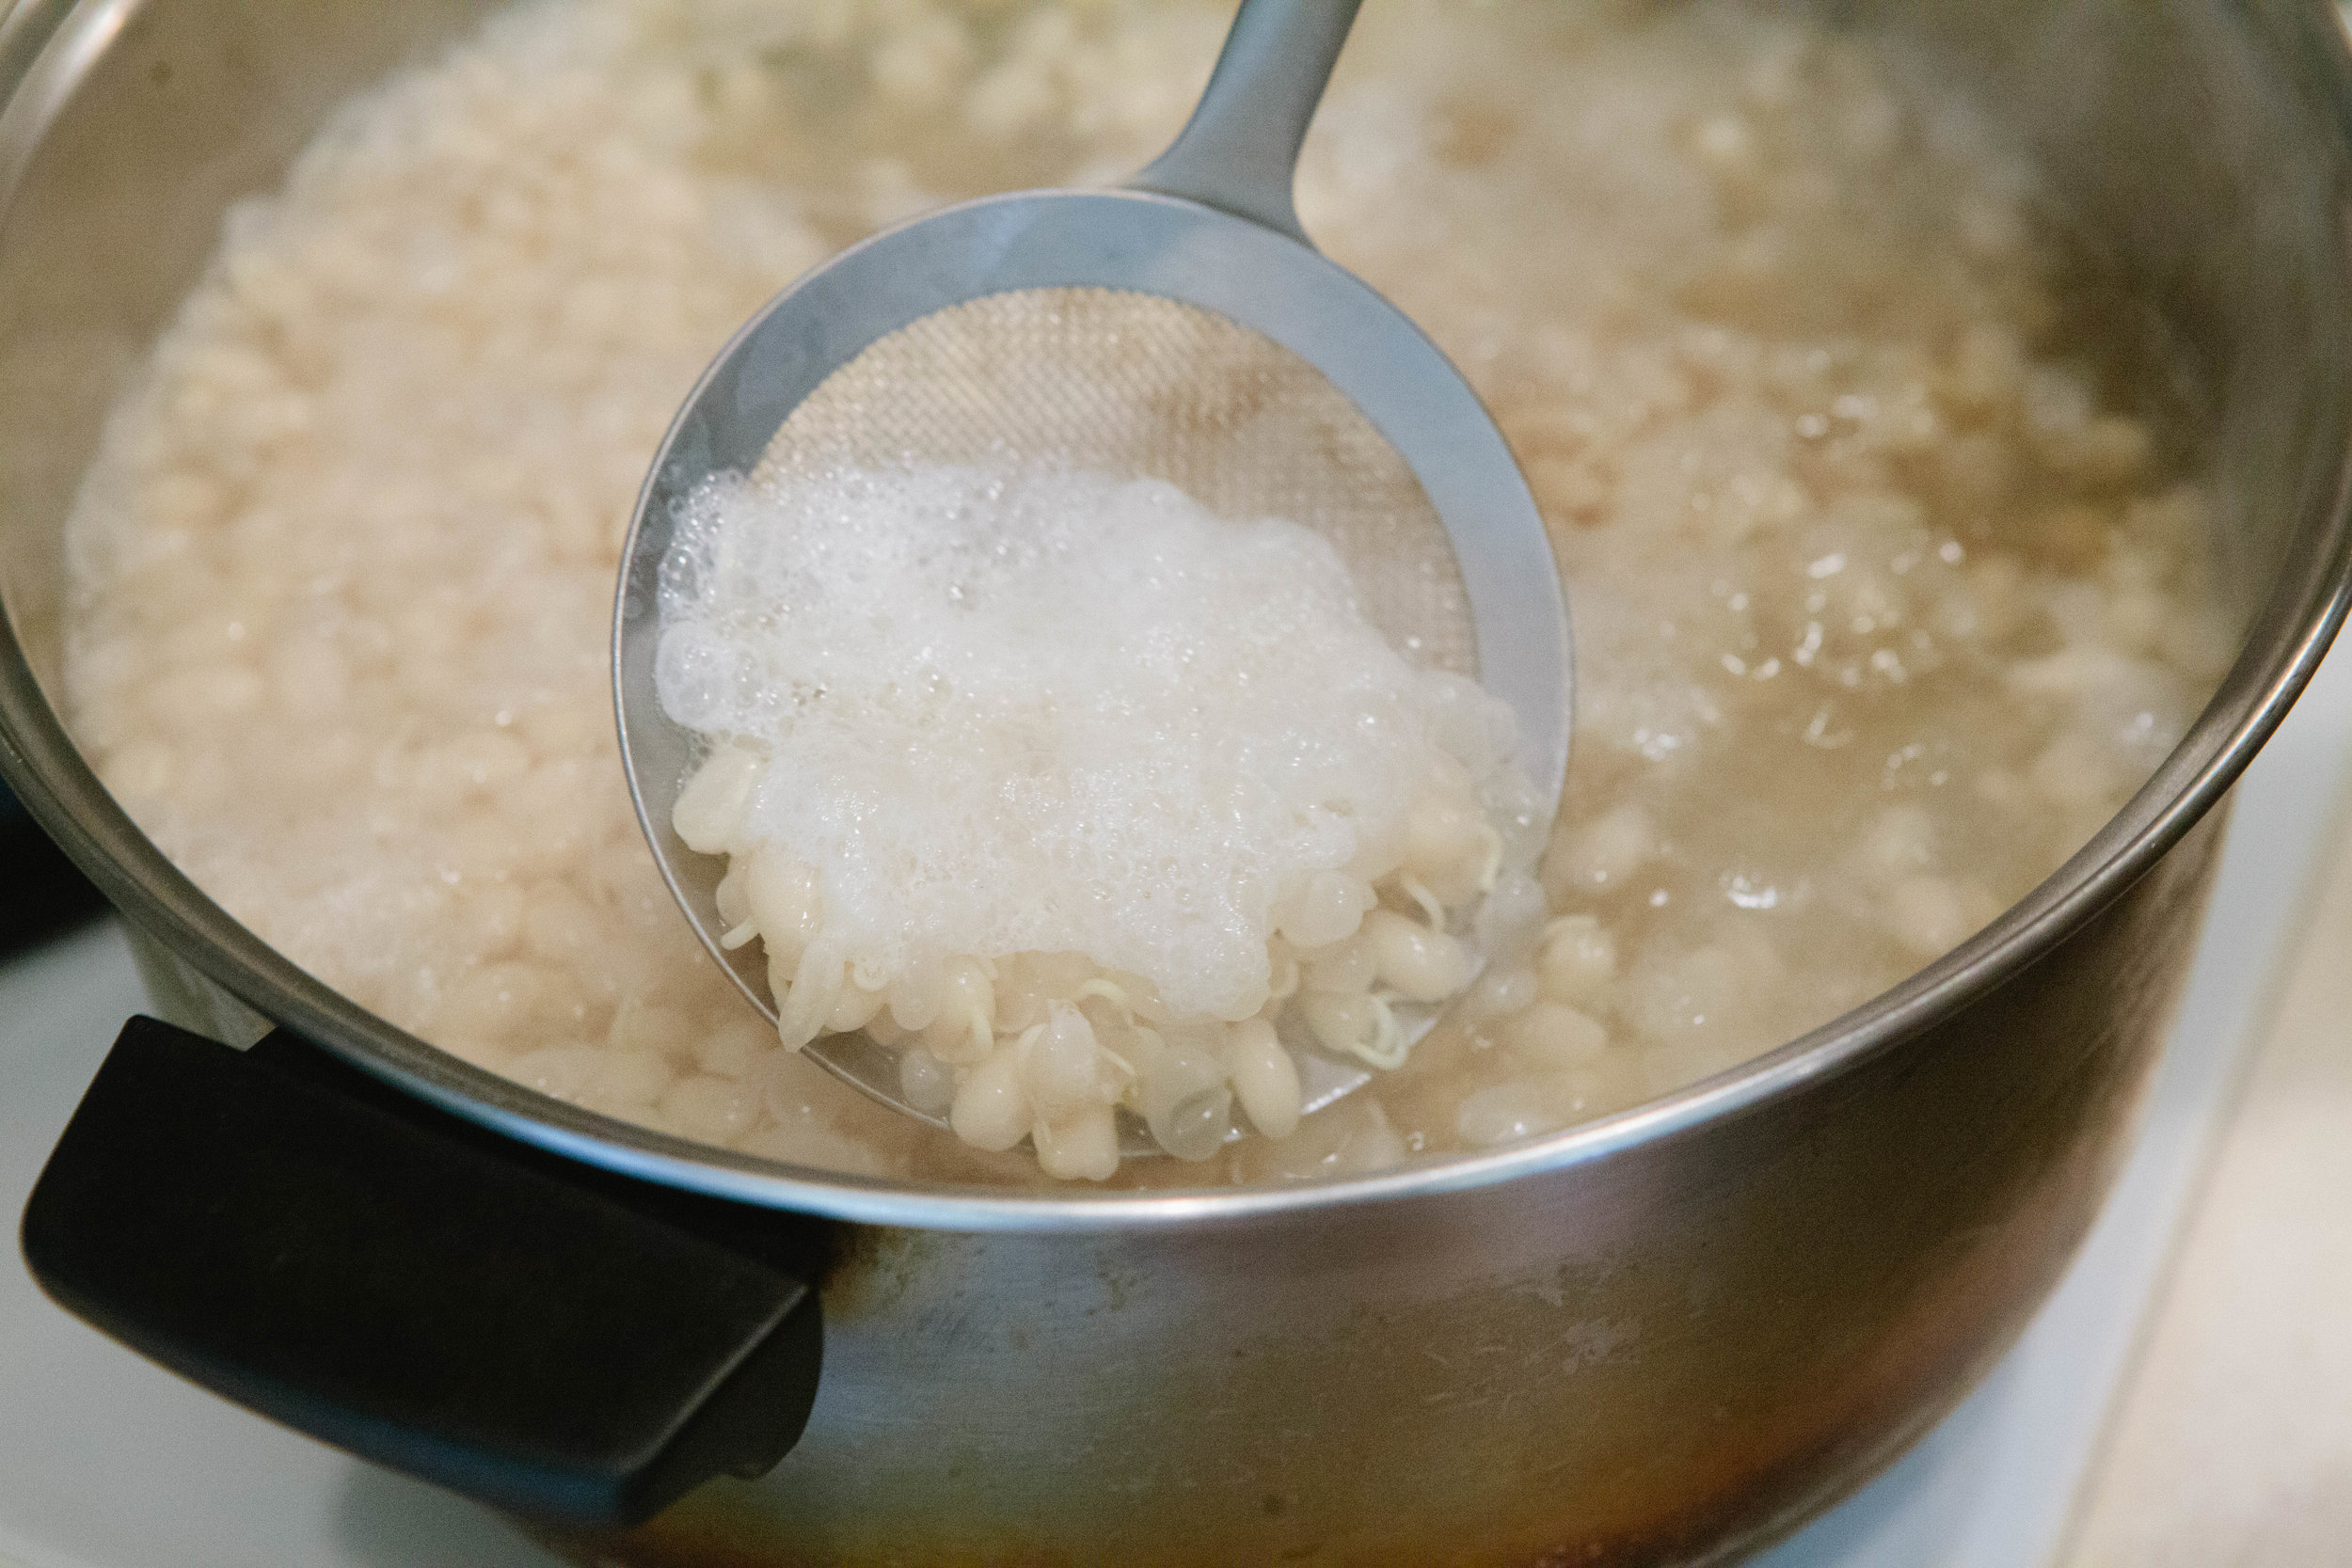
Bring to a boil and cook for about 2 hours until the beans are very soft. The beans will foam as they cook. You can skim the foam and the extra bean pods off of the top if you’d like. Just be sure not to scoop out any of your good sprouted beans!

Add onion and jalapeno into the pot once beans are soft. If too much water is gone, add a little bit into the pot so you don’t scorch the beans on the bottom of the pot. 

IMG_5126.jpg

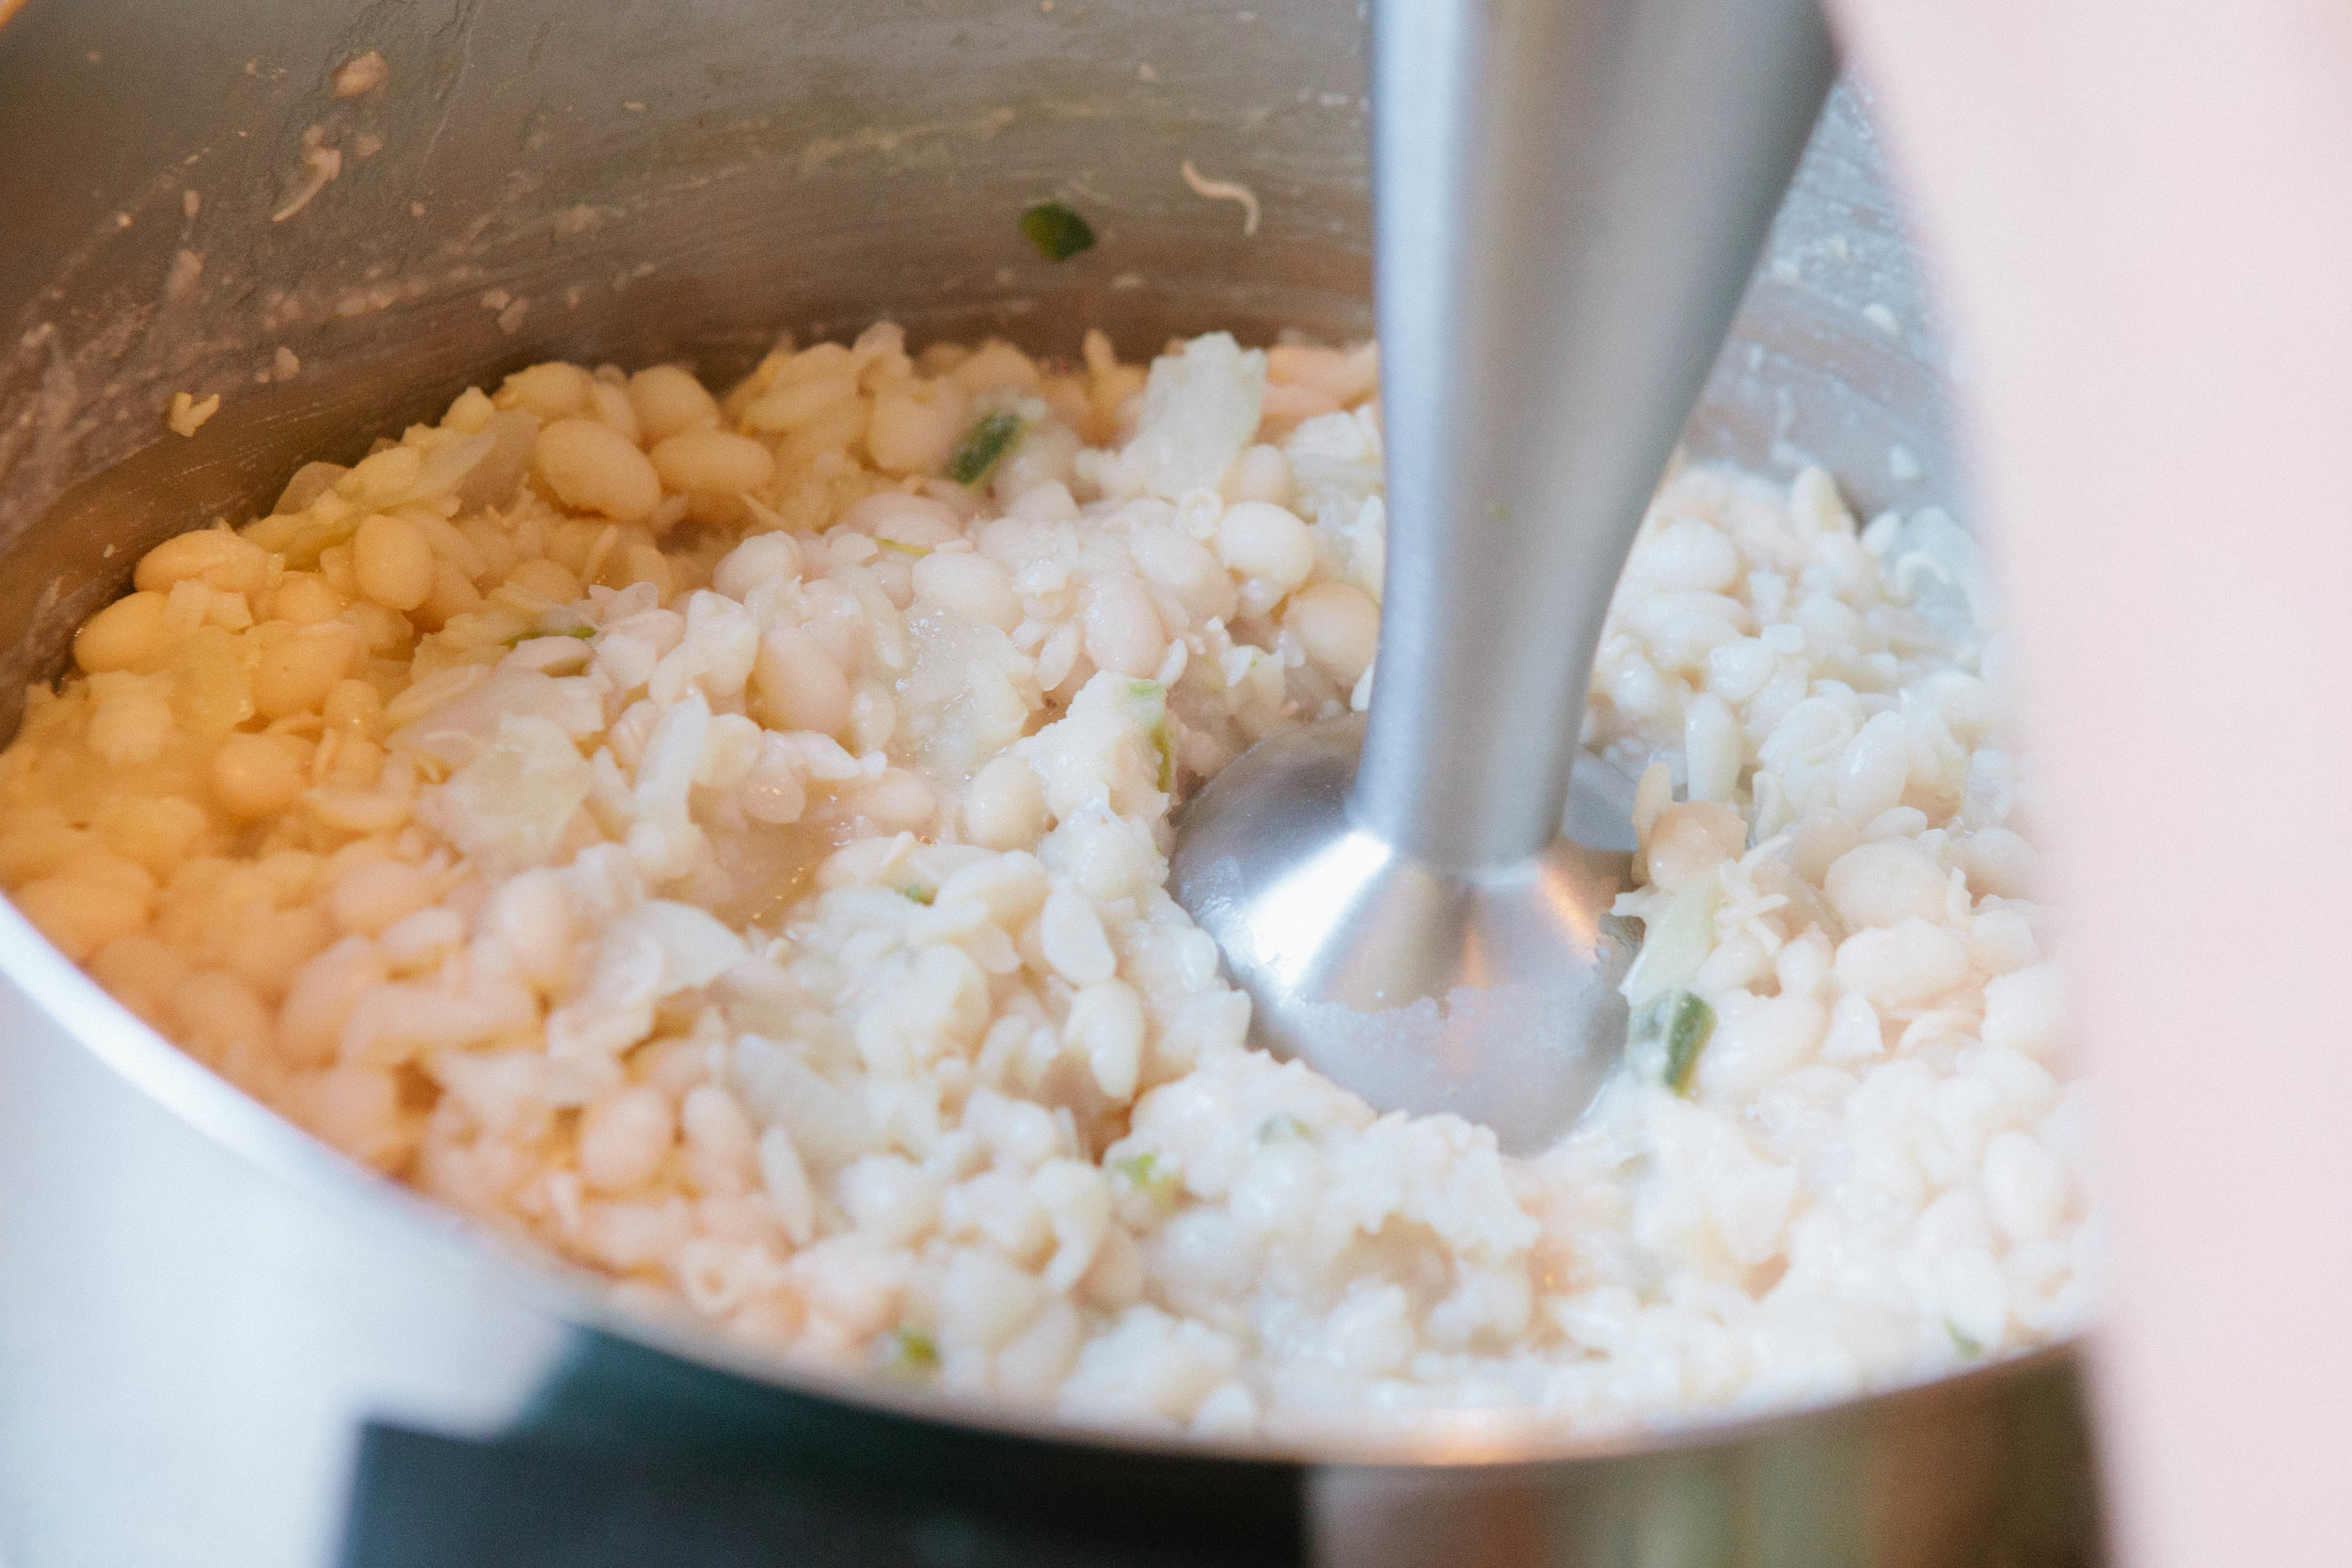
Immersion blend the beans when they are soft. They should be smoother but still have a little bit of texture to them.

Put them back on the stove. Stir frequently for five minutes over medium high heat to evaporate the liquid.

This is the basic refried bean recipe.

IMG_5173.jpg

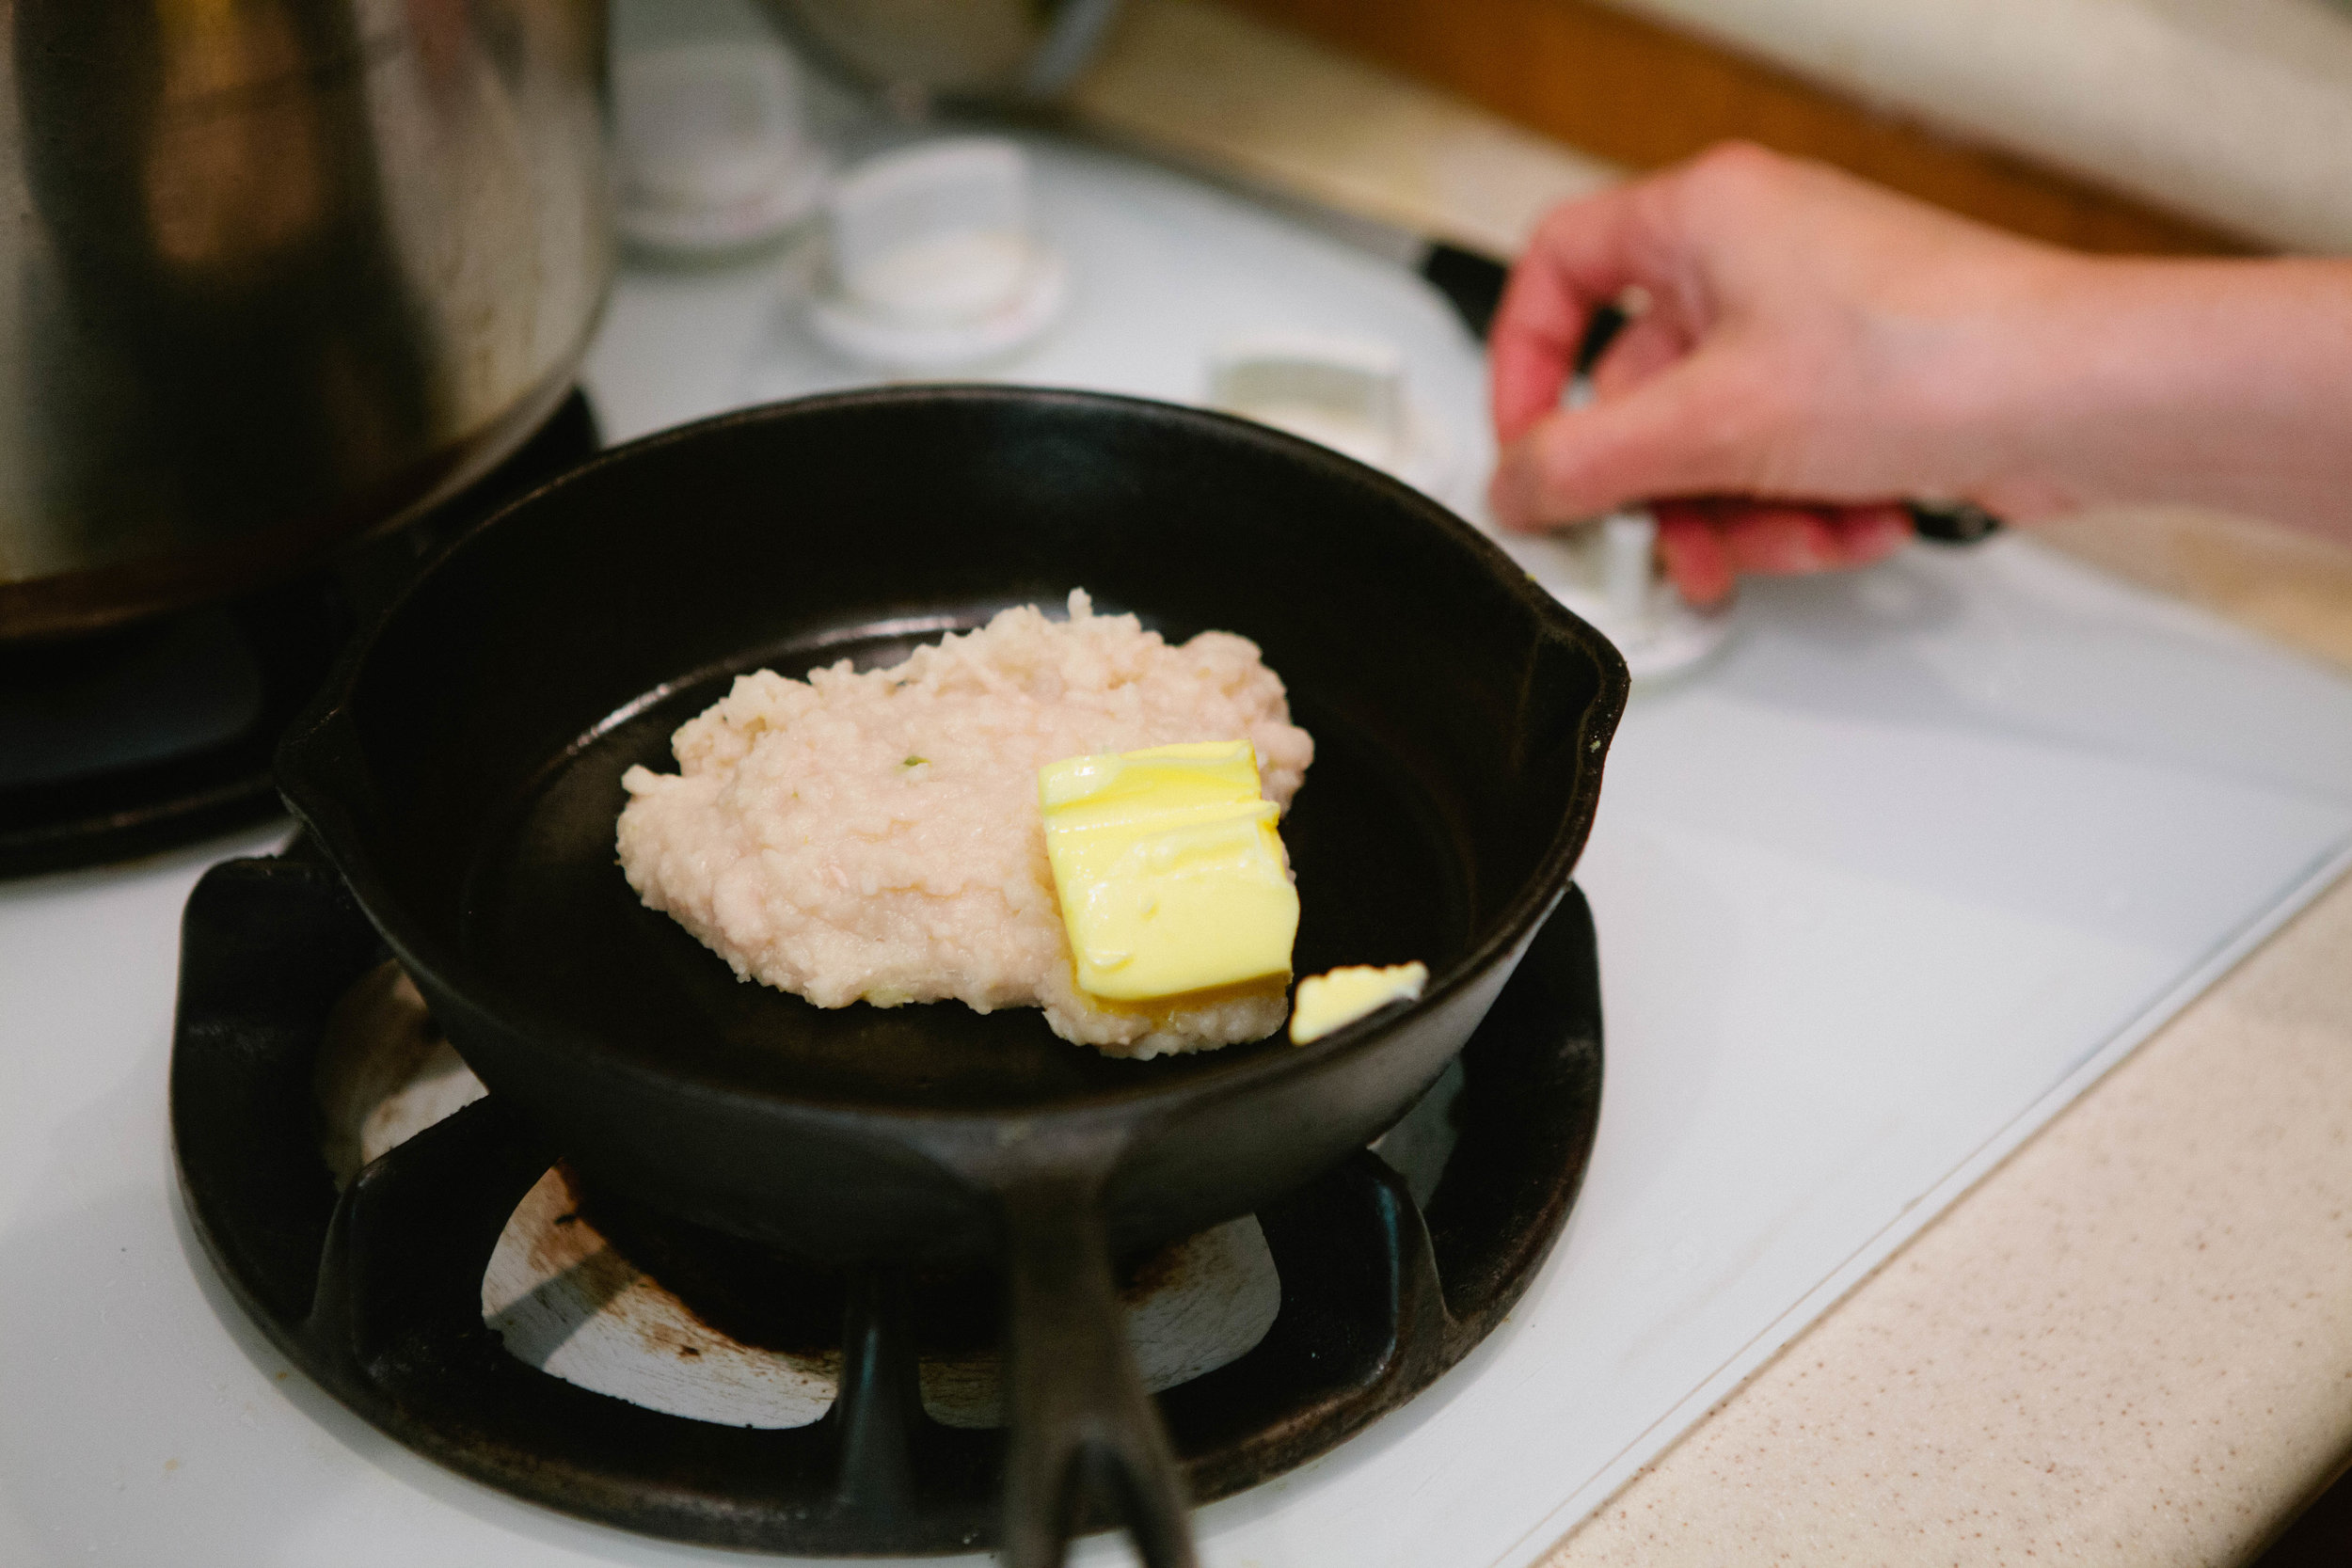
My favorite way to eat these is to add a cup of beans to a cast iron skillet. Add in a half a stick of butter. Cook together until well mixed.

IMG_5197.jpg

Add a fried egg and a few softened pepper pieces. 

Sprouted Refried Beans

prep time: cook time: total time:

ingredients:

  • 6 cups sprouted navy beans
  • ½ onion
  • ½ jalapeno

instructions:

How to cook Sprouted Refried Beans

  1. Add sprouted navy beans to a large pot.
  2. Bring to a boil and cook for about 2 hours until the beans are very soft. The beans will foam as they cook. You can skim the foam and the extra bean pods off of the top if you’d like. Just be sure not to scoop out any of your good sprouted beans!
  3. Add onion and jalapeno into the pot once beans are soft. If too much water is gone, add a little bit into the pot so you don’t scorch the beans on the bottom of the pot.
  4. Immersion blend the beans when they are soft. They should be smoother but still have a little bit of texture to them.
  5. Put them back on the stove. Stir frequently for five minutes over medium high heat to evaporate the liquid.
  6. This is the basic refried bean recipe.
  7. My favorite way to eat these is to add a cup of beans to a cast iron skillet. Add in a half a stick of butter. Cook together until well mixed.
  8. Add a fried egg and a few softened pepper pieces.
Created using The Recipes Generator
39.png

Homemade Gummy Snacks

Vitamin C and collagen work together to build healthy cells and mucus membranes, as well as healthy joints and skin. Anything with a structure needs vitamin c alongside collagen. These gummies are a good way for both children and adults to get collagen and vitamin c together! These gummies are stage five legal on the GAPS Diet because they are cooked fruit.

I got the basics proportions for this recipe from Integrative Health Coaching Services and modified it to fit my own needs. Depending on what proportions you use, the chart included on the Integrative Health Coaching Services website can help you decide how many gelatin squares to eat. If your children really love these gummies, you can decrease the amount of acerola cherry powder so that they can consume more gummy treats. These can also be great ABA technique rewards to get your child to eat the foods you want them to eat.

I recommend experimenting with adding other things like probiotic powders,and other supplements in these gummies. Just make sure you add anything live when the gummies are not too hot. Wait until the later stages when the mixture is cool enough so you don’t kill it. 

I once made a bold choice and experimented with adding desiccated liver in a quest to figure out what other supplements can be added to the mixture. I don’t think liver was the best choice. There’s nothing wrong with consuming them; they just smell and taste like liver, which isn’t the flavor profile you’d expect. 

I made strawberry gummies but you could also make any berry into a gummy. Other fruit, like apples and bananas, will not work to make gummies at home. Frozen berries are actually a great choice because they are picked ripe and frozen while in season. You could also harvest your own berries locally and freeze them yourself.

Ingredients;

  • 1 heaping cup frozen berries

  • 1/2 Cup lemon juice

  • 1/4 Cup grass fed gelatin

  • 3-4 Tbsp.. Acerola cherry powder 

  • 1 tbsp honey

Directions:

strawberry-gummies-homemade-gummy-snacks-gaps-legal-gummies-gummy-snack-made-with-gelatin-diy-gummy-bear

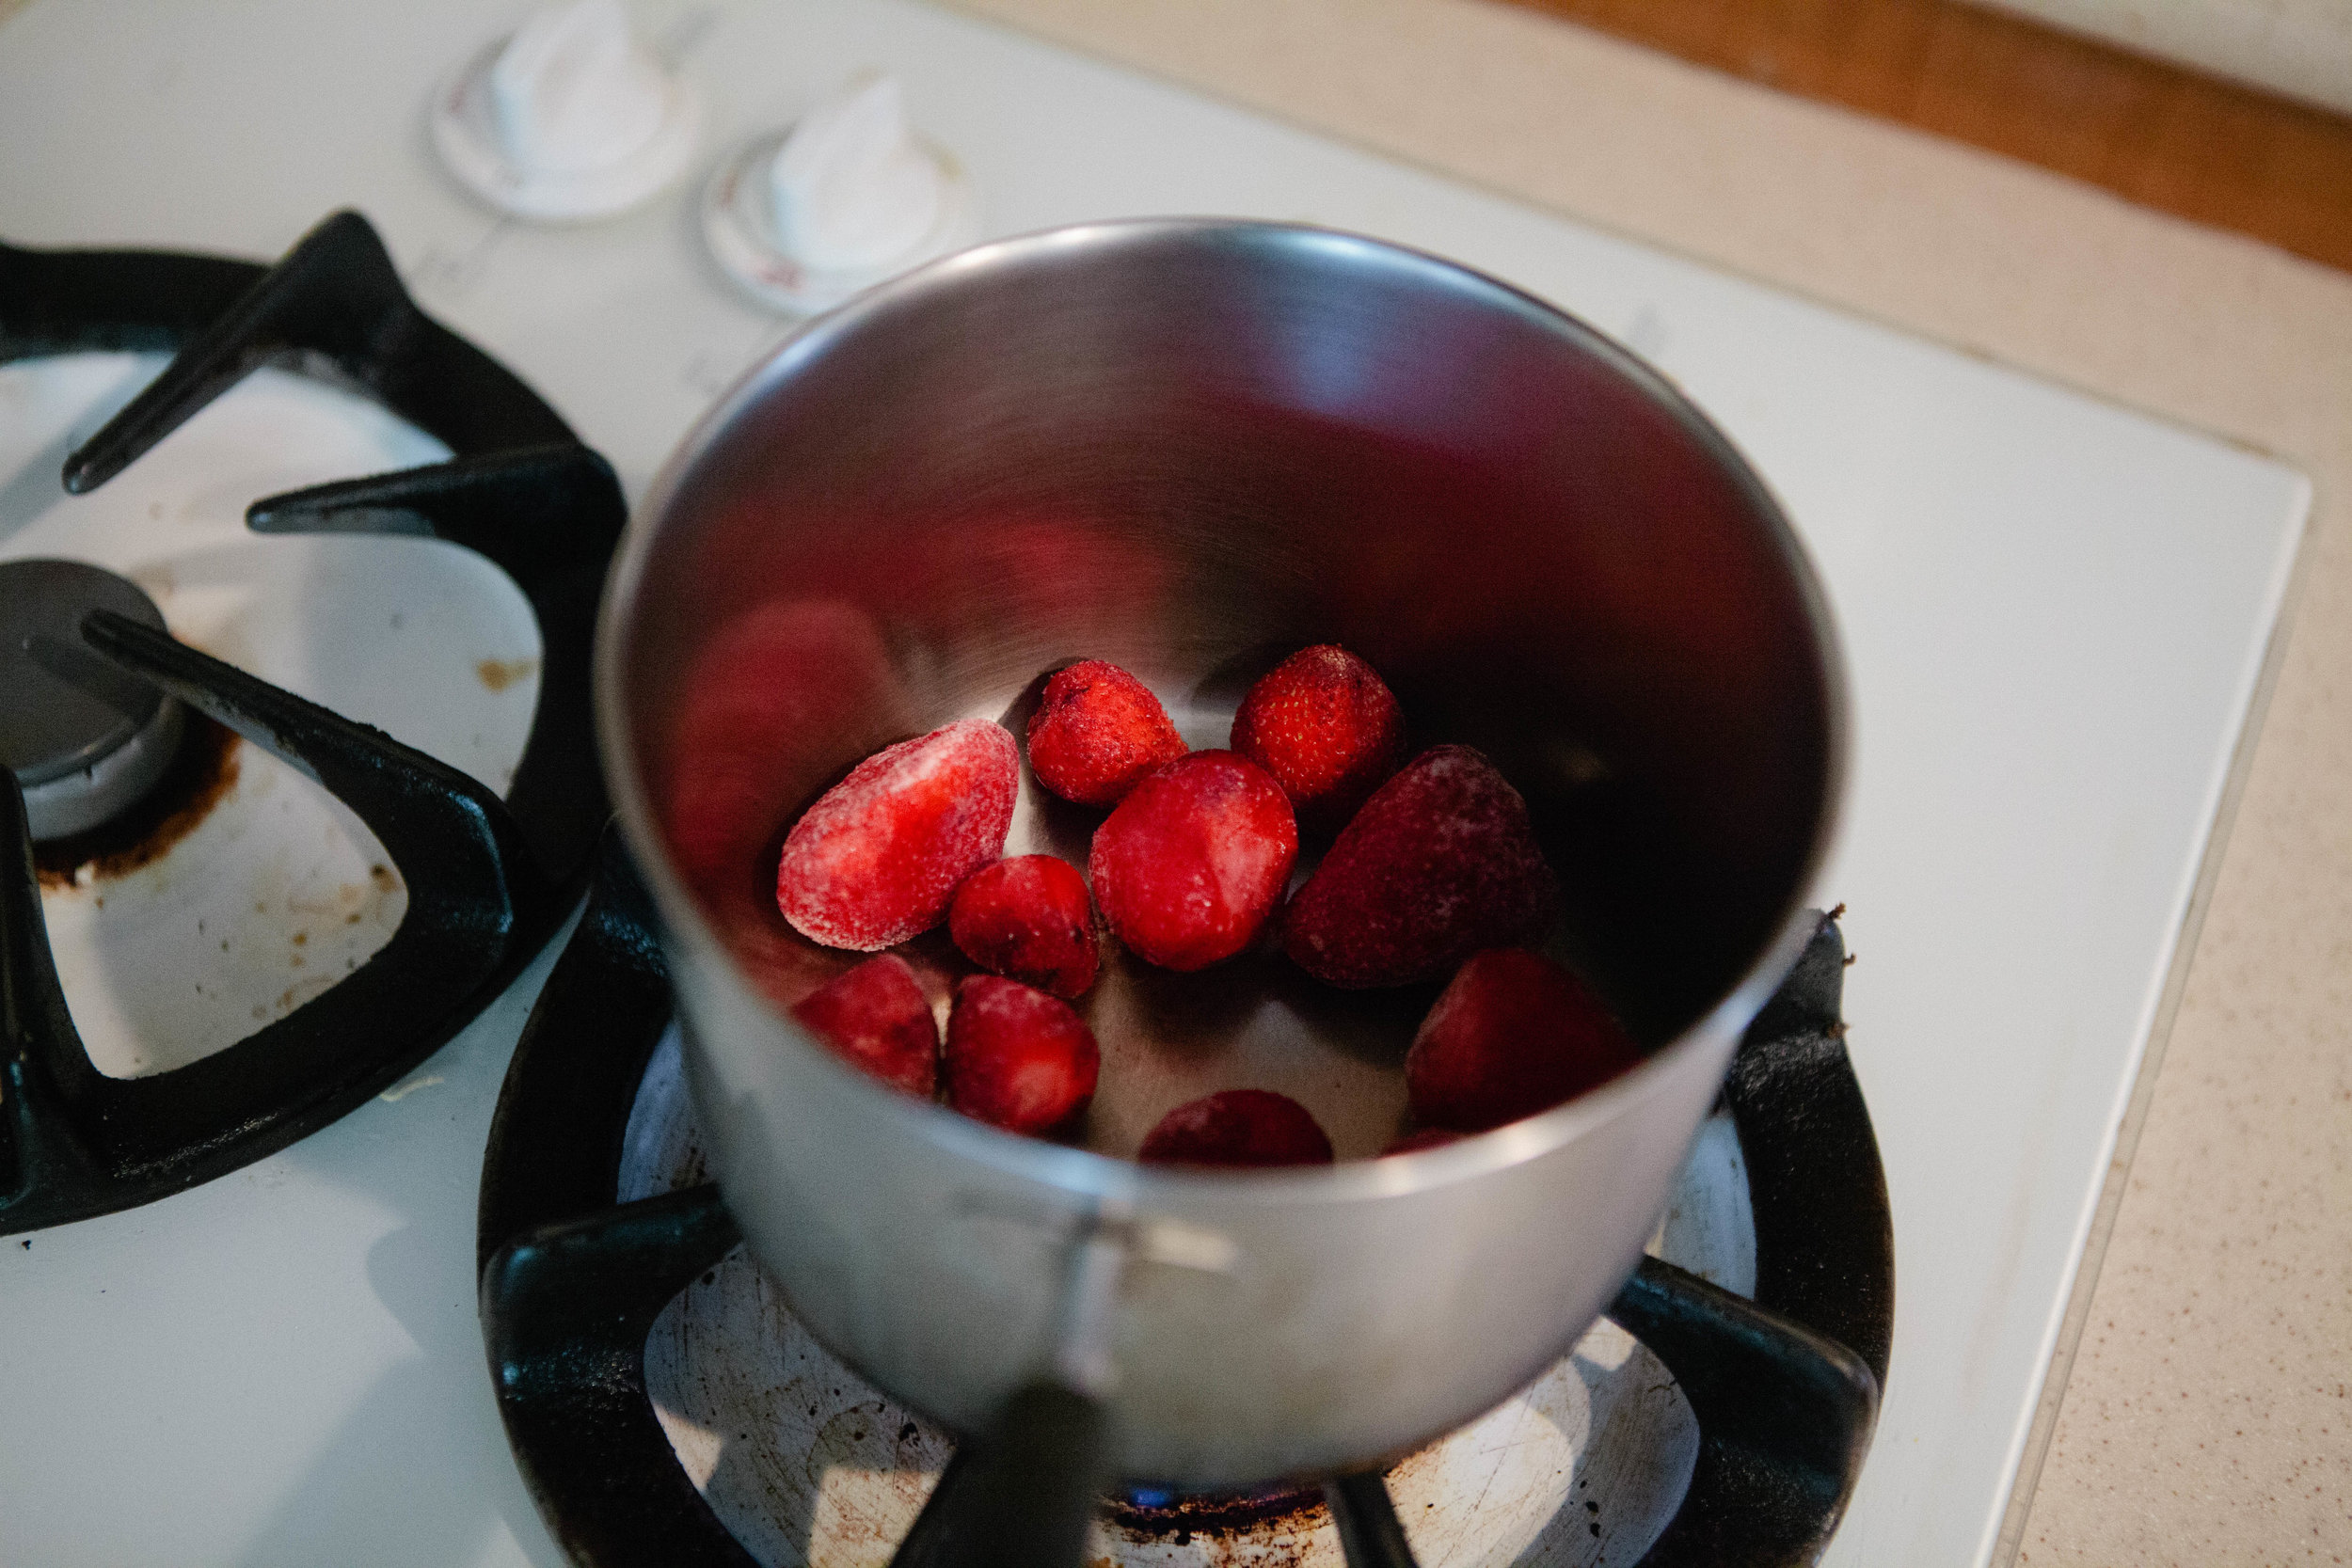
Add 1 heaping cup of frozen strawberries to a pot. Add enough water to cover the bottom. Turn the stove on to medium heat.

Help the berries break apart by stirring them with a spoon. 

When they start to get really soft, turn the stove to a low heat simmer.

strawberry-gummies-homemade-gummy-snacks-gaps-legal-gummies-gummy-snack-made-with-gelatin-diy-gummy-bear

Blend softened berries and lemon juice in a blender.

strawberry-gummies-homemade-gummy-snacks-gaps-legal-gummies-gummy-snack-made-with-gelatin-diy-gummy-bear

Once smooth, add back into pot. Add in gelatin and acerola cherry powder. Whisk well for about ten minutes until all combined.

Add honey at the end so that you are not cooking the honey.

strawberry-gummies-homemade-gummy-snacks-gaps-legal-gummies-gummy-snack-made-with-gelatin-diy-gummy-bear

Pour into a glass baking dish.

If you are adding a probiotic powder, make sure your mixture is cooled enough to where you can easily leave a finger in it before adding the powder. This will ensure you do not kill the probiotics.

strawberry-gummies-homemade-gummy-snacks-gaps-legal-gummies-gummy-snack-made-with-gelatin-diy-gummy-bear

Set in fridge to chill. Gummies should be chilled in about 40 minutes. Slice around the sides and cut into cubes to remove from glass pan.

Homemade Gummy Snacks

prep time: cook time: total time:

ingredients:

  • 1 heaping cup frozen berries
  • 1/2 Cup lemon juice
  • 1/4 Cup grass fed gelatin
  • 3-4 Tbsp.. Acerola cherry powder
  • 1 tbsp honey

instructions:

How to cook Homemade Gummy Snacks

  1. Add 1 heaping cup of frozen strawberries to a pot. Add enough water to cover the bottom. Turn the stove on to medium heat.
  2. Help the berries break apart by stirring them with a spoon.
  3. When they start to get really soft, turn the stove to a low heat simmer.
  4. Blend softened berries and lemon juice in a blender.
  5. Once smooth, add back into pot. Add in gelatin and acerola cherry powder. Whisk well for about ten minutes until all combined.
  6. Add honey at the end so that you are not cooking the honey.
  7. Pour into a glass baking dish.
  8. If you are adding a probiotic powder, make sure your mixture is cooled enough to where you can easily leave a finger in it before adding the powder. This will ensure you do not kill the probiotics.
  9. Set in fridge to chill. Gummies should be chilled in about 40 minutes. Slice around the sides and cut into cubes to remove from glass pan.
Created using The Recipes Generator
34.png

Chocolate Fudge Made with Coconut

GAPS Legal Chocolate Peppermint Coconut Fudge and Citrus Coconut Fudge

The GAPS Legal Fudge is a delicious holiday recipe and easy to share with family and friends! This recipe comes together quickly, besides the melting of the coconut butter and oil. I like making this recipe on a snowy day because it’s fun to chill the pans in a snowbank! It makes me feel like a pioneer.

For the citrus fudge, you can use any citrus you like. I prefer orange. You can also use all shredded coconut if you like. I prefer a little crunch in my fudge and like to add the flakes.You can make these flavors on their own and keep them separate. However, I prefer the two flavors together.

To combine the flavors, make the chocolate peppermint fudge first and put it in the freezer for 10 minutes to chill rapidly while you make the citrus fudge. Once chilled, pour the citrus fudge over the top and chill again.The fudge keeps for quite a while and doesn’t melt easily at room temperature. Even so, storing in the fridge is best.Enjoy!

Chocolate Peppermint Coconut Fudge

Ingredients for chocolate peppermint coconut fudge

  • ½ cup coconut butter

  • ½ cup coconut oil

  • ½ cup cocoa powder

  • ½ cup honey

  • 2 tsp peppermint extract or 2 drops peppermint oil

  • 1 tsp vanilla extract

  • 3/4 cup shredded coconut

  • ¼ cup coconut flakes

Directions for chocolate peppermint coconut fudge

This GAPS Legal Coconut Fudge comes in two flavors, citrus and peppermint. You can make the flavors separately but I prefer them layered together. Use coconut butter, coconut oil and coconut flakes for a delicious gluten free, dairy free and GAPS le…

Melt coconut butter on medium heat by adding water to the bottom of a pot and placing jar on top. Or add jar and water to crockpot and heat for two hours until melted.

Melt coconut oil in a separate pot. Crush coconut flakes into smaller pieces.

This GAPS Legal Coconut Fudge comes in two flavors, citrus and peppermint. You can make the flavors separately but I prefer them layered together. Use coconut butter, coconut oil and coconut flakes for a delicious gluten free, dairy free and GAPS le…

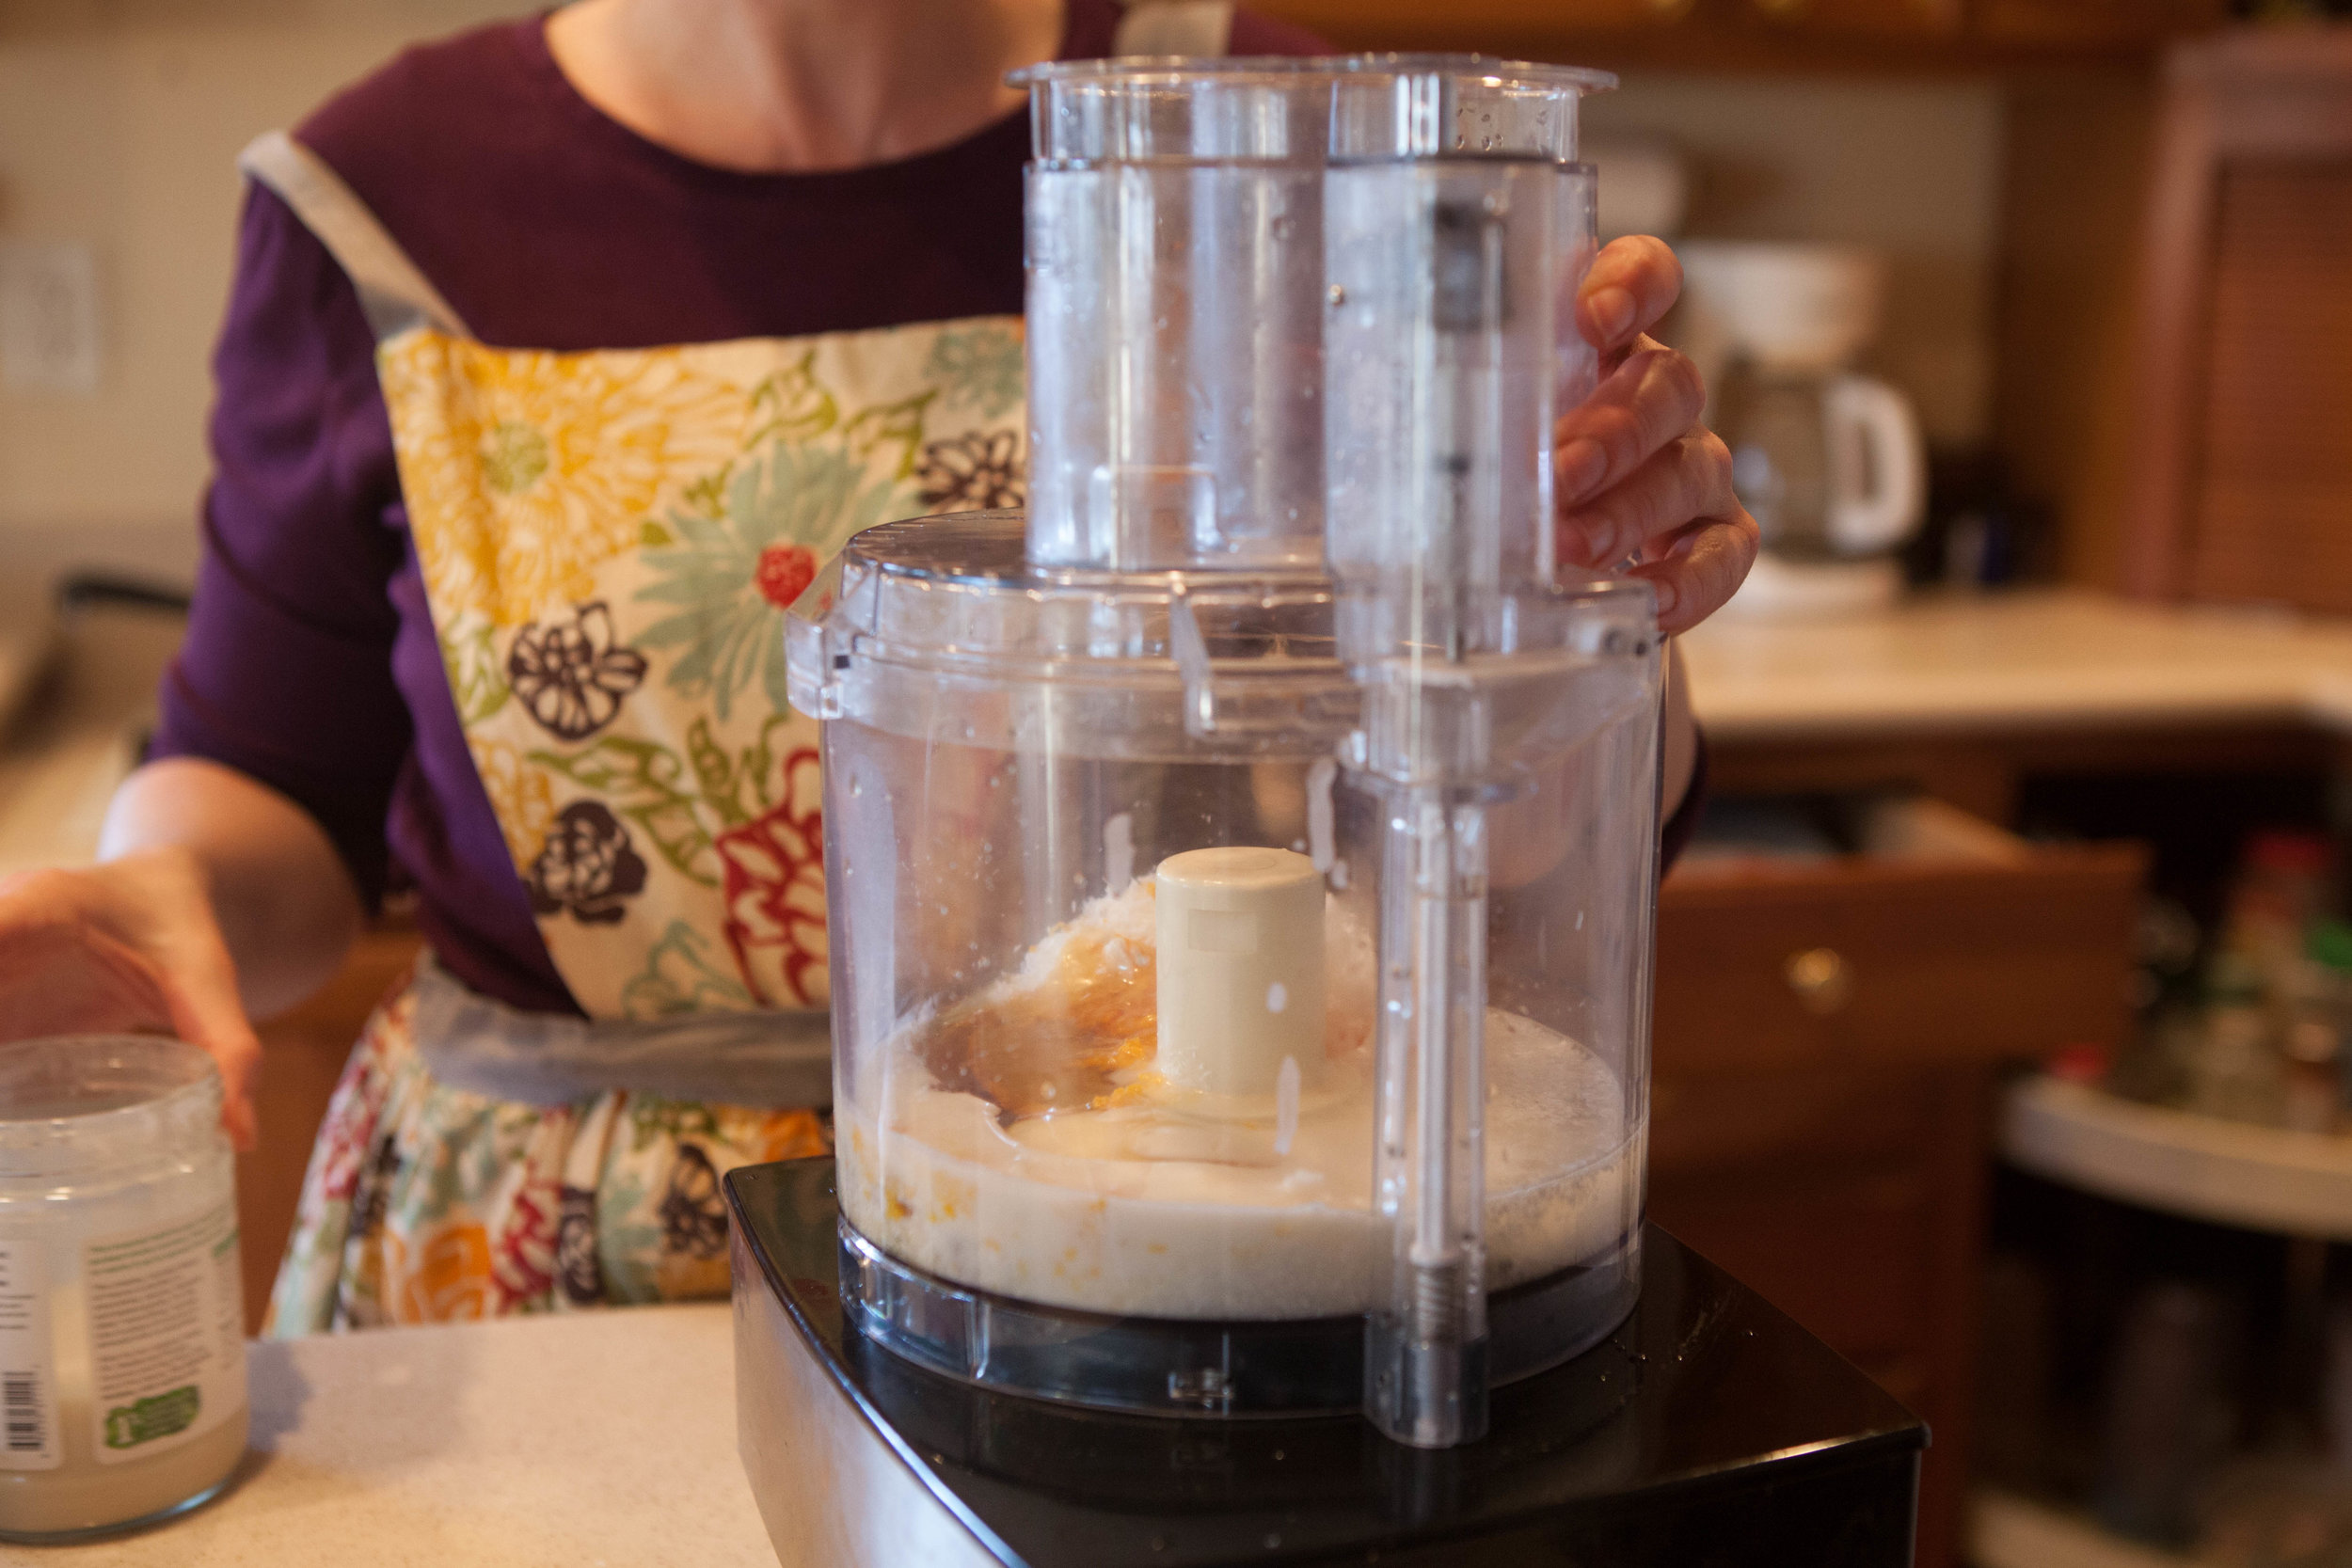
Combine coconut butter, coconut oil, cocoa powder, honey, peppermint, vanilla, shredded coconut and coconut flakes into a food processor.

This GAPS Legal Coconut Fudge comes in two flavors, citrus and peppermint. You can make the flavors separately but I prefer them layered together. Use coconut butter, coconut oil and coconut flakes for a delicious gluten free, dairy free and GAPS le…

Spread mixture into a pan.Chill for 30 minutes.

Add hot water to the sink. Float pan in mixture approx 1 minute until mixture releases from sides. Dip a knife in hot water then slice fudge into pieces.

How to Make Citrus coconut Fudge

Ingredients for citrus coconut fudge

  • ½ cup coconut butter

  • ½ cup coconut oil

  • ⅓ cup raw honey

  • 1 tbsp citrus zest

  • 2 tbs citrus juice

  • 3/4 cup shredded coconut

  • ¼ cup Coconut Flakes

Directions for citrus coconut fudge

This GAPS Legal Coconut Fudge comes in two flavors, citrus and peppermint. You can make the flavors separately but I prefer them layered together. Use coconut butter, coconut oil and coconut flakes for a delicious gluten free, dairy free and GAPS le…

Melt coconut butter on medium heat by adding water to the bottom of a pot and placing jar on top. Or add jar and water to crockpot and heat for two hours until melted. Melt coconut oil in a separate pot.

This GAPS Legal Coconut Fudge comes in two flavors, citrus and peppermint. You can make the flavors separately but I prefer them layered together. Use coconut butter, coconut oil and coconut flakes for a delicious gluten free, dairy free and GAPS le…

Combine coconut butter, coconut oil, cocoa powder, honey, peppermint, and vanilla into a food processor.

This GAPS Legal Coconut Fudge comes in two flavors, citrus and peppermint. You can make the flavors separately but I prefer them layered together. Use coconut butter, coconut oil and coconut flakes for a delicious gluten free, dairy free and GAPS le…

Spread mixture into a pan.Chill for 30 minutes.

This GAPS Legal Coconut Fudge comes in two flavors, citrus and peppermint. You can make the flavors separately but I prefer them layered together. Use coconut butter, coconut oil and coconut flakes for a delicious gluten free, dairy free and GAPS le…

Add hot water to the sink. Float pan in mixture approx 1 minute until mixture releases from sides. Dip a knife in hot water then slice fudge into pieces.


Chocolate Peppermint Fudge

Author:
prep time: cook time: total time:

ingredients:

  • ½ cup coconut butter
  • ½ cup coconut oil
  • ½ cup cocoa powder
  • ½ cup honey
  • 2 tsp peppermint extract or 2 drops peppermint oil
  • 1 tsp vanilla extract
  • 3/4 cup shredded coconut
  • ¼ cup coconut flakes

instructions:

How to cook Chocolate Peppermint Fudge

  1. Melt coconut butter on medium heat by adding water to the bottom of a pot and placing jar on top. Or add jar and water to crockpot and heat for two hours until melted.
  2. Melt coconut oil in a separate pot. Crush coconut flakes into smaller pieces.
  3. Combine coconut butter, coconut oil, cocoa powder, honey, peppermint, vanilla, shredded coconut and coconut flakes into a food processor.
  4. Spread mixture into a pan.Chill for 30 minutes.
  5. Add hot water to the sink. Float pan in mixture approx 1 minute until mixture releases from sides. Dip a knife in hot water then slice fudge into pieces.
Created using The Recipes Generator

Citrus Coconut Fudge

Author:
prep time: cook time: total time:

ingredients:

  • ½ cup coconut butter
  • ½ cup coconut oil
  • ⅓ cup raw honey
  • 1 tbsp citrus zest
  • 2 tbs citrus juice
  • 3/4 cup shredded coconut
  • ¼ cup Coconut Flakes

instructions:

How to cook Citrus Coconut Fudge

  1. Melt coconut butter on medium heat by adding water to the bottom of a pot and placing jar on top. Or add jar and water to crockpot and heat for two hours until melted. Melt coconut oil in a separate pot.
  2. Combine coconut butter, coconut oil, cocoa powder, honey, peppermint, and vanilla into a food processor.
  3. Spread mixture into a pan. Chill for 30 minutes.
  4. Add hot water to the sink. Float pan in mixture approx 1 minute until mixture releases from sides. Dip a knife in hot water then slice fudge into pieces.
Created using The Recipes Generator

Brownies Made with Dates

Dairy Free, Gluten Free, GAPS Legal Brownies Made with Dates

While these brownies are not as sweet as conventional brownies, they were deemed by some tasters on the GAPS Diet as being “Better than Brownies.” These GAPS legal brownies are dairy free, gluten free, sugar free, and egg free.

Even better, besides the 24 hour fermentation time needed for the almond flour, these brownies can be made very quickly! These brownies actually get better over time so it’s actually better to make them a day before to let the flavors meld. They would be delicious eaten alongside homemade ice cream or with homemade whipped cream and fruit.

Better Than Brownies - GAPS Legal Brownies

Ingredients for brownies made from dates

  • 2 cups of almond flour

  • 5 tablespoons Whey

  • 18 dates

  • ½ cup Filtered Water

  • 1/2 cup Coconut Oil + extra to grease the baking dish

  • ¼ cup Cacao Powder

  • ½ tsp Vanilla Extract

  • ¼ cup Cacao Nibs (optional)

  • ¼ cup Crispy Nuts (optional)

Directions for brownies made from dates

24 Hours Before:

These GAPS legal brownies were deemed as better than brownies. They are gluten free, dairy free, sugar free, egg free, and made with fermented almond flour and dates. Recipe by certified GAPS Practitioner Amy Mihaly, Be Well Clinic.

Add almond flour and cacao powder to a bowl. Use a fork to get rid of almond flour clumps.Add whey and stir to moisten.Cover and leave on counter to ferment for 24 hours.

The Next Day:

These GAPS legal brownies were deemed as better than brownies. They are gluten free, dairy free, sugar free, egg free, and made with fermented almond flour and dates. Recipe by certified GAPS Practitioner Amy Mihaly, Be Well Clinic.

Cut up 18 dates, removing the inner pit.Add ½ cup Filtered Water.

These GAPS legal brownies were deemed as better than brownies. They are gluten free, dairy free, sugar free, egg free, and made with fermented almond flour and dates. Recipe by certified GAPS Practitioner Amy Mihaly, Be Well Clinic.

Cook on low heat until dates are soft and water is absorbed, about 4-6 minutes. (think like making applesauce.) Watch closely to make sure dates don’t burn. You may need to add more water as you go depending on how dry your dates are so they’re able to fully hydrate without burning. Be sure not to add too much or it will thin the eventual date paste.

These GAPS legal brownies were deemed as better than brownies. They are gluten free, dairy free, sugar free, egg free, and made with fermented almond flour and dates. Recipe by certified GAPS Practitioner Amy Mihaly, Be Well Clinic.

When dates are soft, turn off the heat. Puree the mixture in the pot with an immersion blender or add to a blender or food processor until smooth. The smoother the date texture, the more appealing the brownies!Preheat oven to 350.Grease a baking dish or pie pan with coconut oil. Do not use a metal baking dish or the edges will burn.

These GAPS legal brownies were deemed as better than brownies. They are gluten free, dairy free, sugar free, egg free, and made with fermented almond flour and dates. Recipe by certified GAPS Practitioner Amy Mihaly, Be Well Clinic.

Combine coconut oil and dates into the almond flour mixture. If you’re using a blender, add the coconut oil to the blender and blend until smooth before adding to the flour mixture. Optionally, add cacao nibs and crispy nuts.

These GAPS legal brownies were deemed as better than brownies. They are gluten free, dairy free, sugar free, egg free, and made with fermented almond flour and dates. Recipe by certified GAPS Practitioner Amy Mihaly, Be Well Clinic.

Stir the mixture until smooth, being sure to get all the clumps out. You want the mixture to be as smooth as possible. The batter will be thick. Add batter to greased baking sheet and smooth out.

These GAPS legal brownies were deemed as better than brownies. They are gluten free, dairy free, sugar free, egg free, and made with fermented almond flour and dates. Recipe by certified GAPS Practitioner Amy Mihaly, Be Well Clinic.

Bake for 45 minutes until the knife comes out clean. Check after 30 minutes. Serve and enjoy!

Notes:

  • Instead of date paste, you can use applesauce but the brownies will not be as sweet and you will need to make your own applesauce that is thick so it creates the right consistency.

  • These brownies get better with age!

  • These are dairy free, gluten free, sugar free, egg free and legal on GAPS.


Brownies Made with Dates

Author:
prep time: cook time: total time:

ingredients:

  • 2 cups of almond flour
  • 5 tablespoons Whey
  • 18 dates
  • ½ cup Filtered Water
  • 1/2 cup Coconut Oil + extra to grease the baking dish
  • ¼ cup Cacao Powder
  • ½ tsp Vanilla Extract
  • ¼ cup Cacao Nibs (optional)
  • ¼ cup Crispy Nuts (optional)

instructions:

How to cook Brownies Made with Dates

24 Hours in Advance
  1. Add almond flour and cacao powder to a bowl. Use a fork to get rid of almond flour clumps.Add whey and stir to moisten.Cover and leave on counter to ferment for 24 hours.
The Next Day
  1. Cut up 18 dates, removing the inner pit. Add ½ cup Filtered Water.
  2. Cook on low heat until dates are soft and water is absorbed, about 4-6 minutes. (think like making applesauce.) Watch closely to make sure dates don’t burn. You may need to add more water as you go depending on how dry your dates are so they’re able to fully hydrate without burning. Be sure not to add too much or it will thin the eventual date paste.
  3. When dates are soft, turn off the heat. Puree the mixture in the pot with an immersion blender or add to a blender or food processor until smooth. The smoother the date texture, the more appealing the brownies!Preheat oven to 350.Grease a baking dish or pie pan with coconut oil. Do not use a metal baking dish or the edges will burn.
  4. Combine coconut oil and dates into the almond flour mixture. If you’re using a blender, add the coconut oil to the blender and blend until smooth before adding to the flour mixture. Optionally, add cacao nibs and crispy nuts.
  5. Stir the mixture until smooth, being sure to get all the clumps out. You want the mixture to be as smooth as possible. The batter will be thick. Add batter to greased baking sheet and smooth out.
  6. Bake for 45 minutes until the knife comes out clean. Check after 30 minutes. Serve and enjoy!
  7. Notes:
  8. Instead of date paste, you can use applesauce but the brownies will not be as sweet and you will need to make your own applesauce that is thick so it creates the right consistency.
  9. These brownies get better with age!
  10. These are dairy free, gluten free, sugar free, egg free and legal on GAPS.
Created using The Recipes Generator

GAPS Friendly Marshmallow Recipe

What if I told you that you could have a treat that is GAPS legal AND is good for you??? The GAPS marshmallow does just that. This simple treat is basically made up of gelatin, honey, water and optional vanilla. You can use this treat to get extra gelatin if you are needing that. Just reduce the amount of honey*. And they are simple to make!

GAPS Friendly MARSHMALLOWS Ingredients

  • 2 cups honey

  • 1 cup of filtered water

  • 2 tsp vanilla (optional)

  • 1/2 tsp sea salt

  • 6 TBS grass-fed beef gelatin

  • 1 cup of filtered water

Directions for making your own marshmallows

IMG_1823.jpg

Soften the Gelatin by adding gelatin to 1 cup of hot water. Stir and allow to sit. Keep it warm but not on the stove.

While gelatin is softening… Heat honey and water in a medium saucepan (medium to high heat), stirring frequently, until it reaches the soft ball candy stage (about 235°F).

IMG_1854.jpg

If you don’t have a thermometer, you can check by dripping the heated honey into a glass of cold water. When the candy forms a ball, it is ready!

When the honey has reached the soft ball stage, remove from heat.

Add the heated honey mixture to the softened gelatin in a large bowl.

Add vanilla (optional)

Do these steps quickly, you don’t want honey mixture to cool off too much!

IMG_1927.jpg

Whisk the mixture using an electric mixer or stand mixer for about 10 minutes. When the mixture is thick and looks like marshmallow paste, it’s done!

IMG_1987.jpg

Put the marshmallow paste in a greased and parchment paper-lined glass 9x11 dish and allow to cool and dry for 24-36 hrs. Then cut up and serve.
These marshmallows won't have exactly the same consistency (and won't roast over the fire quite the same) as store-bought marshmallows, but you can roast them for things like s'mores, and they are delicious! You can also use them to top roasted sweet potatoes or butternut squash or to top your homemade ice cream for a sundae or banana split.

Enjoy!

*As a general rule I don't like to heat honey, as some research has shown that heating it can turn the honey toxic. On the other hand, these marshmallows are a whole lot better than commercially available marshmallows, so I think as a treat they are great! I still recommend using raw honey for these recipes, you will be heating it much less than most non-raw honey is heated.


Homemade Marshmallows

Author:
prep time: cook time: total time:

ingredients:

  • 2 cups honey
  • 1 cup of filtered water
  • 2 tsp vanilla (optional)
  • 1/2 tsp sea salt
  • 6 TBS grass-fed beef gelatin
  • 1 cup of filtered water

instructions:

How to cook Homemade Marshmallows

  1. Soften the Gelatin by adding gelatin to 1 cup of hot water. Stir and allow to sit. Keep it warm but not on the stove.
  2. While gelatin is softening… Heat honey and water in a medium saucepan (medium to high heat), stirring frequently, until it reaches the soft ball candy stage (about 235°F).
  3. If you don’t have a thermometer, you can check by dripping the heated honey into a glass of cold water. When the candy forms a ball, it is ready!
  4. When the honey has reached the soft ball stage, remove from heat.
  5. Add the heated honey mixture to the softened gelatin in a large bowl.
  6. Add vanilla (optional)
  7. Do these steps quickly, you don’t want honey mixture to cool off too much!
  8. Whisk the mixture using an electric mixer or stand mixer for about 10 minutes. When the mixture is thick and looks like marshmallow paste, it’s done!
  9. Put the marshmallow paste in a greased and parchment paper-lined glass 9x11 dish and allow to cool and dry for 24-36 hrs. Then cut up and serve.
  10. These marshmallows won't have exactly the same consistency (and won't roast over the fire quite the same) as store-bought marshmallows, but you can roast them for things like s'mores, and they are delicious! You can also use them to top roasted sweet potatoes or butternut squash or to top your homemade ice cream for a sundae or banana split.
Created using The Recipes Generator

Just two months...

Waiting in my inbox this week was a wonderful surprise!

At my training I had heard rumors, we had initiated discussions, and all of us knew that this would be a great idea... if only someone would do the work. Well, someone has! Coming September 16th, 2014...

The Heal Your Gut Cookbook by Hilary Boynton and Mary Brackett, with foreword by Dr. Natasha Campbell-McBride

This looks like an awesome book! It was created by 2 GAPS parents, and contains over 200 recipes you can use to heal your body--all GAPS legal! Sorting through the myriad of recipes (even GAPS specific recipes) is a challenge for anyone on this diet, including me. I cannot wait for this book to get published so I can get my hands on a copy and start cooking! Although I know it will not do the work for me, it will make the preparing to prepare time shorter. It will also make it easier to answer the "What are we having for dinner" question. And it comes with pictures! Did I mention that? This is almost a must for me when I am purchasing a cookbook. These are available to me on September 1st, and I will be purchasing several. Reserve your copy by contacting me today. You can check out more at http://www.chelseagreen.com/downloads/HealYourGut_PR.pdf  

*I did not receive any compensation for advertising this product