nuts seeds beans

Baked Beans Made with Sprouted Navy Beans

Baked beans are a summer staple! But traditional canned beans are full of sugar and can have MSG. They can also cause flatulence because they are not sprouted. These baked beans are sprouted for maximum nutrition. This recipe also uses real ingredients for a full flavor baked bean! Unlike traditional baked beans, there’s no processed sugars.

These beans are not GAPS legal because of the molasses and maple syrup. They are however gluten and dairy free. These are based on the Nourishing Traditions recipe by Sally Fallon. I wanted to try this recipe as is but I think it would also be delicious to fry bacon and peppers alongside the onions to add into the bean mixture.

This recipe takes a lot of time to make - like two days time! It doesn’t require a lot of active time in the kitchen, however you do need to plan ahead for when you want to enjoy them.

Serve these beans alongside other summer favorites, like barbecue meats or mayo-free deviled eggs for a Real Food BBQ!

Ingredients for Sprouted Baked Beans:

  • 4 cups navy beans, sprouted

  • ½ cup lard or butter

  • 1 onion

  • 3 cloves of Garlic

  • Filtered Water

  • 1 7 oz can of tomato paste

  • 3 tbsp naturally fermented soy sauce

  • 3 tbsp vinegar

  • ¼ cup maple syrup

  • ¼ cup molasses 

  • 1 tsp Sea Salt

Directions for Sprouted Baked Beans:

IMG_4861.jpg

24 hours before, soak the beans in filtered water. Rinse every 12 hours until they grow sprouts.

Bring a large pot of water to boil on the stove. You want to add enough water to cover the beans.

IMG_1454.jpg

Rinse the beans again, moving them in the water with your hand. You want to remove as many of the skins of the beans as you can.

IMG_1444.jpg

Add butter or lard to a large cast iron pan. When melted, add in chopped onion. 

IMG_1458.jpg

Measure out 4 cups of sprouted beans into a large pot. If you have a large quantity of leftover beans that you have sprouted, I suggest freezing them as is in 2 or 4 cup increments OR making another bean recipe like refried beans or chili. 

Add enough filtered water to cover the beans in the pot. Bring to a boil. 

IMG_1464.jpg

Skim the skins off the top of the beans as they float to the top. Preheat the oven to 350.

When the beans are boiling, add in the remaining ingredients.

IMG_1491.jpg

If your large pot is not oven safe, place your beans in a large oven safe dish. Or if you’re like me and can’t find your large oven safe dish, two smaller ones are fine.  

Place the beans in the oven for about 6 hours. 

IMG_1515.jpg

In Colorado, I had to stir and add about a half to a full pint of water to the beans every hour. Make sure you watch them so they don’t burn to the bottom of the pan. These take a lot of water!

After about six hours or when the beans are soft, take them out of the oven and enjoy!


SproutedBakedNavyBeans.png
Author: The Be Well Clinic
Prep time: Cook time: Total time:

Ingredients:

  • 4 cups navy beans, sprouted
  • ½ cup lard or butter
  • 1 onion
  • 3 cloves of Garlic
  • Filtered Water
  • 1 7 oz can of tomato paste
  • 3 tbsp naturally fermented soy sauce
  • 3 tbsp vinegar
  • ¼ cup maple syrup
  • ¼ cup molasses
  • 1 tsp Sea Salt

Instructions:

  1. 24 hours before, soak the beans in filtered water. Rinse every 12 hours until they grow sprouts.
  2. Bring a large pot of water to boil on the stove. You want to add enough water to cover the beans.
  3. Rinse the beans again, moving them in the water with your hand. You want to remove as many of the skins of the beans as you can.
  4. Add butter or lard to a large cast iron pan. When melted, add in chopped onion.
  5. Measure out 4 cups of sprouted beans into a large pot. If you have a large quantity of leftover beans that you have sprouted, I suggest freezing them as is in 2 or 4 cup increments OR making another bean recipe like refried beans or chili.
  6. Add enough filtered water to cover the beans in the pot. Bring to a boil.
  7. Skim the skins off the top of the beans as they float to the top. Preheat the oven to 350.
  8. When the beans are boiling, add in the remaining ingredients.
  9. If your large pot is not oven safe, place your beans in a large oven safe dish. Or if you’re like me and can’t find your large oven safe dish, two smaller ones are fine.
  10. Place the beans in the oven for about 6 hours.
  11. In Colorado, I had to stir and add about a half to a full pint of water to the beans every hour. Make sure you watch them so they don’t burn to the bottom of the pan.
  12. After about six hours or when the beans are soft, take them out of the oven and enjoy!
Created using The Recipes Generator

Roasted Fermented Pumpkin Seeds

Pumpkin seeds are like any seed (or bean or nut.) They should be properly prepared before consuming to neutralize the acid and make them easier to digest. Sprouting your seeds is essentially germinating. Germination changes the chemical structure of the seeds, chemically changing it from a closed off protector of the treasure inside to an open seed ready to bring nutrition.  It’s best to sprout or otherwise properly prepare your seeds to allow more nutrition to be bioavailable to you.

Pumpkin seeds also have an especially helpful quality in that they help rid your body of parasites by attacking the parasites and intestinal worms. If you suspect you have parasites or worms, consuming pumpkin seeds is a good idea. However, be sure to take it slow and don’t overdo it.

Ingredients for Fermented Pumpkin Seeds:

  • 3 small pumpkins

  • ½ tsp Real Salt

  • Water

Directions for Fermented Pumpkin Seeds:

Fermented pumpkin seeds can help your digestion by getting rid of parasites in your gut. Improve your gut health with this GAPS Diet legal recipe for fermented pumpkin seeds. Recipe by Amy Mihaly, Certified GAPS Practitioner in Colorado.

Cut the pumpkins in half.

Fermented pumpkin seeds can help your digestion by getting rid of parasites in your gut. Improve your gut health with this GAPS Diet legal recipe for fermented pumpkin seeds. Recipe by Amy Mihaly, Certified GAPS Practitioner in Colorado.

Remove the seeds from the inside and separate from the pumpkin flesh.

Fermented pumpkin seeds can help your digestion by getting rid of parasites in your gut. Improve your gut health with this GAPS Diet legal recipe for fermented pumpkin seeds. Recipe by Amy Mihaly, Certified GAPS Practitioner in Colorado.

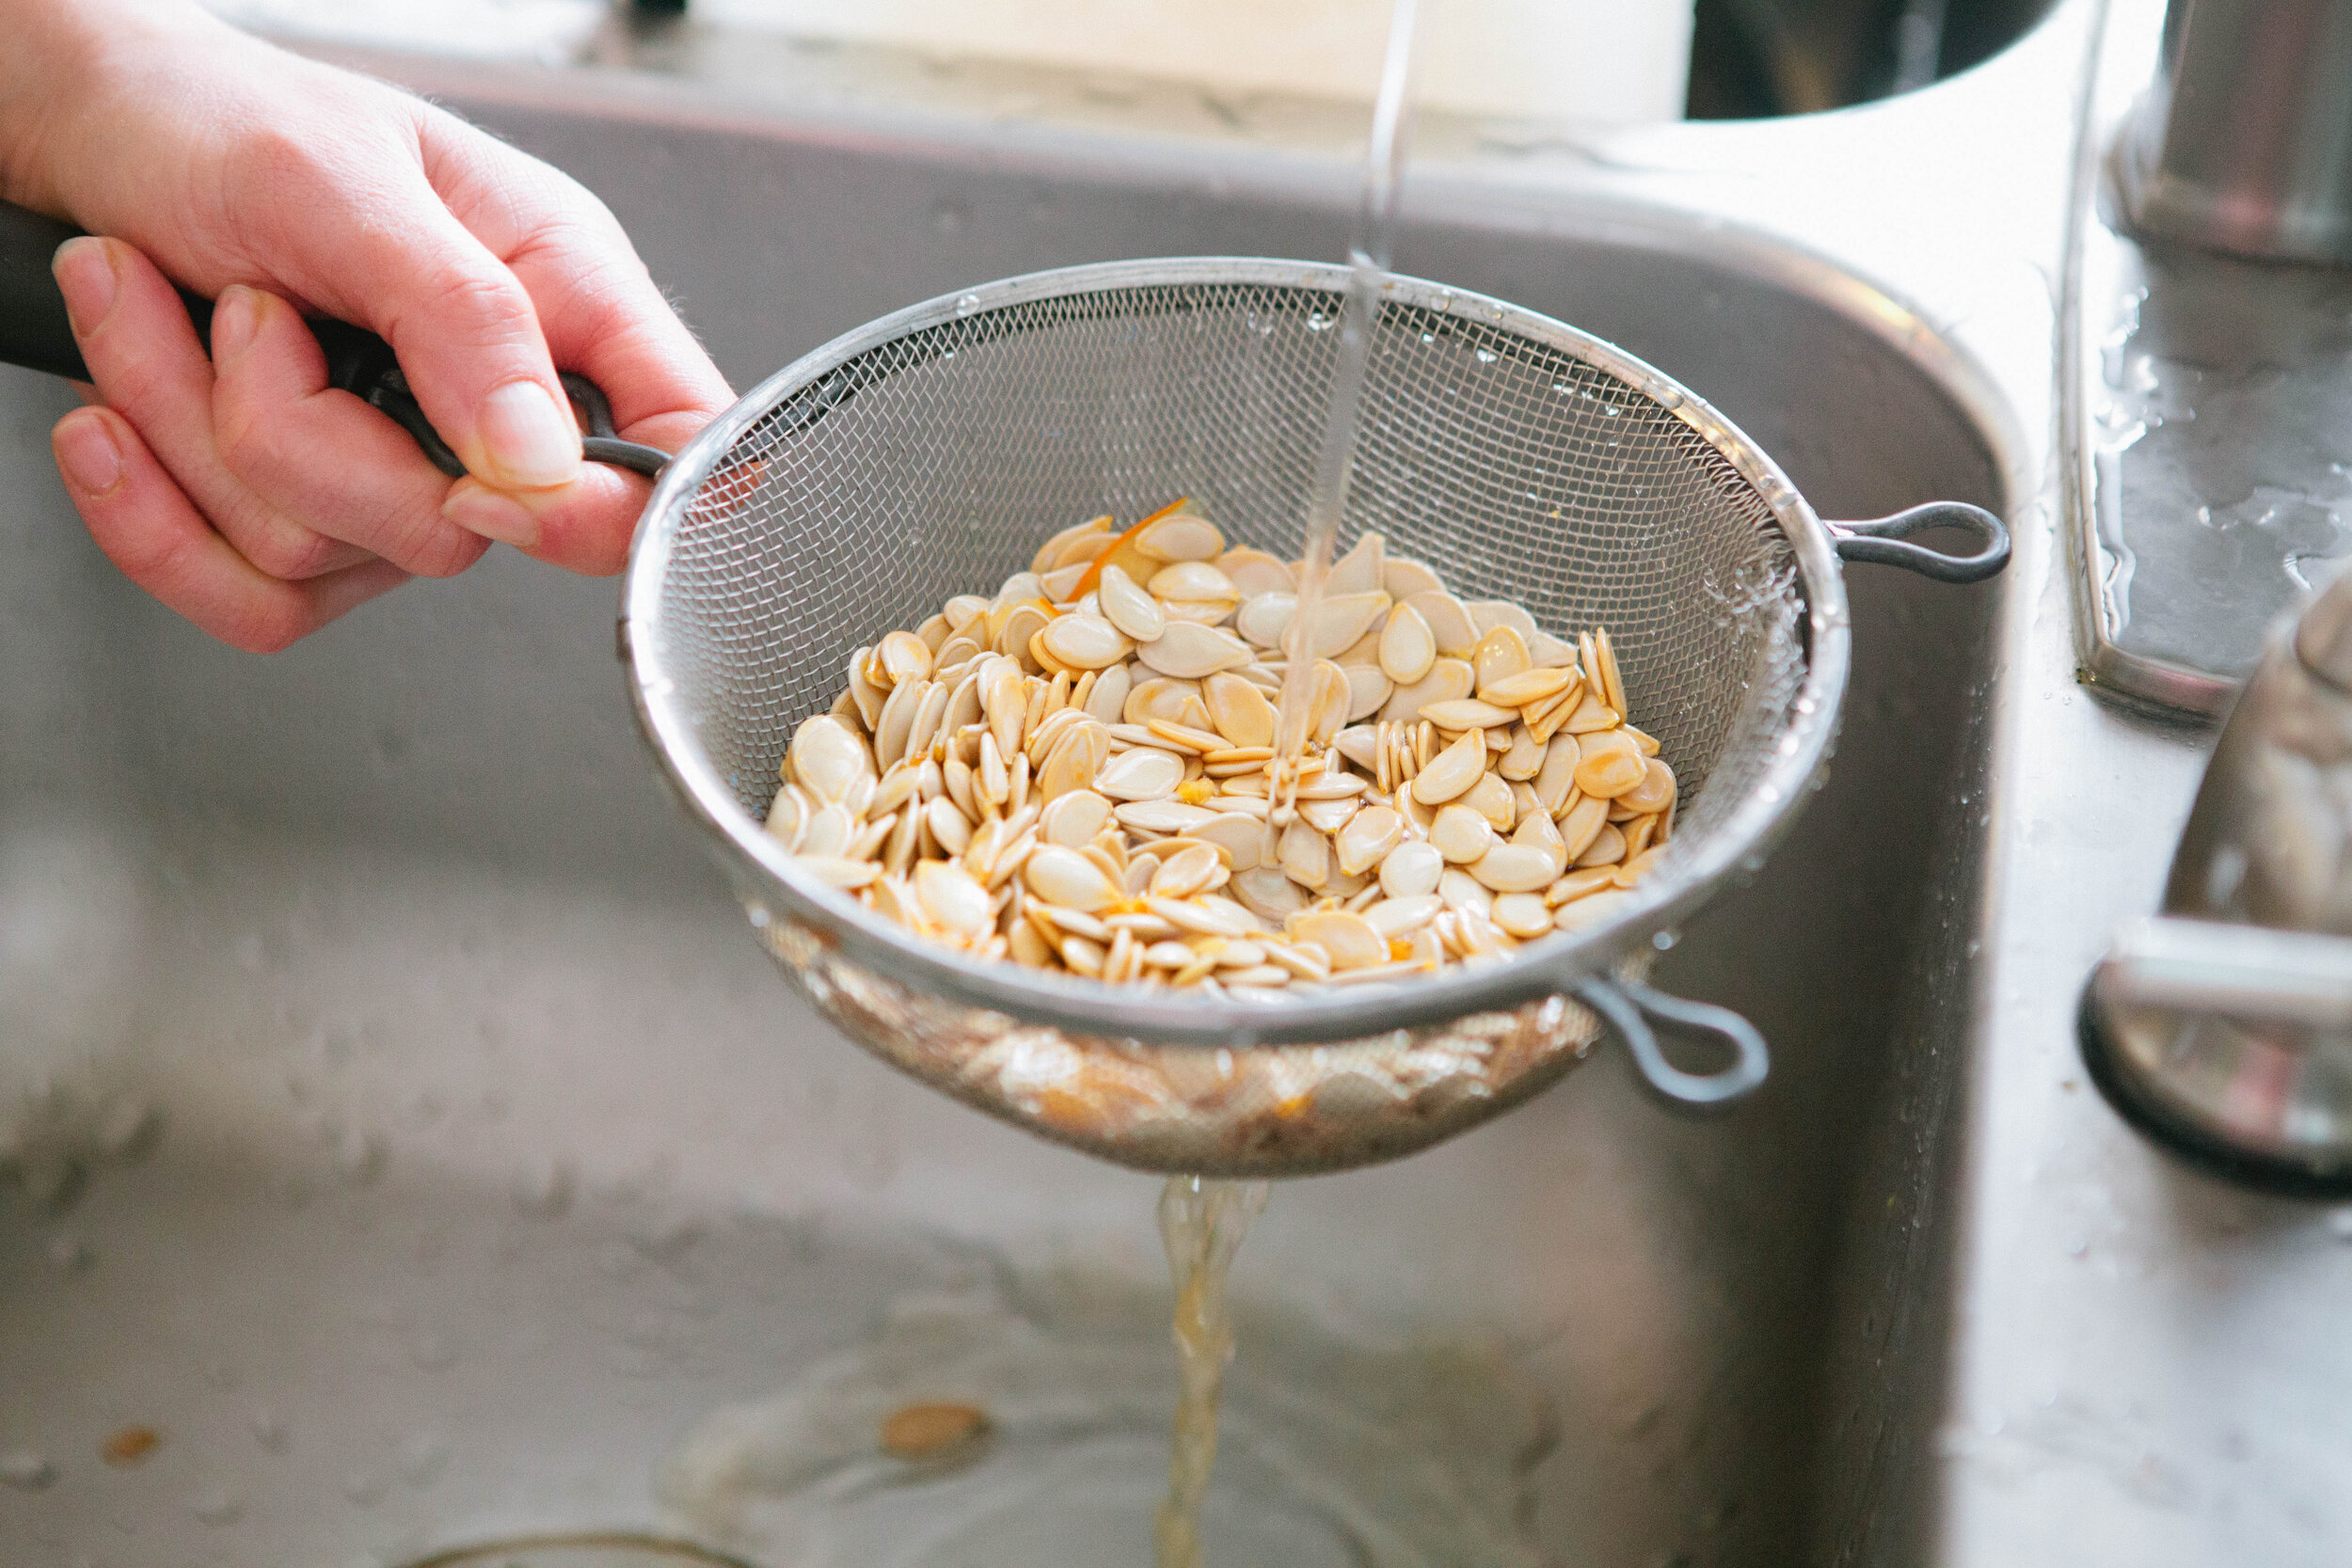
Rinse the pumpkin seeds.

Fermented pumpkin seeds can help your digestion by getting rid of parasites in your gut. Improve your gut health with this GAPS Diet legal recipe for fermented pumpkin seeds. Recipe by Amy Mihaly, Certified GAPS Practitioner in Colorado.

Add the pumpkin seeds to a jar.

Cover the seeds with water, add salt and shake. Place in a sunny location and leave to soak overnight. As long as the jar is closed tightly, these can be put up next to other ferments.

Drain and rinse in the morning. Fill with new water.

Repeat draining, rinsing and adding new water until tiny sprouts have formed.

Rinse one final time. Season with salt and roast in the oven at 250 for several hours until cooked.


Roasted Fermented Pumpkin Seeds

Author:
prep time: cook time: total time:

ingredients:

  • 3 small pumpkins
  • ½ tsp Real Salt
  • Water

instructions:

How to cook Roasted Fermented Pumpkin Seeds

  1. Cut the pumpkins in half.
  2. Remove the seeds from the inside and separate from the pumpkin flesh.
  3. Rinse the pumpkin seeds.
  4. Add the pumpkin seeds to a jar.
  5. Cover the seeds with water, add salt and shake. Place in a sunny location and leave to soak overnight. As long as the jar is closed tightly, these can be put up next to other ferments.
  6. Drain and rinse in the morning. Fill with new water.
  7. Repeat draining, rinsing and adding new water until tiny sprouts have formed.
  8. Rinse one final time. Season with salt and roast in the oven at 250 for several hours until cooked.
Created using The Recipes Generator
RoastedFermentedPumpkinSeeds.png

Sprouted Refried Navy Beans Recipe

Beans make everything delicious! The old adage about beans isn’t true. If you’re worried about the unsightly smells and noises that beans so often bring, worry no more. The reason that beans are known for producing flatulence is because of the strong anti-nutrients present in the bean seed. Once you properly prepare these beans, the anti-nutrients are no longer present so there’s no reason for any symptoms.  When they’re properly prepared and you can tolerate them, navy beans are a good addition to your diet. If you do experience flatulence while eating the beans, it means your body is not ready for the starch and you still have work to do on your gut flora. 

Even if you are tolerating them well, remember that beans are a starch and should always be consumed alongside a generous amount of animal fat. 

These are great served with anything that has a Mexican theme with them. I like them next to eggs, like a Huervos Rancheros sort of feel.

IMG_5209.jpg

You can freeze this recipe into smaller portion sizes so that you can pull it out quickly to use as a side for a meal. I tried freezing this in muffin tins since they are about the correct proportion of a serving of beans. I lined the muffin tin with unbleached large baking cups and then scooped beans into them. I let them freeze over a weekend and then took them out of the muffin tin and placed them in a gallon bag to protect them from freezer burn. 

Makes about 12 servings

Ingredients for Sprouted Refried Beans

  • 6 cups sprouted navy beans

  • ½ onion

  • ½ jalapeno

Directions for Sprouted Refried Beans

IMG_4871.jpg

Add sprouted navy beans to a large pot.

IMG_4975.jpg

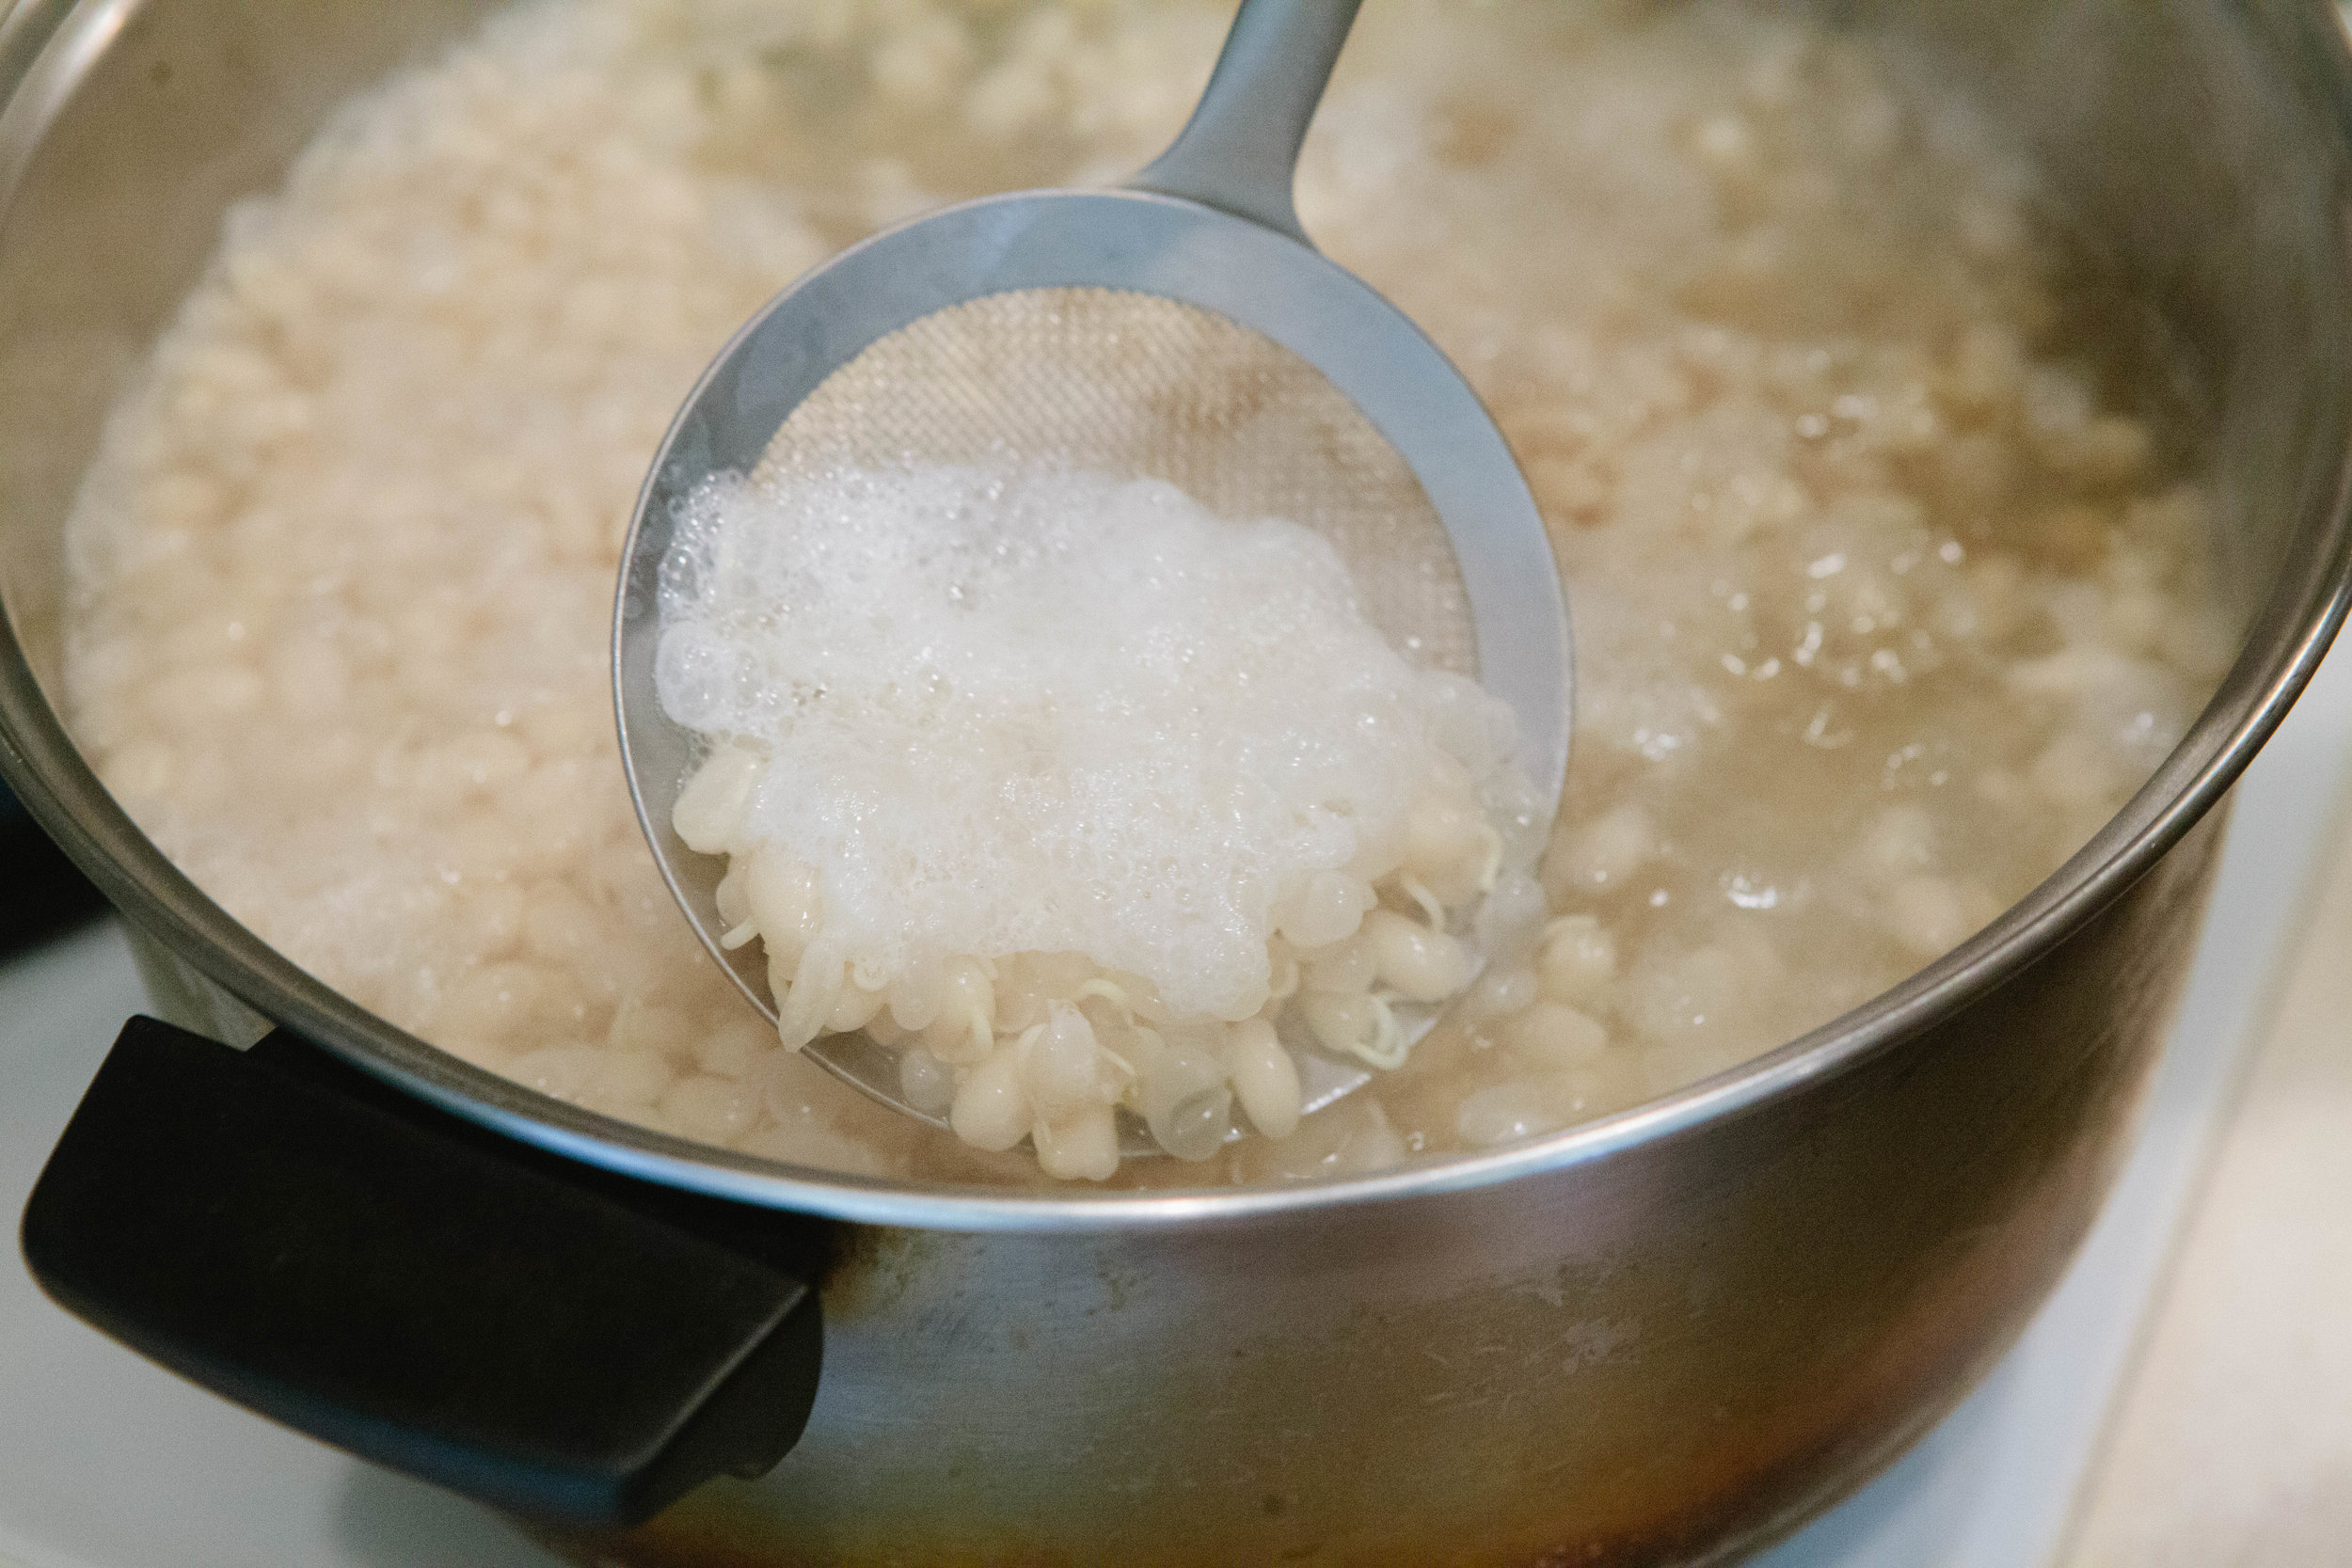
Bring to a boil and cook for about 2 hours until the beans are very soft. The beans will foam as they cook. You can skim the foam and the extra bean pods off of the top if you’d like. Just be sure not to scoop out any of your good sprouted beans!

Add onion and jalapeno into the pot once beans are soft. If too much water is gone, add a little bit into the pot so you don’t scorch the beans on the bottom of the pot. 

IMG_5126.jpg

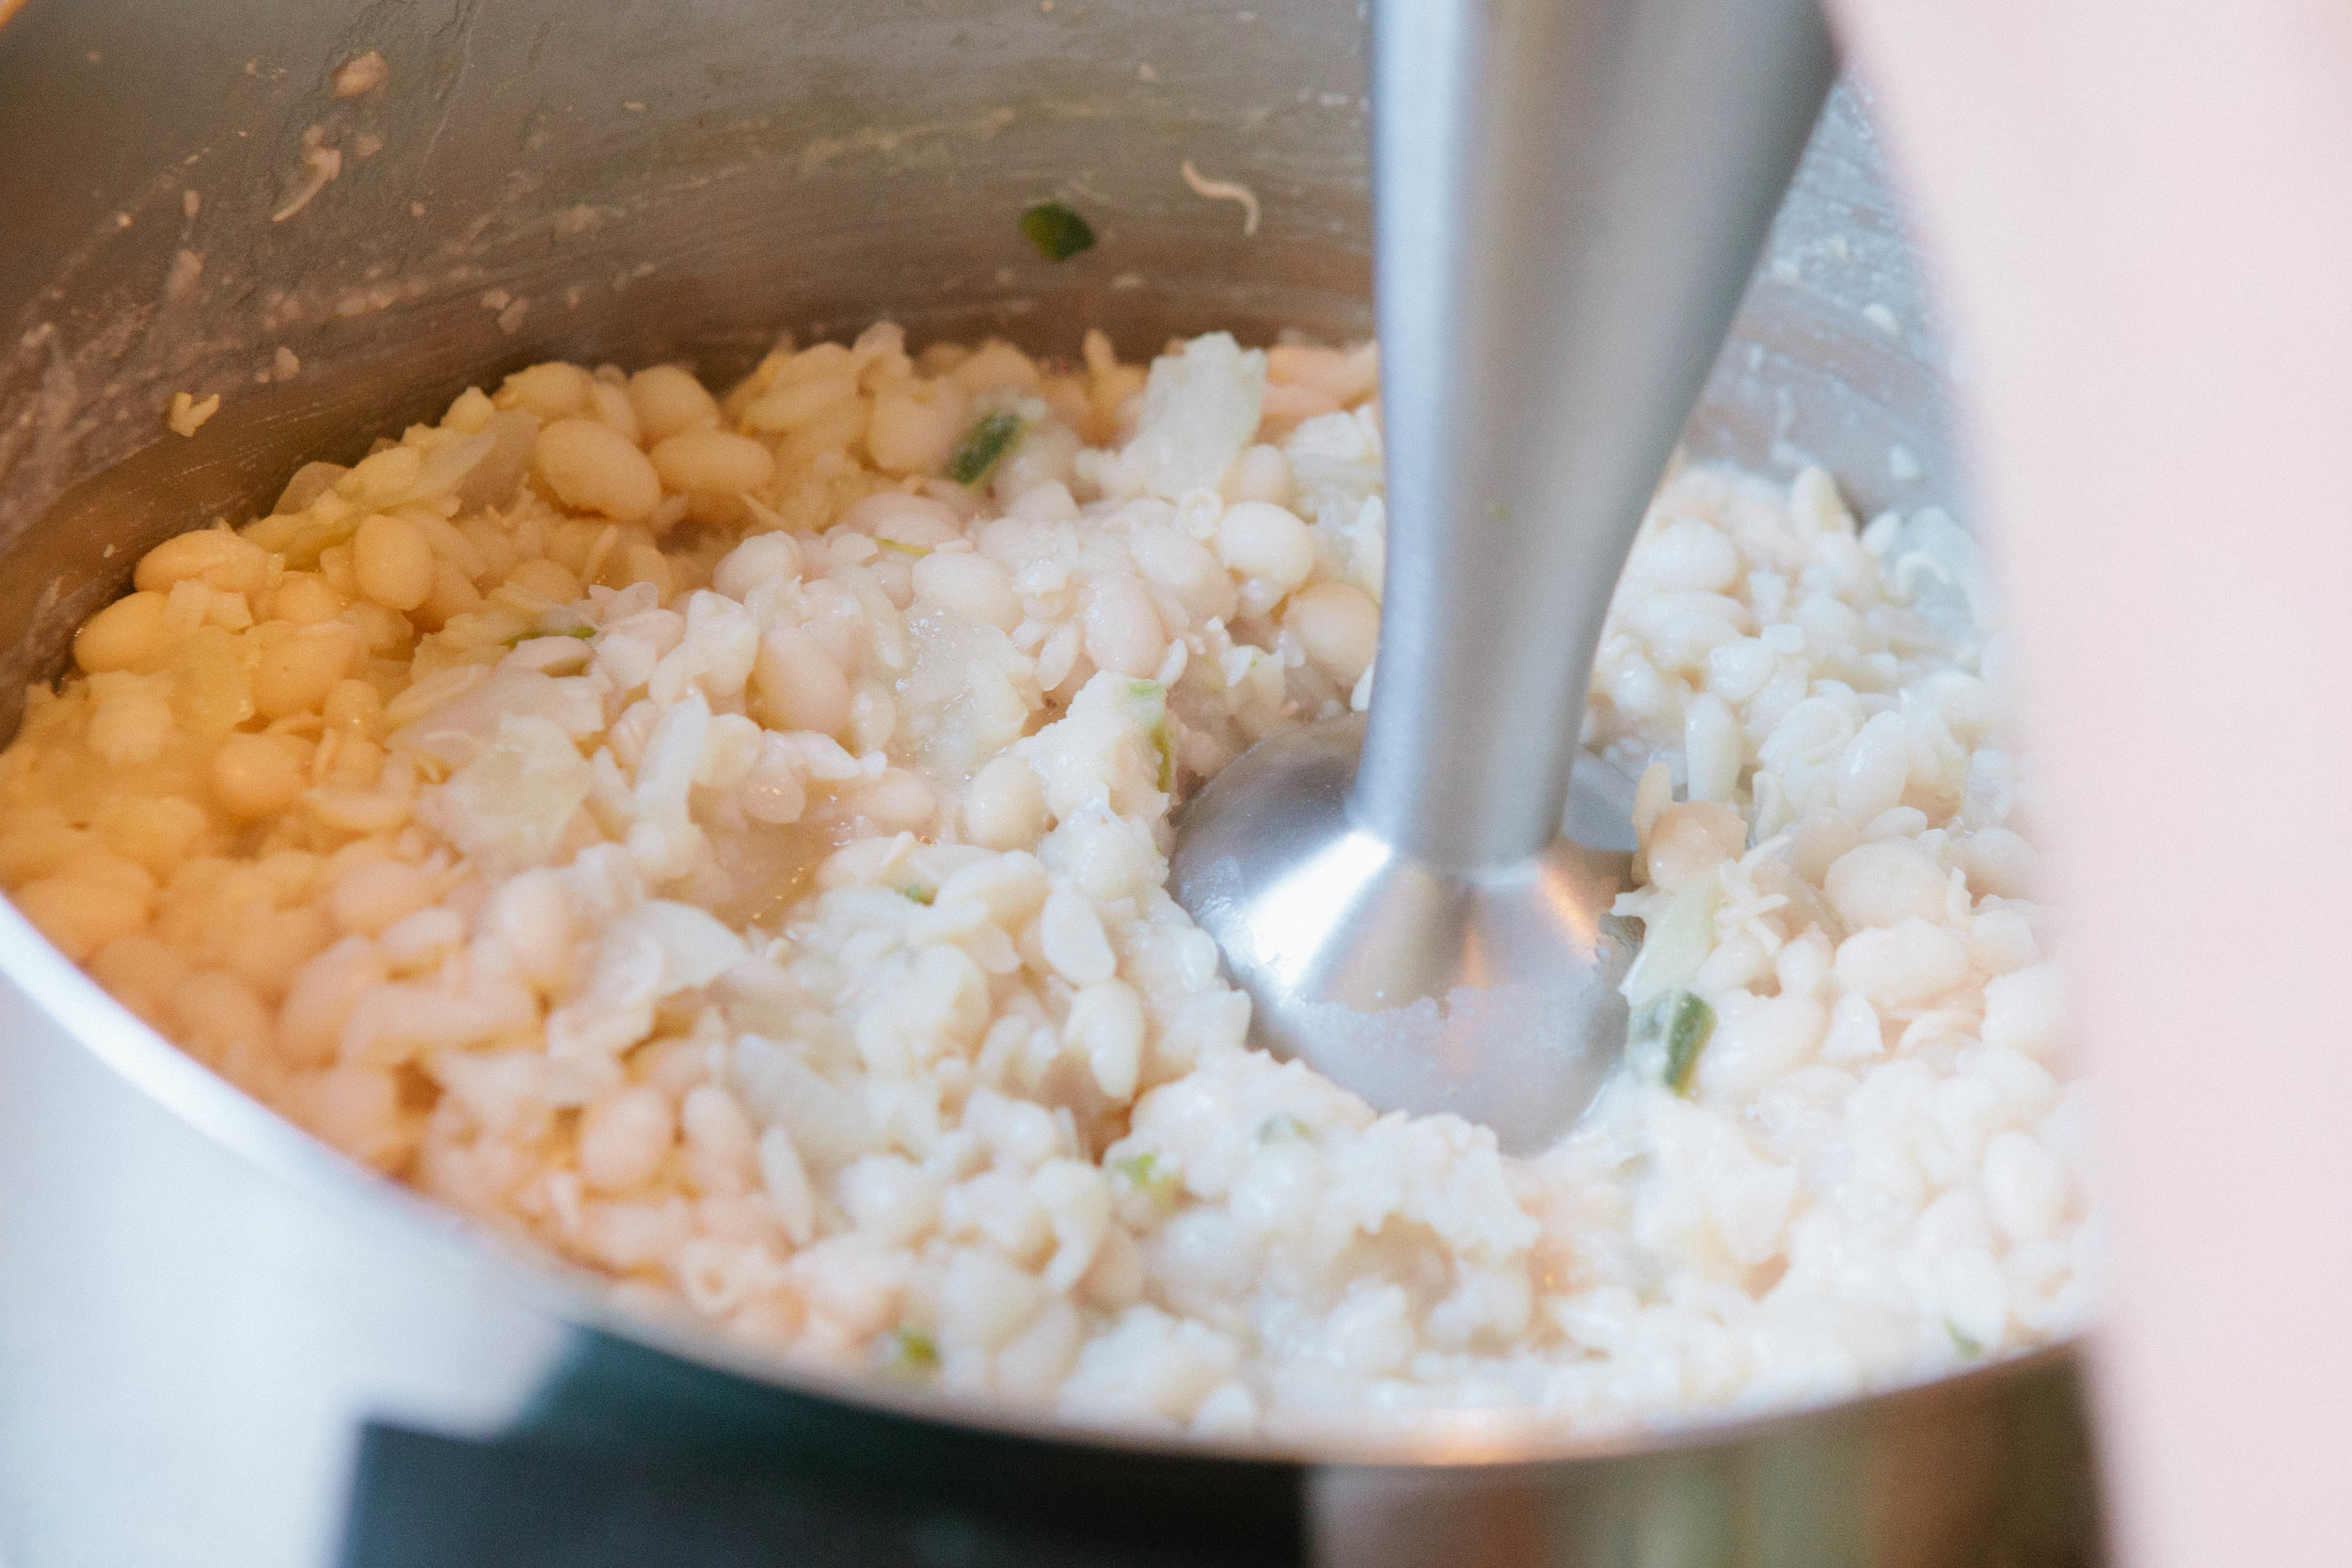
Immersion blend the beans when they are soft. They should be smoother but still have a little bit of texture to them.

Put them back on the stove. Stir frequently for five minutes over medium high heat to evaporate the liquid.

This is the basic refried bean recipe.

IMG_5173.jpg

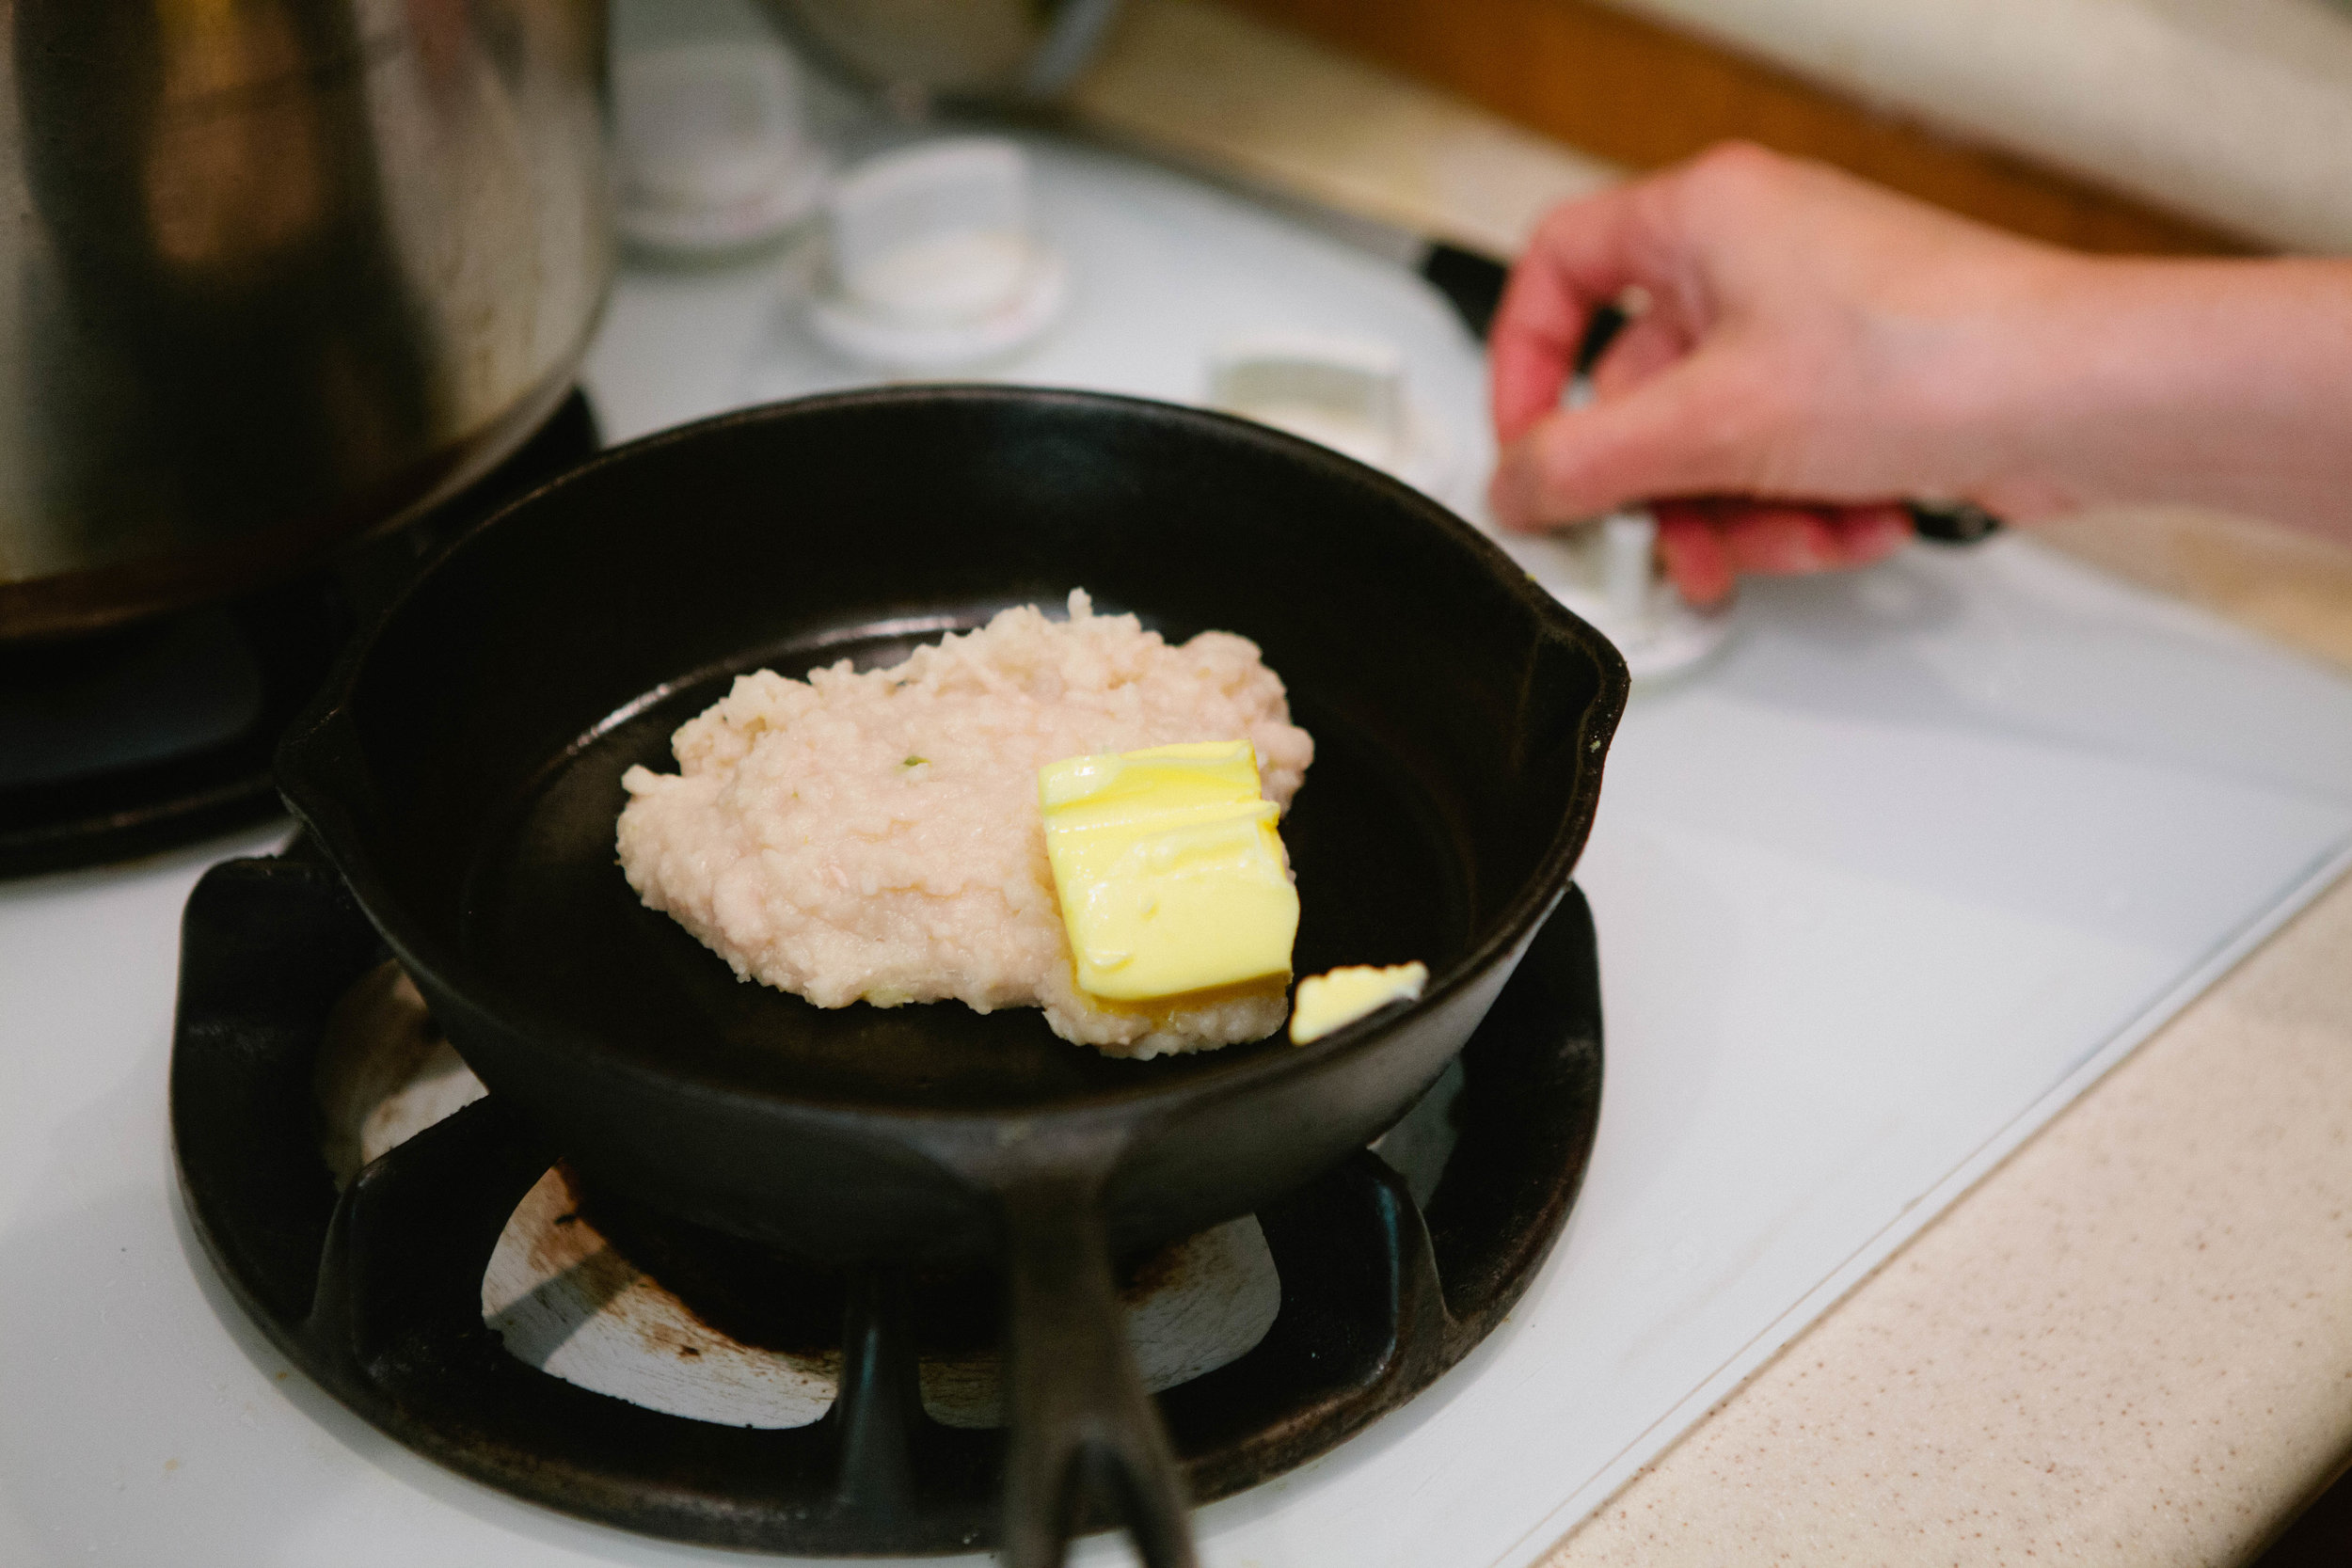
My favorite way to eat these is to add a cup of beans to a cast iron skillet. Add in a half a stick of butter. Cook together until well mixed.

IMG_5197.jpg

Add a fried egg and a few softened pepper pieces. 

Sprouted Refried Beans

prep time: cook time: total time:

ingredients:

  • 6 cups sprouted navy beans
  • ½ onion
  • ½ jalapeno

instructions:

How to cook Sprouted Refried Beans

  1. Add sprouted navy beans to a large pot.
  2. Bring to a boil and cook for about 2 hours until the beans are very soft. The beans will foam as they cook. You can skim the foam and the extra bean pods off of the top if you’d like. Just be sure not to scoop out any of your good sprouted beans!
  3. Add onion and jalapeno into the pot once beans are soft. If too much water is gone, add a little bit into the pot so you don’t scorch the beans on the bottom of the pot.
  4. Immersion blend the beans when they are soft. They should be smoother but still have a little bit of texture to them.
  5. Put them back on the stove. Stir frequently for five minutes over medium high heat to evaporate the liquid.
  6. This is the basic refried bean recipe.
  7. My favorite way to eat these is to add a cup of beans to a cast iron skillet. Add in a half a stick of butter. Cook together until well mixed.
  8. Add a fried egg and a few softened pepper pieces.
Created using The Recipes Generator
39.png

A Chili Recipe for the GAPS Diet

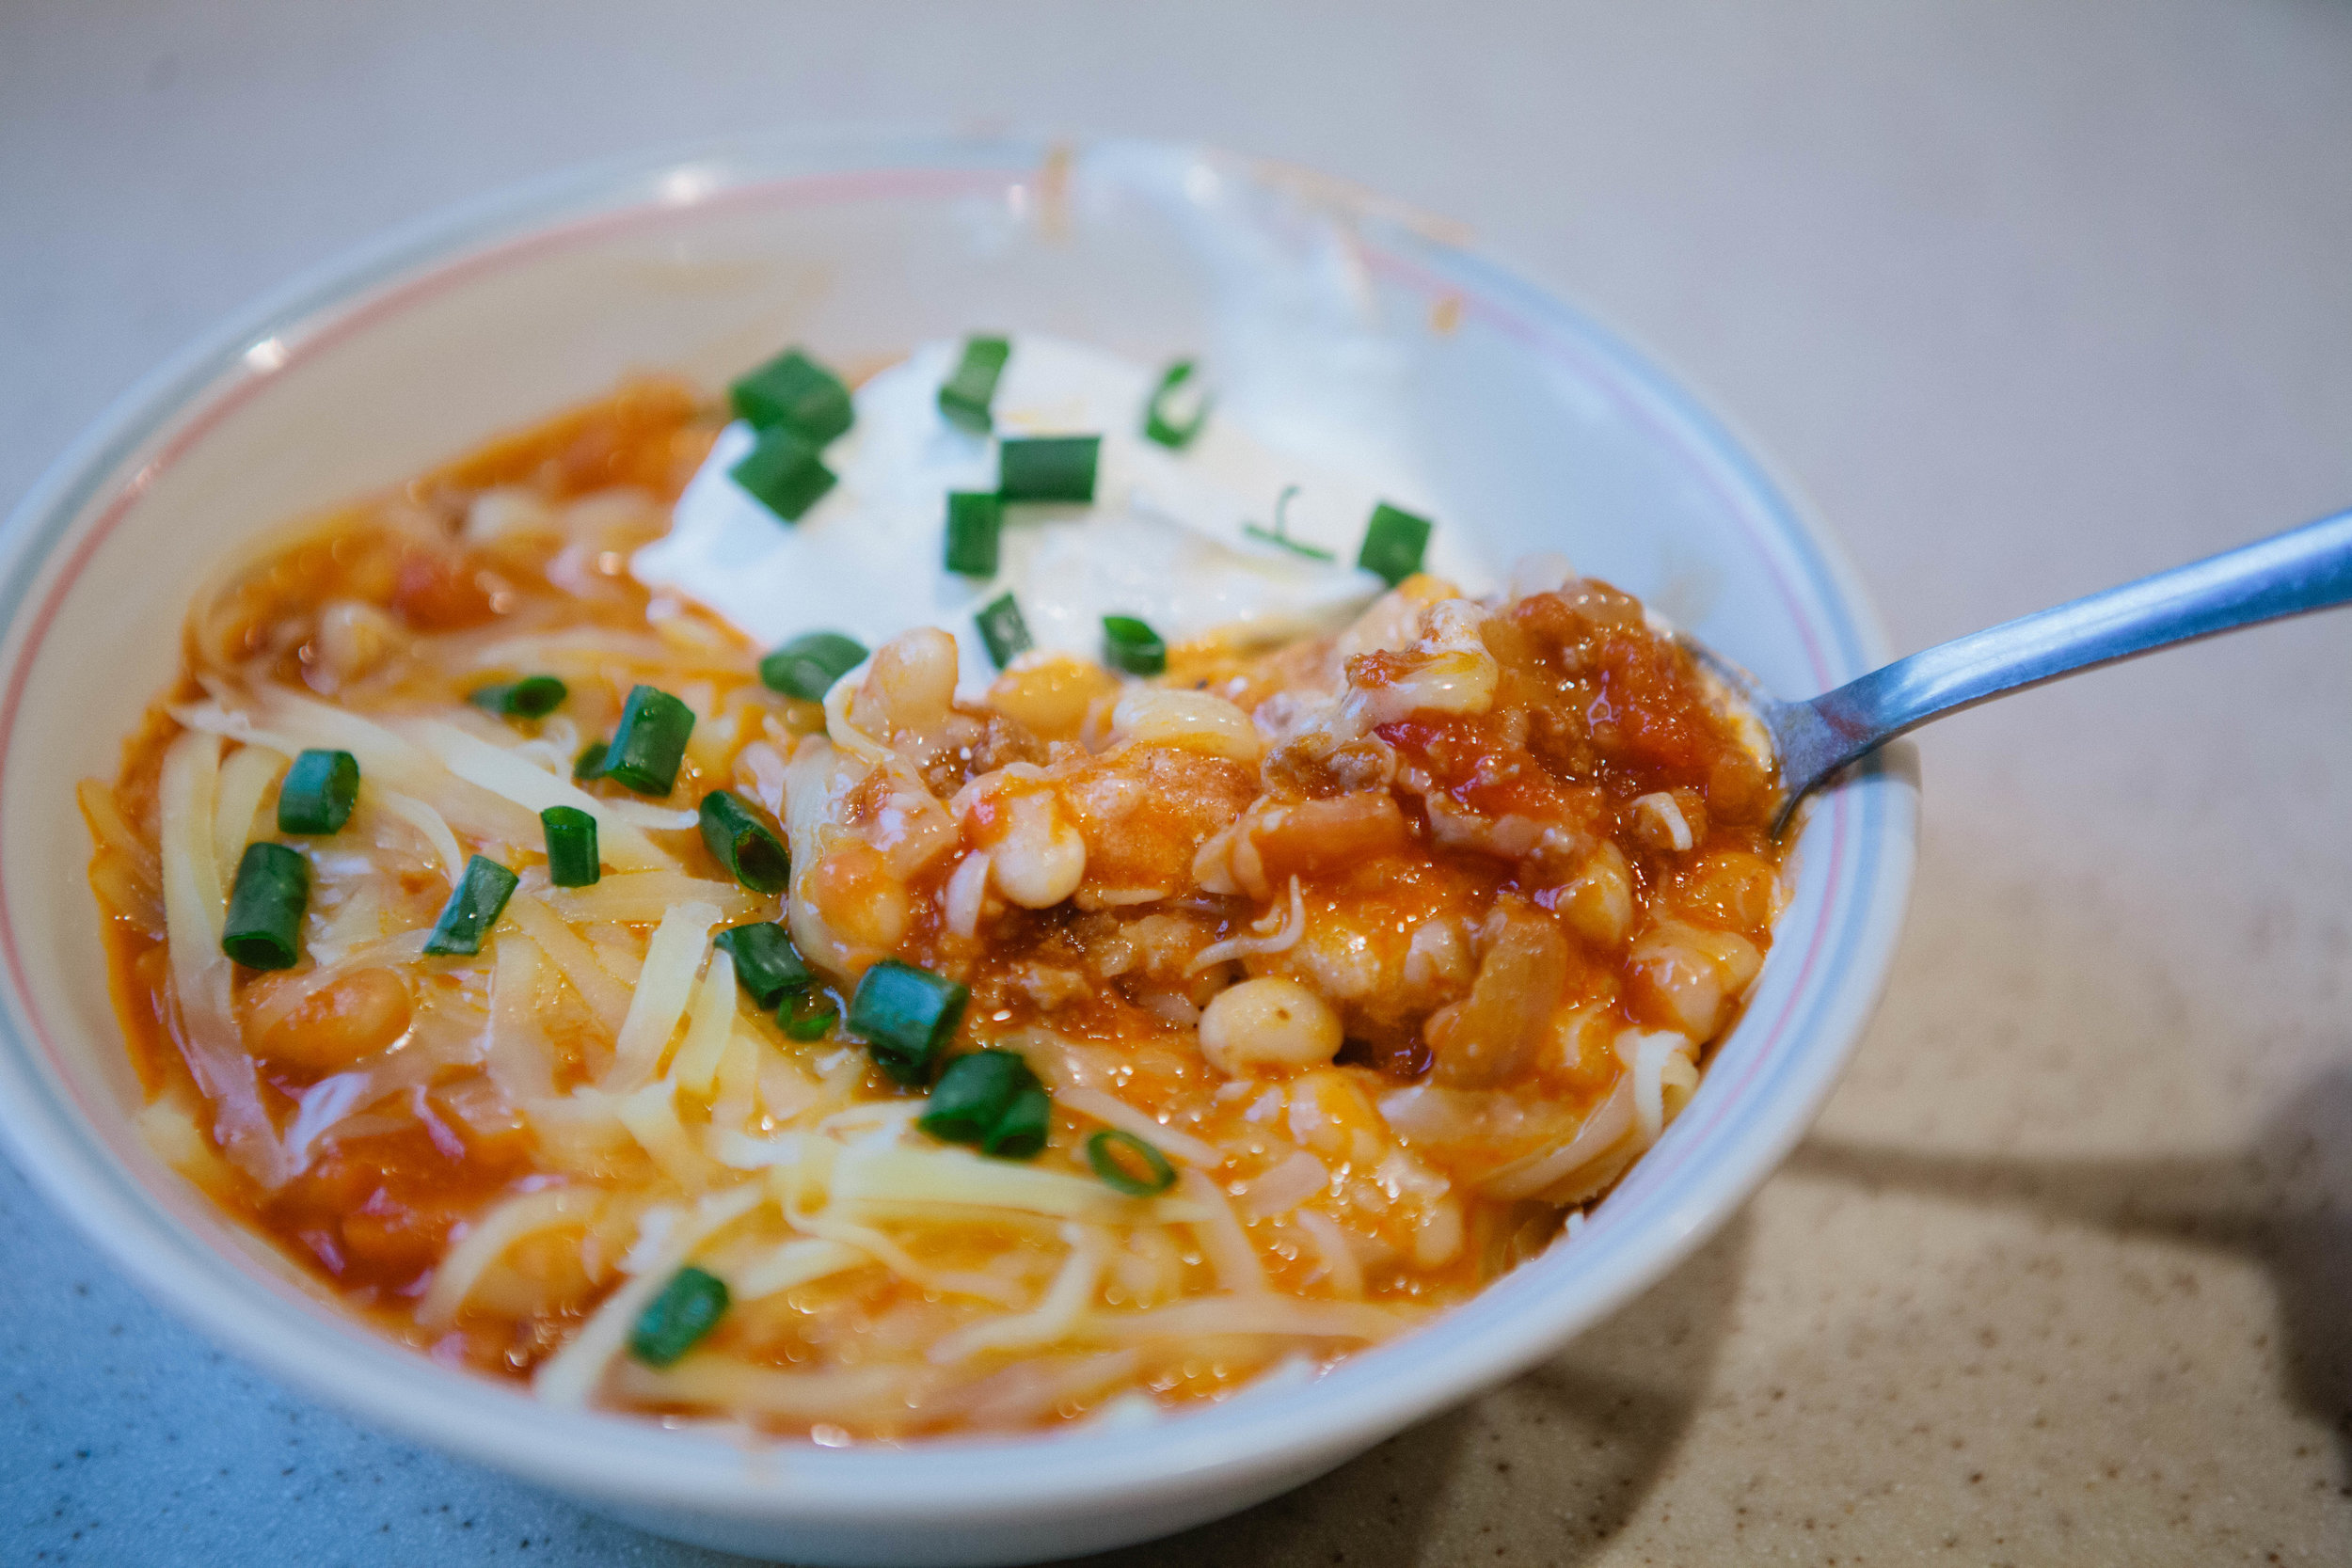
I was excited to make this chili as I hadn’t had it for years! For a long time, I have been following the GAPS Protocol and didn’t want to take the time to properly prepare the navy beans needed for this recipe. Even now that I can tolerate more foods, I tend to avoid chili because most chilis are made from beans stored in a can, which should be avoided if possible. However, this homemade chili was well worth the effort because of how delicious it was - and how many meals it made!

IMG_4866.jpg

This recipe uses GAPS Legal navy beans. Navy beans are GAPS legal because they have a lower amount of starch content compared to other beans. They are legal on full GAPS. These beans have also been soaked and sprouted for easier and better digestion. (Learn more about properly preparing grains here!)

This chili is a great way to get in the healing meat stock that should be part of your every day diet since it contains meat stock as the liquid.

In my opinion, one of the things that makes chili chili is tomatoes! But some people who have a leaky gut are sensitive to nightshades, which includes tomatoes. If that’s you, this is a recipe to look forward to in the future once you have healed your gut. 

There are many great toppings for chili and I’m sure you have your favorites! Some suggestions are sour cream or yogurt, cheese, bacon or cracklings (see recipe for making cracklings here) green onions, avocado.

This is a hearty meal that’s easy to make in large batches and then frozen for later use. I’m looking forward to enjoying this chili on many cool fall and winter evenings.

Ingredients for Chili

  • 6 cups of sprouted navy beans

  • 6 Large Tomatoes

  • Onion

  • Garlic

  • 1 lb. Ground Beef, you could substitute any ground protein

  • ½ Jalepeno

  • 2 tbsp Lard

  • 4 cups chicken stock

  • 7 oz Tomato Paste (make sure it is canned in glass, never in metal!)

  • 2 tsp Salt

  • 1 tsp Paprika

  • ¼ tsp Chili Powder

  • ¼ tsp Cayenne Pepper

  • 1 tsp Cumin

  • Chili Peppers (two shakes)

Directions for Chili

IMG_4863.jpg

Sprout your beans 48 hours in advance. To sprout your beans, soak them in filtered water overnight. In the morning, rinse them. Leave them on the counter in the sunlight with a cover to keep the bugs away and rinse every twelve hours. Drain them completely before you rinse them or you will get mold. Once they sprout, they’re done. Rinse them for a final time. Make sure they are well drained. Put the lid back on the bowl and put the beans into the fridge.

IMG_4975.jpg

Add 6 cups of sprouted navy beans to a large pot. Bring to a boil and simmer for 1.5 hours. The beans will foam as they cook. You can skim the foam and the extra bean pods off of the top if you’d like. Just be sure not to scoop out any of your good sprouted beans!

IMG_5008.jpg

While the beans cook, start your tomatoes stewing and breaking down. Add an inch of water to a stock pot. Remove the cores of the tomatoes. Roughly chop the tomatoes. You don’t have to be very precise since eventually they will cook down and eventually be smashed. Add 1 tsp salt.

Once the beans are softened (but not soft as they will cook longer with the rest of the chili) drain them and set them aside with a lid over the pot to keep them warm.

Melt two tbsp of lard into a cast iron skillet. Add more fat as needed. 

IMG_5074.jpg

Once lard is melted, add ground beef and onion. Cook until beef is browned. Add in garlic and jalapeno.

IMG_5168.jpg

Add beef mixture to bean pot. Add in spices. Add in stewed tomatoes, stock, and tomato paste. Mix gently. Add a teaspoon of salt and ½ tsp pepper.

Return to the stove and let simmer for about an hour so that the flavors meld together.

IMG_5245.jpg

Top with your favorite toppings and enjoy!


GAPS Legal Chili Recipe

prep time: cook time: total time:

ingredients:

  • 6 cups of sprouted navy beans
  • 6 Large Tomatoes
  • Onion
  • Garlic
  • 1 lb. Ground Beef, you could substitute any ground protein
  • ½ Jalepeno
  • 2 tbsp Lard
  • 4 cups chicken stock
  • 7 oz Tomato Paste (make sure it is canned in glass, never in metal!)
  • 2 tsp Salt
  • 1 tsp Paprika
  • ¼ tsp Chili Powder
  • ¼ tsp Cayenne Pepper
  • 1 tsp Cumin
  • Chili Peppers (two shakes)

instructions:

How to cook GAPS Legal Chili Recipe

  1. Sprout your beans 48 hours in advance. To sprout your beans, soak them in filtered water overnight. In the morning, rinse them. Leave them on the counter in the sunlight with a cover to keep the bugs away and rinse every twelve hours. Drain them completely before you rinse them or you will get mold. Once they sprout, they’re done. Rinse them for a final time. Make sure they are well drained. Put the lid back on the bowl and put the beans into the fridge.
  2. Add 6 cups of sprouted navy beans to a large pot. Bring to a boil and simmer for 1.5 hours. The beans will foam as they cook. You can skim the foam and the extra bean pods off of the top if you’d like. Just be sure not to scoop out any of your good sprouted beans!
  3. While the beans cook, start your tomatoes stewing and breaking down. Add an inch of water to a stock pot. Remove the cores of the tomatoes. Roughly chop the tomatoes. You don’t have to be very precise since eventually they will cook down and eventually be smashed. Add 1 tsp salt.
  4. Once the beans are softened (but not soft as they will cook longer with the rest of the chili) drain them and set them aside with a lid over the pot to keep them warm.
  5. Melt two tbsp of lard into a cast iron skillet. Add more fat as needed.
  6. Once lard is melted, add ground beef and onion. Cook until beef is browned. Add in garlic and jalapeno.
  7. Add beef mixture to bean pot. Add in spices. Add in stewed tomatoes, stock, and tomato paste. Mix gently. Add a teaspoon of salt and ½ tsp pepper.
  8. Return to the stove and let simmer for about an hour so that the flavors meld together.
  9. Top with your favorite toppings and enjoy!
Created using The Recipes Generator
38.png

How to Properly Prepare Grains

IMG_5198.jpg

How to Properly Prepare White Rice on the GAPS Diet:

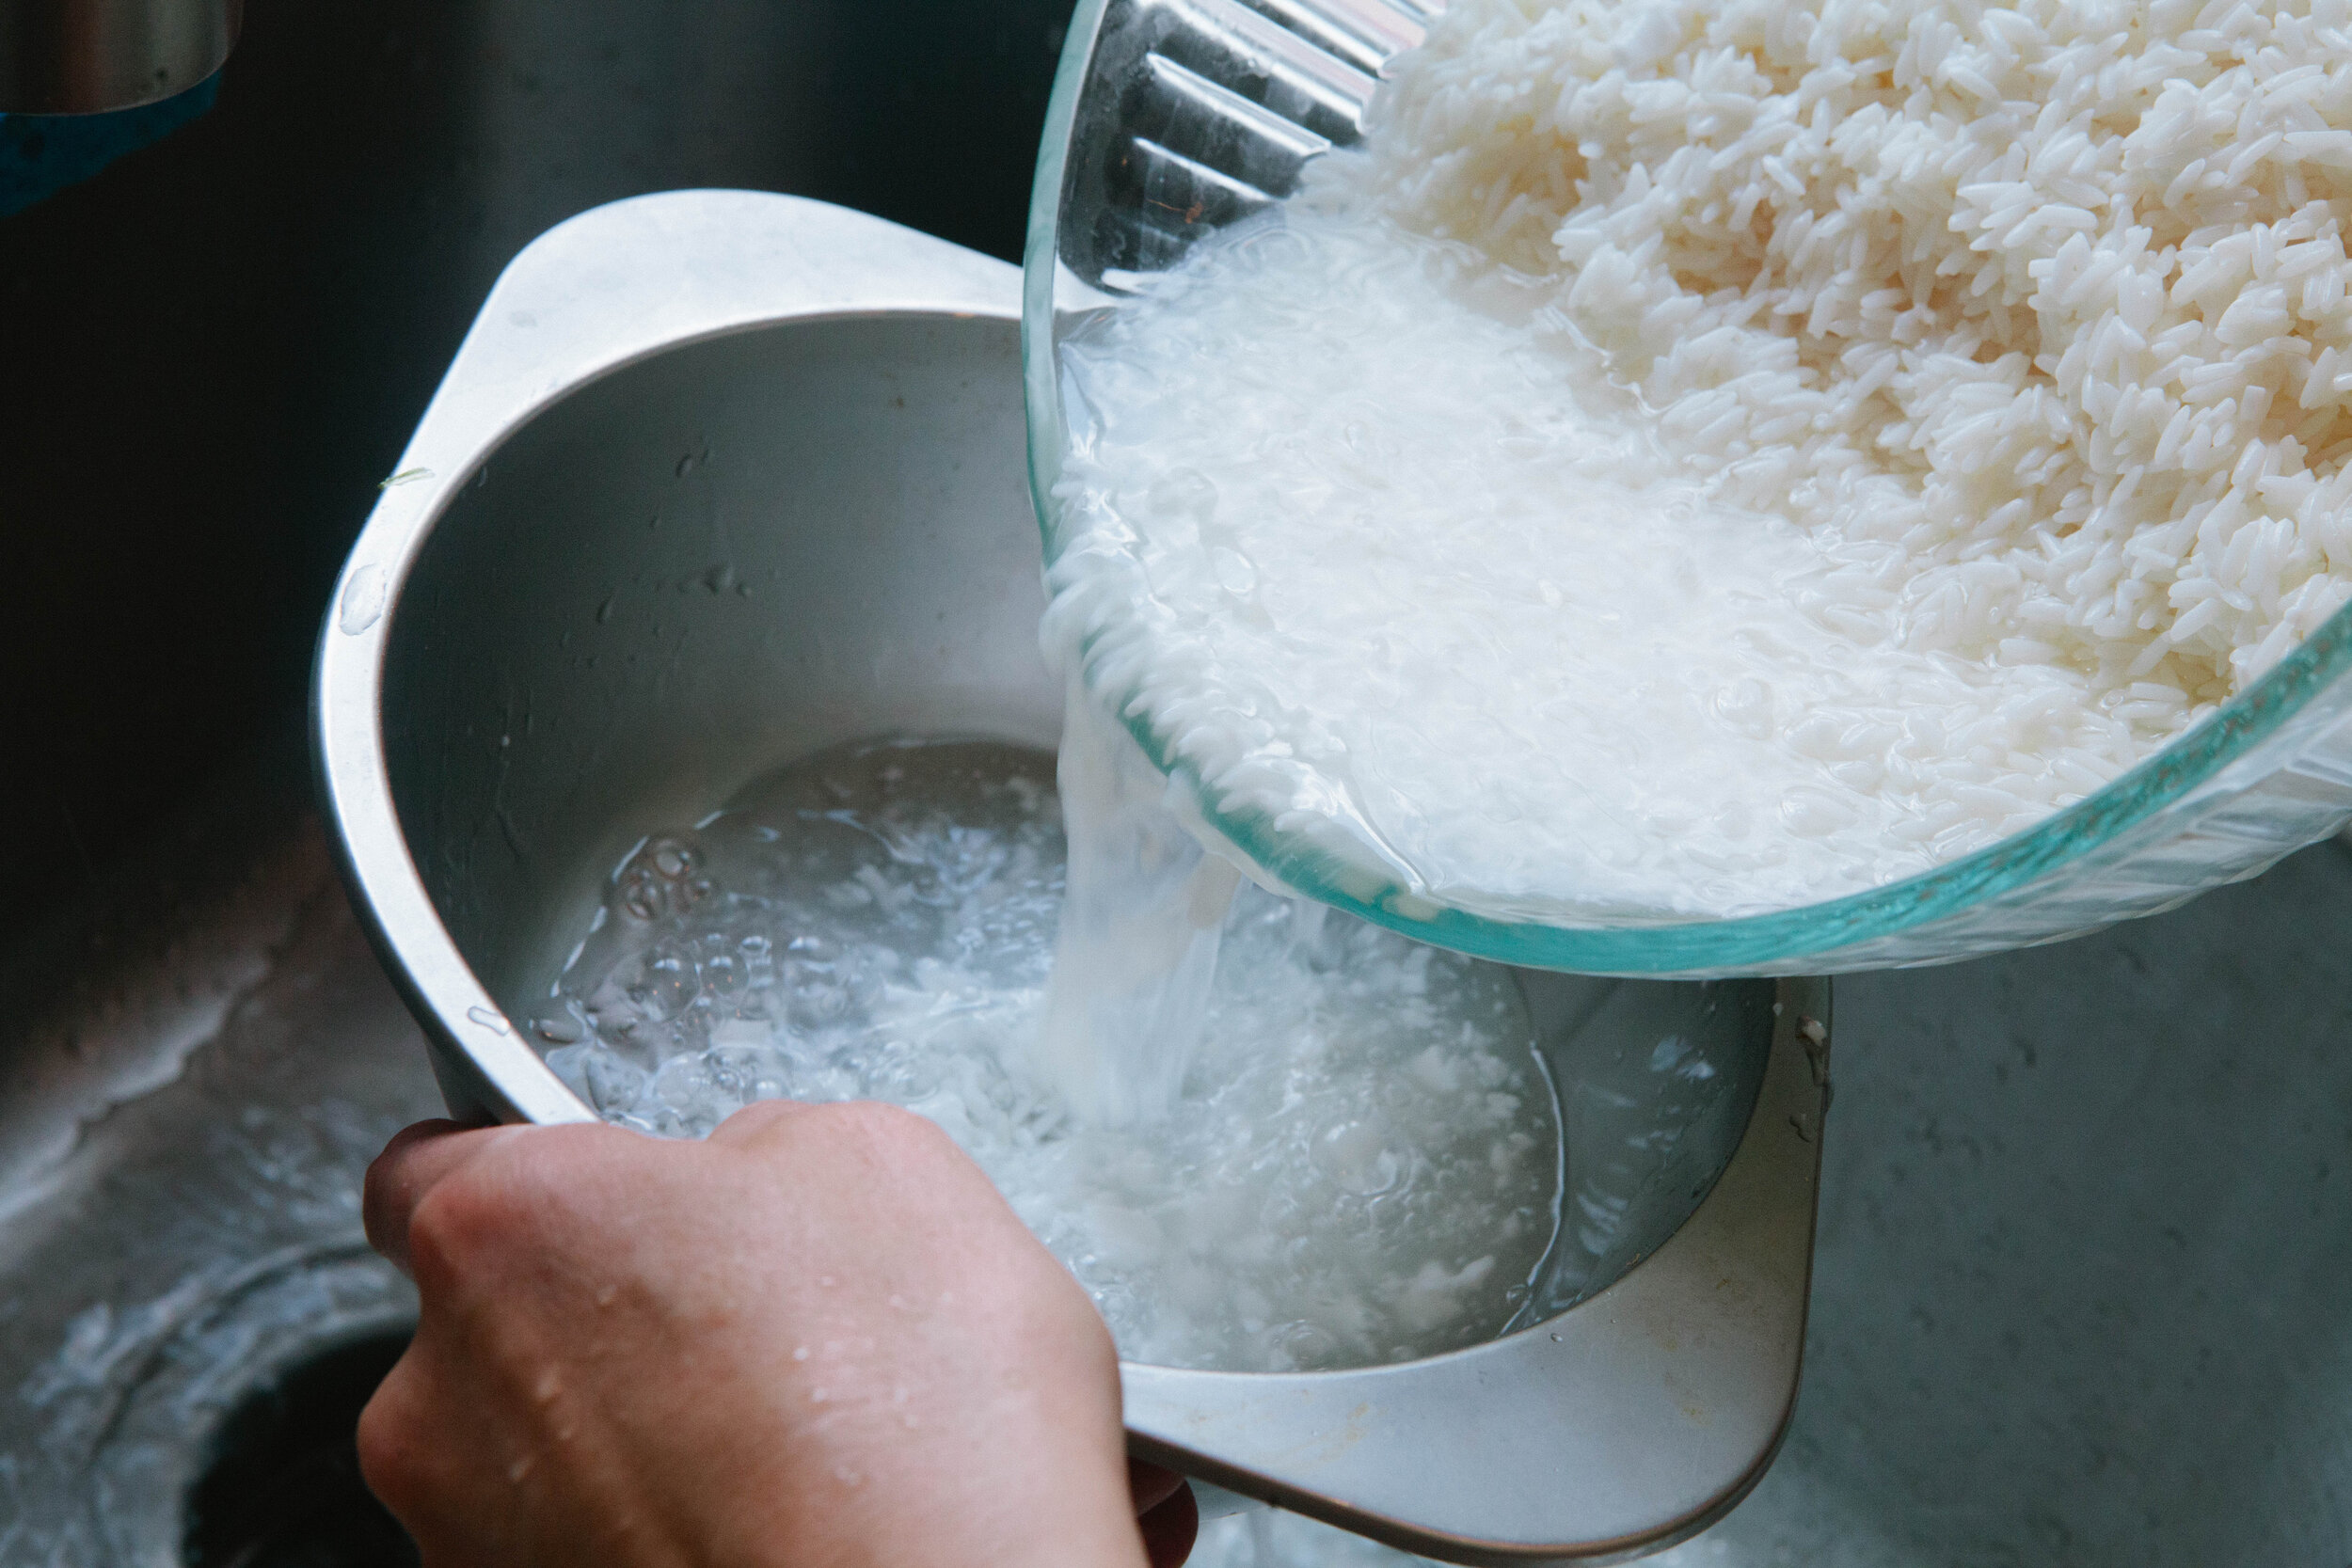
On the transition to the GAPS Intro diet, or at any time during the GAPS Intro diet, if you or your practitioner feel that your body is in need of some carbohydrates, this is a simple carbohydrate that many of us relate to. While it’s  not a whole grain, which generally we prefer, the husk of a whole grain can be harder to digest. White rice that’s been soaked is fairly easy to digest and fairly untroublesome for the gut.

Soak your rice overnight before using it in any recipe. Place in warm filtered water with 4 tbsp of yogurt or whey. Put a lid on the bowl and place on the counter overnight.

How to Properly Prepare Quinoa on the GAPS Diet:

As a non gluten grain, quinoa is one of the first grains we can try in coming off the GAPS Diet. It is a seed so as with all other seeds it should be properly prepared. Quinoa has never been my favorite, but most of the times I have eaten it in the past were before I understood about anti-nutrients. I wonder if quinoa used to give me a stomach ache and that’s why I didn’t care for it. This quinoa can be used as an exact substitution for any other quinoa recipe, including a cold quinoa salad or a quinoa pudding. 

Soak and sprout your quinoa 24 hours in advance. To sprout the quinoa, put the quinoa in filtered water (2 cups of quinoa to 4 cups of water.) Add in 2 tbsp of yogurt or whey. Leave on the counter covered for 24 hours.

IMG_5407.jpg

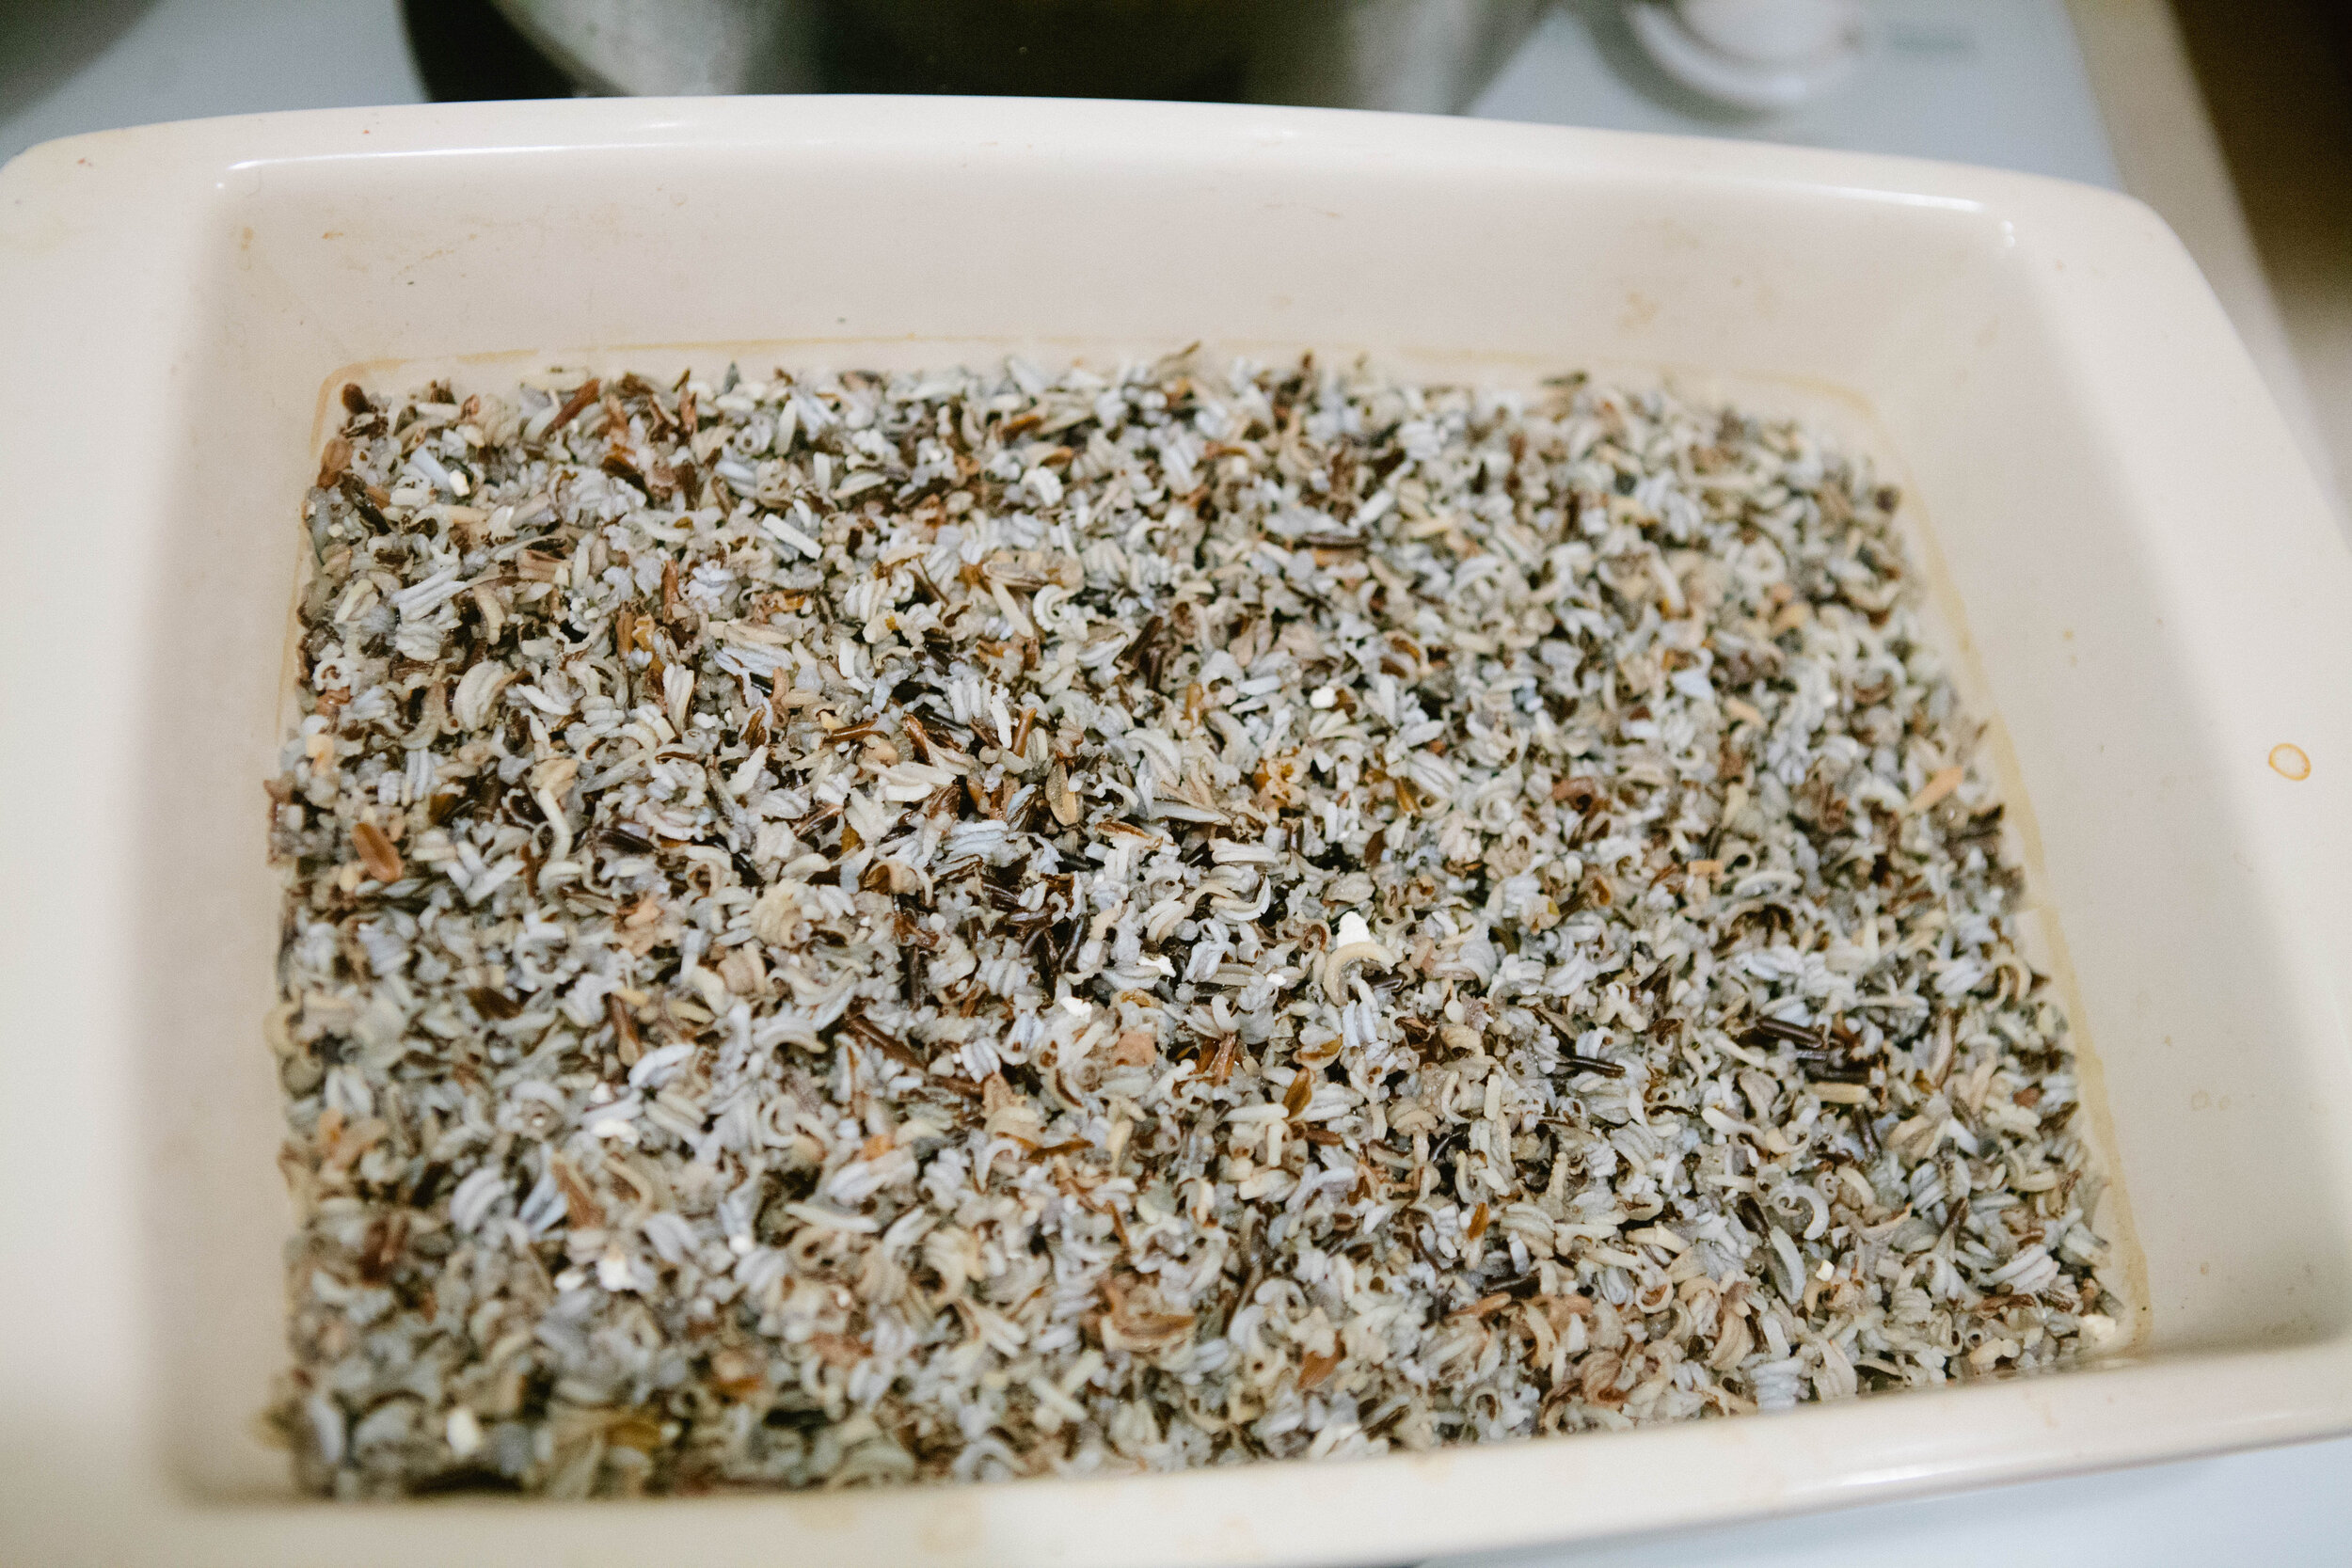
How to Properly Prepare Wild Rice on the GAPS Diet:

Wild rice is not actually a grain. It’s actually the seed of a marsh growing plant. It’s pretty low in fat so it should be eaten with lots of fat. Because it falls into the seed family, wild rice can be eaten on the GAPS Diet. Of course, you should properly prepare it before eating it. I would serve it in place of white rice in many dishes, like in this fried rice recipe.

At least 7 hours before:

Rinse rice well.

Add 1.5 cups of wild rice to 3 cups of warm filtered water. Add 2-3 tbsp of whey or yogurt to the mix. Let sit in a warm place for at least seven hours.

When You’re Ready to Cook

Add water to cover, about half a liter. Cover and place in the oven at 200 degrees. Cook for 45 minutes.


37.png

Full GAPS Legal Fried Rice

We had fried rice a lot growing up! It’s a good “kitchen sink” recipe. You can use almost any ingredients you have on hand. It also comes together fairly quickly, especially if you’re like us and usually have rice in the fridge.

One of the reasons I chose white rice for this recipe is because on the transition to the GAPS Intro diet, or at any time during the GAPS Intro diet, if you or your practitioner feel that your body is in need of some carbohydrates, this is a simple carbohydrate that many of us relate to. While it’s  not a whole grain, which generally we prefer, the husk of a whole grain can be harder to digest. White rice that’s been soaked is fairly easy to digest and fairly untroublesome for the gut.

This is a quick and easy meal.

To make it GAPS legal, substitute wild rice for the white rice. 

One of the keys to the recipe is find a true correctly fermented soy sauce. Soy should only ever be eaten in a properly fermented state. When it’s properly fermented, it’s legal on the Full GAPS Diet. I found a properly fermented soy sauce from Ohsawa Organic called Nama Shoyu. It’s an unpasteurized soy sauce and delicious!

IMG_5388.jpg

There are “classic” fried rice vegetables but truly you can change this recipe to use any vegetables you have in the fridge. In this version I used carrots, celery, onions, red cabbage and green onion. You could also use any type of summer squash like yellow squash or zucchini, broccoli, cauliflower, swiss chard, shredded brussel sprouts, snow peas, snap peas, green peas, or green beans. We always made it with water chestnuts and bean sprouts growing up. I’m not sure if these are GAPS legal but I’m very doubtful they would be. What vegetable combination is your favorite?

Ingredients for GAPS Legal Fried Rice

  • 2 cups of rice

  • 4 cups stock

  • Carrots

  • Onions

  • Red Cabbage

  • Green Onions

  • 3 tbsp Lard or Other Animal Fat

  • 4-6 cloves of Garlic, depending on size

  • 2 Eggs

  • 1.5 tbsp Soy Sauce (see note about correctly fermented soy sauce)

Directions for GAPS Legal Fried Rice:

24 Hours Before:

Soak your rice overnight. Place in warm filtered water with 4 tbsp of yogurt or whey.

The Next Day:

Rinse rice under filtered water.

Add 2 cups of rice to 4 cups of stock. Cook rice in the stock for 15 minutes until the stock is absorbed. 

Chop all vegetables. The smaller you chop them, the faster they’ll cook. Make sure you slice your vegetables the same size for even cooking. 

Add 3 tbsp of lard to a  cast iron pan. 

IMG_5311.jpg

When adding vegetables, add the ones that take the longest to cook in first, usually the hardest ones. So for me, I added the carrots and celery first. Add in cabbage and onions.

Add 1-2 tsps of soy sauce into the cast iron pan. This will start to create the sticky sauce. 

IMG_5316.jpg

A tip in sauteing vegetables: let them sit for a minute or two to get brown. Then move them to cook other sides. 

IMG_5352.jpg

Once your vegetables have cooked, add in the rice and stir.

IMG_5359.jpg

Crack two eggs into a bowl and scramble them. Add them into the cast iron pan and mix well.

IMG_5370.jpg

Add in about 1 tbsp of soy sauce and mix everything together.

Serve alongside more soy sauce on the table and enjoy!

GAPS Legal Fried Rice

prep time: cook time: total time:

ingredients:

  • 2 cups of rice
  • 4 cups stock
  • Carrots
  • Onions
  • Red Cabbage
  • Green Onions
  • 3 tbsp Lard or Other Animal Fat
  • 4-6 cloves of Garlic, depending on size
  • 2 Eggs
  • 1.5 tbsp Soy Sauce (see note about correctly fermented soy sauce)

instructions:

How to cook GAPS Legal Fried Rice

  1. 24 Hours Before:
  2. Soak your rice overnight. Place in warm filtered water with 4 tbsp of yogurt or whey.
  3. The Next Day:
  4. Rinse rice under filtered water.
  5. Add 2 cups of rice to 4 cups of stock. Cook rice in the stock for 15 minutes until the stock is absorbed.
  6. Chop all vegetables. The smaller you chop them, the faster they’ll cook. Make sure you slice your vegetables the same size for even cooking.
  7. Add 3 tbsp of lard to a cast iron pan.
  8. When adding vegetables, add the ones that take the longest to cook in first, usually the hardest ones. So for me, I added the carrots and celery first. Add in cabbage and onions.
  9. Add 1-2 tsps of soy sauce into the cast iron pan. This will start to create the sticky sauce.
  10. A tip in sauteing vegetables: let them sit for a minute or two to get brown. Then move them to cook other sides.
  11. Once your vegetables have cooked, add in the rice and stir.
  12. Crack two eggs into a bowl and scramble them. Add them into the cast iron pan and mix well.
  13. Add in about 1 tbsp of soy sauce and mix everything together.
  14. Serve alongside more soy sauce on the table and enjoy!
Created using The Recipes Generator
35.png

GAPS Legal Trail Mix Recipe

With all the hiking and camping that happens in Colorado, trail mix is almost a main food group. But commercial trail mixes contain candy, sweetened fruit, and unprepared nuts: not the superfoods they claim to be! This can be problematic if you are following a dietary protocol... you can't buy GAPS legal trail mix very easily! Fortunately, trail mix is fairly easy to make, and when you make your own, you can ensure the preparation (and ingredients) are exactly what you want! Below is a recipe for trail mix. Please explore beyond my ideas! You may figure out the next winning combination. If you do, make sure you share it with us in the comments! Enjoy!
GAPS Friendly Trail Mix Ingredients

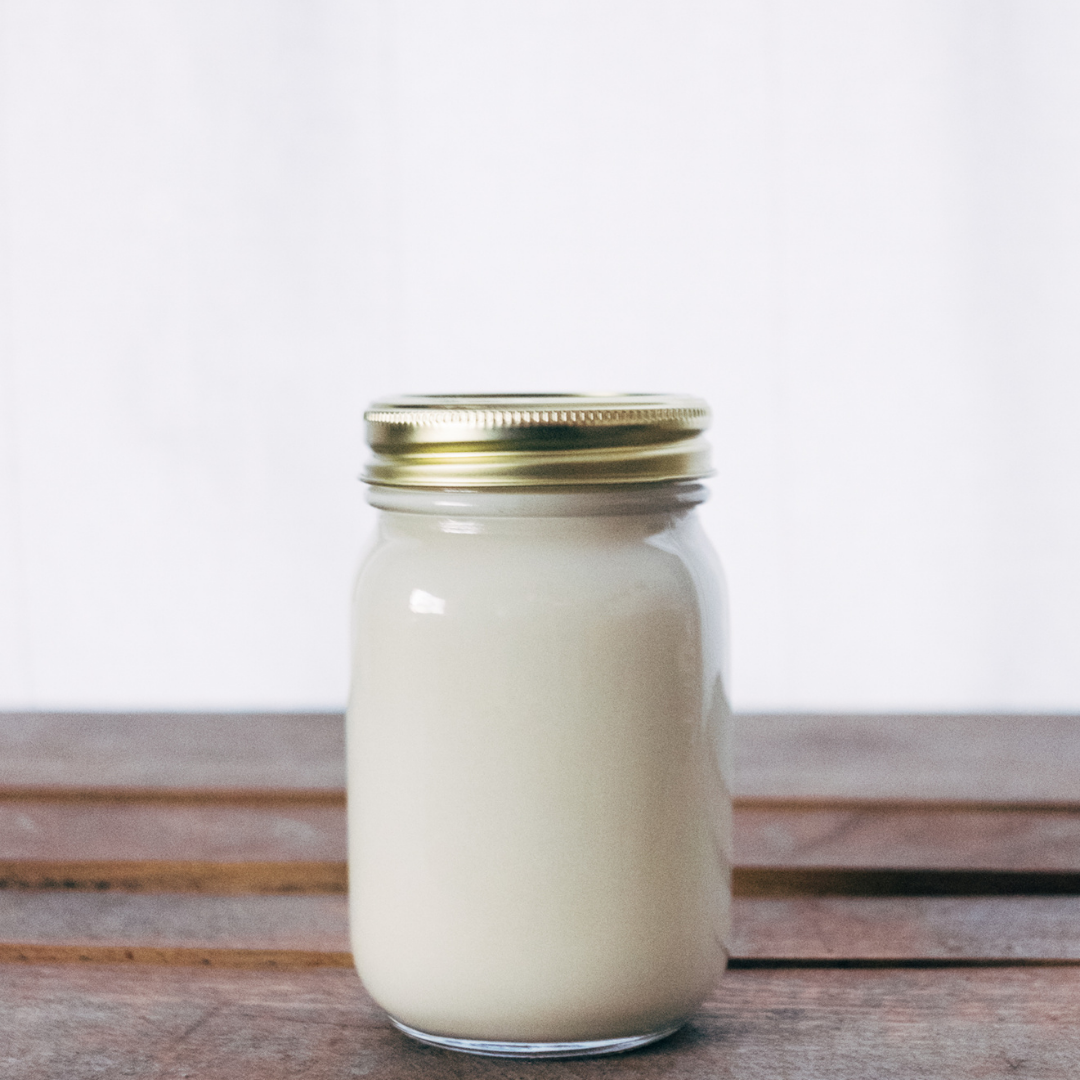
  • Homemade or Store Bought Yogurt for the Whey

  • Salt

  • Filtered Water

  • Nuts of Your Choice, such as Almonds, Cashews and Walnuts

  • Seeds of Your Choice, such as Pumpkin Seeds

  • Dried Fruit of Your Choice. I used Raisins and Dried Pineapple.

  • Carob Chips or Chocolate Chips (if you can tolerate them in your diet or on your GAPS Stage)

A Note About Nuts and Seeds: Be sure to buy raw and organic nuts (not roasted and salted), except raw cashews. Raw cashews cannot be purchased; they're poisonous!

Directions for making your own trail mix

DIY-Trail-Mix-Properly-Prepared-Grains-GAPS-Trail-Mix-GAPS-GORP-GAPS-Diet-Snack-What-to-eat-on-the-gaps-diet

Using homemade or store bought yogurt, strain out whey. Rinse the nuts and seeds that you want to use through cold water.

DIY-Trail-Mix-Properly-Prepared-Grains-GAPS-Trail-Mix-GAPS-GORP-GAPS-Diet-Snack-What-to-eat-on-the-gaps-diet

Fill jars and bowls with filtered water. Keeping each kind of nut and seed in it's own separate bowl, add 1/4 cup whey to each jar and bowl.

DIY-Trail-Mix-Properly-Prepared-Grains-GAPS-Trail-Mix-GAPS-GORP-GAPS-Diet-Snack-What-to-eat-on-the-gaps-diet

Let nuts and seeds soak and ferment. Most nuts and seeds need 24 hours for proper fermentation. Cashews and pumpkin seeds take only 8 though!

DIY-Trail-Mix-Properly-Prepared-Grains-GAPS-Trail-Mix-GAPS-GORP-GAPS-Diet-Snack-What-to-eat-on-the-gaps-diet

After 24 hours, take the nuts out and set them either on dehydrator trays or on baking sheets lined with parchment paper. Let them dry until they become crispy, preferably keeping them under 110° to keep the enzymes live.

DIY-Trail-Mix-Properly-Prepared-Grains-GAPS-Trail-Mix-GAPS-GORP-GAPS-Diet-Snack-What-to-eat-on-the-gaps-diet

Mix any amount of crispy nuts with dried fruit. I used dried pineapples and raisins but you can use any dried fruit that you like and are tolerating! You can also add chocolate or carob chips to your mixture, if you can tolerate them.

DIY-Trail-Mix-Properly-Prepared-Grains-GAPS-Trail-Mix-GAPS-GORP-GAPS-Diet-Snack-What-to-eat-on-the-gaps-diet

Store your trail mix in small baggies for a portable trail snack!


GAPS Legal Trail Mix

Author:
prep time: cook time: total time:

ingredients:

  • Homemade or Store Bought Yogurt for the Whey
  • Salt
  • Filtered Water
  • Nuts of Your Choice, such as Almonds, Cashews and Walnuts
  • Seeds of Your Choice, such as Pumpkin Seeds
  • Dried Fruit of Your Choice. I used Raisins and Dried Pineapple.
  • Carob Chips or Chocolate Chips (if you can tolerate them in your diet or on your GAPS Stage)

instructions:

How to cook GAPS Legal Trail Mix

  1. Using homemade or store bought yogurt, strain out whey. Rinse the nuts and seeds that you want to use through cold water.
  2. Fill jars and bowls with filtered water. Keeping each kind of nut and seed in it's own separate bowl, add 1/4 cup whey to each jar and bowl.
  3. Let nuts and seeds soak and ferment. Most nuts and seeds need 24 hours for proper fermentation. Cashews and pumpkin seeds take only 8 though!
  4. After 24 hours, take the nuts out and set them either on dehydrator trays or on baking sheets lined with parchment paper. Let them dry until they become crispy, preferably keeping them under 110° to keep the enzymes live.
  5. Mix any amount of crispy nuts with dried fruit. I used dried pineapples and raisins but you can use any dried fruit that you like and are tolerating! You can also add chocolate or carob chips to your mixture, if you can tolerate them.
  6. Store your trail mix in small baggies for a portable trail snack!
Created using The Recipes Generator

Why Soak Grains? {Video}

Ever wondered about recommendations like "soaking," "sprouting," "fermenting," or "properly preparing" your nuts or grains? Ever wondered what that meant, or why it's better? I did! In fact, when I first heard about "sprouted bread," I thought it was made-up. But there are real reasons why eating properly prepared seeds is better for your body. Check out the video below to find out why.

Did that make sense?

This is just one example of why food preparation matters. And while food preparation techniques used to be passed on from generation to generation, our modern western culture has largely lost that heritage. But some do remember. And some do research. And some teach. And some write it down for us. That is the entire reason behind the cookbook, Nourishing Traditions, by Sally Fallon. Traditional ways to prepare foods in traditional recipes are recorded in this helpful resource. If we want to return to health, we need to start understanding these principles. Our health depends on it! Still have questions? Have another food preparation question? Ask it in the comments below.

Disclosure: The link in this post is an affiliate link. Links like this help support my blogging. Your trust is important to me, and I only recommend resources I trust.