GAPS Legal Recipe

Mayo Free Egg Salad

Eggs are a great non-meat protein source. While I usually recommend eating eggs yolks running to preserve the cholesterol on them, sometimes a hard boiled egg is hard to beat!

This is a recipe that could easily be doubled or tripled for a party. You can serve it spread on a romaine lettuce leaf, as shown, or you can use it as a dip for cucumber slices or carrots.. Feel free to use whatever herbs you have in the fridge and experiment to find your favorites.

This recipe is legal on GAPS Stage 3 if you omit the paprika. Otherwise, it is legal on GAPS Stage 6. The ingredient list is for 1-2 servings.

Ingredients for Mayo Free Egg Salad:

  • 4 Eggs

  • ½ cup Sour Cream or Creme Fraiche

  • 1 small stalk Celery

  • 1 large Green Onion

  • ¼ - ½  tsp Salt

  • 1 tsp Pepper

  • ½ tsp Paprika

  • Parsley

Directions for Mayo Free Egg Salad:

Hard boil eggs. (Recipe here)

mayo-free-egg-salad-recipe-egg-salad-on-gaps-sour-cream-egg-salad

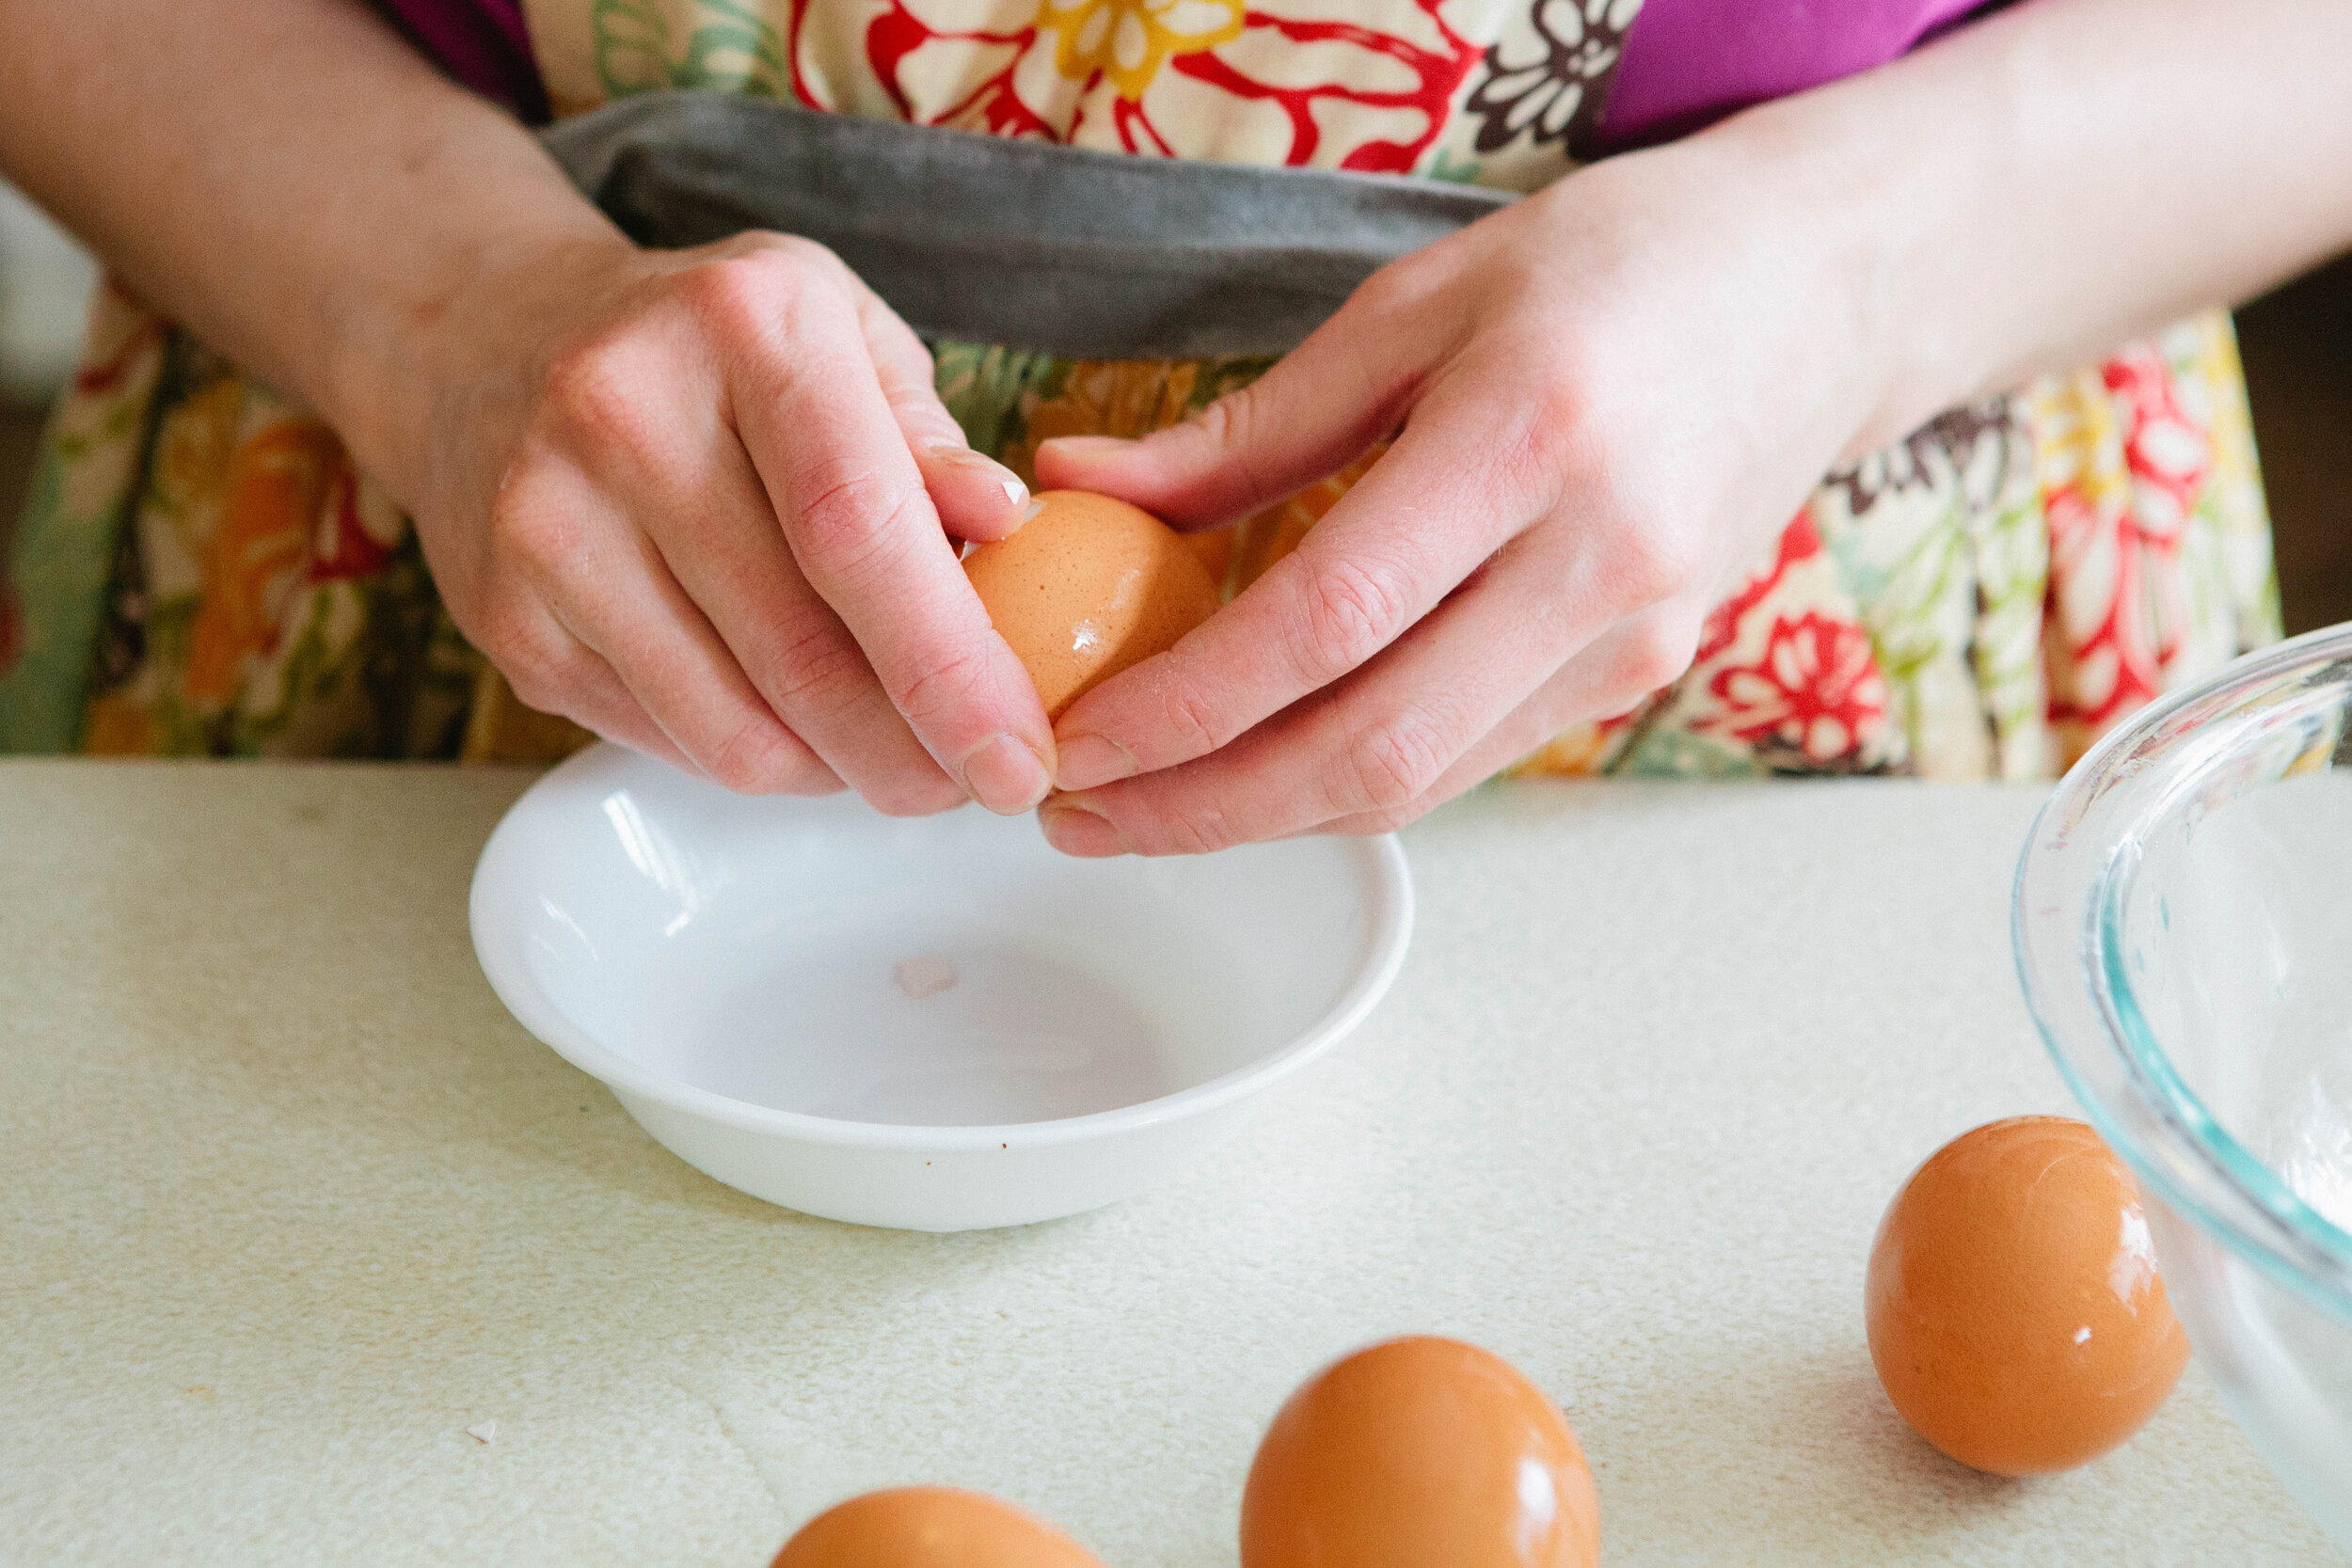
Once eggs are cooled, peel them.

mayo-free-egg-salad-recipe-egg-salad-on-gaps-sour-cream-egg-salad

Coarsely chop eggs, celery and green onion.

Add to a mixing bowl and add in pepper, salt to taste, and sour cream. 

mayo-free-egg-salad-recipe-egg-salad-on-gaps-sour-cream-egg-salad

Gently mix to coat and then sprinkle paprika over the top. Mix gently.

Serve and enjoy!
mayo-free-egg-salad-recipe-egg-salad-on-gaps-sour-cream-egg-salad

Mayo Free Egg Salad

Author:
Prep time: Cook time: Total time:

Ingredients:

  • 4 Eggs
  • ½ cup Sour Cream or Creme Fraiche
  • 1 small stalk Celery
  • 1 large Green Onion
  • ¼ - ½ tsp Salt
  • 1 tsp Pepper
  • ½ tsp Paprika
  • Parsley

Instructions:

How to cook Mayo Free Egg Salad

  1. Hard boil eggs. (Recipe here.)
  2. Once eggs are cooled, peel them.
  3. Coarsely chop eggs, celery and green onion.
  4. Add to a mixing bowl and add in pepper, salt to taste, and sour cream.
  5. Gently mix to coat and then sprinkle paprika over the top. Mix gently.
  6. Serve and enjoy!
Created using The Recipes Generator
EggSalad.png

Creamy Garlic Chicken Soup

This is one of my favorite soups! It’s warm and creamy and so delicious.

This soup is easy to make in large or small batches depending on how many servings you need. A small batch requires one small chicken, about 4 lbs, one head of garlic, and one glass baking dish of vegetables. A small batch will make about 4-6 hearty servings of soup. A large batch requires a larger chicken, about 6 lbs, two heads of garlic, and two glass baking dishes of vegetables.

Keeping the garlic in their paper shells roasts the garlic while preventing them from getting burnt. Don’t worry if your paper peels a little off the garlic - it’s still ok!

This soup requires a LOT of salt. If you don’t salt this soup enough, it is very bland and boring.

Because you immersion blend the vegetables into the stock, this is a great recipe to also blend in the the joint cartilage, skin and any of the other parts of the chicken that you may be tempted to throw away. I separate the chicken into three parts usually - bones, chicken meat, and everything else.

Ingredients for Creamy Garlic Chicken Soup:

  • 1 Chicken

  • 1 Zucchini (Courgettes)

  • 1 Yellow Squash

  • ½ Large Head of Cauliflower or 1 Small Cauliflower

  • 1-2 Heads of Garlic, Cloves separated but still in their paper

  • 3-4 tbsp Lard (Learn to make your own lard here.)

  • 1 tbsp Salt

  • ½ Bunch Parsley

Directions for Creamy Garlic Chicken Soup:

Zucchini, yellow squash, cauliflower and garlic are roasted with lard and then blended together to form the base of this creamy garlic chicken soup. This soup is GAPS legal and great for Whole 30 or Paleo. It’s dairy free and gluten free but still c…

Start a chicken stock on the stove. (Find the recipe for a chicken stock here.)

Cut the vegetables into even size pieces for even roasting. For the cauliflower, you can remove or keep however much of the fibrous material (stems), depending on how much you are tolerating.  Start the oven preheating to 400 degrees.

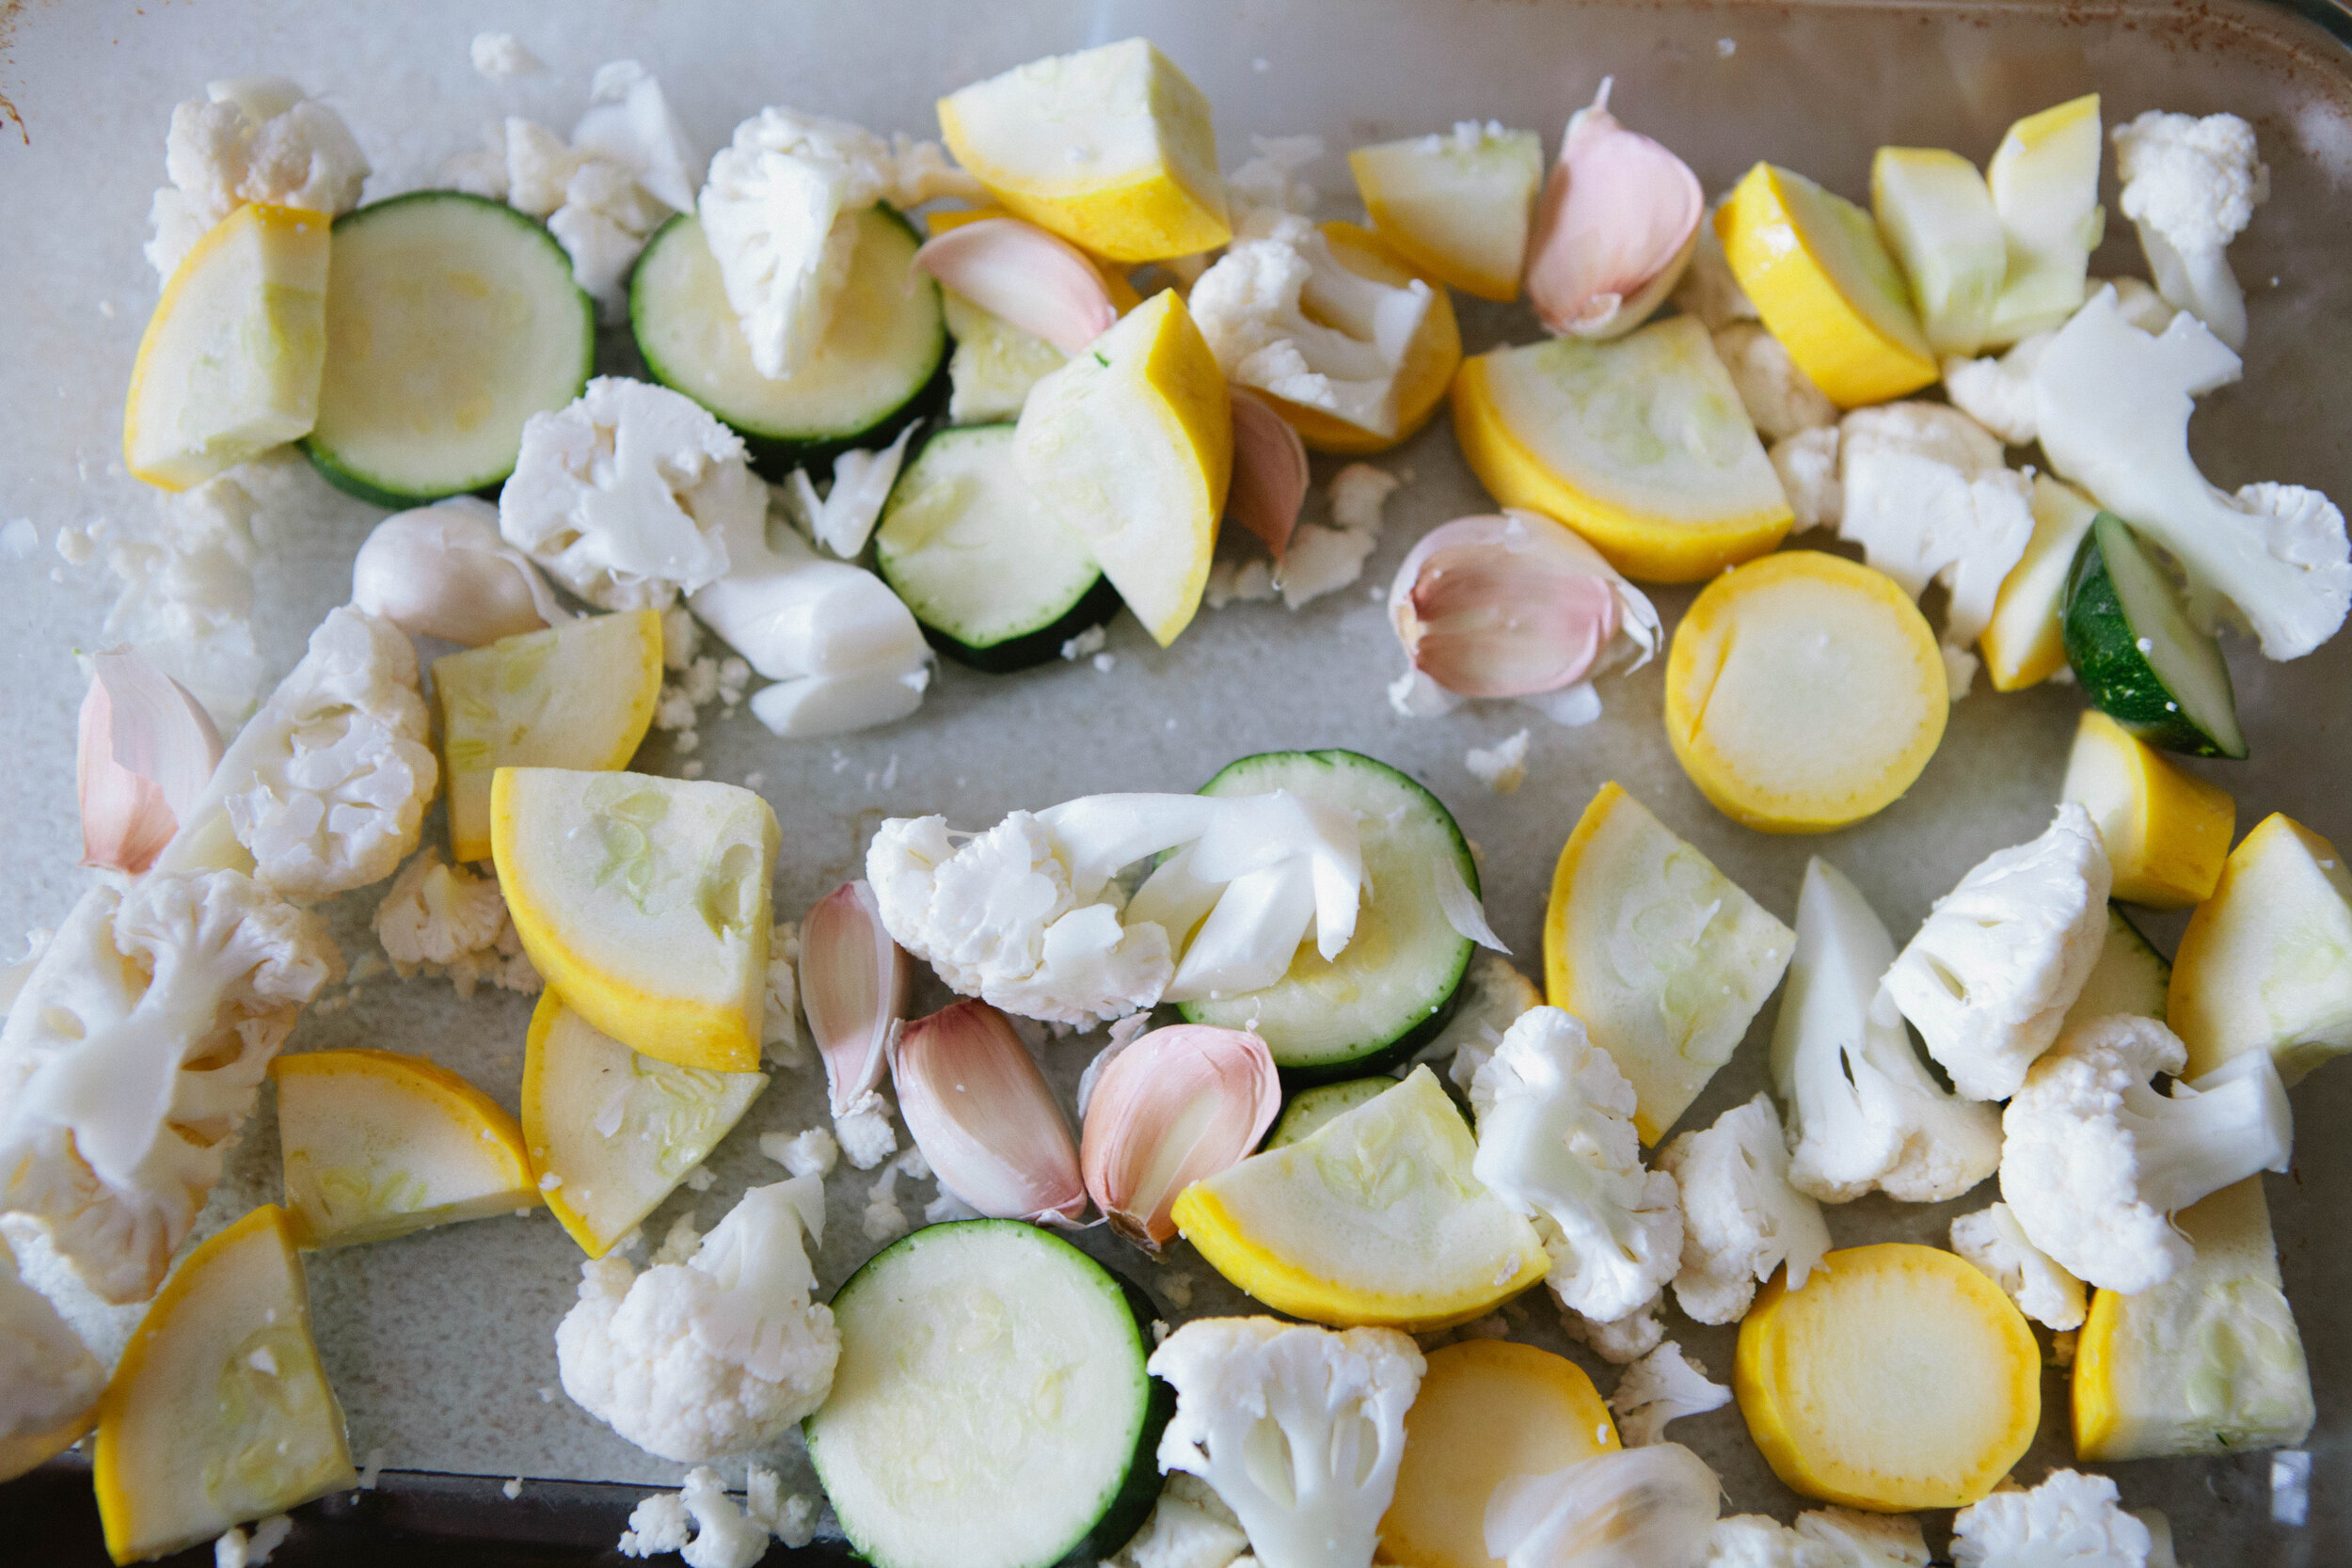
Roasted zucchini, cauliflower, yellow squash and garlic are the base for this soup. It’s delicious and filling while still being dairy free and gluten free. It’s a soup for the GAPS diet but is also great for Whole 30 or Paleo diets since it’s made …

Add the squash, zucchini, cauliflower and garlic to a baking dish with the lard. Melt the lard in the oven on top of the vegetables and then stir to fully coat the vegetables with the melted lard. If you do not have enough lard to fully coat your vegetables, add more! Season with salt.

Roast the coated vegetables uncovered in the oven for about an hour. The vegetables are done when they are softened and slightly browned. Set them aside to cool. 

You can make your own chicken stock to use in this recipe for creamy garlic chicken soup. It’s a GAPS legal soup but is also great for Paleo or Whole 30 diets since it’s made with real food. It gets it’s creaminess from a medley of blended vegetable…

About ten minutes before the stock is done, add in ½ bunch of parsley for an added dose of Vitamin C and magnesium. 

Strain your stock but keep the joint meats, skin and everything else to blend into this creamy garlic chicken soup. It’s delicious, full of fat, hearty and made with real food so it’s perfect for the GAPS Diet, Whole 30, Weston A Price or Paleo. Rec…

Once the stock is done, strain the stock and set the cooked meat aside to cool. 

Once the roasted vegetables have cooled, peel the garlic paper off. Wait until the garlic is cooled - if you are impatient and peel it too early, it will burn your hands.

Add the roasted vegetables to a large pot. Add 12 cups of stock to the pot. 

This creamy garlic chicken soup uses a whole chicken. Set aside the bones and meat from your stock but blend everything else into the soup base to create a creamy soup that can’t be beat! It’s great for the GAPS Diet, Weston A Price, Whole 30 or Pal…

Once your meat is cooled, remove it from the bone. Separate the joint cartilage and skin from the meat. In the above photo, the top left is the bones, the bottom plate is the meat and the plate on the right has everything else that will be added into the stock and blended.

Roasted cauliflower, zucchini, yellow squash and garlic get blended with chicken skins to create a creamy base that keeps this creamy garlic chicken soup dairy free but still delicious! Recipe for GAPS Diet, Whole 30, Weston A Price or Paleo by Amy …

Add the skin, cartilage and other non-meat bits (no bones) to the pot. 

Immersion blend everything together until it is well blended and the vegetables are in small pieces.

Add shredded chicken to a base of roasted vegetables and blended chicken skins for a creamy, dreamy soup. Creamy Garlic Chicken Soup recipe for the GAPS Diet, Whole 30, Weston A Price or Paleo by Amy Mihaly, Certified GAPS Practitioner in Colorado.

Add the meat from your chicken into the blended stock. Add 1 tbsp of salt.

Cook for 15-20 minutes to blend the flavors.

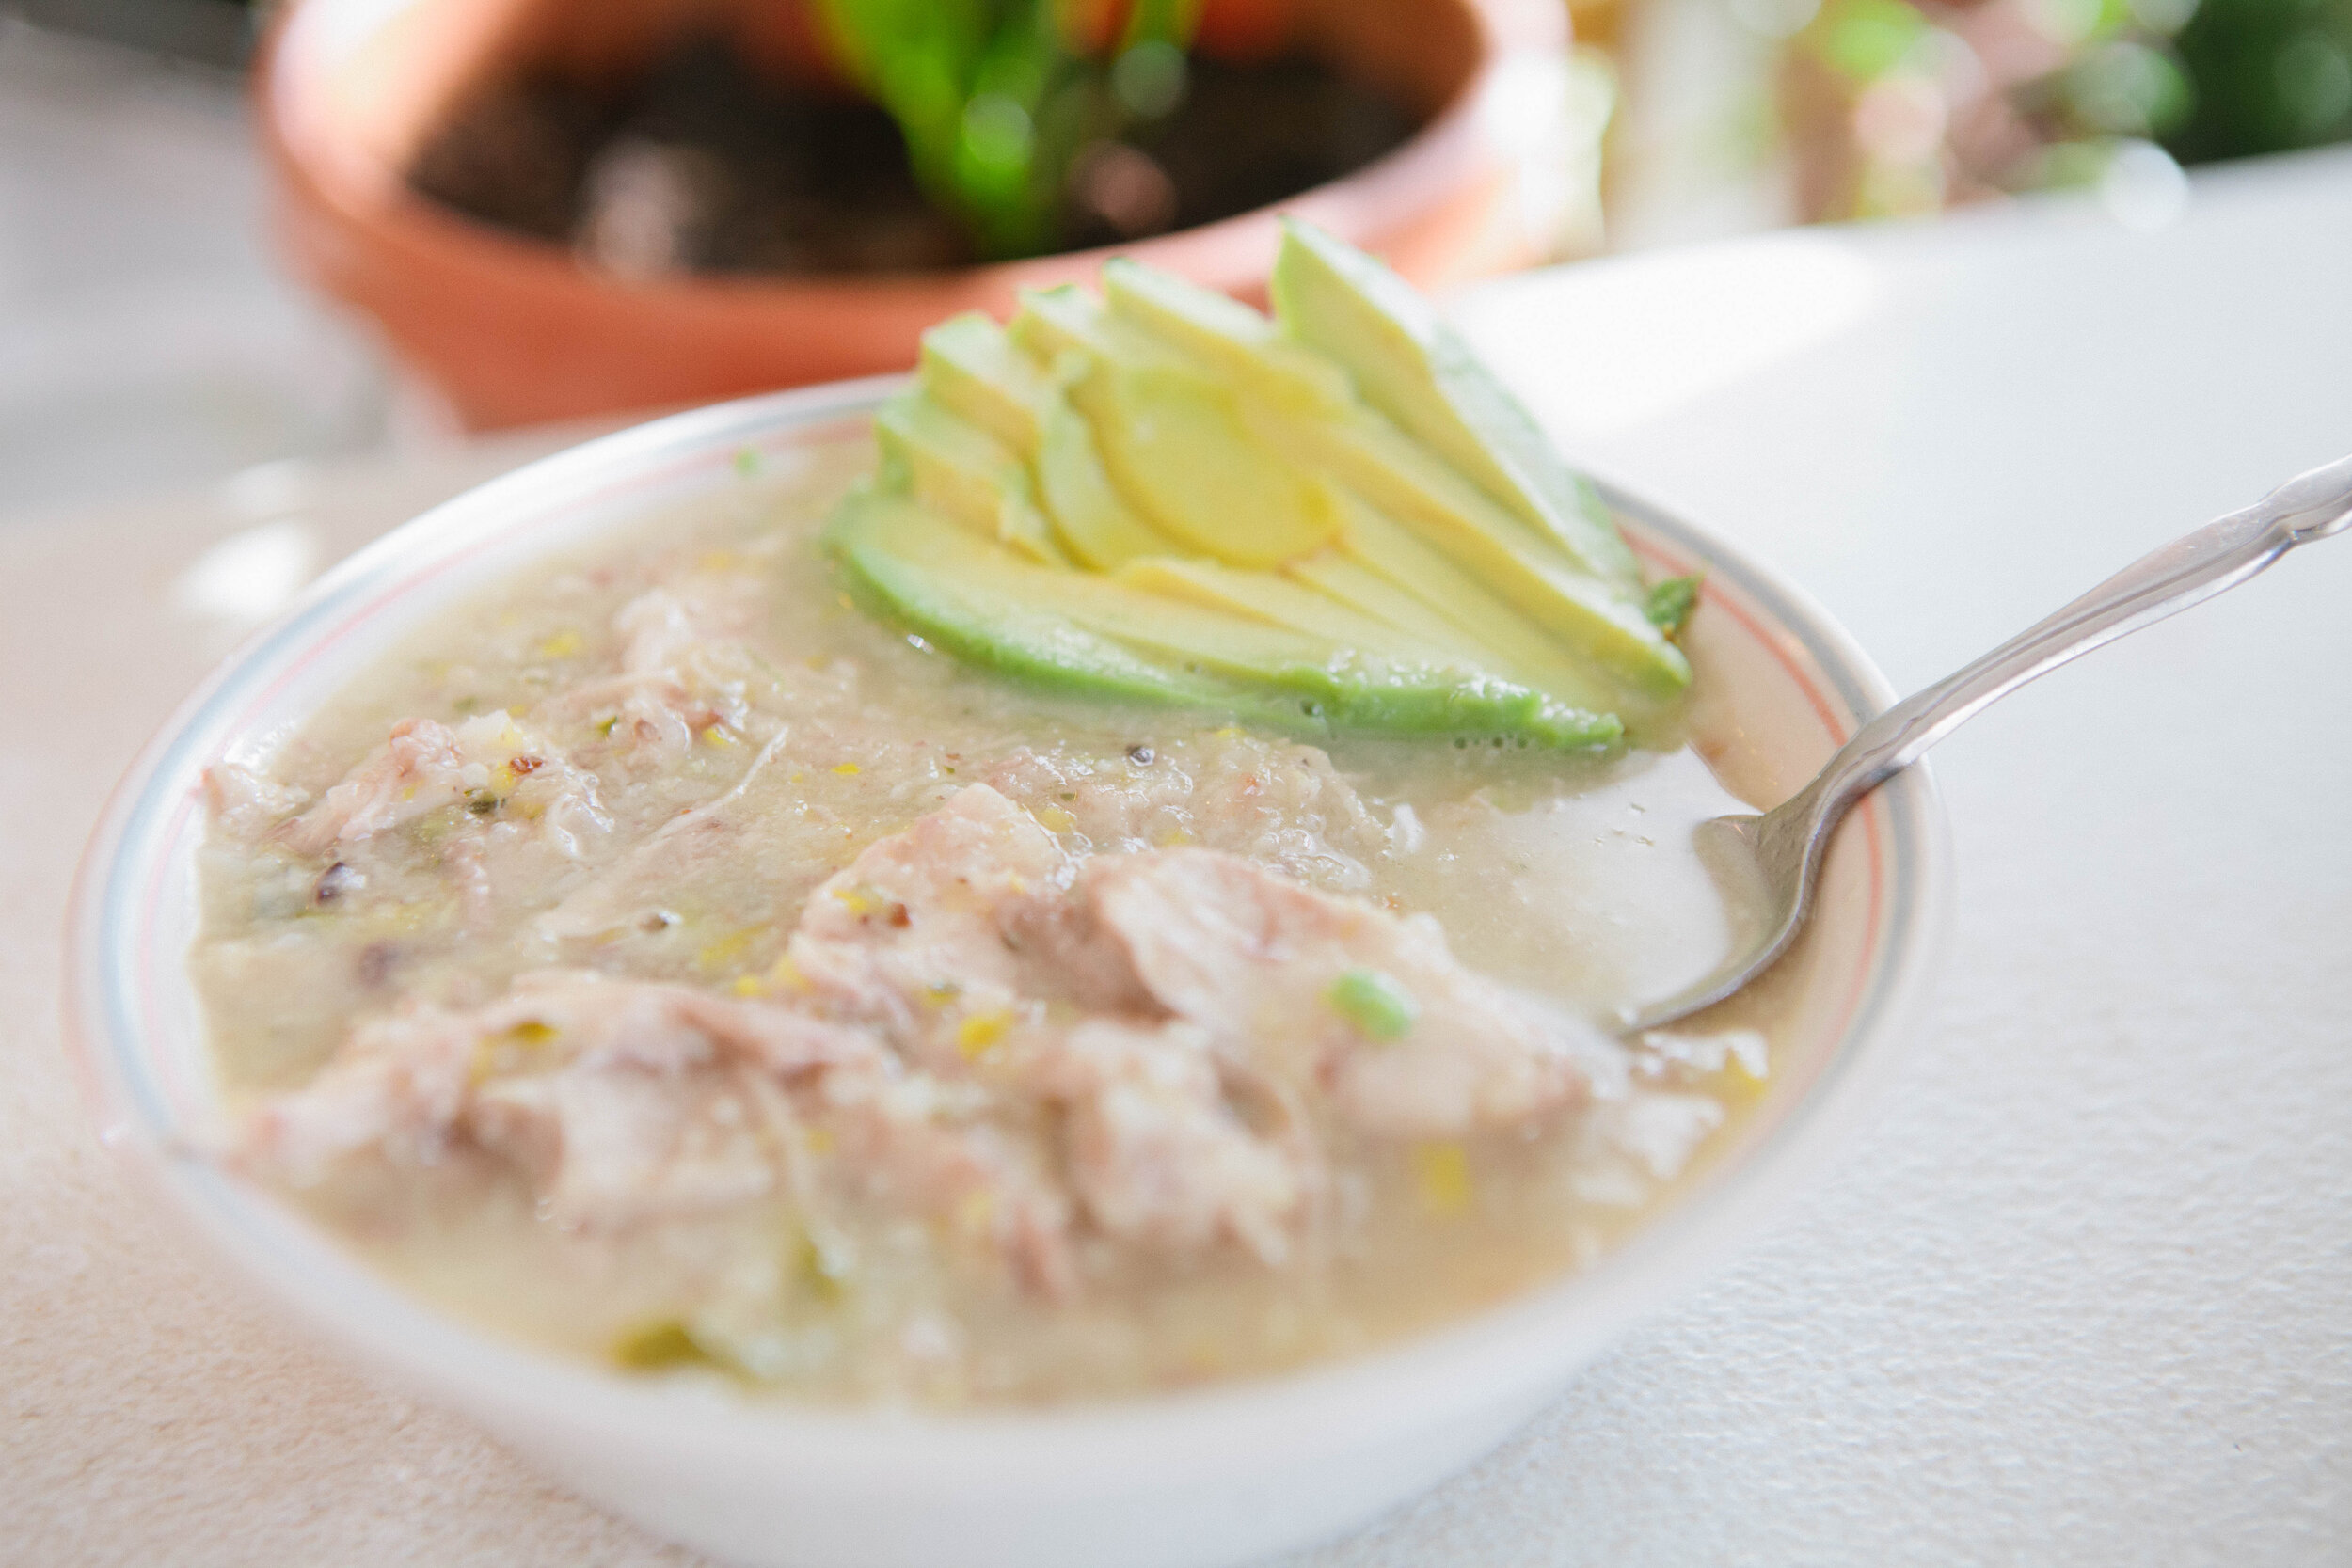
This soup is a dream! Creamy Garlic Chicken soup is made with a blend of cauliflower, zucchini, yellow squash and garlic. It’s legal for the GAPS Diet, Whole30, Weston A Price and Paleo diets because it’s made with simple, real food. Recipe by Amy M…

Enjoy! I topped mine with sliced avocado. However, this does make it legal on GAPS Stage 3.

Creamy Garlic Chicken Soup

Author:
prep time: cook time: total time:

ingredients:

  • 1 Chicken
  • 1 Zucchini (Courgettes)
  • 1 Yellow Squash
  • ½ Large Head of Cauliflower or 1 Small Cauliflower
  • 1-2 Heads of Garlic, Cloves separated but still in their paper
  • 3-4 tbsp Lard
  • 1 tbsp Salt
  • ½ Bunch Parsley

instructions:

How to cook Creamy Garlic Chicken Soup

  1. Start a chicken stock on the stove.
  2. Cut the vegetables into even size pieces for even roasting. For the cauliflower, you can remove or keep however much of the fibrous material (stems), depending on how much you are tolerating. Start the oven preheating to 400 degrees.
  3. Add the squash, zucchini, cauliflower and garlic to a baking dish with the lard. Melt the lard in the oven on top of the vegetables and then stir to fully coat the vegetables with the melted lard. If you do not have enough lard to fully coat your vegetables, add more! Season with salt.
  4. Roast the coated vegetables uncovered in the oven for about an hour. The vegetables are done when they are softened and slightly browned. Set them aside to cool.
  5. About ten minutes before the stock is done, add in ½ bunch of parsley for an added dose of Vitamin C and magnesium.
  6. Once the stock is done, strain the stock and set the cooked meat aside to cool.
  7. Once the roasted vegetables have cooled, peel the garlic paper off. Wait until the garlic is cooled - if you are impatient and peel it too early, it will burn your hands.
  8. Add the roasted vegetables to a large pot. Add 12 cups of stock to the pot.
  9. Once your meat is cooled, remove it from the bone. Separate the joint cartilage and skin from the meat. Add the skin, cartilage and other non-meat bits (no bones) to the pot.
  10. Immersion blend everything together until it is well blended and the vegetables are in small pieces.
  11. Add the meat from your chicken into the blended stock. Add 1 tbsp of salt.
  12. Cook for 15-20 minutes to blend the flavors.
  13. Enjoy! I topped mine with sliced avocado. However, this does make it legal on GAPS Stage 3.
Created using The Recipes Generator
This soup is a dream! Creamy Garlic Chicken soup is made with a blend of cauliflower, zucchini, yellow squash and garlic. It’s legal for the GAPS Diet, Whole30, Weston A Price and Paleo diets because it’s made with simple, real food. Recipe by Amy M…

Making Your Own Kefir from Milk Kefir Grains

Kefir is a fermented drink made from kefir grains. It’s a bit like a very thin yogurt and has great health benefits!

The great news is, like many fermented drinks, kefir is very easy to make on your own!

IMG_5046.jpg

Kefir grains are very sensitive to metal so it is best if you use little to no metal when you’re preparing this recipe.

If you use a dishwasher, rinse your bowl thoroughly before using to ensure there is no detergent residue on it. 

You will need:

  • A strainer (preferably not metal)

  • A jar to put your kefir in

  • A bowl

Ingredients for Kefir

  • Fresh Milk (raw or freshly repasteurized, depending on what your grains are used to)

  • Kefir with Grains, 4 to 5 healthy grains will make a pint 

Directions for Kefir

IMG_5035.jpg

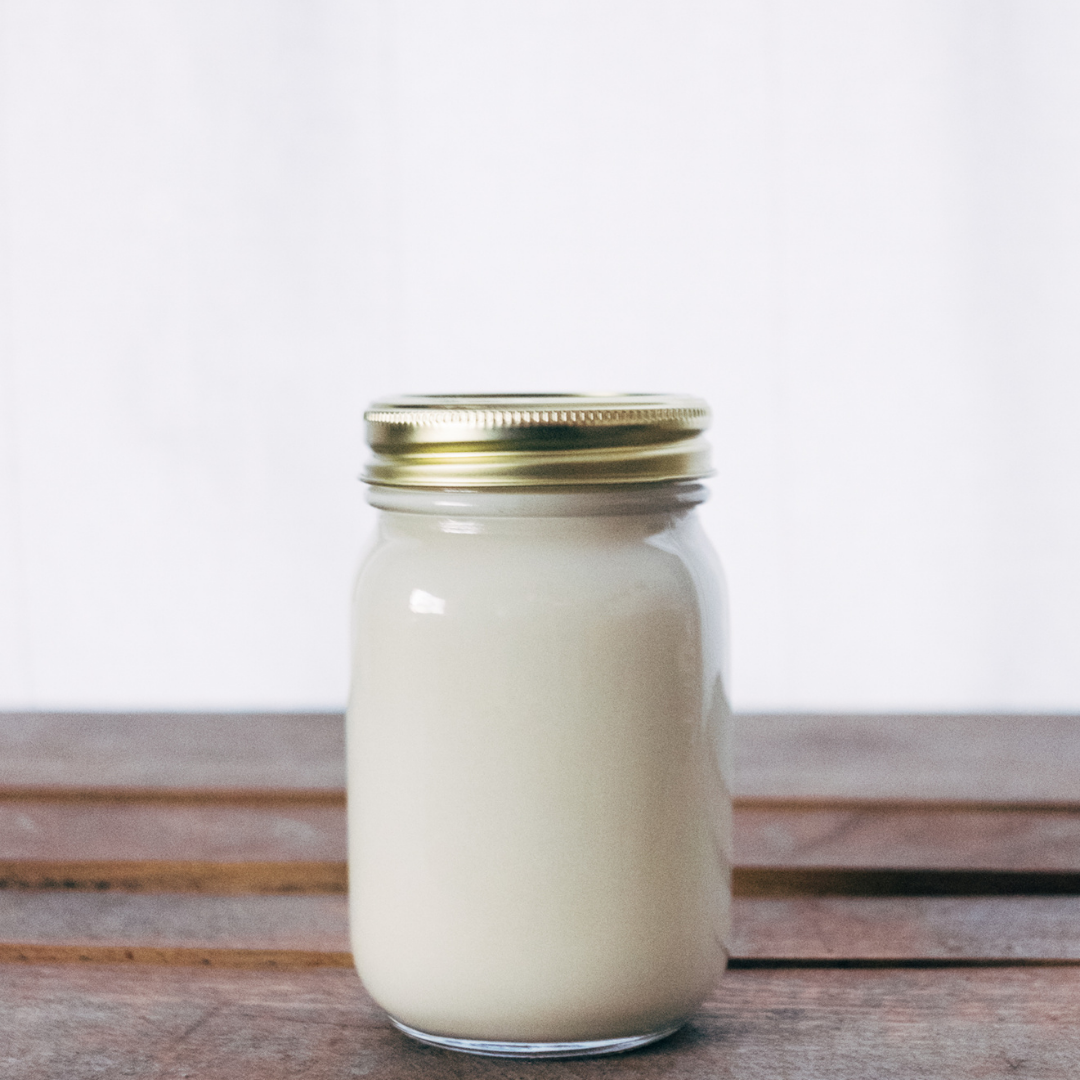
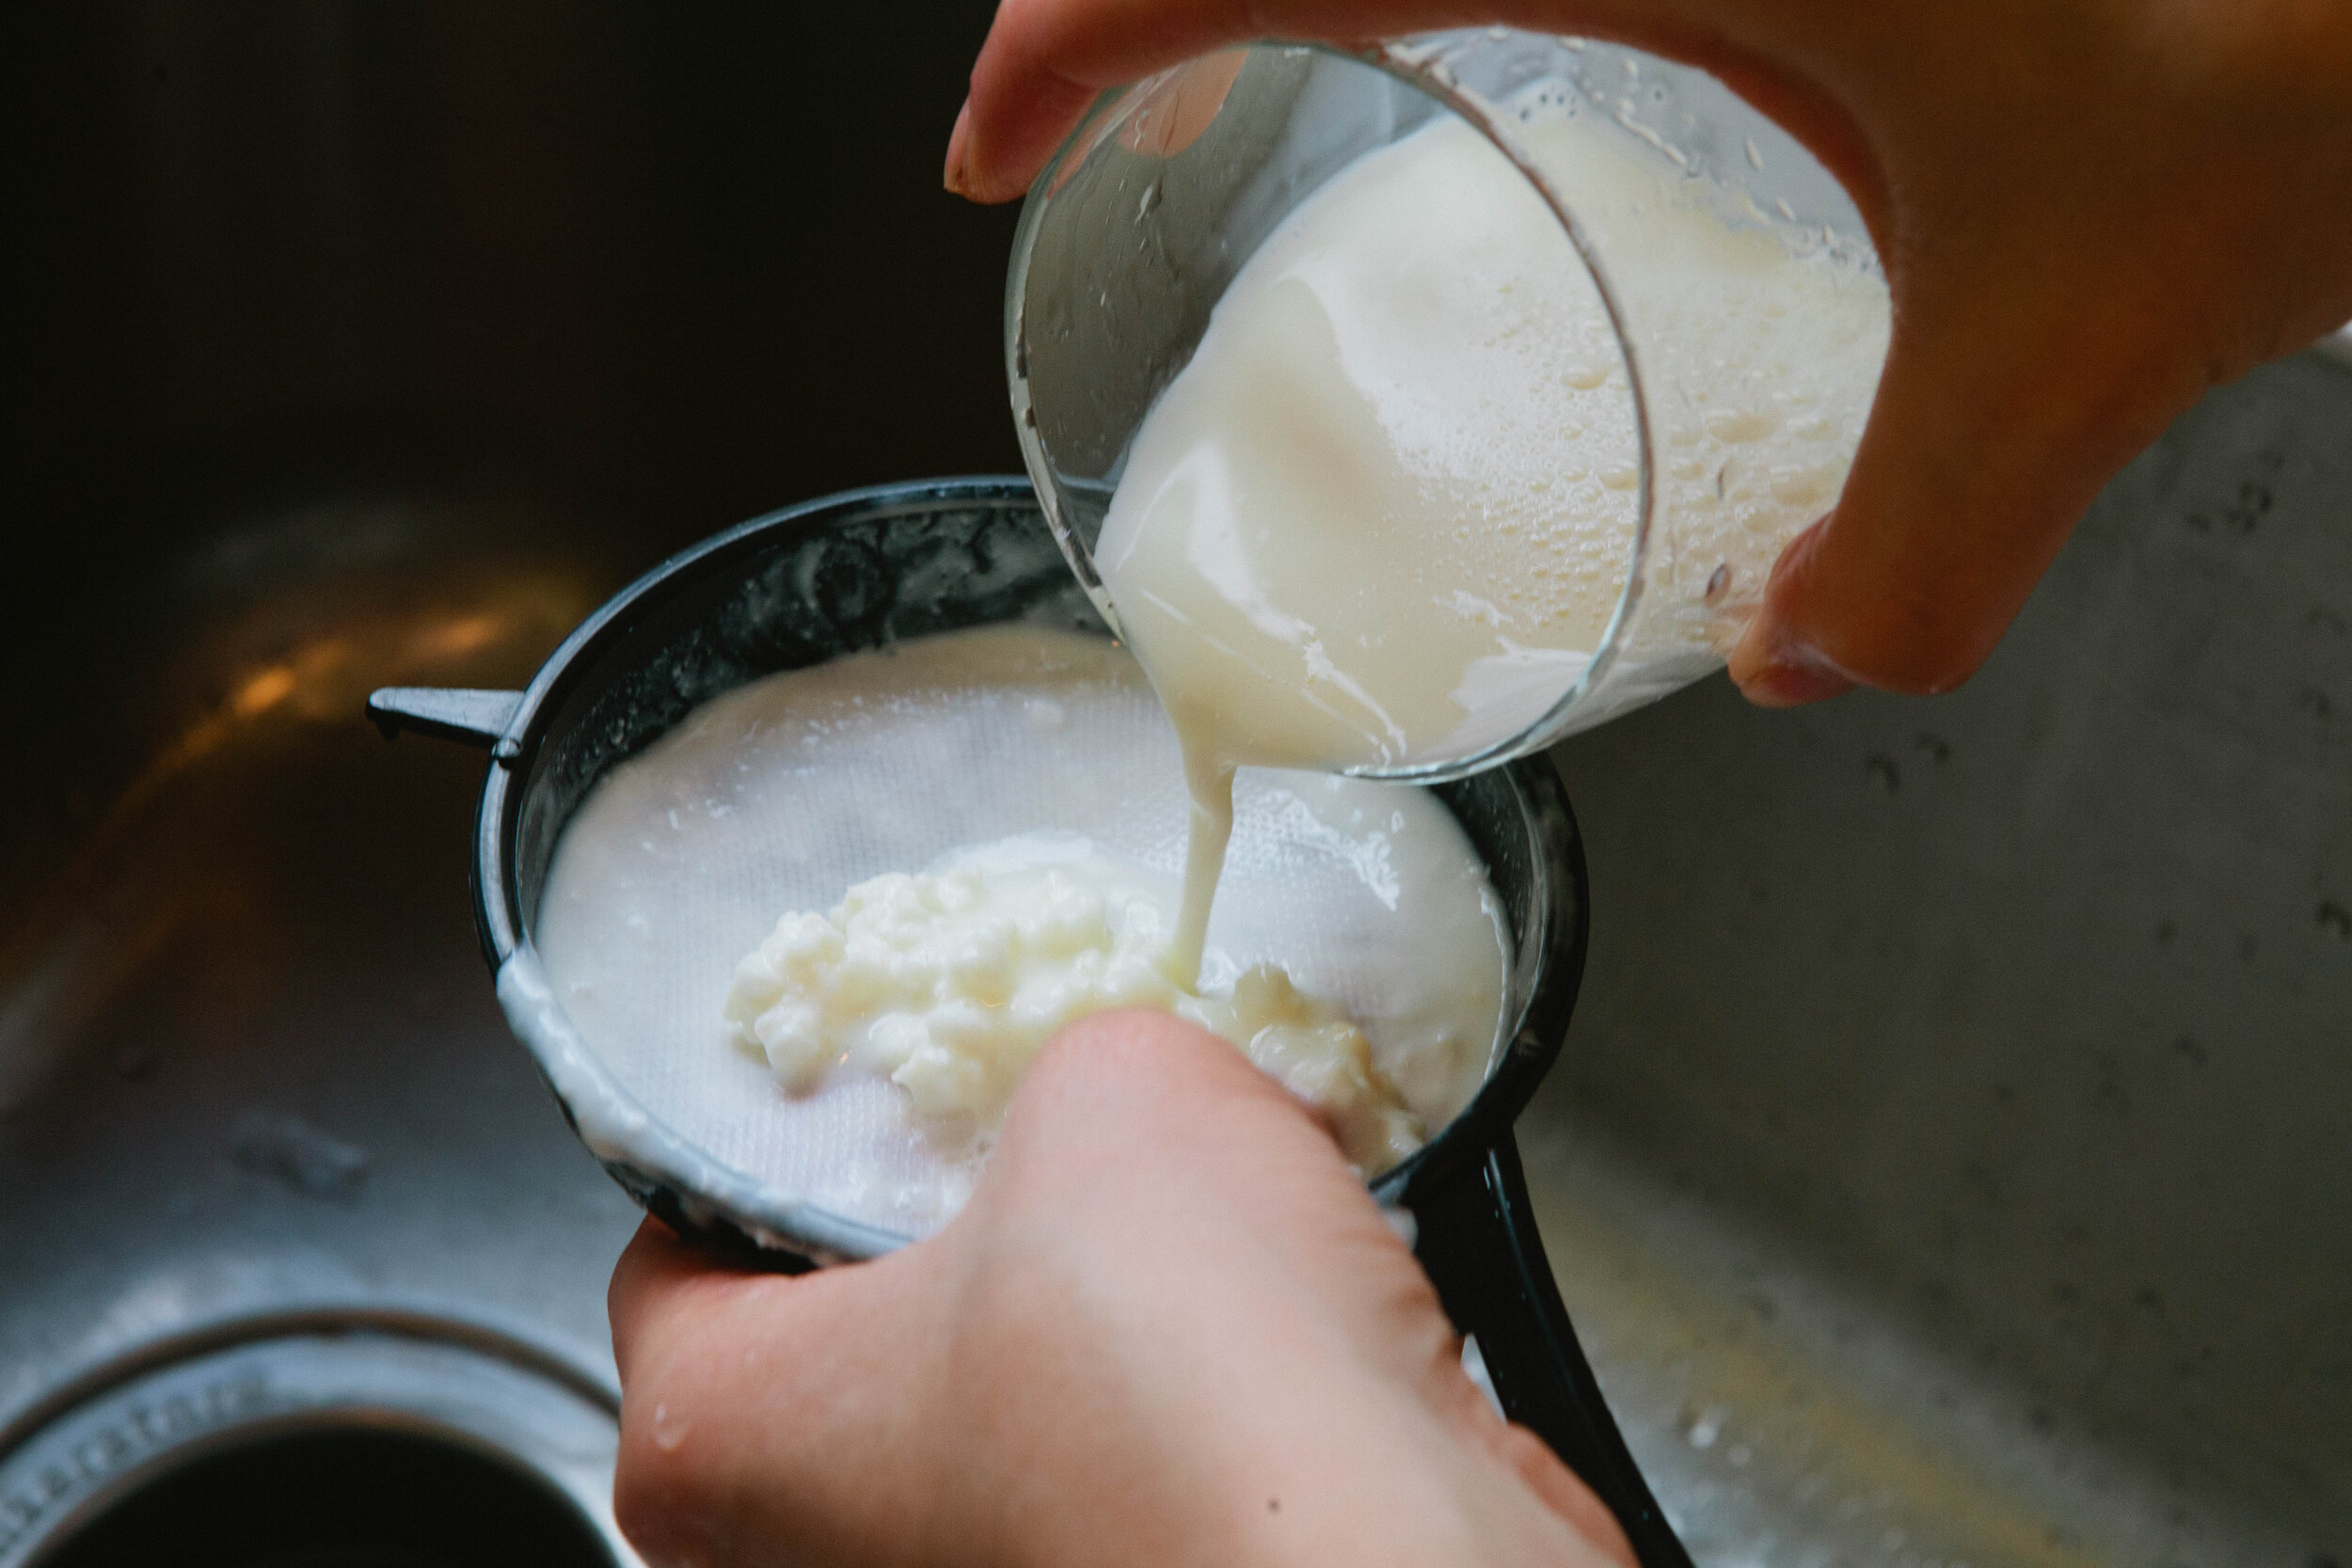
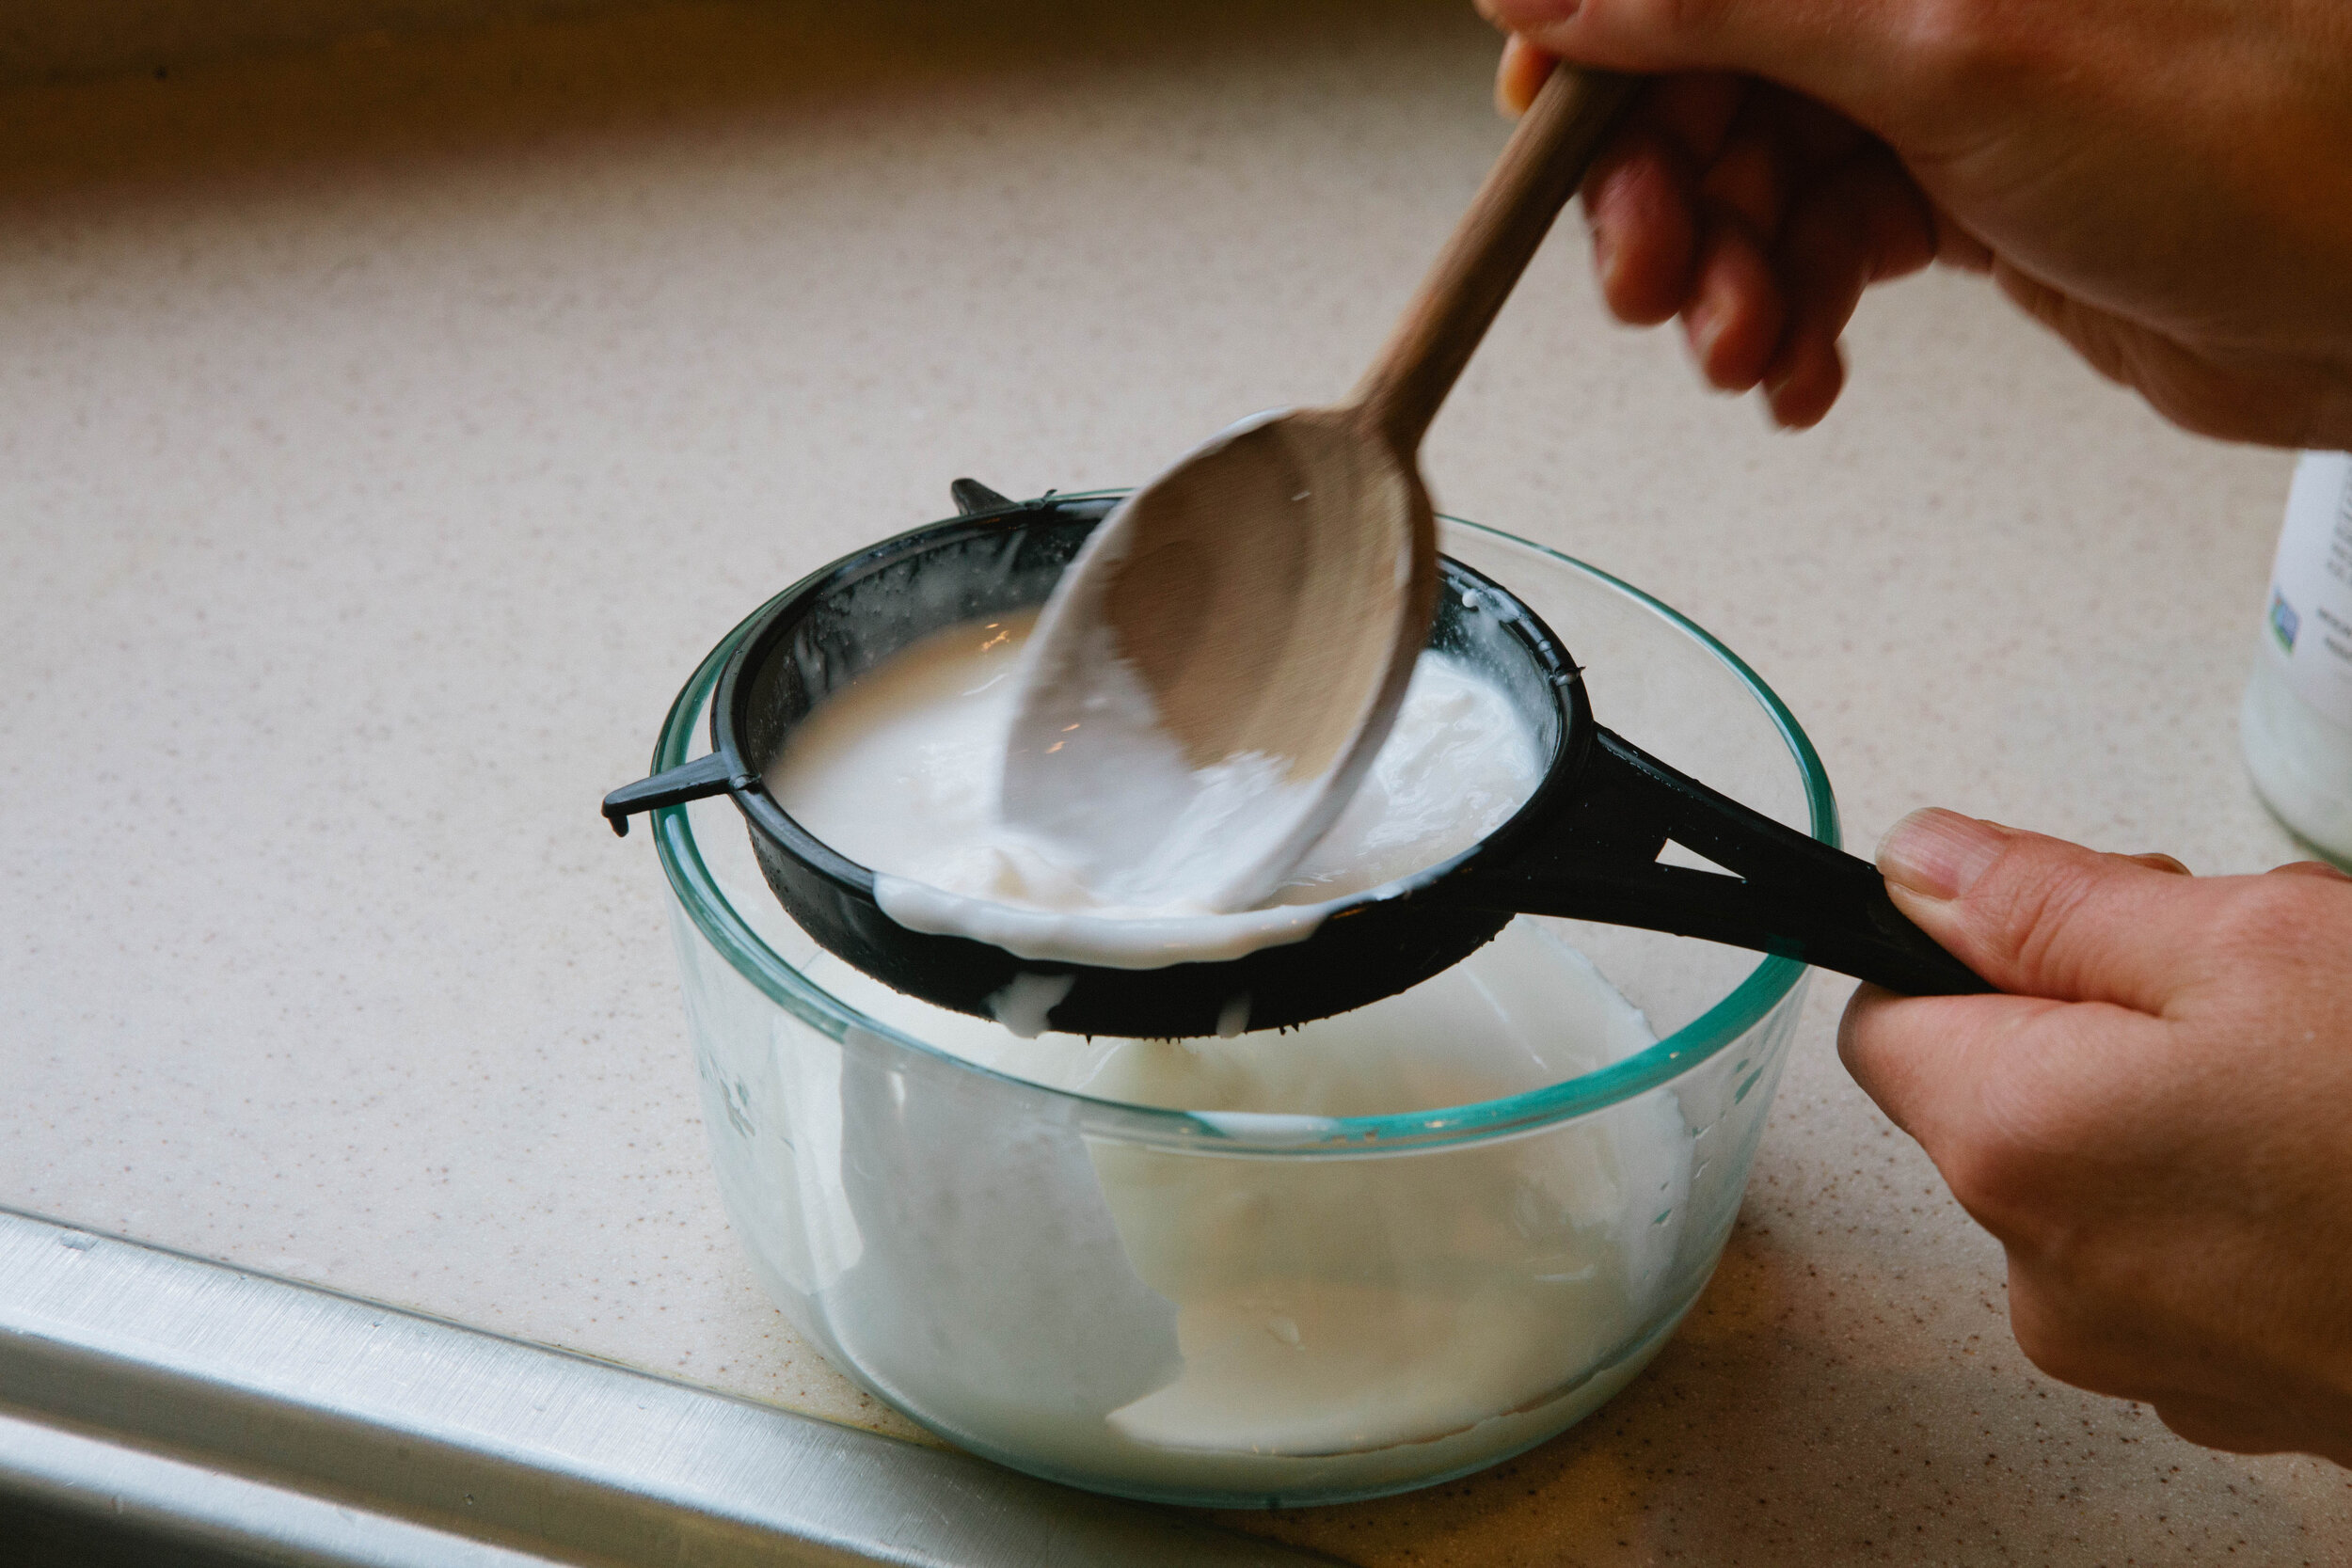
Separate kefir grains from kefir by pouring into a non metal strainer. Gently separate the kefir from the grains with a non metal spoon. Don’t push too hard - be very gentle! 

IMG_5037.jpg

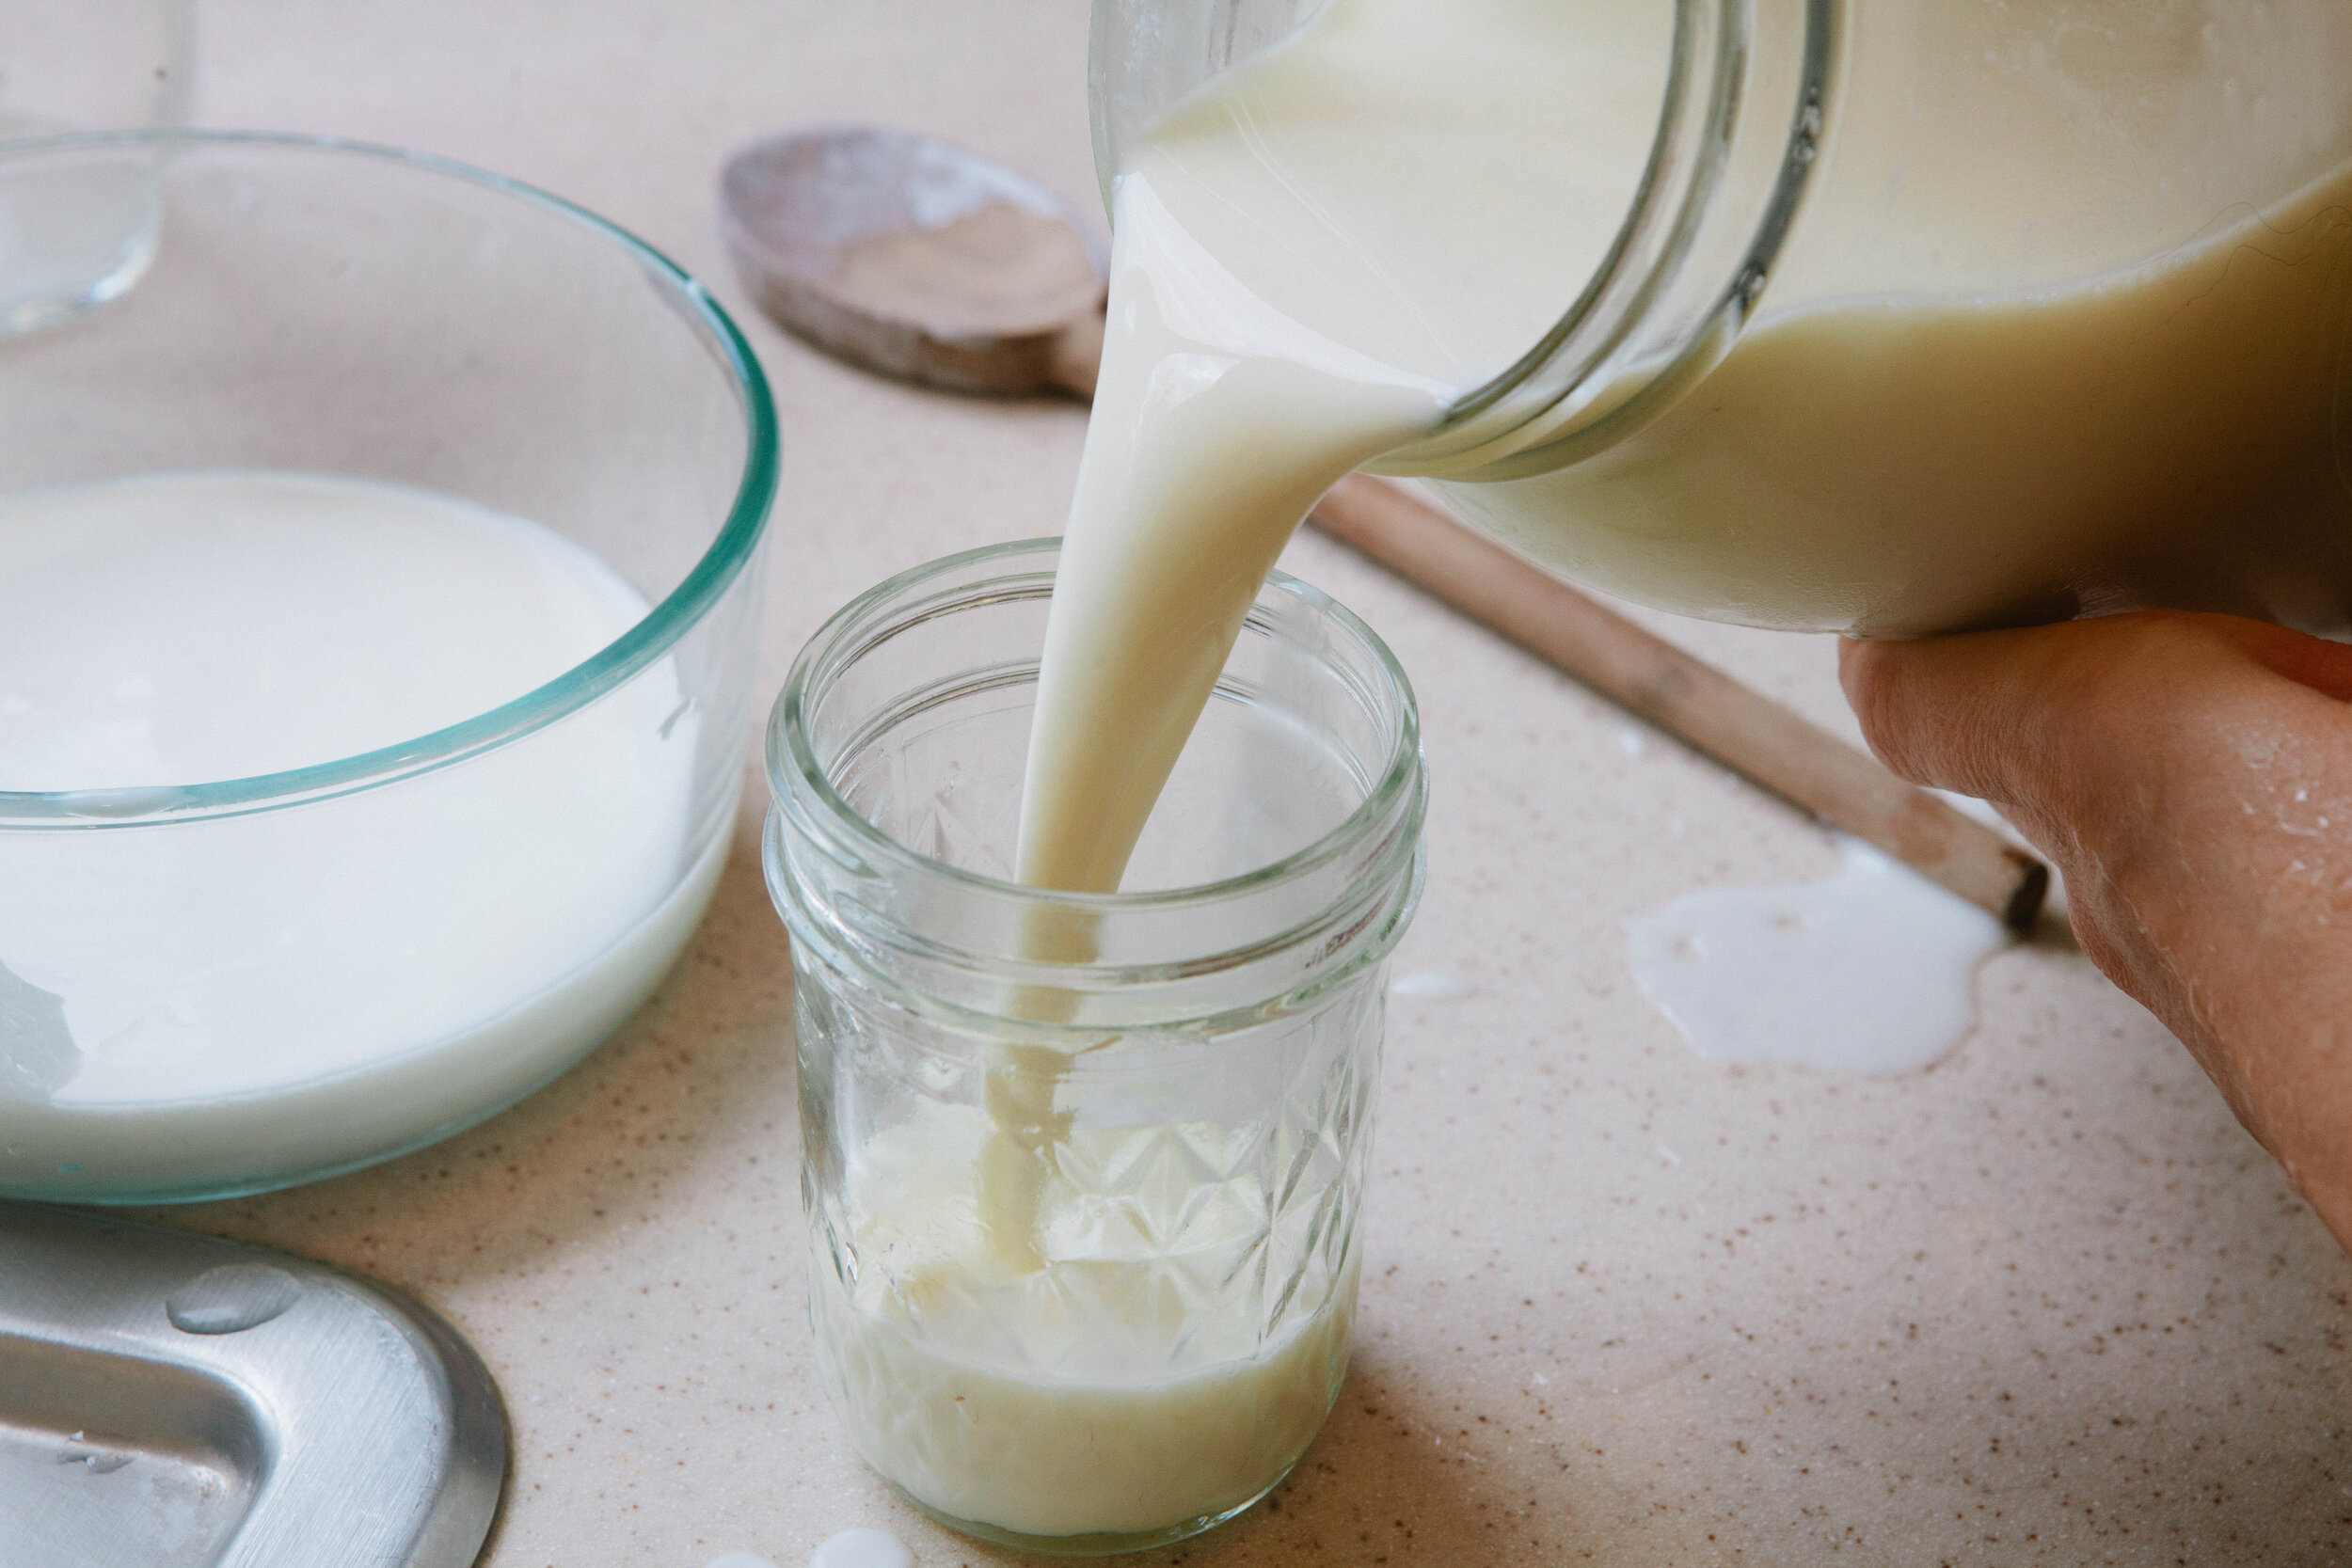
What falls below is your kefir. What stays in the strainer is the kefir grains. 

Leave out on the counter for about 24 hours to ferment. After 24 hours, put the grains into milk into the fridge. OR if you are not needing so much kefir, store it in the fridge directly.

IMG_5056.jpg

If you store the kefir in the fridge, continue to feed your kefir in the fridge. It takes about two to three weeks before you need to feed it again by changing the milk.

You can use the kefir itself to make kefir cream.

Enjoy!

Making Your Own Kefir

prep time: cook time: total time:

ingredients:

  • Fresh Milk (raw or freshly repasteurized, depending on what your grains are used to)
  • Kefir with Grains, 4 to 5 healthy grains will make a pint

instructions:

How to cook Making Your Own Kefir

  1. Separate kefir grains from kefir by pouring into a non metal strainer. Gently separate the kefir from the grains with a non metal spoon. Don’t push too hard - be very gentle!
  2. What falls below is your kefir. What stays in the strainer is the kefir grains.
  3. Leave out on the counter for about 24 hours to ferment. After 24 hours, put the grains into milk into the fridge. OR if you are not needing so much kefir, store it in the fridge directly.
  4. If you store the kefir in the fridge, continue to feed your kefir in the fridge. It takes about two to three weeks before you need to feed it again by changing the milk.
  5. You can use the kefir itself to make kefir cream.
  6. Enjoy!
Created using The Recipes Generator
40.png

How to Properly Prepare Grains

IMG_5198.jpg

How to Properly Prepare White Rice on the GAPS Diet:

On the transition to the GAPS Intro diet, or at any time during the GAPS Intro diet, if you or your practitioner feel that your body is in need of some carbohydrates, this is a simple carbohydrate that many of us relate to. While it’s  not a whole grain, which generally we prefer, the husk of a whole grain can be harder to digest. White rice that’s been soaked is fairly easy to digest and fairly untroublesome for the gut.

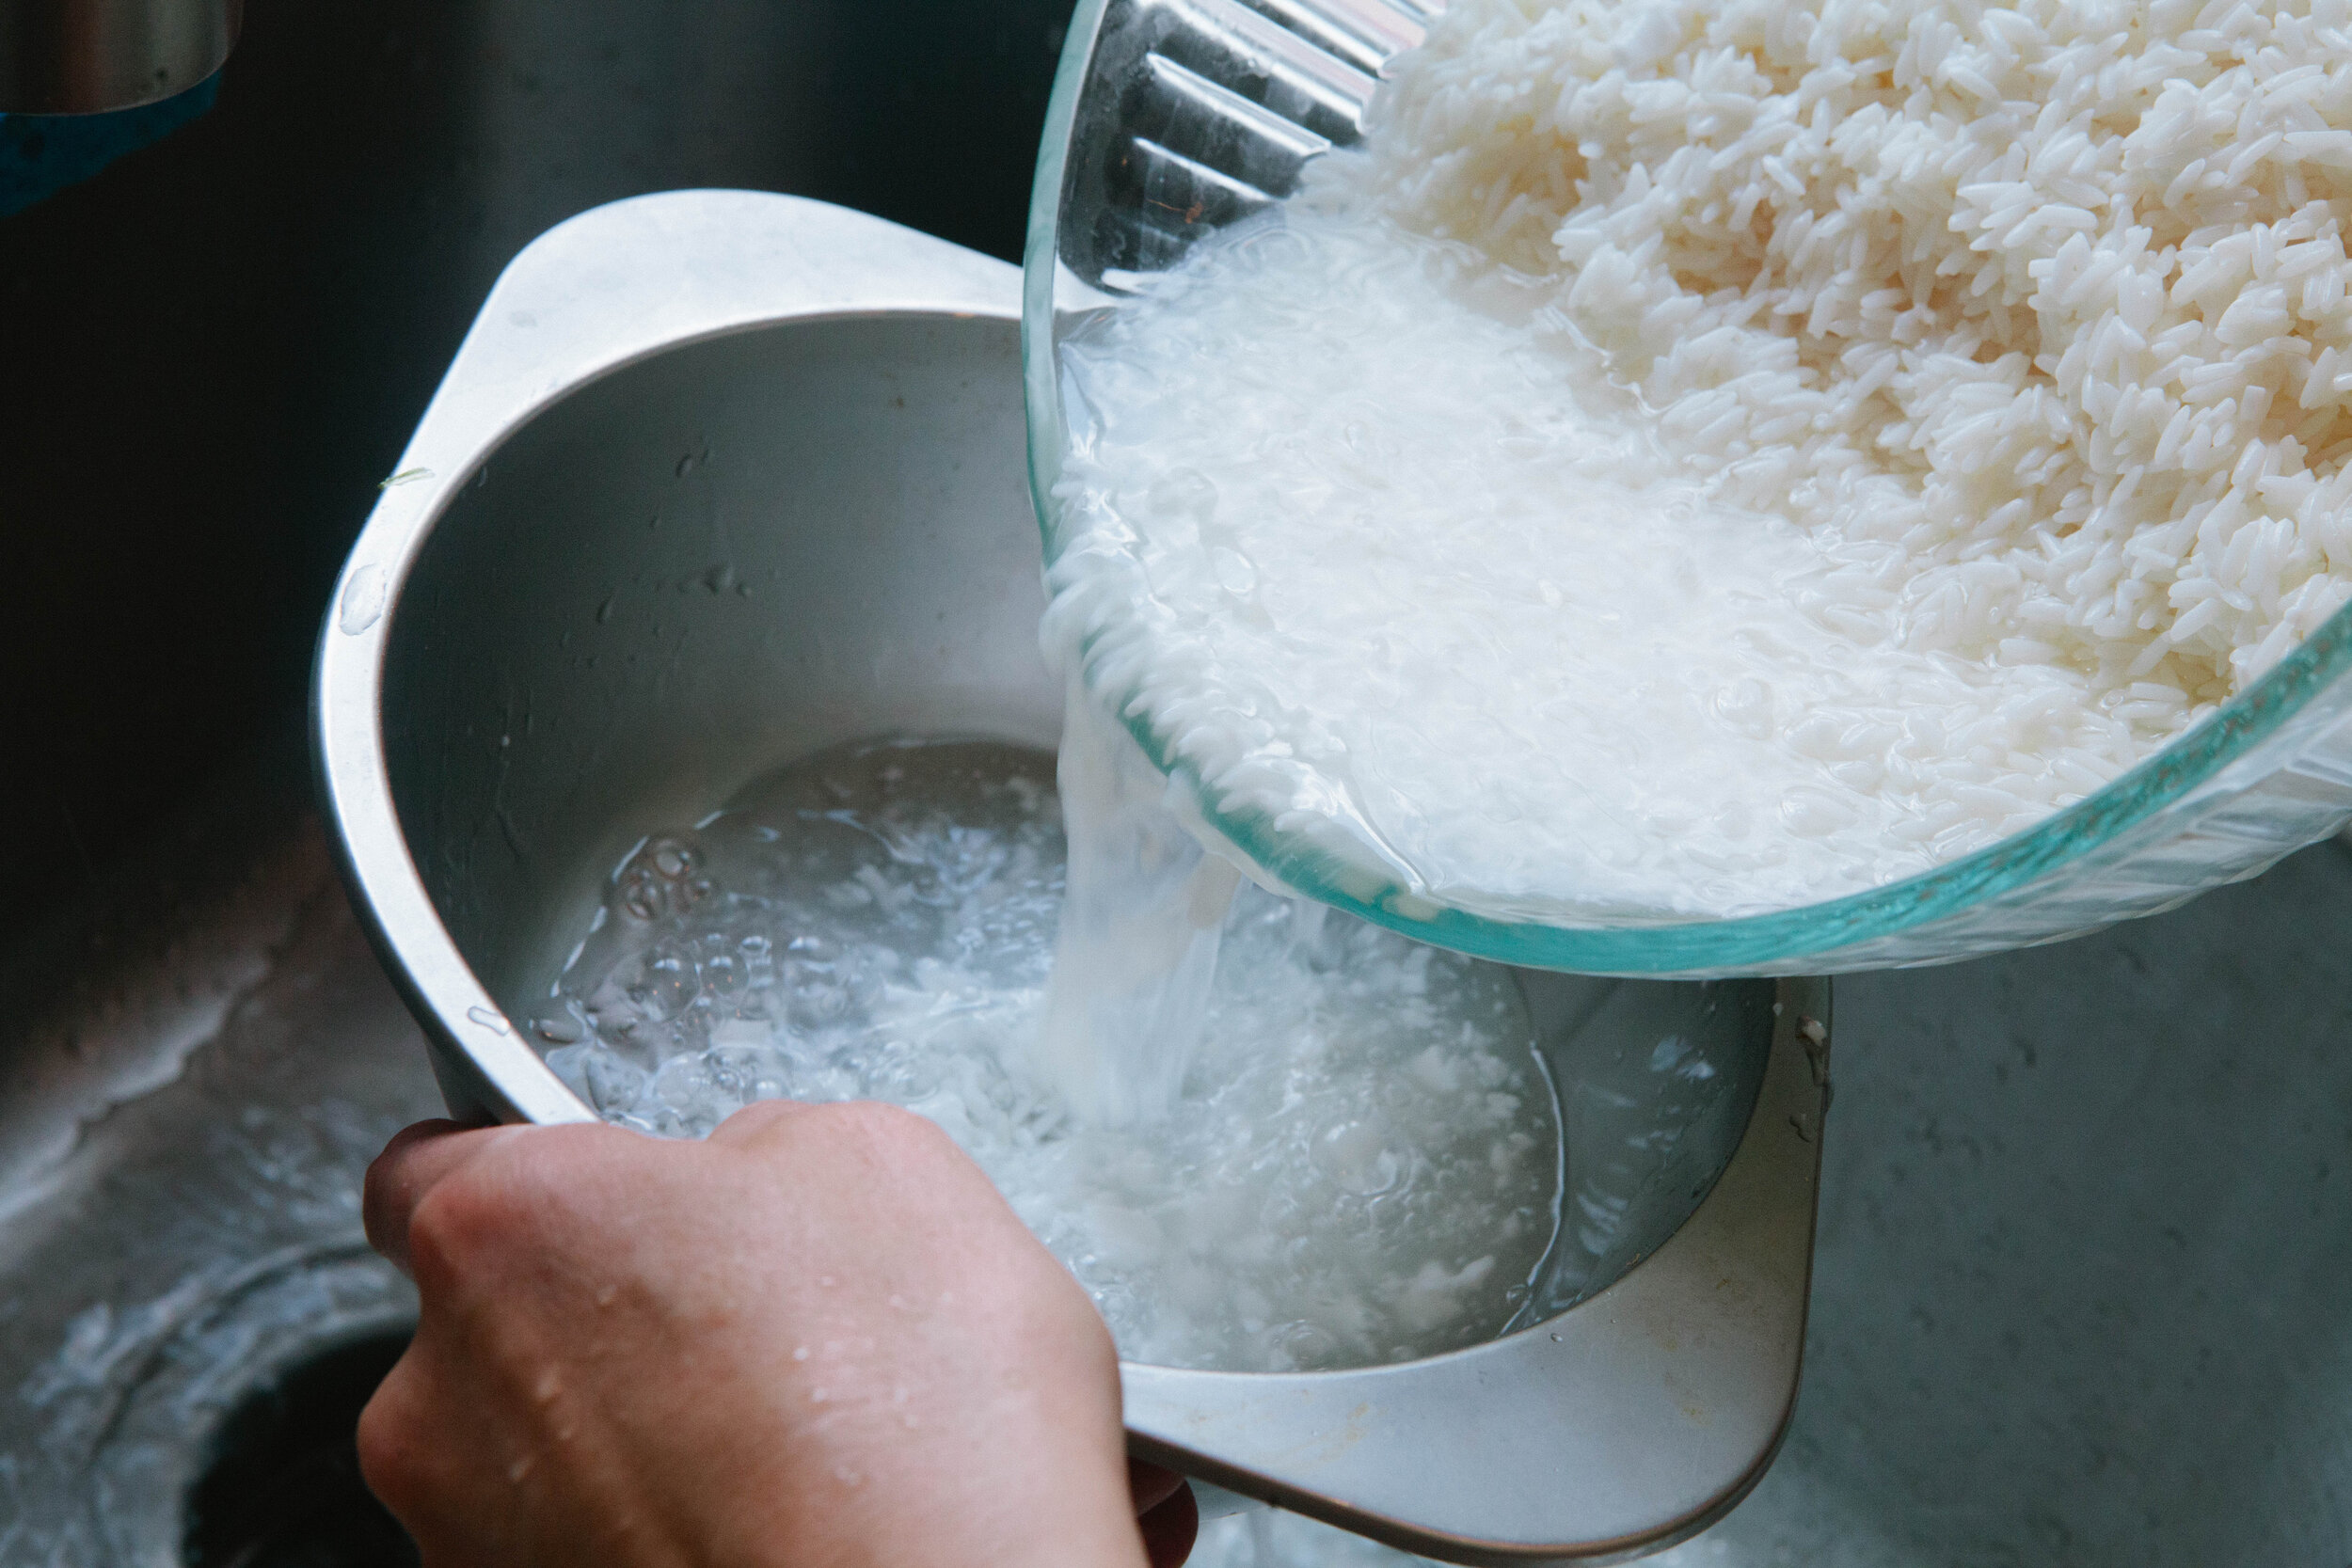
Soak your rice overnight before using it in any recipe. Place in warm filtered water with 4 tbsp of yogurt or whey. Put a lid on the bowl and place on the counter overnight.

How to Properly Prepare Quinoa on the GAPS Diet:

As a non gluten grain, quinoa is one of the first grains we can try in coming off the GAPS Diet. It is a seed so as with all other seeds it should be properly prepared. Quinoa has never been my favorite, but most of the times I have eaten it in the past were before I understood about anti-nutrients. I wonder if quinoa used to give me a stomach ache and that’s why I didn’t care for it. This quinoa can be used as an exact substitution for any other quinoa recipe, including a cold quinoa salad or a quinoa pudding. 

Soak and sprout your quinoa 24 hours in advance. To sprout the quinoa, put the quinoa in filtered water (2 cups of quinoa to 4 cups of water.) Add in 2 tbsp of yogurt or whey. Leave on the counter covered for 24 hours.

IMG_5407.jpg

How to Properly Prepare Wild Rice on the GAPS Diet:

Wild rice is not actually a grain. It’s actually the seed of a marsh growing plant. It’s pretty low in fat so it should be eaten with lots of fat. Because it falls into the seed family, wild rice can be eaten on the GAPS Diet. Of course, you should properly prepare it before eating it. I would serve it in place of white rice in many dishes, like in this fried rice recipe.

At least 7 hours before:

Rinse rice well.

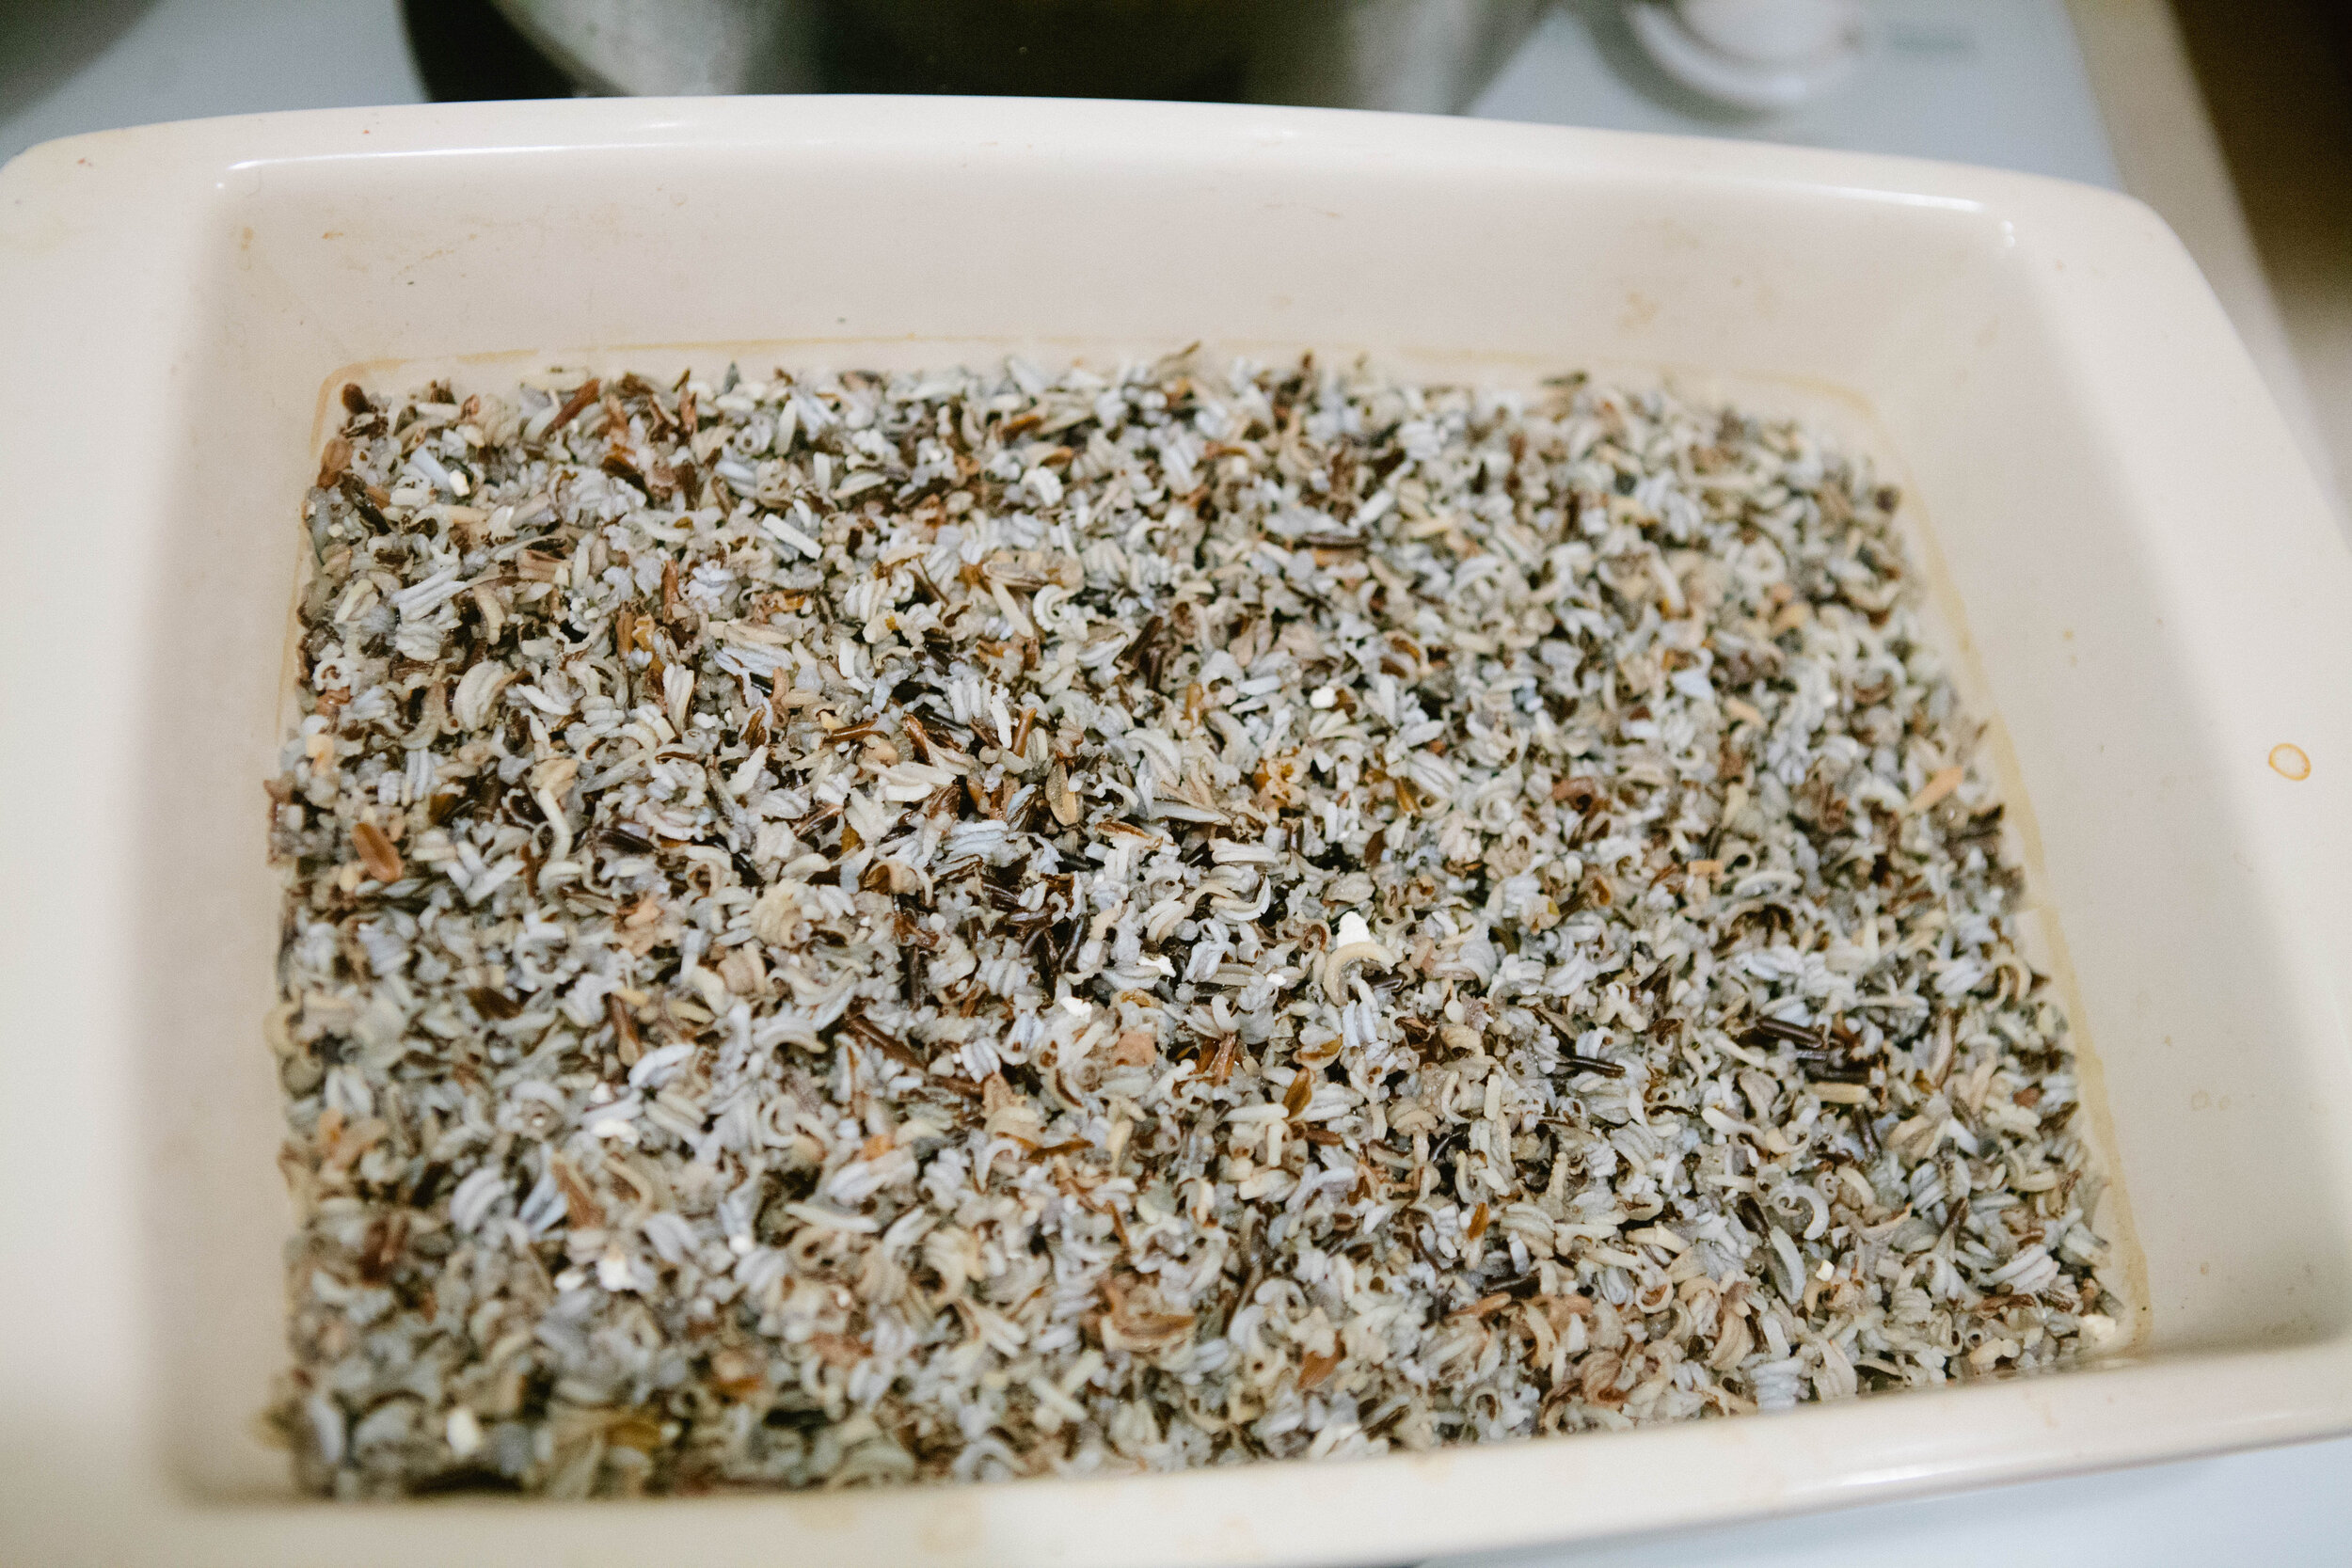
Add 1.5 cups of wild rice to 3 cups of warm filtered water. Add 2-3 tbsp of whey or yogurt to the mix. Let sit in a warm place for at least seven hours.

When You’re Ready to Cook

Add water to cover, about half a liter. Cover and place in the oven at 200 degrees. Cook for 45 minutes.


37.png

Homemade Gummy Snacks

Vitamin C and collagen work together to build healthy cells and mucus membranes, as well as healthy joints and skin. Anything with a structure needs vitamin c alongside collagen. These gummies are a good way for both children and adults to get collagen and vitamin c together! These gummies are stage five legal on the GAPS Diet because they are cooked fruit.

I got the basics proportions for this recipe from Integrative Health Coaching Services and modified it to fit my own needs. Depending on what proportions you use, the chart included on the Integrative Health Coaching Services website can help you decide how many gelatin squares to eat. If your children really love these gummies, you can decrease the amount of acerola cherry powder so that they can consume more gummy treats. These can also be great ABA technique rewards to get your child to eat the foods you want them to eat.

I recommend experimenting with adding other things like probiotic powders,and other supplements in these gummies. Just make sure you add anything live when the gummies are not too hot. Wait until the later stages when the mixture is cool enough so you don’t kill it. 

I once made a bold choice and experimented with adding desiccated liver in a quest to figure out what other supplements can be added to the mixture. I don’t think liver was the best choice. There’s nothing wrong with consuming them; they just smell and taste like liver, which isn’t the flavor profile you’d expect. 

I made strawberry gummies but you could also make any berry into a gummy. Other fruit, like apples and bananas, will not work to make gummies at home. Frozen berries are actually a great choice because they are picked ripe and frozen while in season. You could also harvest your own berries locally and freeze them yourself.

Ingredients;

  • 1 heaping cup frozen berries

  • 1/2 Cup lemon juice

  • 1/4 Cup grass fed gelatin

  • 3-4 Tbsp.. Acerola cherry powder 

  • 1 tbsp honey

Directions:

strawberry-gummies-homemade-gummy-snacks-gaps-legal-gummies-gummy-snack-made-with-gelatin-diy-gummy-bear

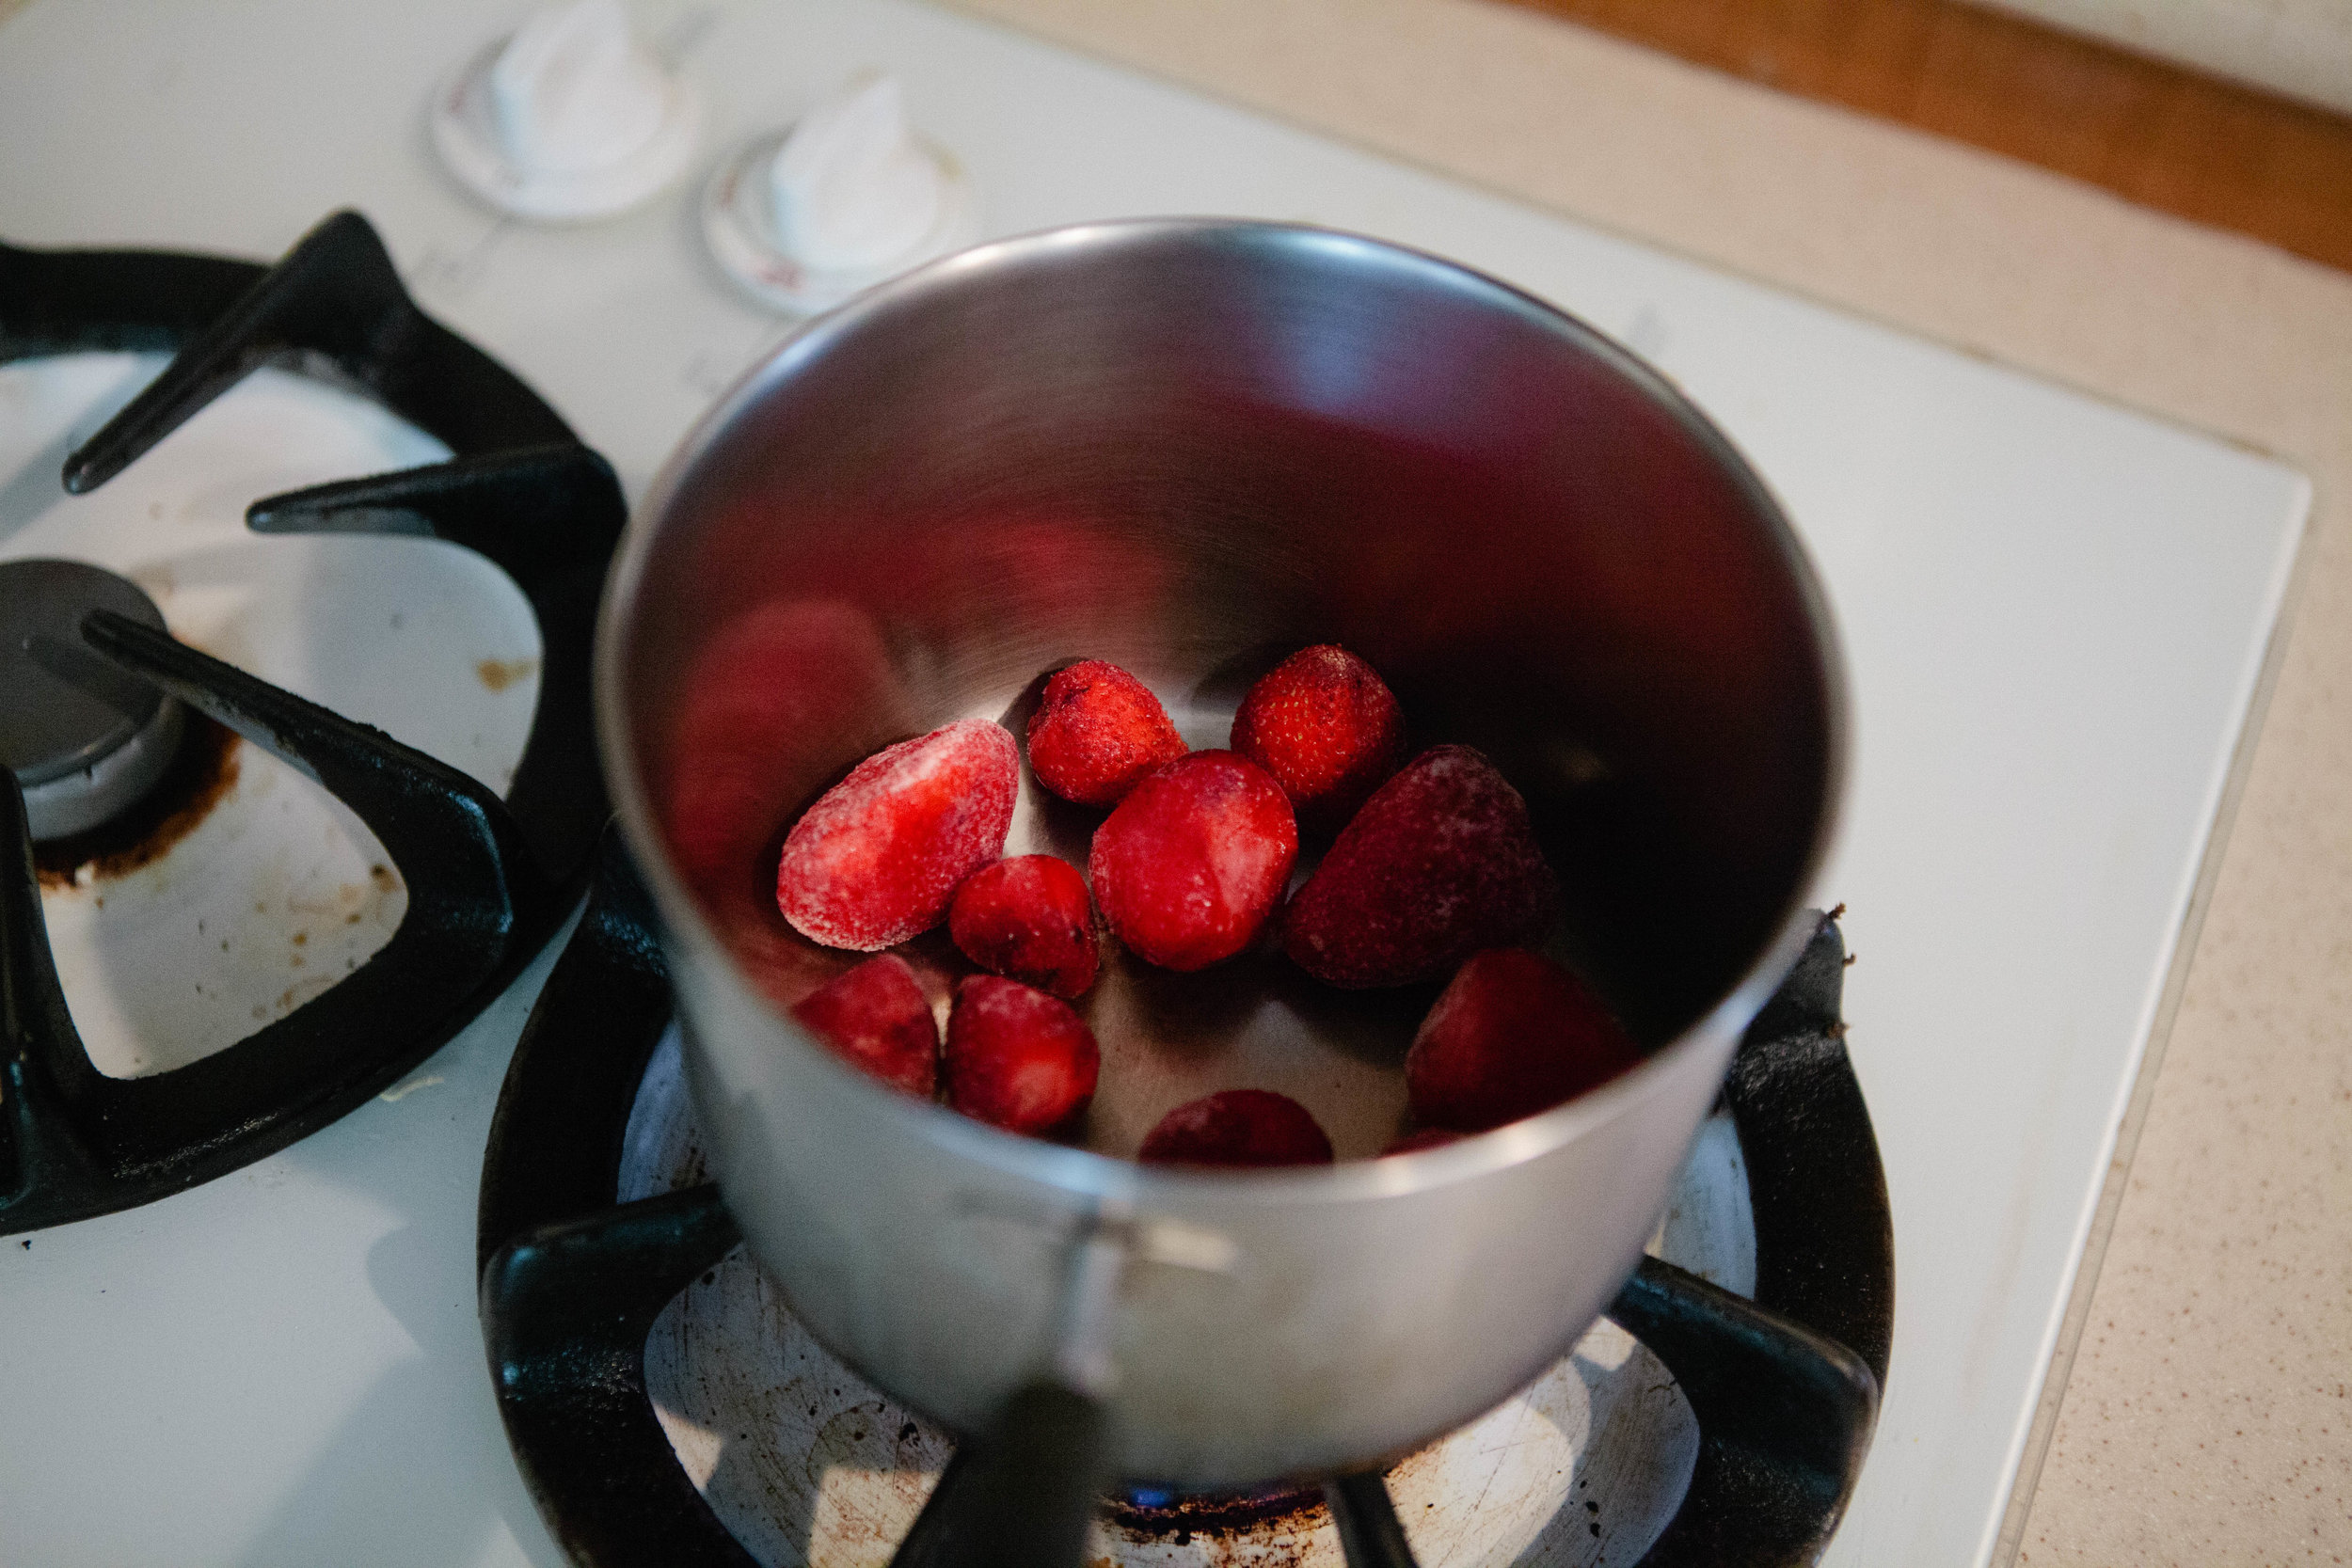
Add 1 heaping cup of frozen strawberries to a pot. Add enough water to cover the bottom. Turn the stove on to medium heat.

Help the berries break apart by stirring them with a spoon. 

When they start to get really soft, turn the stove to a low heat simmer.

strawberry-gummies-homemade-gummy-snacks-gaps-legal-gummies-gummy-snack-made-with-gelatin-diy-gummy-bear

Blend softened berries and lemon juice in a blender.

strawberry-gummies-homemade-gummy-snacks-gaps-legal-gummies-gummy-snack-made-with-gelatin-diy-gummy-bear

Once smooth, add back into pot. Add in gelatin and acerola cherry powder. Whisk well for about ten minutes until all combined.

Add honey at the end so that you are not cooking the honey.

strawberry-gummies-homemade-gummy-snacks-gaps-legal-gummies-gummy-snack-made-with-gelatin-diy-gummy-bear

Pour into a glass baking dish.

If you are adding a probiotic powder, make sure your mixture is cooled enough to where you can easily leave a finger in it before adding the powder. This will ensure you do not kill the probiotics.

strawberry-gummies-homemade-gummy-snacks-gaps-legal-gummies-gummy-snack-made-with-gelatin-diy-gummy-bear

Set in fridge to chill. Gummies should be chilled in about 40 minutes. Slice around the sides and cut into cubes to remove from glass pan.

Homemade Gummy Snacks

prep time: cook time: total time:

ingredients:

  • 1 heaping cup frozen berries
  • 1/2 Cup lemon juice
  • 1/4 Cup grass fed gelatin
  • 3-4 Tbsp.. Acerola cherry powder
  • 1 tbsp honey

instructions:

How to cook Homemade Gummy Snacks

  1. Add 1 heaping cup of frozen strawberries to a pot. Add enough water to cover the bottom. Turn the stove on to medium heat.
  2. Help the berries break apart by stirring them with a spoon.
  3. When they start to get really soft, turn the stove to a low heat simmer.
  4. Blend softened berries and lemon juice in a blender.
  5. Once smooth, add back into pot. Add in gelatin and acerola cherry powder. Whisk well for about ten minutes until all combined.
  6. Add honey at the end so that you are not cooking the honey.
  7. Pour into a glass baking dish.
  8. If you are adding a probiotic powder, make sure your mixture is cooled enough to where you can easily leave a finger in it before adding the powder. This will ensure you do not kill the probiotics.
  9. Set in fridge to chill. Gummies should be chilled in about 40 minutes. Slice around the sides and cut into cubes to remove from glass pan.
Created using The Recipes Generator
34.png

Mushroom Ketchup Recipe

I found this recipe from my new favorite show on YouTube, 18th Century Cooking. It is a GAPS Legal sauce and since many people do not tolerate tomatoes, I thought it would be a delicious option for a sauce!

I’m excited to add this sauce to many dishes!

This is Stage 1 legal on the GAPS Diet if you can tolerate the dried spices. Most can tolerate these spices unless you still have significant intestinal symptoms.

Ingredients for Mushroom Ketchup

  • 30 oz Mushrooms

  • 2 tbsp Salt

  • 4 Bay Leaves

  • 1 chopped onion

  • 1 Lemon, zested

  • 1 tbsp finely grated horseradish, fresh or prepared

  • ¼ tsp cloves

  • Pinch of Cayenne Pepper

  • ½ tsp allspice

  • ¼ - ½ cup apple cider vinegar

Directions for Mushroom Ketchup

Rub the top of the mushrooms to clean them. Do not wash your mushrooms!

Roughly chop the mushrooms and add to a large pot. Add in salt and bay leaves.

The mushrooms will begin reducing within a few minutes.

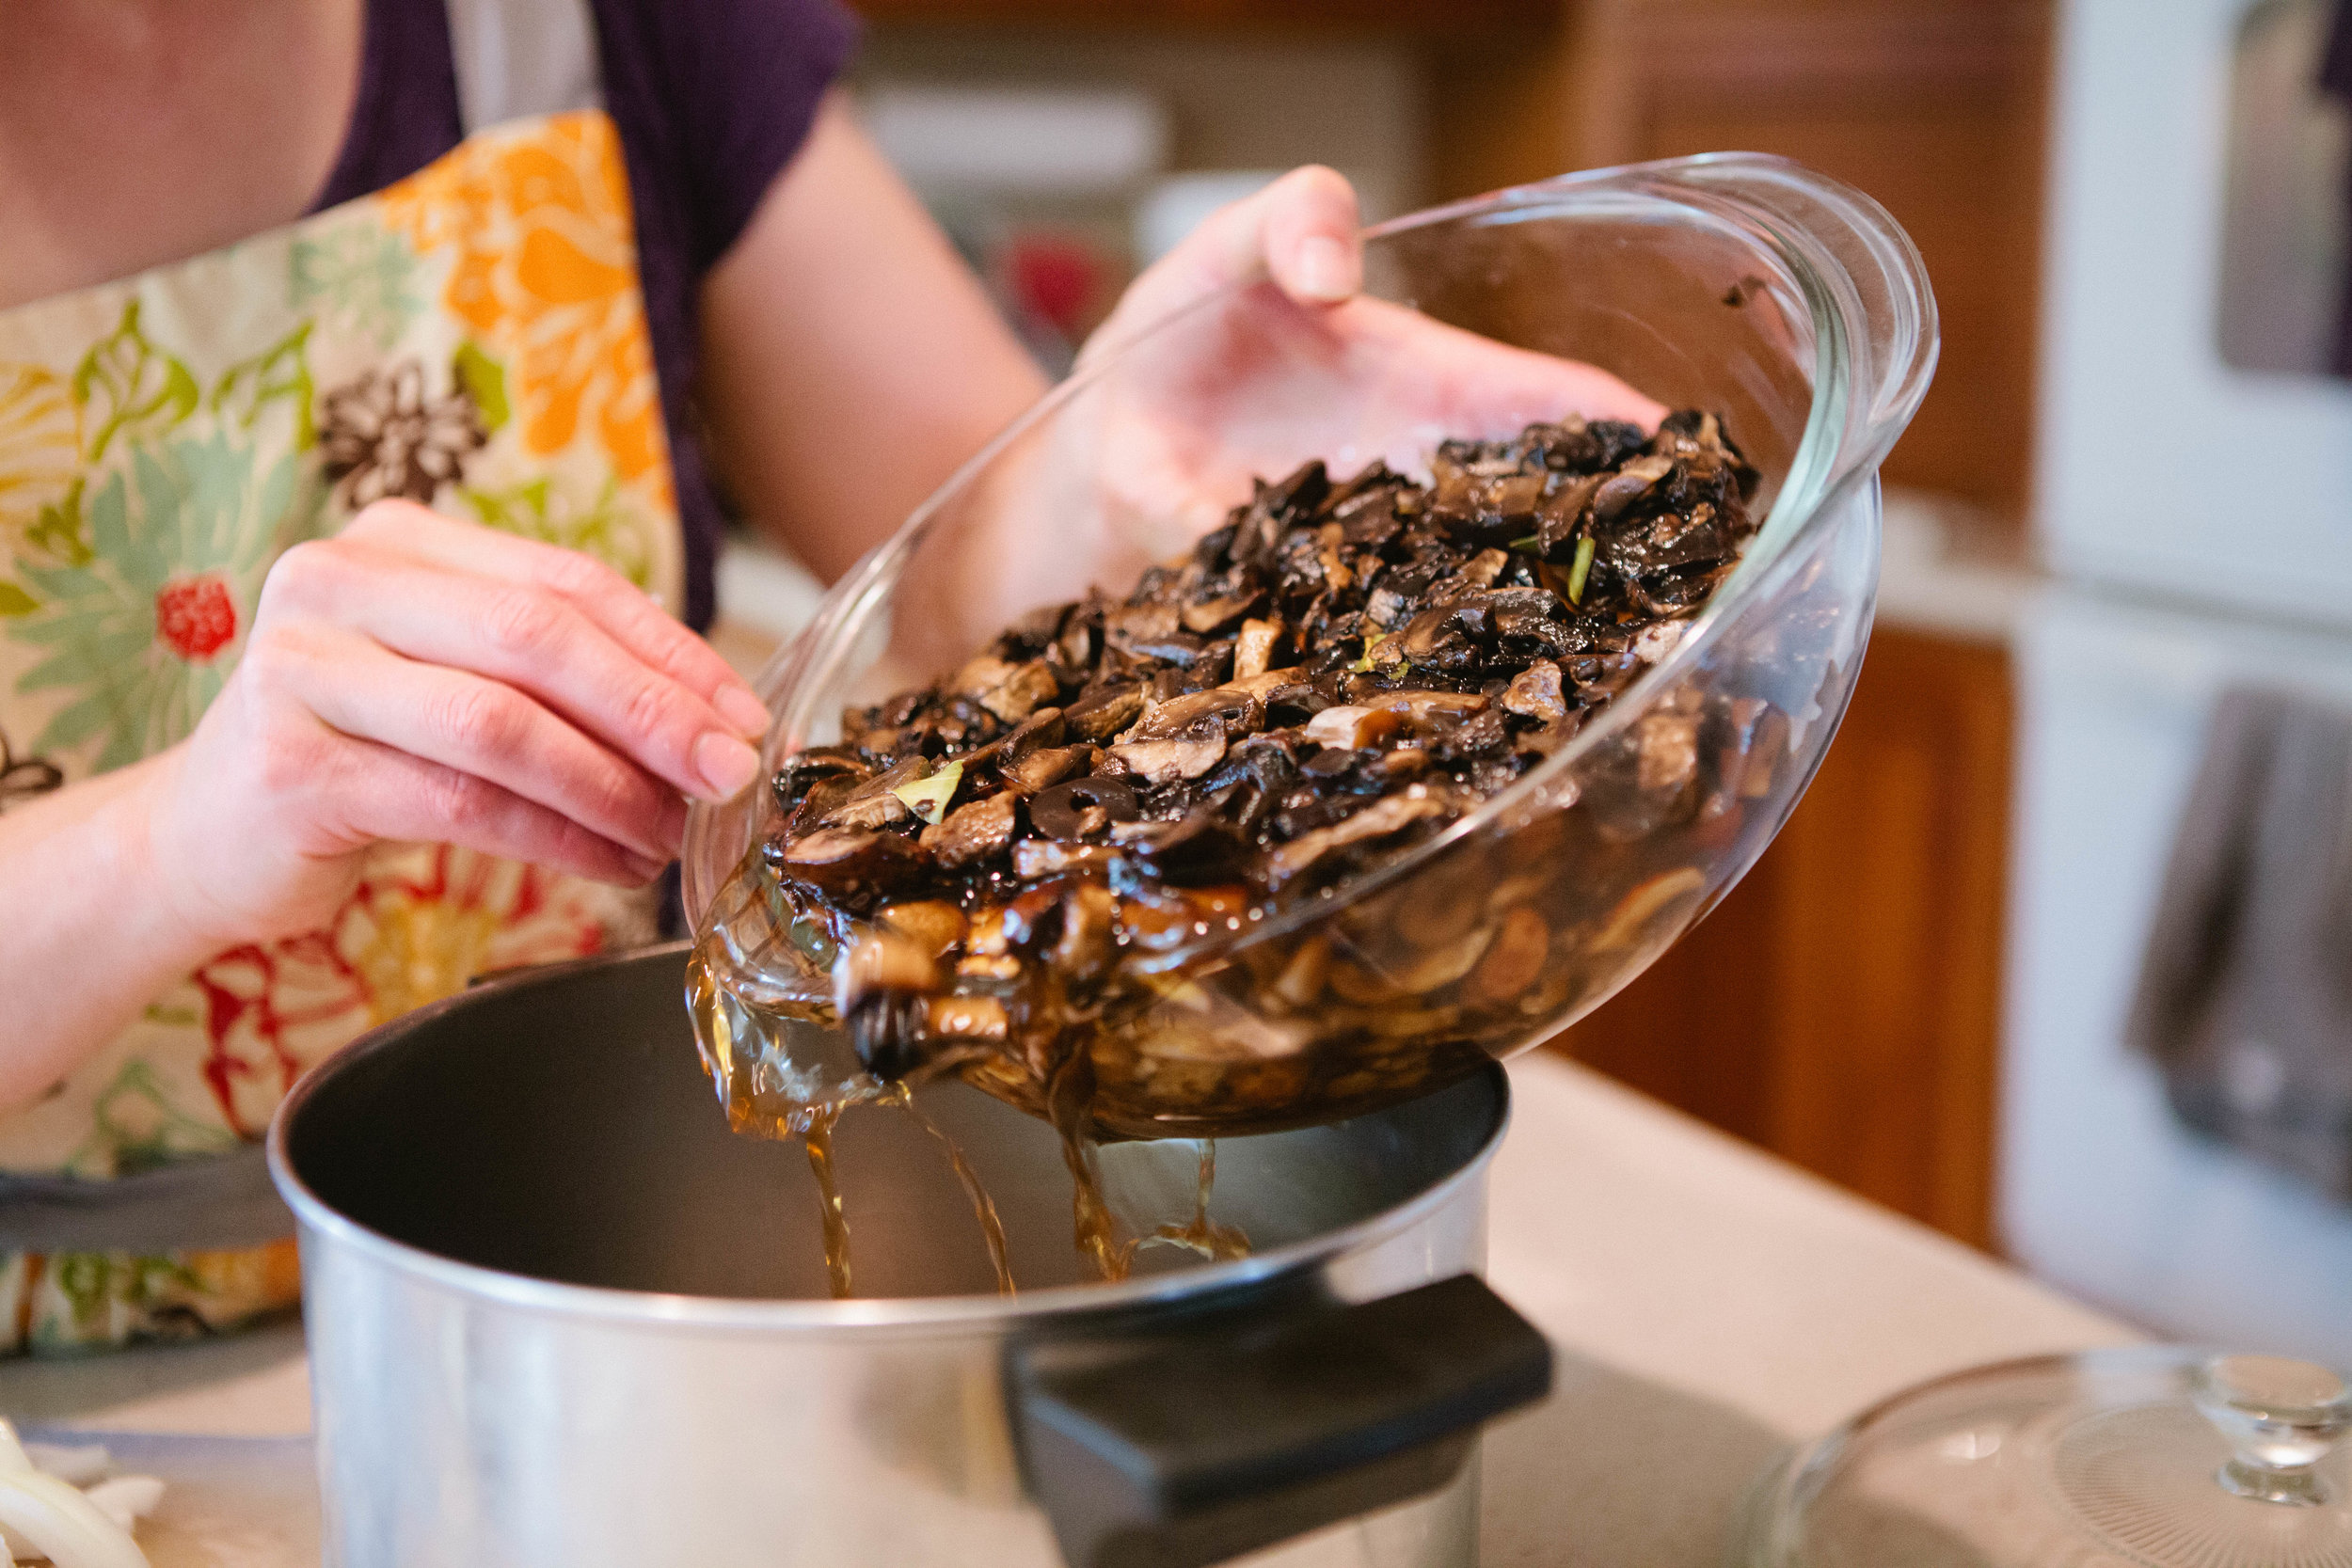
When they’ve reduced in size, add them to a glass container. Adding them to a glass container is important so they don’t take on the metal taste from the pot.

Leave the mushrooms on the counter overnight and no longer because mushrooms are a fungus.

mushroom-ketchup-recipe-18th-century-cooking-youtube-eighteenth-century-cooking-old-recipe-mushroom-sauce-ketchup-made-with-mushrooms-gaps-legal-mushroom-recipe-what-to-eat-on-gaps

The next day, add mushrooms, chopped onions, zest of 1 lemon, grated horseradish, cloves, cayenne, allspice, and apple cider vinegar to a pot.

mushroom-ketchup-recipe-18th-century-cooking-youtube-eighteenth-century-cooking-old-recipe-mushroom-sauce-ketchup-made-with-mushrooms-gaps-legal-mushroom-recipe-what-to-eat-on-gaps

Bring to a boil and then let simmer for 15 minutes.

mushroom-ketchup-recipe-18th-century-cooking-youtube-eighteenth-century-cooking-old-recipe-mushroom-sauce-ketchup-made-with-mushrooms-gaps-legal-mushroom-recipe-what-to-eat-on-gaps

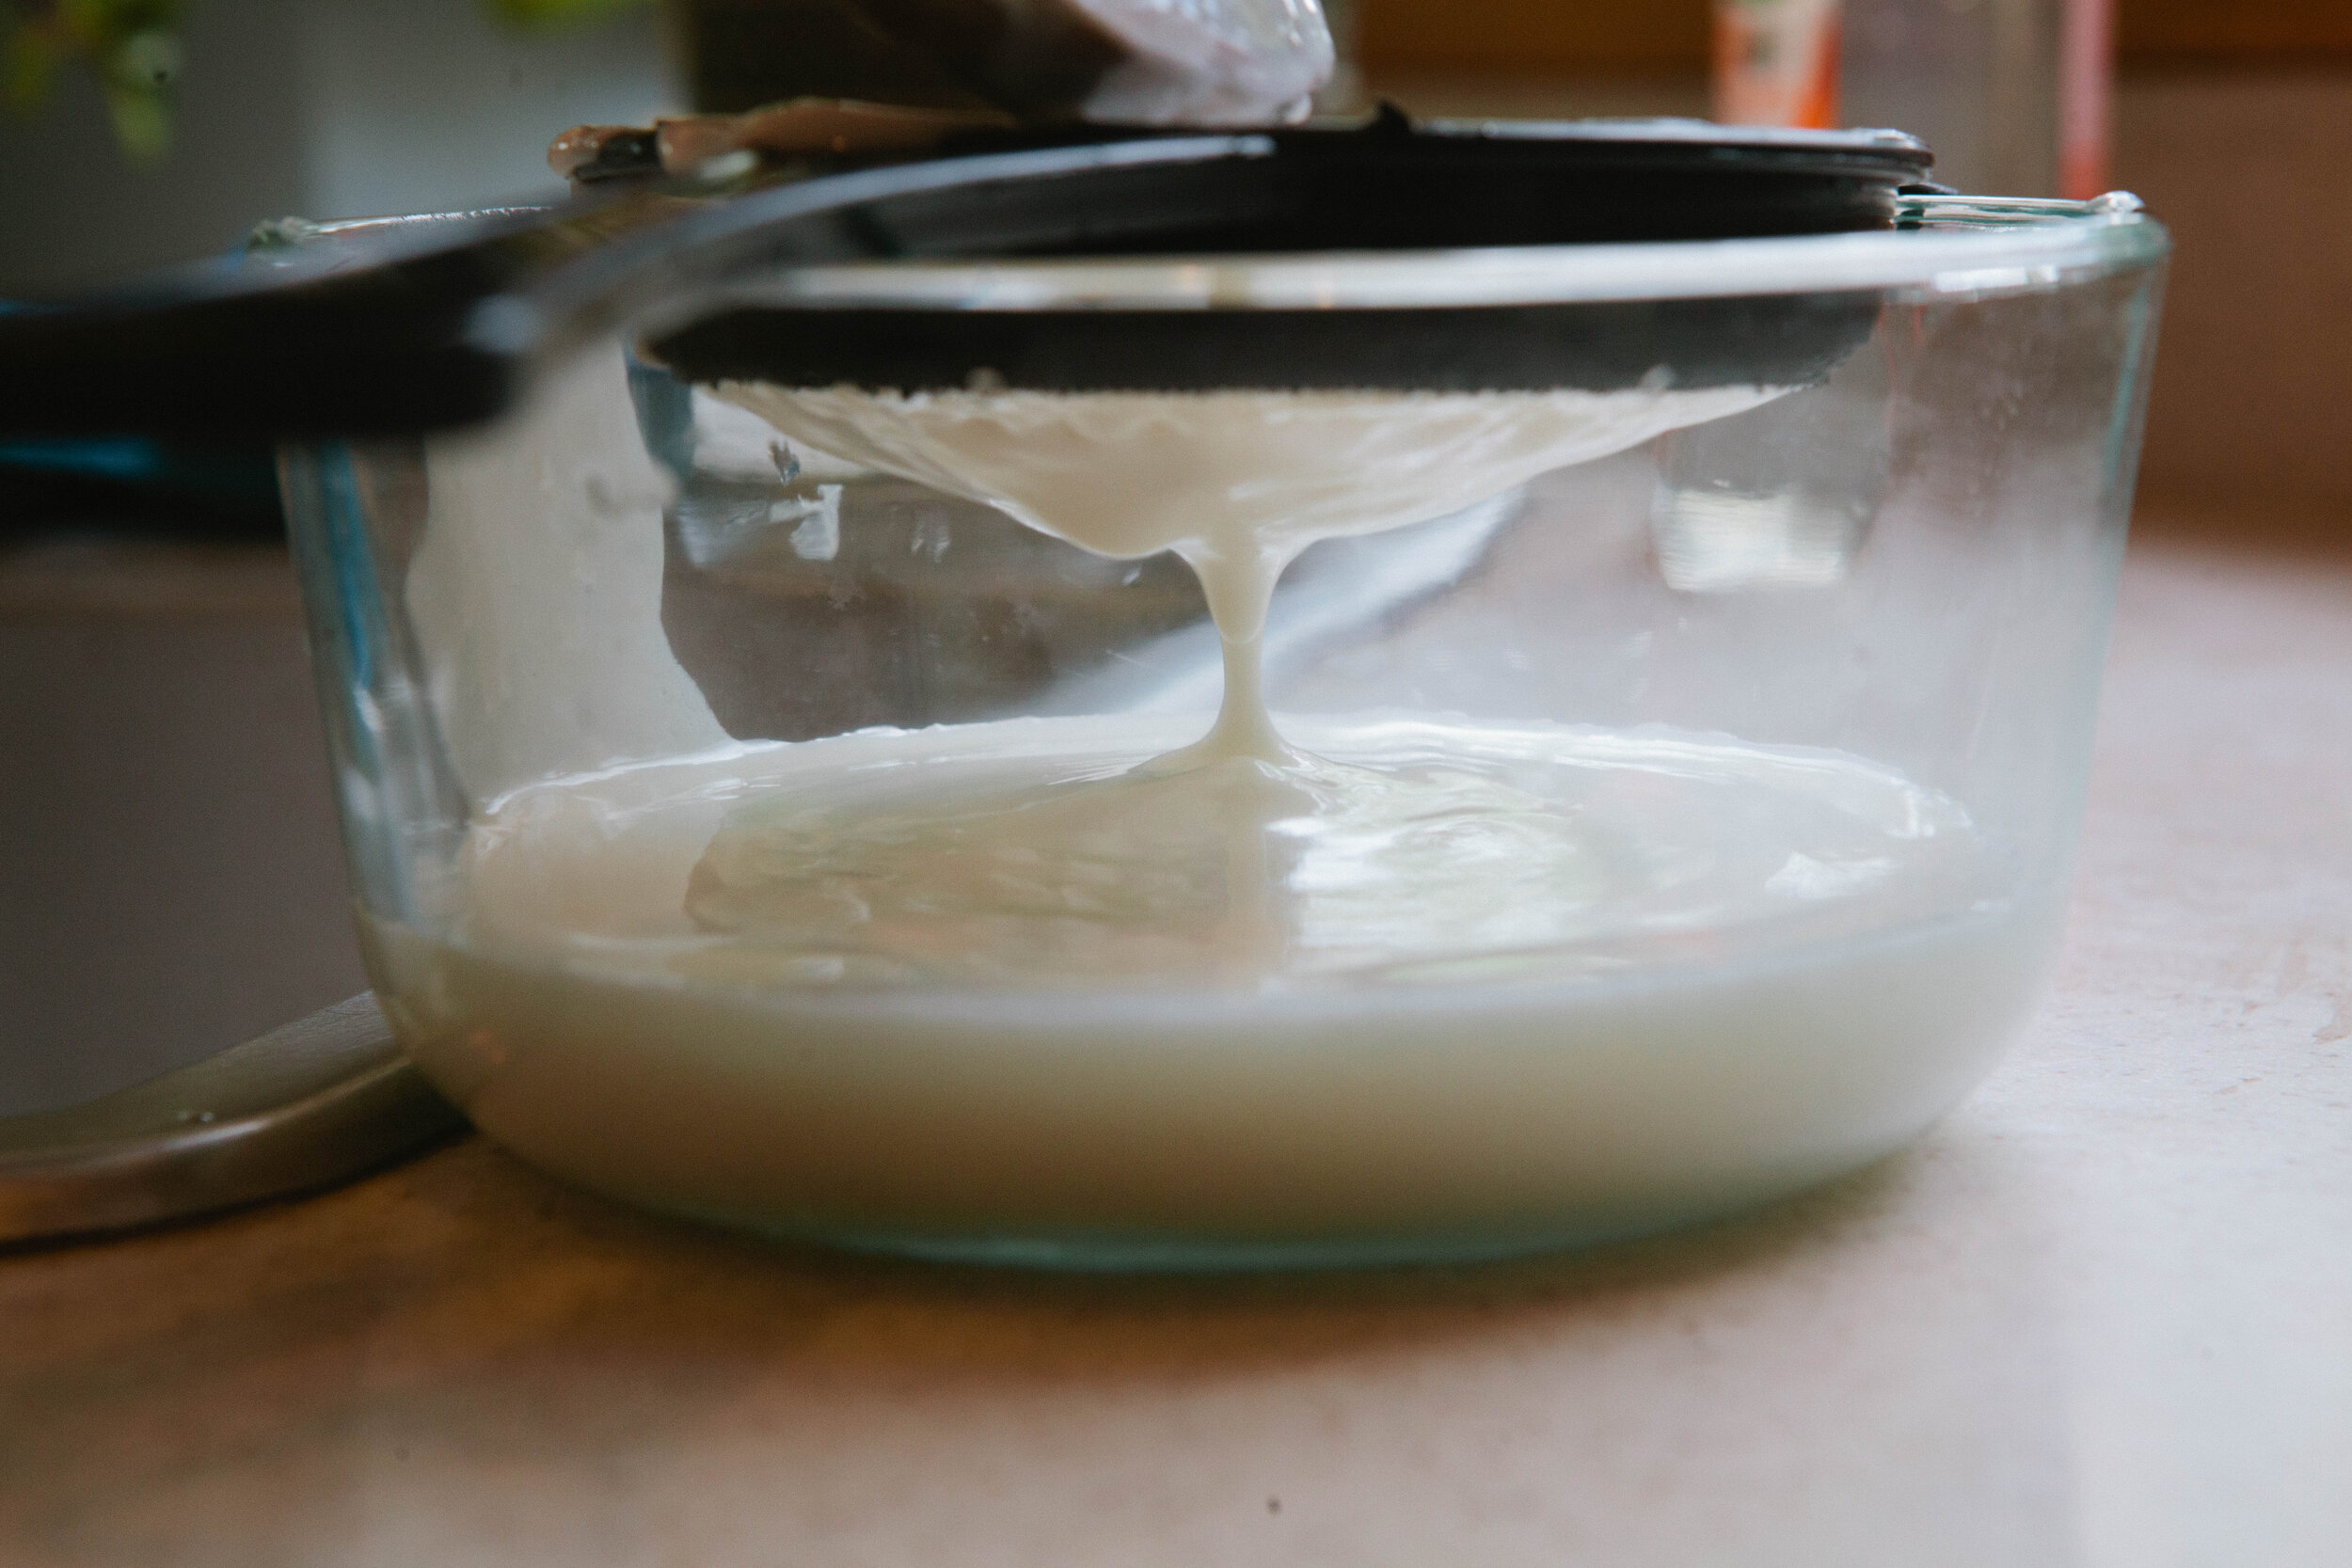
Let sauce cool. Put into a cloth and squeeze to strain the sauce.

mushroom-ketchup-recipe-18th-century-cooking-youtube-eighteenth-century-cooking-old-recipe-mushroom-sauce-ketchup-made-with-mushrooms-gaps-legal-mushroom-recipe-what-to-eat-on-gaps

Save the solid pieces and dry them in a dehydrator. Once the solid pieces are dry, you can crush them and use them as a powdered flavoring or use the pieces as flavoring.

mushroom-ketchup-recipe-18th-century-cooking-youtube-eighteenth-century-cooking-old-recipe-mushroom-sauce-ketchup-made-with-mushrooms-gaps-legal-mushroom-recipe-what-to-eat-on-gaps

Pour into a glass sealable jar.

Mushroom Ketchup

prep time: cook time: total time:

ingredients:

  • 30 oz Mushrooms
  • 2 tbsp Salt
  • 4 Bay Leaves
  • 1 chopped onion
  • 1 Lemon, zested
  • 1 tbsp finely grated horseradish, fresh or prepared
  • ¼ tsp cloves
  • Pinch of Cayenne Pepper
  • ½ tsp allspice
  • ¼ - ½ cup apple cider vinegar

instructions:

How to cook Mushroom Ketchup

  1. Rub the top of the mushrooms to clean them. Do not wash your mushrooms!
  2. Roughly chop the mushrooms and add to a large pot. Add in salt and bay leaves.
  3. The mushrooms will begin reducing within a few minutes.
  4. When they’ve reduced in size, add them to a glass container. Adding them to a glass container is important so they don’t take on the metal taste from the pot.
  5. Leave the mushrooms on the counter overnight and no longer because mushrooms are a fungus.
  6. The next day, add mushrooms, chopped onions, zest of 1 lemon, grated horseradish, cloves, cayenne, allspice, and apple cider vinegar to a pot.
  7. Bring to a boil and then let simmer for 15 minutes.
  8. Let sauce cool. Put into a cloth and squeeze to strain the sauce.
  9. Save the solid pieces and dry them in a dehydrator. Once the solid pieces are dry, you can crush them and use them as a powdered flavoring or use the pieces as flavoring.
  10. Pour into a glass sealable jar.
Created using The Recipes Generator
31.png

How to Make GAPS Legal Ice Cream

I discovered this delicious ice cream years and years ago from an old ice cream maker recipe book. This is really making a custard base which makes it thick and creamy and allows you to not have to add so many filler ingredients. 

Please note: this is only a full GAPS recipe when you are nearing the end of your GAPS Journey. I’m sorry if this was clickbait and I got your hopes up!

Milk (even raw) has a lot of sugar in it. This sugar will feed your dysbiotic flora and counteract your healing in Intro Diet and even early Full GAPS. It’s best to save this treat until you are getting close to coming off GAPS, and do it only occationally as a special treat.

When you are able to eat it freely, this ice cream is a rich treat but should be eaten with no guilt! It has very simple ingredients - milk, eggs, cream, honey, and optional vanilla extract. Any flavoring can be added to this ice cream base including chocolate or strawberries - you’re only limited by your imagination! What flavor combination is your favorite?

A few tips on how to make your own simple ice cream:

For best results, make the mixture the night before and let it chill in the freezer for at least eight hours. 

If you can’t find raw milk near you, you can use non homogenized organic milk as a less preferred but still acceptable alternative.


Ingredients for GAPS Legal Ice Cream

  • 2 cups Milk

  • 3 Eggs

  • 2 cups Cream

  • ½ cup Honey

  • 2 tsp. Vanilla Extract


Directions for GAPS Legal Ice Cream

gaps-legal-ice-cream-how-to-make-simple-ice-cream-make-your-own-vanilla-ice-cream-diy-ice-cream-easy-real-ice-cream-whole-30-ice-cream-raw-milk-ice-cream

Add the milk and eggs to a pot.

gaps-legal-ice-cream-how-to-make-simple-ice-cream-make-your-own-vanilla-ice-cream-diy-ice-cream-easy-real-ice-cream-whole-30-ice-cream-raw-milk-ice-cream

Whisk eggs immediately. If your milk gets too hot before you add your eggs, you will end up with very milky scrambled eggs! I prefer to start mixing with a fork and then whisk.

gaps-legal-ice-cream-how-to-make-simple-ice-cream-make-your-own-vanilla-ice-cream-diy-ice-cream-easy-real-ice-cream-whole-30-ice-cream-raw-milk-ice-cream

Once the mixture is warm, add the honey. Mix with a whisk and fork.

gaps-legal-ice-cream-how-to-make-simple-ice-cream-make-your-own-vanilla-ice-cream-diy-ice-cream-easy-real-ice-cream-whole-30-ice-cream-raw-milk-ice-cream

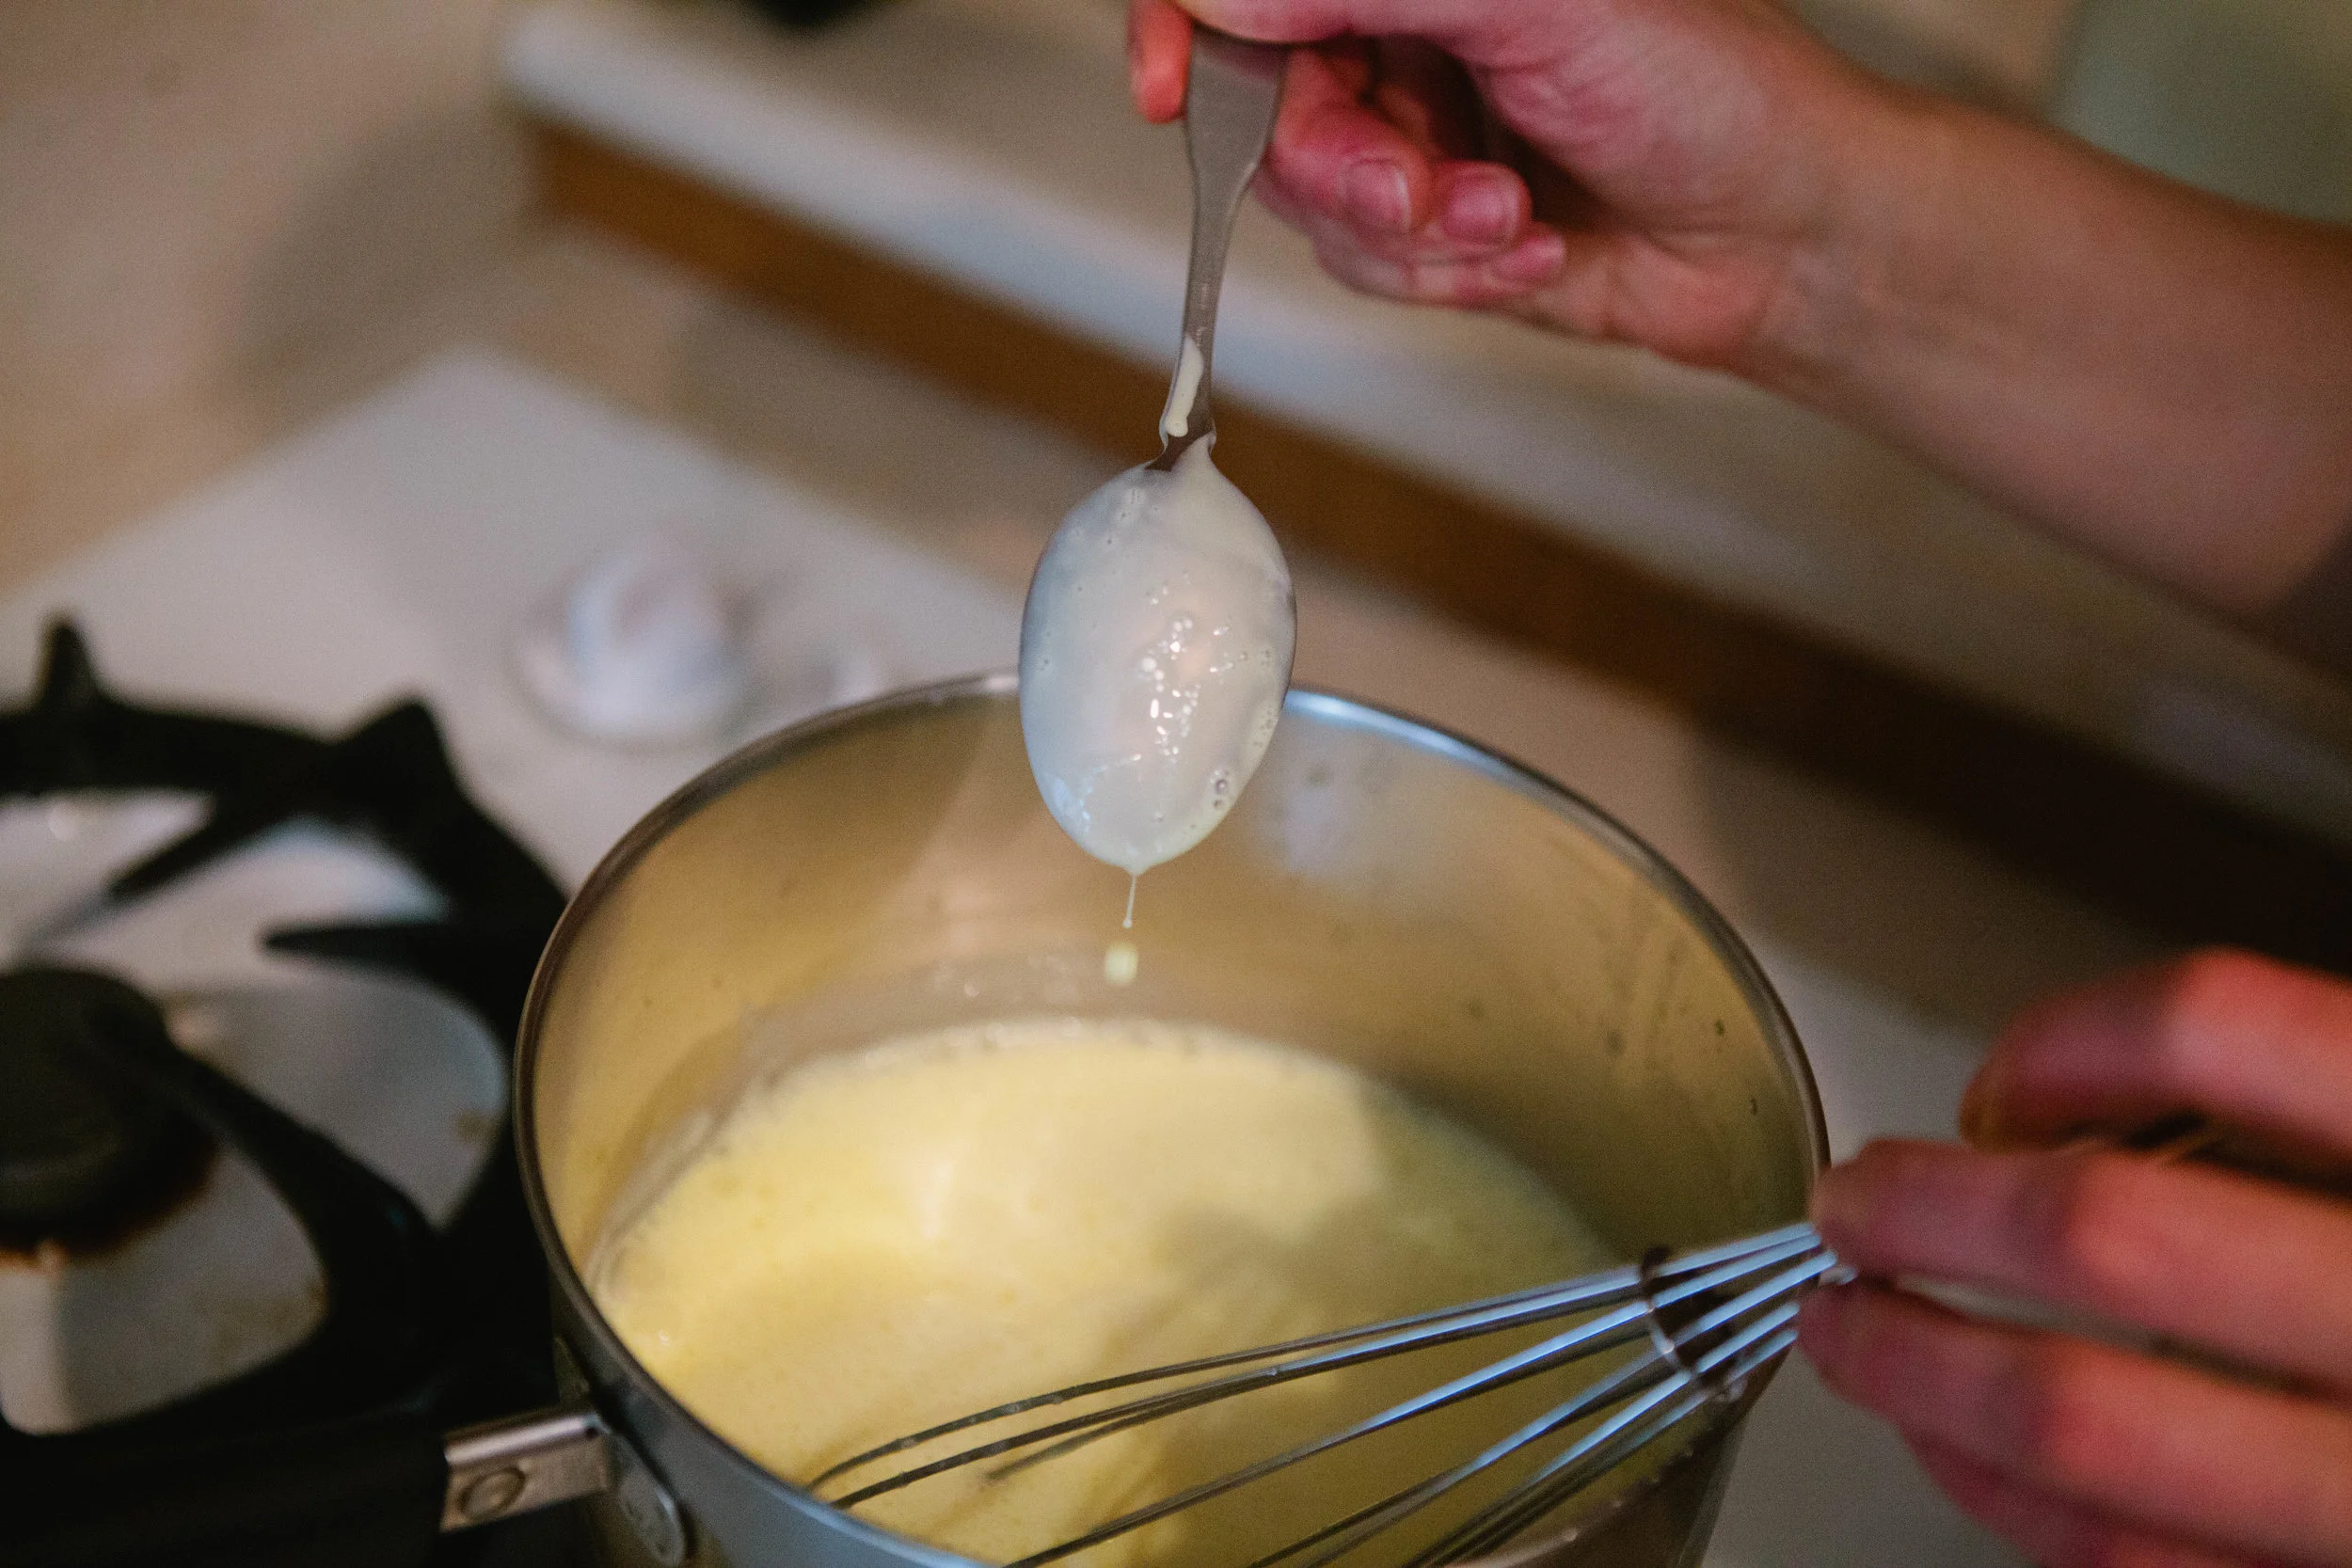
Leave mixture on low to medium low heat and stir constantly but not consistently until it thickens. The mixture is thick enough when it coats a spoon. 

gaps-legal-ice-cream-how-to-make-simple-ice-cream-make-your-own-vanilla-ice-cream-diy-ice-cream-easy-real-ice-cream-whole-30-ice-cream-raw-milk-ice-cream

Add to a large enough bowl that will also have room to accommodate the cream. If there are scrambled egg pieces or harder pieces of milk in the pot, leave them in! You just want all the creamy goodness.

Cover and cool in the fridge for 20 - 30 minutes.

gaps-legal-ice-cream-how-to-make-simple-ice-cream-make-your-own-vanilla-ice-cream-diy-ice-cream-easy-real-ice-cream-whole-30-ice-cream-raw-milk-ice-cream

Add your cream and vanilla.

Put the mixture back in the fridge and allow to cool completely overnight.

gaps-legal-ice-cream-how-to-make-simple-ice-cream-make-your-own-vanilla-ice-cream-diy-ice-cream-easy-real-ice-cream-whole-30-ice-cream-raw-milk-ice-cream

Add mixture into an ice cream maker.

Once mixture starts to resemble ice cream, you can remove it from the maker. It will resemble soft serve. If you’d like harder ice cream, leave the mixture in the freezer for a few hours.

Enjoy with your favorite toppings!


GAPS Legal Ice Cream

Author:
prep time: cook time: total time:

ingredients:

  • 2 cups Milk
  • 3 Eggs
  • 2 cups Cream
  • ½ cup Honey
  • 2 tsp. Vanilla Extract

instructions:

How to cook GAPS Legal Ice Cream

  1. Add the milk and eggs to a pot.
  2. Whisk eggs immediately. If your milk gets too hot before you add your eggs, you will end up with very milky scrambled eggs! I prefer to start mixing with a fork and then whisk.
  3. Once the mixture is warm, add the honey. Mix with a whisk and fork.
  4. Leave mixture on low to medium low heat and stir constantly but not consistently until it thickens. The mixture is thick enough when it coats a spoon.
  5. Add to a large enough bowl that will also have room to accommodate the cream. If there are scrambled egg pieces or harder pieces of milk in the pot, leave them in! You just want all the creamy goodness.
  6. Cover and cool in the fridge for 20 - 30 minutes.
  7. Add your cream and vanilla.
  8. Put the mixture back in the fridge and allow to cool completely overnight.
  9. Add mixture into an ice cream maker.
  10. Once mixture starts to resemble ice cream, you can remove it from the maker. It will resemble soft serve. If you’d like harder ice cream, leave the mixture in the freezer for a few hours.
  11. Enjoy with your favorite toppings!
Created using The Recipes Generator
25.png

Simple Easy Hollandaise Sauce Recipe

GAPS Legal Hollandaise Sauce Recipe Made with Limes

What do you do when you are bored or eggs two ways (scrambled or fried?)... make hollandaise sauce, of course!

I'm not sure how the true chefs will react to this recipe because I'm sure I don't get my hollandaise sauce as smooth as it's supposed to be, but so many of you have asked for this favorite recipe of mine that I want to share it here! I have now made this sauce dozens of times and there are a few principles I have learned about what makes this dish different than plain scrambled eggs.

#1 Don't do this in a cast-iron or your eggs will taste like iron.

#2 Lower heat makes for smoother sauce. But if you are in a hurry and don't mind lumps, more heat and less time still creates a delicious meal.

#3 The acid (lime or lemon juice) is the real key to this dish. I make my plain scrambled eggs with similar amounts of butter, but it is the lime that makes the eggs more smooth.

#4 I prefer lime over lemon because it is more mild and I feel I can add more of it without overpowering the dish. I believe this makes the hollandaise sauce easier to successfully make. After having done this many times there is a color change I look for when adding the lime juice. When I achieve this color change I know that my sauce will turn out decently smooth.

As you make this sauce, don't give up if you don't achieve your desired smoothness the first time! As with most cooking, this is an art and skill that you will get better at with practice. Enjoy your hollandaise sauce!

Simple Hollandaise Sauce

Ingredients

  • 2 eggs

  • 3 (ish) tablespoons Butter

  • ½ lime, freshly squeezed

Directions

Hollandaise-Sauce-Easy-Sauce-for-Eggs-Hollandaise-with-Limes-

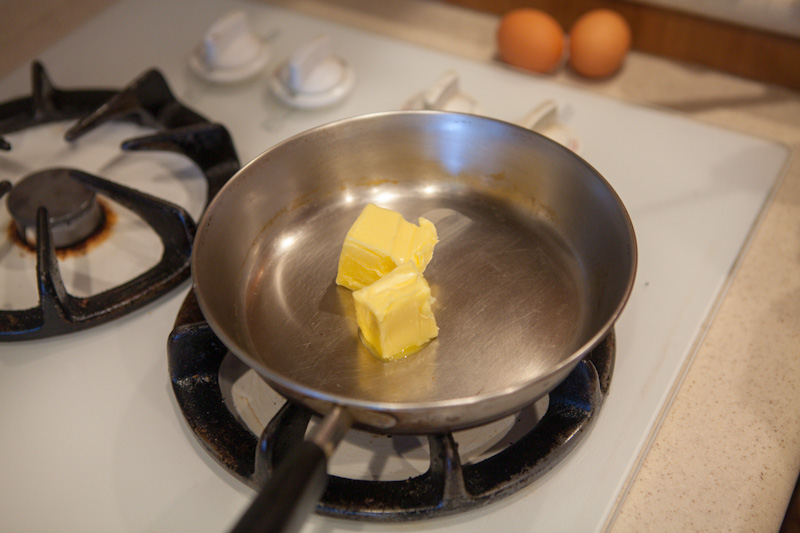
Melt butter in pan on very low heat.

Hollandaise-Sauce-Easy-Sauce-for-Eggs-Hollandaise-with-Limes

A smooth hollandaise sauce is achievable! Whisk the eggs quickly before adding to melted butter. Recipe by certified GAPS Practitioner Amy Mihaly, Be Well Clinic.

Beat two eggs in a bowl.

Hollandaise-Sauce-Easy-Sauce-for-Eggs-Hollandaise-with-Limes

Hollandaise Sauce is my most requested recipe! I eat this GAPS Legal and GAPS friendly sauce on chicken, vegetables and with eggs. It's also Whole 30 and Paleo friendly! Recipe by certified GAPS Practitioner Amy Mihaly, Be Well Clinic.

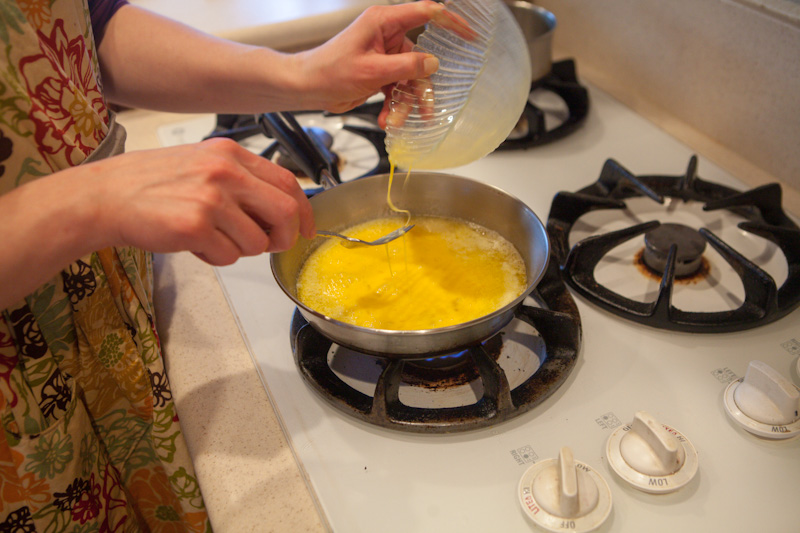
Add eggs to pan as soon as butter is melted.

Hollandaise-Sauce-Easy-Sauce-for-Eggs-Hollandaise-with-Limes

The key to making a good Hollandaise Sauce is to whisk constantly for a smooth sauce. This GAPS legal recipe couldn't be easier! Recipe by certified GAPS Practitioner Amy Mihaly, Be Well Clinic.

Mix sauce together, stirring constantly. Add lime juice. Using a whisk will get you a smoother sauce but I don’t mind a chunkier sauce.

If your eggs start to thicken, turn down your heat or add more lime juice.

Hollandaise-Sauce-Easy-Sauce-for-Eggs-Hollandaise-with-Limes

An easy simple recipe for Hollandaise Sauce with only three ingredients. This recipe is legal on the GAPS Diet, Whole 30 and Paleo. Recipe by certified GAPS Practitioner Amy Mihaly, Be Well Clinic.

The sauce is done when it holds together more and you can start to see the bottom of the pan.

Serve immediately! Serve with chicken, artichokes, vegetables.

Note:

Do not cook this is in an cast iron pan! Use a stainless steel pan with good heat protection.

HollandaiseSauce-683x1024.png

Hollandaise Sauce with Limes

Author:
prep time: cook time: total time:

ingredients:

  • 2 eggs
  • 3 (ish) tablespoons Butter
  • ½ lime, freshly squeezed

instructions:

How to cook Hollandaise Sauce with Limes

  1. Melt butter in pan on very low heat.
  2. A smooth hollandaise sauce is achievable! Whisk the eggs quickly before adding to melted butter. Recipe by certified GAPS Practitioner Amy Mihaly, Be Well Clinic.
  3. Beat two eggs in a bowl.
  4. Hollandaise Sauce is my most requested recipe! I eat this GAPS Legal and GAPS friendly sauce on chicken, vegetables and with eggs. It's also Whole 30 and Paleo friendly! Recipe by certified GAPS Practitioner Amy Mihaly, Be Well Clinic.
  5. Add eggs to pan as soon as butter is melted.
  6. The key to making a good Hollandaise Sauce is to whisk constantly for a smooth sauce. This GAPS legal recipe couldn't be easier! Recipe by certified GAPS Practitioner Amy Mihaly, Be Well Clinic.
  7. Mix sauce together, stirring constantly. Add lime juice. Using a whisk will get you a smoother sauce but I don’t mind a chunkier sauce.
  8. If your eggs start to thicken, turn down your heat or add more lime juice.
  9. An easy simple recipe for Hollandaise Sauce with only three ingredients. This recipe is legal on the GAPS Diet, Whole 30 and Paleo. Recipe by certified GAPS Practitioner Amy Mihaly, Be Well Clinic.
  10. The sauce is done when it holds together more and you can start to see the bottom of the pan.
  11. Serve immediately! Serve with chicken, artichokes, vegetables.
  12. Note:
  13. Do not cook this is in an cast iron pan! Use a stainless steel pan with good heat protection.
Created using The Recipes Generator

Chocolate Fudge Made with Coconut

GAPS Legal Chocolate Peppermint Coconut Fudge and Citrus Coconut Fudge

The GAPS Legal Fudge is a delicious holiday recipe and easy to share with family and friends! This recipe comes together quickly, besides the melting of the coconut butter and oil. I like making this recipe on a snowy day because it’s fun to chill the pans in a snowbank! It makes me feel like a pioneer.

For the citrus fudge, you can use any citrus you like. I prefer orange. You can also use all shredded coconut if you like. I prefer a little crunch in my fudge and like to add the flakes.You can make these flavors on their own and keep them separate. However, I prefer the two flavors together.

To combine the flavors, make the chocolate peppermint fudge first and put it in the freezer for 10 minutes to chill rapidly while you make the citrus fudge. Once chilled, pour the citrus fudge over the top and chill again.The fudge keeps for quite a while and doesn’t melt easily at room temperature. Even so, storing in the fridge is best.Enjoy!

Chocolate Peppermint Coconut Fudge

Ingredients for chocolate peppermint coconut fudge

  • ½ cup coconut butter

  • ½ cup coconut oil

  • ½ cup cocoa powder

  • ½ cup honey

  • 2 tsp peppermint extract or 2 drops peppermint oil

  • 1 tsp vanilla extract

  • 3/4 cup shredded coconut

  • ¼ cup coconut flakes

Directions for chocolate peppermint coconut fudge

This GAPS Legal Coconut Fudge comes in two flavors, citrus and peppermint. You can make the flavors separately but I prefer them layered together. Use coconut butter, coconut oil and coconut flakes for a delicious gluten free, dairy free and GAPS le…

Melt coconut butter on medium heat by adding water to the bottom of a pot and placing jar on top. Or add jar and water to crockpot and heat for two hours until melted.

Melt coconut oil in a separate pot. Crush coconut flakes into smaller pieces.

This GAPS Legal Coconut Fudge comes in two flavors, citrus and peppermint. You can make the flavors separately but I prefer them layered together. Use coconut butter, coconut oil and coconut flakes for a delicious gluten free, dairy free and GAPS le…

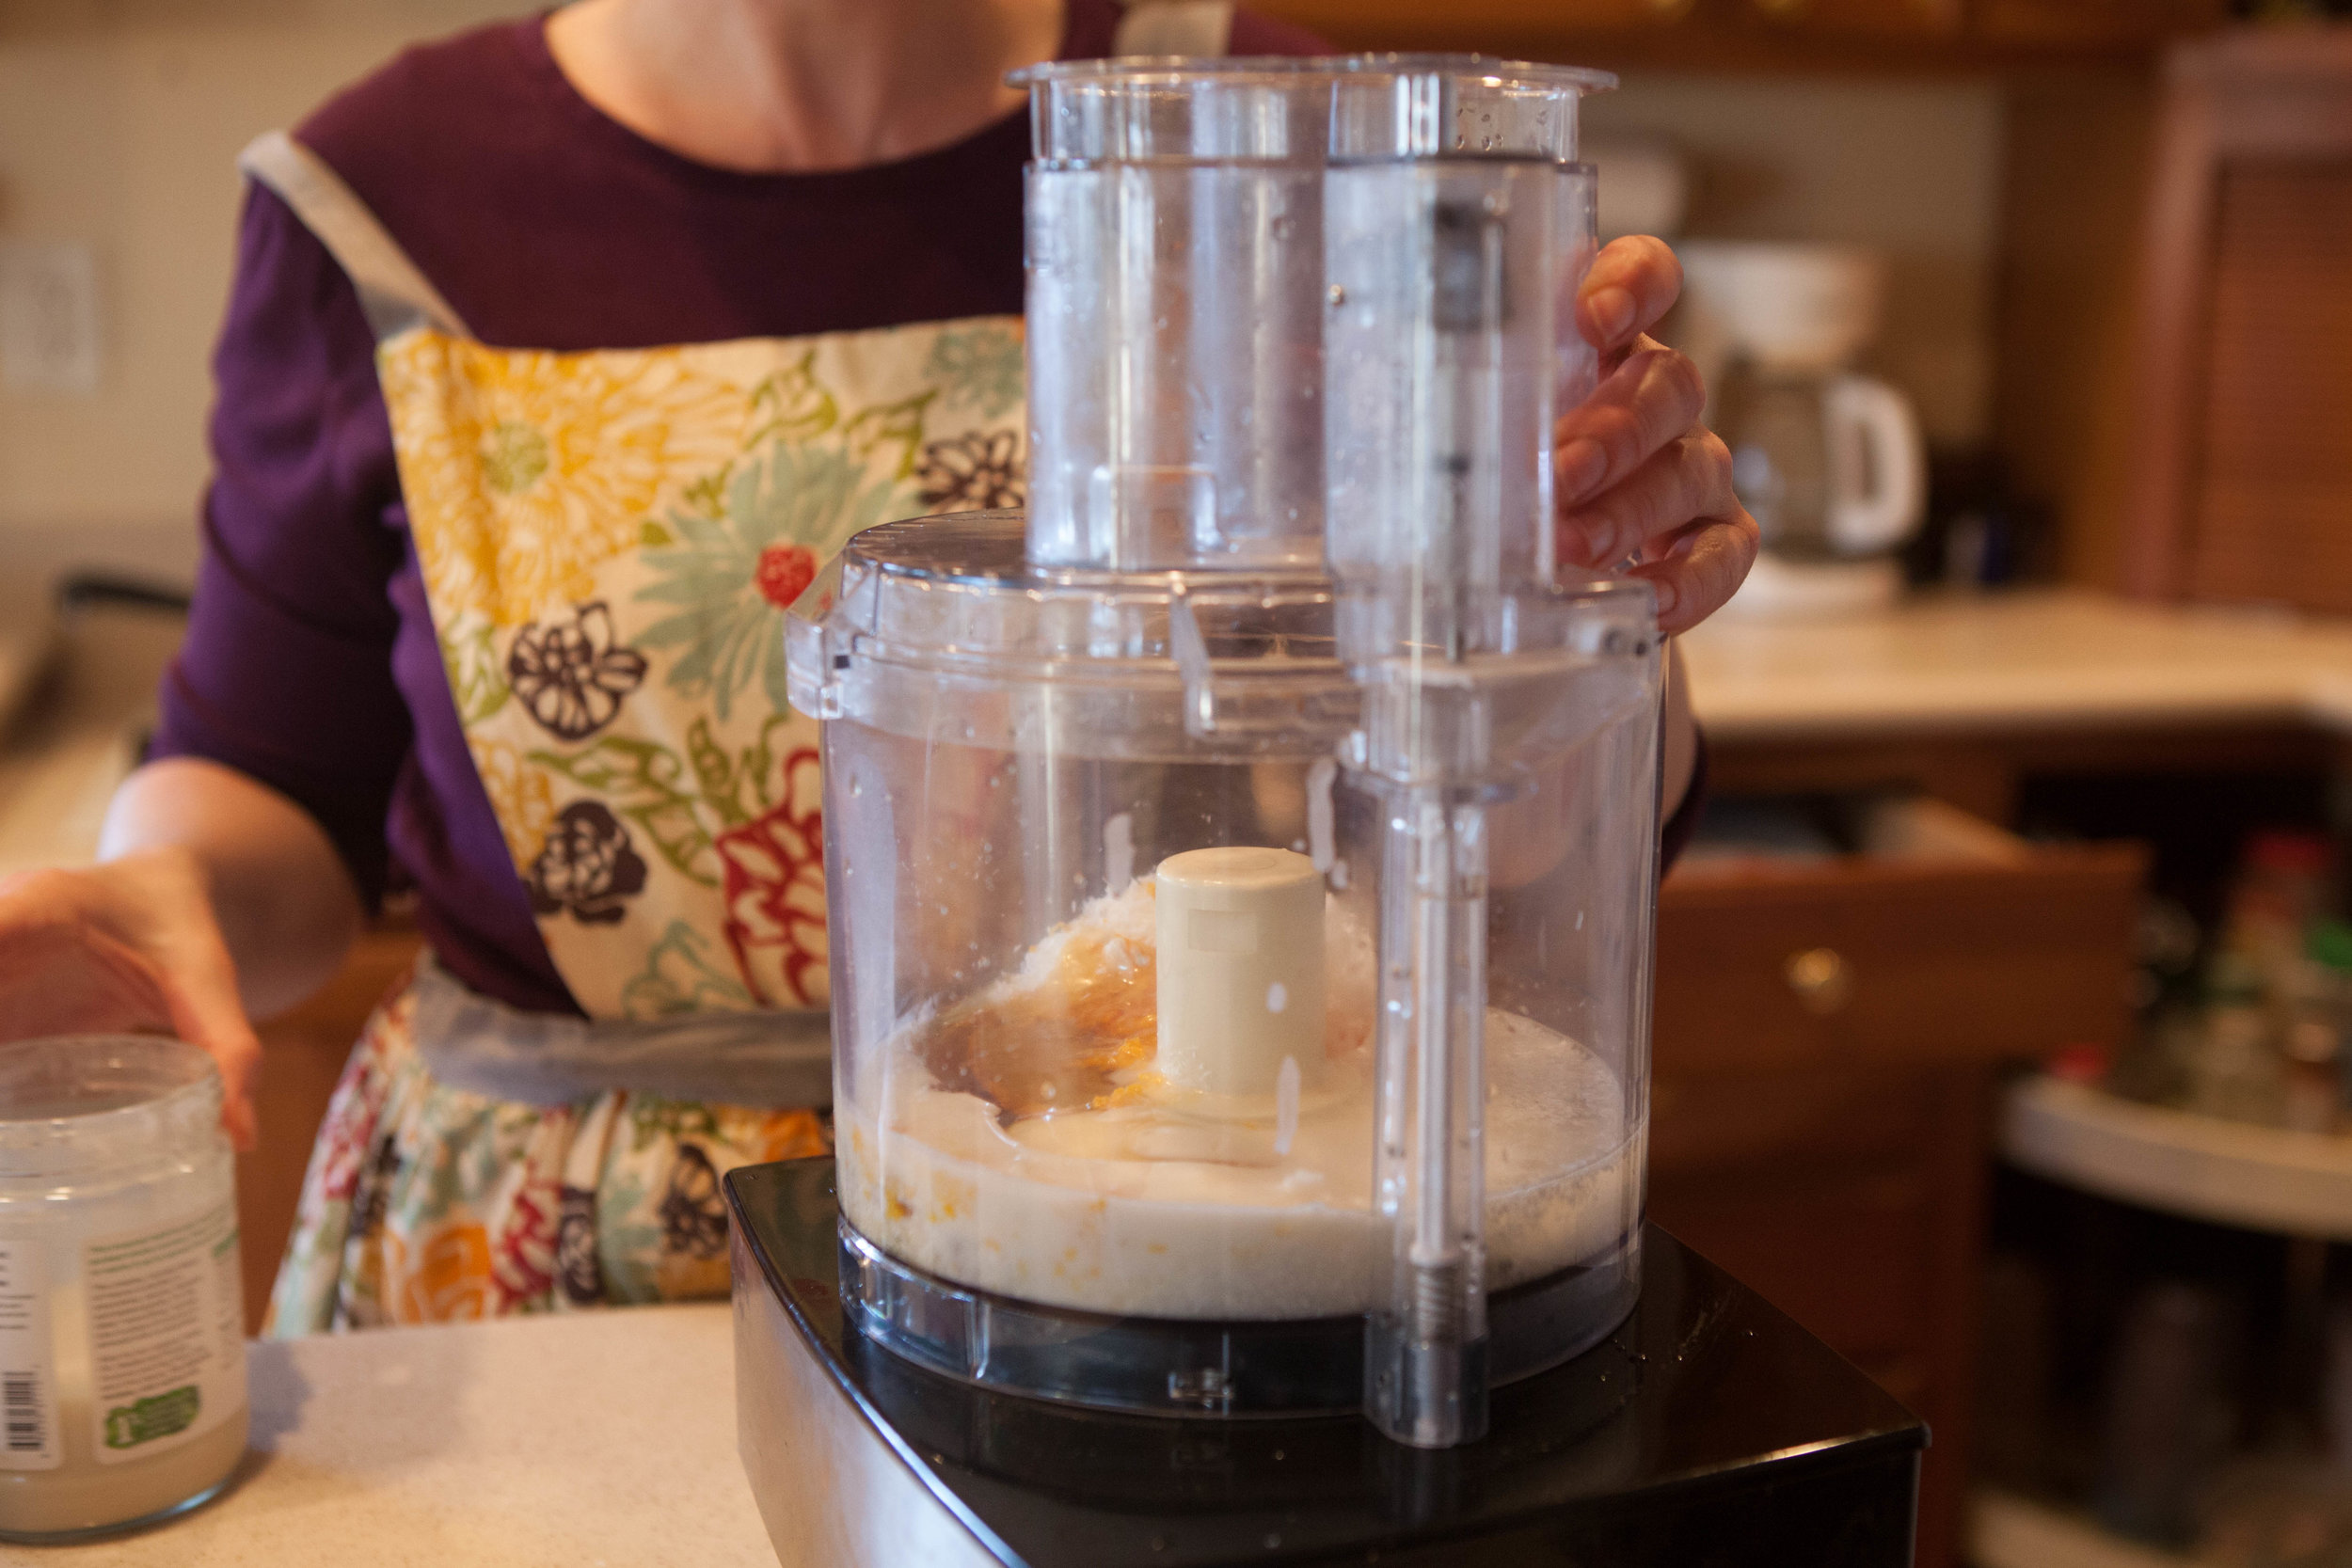
Combine coconut butter, coconut oil, cocoa powder, honey, peppermint, vanilla, shredded coconut and coconut flakes into a food processor.

This GAPS Legal Coconut Fudge comes in two flavors, citrus and peppermint. You can make the flavors separately but I prefer them layered together. Use coconut butter, coconut oil and coconut flakes for a delicious gluten free, dairy free and GAPS le…

Spread mixture into a pan.Chill for 30 minutes.

Add hot water to the sink. Float pan in mixture approx 1 minute until mixture releases from sides. Dip a knife in hot water then slice fudge into pieces.

How to Make Citrus coconut Fudge

Ingredients for citrus coconut fudge

  • ½ cup coconut butter

  • ½ cup coconut oil

  • ⅓ cup raw honey

  • 1 tbsp citrus zest

  • 2 tbs citrus juice

  • 3/4 cup shredded coconut

  • ¼ cup Coconut Flakes

Directions for citrus coconut fudge

This GAPS Legal Coconut Fudge comes in two flavors, citrus and peppermint. You can make the flavors separately but I prefer them layered together. Use coconut butter, coconut oil and coconut flakes for a delicious gluten free, dairy free and GAPS le…

Melt coconut butter on medium heat by adding water to the bottom of a pot and placing jar on top. Or add jar and water to crockpot and heat for two hours until melted. Melt coconut oil in a separate pot.

This GAPS Legal Coconut Fudge comes in two flavors, citrus and peppermint. You can make the flavors separately but I prefer them layered together. Use coconut butter, coconut oil and coconut flakes for a delicious gluten free, dairy free and GAPS le…

Combine coconut butter, coconut oil, cocoa powder, honey, peppermint, and vanilla into a food processor.

This GAPS Legal Coconut Fudge comes in two flavors, citrus and peppermint. You can make the flavors separately but I prefer them layered together. Use coconut butter, coconut oil and coconut flakes for a delicious gluten free, dairy free and GAPS le…

Spread mixture into a pan.Chill for 30 minutes.

This GAPS Legal Coconut Fudge comes in two flavors, citrus and peppermint. You can make the flavors separately but I prefer them layered together. Use coconut butter, coconut oil and coconut flakes for a delicious gluten free, dairy free and GAPS le…

Add hot water to the sink. Float pan in mixture approx 1 minute until mixture releases from sides. Dip a knife in hot water then slice fudge into pieces.


Chocolate Peppermint Fudge

Author:
prep time: cook time: total time:

ingredients:

  • ½ cup coconut butter
  • ½ cup coconut oil
  • ½ cup cocoa powder
  • ½ cup honey
  • 2 tsp peppermint extract or 2 drops peppermint oil
  • 1 tsp vanilla extract
  • 3/4 cup shredded coconut
  • ¼ cup coconut flakes

instructions:

How to cook Chocolate Peppermint Fudge

  1. Melt coconut butter on medium heat by adding water to the bottom of a pot and placing jar on top. Or add jar and water to crockpot and heat for two hours until melted.
  2. Melt coconut oil in a separate pot. Crush coconut flakes into smaller pieces.
  3. Combine coconut butter, coconut oil, cocoa powder, honey, peppermint, vanilla, shredded coconut and coconut flakes into a food processor.
  4. Spread mixture into a pan.Chill for 30 minutes.
  5. Add hot water to the sink. Float pan in mixture approx 1 minute until mixture releases from sides. Dip a knife in hot water then slice fudge into pieces.
Created using The Recipes Generator

Citrus Coconut Fudge

Author:
prep time: cook time: total time:

ingredients:

  • ½ cup coconut butter
  • ½ cup coconut oil
  • ⅓ cup raw honey
  • 1 tbsp citrus zest
  • 2 tbs citrus juice
  • 3/4 cup shredded coconut
  • ¼ cup Coconut Flakes

instructions:

How to cook Citrus Coconut Fudge

  1. Melt coconut butter on medium heat by adding water to the bottom of a pot and placing jar on top. Or add jar and water to crockpot and heat for two hours until melted. Melt coconut oil in a separate pot.
  2. Combine coconut butter, coconut oil, cocoa powder, honey, peppermint, and vanilla into a food processor.
  3. Spread mixture into a pan. Chill for 30 minutes.
  4. Add hot water to the sink. Float pan in mixture approx 1 minute until mixture releases from sides. Dip a knife in hot water then slice fudge into pieces.
Created using The Recipes Generator

Almond Flour Cookies with Cacao Nibs

GAPS Legal Almond Cookies

Adapted from The Paleo Plan Makes 24 Cookies GAPS Legal on Stage 4

Ingredients for gaps legal chocolate chip cookies

  • 2 cups Almond Flour

  • ¼ cup Whey

  • 2 large eggs

  • 1/3 cup Room Temperature Coconut Oil

  • 1 tsp Baking Soda

  • ½ tsp Vanilla

  • ⅛ tsp Salt

  • ¼ cup Honey (or ⅓ cup date syrup)

  • ⅛-¼ cup Raw Cacao Nibs

Directions for chocolate chip cookies on the gaps diet

gaps-legal-chocolate-chip-cookies-with-almond-flour-fermented-almond-flour-cookies-what-to-do-with-fermented-almond-flour

24 Hours in Advance

Add whey to almond flour. Stir to moisten.

Leave covered on counter for 24 hours to ferment.

gaps-legal-chocolate-chip-cookies-with-almond-flour-fermented-almond-flour-cookies-what-to-do-with-fermented-almond-flour

The Next Day

Preheat oven to 350. Add your baking sheet to the oven to preheat. These cookies bake better on a hot dish.To fermented flour, add eggs and stir.

gaps-legal-chocolate-chip-cookies-with-almond-flour-fermented-almond-flour-cookies-what-to-do-with-fermented-almond-flour

Add coconut oil to mixture. The coconut oil should be room temperature. If it is melted, you won’t have the right consistency.

Add the baking soda, vanilla, salt and honey (or date paste) to the mixture. Mix well.

gaps-legal-chocolate-chip-cookies-with-almond-flour-fermented-almond-flour-cookies-what-to-do-with-fermented-almond-flour

Add cacao nibs to dough mixture.

Remove baking sheet from oven. Line with parchment paper.

gaps-legal-chocolate-chip-cookies-with-almond-flour-fermented-almond-flour-cookies-what-to-do-with-fermented-almond-flour

Spoon approx. 1 tbsp size rounds of dough onto parchment paper.

Bake at 350 degrees for 10-15 minutes until edges are golden brown and cookies seem firm. Watch them closely after 8 minutes. They will go from raw to burnt quickly!

gaps-legal-chocolate-chip-cookies-with-almond-flour-fermented-almond-flour-cookies-what-to-do-with-fermented-almond-flour

Almond Flour Cookies with Cacao Nibs

Author:
prep time: cook time: total time:

ingredients:

  • 2 cups Almond Flour
  • ¼ cup Whey
  • 2 large eggs
  • 1/3 cup Room Temperature Coconut Oil
  • 1 tsp Baking Soda
  • ½ tsp Vanilla
  • ⅛ tsp Salt
  • ¼ cup Honey (or ⅓ cup date syrup)
  • ⅛-¼ cup Raw Cacao Nibs

instructions:

How to cook Almond Flour Cookies with Cacao Nibs

24 Hours in Advance
  1. Add whey to almond flour. Stir to moisten.
  2. Leave covered on counter for 24 hours to ferment.
The Next Day
  1. Preheat oven to 350. Add your baking sheet to the oven to preheat. These cookies bake better on a hot dish.To fermented flour, add eggs and stir.
  2. Add coconut oil to mixture. The coconut oil should be room temperature. If it is melted, you won’t have the right consistency.
  3. Add the baking soda, vanilla, salt and honey (or date paste) to the mixture. Mix well.
  4. Add cacao nibs to dough mixture.
  5. Remove baking sheet from oven. Line with parchment paper.
  6. Spoon approx. 1 tbsp size rounds of dough onto parchment paper.
  7. Bake at 350 degrees for 10-15 minutes until edges are golden brown and cookies seem firm. Watch them closely after 8 minutes. They will go from raw to burnt quickly!
Created using The Recipes Generator