ferments

Kid Friendly Rainbow Ferment

One of the best ways to get kids excited about eating real food is to make it fun! You can do this by making the preparation or cooking process fun, giving it a fun name, or making the presentation fun, like eating “Ants on a Log”.

When giving fermented food to your children, it’s best to consider what vegetables they already like and in what forms. For example, if your child really likes coleslaw, then sauerkraut will likely be a favorite but if they like carrot sticks, ginger carrots will probably go over well.

IMG_2506.jpg

Feel free to discuss and replace any of these vegetables with vegetables of similar color that your family likes better. You should be able to make this fun and interactive ferment a family favorite.

Some of my favorite salts for ferments are baja gold and Redman’s real salt. 

Ingredients for Rainbow Ferment:

  • Red Beets

  • Carrots

  • Yellow Pepper

  • Broccoli

  • Purple Cabbage

  • Baja Salt

  • Water

Directions for Rainbow Ferment:

IMG_2496.jpg

Fill a quart mason jar most of the way with cold filtered water. Remember filtered water is very important here otherwise you will kill your ferment.

Add 3 tbsp of salt. Stir to dissolve completely.

IMG_2520.jpg

Cut the vegetables into bite size pieces and layer them in the jar in rainbow color order. Try not to overfill the jar. The vegetables should not come any taller than the shoulder of the jar. A jar that is too full is more likely to leak and make a mess in your kitchen.

IMG_2552.jpg

When you get to the cabbage, set aside one full small leaf. Fill the jar with the brine up to the shoulder. Add the cabbage leaf to the top to hold all the vegetables under the level of the water.

Wipe off the top of the jar & add a lid and band. Close to finger tightness.

Leave on the counter for 5-7 days. Then move to cold storage.


RecipeforKidFriendlyRainbowFerment.png

Kid Friendly Rainbow Ferment

Author: Amy Mihaly, Be Well Clinic

Ingredients

  • Red Beets
  • Carrots
  • Yellow Pepper
  • Broccoli
  • Purple Cabbage
  • Baja Salt
  • Water

Instructions

  1. Fill a quart mason jar most of the way with cold filtered water. Remember filtered water is very important here otherwise you will kill your ferment.
  2. Add 3 tbsp of salt. Stir to dissolve completely.
  3. Cut the vegetables into bite size pieces and layer them in the jar in rainbow color order. Try not to overfill the jar. The vegetables should not come any taller than the shoulder of the jar. A jar that is too full is more likely to leak and make a mess in your kitchen.
  4. When you get to the cabbage, set aside one full small leaf. Fill the jar with the brine up to the shoulder. Add the cabbage leaf to the top to hold all the vegetables under the level of the water.
  5. Wipe off the top of the jar & add a lid and band. Close to finger tightness.
  6. Leave on the counter for 5-7 days. Then move to cold storage.
Created using The Recipes Generator

Apple Scrap Vinegar

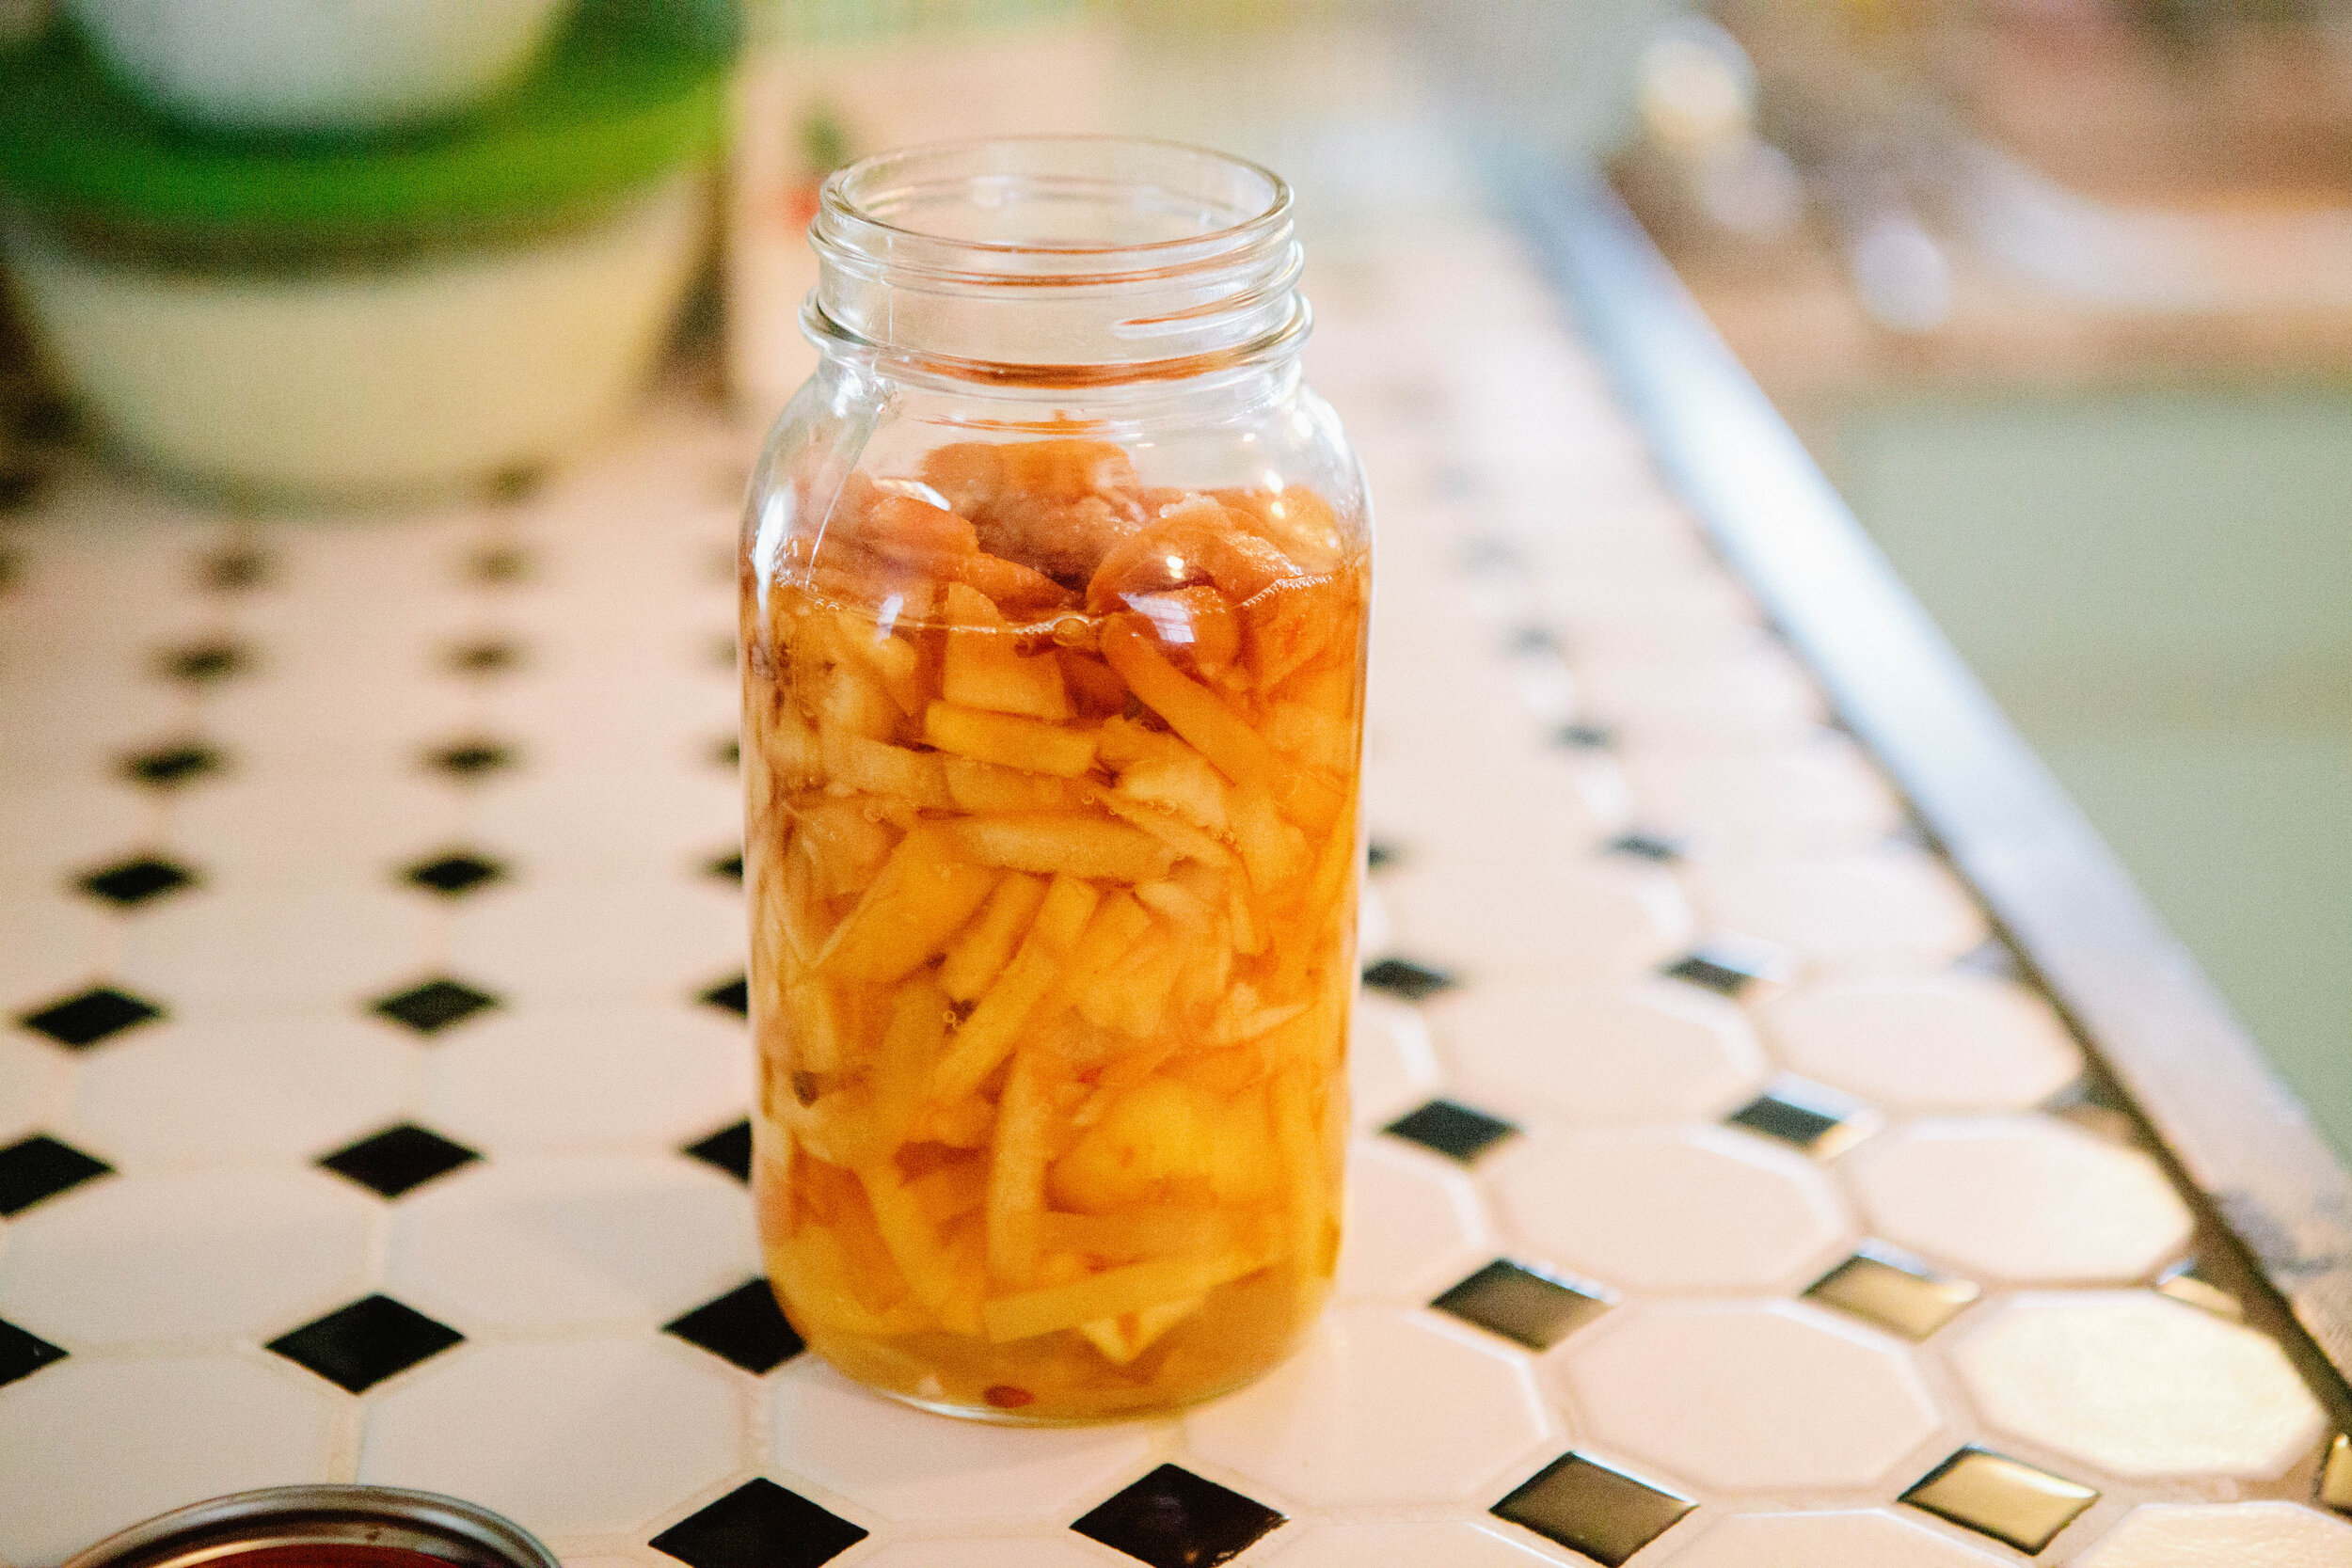
This recipe makes a type of apple cider vinegar. The difference is it’s made with apple scraps, as opposed to starting with apple cider that gets turned into apple cider vinegar. I love the idea of apple scrap vinegar because you utilize the entire apple! 

IMG_0419.jpg

My main use of apple cider vinegar is detox baths so I don’t necessarily need apple vinegar as rich in taste as apple vinegar made from cider. You can also use it to make this salad dressing.

This is so simple and easy that you can throw a jar together any time you are creating anything else with apples like dried apples or applesauce.

Ingredients for Apple Scrap Vinegar:

  • Apple Scraps from 5-6 Apples

  • Filtered Water

  • Apple Cider Vinegar with the Mother

Directions for Apple Scrap Vinegar:

IMG_2912.jpg

Add your apple scraps to a jar. You want the scraps to be packed into the jar fairly tightly.

Add filtered water almost to the shoulder.

Top with 2 tbsp of apple cider vinegar to jump start the fermentation process.

Seal with a lid. Leave on the counter for 3 weeks. 

IMG_2931.jpg

Strain out liquid into a separate jar.

Put the lid back on and set aside for 2-4 additional weeks.

It will develop a vinegar smell and taste. If, after 2 weeks, it does not have that, wait an additional two weeks. 

Once it’s done, keep it in the fridge if it will take you a while to use it.


The Importance of Putting Up Ferments in the Fall

The Importance of Putting Up Ferments in the Fall

The end of summer and beginning of fall offers us an abundance of great produce, whether it’s from our own garden or from farmers. While we can, in theory, continually purchase produce from the grocery store, we get better quality and more cost effective produce if we eat seasonally and locally. This great produce is only available at certain times of the year and it has to be stored somehow!

Fermented Ginger Carrots

These are a kid favorite!  This recipe is based on the Nourishing Traditions Cookbook but I’ve found most kids prefer carrots sliced rather than grated.

If you’re new to fermenting, read this section first! Otherwise, skip down to the recipe. 

Jars: I prefer using wide mouth jars for almost everything because small mouth jars are difficult to clean and access. There’s no need to sterilize jars for fermenting. If you clean your jars in your dishwasher, I recommend a quick rinse under hot water to remove any dishwasher soap residue.

Lids: Start with clean jar lids. You can reuse them as long as they are not very broken down or rusted. You can reuse lids from previous projects like water bath canning or other ferments as long as it is not rusty or the plastic is not visibly broken down.

Water: Be sure to use filtered water. The chlorine added to tap water kills microbial creatures so if you use it in your ferments, it will kill the good bacteria that we are trying to grow in our fermented food.

When you are jar fermenting, you need to have a tight seal with the metal lids but after you open a ferment, you can switch to a white plastic lid which will also save your metal lids from rusting and breaking down. 

I have found that simple tight lids work best, I do not use any gas releasing lids as I find them unnecessary and even detrimental. 

This is a super simple ferment to make and because these carrots taste almost fresh, it’s a great option for getting ferments into your children.  

I have just started creating a brine in a separate jar from the ferments. I really like it because it makes fermenting so much faster. All I have to do is pack my jars and then pour my liquid over it. This is especially great if I’m doing multiple types of ferment mixtures or vegetables.

Fun fact about carrots: if you’re growing your own carrots, leave them in the ground until after the first frost. They become sweeter. 

Ingredients

  • 3-4 tbsp Sea Salt (I find in Colorado, 3 is plenty!)

  • 5-6 Carrots

  • 2 inches Fresh Ginger

Directions

IMG_0481.jpg

Create a brine for the carrots. Fill a quart size jar with filtered water. Add salt. Stir. 

Slice carrots into jar sized spears. Cut off the ends. 

IMG_0501.jpg

Add carrots to jars. Shake them to make sure they fit completely. Leave 1 inch head room. 

Peel ginger with the back of a spoon or a knife. You can grate it or slice it. I prefer sliced because I don’t like the spice of ginger. 

IMG_0505.jpg

Wedge the slices of ginger in between the carrots so they don’t float.

Pour the brine of the carrots to the shoulder of the jar.

IMG_0525.jpg

Make sure all the carrots and ginger are under the water. 

Wipe the edge of the jar with a wet paper towel. 

IMG_0534.jpg

Put a lid on the jar and seal to hand tightness. You’re not securing it for take off!

Let set on the counter for a week because of the thickness of the carrots. You can always ferment longer or shorter. As long as there is pressure on the metal lid for at least 24 hours, I consider that fermented. The longer you ferment, the softer they will get. Because carrots are so hard, it will take a long time to get them too soft. If they do get too soft, you can simply cook with them!

I do not recommend burping ferments unless it appears that the jar lid is going to break. In general, I find this is only a problem when you have over filled your jars or when you are making garlic.

After a week, move the ferment to “cold storage.” This can be defined as the fridge, a cool place in your basement or a dark pantry. The lower the temperature, the slower the fermentation action will continue to happen. When you’re ready to eat it, switch the lid to a plastic lid. Wash and dry the metal lid to be used again.


FermentedGingerCarrots.png

Fermented Ginger Carrots

Author: The Be Well Clinic

Ingredients

  • 4 tbsp Sea Salt (I find in Colorado, 3 is plenty!)
  • 6 Carrots
  • 2 inches Fresh Ginger

Instructions

  1. Create a brine for the carrots. Fill a quart size jar with filtered water. Add salt. Stir.
  2. Slice carrots into jar sized spears. Cut off the ends.
  3. Add carrots to jars. Shake them to make sure they fit completely. Leave 1 inch head room.
  4. Peel ginger with the back of a spoon or a knife. You can grate it or slice it. I prefer sliced because I don’t like the spice of ginger.
  5. Wedge the slices of ginger in between the carrots so they don’t float.
  6. Pour the brine of the carrots to the shoulder of the jar.
  7. Make sure all the carrots and ginger are under the water.
  8. Wipe the edge of the jar with a wet paper towel.
  9. Put a lid on the jar and seal to hand tightness. You’re not securing it for take off!
  10. Let set on the counter for a week because of the thickness of the carrots. You can always ferment longer or shorter. As long as there is pressure on the metal lid for at least 24 hours, I consider that fermented. The longer you ferment, the softer they will get. Because carrots are so hard, it will take a long time to get them too soft. If they do get too soft, you can simply cook with them!
  11. I do not recommend burping ferments unless it appears that the jar lid is going to break. In general, I find this is only a problem when you have over filled your jars or when you are making garlic.
  12. After a week, move the ferment to “cold storage.” This can be defined as the fridge, a cool place in your basement or a dark pantry. The lower the temperature, the slower the fermentation action will continue to happen. When you’re ready to eat it, switch the lid to a plastic lid. Wash and dry the metal lid to be used again
Created using The Recipes Generator

Fermented Ketchup

Most of what I’ve learned about ketchup is from Sally Fallon in Nourishing Traditions. As she points out, ketchup has historically been a term for a fish sauce added to foods for flavor. Various cultures added available ingredients to it to make sauces with unique flavor profiles. Tomato ketchup was created by Americans by adding tomatoes from their neighbors in Mexico. 

Store Bought ketchup, while reminiscent of the traditional flavor, is an unhealthy food choice due to the added sugar. Traditional ketchup, such as this recipe based on Nourishing Traditions, is a live food, and thus healthy and beneficial to your body.

I’ve heard that some parents add this ketchup to empty store bought ketchup bottles because their kids will eat anything from the bottles. Try it if you’re worried about your kids enjoying this version of ketchup!

This ketchup can be used in any way that modern ketchup is used! Add it to our burgers, dip fries in, or top scrambled eggs if that suits your fancy. It is also one of the two homemade sauces in this BBQ sauce recipe. 

You could also choose to make your own fish sauce. Nourishing Traditions by Sally Fallon has a great recipe for how to make it at home. For this recipe I chose not to.

As some of you may also know, my current favorite form of ketchup is another traditional recipe of mushroom ketchup. It’s tomato free so it’s great for anyone with nightshade intolerance. 

I’m unsure exactly how long this will keep in the fridge. However, similar ferments are fine for 1-3 months. If there’s any obvious mold or any putrefied (vomit like) smells, it’s probably time to make a new batch!

Ingredients for Fermented Ketchup:

Makes one pint of ketchup

  • 1 ½ cups of  tomato paste, ideally glass canned and organic

  • ⅛ cup whey

  • 1 ½ tsp salt

  • ¼ cup maple syrup

  • ¼ tsp cayenne pepper

  • 3 cloves of garlic, peeled and mashed

  • ½ cup fish sauce

Directions for Fermented Ketchup:

IMG_2715_edited.jpg

Combine all the ingredients and mix well.

Add to a mason jar with a lid tightly closed. Allow to ferment at room temperature for two days.

IMG_2733_edited.jpg

Be sure to give some head space, at least an inch at the top of the jar.

After two days, move the ketchup to the fridge. 

Enjoy!

Recipes for Fermented Food

FERMENTING - ONE OF THE BEST THINGS I DISCOVERED ON MY JOURNEY OF HEALING!

The process of preserving food by fermenting it is something that’s been around for centuries and is practiced all other world. It’s not just the process of creating alcoholic beverages like beer or wine, or creating different types of dairy like cheese or yogurt.  Eating fermented foods is a huge part of the GAPS Diet, but anyone who adds fermented foods to their diet will see some benefit.


Videos About Fermenting


Blogs About Fermentation

Vintage Food Hacks Part 1

Today, let’s talk about what in the world lacto-fermentation is, and how you can start doing it yourself!

Vintage Food Hacks Part 2

Today, let’s talk about what in the world lacto-fermentation is, and how you can start doing it yourself!

The Best Way to Add Fermented Food to Your Diet

Today, let’s talk about what in the world lacto-fermentation is, and how you can start doing it yourself!


Recipes for Creating Your Own Ferments

Beet Kvass

Beet Kvass is a liver tonic. Anyone can make this simple fermented drink! It requires only a few ingredients, and only a few minutes to "put up."

Vegetable Medley

One of the most important ferments in the GAPS™ diet is the vegetable medley. You can find this recipe in Dr. Natasha Campbell-McBride's book, Gut and Psychology Syndrome. Her recipe is for a bowl ferment, but you can also make it in a jar, which is how I prefer to make it.

Fermented Garlic

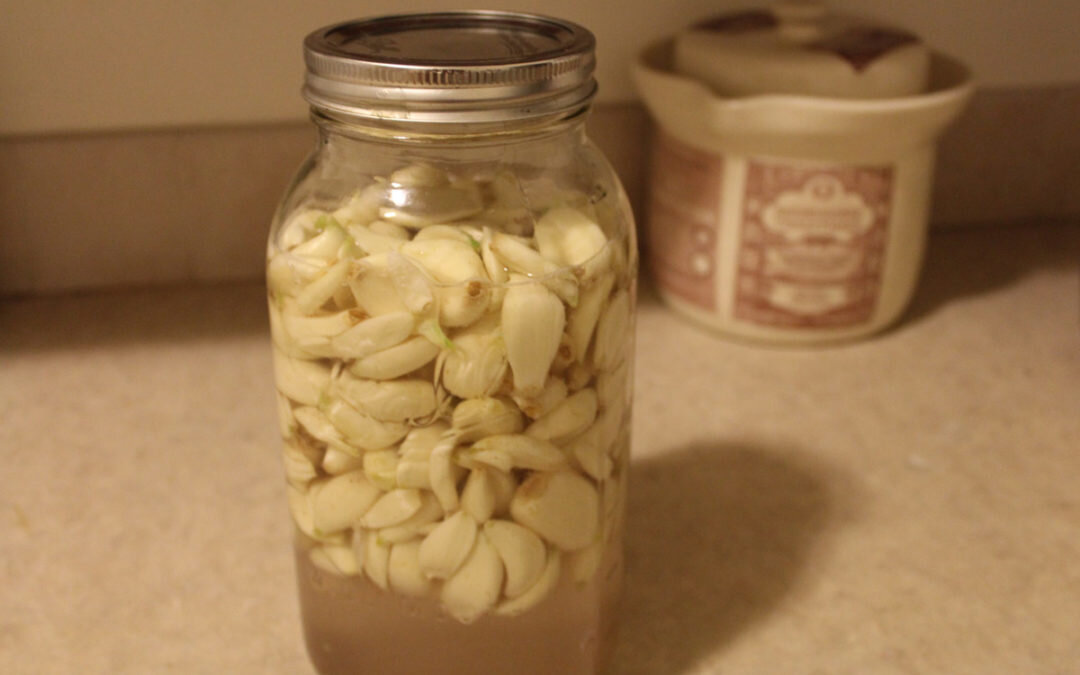
Most of us have heard that garlic supports our immune system. But did you know that only applies to raw garlic?

Cooked garlic does have some benefit, but most of the health properties are lost when the garlic is heated. Raw garlic, however, has many supportive health benefits. And when raw garlic is fermented, many of these increase.

Fruit Chutney

This recipe is very simple—chop and combine ingredients, simmer for a while, then store in jars. It would be a great recipe to make in a crockpot... you really could fix it and forget it! But simple doesn't mean plain. It's delicious and adds flavor to any meat you are eating. And I'm told, quite excellent with turkey!  

Trail Mix

With all the hiking and camping that happens in Colorado, trail mix is almost a main food group. But commercial trail mixes contain candy, sweetened fruit, and unprepared nuts: not the superfoods they claim to be!

Swedish Gravlax

This is a brined fish meal legal on GAPS stage 2. You eat little pieces, one small piece a day.

Fermented Almond Flour

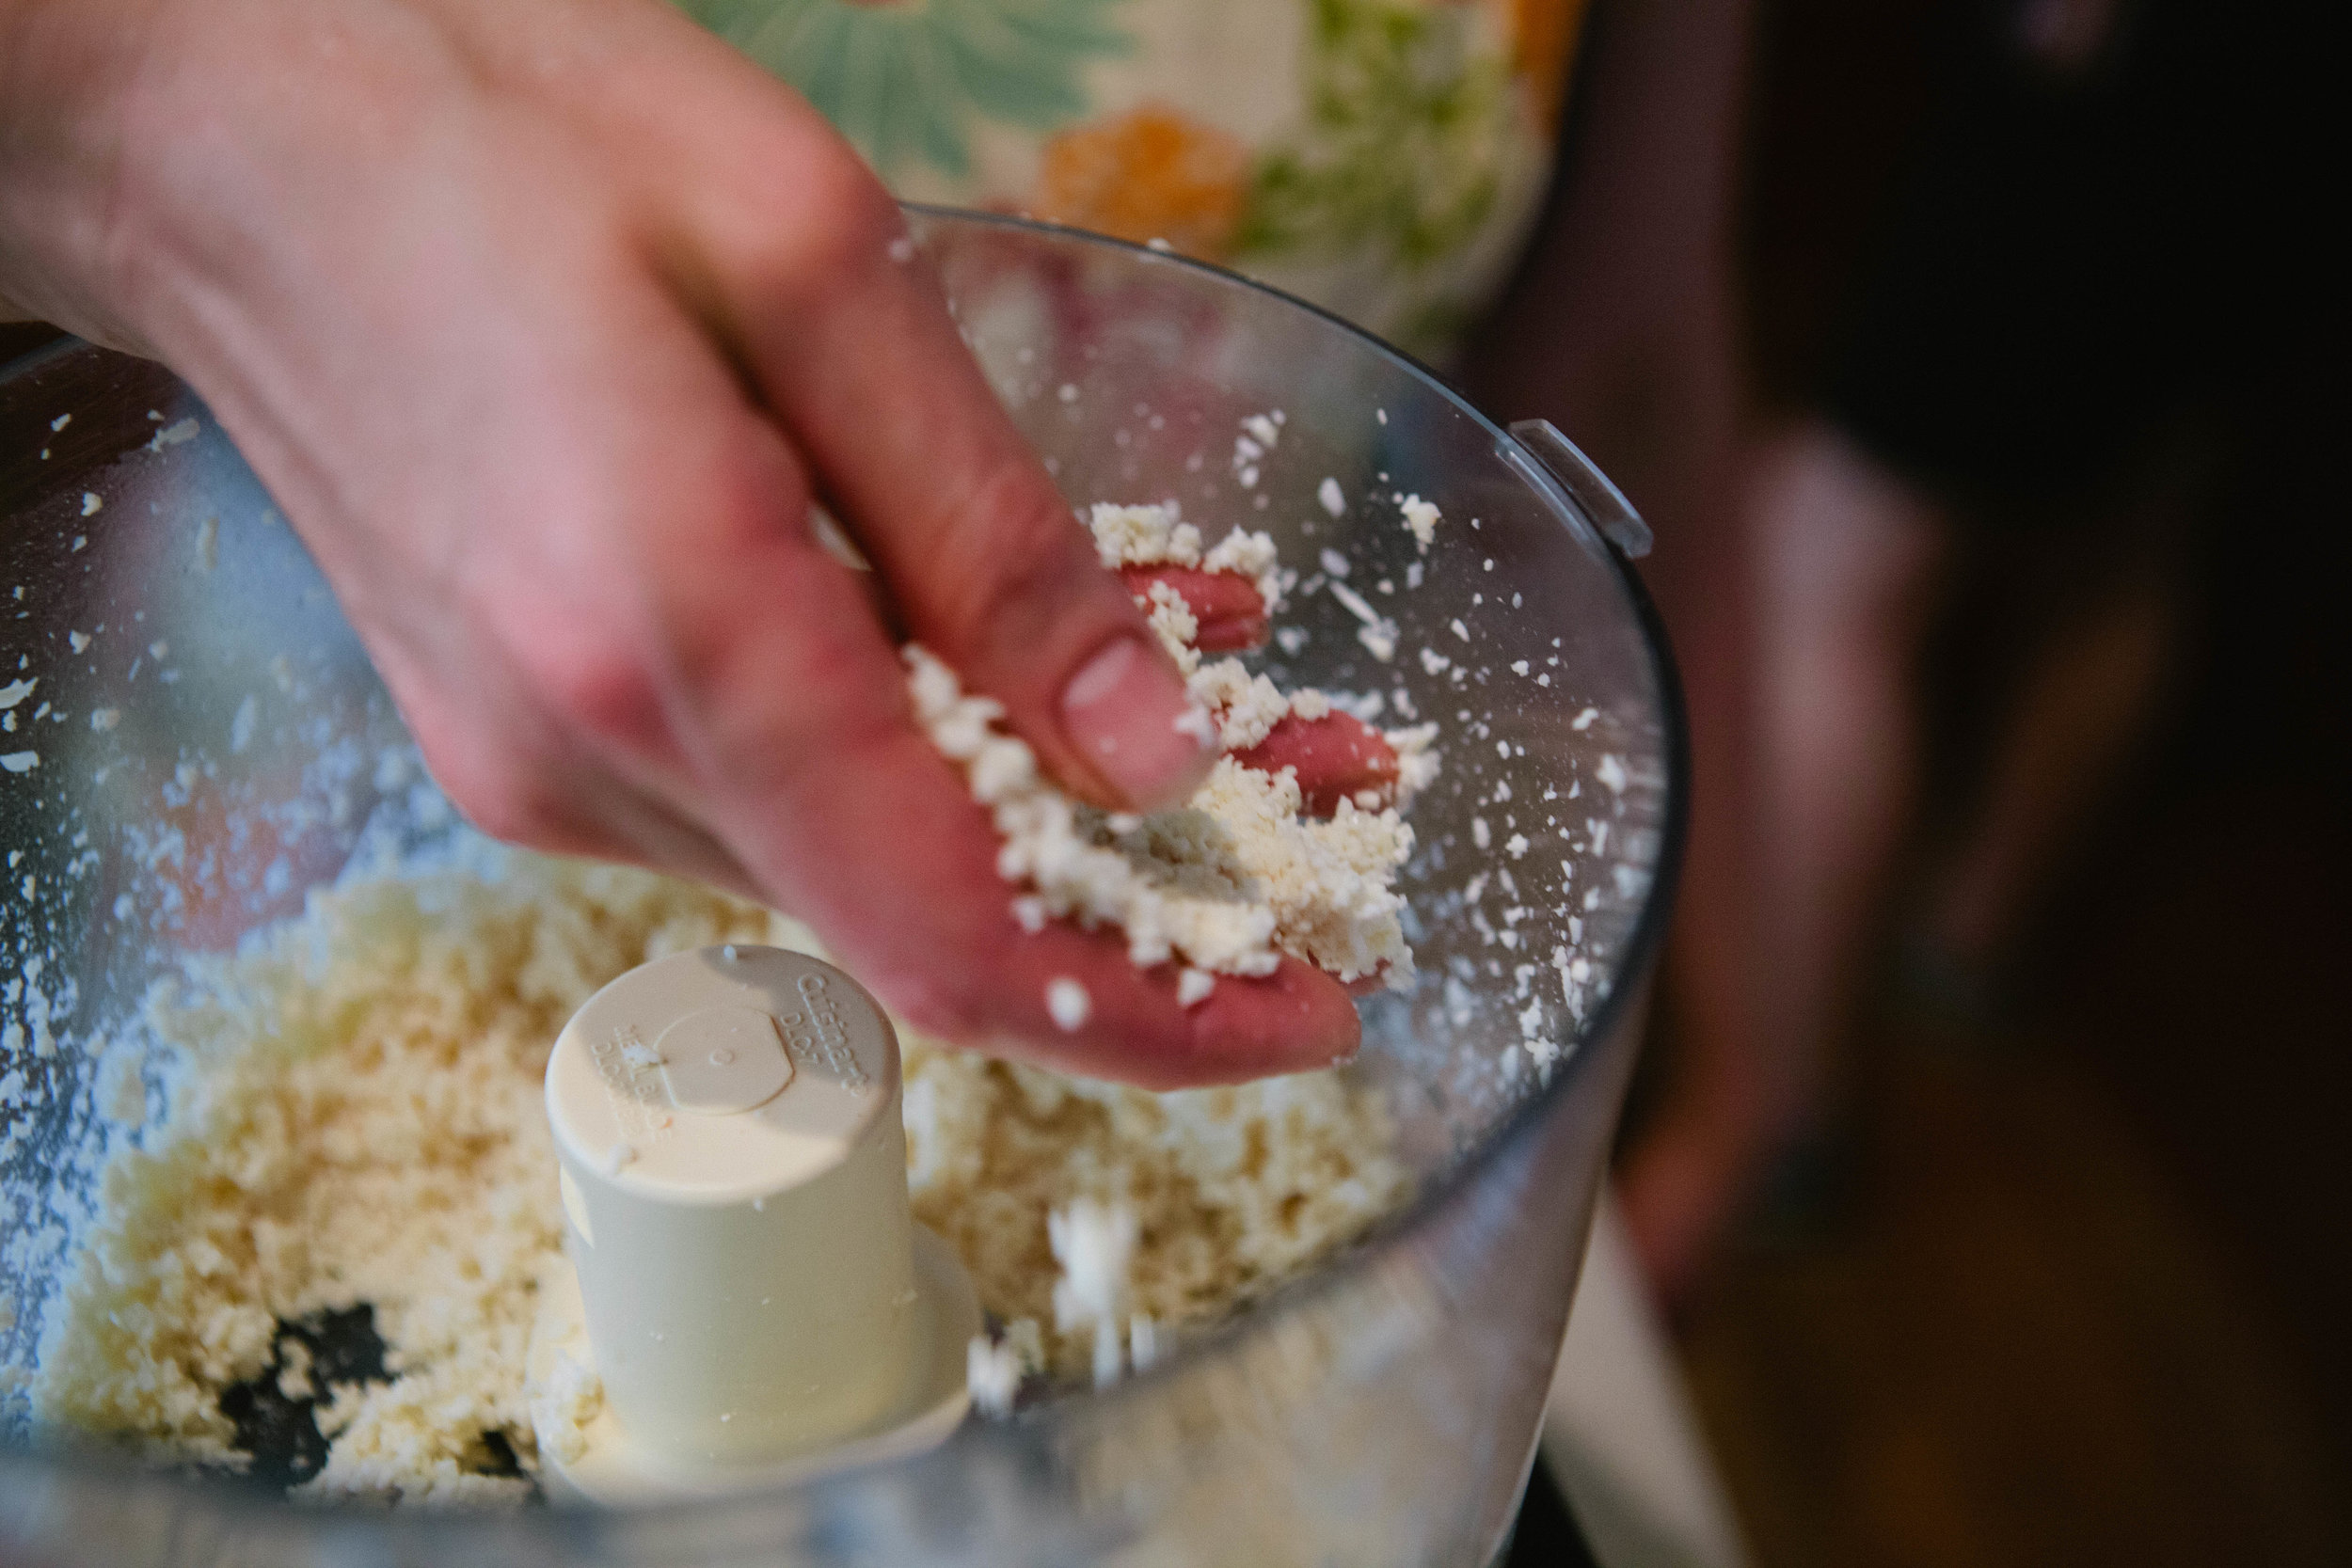
This is a great way to make fermented almond flour if your recipe calls for a very specific ratio of wet to dry ingredients. It’s also great for recipes that call for frying, like these onion rings!

You can also make fermented flour with almonds already made into flour. See the recipe here.

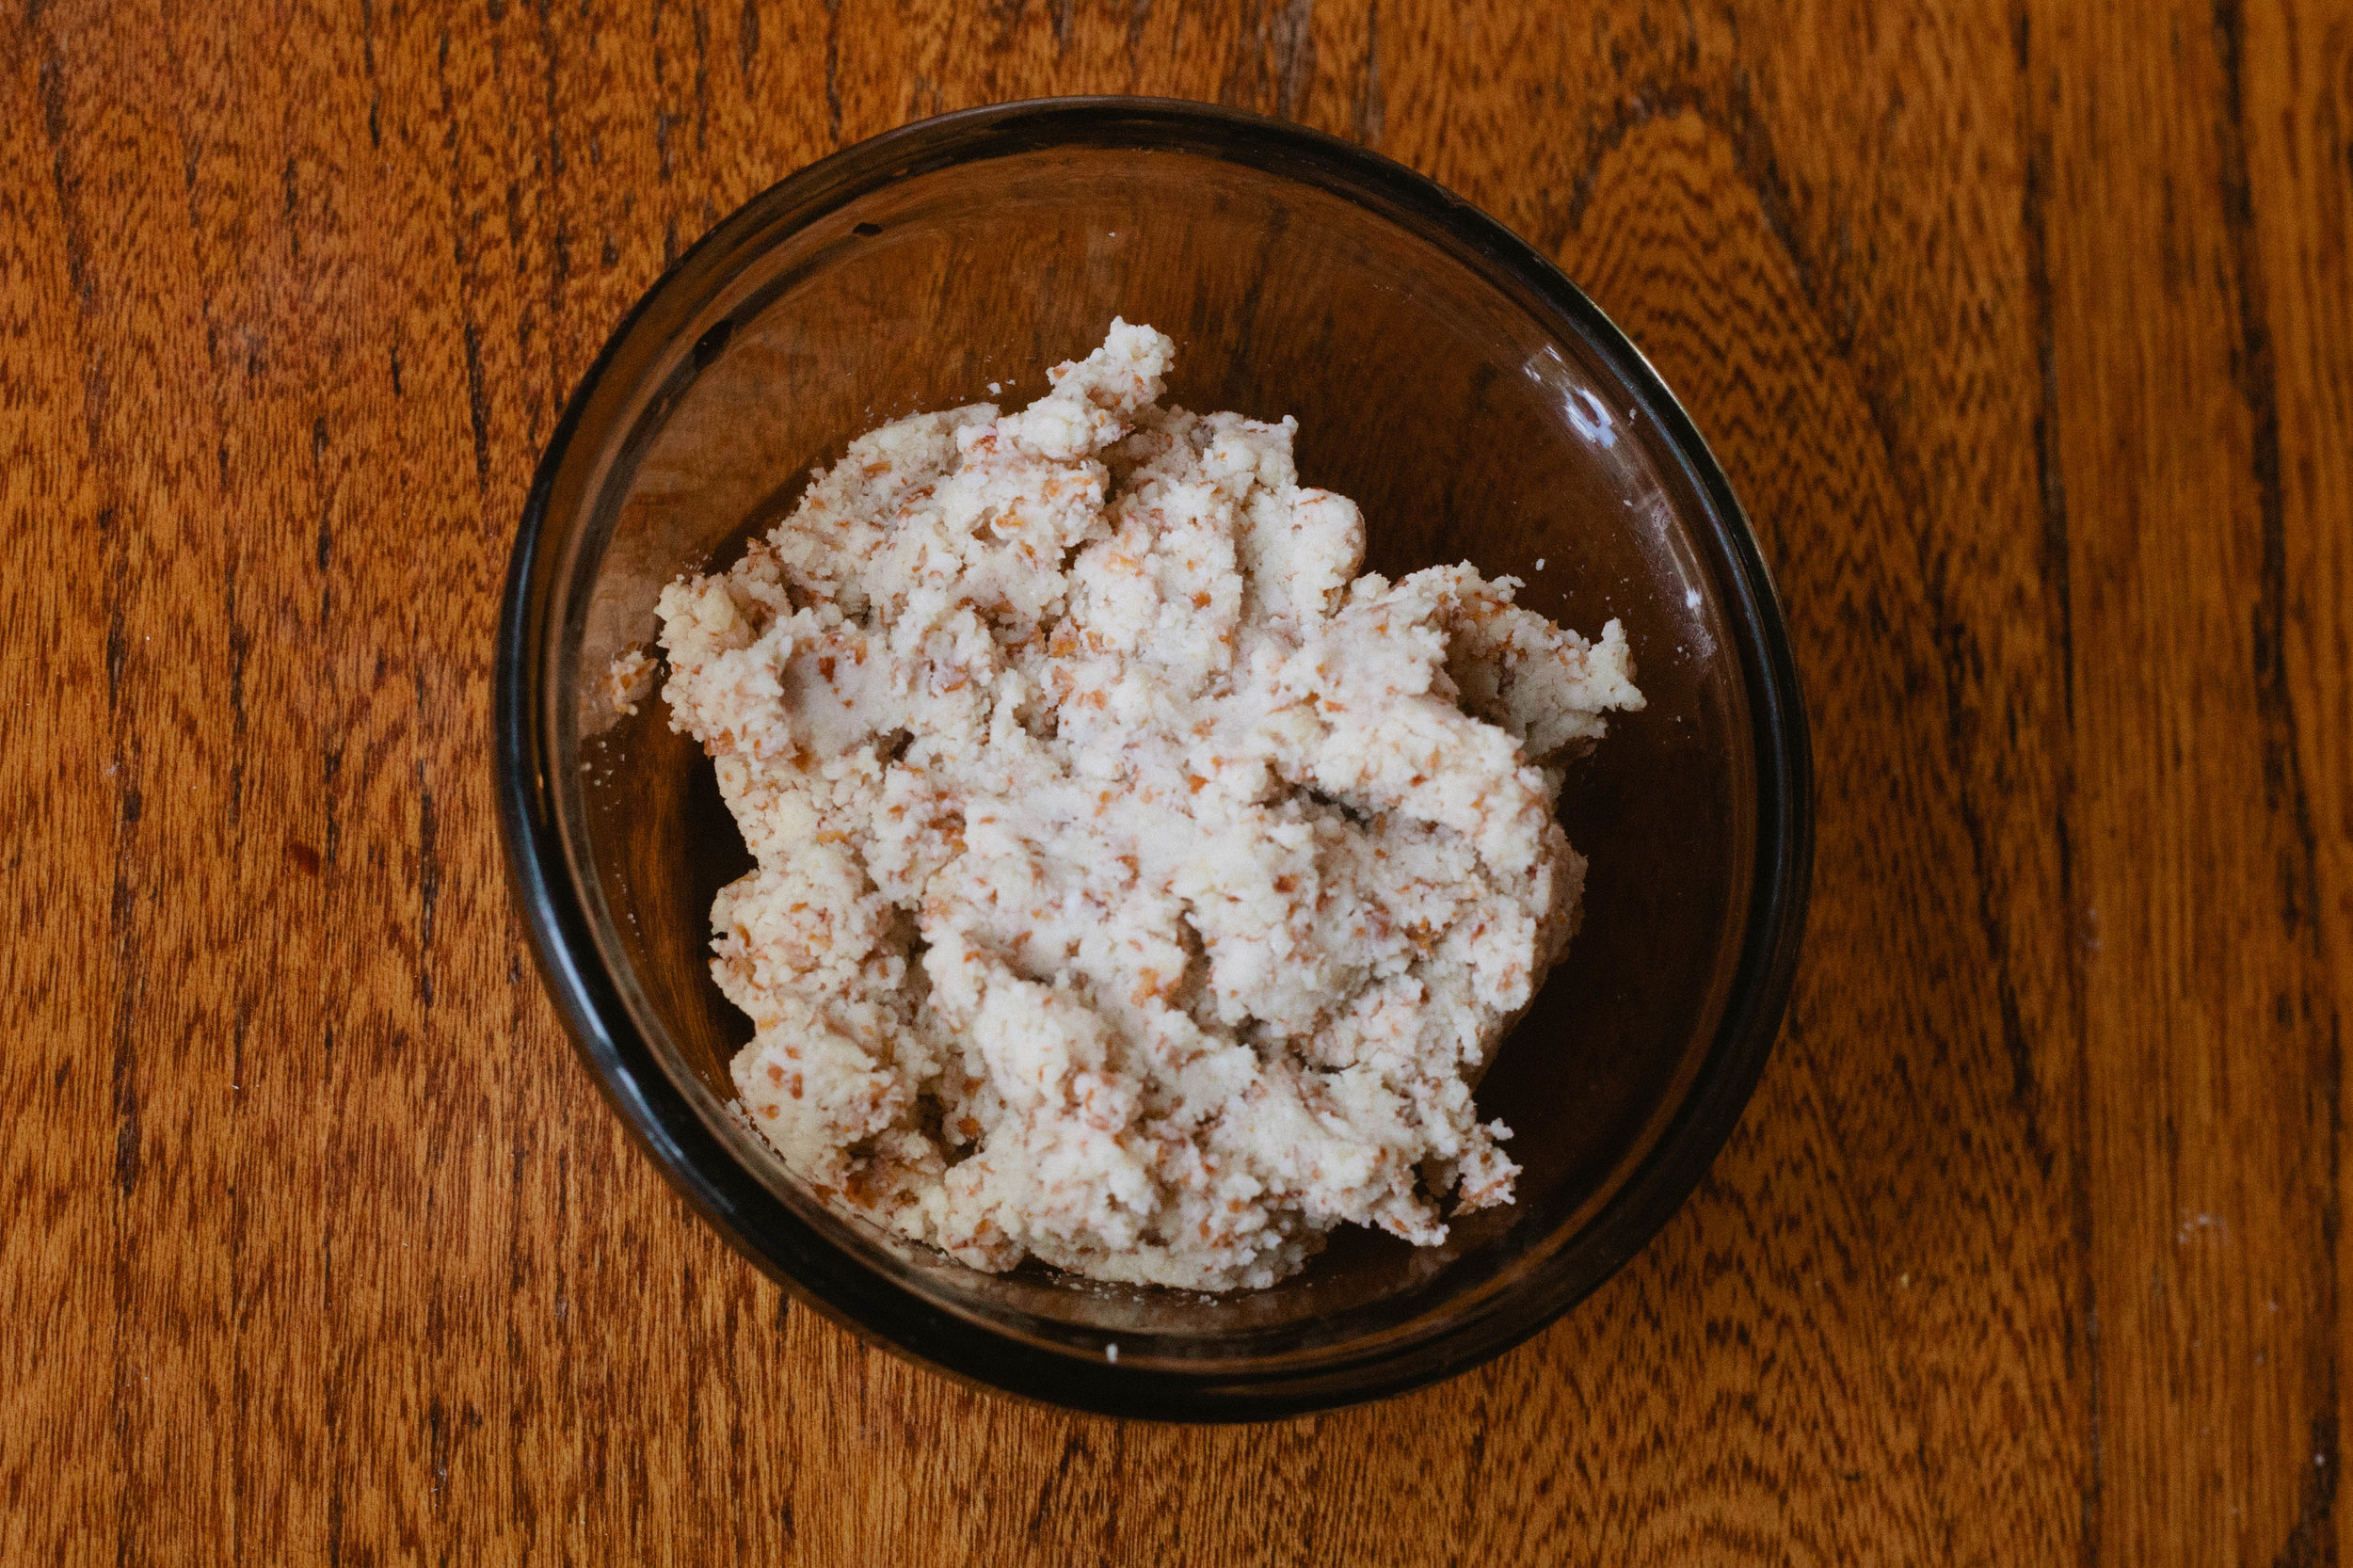
Fermented Almond Butter

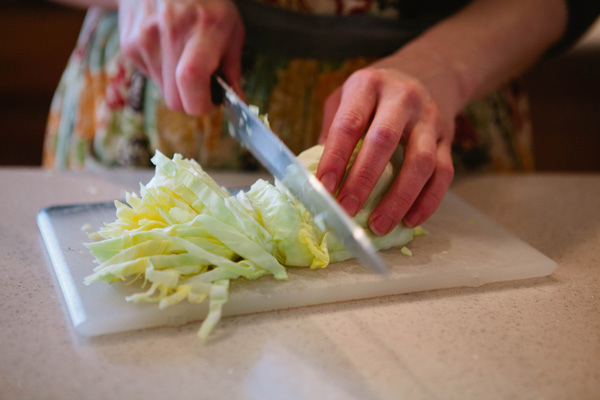
Sauerkraut

While good quality sauerkraut can be obtained in most stores now, I still prefer to make my own as I think it tastes the best. I put a lot of love and anticipation into my sauerkraut, as I don’t eat it until it has been fermenting for at least three months.

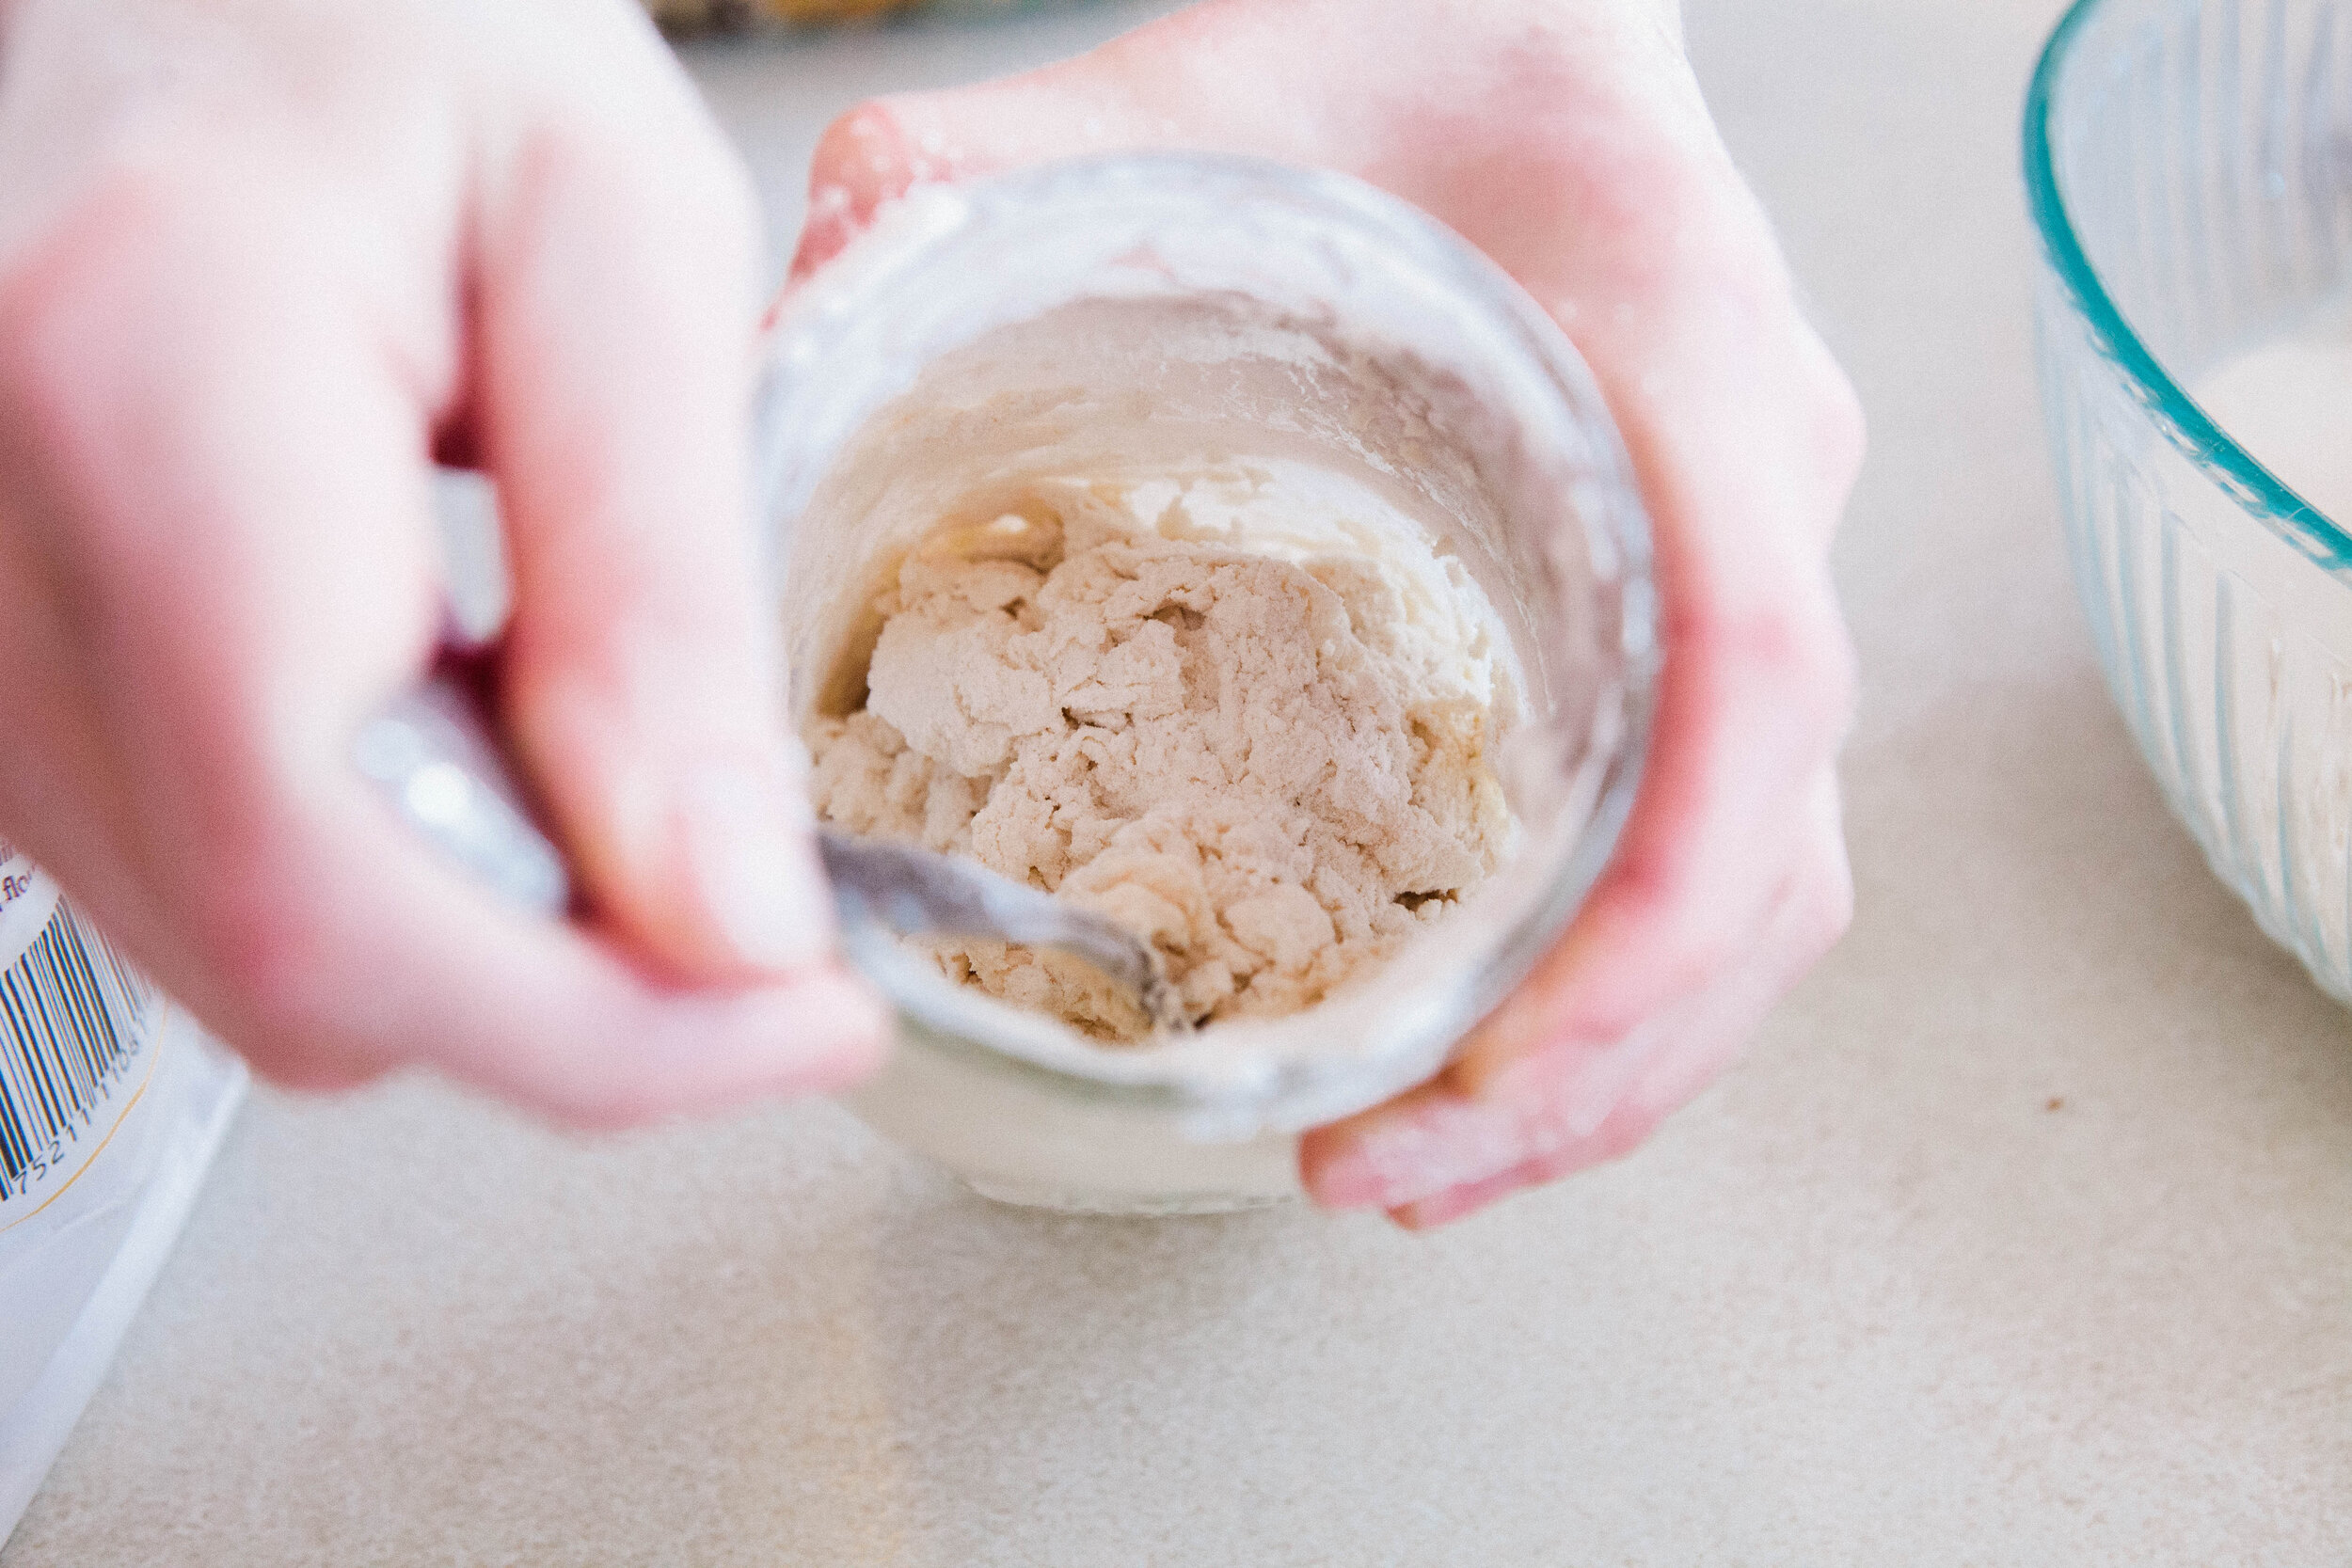
Sourdough

I by no means consider myself a sourdough expert. But I’ve enjoyed learning about sourdough. Once you understand the basics of sourdough, you can experiment with lots of ways to prepare it. This post is just an intro into the amazing world of sourdough!

Fermented Pumpkin Seeds

Pumpkin seeds also have an especially helpful quality in that they help rid your body of parasites by attacking the parasites and intestinal worms. If you suspect you have parasites or worms, consuming pumpkin seeds is a good idea. However, be sure to take it slow and don’t overdo it.

Cabbage Tonic

Fermented cabbage is very high in vitamin C which is essential for healing a leaky gut. This cabbage tonic can be taken from the beginning of the Intro Diet of GAPS. Use this tonic daily to help change your gut flora.

Kefir

Kefir is a fermented drink made from kefir grains. It’s a bit like a very thin yogurt and has great health benefits!

The great news is, like many fermented drinks, kefir is very easy to make on your own!

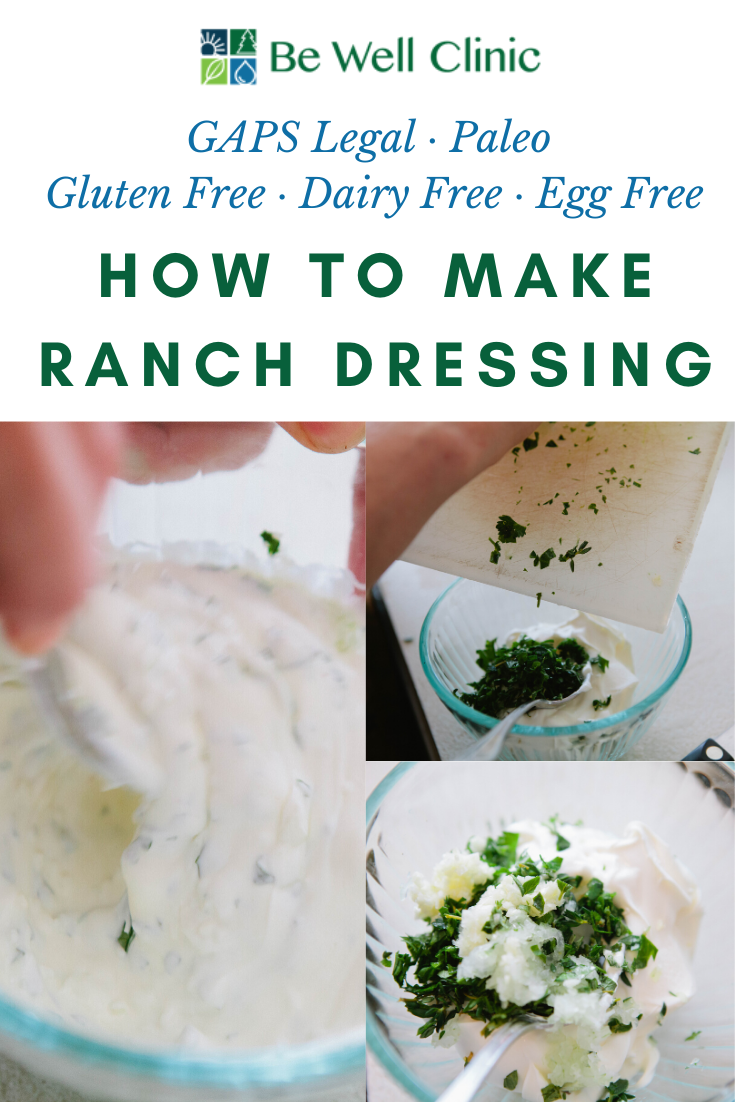
Make Your Own Ranch Dressing

My brother absolutely loves ranch dressing! I have fond memories of it as well but I mostly remember how much he loved it. Making your own ranch dressing is fairly simple and allows you to avoid the undesirable additives like MSG that are commonly found in commercially made condiments. 

Ranch dressing is typically used as a dip and you can definitely dip any number of cut vegetables into this mixture. However, you could also use this delicious blend as an added flavoring for lots of dishes, like on top of a steak, in this Chicken Pot Pie Soup or in this Pumpkin Soup.

Making your own ranch dressing is very easy! You can make it with dried herbs or fresh herbs. It’s GAPS Legal and you can use it as a dressing or as a dip. Recipe by Amy Mihaly, Certified GAPS Practitioner in Colorado.

This is legal on GAPS Stage 5 because of the herbs, even though we’re using fresh herbs. If you’re tolerating dried herbs, you could use a dried Italian Herb mixture. Otherwise, think Italian herbs like thyme, parsely, and oregano. 

Once I’ve mixed everything, I like to return it to the original container. I would suggest making this dressing about an hour before you’re going to use it so that the flavors can meld. If you use it immediately after you mix it, it’s still delicious but not as flavorful.

Ingredients for Making Your Own Ranch Dressing:

  • 7.5 oz Sour Cream or Creme Fraiche

  • Italian Herbs

  • 1 clove garlic

  • 1 tbsp minced onion

  • 5-6 Grinds of Pepper

Directions for Making Your Own Ranch Dressing:

Making your own ranch dressing is very easy! You can make it with dried herbs or fresh herbs. It’s GAPS Legal and you can use it as a dressing or as a dip. Recipe by Amy Mihaly, Certified GAPS Practitioner in Colorado.

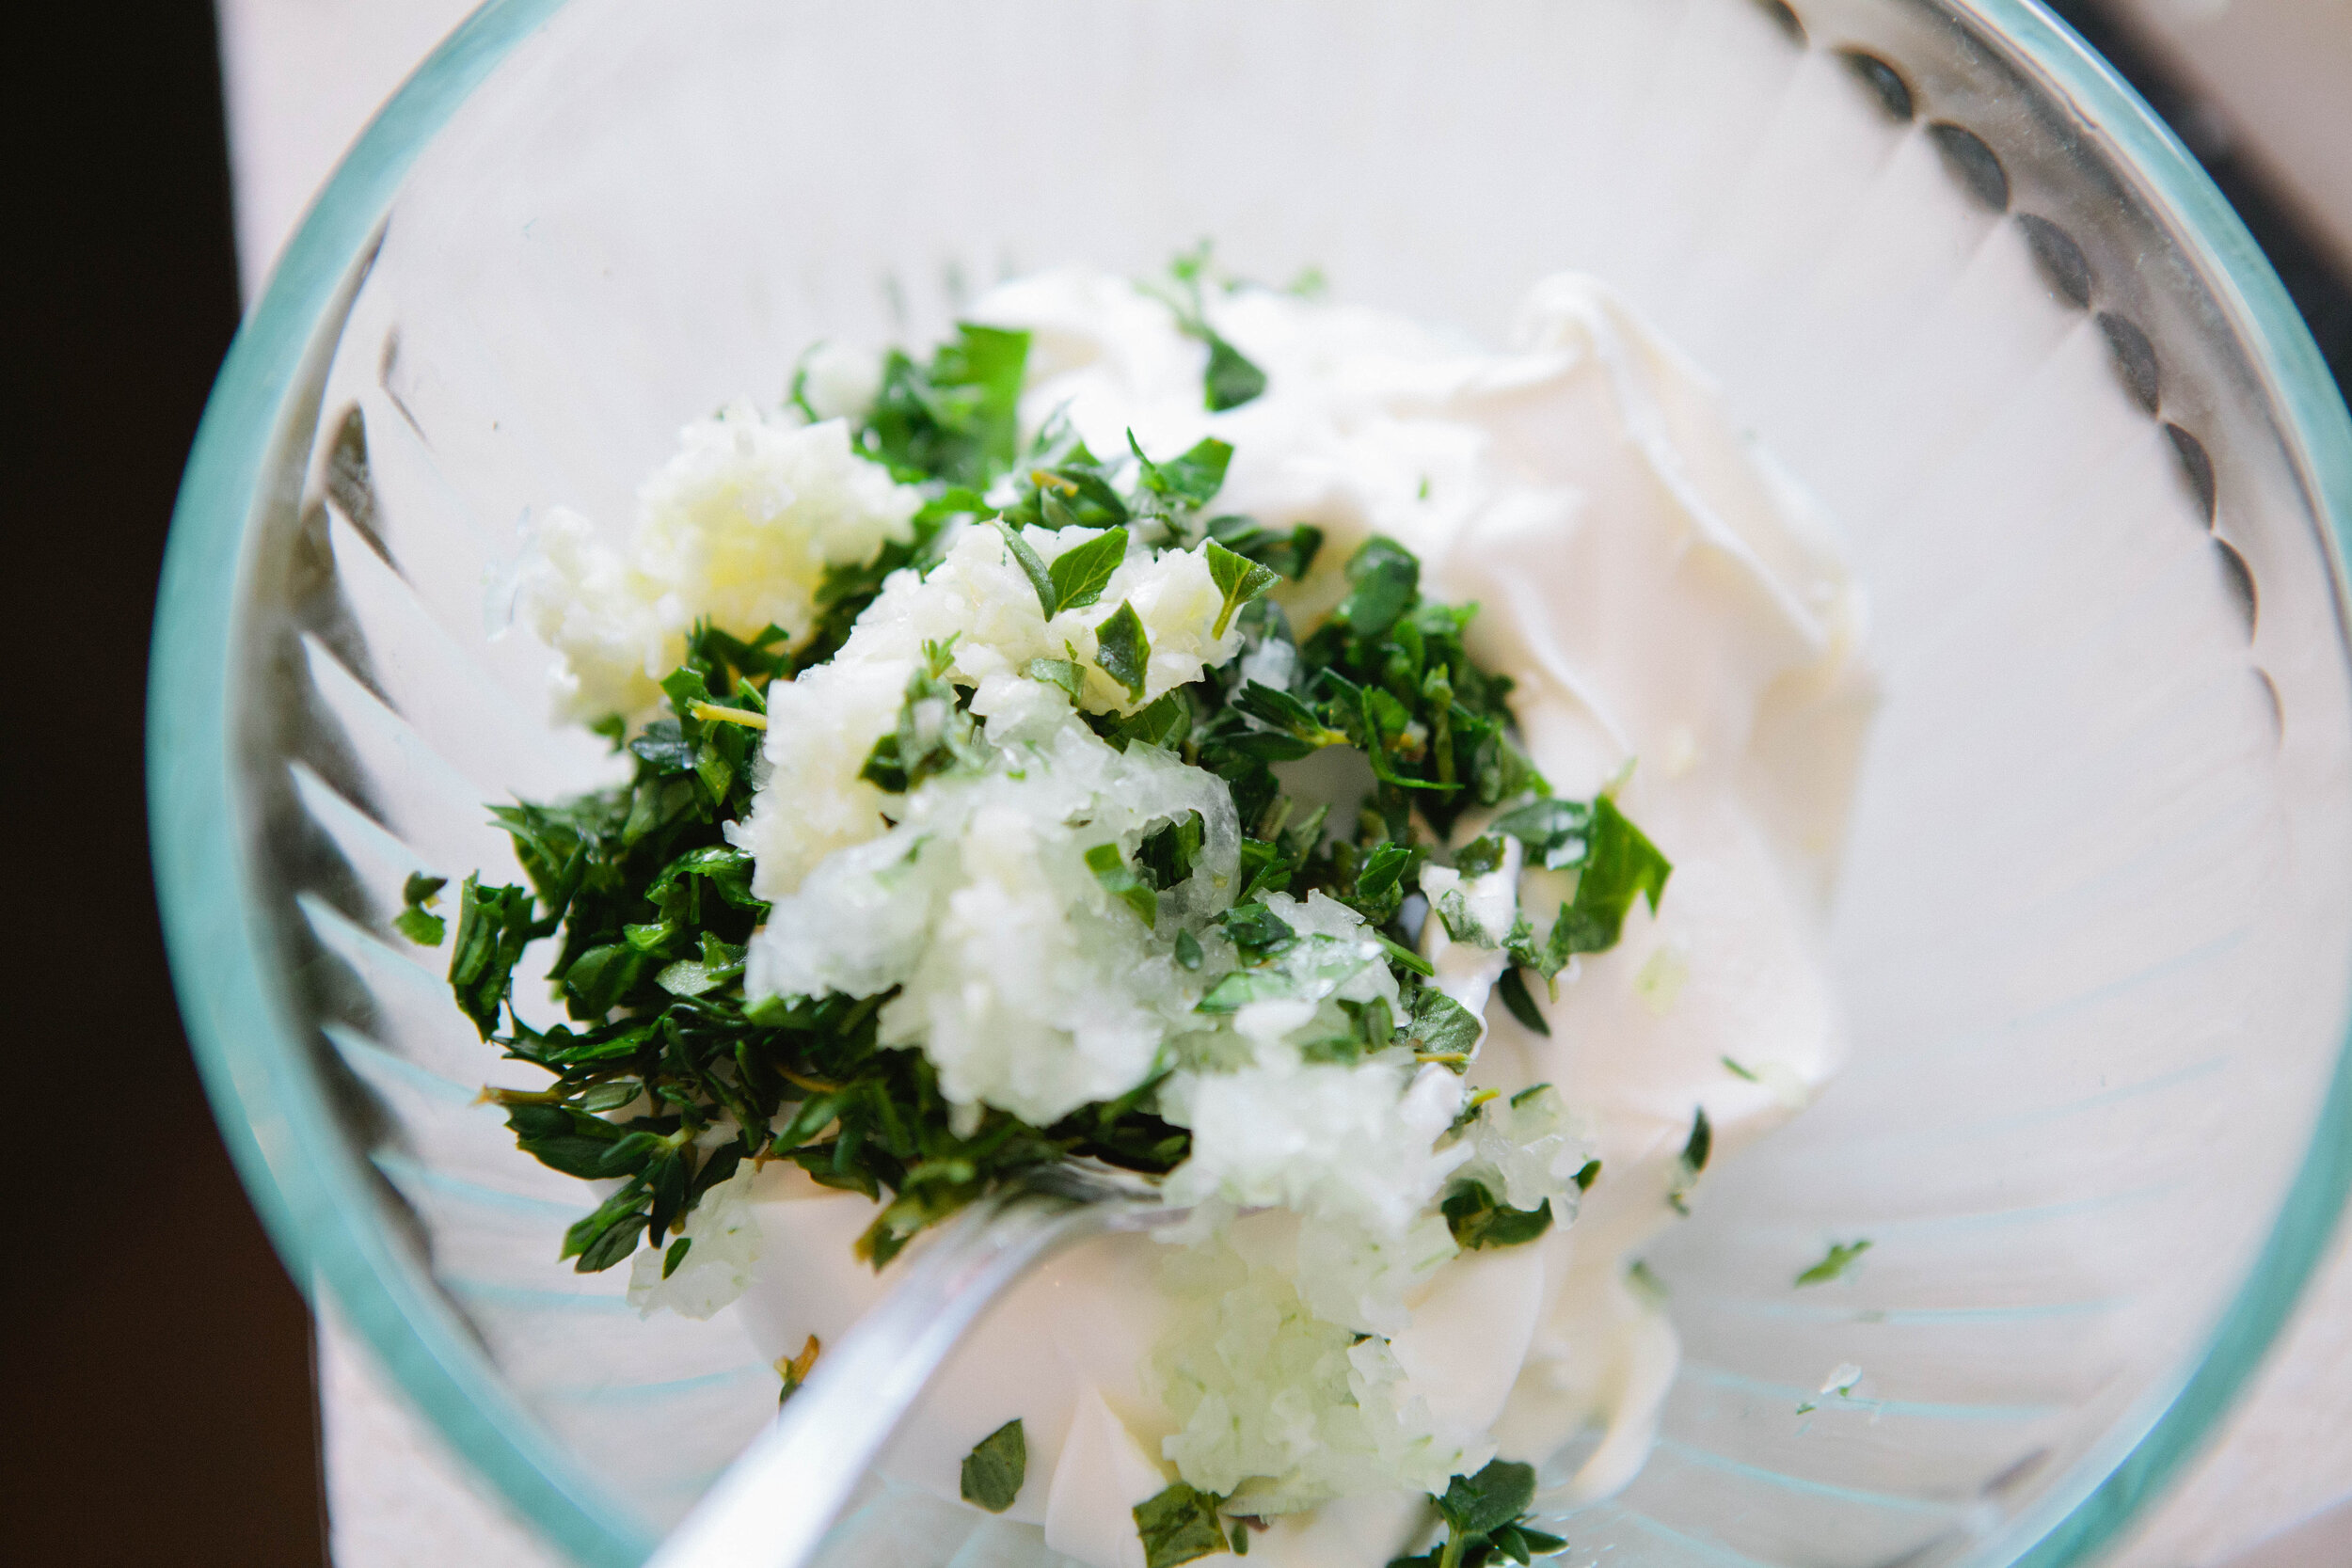
Finely mince garlic, onion and herbs.

Making your own ranch dressing is very easy! You can make it with dried herbs or fresh herbs. It’s GAPS Legal and you can use it as a dressing or as a dip. Recipe by Amy Mihaly, Certified GAPS Practitioner in Colorado.

Add to a bowl with sour cream or creme fraiche. Mix well and enjoy!

Making your own ranch dressing is very easy! You can make it with dried herbs or fresh herbs. It’s GAPS Legal and you can use it as a dressing or as a dip. Recipe by Amy Mihaly, Certified GAPS Practitioner in Colorado.

HowToMakeYourOwnRanchDressing.png

How to Make Your Own Ranch Dressing

Author:
prep time: cook time: total time:

ingredients:

  • 7.5 oz Sour Cream or Creme Fraiche
  • Italian Herbs
  • 1 clove garlic
  • 1 tbsp minced onion
  • 5-6 Grinds of Pepper

instructions:

How to cook How to Make Your Own Ranch Dressing

  1. Finely mince garlic, onion and herbs.
  2. Add to a bowl with sour cream or creme fraiche.
  3. Mix well and enjoy!
  4. I would suggest making this dressing about an hour before you’re going to use it so that the flavors can meld. If you use it immediately after you mix it, it’s still delicious but not as flavorful.
Created using The Recipes Generator

Making Your Own Kefir from Milk Kefir Grains

Kefir is a fermented drink made from kefir grains. It’s a bit like a very thin yogurt and has great health benefits!

The great news is, like many fermented drinks, kefir is very easy to make on your own!

IMG_5046.jpg

Kefir grains are very sensitive to metal so it is best if you use little to no metal when you’re preparing this recipe.

If you use a dishwasher, rinse your bowl thoroughly before using to ensure there is no detergent residue on it. 

You will need:

  • A strainer (preferably not metal)

  • A jar to put your kefir in

  • A bowl

Ingredients for Kefir

  • Fresh Milk (raw or freshly repasteurized, depending on what your grains are used to)

  • Kefir with Grains, 4 to 5 healthy grains will make a pint 

Directions for Kefir

IMG_5035.jpg

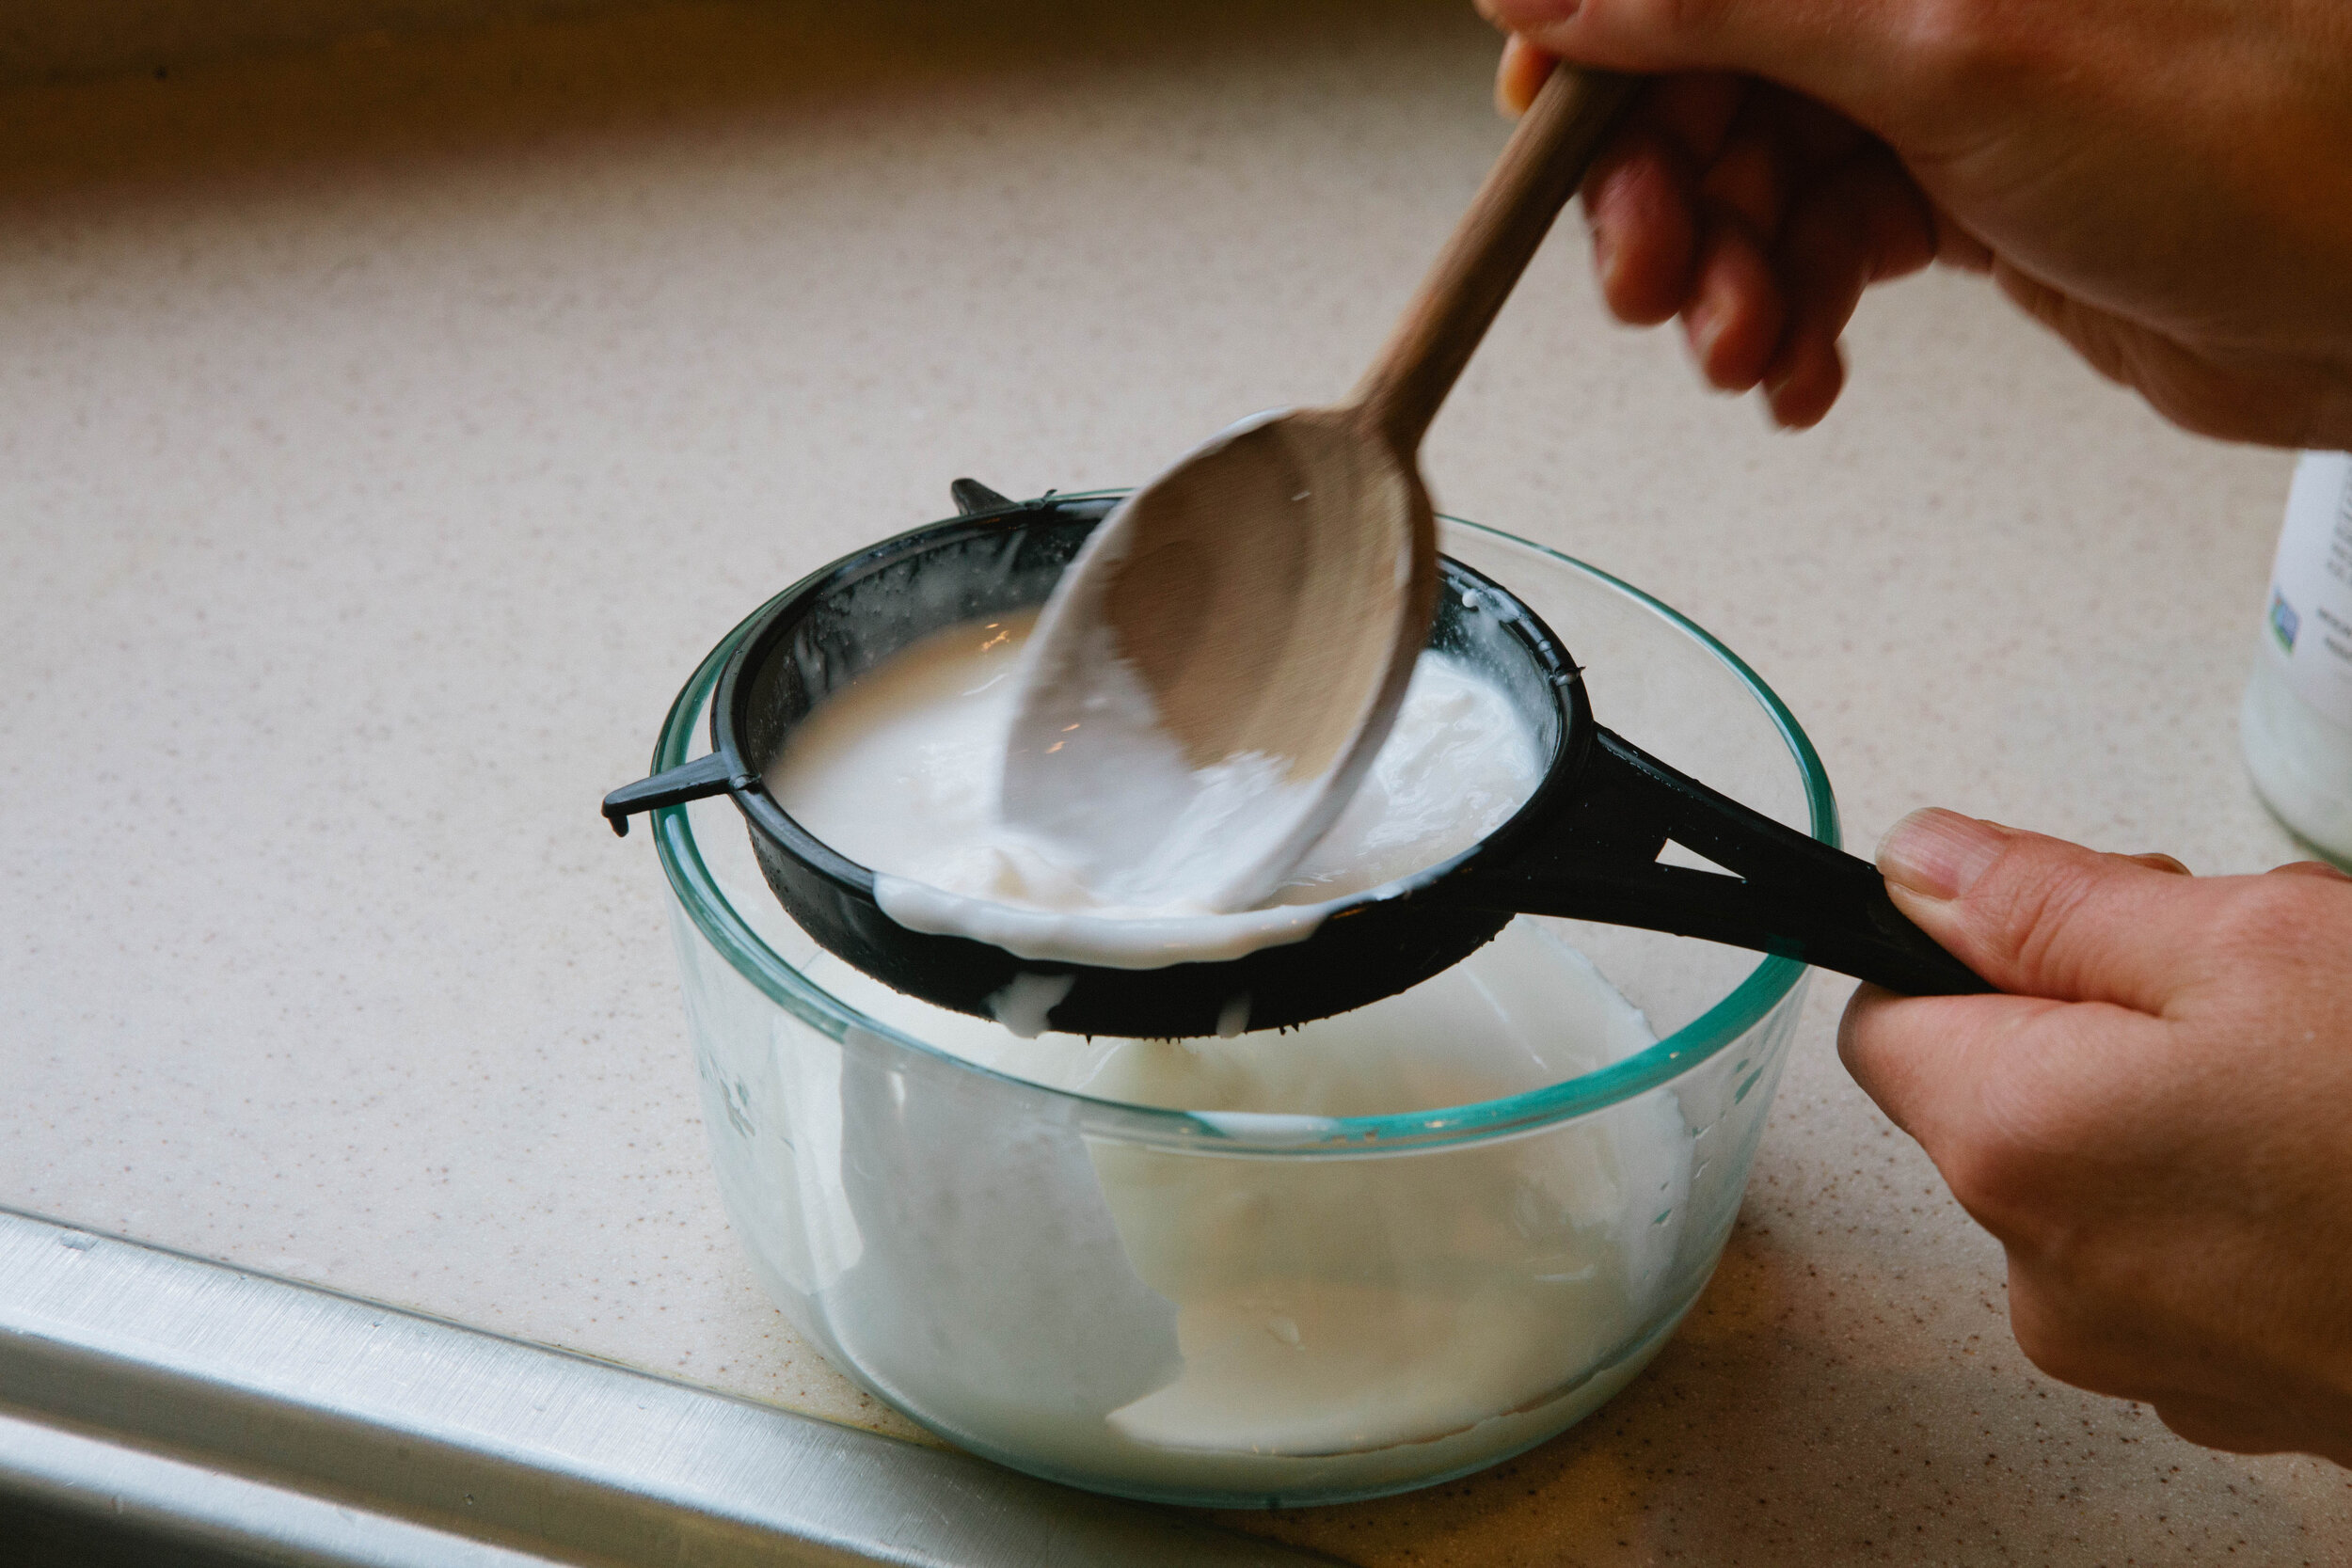
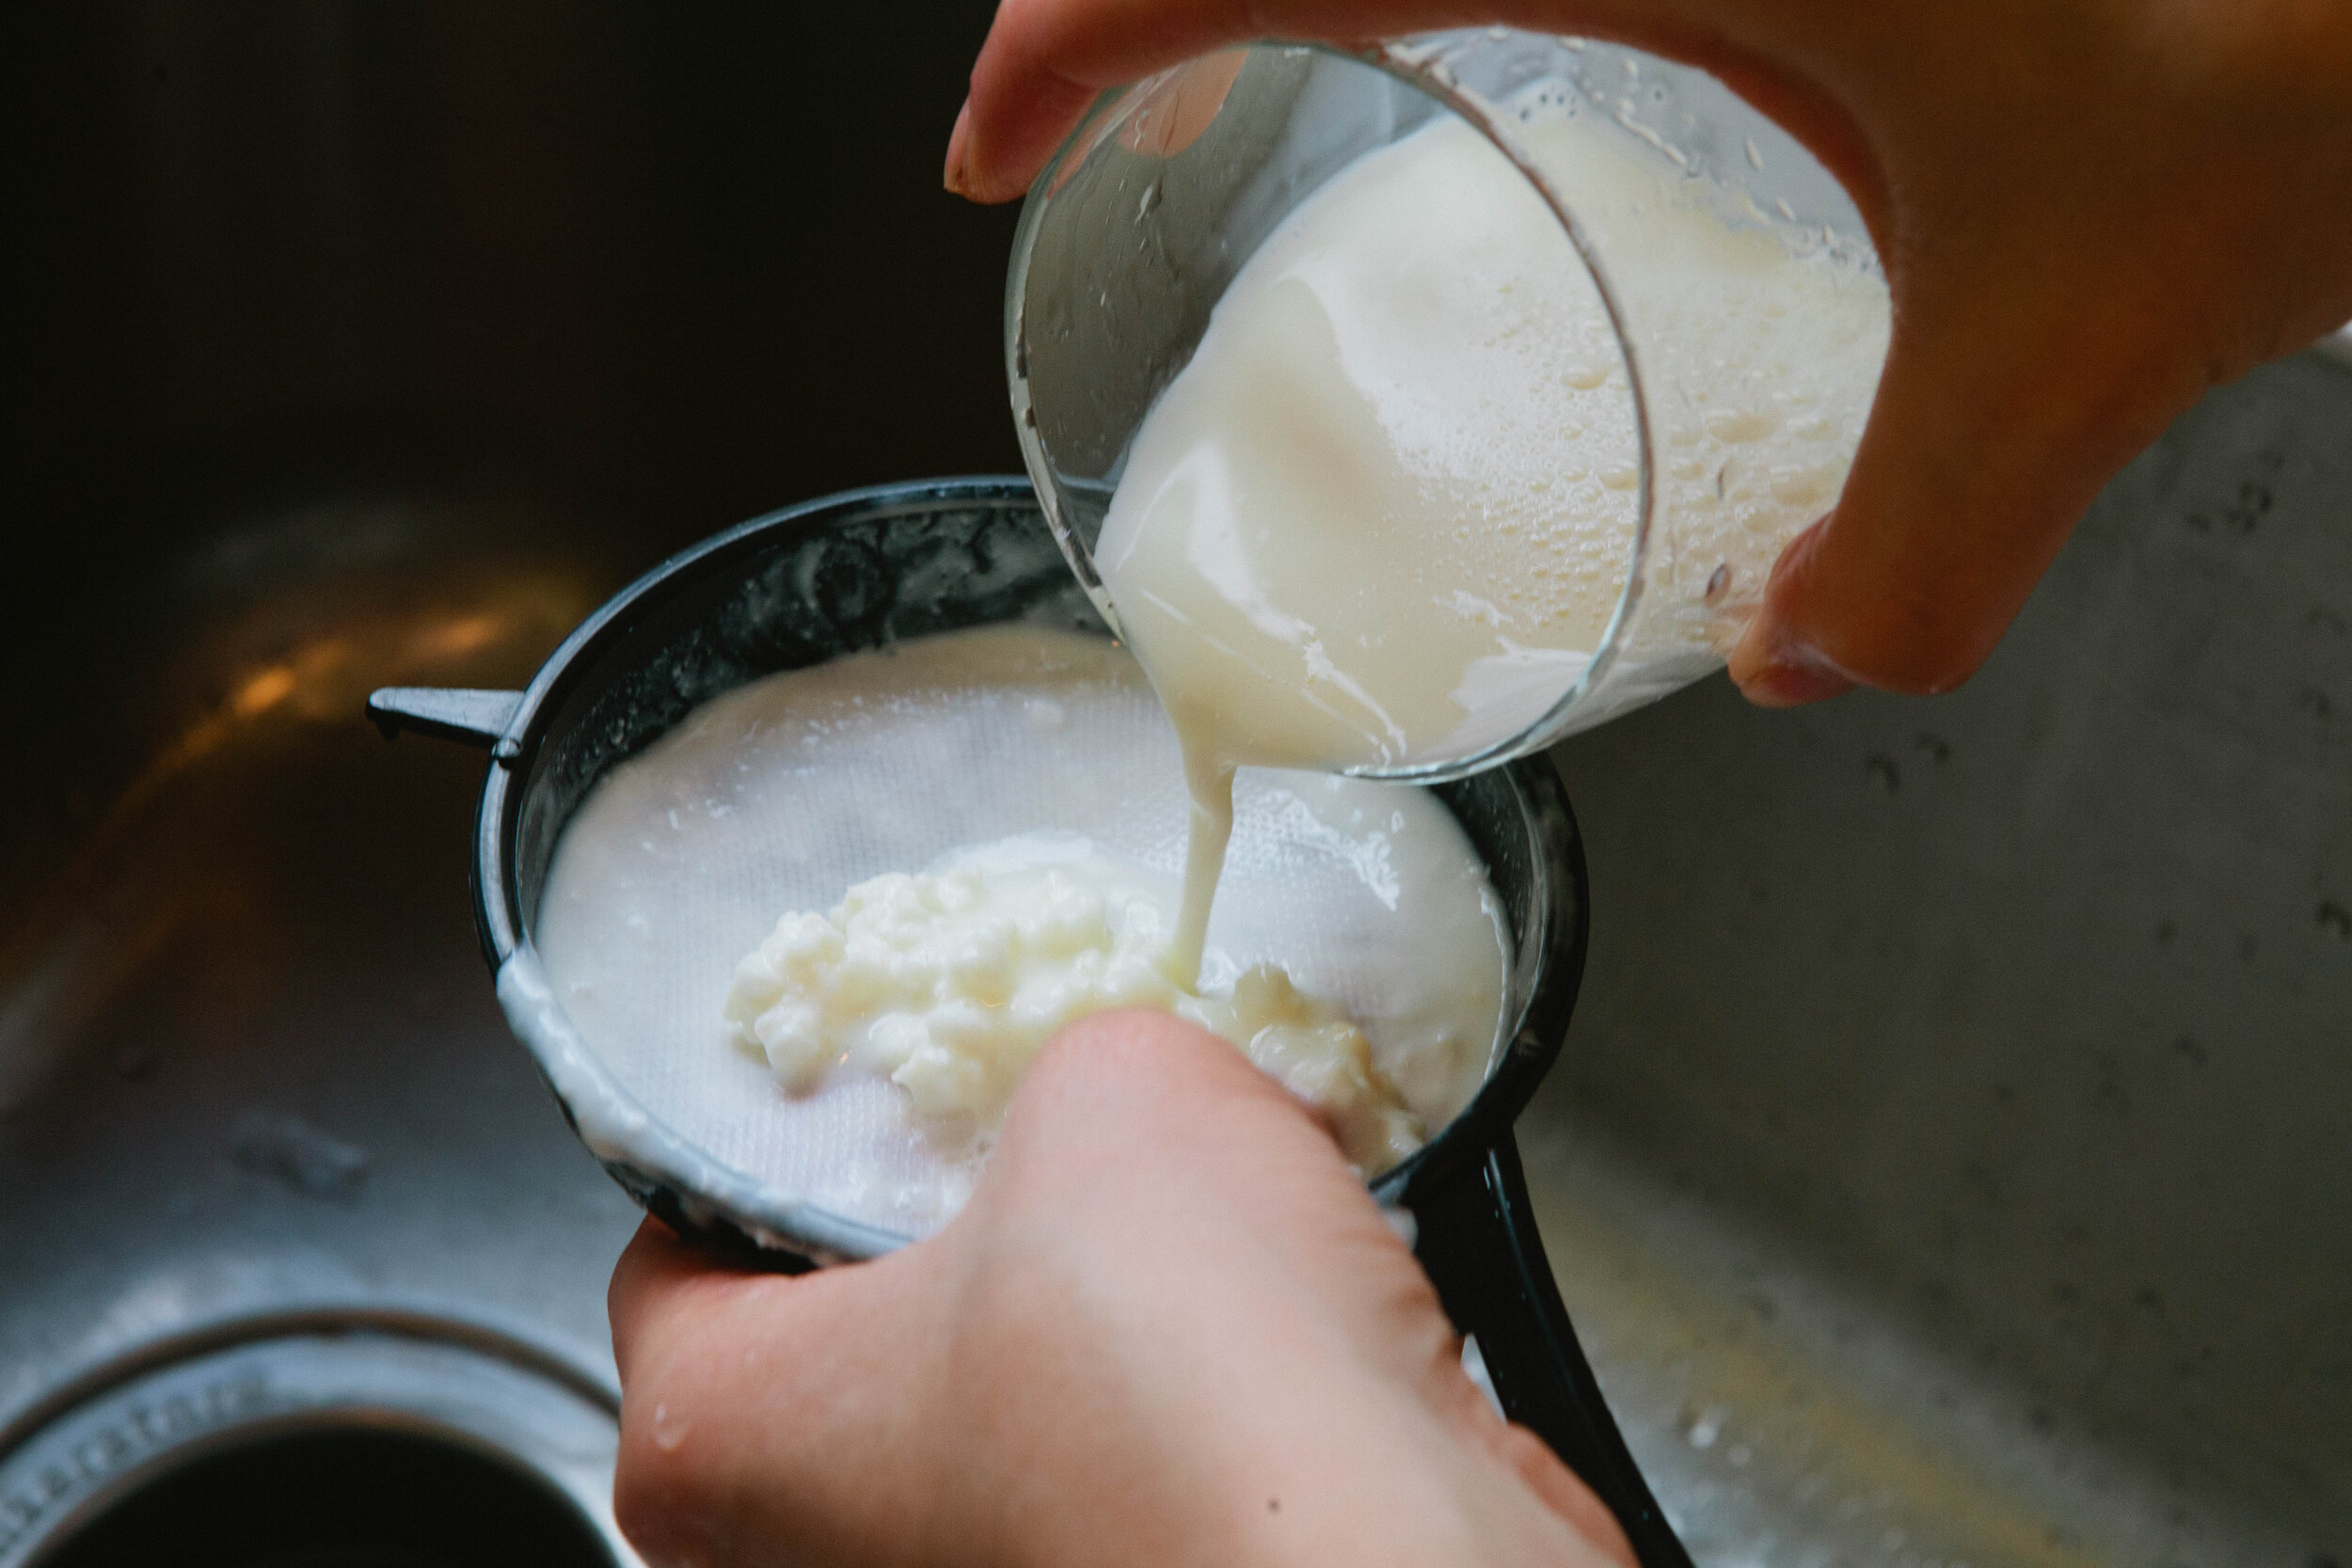
Separate kefir grains from kefir by pouring into a non metal strainer. Gently separate the kefir from the grains with a non metal spoon. Don’t push too hard - be very gentle! 

IMG_5037.jpg

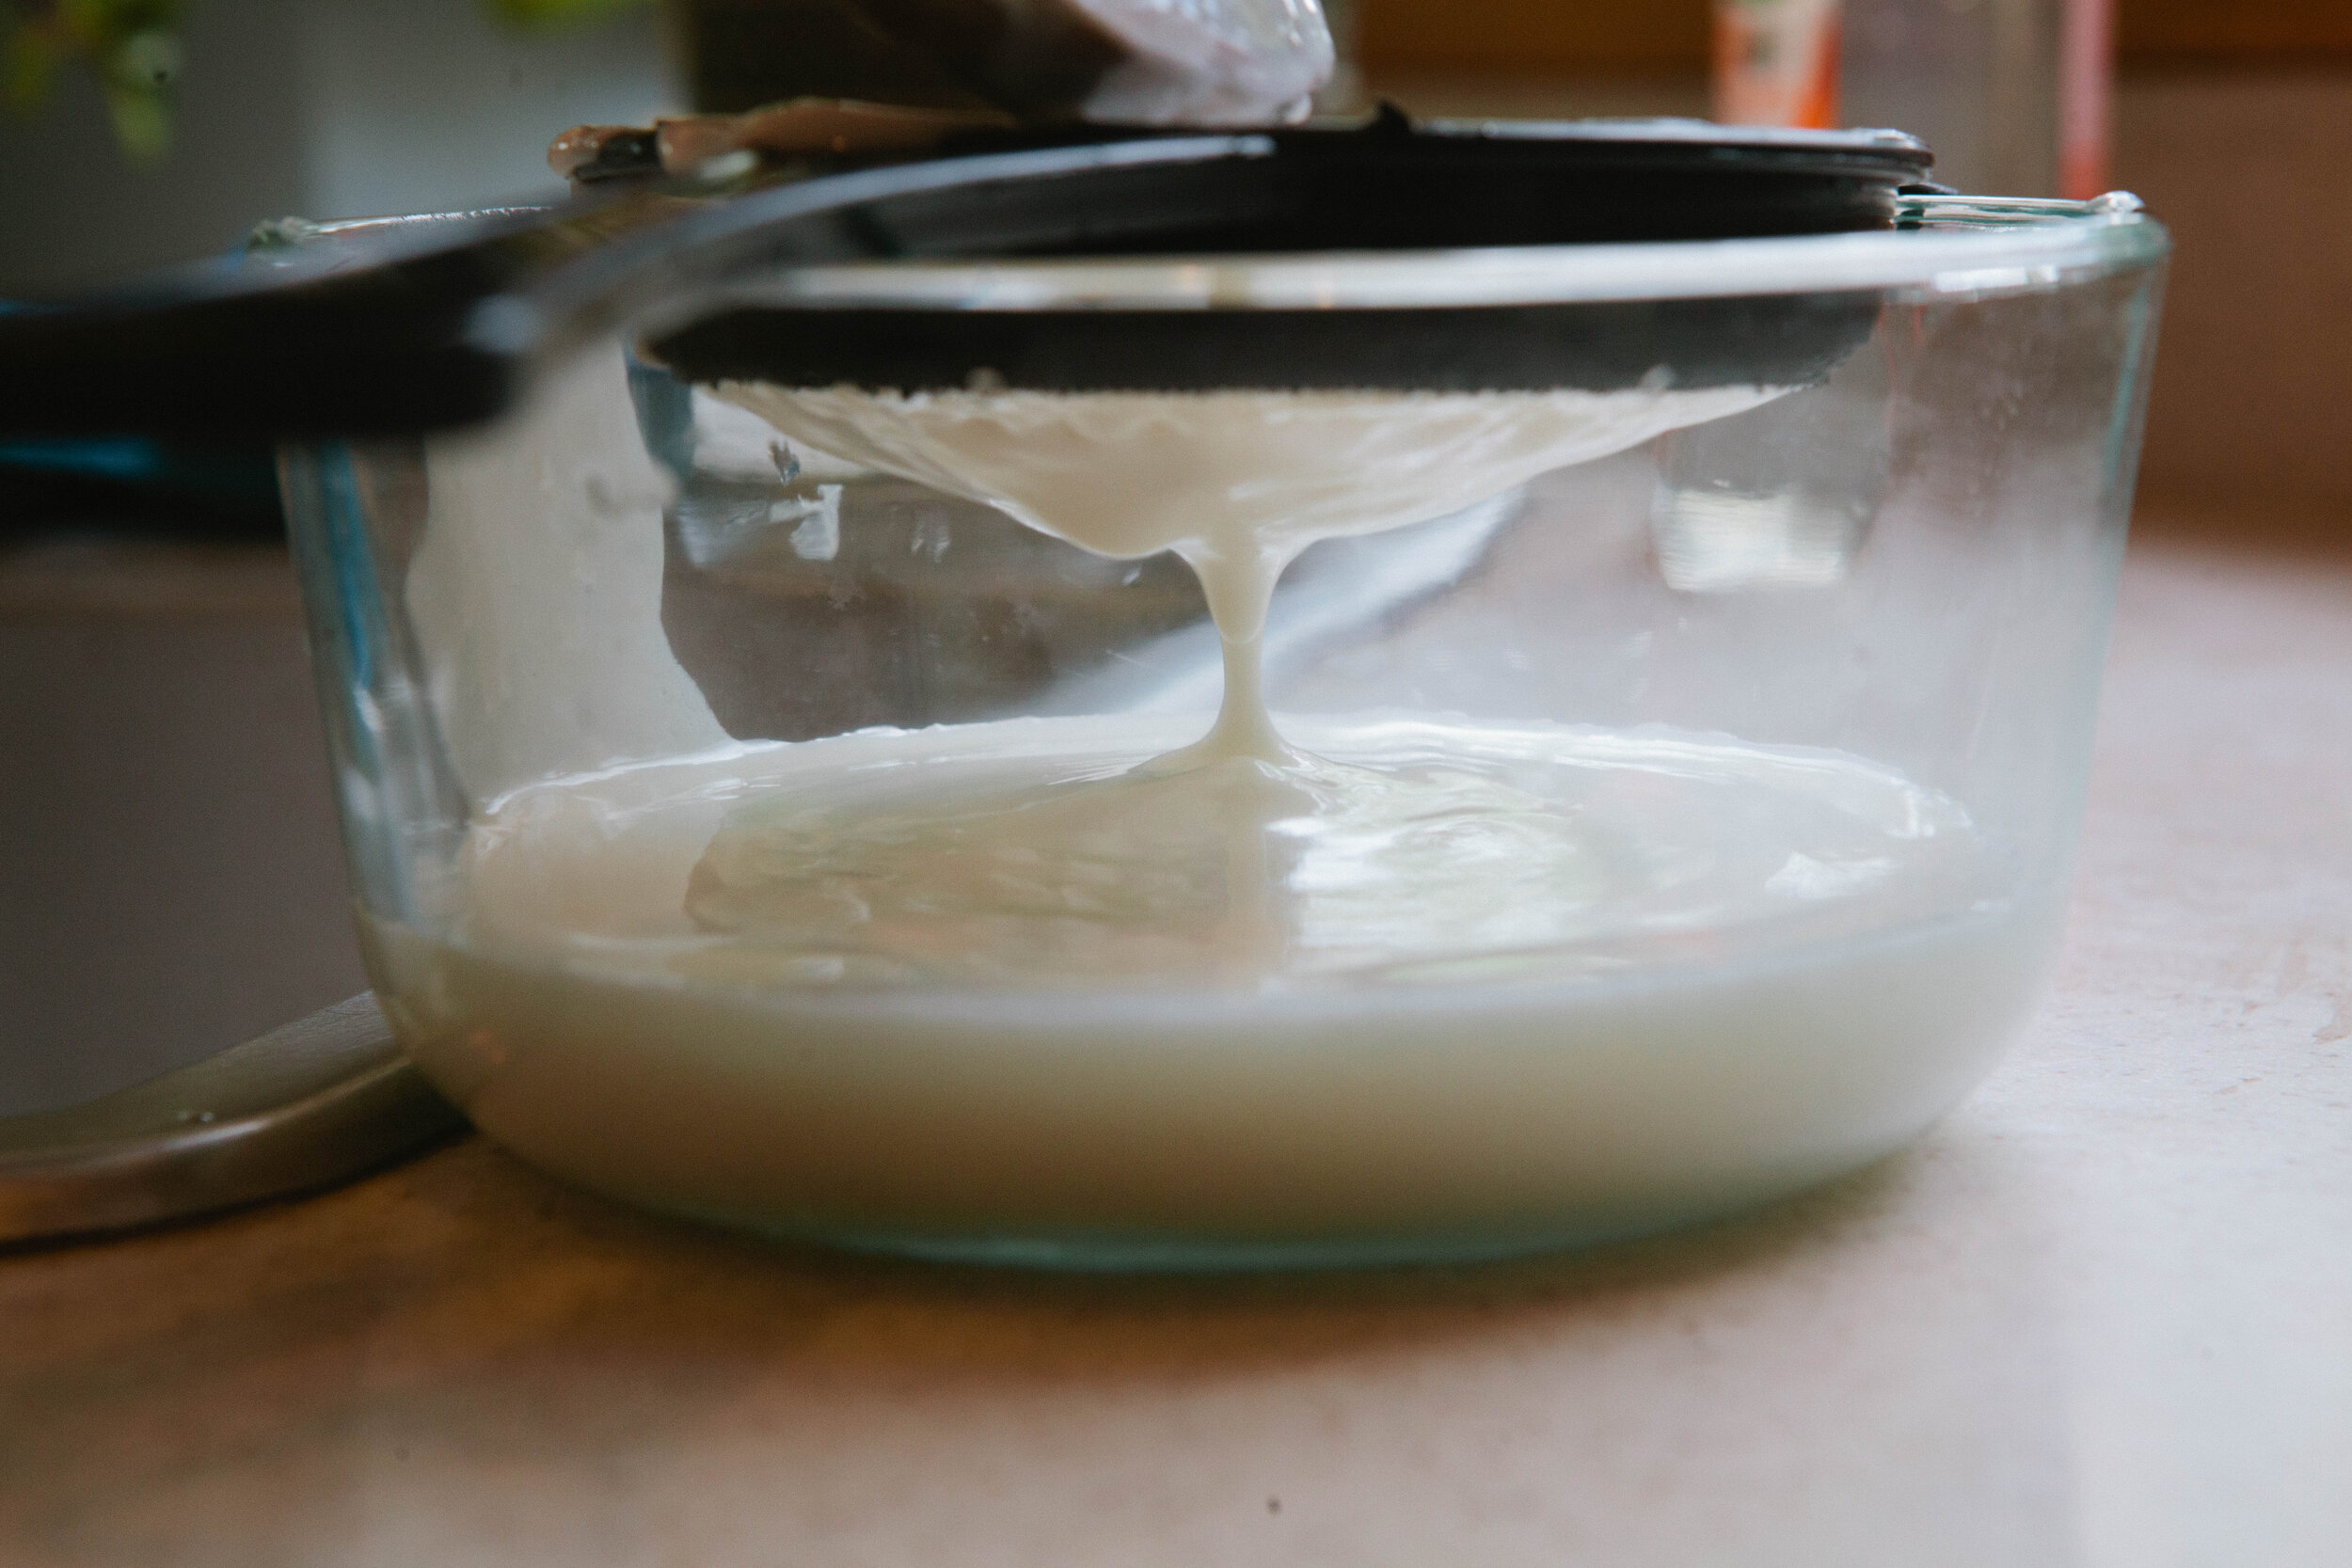
What falls below is your kefir. What stays in the strainer is the kefir grains. 

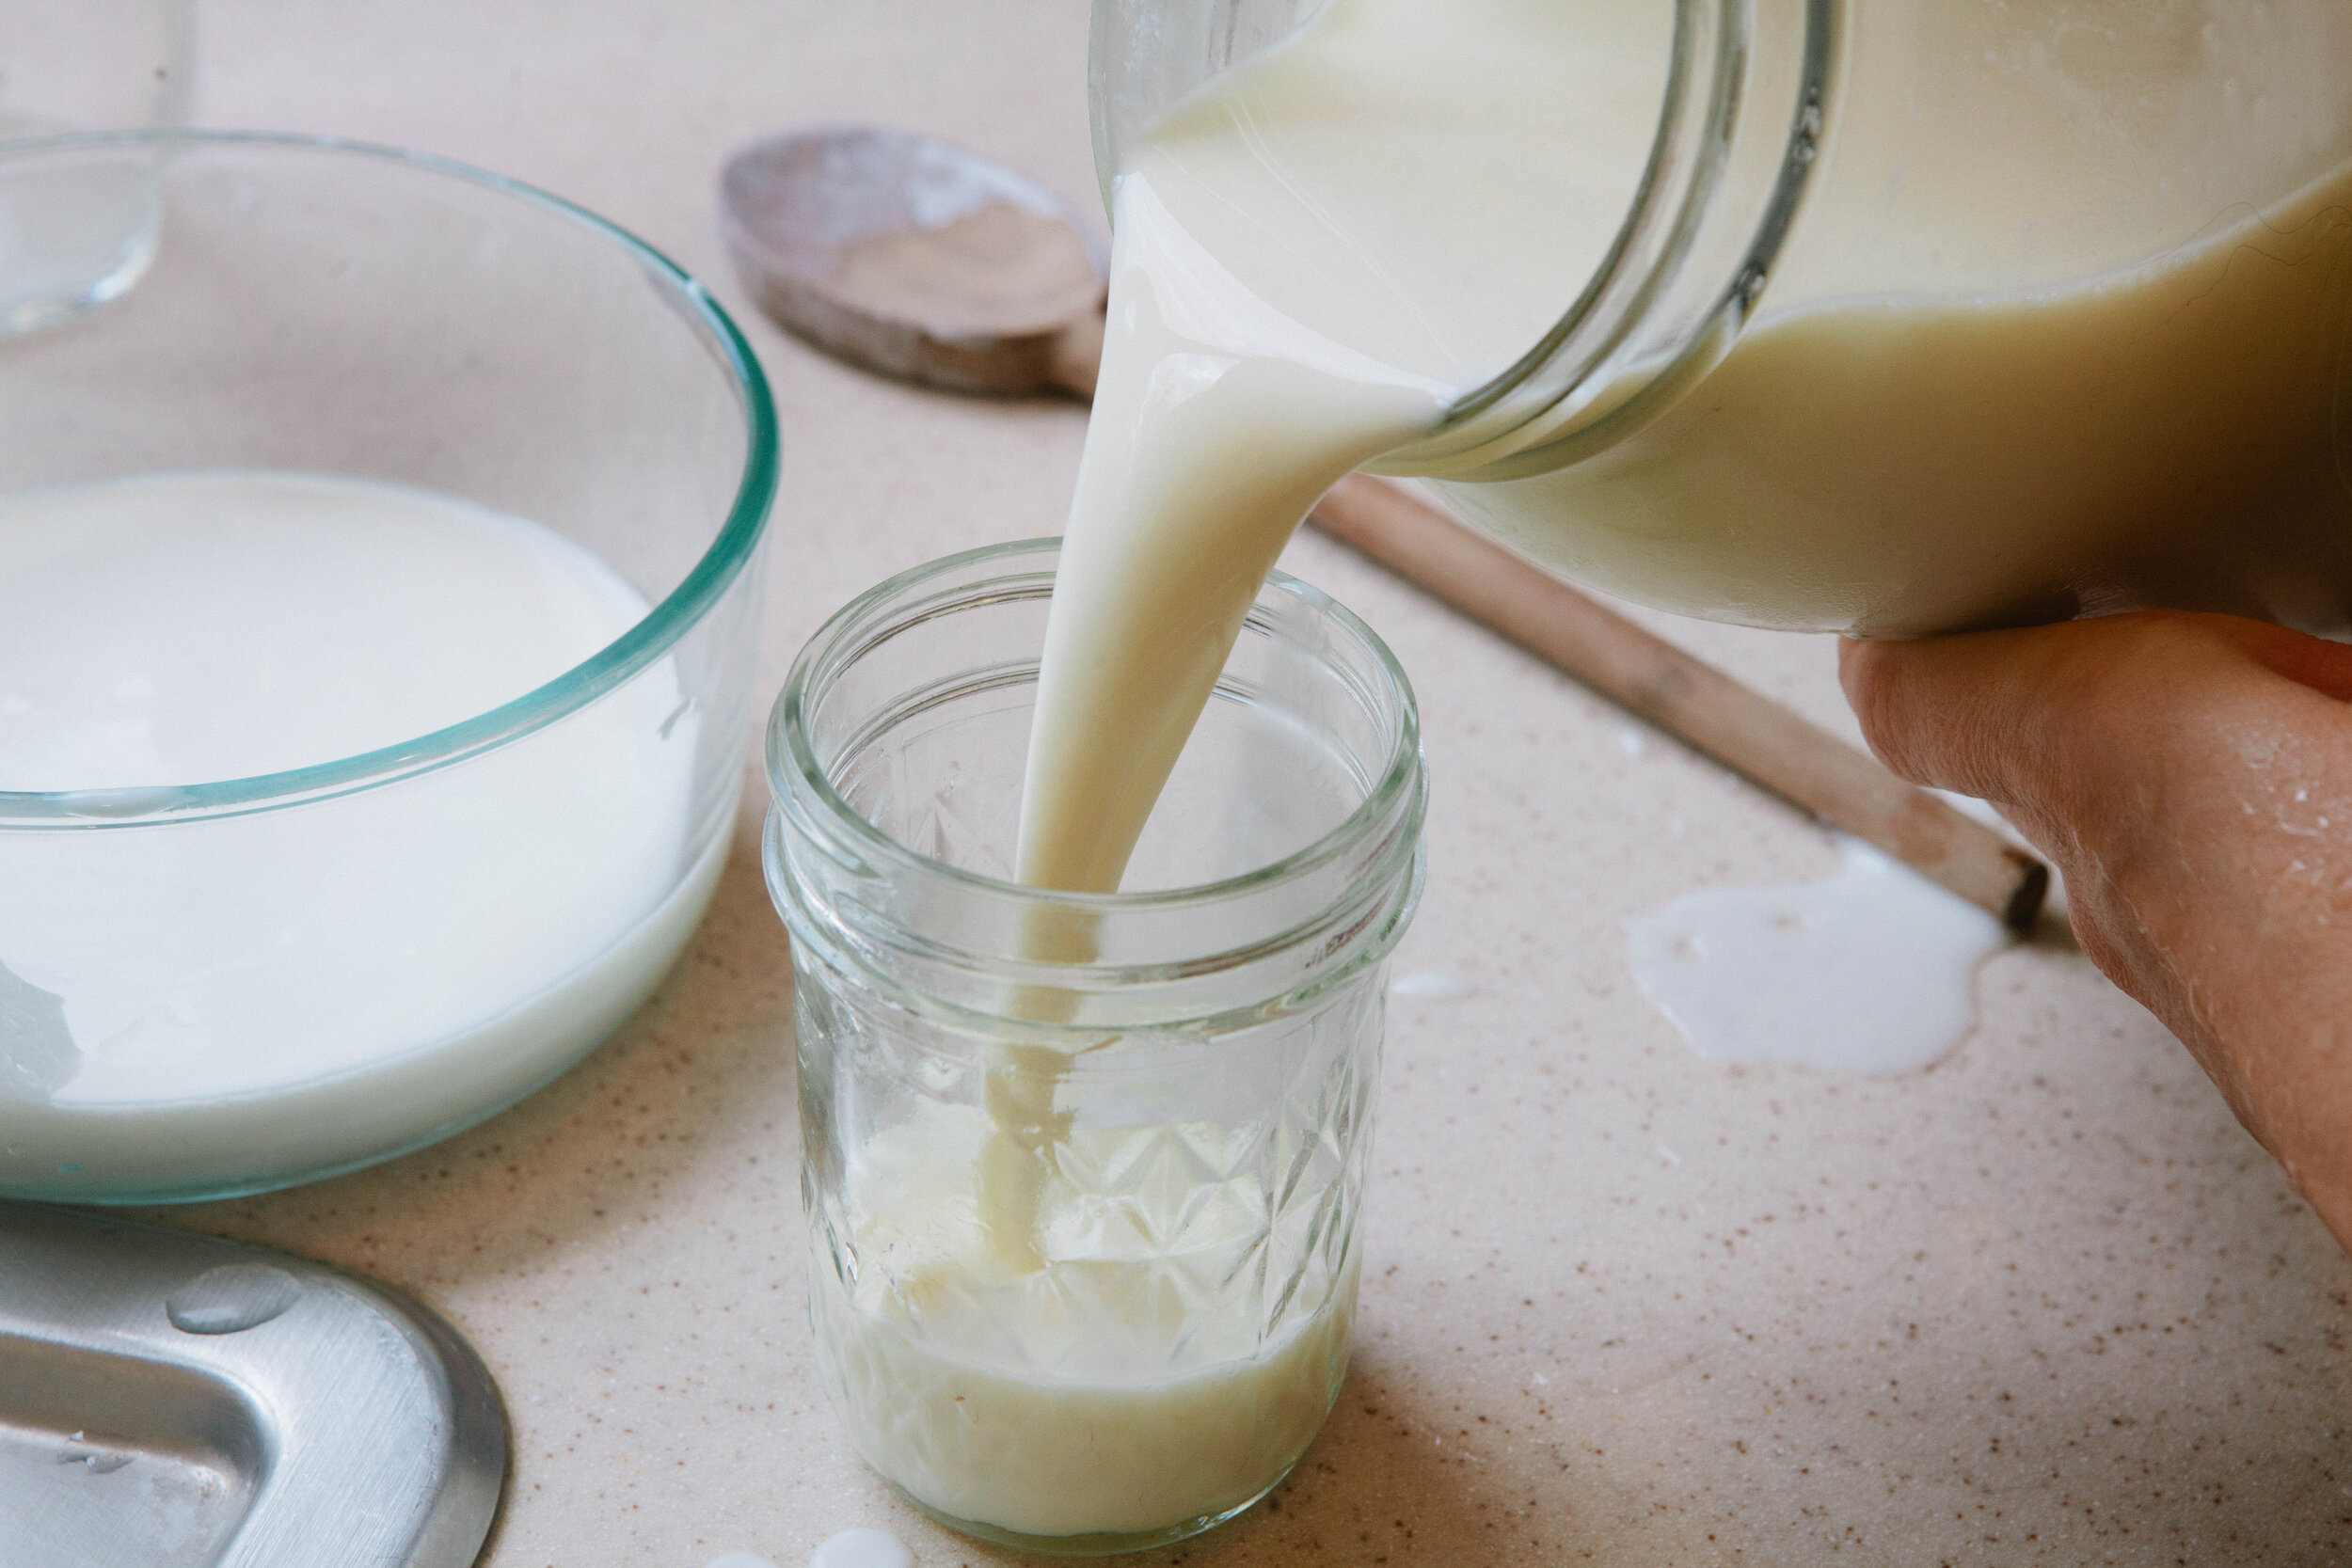
Leave out on the counter for about 24 hours to ferment. After 24 hours, put the grains into milk into the fridge. OR if you are not needing so much kefir, store it in the fridge directly.

IMG_5056.jpg

If you store the kefir in the fridge, continue to feed your kefir in the fridge. It takes about two to three weeks before you need to feed it again by changing the milk.

You can use the kefir itself to make kefir cream.

Enjoy!

Making Your Own Kefir

prep time: cook time: total time:

ingredients:

  • Fresh Milk (raw or freshly repasteurized, depending on what your grains are used to)
  • Kefir with Grains, 4 to 5 healthy grains will make a pint

instructions:

How to cook Making Your Own Kefir

  1. Separate kefir grains from kefir by pouring into a non metal strainer. Gently separate the kefir from the grains with a non metal spoon. Don’t push too hard - be very gentle!
  2. What falls below is your kefir. What stays in the strainer is the kefir grains.
  3. Leave out on the counter for about 24 hours to ferment. After 24 hours, put the grains into milk into the fridge. OR if you are not needing so much kefir, store it in the fridge directly.
  4. If you store the kefir in the fridge, continue to feed your kefir in the fridge. It takes about two to three weeks before you need to feed it again by changing the milk.
  5. You can use the kefir itself to make kefir cream.
  6. Enjoy!
Created using The Recipes Generator
40.png

How to Make Sauerkraut - DIY Sauerkraut

Fermented cabbage is very high in vitamin C which is essential for healing a leaky gut. Vitamin C is anti-inflammatory and immune boosting.

While good quality sauerkraut can be obtained in most stores now, I still prefer to make my own as I think it tastes the best. I put a lot of love and anticipation into my sauerkraut, as I don’t eat it until it has been fermenting for at least three months.

Making your own sauerkraut is very cost effective if you are eating on a budget. Not only are you making it for pennies, fermenting vegetables increases the bioavailability of nutrients, making this a ‘food hack.’

I used to cut my cabbage in a food processor but I feel that all time considered, including clean up time, it’s actually faster to cut it yourself. Plus, I like touching the cabbage myself instead of letting a machine cut it.

Sauerkraut works anaerobically, meaning it does not require oxygen. Any vegetable that is above the level of the water can grow mold or undesirable bacteria strains.

I do my sauerkraut in one quart jars because I prefer to open a smaller amount at a time. You can use any size jar that you want. An open jar in the fridge will keep for six months to a year. If kept at cooler temperatures, unopened, like in a root cellar or in the fridge, sauerkraut will keep for two or more years.

You can add whey to your cabbage to make the sauerkraut. Not using whey is called wild fermentation. It allows for different bacteria to grow than using a dairy based whey. I prefer to make my sauerkraut without whey.

With all ferments, variety is key. Using both whey and simply salt to make your ferments provides good variety in your diet.

Ingredients for Making Your Own Sauerkraut:

  • 1 Medium Cabbage

  • 2 tbsp Salt

  • Filtered Water

Directions for Making Your Own Sauerkraut:

Remove and rinse outside leaves and reserve them for the tops of your jars to keep the vegetables from coming up the level of the water.

how-to-make-your-own-sauerkraut-how-to-make-my-own-sauerkraut-diy-sauerkraut-making-sauerkraut-cabbage-recipes-what-to-do-with-too-much-cabbage-gaps-diet-fermented-foods-gaps-protocol-northern-colorado-gaps-practitioner-certified-gaps-practitioner-l…

Slice cabbage into slivers. As you slice it, keep turning it to keep yourself safe and keep your cabbage evenly sized.

how-to-make-your-own-sauerkraut-how-to-make-my-own-sauerkraut-diy-sauerkraut-making-sauerkraut-cabbage-recipes-what-to-do-with-too-much-cabbage-gaps-diet-fermented-foods-gaps-protocol-northern-colorado-gaps-practitioner-certified-gaps-practitioner-l…

Add a little bit of salt and massage with your hands for a few minutes. The salt starts breaking down the cell walls of the cabbage, which will save you from having to beat the cabbage a lot.

After you have massaged your cabbage, let it sit for 10 - 15 minutes.

how-to-make-your-own-sauerkraut-how-to-make-my-own-sauerkraut-diy-sauerkraut-making-sauerkraut-cabbage-recipes-what-to-do-with-too-much-cabbage-gaps-diet-fermented-foods-gaps-protocol-northern-colorado-gaps-practitioner-certified-gaps-practitioner-l…

Knead your cabbage again.

how-to-make-your-own-sauerkraut-how-to-make-my-own-sauerkraut-diy-sauerkraut-making-sauerkraut-cabbage-recipes-what-to-do-with-too-much-cabbage-gaps-diet-fermented-foods-gaps-protocol-northern-colorado-gaps-practitioner-certified-gaps-practitioner-l…

Once you have kneaded your cabbage to the desire texture, fill your jars. It’s best to continue kneading until you can squeeze a little bit of water from the cabbage.
Fermenting cabbage produces a decent amount of gas, Make sure to leave head room in your jars to accommodate. This means lightly packing cabbage into your jar, about ¾ full.

Add water to just under the shoulder of the jar.

Sometimes cabbage produces enough liquid while it's fermenting. If it doesn’t feel free to add more liquid.

how-to-make-your-own-sauerkraut-how-to-make-my-own-sauerkraut-diy-sauerkraut-making-sauerkraut-cabbage-recipes-what-to-do-with-too-much-cabbage-gaps-diet-fermented-foods-gaps-protocol-northern-colorado-gaps-practitioner-certified-gaps-practitioner-l…

Top your sauerkraut off with a whole cabbage leaf, packing it along the sides of the jar to keep all the vegetables below the level of the liquid.

how-to-make-your-own-sauerkraut-how-to-make-my-own-sauerkraut-diy-sauerkraut-making-sauerkraut-cabbage-recipes-what-to-do-with-too-much-cabbage-gaps-diet-fermented-foods-gaps-protocol-northern-colorado-gaps-practitioner-certified-gaps-practitioner-l…

Seal with a two piece lid.

Leave on your counter. No need to burp this ferment! This process works anaerobically, without oxygen. If your jars burp, overflow or explode, you simply packed your jar too tight with vegetables.

47.png

GAPS Friendly Waffle Recipe

Recently the idea struck me to try to make a GAPS waffle. I had made many GAPS pancakes, so I thought maybe it could be done. And it turns out... it can! It was not a simple task, however.

The ratios are fairly different than a GAPS pancake... for one thing, putting in too many eggs caused it to overflow and made quite a mess. But after some trial and error I found a recipe that is delicious, and delivered consistent results (which is a big deal when cooking without flour).

I was also excited to make this a dairy-free recipe (except for the whey). Unfortunately, I can't make it nut free, the almond butter is essential! I hope you enjoy them!

GAPS Friendly Waffles

(makes about 8 waffle squares or 2 full-size waffles)

GAPs legal waffle Batter Ingredients

  • 1 cup cooked butternut squash

  • 4 TBS fermented almond butter (see note)

  • 1 TBS melted lard

  • 2 eggs

  • ¼ tsp sea salt

Additional Ingredients

  • About ¼ cup melted lard or butter to grease the waffle iron

Tools for gaps legal waffles

  • Food processor or high-powered blender

  • Waffle iron

  • Chopsticks (this is very helpful to get the waffles off in one piece)

Directions for gaps legal waffles

This recipe is quick to put together if you do a little prep work first!

Prep the Fermented Almond Butter:
At least 24 hours in advance, ferment the almond butter. Add 2 TBS whey to 1 cup almond butter. Stir. Leave at room temperature for 24 hours. This will keep in the fridge for at least 2 weeks.

Prep the Butternut Squash:
Cut the butternut squash in half and place face down on a baking sheet lined with parchment paper. Bake at 350 degrees for 35-45 min until soft. Remove the squash flesh and place in a bowl.

For the GAPS Waffles:
Combine all ingredients in a food processor and blend until very smooth and mixed.

gaps-legal-waffles-how-to-make-waffles-for-the-gaps-diet-paleo-waffles-butternut-squash-waffles-how-to-make-waffles-gaps-legal-waffle-recipe-waffles-for-the-gaps-protocol-healing-gut-waffles

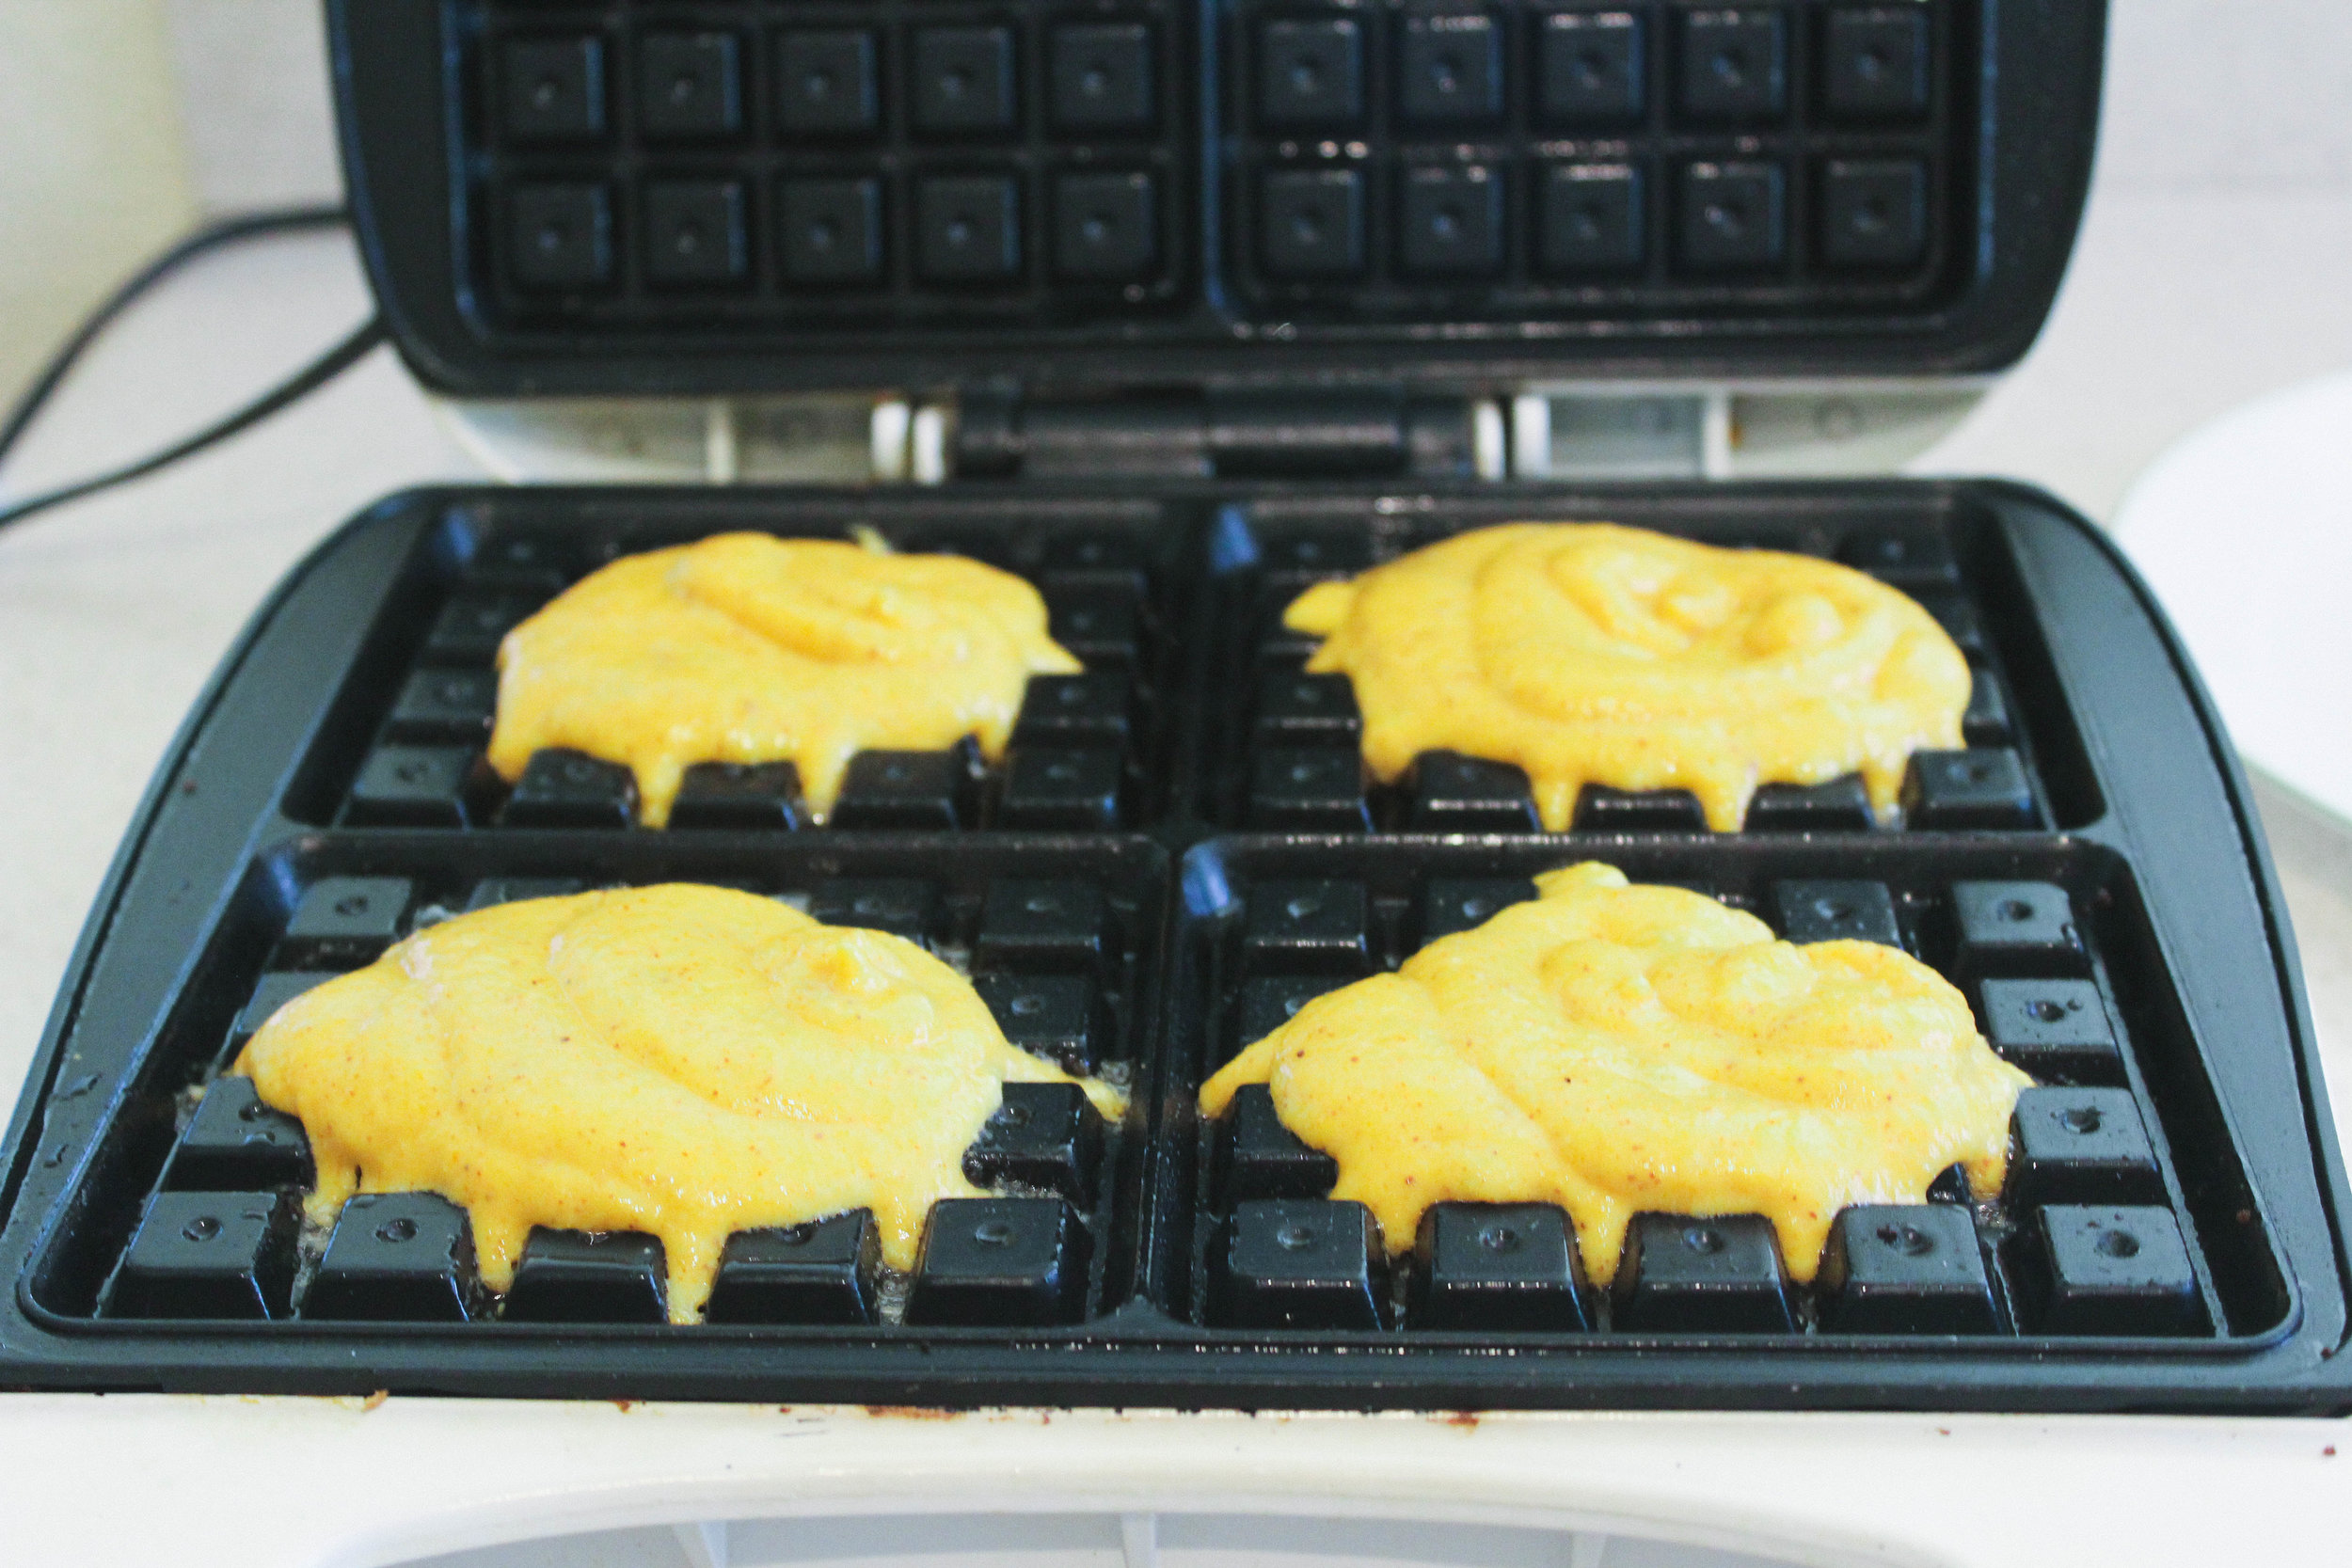
I recommend pouring the mixture into a bag and using it like a pastry bag. The more quickly you can get the waffle batter on the iron and close the lid, the better it turns out!

gaps-legal-waffles-how-to-make-waffles-for-the-gaps-diet-paleo-waffles-butternut-squash-waffles-how-to-make-waffles-gaps-legal-waffle-recipe-waffles-for-the-gaps-protocol-healing-gut-waffles

When everything is ready, and the waffle iron is hot, use the pastry brush to spread fat on the upper and lower waffle irons. Do this as quickly as possible.

Add batter to the waffle iron, then close the lid.

gaps-legal-waffles-how-to-make-waffles-for-the-gaps-diet-paleo-waffles-butternut-squash-waffles-how-to-make-waffles-gaps-legal-waffle-recipe-waffles-for-the-gaps-protocol-healing-gut-waffles

There is a lot of moisture in this recipe, so expect a lot of steam!

Wait for the green light to go on, and then another 30 seconds or so.

Slowly open the waffle iron.

gaps-legal-waffles-how-to-make-waffles-for-the-gaps-diet-paleo-waffles-butternut-squash-waffles-how-to-make-waffles-gaps-legal-waffle-recipe-waffles-for-the-gaps-protocol-healing-gut-waffles

Remove the waffles from the iron, using the chopstick in the groves in any areas it is sticking.Top with fried eggs, honey, date syrup, berries, homemade whipped cream, or anything you want to!

gaps-legal-waffles-how-to-make-waffles-for-the-gaps-diet-paleo-waffles-butternut-squash-waffles-how-to-make-waffles-gaps-legal-waffle-recipe-waffles-for-the-gaps-protocol-healing-gut-waffles

Enjoy!


GAPS Friendly Waffle Recipe

Author:
prep time: cook time: total time:

ingredients:

Waffle Batter Ingredients
  • 1 cup cooked butternut squash
  • 4 TBS fermented almond butter (see note)
  • 1 TBS melted lard
  • 2 eggs
  • ¼ tsp sea salt
Additional Ingredients
  • About ¼ cup melted lard or butter to grease the waffle iron
Tools Needed
  • Food processor or high-powered blender
  • Waffle iron
  • Chopsticks (this is very helpful to get the waffles off in one piece)

instructions:

How to cook GAPS Friendly Waffle Recipe

  1. This recipe is quick to put together if you do a little prep work first!
  2. Prep the Fermented Almond Butter:
  3. At least 24 hours in advance, ferment the almond butter. Add 2 TBS whey to 1 cup almond butter. Stir. Leave at room temperature for 24 hours. This will keep in the fridge for at least 2 weeks.
  4. Prep the Butternut Squash:
  5. Cut the butternut squash in half and place face down on a baking sheet lined with parchment paper. Bake at 350 degrees for 35-45 min until soft. Remove the squash flesh and place in a bowl.
  6. For the GAPS Waffles:
  7. Combine all ingredients in a food processor and blend until very smooth and mixed.
  8. I recommend pouring the mixture into a bag and using it like a pastry bag. The more quickly you can get the waffle batter on the iron and close the lid, the better it turns out!
  9. When everything is ready, and the waffle iron is hot, use the pastry brush to spread fat on the upper and lower waffle irons. Do this as quickly as possible.
  10. Add batter to the waffle iron, then close the lid.
  11. There is a lot of moisture in this recipe, so expect a lot of steam!
  12. Wait for the green light to go on, and then another 30 seconds or so.
  13. Slowly open the waffle iron.
  14. Remove the waffles from the iron, using the chopstick in the groves in any areas it is sticking. Top with fried eggs, honey, date syrup, berries, homemade whipped cream, or anything you want to!
Created using The Recipes Generator

New Year's Resolutions: Six Habits I Recommend on a Regular Basis

New Year's Resolutions: Six Habits I Recommend on a Regular Basis

In the last post, I shared about mindsets to have (or not) that will help with successful habit change. This week I want to share about some of the habits I think are most important to consider integrating into your family. This is not an exhaustive list! These habits are simple and sound.
Fermented Garlic: A Powerful Food for Health

Fermented Garlic: A Powerful Food for Health

Heard of fermented garlic? Wondered what the health benefits of garlic are? Then this post is for you!

Garden-fresh Vegetables Without the Garden

Summer is the time that vegetables shine! Many people are pulling beautiful zucchini, tomatoes, beans, peppers and greens out of their gardens. Fresh vegetables are in season, and you may find yourself desiring them more than usual. Go with it! Until the recent days of automobiles, airplanes and refrigeration, our bodies were used to getting fresh vegetables only during the short months of the growing season. Thousands of years of eating does leave an impression, and a healthy body will naturally crave more fresh fruits and vegetables in the summertime.

Side note: I have observed that people who are in a focused time of healing don't have this craving for fresh produce, and people who are needing to focus on detox can have fresh vegetable cravings year-round. That's okay, your body knows what it needs! Listen to your body's innate intelligence!

But depending on your situation, you may not have a garden, which makes fresh vegetables a little harder to come by. This is the case for me again this year. So today I thought I would share some ways to get fresh vegetables.

#1 Find a friend who gardens

Now, I am not telling you to mooch off a friend, leaving them to do all the hardwork. But many gardeners find themselves overflowing with vegetables right about now. Some of them may be happy just to see their hard work end up in a grateful stomach, while others would appreciate some help harvesting, preserving, or weeding in exchange for some produce. This is the best way to get vegetables, in my opinion. You will get to spend time in the wonderful sun, get to know your friend better, and maybe even learn a little about gardening. And nothing beats a fresh, hand-picked vegetable served up for dinner!

#2 Join a CSA

CSA stands for community supported agriculture. In a "working share," individuals come together under the leadership of the organizer and spend a set amount of time working around in a garden or farm for a share of the produce. There is usually a monetary investment as well. Most CSAs accept members only around the beginning of the year, so look for one to join for the next growing season. Some CSAs also offer a "non-working share," which allows an individual to pay only, and is a great option for those with jobs or situations that don't allow them the flexibility to work in the garden.

#3 Visit a local farmer's market

This one is an option for most people, but it can be a little tricky. Just because it's at a farmers market does not mean it was grown in a way that is different than the commercial food. That being said, there is going to be some benefit from eating local, naturally-ripened food, so don't rule it out if it's all you can get. The best way to know what you are buying is to talk to the farmers. Ask them how where they are located, and about their farm or garden. See what types of things they use for pesticides (organic food is often grown with organic pesticides), and what other farming/gardening practices they use. While it is not a guarantee, you may be able to find amazing and fresh produce, and at the same time provide support to that small local farm.

#4 Buy local produce at your grocery store

Here is Colorado, at the peak of the season, stores carry many things that are "Colorado Proud," meaning they are grown in Colorado. Not all stores label where their produce comes from, so ask your grocer which items are grown in your area, state, or in the United States. Made in the USA does not automatically make that food better, but knowledge is always power!

So there you go! Four ways to get garden-fresh produce without a garden. How about you? Where do you get your garden-fresh produce?

Making the Vegetable Medley

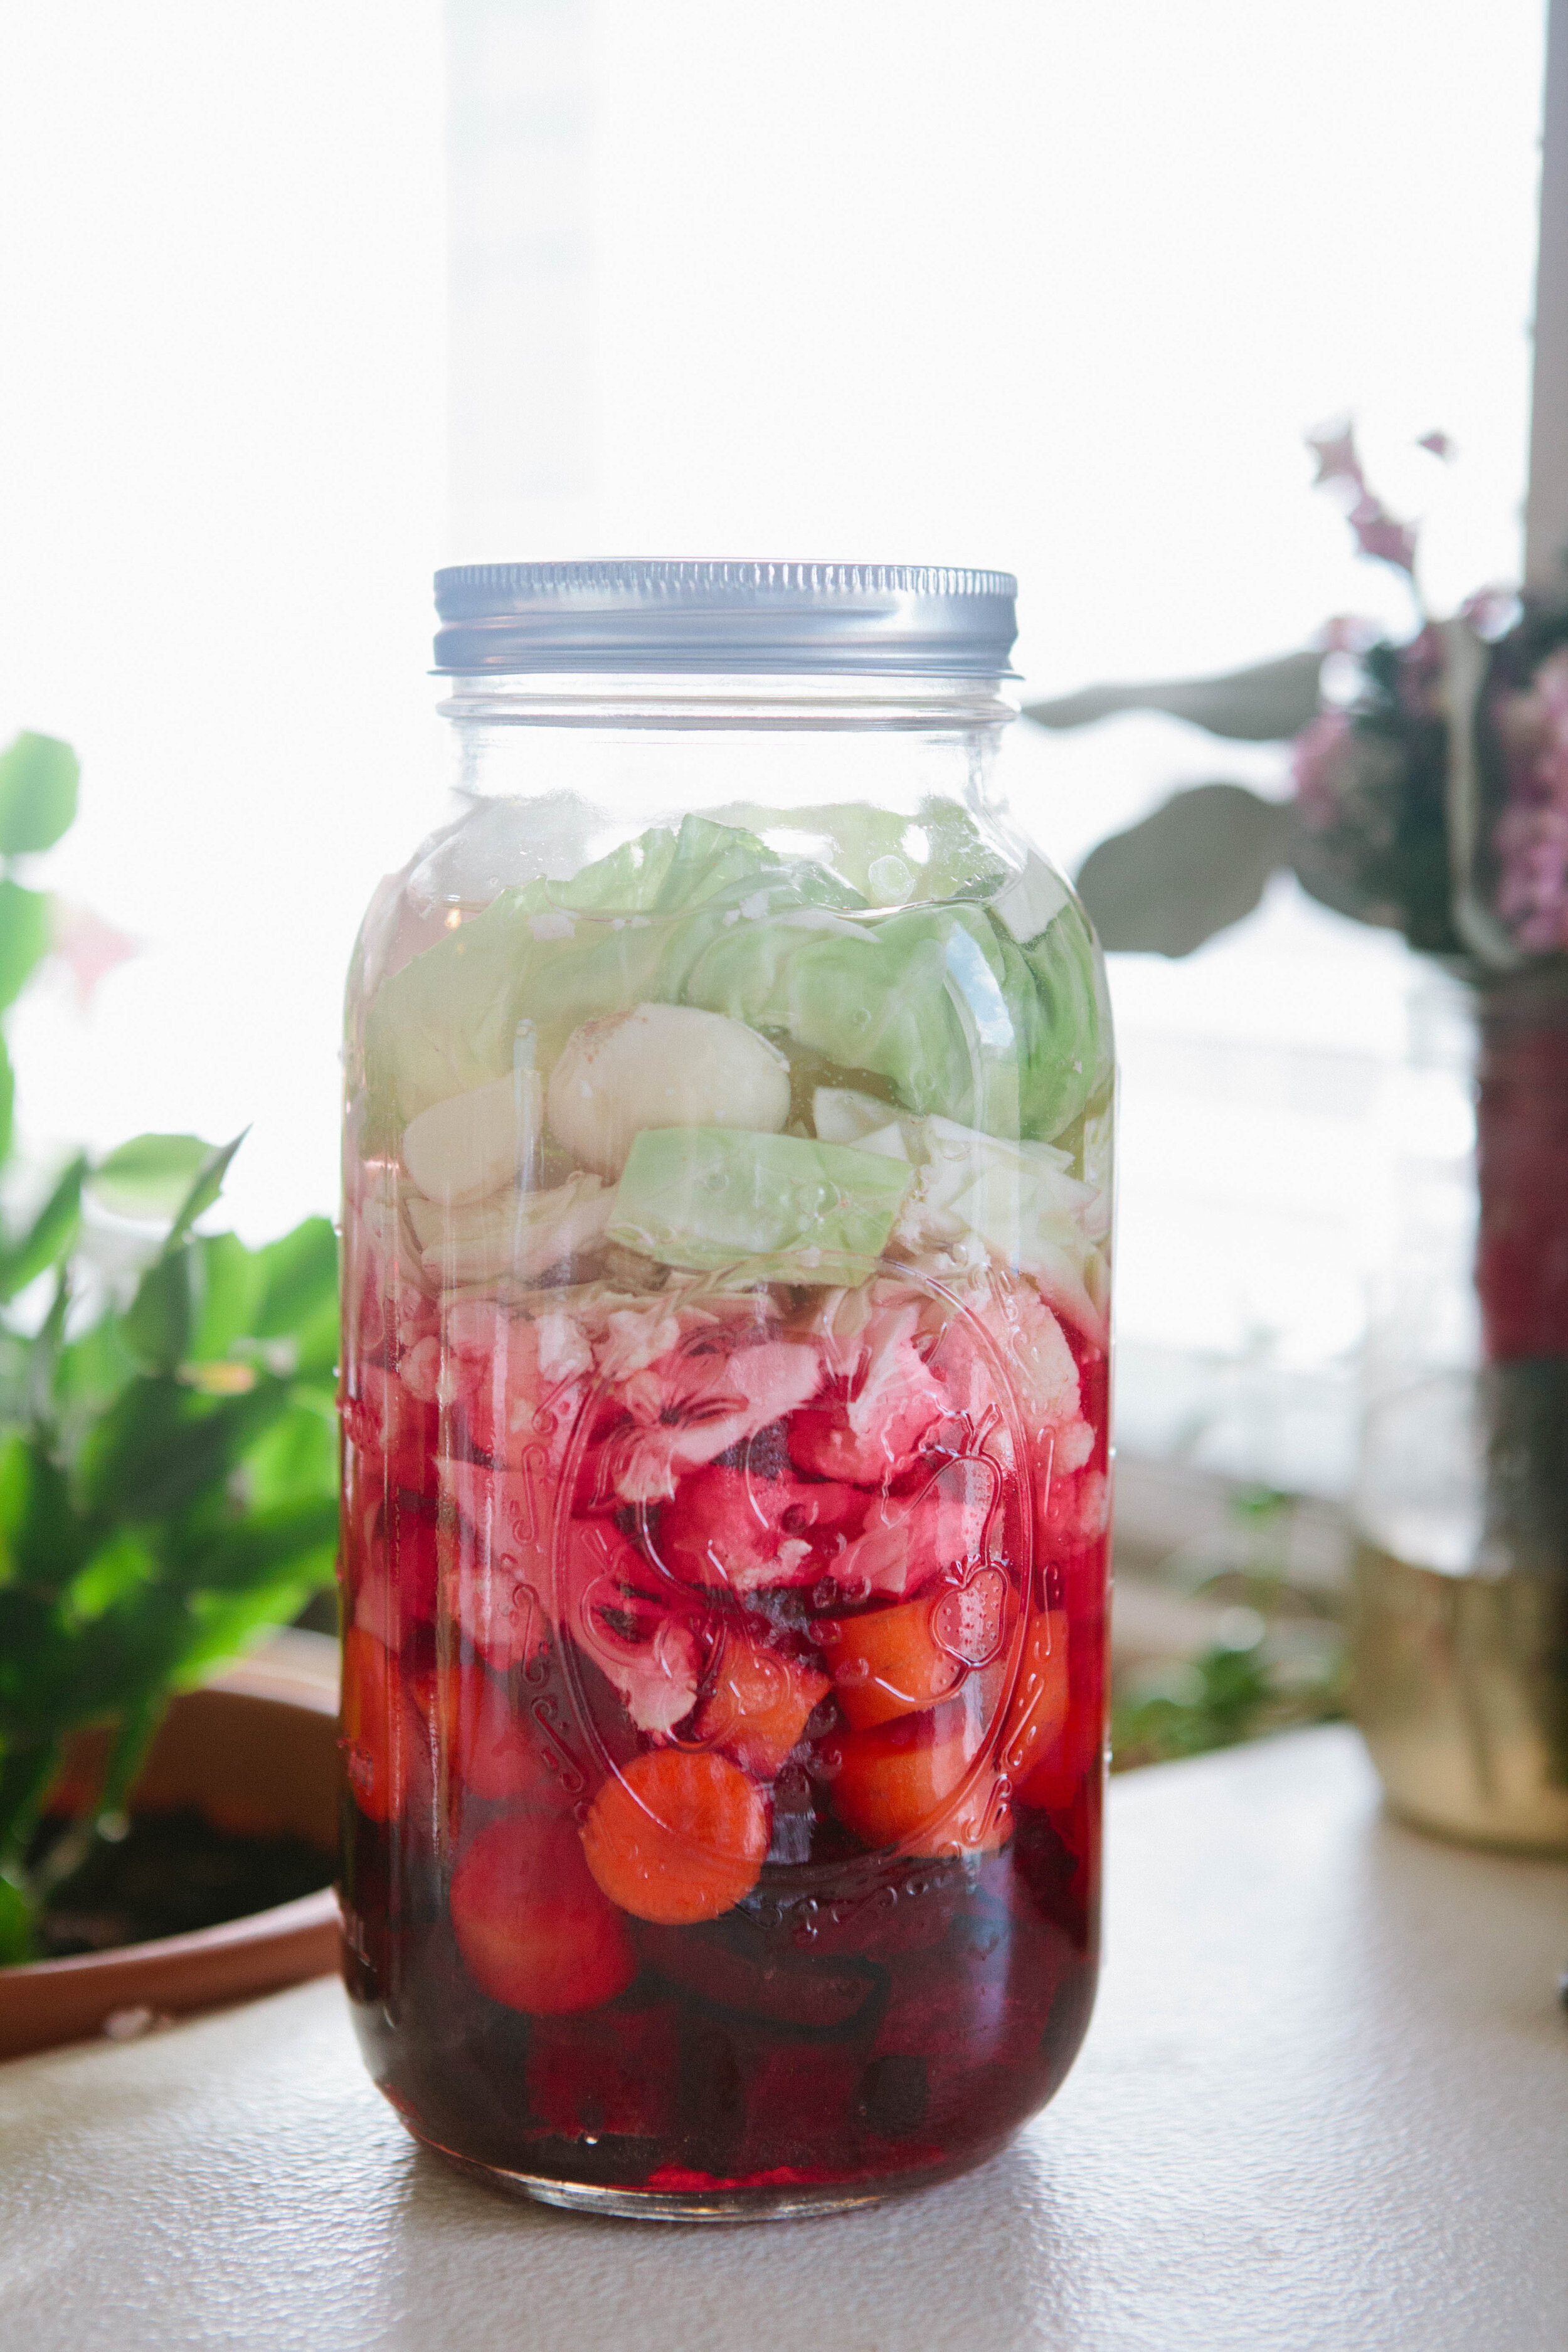
One of the most important ferments in the GAPS™ diet is the vegetablemedley. You can find this recipe in Dr. Natasha Cambell-McBride's book, Gut and Psychology Syndrome. Her recipe is for a bowl ferment, but you can also make it in a jar, which is how I prefer to make it. And this is the recipe we are going to do today! This recipe contains five different vegetables: beets (good for liver and blood cleansing), cabbage (stimulates digestion), carrots (contain vitamin A), and cauliflower (makes it taste better, believe me), and garlic (good for immune support). It makes a very rich and flavorful liquid, which is also a wonderful probiotic drink.

No matter how delicious this is, and how much you like it, drink only a little bit in the beginning to avoid die-off. Respect the ferments, man!

IMG_7729.jpg

Ingredients and Supplies for Vegetable Medley

  • Glass jar, 1/2 gallon

  • Sea salt, 3-4 TBS

  • 1 Medium beet

  • 3 Carrots

  • 1/2 Cauliflower

  • 1/2 Cabbage

  • Garlic (5-7 cloves), fresh or fermented

Instructions for Vegetable Medley

IMG_7693.jpg

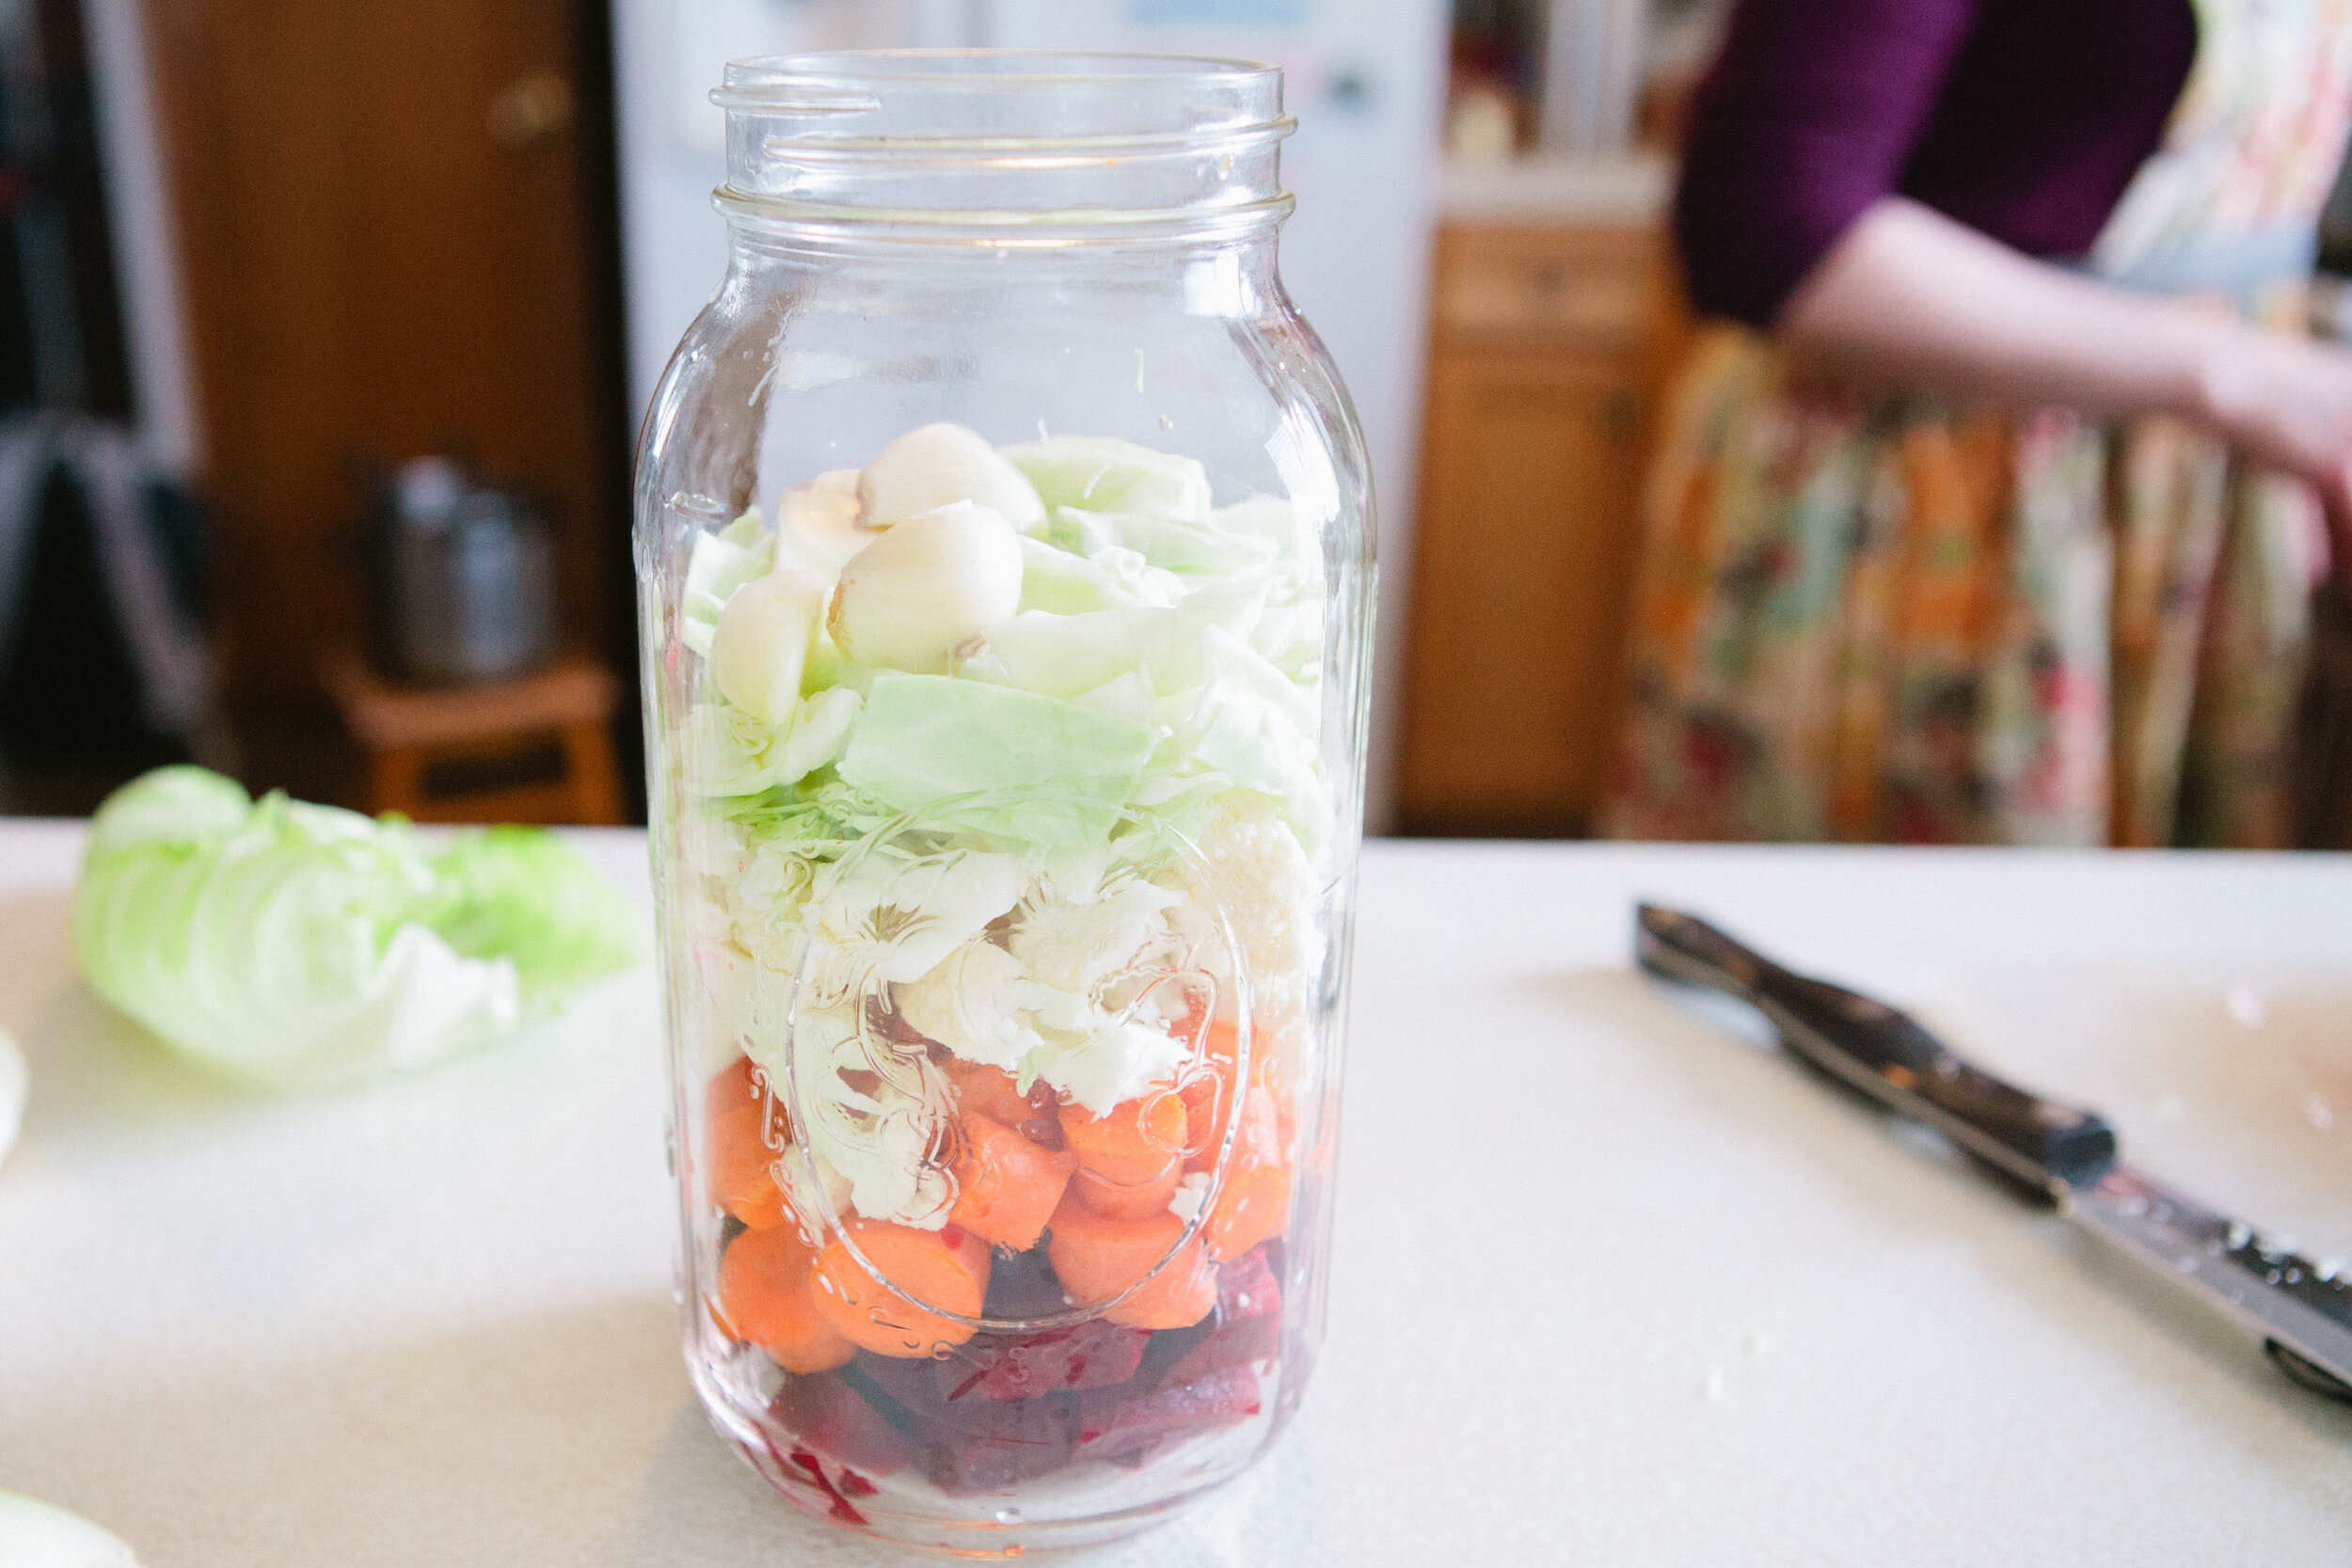
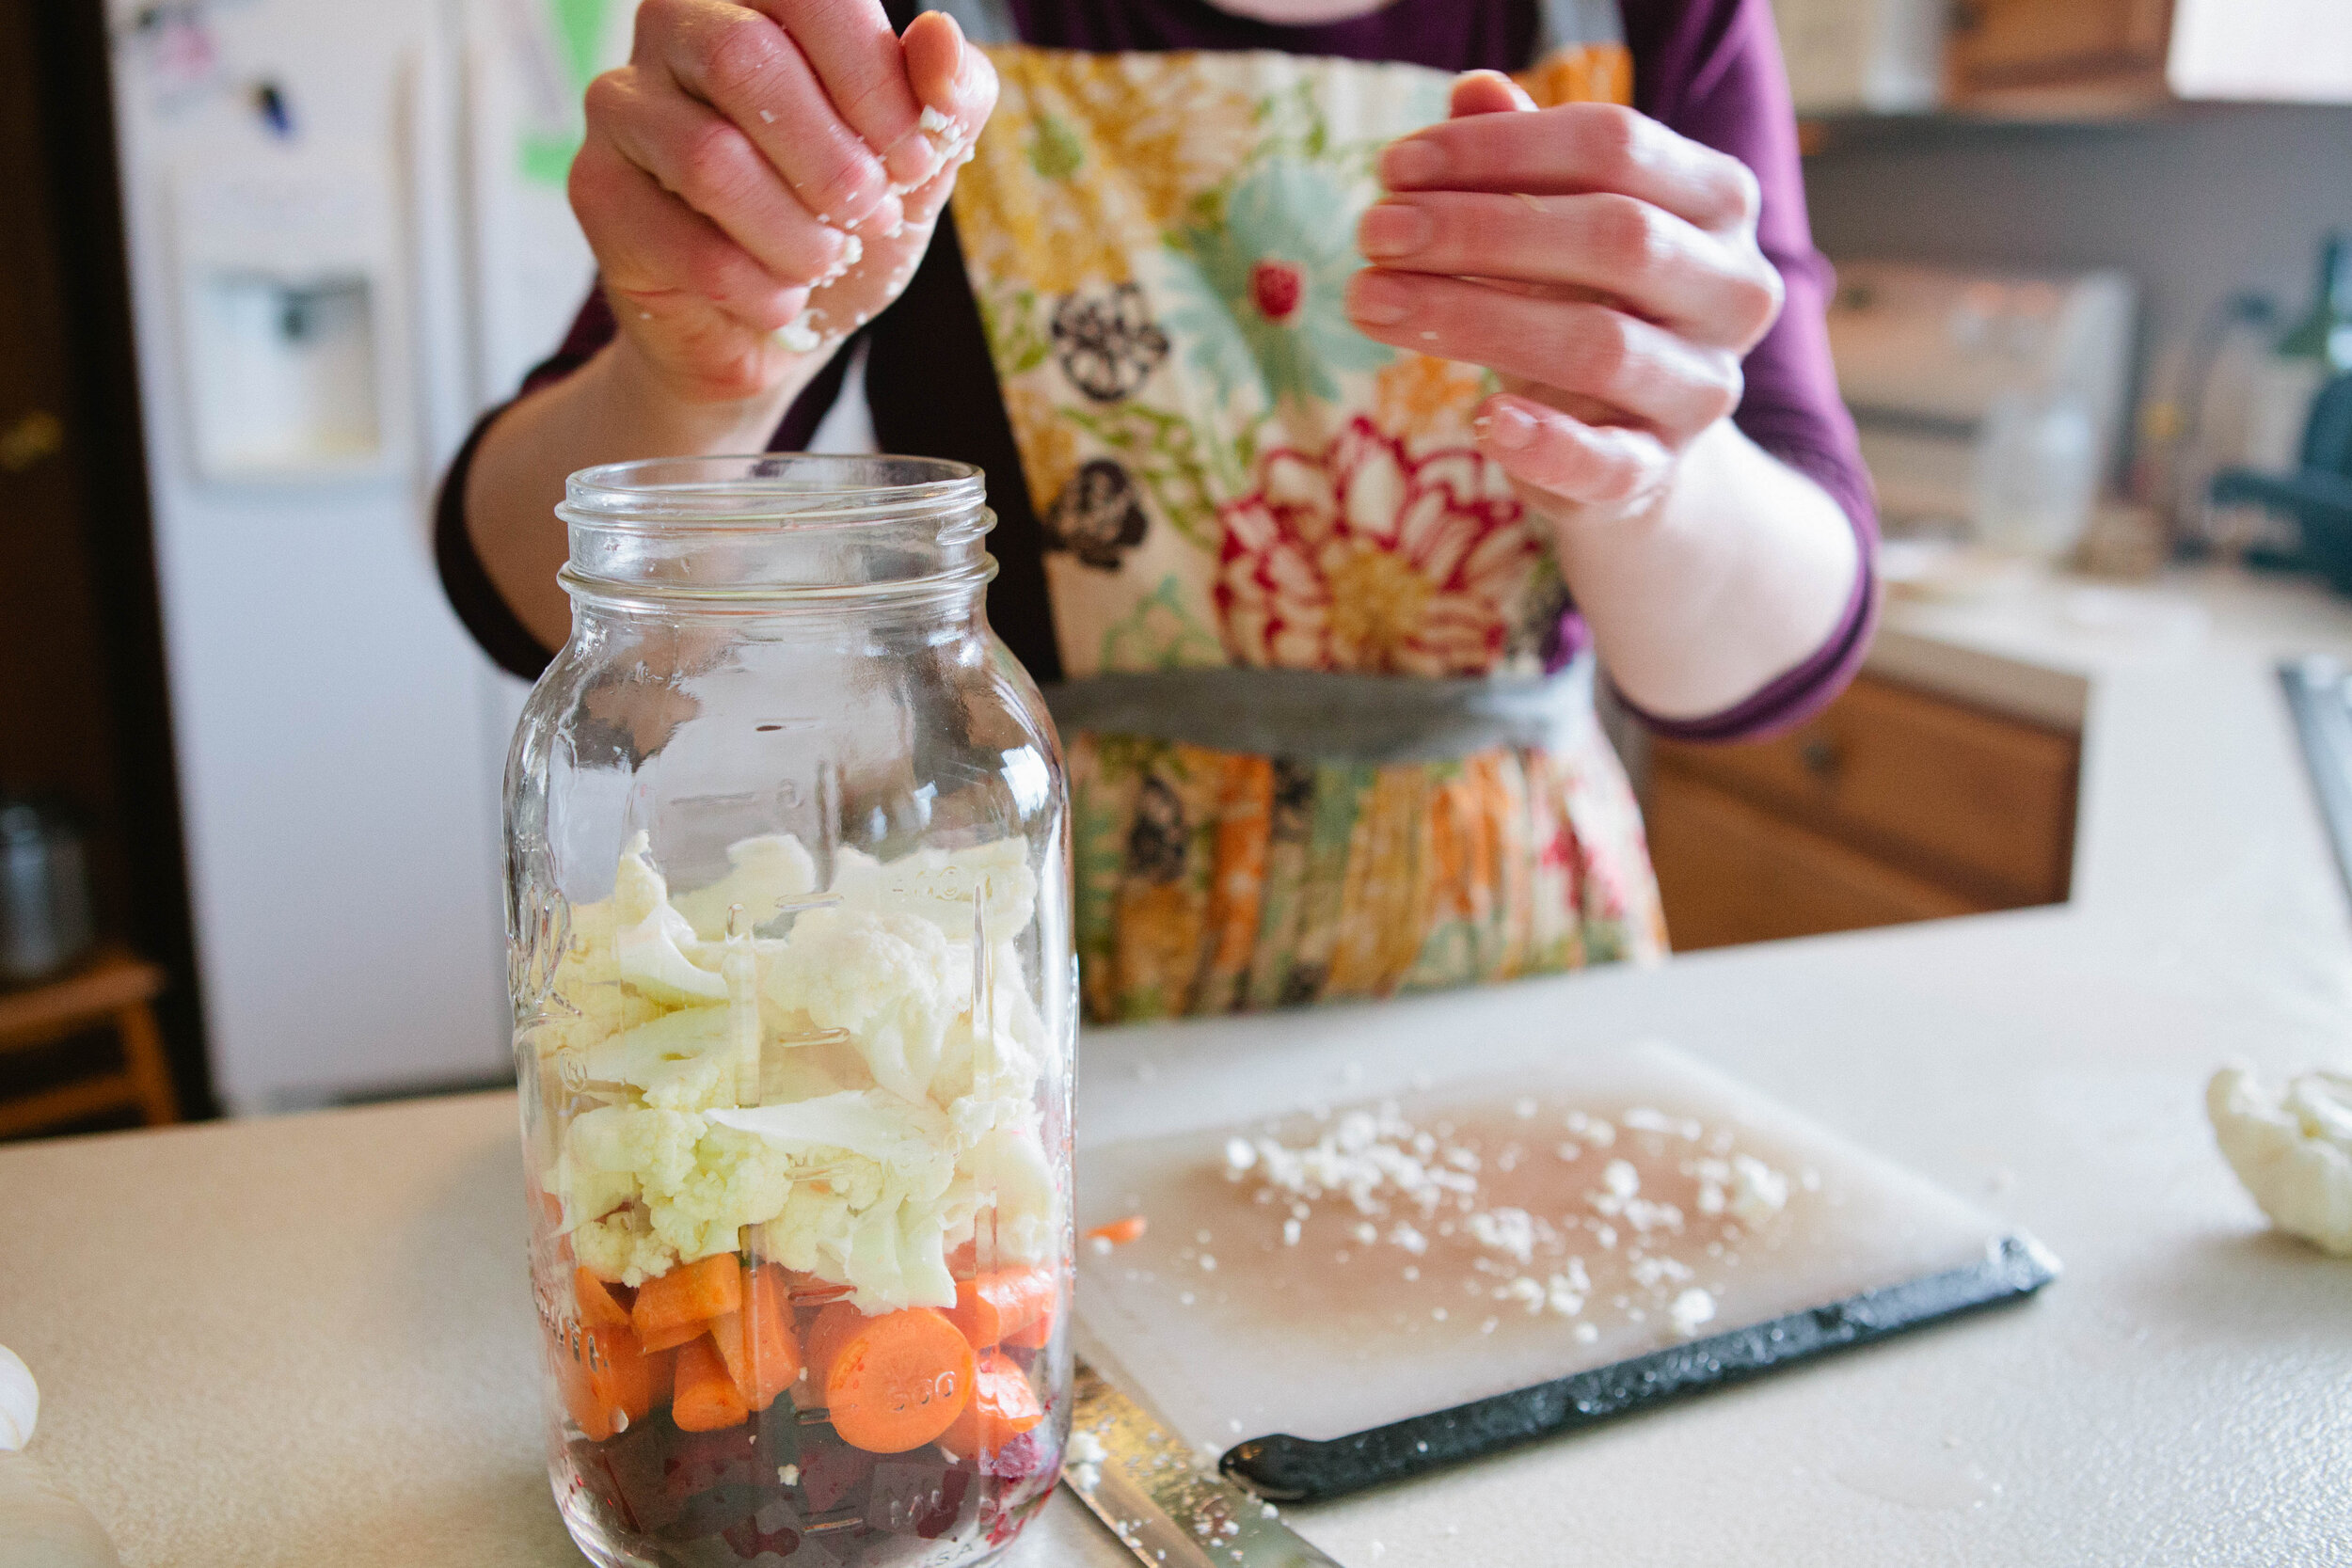
To a clean half-gallon jar, add about 1/2 cup of each vegetable. You can add them in any order you like. The main purpose of the vegetable medley is to drink the liquid, so make sure the ingredients you add only fill the jar half way (or a little more). This will create enough liquid to make it worth it!

IMG_7715.jpg

Add the beets. Then the carrots. And so on...

IMG_7727.jpg

Last of all, add the garlic. When all the ingredients are in the jar, it should be less than 3/4 full.

IMG_7732.jpg

Create a brine of the salt and about a 1 cup of filtered water. Swirl and shake to dissolve the salt.

Add filtered water, to the shoulder of the jar.

IMG_7754.jpg

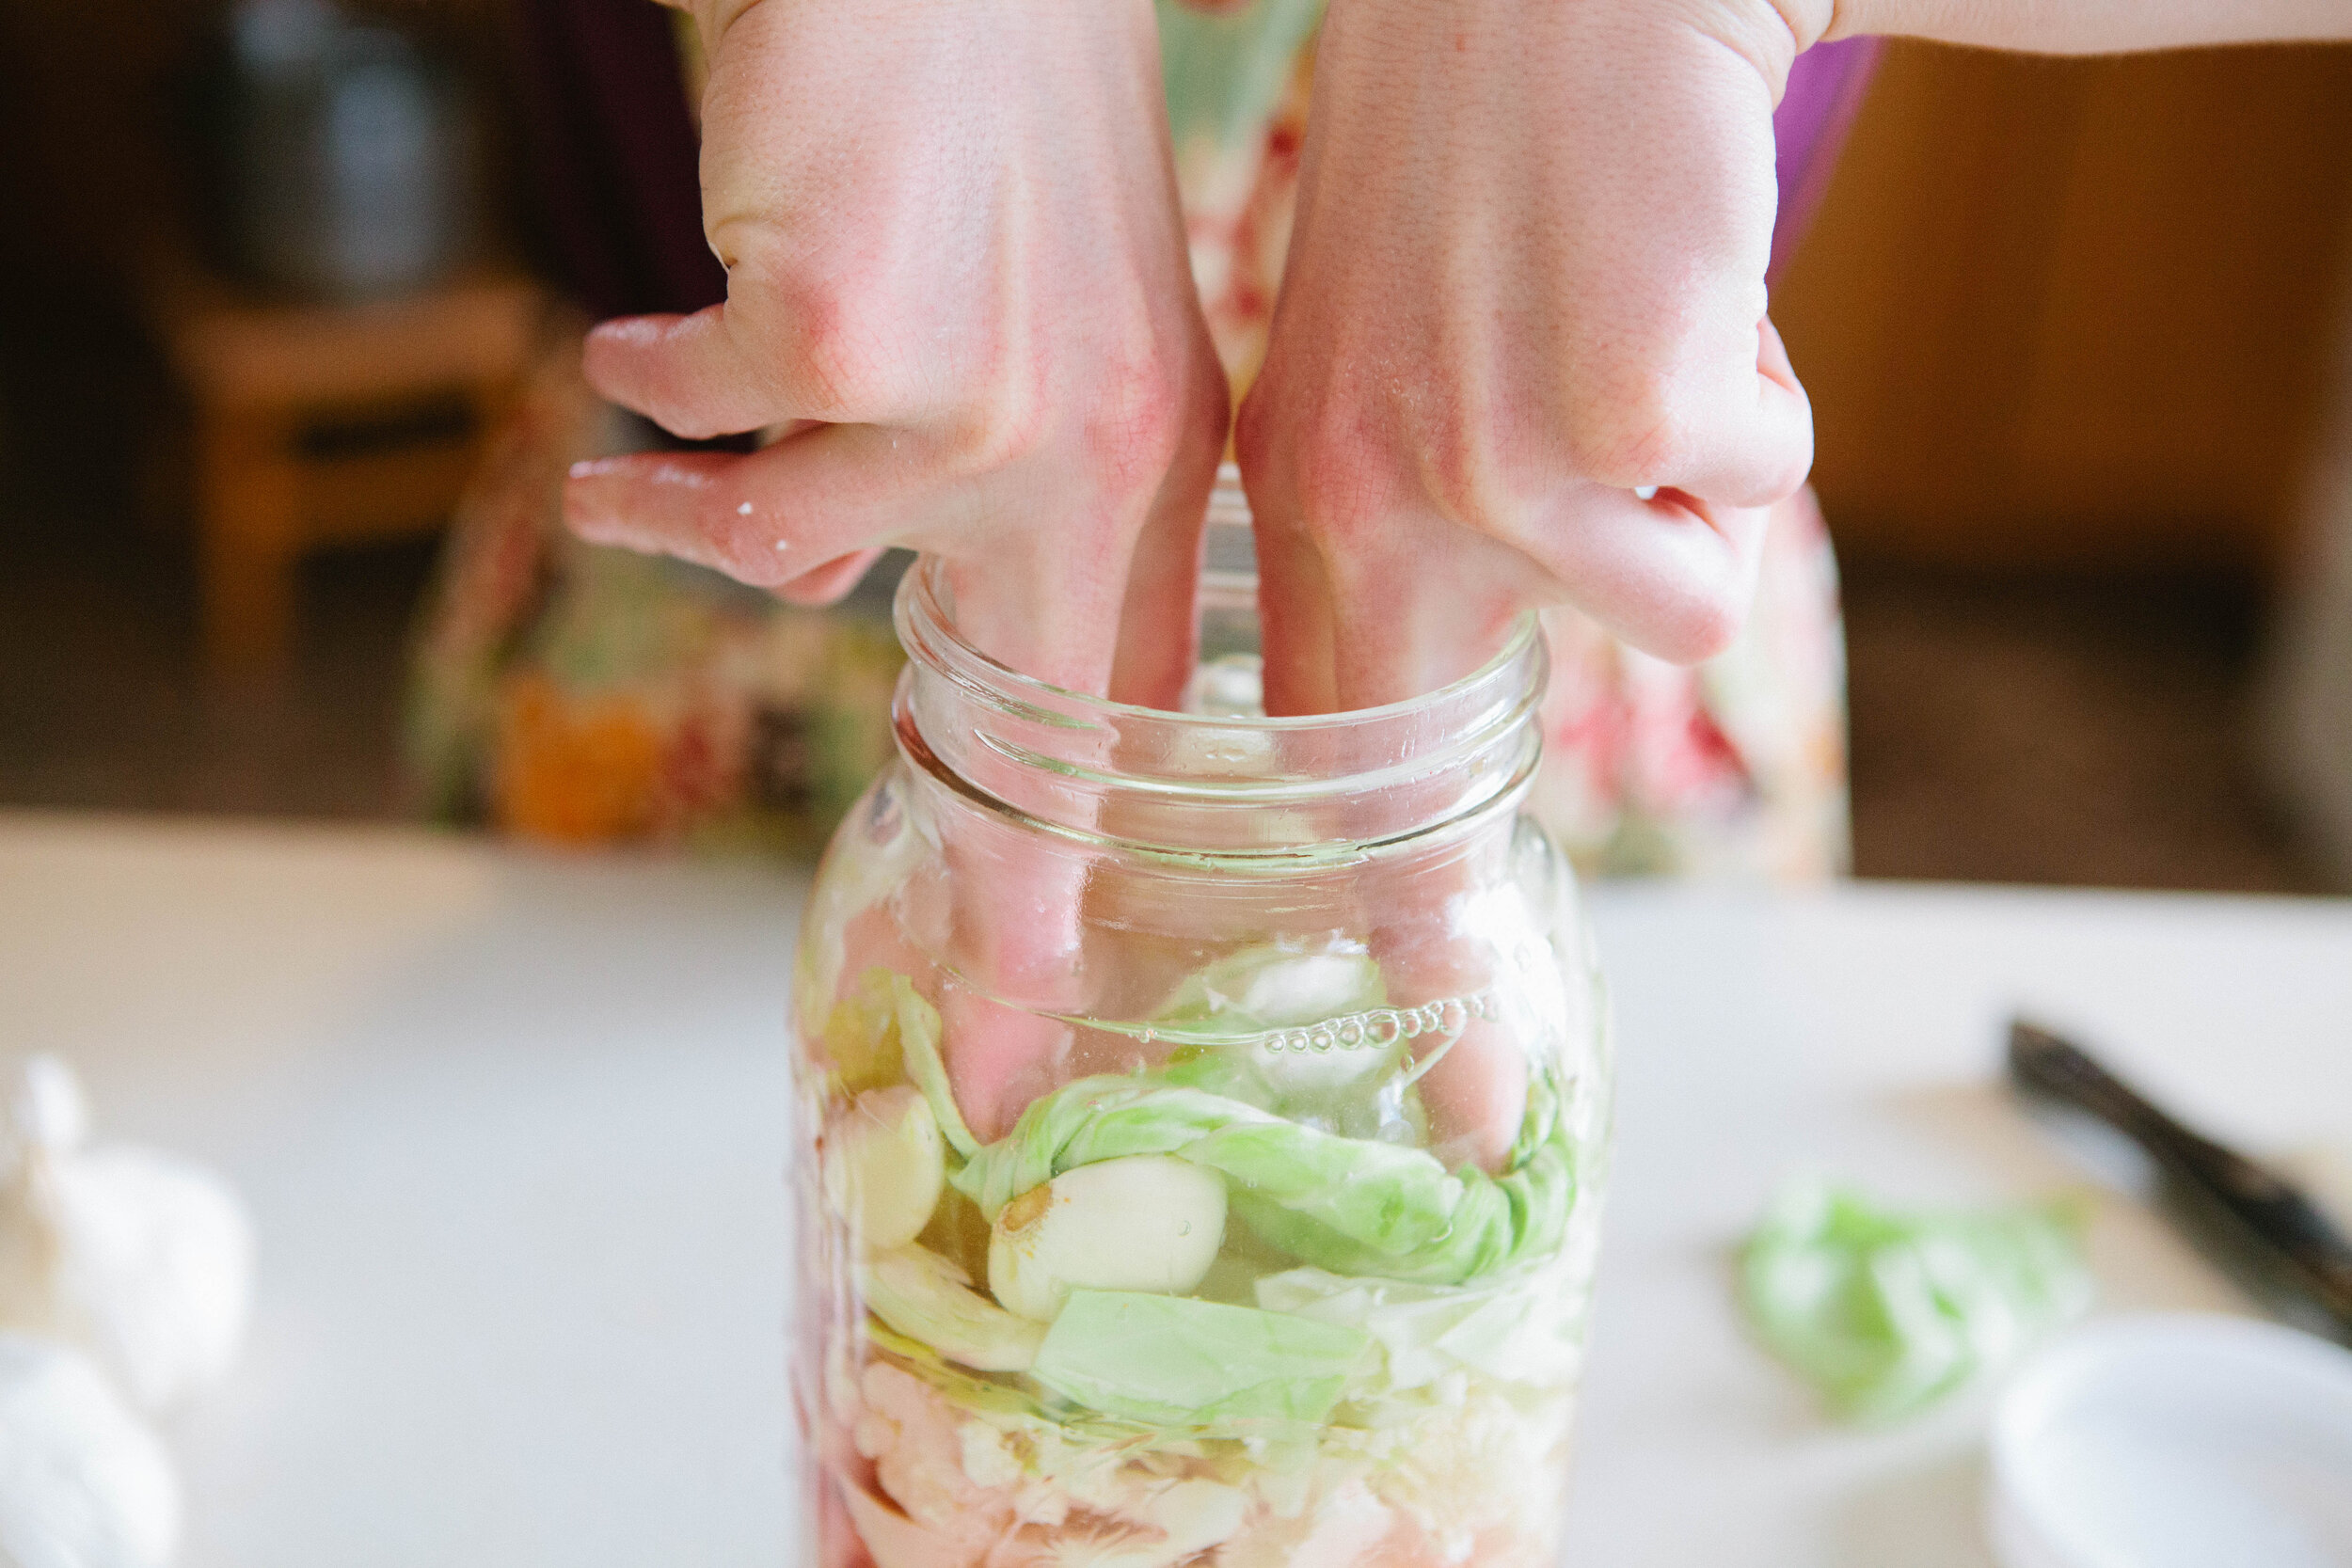
Finally, add a cabbage leaf or two to hold all the ingredients under the water. I add a pinch of salt after the cabbage leaves are in place to discourage bad bacterial growth. All that's left is to tightly screw on the lid and leave it on the counter.

After 7 days, move the jar to the fridge and consume the liquid until it's gone, and eat the vegetable pieces. This can be a perpetual ferment. To do this, daily drink what you need, then replace that amount with filtered water, and continue to leave it out on the counter. Keep up with this process until the vegetables are spent (they turn grey and tasteless).

That's it! You have successfully made the veggie medley! Once you get the basics down, you can experiment with different vegetable combinations (eg. broccoli instead of cauliflower). Let us know your favorite combinations!

Onward!


Vegetable Medley

Author:
prep time: cook time: total time:

ingredients:

  • Glass jar, 1/2 gallon
  • Sea salt, 3-4 TBS
  • Medium beet
  • Carrots (3)
  • Cauliflower
  • Cabbage
  • Garlic (5-7 cloves), fresh or fermented

instructions:

How to cook Vegetable Medley

  1. To a clean half-gallon jar, add about 1/2 cup of each vegetable.You can add them in any order you like. The main purpose of the vegetable medley is to drink the liquid, so make sure the ingredients you add only fill the jar half way (or a little more). This will create enough liquid to make it worth it!
  2. Add the beets
  3. And carrots
  4. And so on...
  5. Last of all, garlic and salt
  6. When all the ingredients are in the jar, it should be less than 3/4 full. Add filtered water, to the shoulder of the jar. Finally, add a cabbage leaf or two to hold all the ingredients under the water. I add a pinch of salt after the cabbage leaves are in place to discourage bad bacterial growth. All that's left is to tightly screw on the lid and leave it on the counter.
  7. After 7 days, move the jar to the fridge and consume the liquid until it's gone, and eat the vegetable pieces. This can be a perpetual ferment. To do this, daily drink what you need, then replace that amount with filtered water, and continue to leave it out on the counter. Keep up with this process until the vegetables are spent (they turn grey and tasteless).
  8. That's it! You have successfully made the veggie medley! Once you get the basics down, you can experiment with different vegetable combinations (eg. broccoli instead of cauliflower). 
Created using The Recipes Generator
VegetableMedley.png

Vintage Food Hack: Fermenting (Part 2)

Recently we talked about why I love fermenting so much. If you missed the post, you can read it here. Today, let’s talk about what in the world lacto-fermentation is, and how you can start doing it yourself!

First, what lacto-fermentation is NOT:

  • It is NOT making an alcoholic beverage (necessarily)

  • It is NOT taking rotting vegetables and facilitating more rot (that is composting, and it belongs in the garden)

  • It is NOT (necessarily) making things with dairy or into a dairy product

  • It is NOT something only hippies do, modern-day people all over the world continue fermenting in the traditions of their ancestors

  • It is NOT something new, it has been done for centuries, likely as long as humans have been around

And here is what lacto-fermentation IS!

  • It IS a process of preserving food in a way that keeps the enzymes alive and the nutrition in its natural form

  • It IS a way to eat those beneficial bacteria, which have been shown to aid in digestion, boost immunity, regulate metabolism, facilitate weight loss, and more

  • It IS facilitating the growth of beneficial bacteria and yeast that produce lactic acid (a substance that pathogenic bacteria cannot live in the presence of)

  • It IS easy to “put up” ferments, and very difficult to mess them up

  • It IS safe to eat your own fermented foods, because if they turn rancid instead of fermented, there are obvious signs which clue you in that you should throw it away!

  • It IS inexpensive to make ferments, your only recurring costs are the food you are fermenting, salt and water

  • It IS a lot of fun, and an activity you can do as a group with other interested people

Have I convinced you yet?

Yes?

Good!

How do I get started?” you might ask.

I’m glad you asked!

There are a lot of resources for fermenting.

  • Books and blogs: Katz is a leader in the fermentation world, but there are many others as well

  • Online groups: You can join the very active Wild Fermentation facebook group, and there are others

  • Websites: Cultures for Health is a website I visit often. They offer instructional videos, a blog, books and other fermenting supplies, and different starter cultures for purchase.

  • Classes: There are a variety of classes offered if you like the hands-on approach of fermenting. Many people, including myself, offer these classes. A real-foods chef, Monica Corrado of Simply Being Well, regularly offers and other classes--both locally here in Colorado, and around the Americas.

  • Friends: Fermenting is becoming more popular, so ask around. Someone you know may already be fermenting, and probably would love teaching you as you do it together!

The most important thing about getting started is to just DO IT! There is an aspect of fermenting that can only be learned by doing, feeling and trying it out, and failing! And, because it doesn’t cost much, you can throw it away and try again! Next week I will post a simple ferment recipe--it’s an easy one to start with!

Disclosure: I am not an affiliate of any of the above resources, I just like them!

Happy Fermenting!

Onward!