fermented beverage

Apple Scrap Vinegar

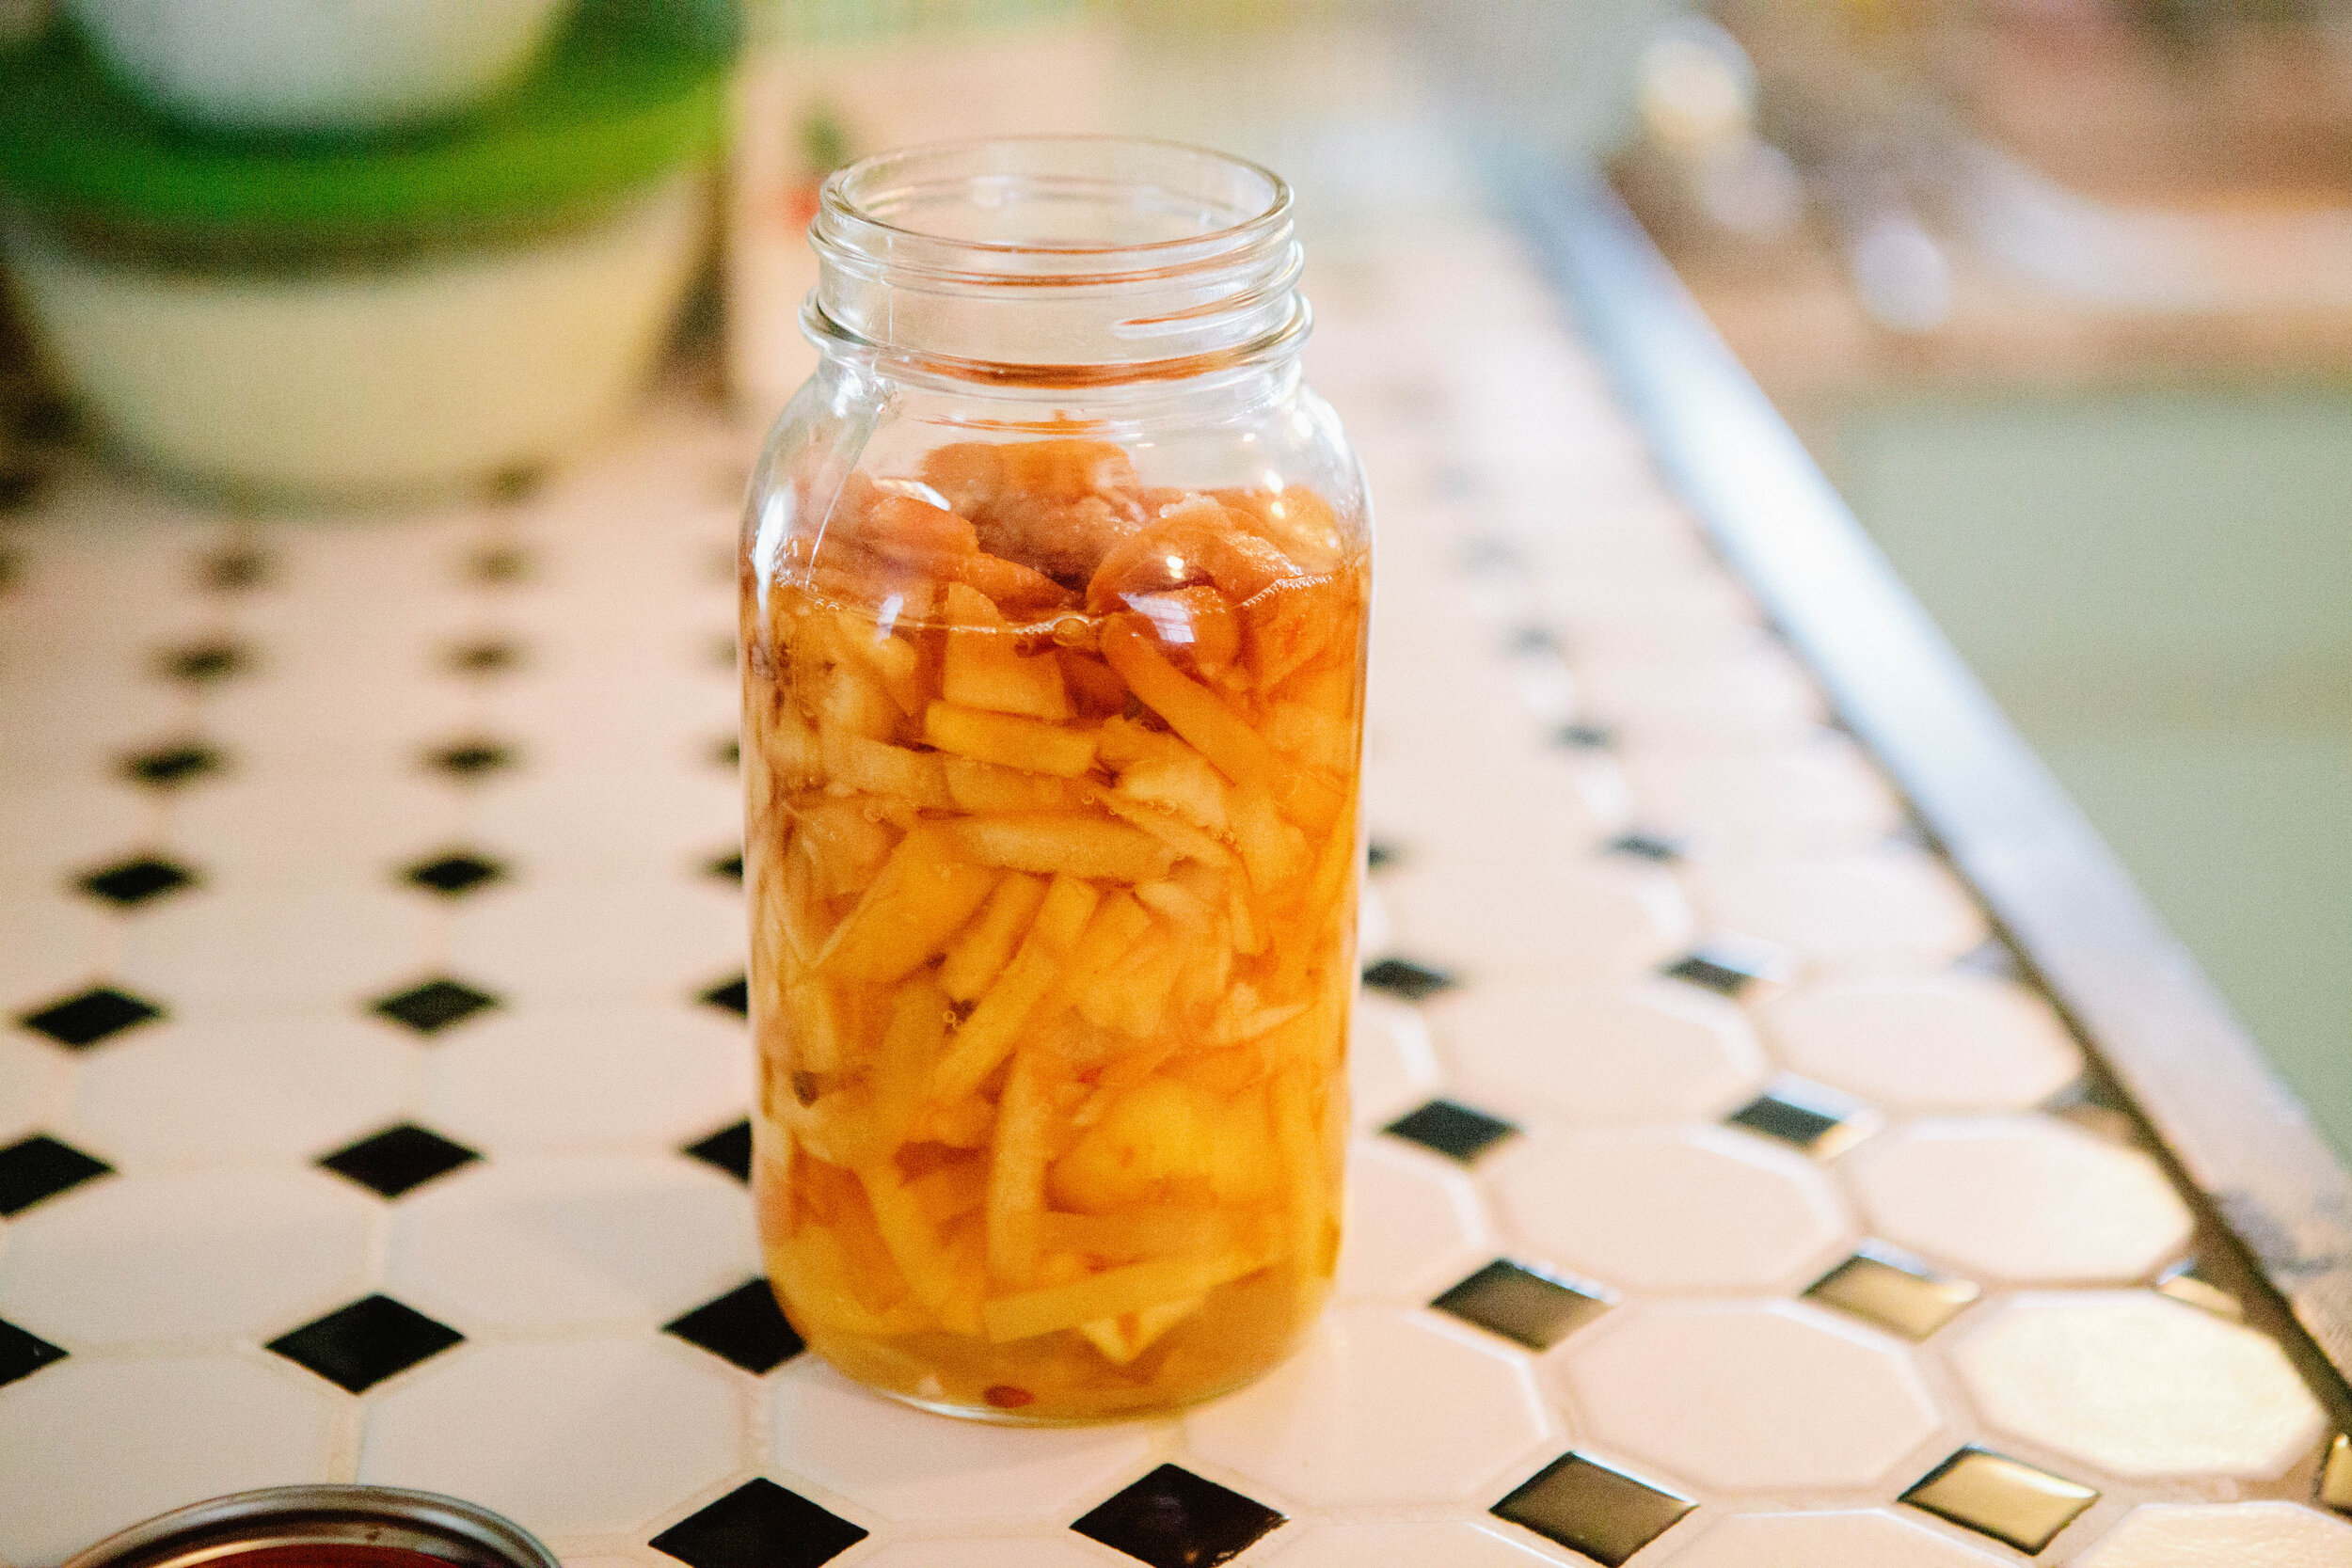
This recipe makes a type of apple cider vinegar. The difference is it’s made with apple scraps, as opposed to starting with apple cider that gets turned into apple cider vinegar. I love the idea of apple scrap vinegar because you utilize the entire apple! 

IMG_0419.jpg

My main use of apple cider vinegar is detox baths so I don’t necessarily need apple vinegar as rich in taste as apple vinegar made from cider. You can also use it to make this salad dressing.

This is so simple and easy that you can throw a jar together any time you are creating anything else with apples like dried apples or applesauce.

Ingredients for Apple Scrap Vinegar:

  • Apple Scraps from 5-6 Apples

  • Filtered Water

  • Apple Cider Vinegar with the Mother

Directions for Apple Scrap Vinegar:

IMG_2912.jpg

Add your apple scraps to a jar. You want the scraps to be packed into the jar fairly tightly.

Add filtered water almost to the shoulder.

Top with 2 tbsp of apple cider vinegar to jump start the fermentation process.

Seal with a lid. Leave on the counter for 3 weeks. 

IMG_2931.jpg

Strain out liquid into a separate jar.

Put the lid back on and set aside for 2-4 additional weeks.

It will develop a vinegar smell and taste. If, after 2 weeks, it does not have that, wait an additional two weeks. 

Once it’s done, keep it in the fridge if it will take you a while to use it.


The Importance of Putting Up Ferments in the Fall

The Importance of Putting Up Ferments in the Fall

The end of summer and beginning of fall offers us an abundance of great produce, whether it’s from our own garden or from farmers. While we can, in theory, continually purchase produce from the grocery store, we get better quality and more cost effective produce if we eat seasonally and locally. This great produce is only available at certain times of the year and it has to be stored somehow!

How to Make Cabbage Tonic

Fermented cabbage is very high in vitamin C which is essential for healing a leaky gut. This cabbage tonic can be taken from the beginning of the Intro Diet of GAPS. Use this tonic daily to help change your gut flora. As with all probiotic foods, make sure you begin with only a small amount, about a tablespoon at a time, keeping an eye out for symptoms of die off. If none are present, you can continue gradually increasing your daily amount and the frequency that you consume this tonic throughout the day.

Fermented cabbage is very high in vitamin C which is essential for healing a leaky gut. This cabbage tonic can be taken from the beginning of the Intro Diet of GAPS. Use this tonic daily to help change your gut flora. As with all probiotic foods, make sure you begin with only a small amount, about a tablespoon at a time, keeping an eye out for symptoms of die off. If none are present, you can continue gradually increasing your daily amount and the frequency that you consume this tonic throughout the day.

When you do ferments, your intention and energy really does affect the taste of the ferments. If you’re stressed, it will show in the food. Do ferments at a time that you’re relaxed and enjoying being in the kitchen. If this is not your mindset, take a couple minutes to reset, thinking about how this work is bringing such amazing health and healing to your body and your family. After your mindset is set, smile and preparing your ferment!

When doing ferments, it is important to hand wash your jars. A lot of dishwashers leave a film of soap, even if you’re using a natural soap. Make sure you rinse your jar well with hot water. It’s not necessary to sterilize your jar; we’re not canning. Fermentation creates a live food that will take care of the bad bacteria.

Tidbit from Nourishing Traditions: “Add ¼ - ½ tsp cayenne pepper to 4 ounces of cabbage tonic for a gargle and sore throat remedy.

This recipe is based on the Nourishing Traditions cookbook by Sally Fallon on page 614.

Ingredients for Cabbage Tonic:

  • ¼ Organic Green Cabbage

  • 1 tsp Sea Salt

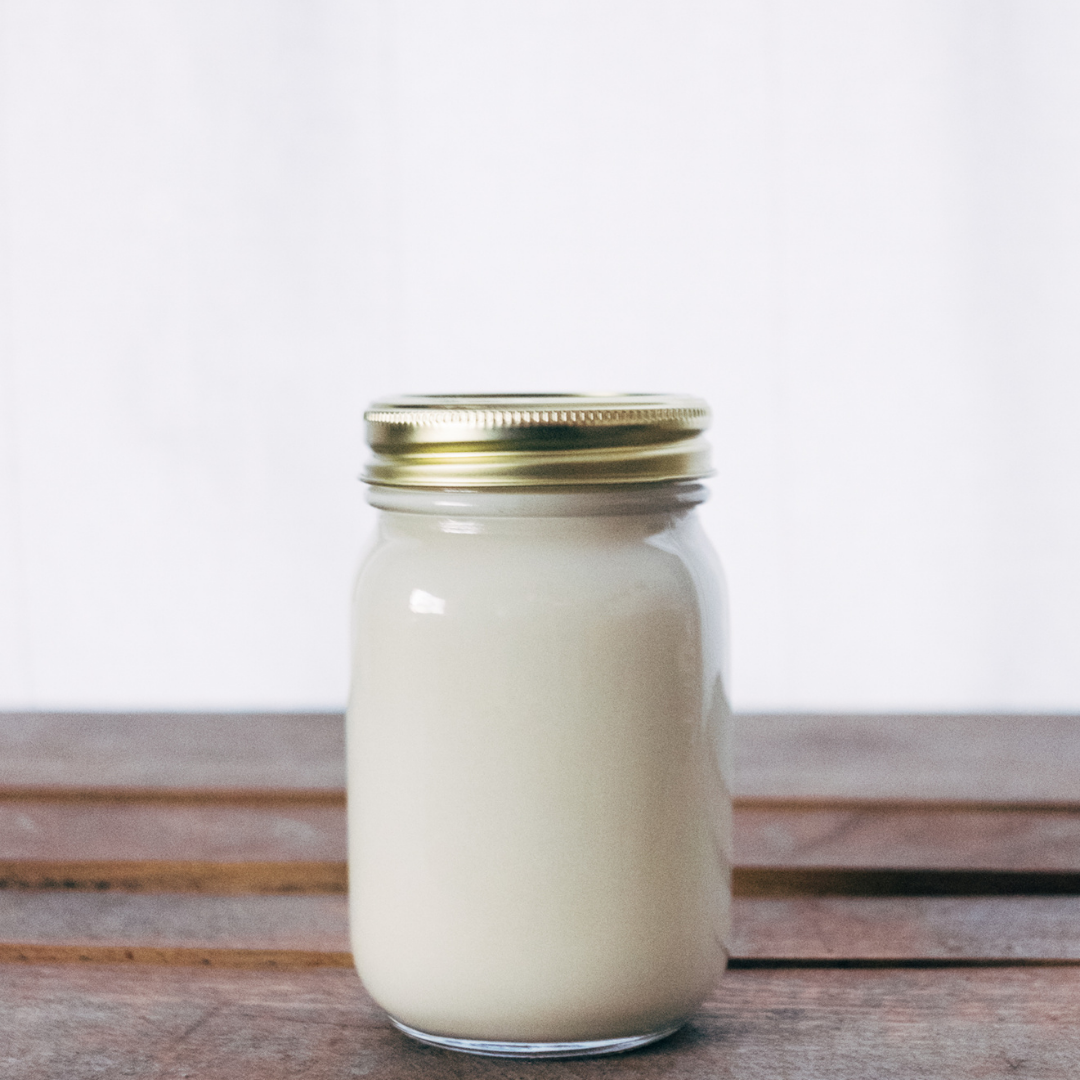
  • ¼ Cup Whey (how to make whey)

  • Filtered Water

Directions for Cabbage Tonic:

How-to-make-cabbage-tonic-directions-for-cabbage-tonic-gaps-diet-gaps-protocol-cabbage-drink-fermented-cabbage-beverage-northern-colorado-holistic-health

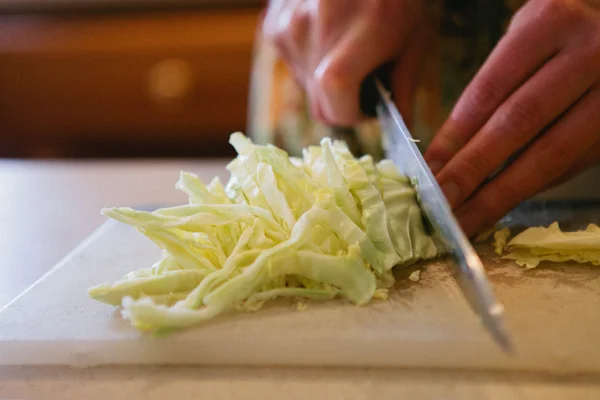
Shred cabbage finely with a knife. You want small even pieces so it ferments evenly. (Similar to cutting onions for even cooking.)

Add cabbage and salt to a bowl.

How-to-make-cabbage-tonic-directions-for-cabbage-tonic-gaps-diet-gaps-protocol-cabbage-drink-fermented-cabbage-beverage-northern-colorado-holistic-health

Using your hands, squish the cabbage for about a minute.

Let the cabbage sit for five minutes.

How-to-make-cabbage-tonic-directions-for-cabbage-tonic-gaps-diet-gaps-protocol-cabbage-drink-fermented-cabbage-beverage-northern-colorado-holistic-health

Squish the cabbage again for a minute.

Put cabbage in a 2 quart jar with whey.

How-to-make-cabbage-tonic-directions-for-cabbage-tonic-gaps-diet-gaps-protocol-cabbage-drink-fermented-cabbage-beverage-northern-colorado-holistic-health

Add enough water to fill the container.

How-to-make-cabbage-tonic-directions-for-cabbage-tonic-gaps-diet-gaps-protocol-cabbage-drink-fermented-cabbage-beverage-northern-colorado-holistic-health

Cover tightly.

Leave at room temperature for 2 days before transferring to the fridge.


Cabbage Tonic

Author:
prep time: cook time: total time:

ingredients:

  • ¼ Organic Green Cabbage
  • 1 tsp Sea Salt
  • ¼ Cup Whey
  • Filtered Water

instructions:

How to cook Cabbage Tonic

  1. Shred cabbage finely with a knife. You want small even pieces so it ferments evenly. (Similar to cutting onions for even cooking.)
  2. Add cabbage and salt to a bowl.
  3. Using your hands, squish the cabbage for about a minute.
  4. Let the cabbage sit for five minutes.
  5. Squish the cabbage again for a minute.
  6. Put cabbage in a 2 quart jar with whey.
  7. Add enough water to fill the container.
  8. Cover tightly.
  9. Leave at room temperature for 2 days before transferring to the fridge.
Created using The Recipes Generator
45.png

Take Courage

I had an interesting week last week. For the first time in a while, my body stopped me in my tracks. I'm not saying that I've had symptom-free days every day for the last few months. I have had the occasional headache, been sick with colds, and felt the effect of too much detox or too little sleep.  

But this was a little more.

For four days I was out of commission, only doing the bare essentials. I cut out all the “extras" in my diet, ate foods only on GAPS Intro Stage 1, and increased my fat and desiccated liver intake. I went to bed hours early, took naps during the day, and still felt exhausted. I drank enough water and took enough detox baths to dry up a river, and I applied essential oils liberally. Nothing really helped, beyond occasionally providing a few minutes of partial relief.

I am still not sure what exactly was going on, but as best as I can figure, it seemed to be some kind of significant detox reaction. I had a headache that wavered between annoying and a migraine, sore muscles, tinnitus, nausea, VERY tired eyes, and a brain that simply would not focus. None of these were fun, but what brought me to tears was not any of these symptoms.  

It was fear.  

Fear that I had missed something (since I wasn’t sure why I felt so awful).

Fear that I had pushed myself too hard (although I had been pacing myself).

Fear that my headache would never end (this did seem logical at the time).

Fear that my eyesight was failing (my vision was fine two days before).

Fear that I would feel like this forever, I would never again feel well, and I was wrong to think that I could be a “healthy” person. 

And just fear. Fear about nothing.

But these fears were overwhelming my thoughts and reason.

My overwhelming fear only lasted a short time, because I have a great Friend who does not leave me alone. He gives me hope (see post), and I really couldn't do life without Him. He walked with me in that dark moment and let me know He was with me, and that it was going to be okay. That brought me peace, even though I still believed that my headache would be a constant companion for the rest of my life (honestly, I really did).

While it was not all rainbows and unicorns after that, the paralyzing fear was gone. It was good to remember how hopelessness feels, a feeling I have often experienced on my health journey. When it feels nearly impossible to believe that anything could change, that better health could be possible. It's good to be reminded, so I can be grateful, and so I can better help you. It takes courage to go to another practitioner, change your diet yet again, or make another lifestyle change. It takes tremendous courage and strength to keep striving for better health, when health seems to be an impossible goal. If this is where you are at right now, you are so very strong and courageous. I want you to know that.

From years of experience I know that it takes courage to be sick. But over the last few months I have learned that it also takes courage to be well. It takes courage to live outside of the awful (yet familiar) limits of a health condition. Courage to eat a food that is now okay for you, order off a restaurant menu, or eat a food your friend offered without grilling them about ingredients. Courage to let your just-in-case prescription run out. And it takes tremendous courage to live your life in freedom, even when facing (like I did last week) a short illness, detox reaction or bad day. Courage to push the limits because you refuse to be intimidated by them anymore.

And...

...sometimes you melt in the middle of the floor, in tears, because you think your health has collapsed and you're probably going to be blind soon!

That’s okay too!

Courage is not the absence of fear. In fact, without something to fear, there can be no courage.

Don’t be ashamed of your fear, but don’t let it rule you, either. Remember, you are strong, and you are made for more.

No matter where you are in your health journey, take courage!  

As we go, Onward!

Making the Vegetable Medley

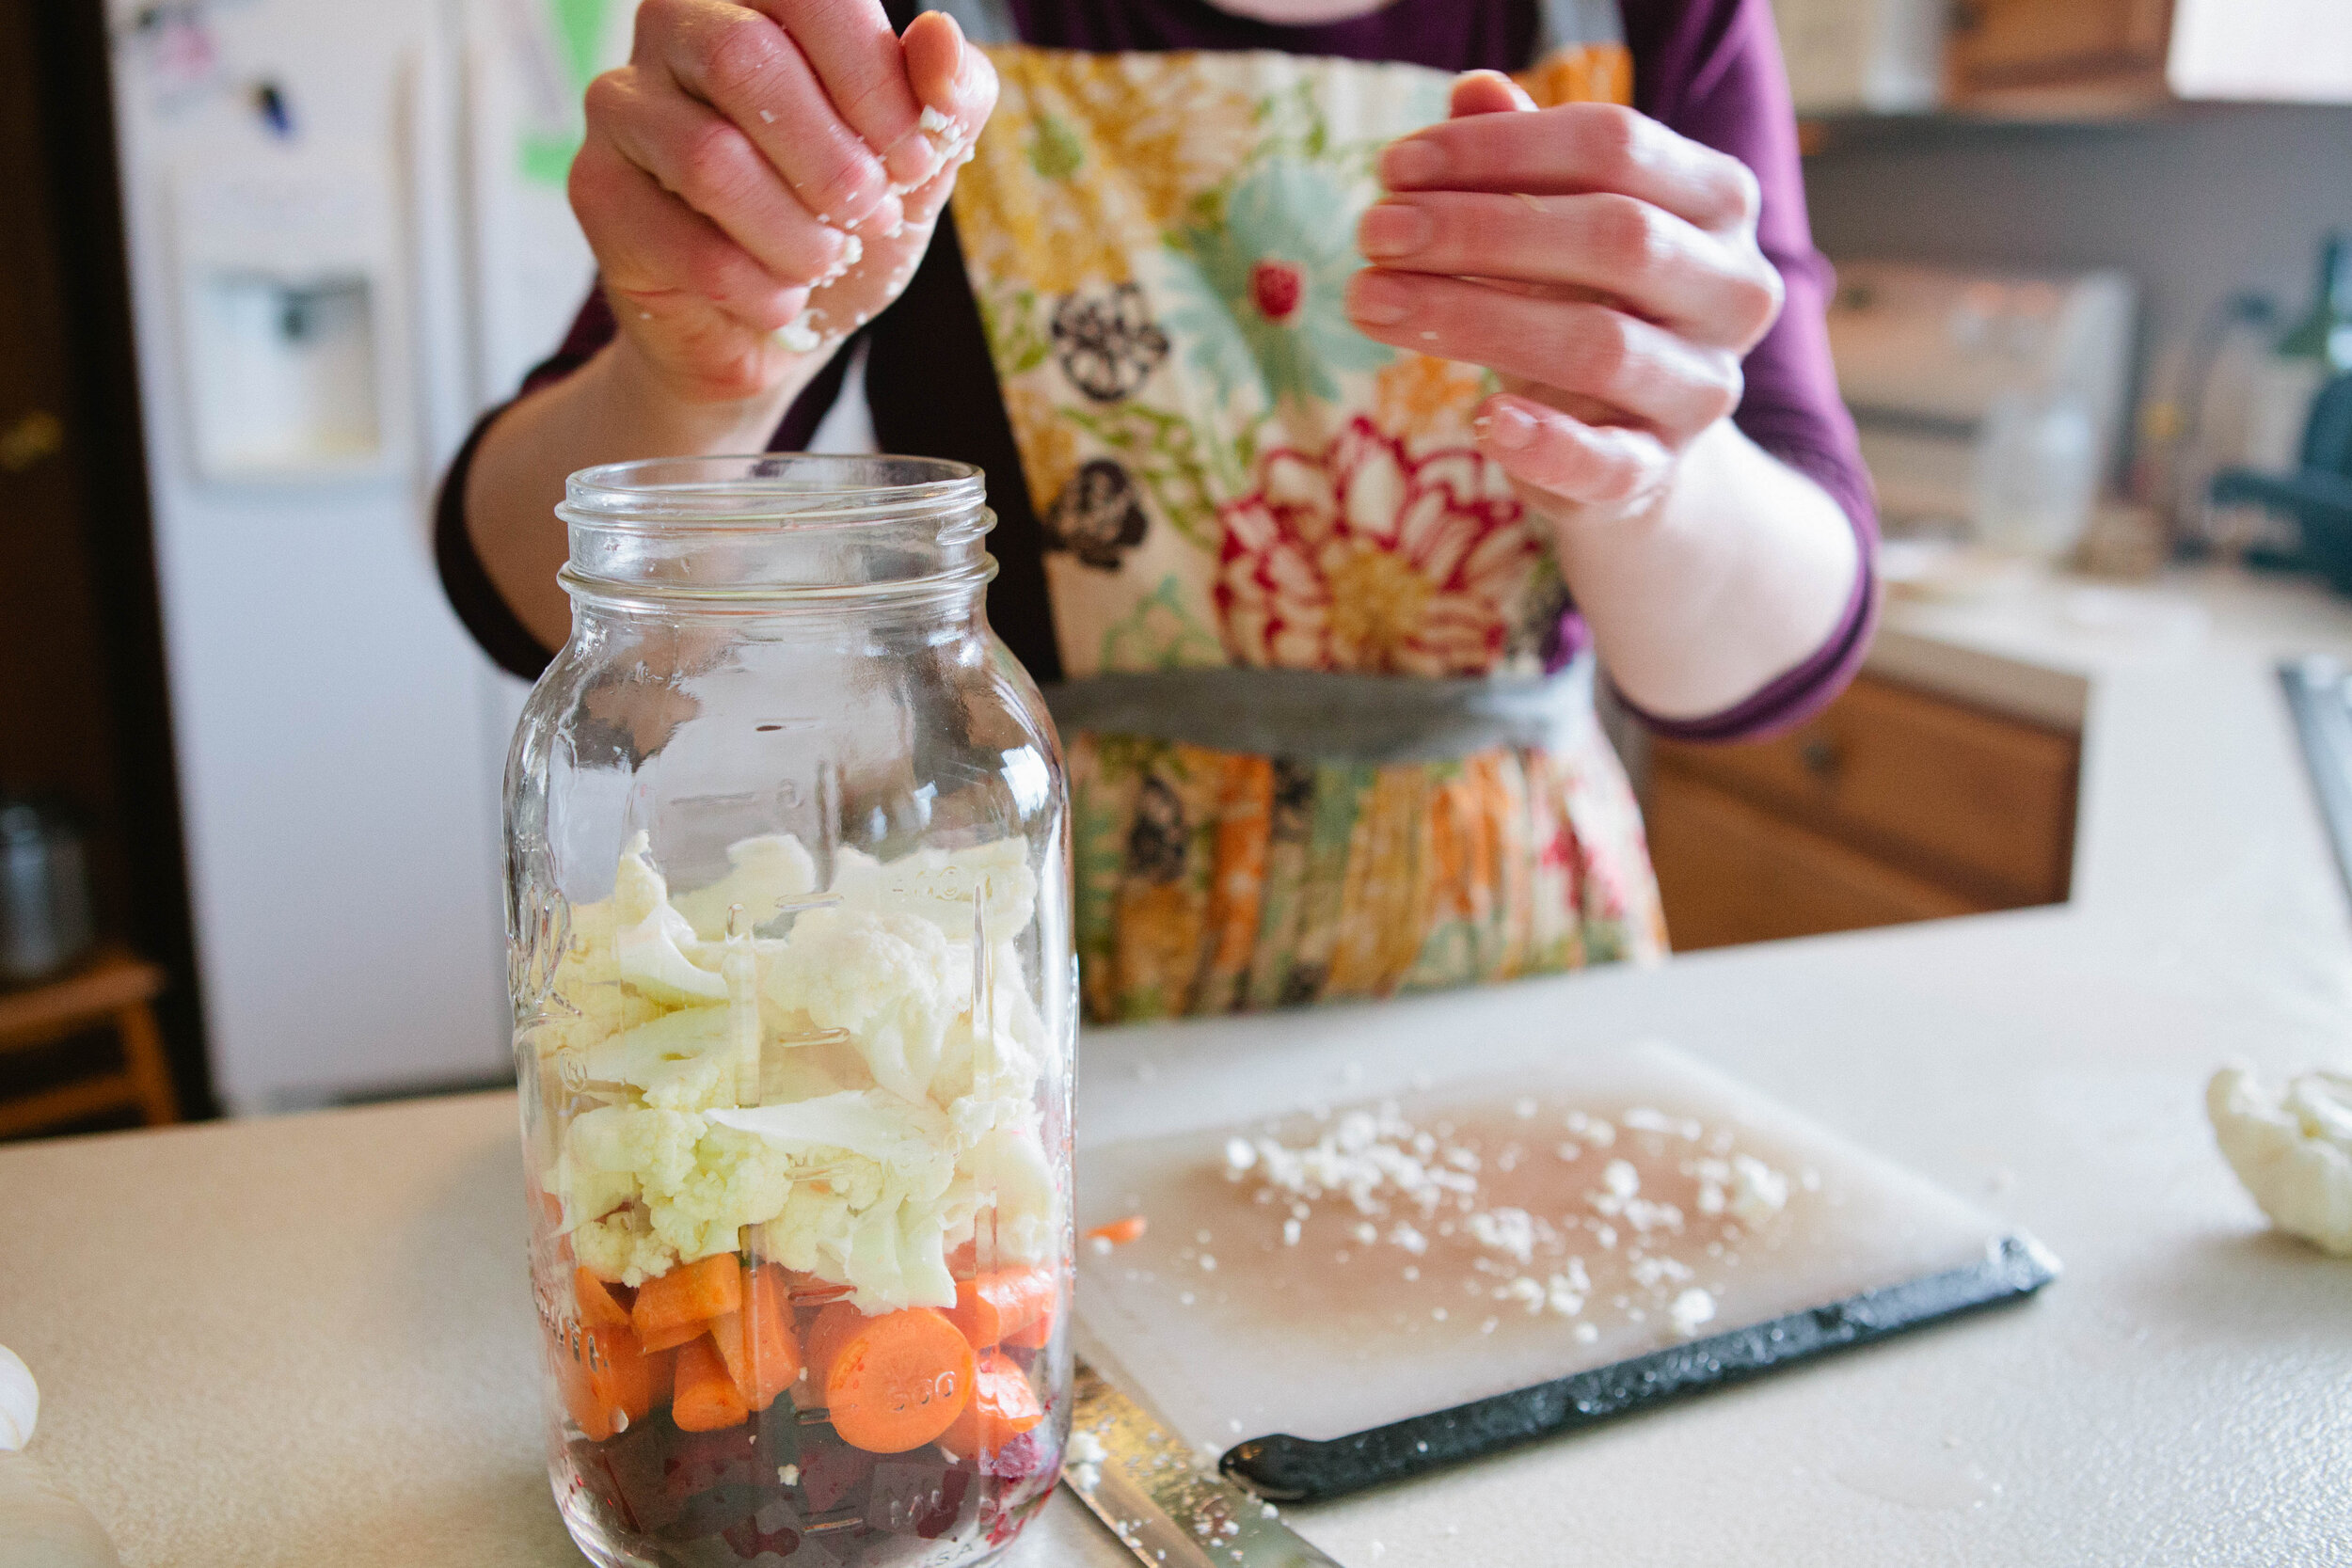
One of the most important ferments in the GAPS™ diet is the vegetablemedley. You can find this recipe in Dr. Natasha Cambell-McBride's book, Gut and Psychology Syndrome. Her recipe is for a bowl ferment, but you can also make it in a jar, which is how I prefer to make it. And this is the recipe we are going to do today! This recipe contains five different vegetables: beets (good for liver and blood cleansing), cabbage (stimulates digestion), carrots (contain vitamin A), and cauliflower (makes it taste better, believe me), and garlic (good for immune support). It makes a very rich and flavorful liquid, which is also a wonderful probiotic drink.

No matter how delicious this is, and how much you like it, drink only a little bit in the beginning to avoid die-off. Respect the ferments, man!

IMG_7729.jpg

Ingredients and Supplies for Vegetable Medley

  • Glass jar, 1/2 gallon

  • Sea salt, 3-4 TBS

  • 1 Medium beet

  • 3 Carrots

  • 1/2 Cauliflower

  • 1/2 Cabbage

  • Garlic (5-7 cloves), fresh or fermented

Instructions for Vegetable Medley

IMG_7693.jpg

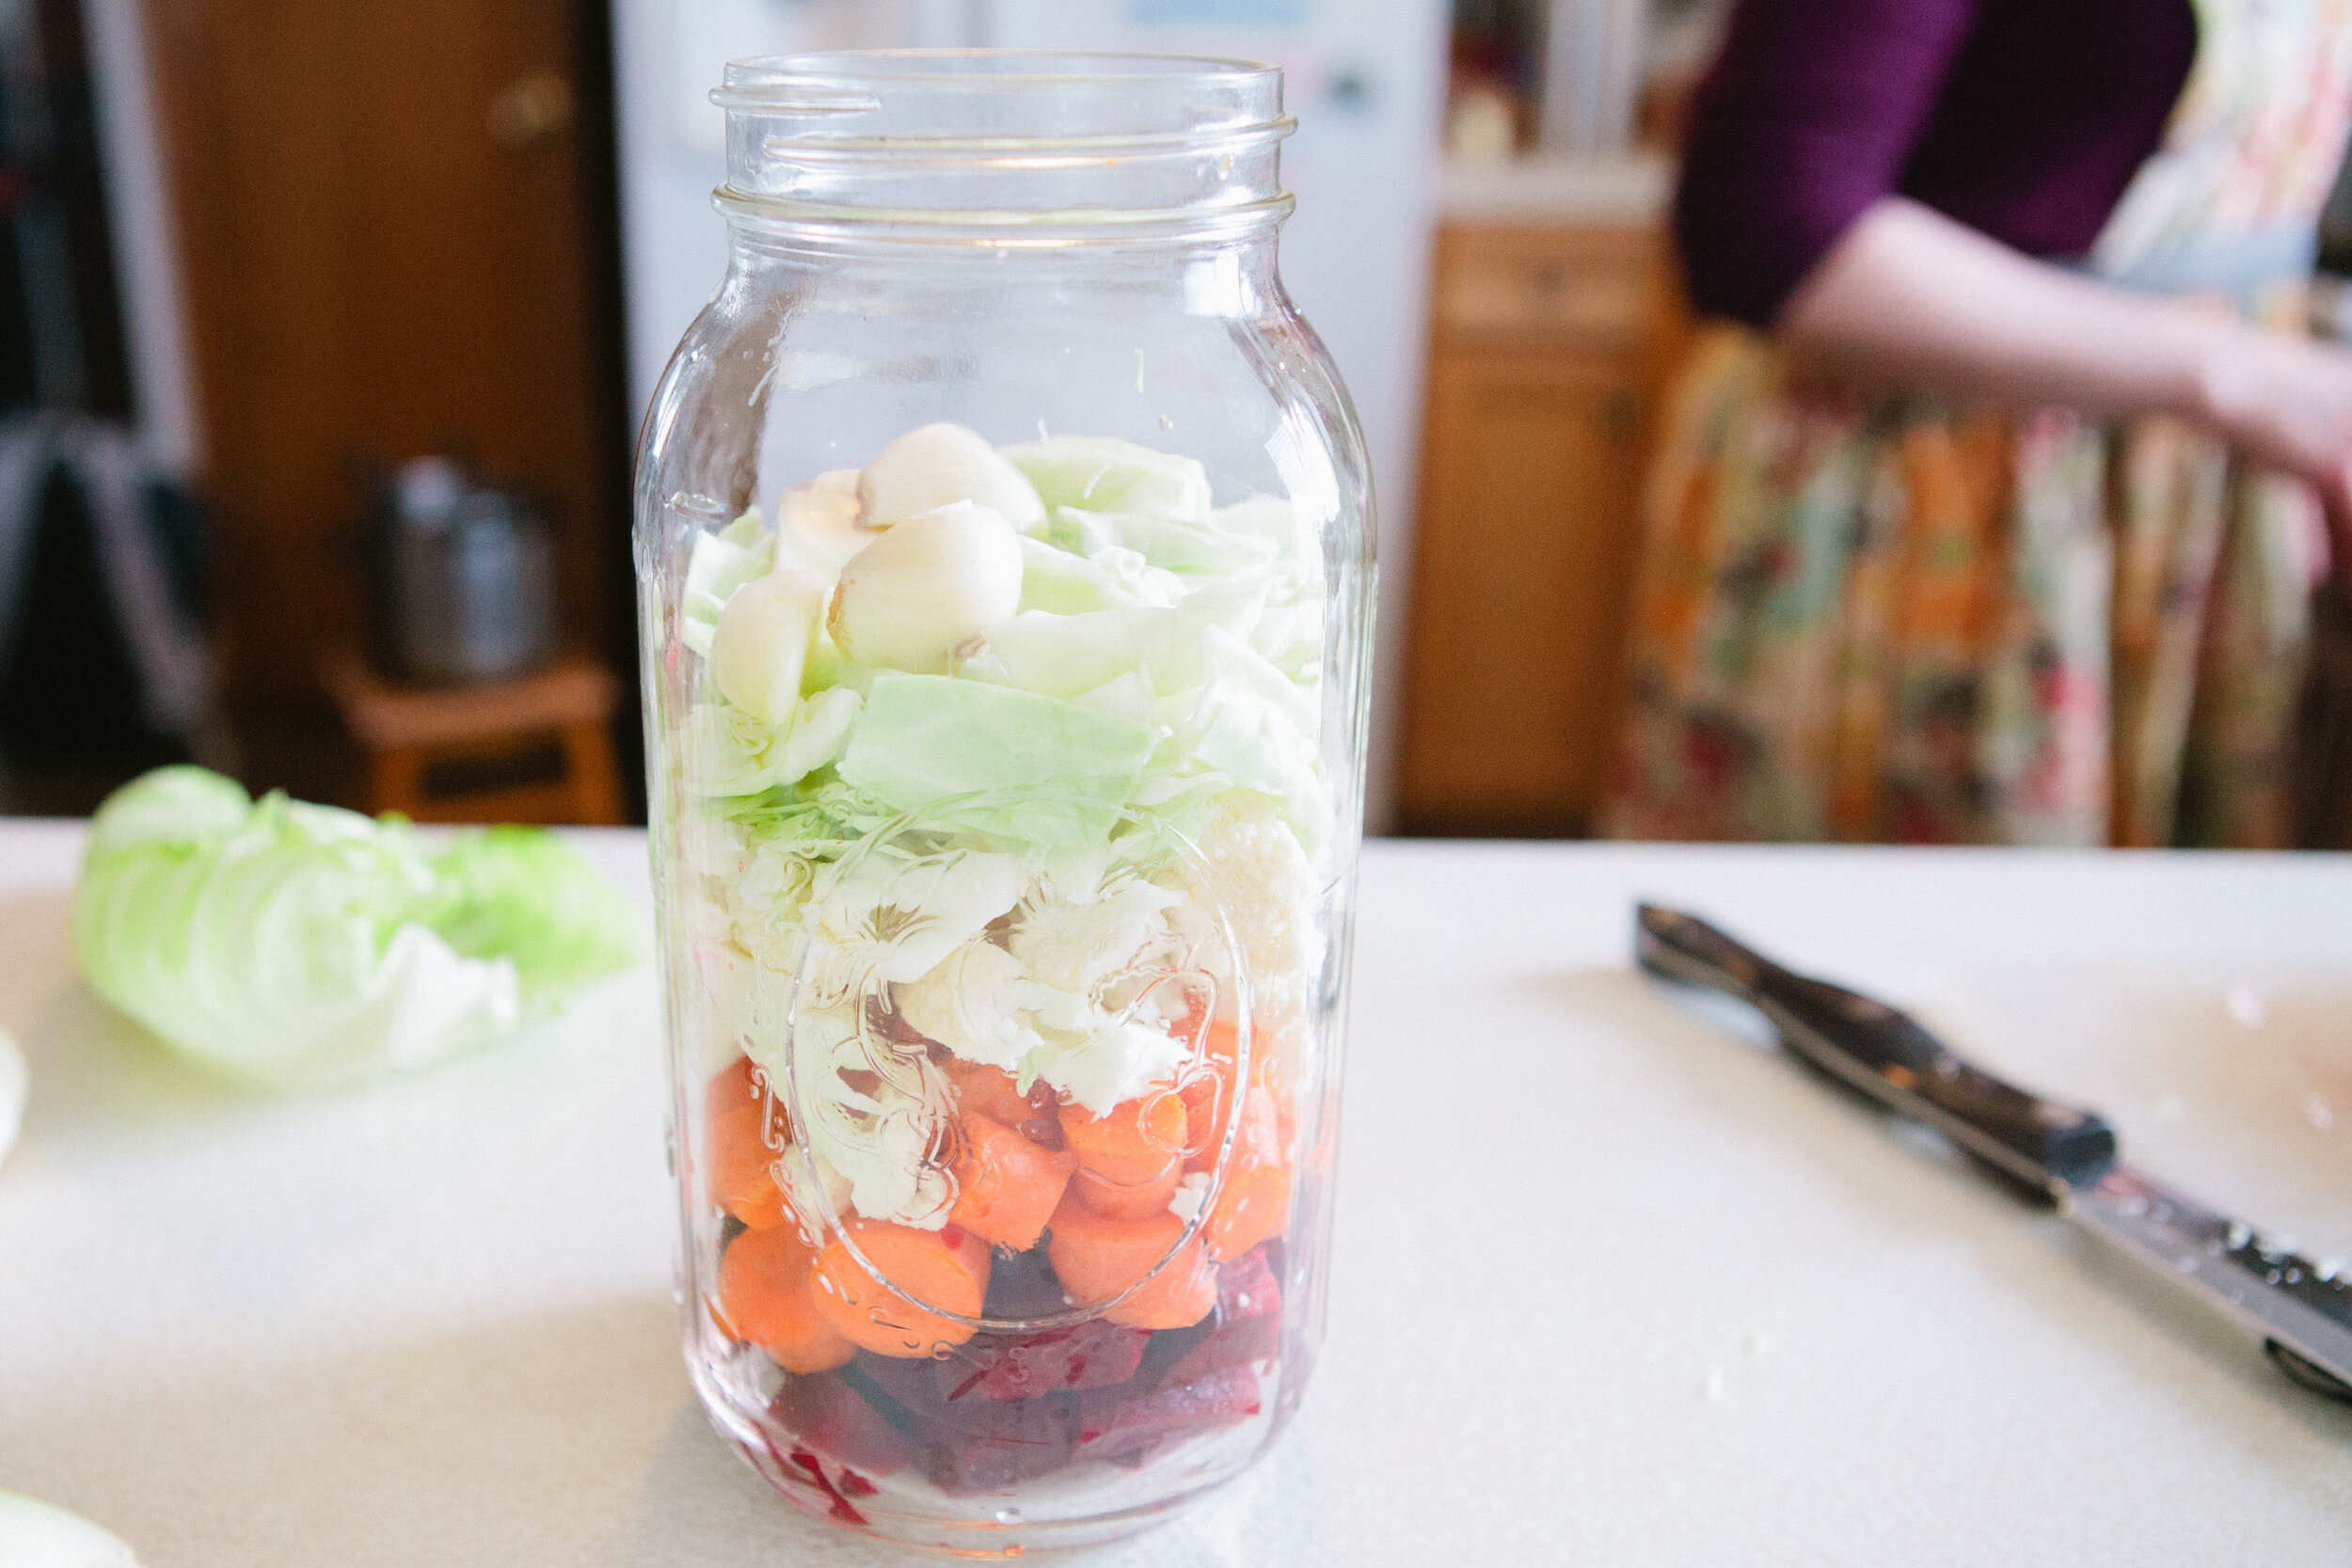
To a clean half-gallon jar, add about 1/2 cup of each vegetable. You can add them in any order you like. The main purpose of the vegetable medley is to drink the liquid, so make sure the ingredients you add only fill the jar half way (or a little more). This will create enough liquid to make it worth it!

IMG_7715.jpg

Add the beets. Then the carrots. And so on...

IMG_7727.jpg

Last of all, add the garlic. When all the ingredients are in the jar, it should be less than 3/4 full.

IMG_7732.jpg

Create a brine of the salt and about a 1 cup of filtered water. Swirl and shake to dissolve the salt.

Add filtered water, to the shoulder of the jar.

IMG_7754.jpg

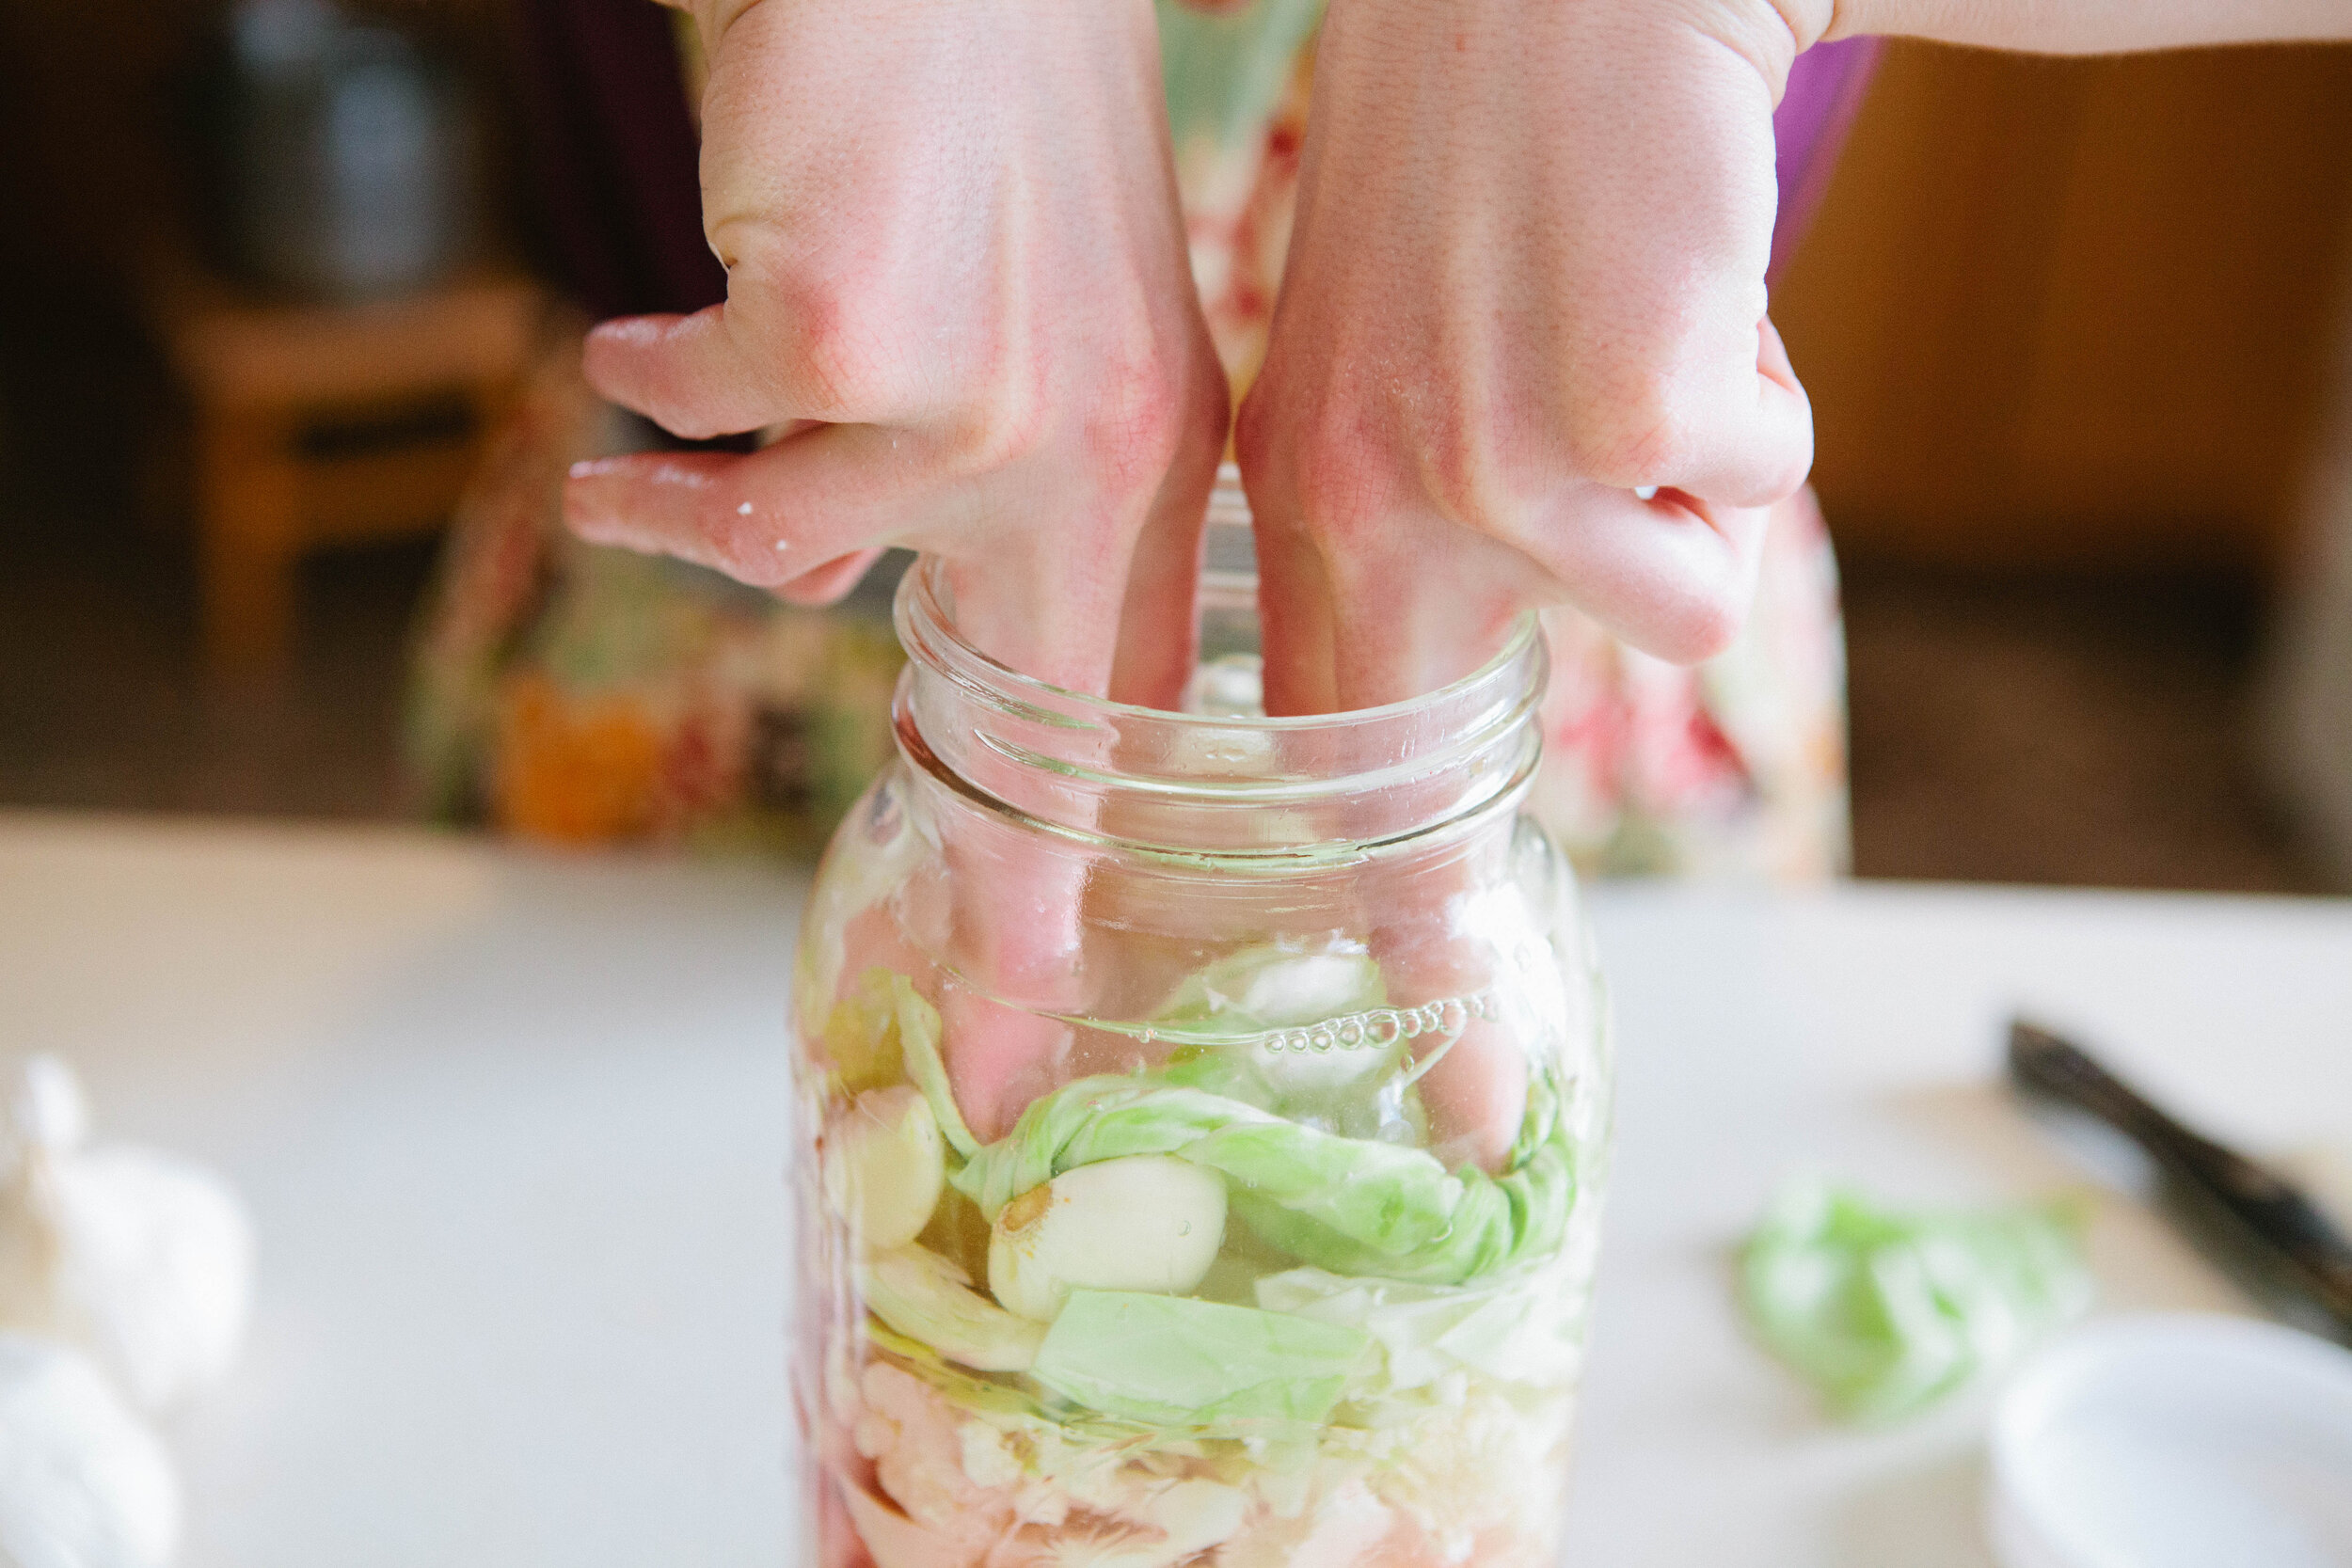
Finally, add a cabbage leaf or two to hold all the ingredients under the water. I add a pinch of salt after the cabbage leaves are in place to discourage bad bacterial growth. All that's left is to tightly screw on the lid and leave it on the counter.

After 7 days, move the jar to the fridge and consume the liquid until it's gone, and eat the vegetable pieces. This can be a perpetual ferment. To do this, daily drink what you need, then replace that amount with filtered water, and continue to leave it out on the counter. Keep up with this process until the vegetables are spent (they turn grey and tasteless).

That's it! You have successfully made the veggie medley! Once you get the basics down, you can experiment with different vegetable combinations (eg. broccoli instead of cauliflower). Let us know your favorite combinations!

Onward!


Vegetable Medley

Author:
prep time: cook time: total time:

ingredients:

  • Glass jar, 1/2 gallon
  • Sea salt, 3-4 TBS
  • Medium beet
  • Carrots (3)
  • Cauliflower
  • Cabbage
  • Garlic (5-7 cloves), fresh or fermented

instructions:

How to cook Vegetable Medley

  1. To a clean half-gallon jar, add about 1/2 cup of each vegetable.You can add them in any order you like. The main purpose of the vegetable medley is to drink the liquid, so make sure the ingredients you add only fill the jar half way (or a little more). This will create enough liquid to make it worth it!
  2. Add the beets
  3. And carrots
  4. And so on...
  5. Last of all, garlic and salt
  6. When all the ingredients are in the jar, it should be less than 3/4 full. Add filtered water, to the shoulder of the jar. Finally, add a cabbage leaf or two to hold all the ingredients under the water. I add a pinch of salt after the cabbage leaves are in place to discourage bad bacterial growth. All that's left is to tightly screw on the lid and leave it on the counter.
  7. After 7 days, move the jar to the fridge and consume the liquid until it's gone, and eat the vegetable pieces. This can be a perpetual ferment. To do this, daily drink what you need, then replace that amount with filtered water, and continue to leave it out on the counter. Keep up with this process until the vegetables are spent (they turn grey and tasteless).
  8. That's it! You have successfully made the veggie medley! Once you get the basics down, you can experiment with different vegetable combinations (eg. broccoli instead of cauliflower). 
Created using The Recipes Generator
VegetableMedley.png

Beet Kvass

Beet Kvass is a liver tonic. Anyone can make this simple fermented drink! It requires only a few ingredients, and only a few minutes to "put up."

Want to learn how? Good!

But first, some definitions:

  • Kvass: beverage

  • "Put up" a ferment: combine ingredients and set it aside to let it ferment

  • Sea Salt: unrefined salt, salt that is the same way it was found in nature

    • contains many trace minerals, depending on which type it is

    • Celtic Sea Salt, Real Salt, Himalayan Salt, others

    • most fermenting enthusiasts prefer Himalayan for fermenting (it's a taste thing)

  • Shoulder of the jar: the area of a jar where the jar narrows to become the mouth


Ingredients & Supplies to make beet kvass

  • 1/2 gallon glass mason jar

  • 1 medium-large beet

  • 2 TBS sea salt

  • cold, filtered water

Directions to Make Your Own Beet Kvass

Cut the beet into 1-2 inch cubes. Do not cut too small or shred the beet! Too much surface area and the beets will ferment too fast and create alcohol!

You do not need to peel the beets, just wash fairly well and cut off the top. A little organic dirt will add minerals and soil bacterium.

Place the cut beet in the mason jar. The beets should fill the jar about 1/4-1/3 of the way

Add salt to the jar. 2 TBS is the traditional amount when whey is not added.

Fill the jar up to the shoulder with cold, filtered water.

Seal the jar with a metal lid and ring, closing tightly.

Gently tip and swirl the jar to help the salt dissolve.

Set on the counter for 3-5 days, until the kvass is a rich purple color.

Move to the fridge (the beets stay in the liquid)

Consume daily!

You can use the beets for two batches

  • when the liquid is almost gone (about a pint left) then refill with water and salt

  • set on the counter for another 3-5 days

  • when the liquid is gone the second time, discard the beets and start fresh

Tips and Tricks for beet kvass

  • My beets are floating!

    • It's okay if the beets are floating-they often do, but will eventually sink. You don't need a weight for this ferment.

  • How much salt?????

    • The amount of salt largely depends on you--your taste, and your climate.

    • The salt is there to inhibit bad bacteria growth until the good bacteria are strong enough.

    • Beet kvass doesn't seem to go bad often, especially in the dry climate of Colorado.

    • I use about 2 TBS salt and no whey, with no problem. No whey! Ha ha ha, get it?

    • People like their kvass with more or less salt, so see how it tastes best to you.

  • I have a white film on the top and/or the bottom of my kvass.

    • DON'T start over!

    • This is merely the hard working lactobacillus bacterium thriving!

    • You can shake or stir in the white film, or skim it off, if you prefer.

  • I have blue or black, or another color of mold!

    • This is NOT okay. If you find this, throw it out and start over!

  • How much do I take each day?

    • It is generally recommended that you take up to 4 ounces 2x/day.

    • As with all ferments, it is important to START SLOW and increase gradually.

    • It's best to take this on an empty stomach, like first thing in the morning.

Love beets?!?!?!?

Can't get enough of them?!?!?

Learn about other great ways to eat beets here!

Happy fermenting!

Onward!


Beet Kvass

Author: Amy Mihaly, Be Well Clinic

Ingredients

  • 1/2 gallon glass mason jar
  • 1 medium-large beet
  • 2 TBS sea salt
  • cold, filtered water

Instructions

  1. Cut the beet into 1-2 inch cubes. Do not cut too small or shred the beet! Too much surface area and the beets will ferment too fast and create alcohol!
  2. You do not need to peel the beets, just wash fairly well and cut off the top. A little organic dirt will add minerals and soil bacterium.
  3. Place the cut beet in the mason jar. The beets should fill the jar about 1/4-1/3 of the way
  4. Add salt to the jar. 2 TBS is the traditional amount if no whey added.
  5. Fill the jar up to the shoulder with cold, filtered water.
  6. Seal the jar with a metal lid and ring, closing tightly.
  7. Gently tip and swirl the jar to help the salt dissolve.
  8. Set on the counter for 3-5 days, until the kvass is a rich purple color.
  9. Move to the fridge (the beets stay in the liquid)
  10. Consume daily!
  11. You can use the beets for two batches: when the liquid is almost gone (about a pint left) then refill with water and salt, set on the counter for another 3-5 day. When the liquid is gone the second time, discard the beets and start fresh.
BeetKvassBlogPost.png