There are many reasons why an electrolyte drink may be needed. You or your child is sick and is getting dehydrated. You’ve spend a lot of time outside in the hot sun. You haven’t been getting enough minerals through your diet so your cells are dehydrated. In each of these cases, you will find this electrolyte drink to be refreshing to your body and taste buds!
You probably recognize the common symptoms of dehydration, such as thirst and a headache, but did you know that fatigue, irritability, difficulty concentrating, temperature regulation problems, poor sleep, and more are also symptoms of dehydration.
That’s because dehydration is not as simple as a deficiency in water. It also means an imbalance of water and electrolytes (minerals) in our body. To be in good health, we need to maintain a balance of minerals and water in three places: inside our cells, outside our cells, and in our blood stream. Water does not maintain this balance, minerals do!
Remember back to your days of chemistry and biology. Do you remember learning about osmotic balance across a semi-permeable membrane? That’s what’s happening all the time in our bodies. Both our cell walls, and our blood vessel walls are semi-permeable membranes. The water will naturally move to cause an even dilution of our minerals and other “stuff.” If we do not have enough minerals inside our cells, then less water is needed to make the proper ratio, and our cells will be dehydrated. This impairs their function, and leads to the metabolic symptoms listed above.
This cellular dehydration will trigger thirst. Which was helpful when we drank water from the ground that was naturally full of minerals. But most of us drink treated water, which have very few minerals left. This is why adding some type of mineral, like a tiny pinch of Celtic or Baja Gold sea salt to every glass of water we drink is a good idea.
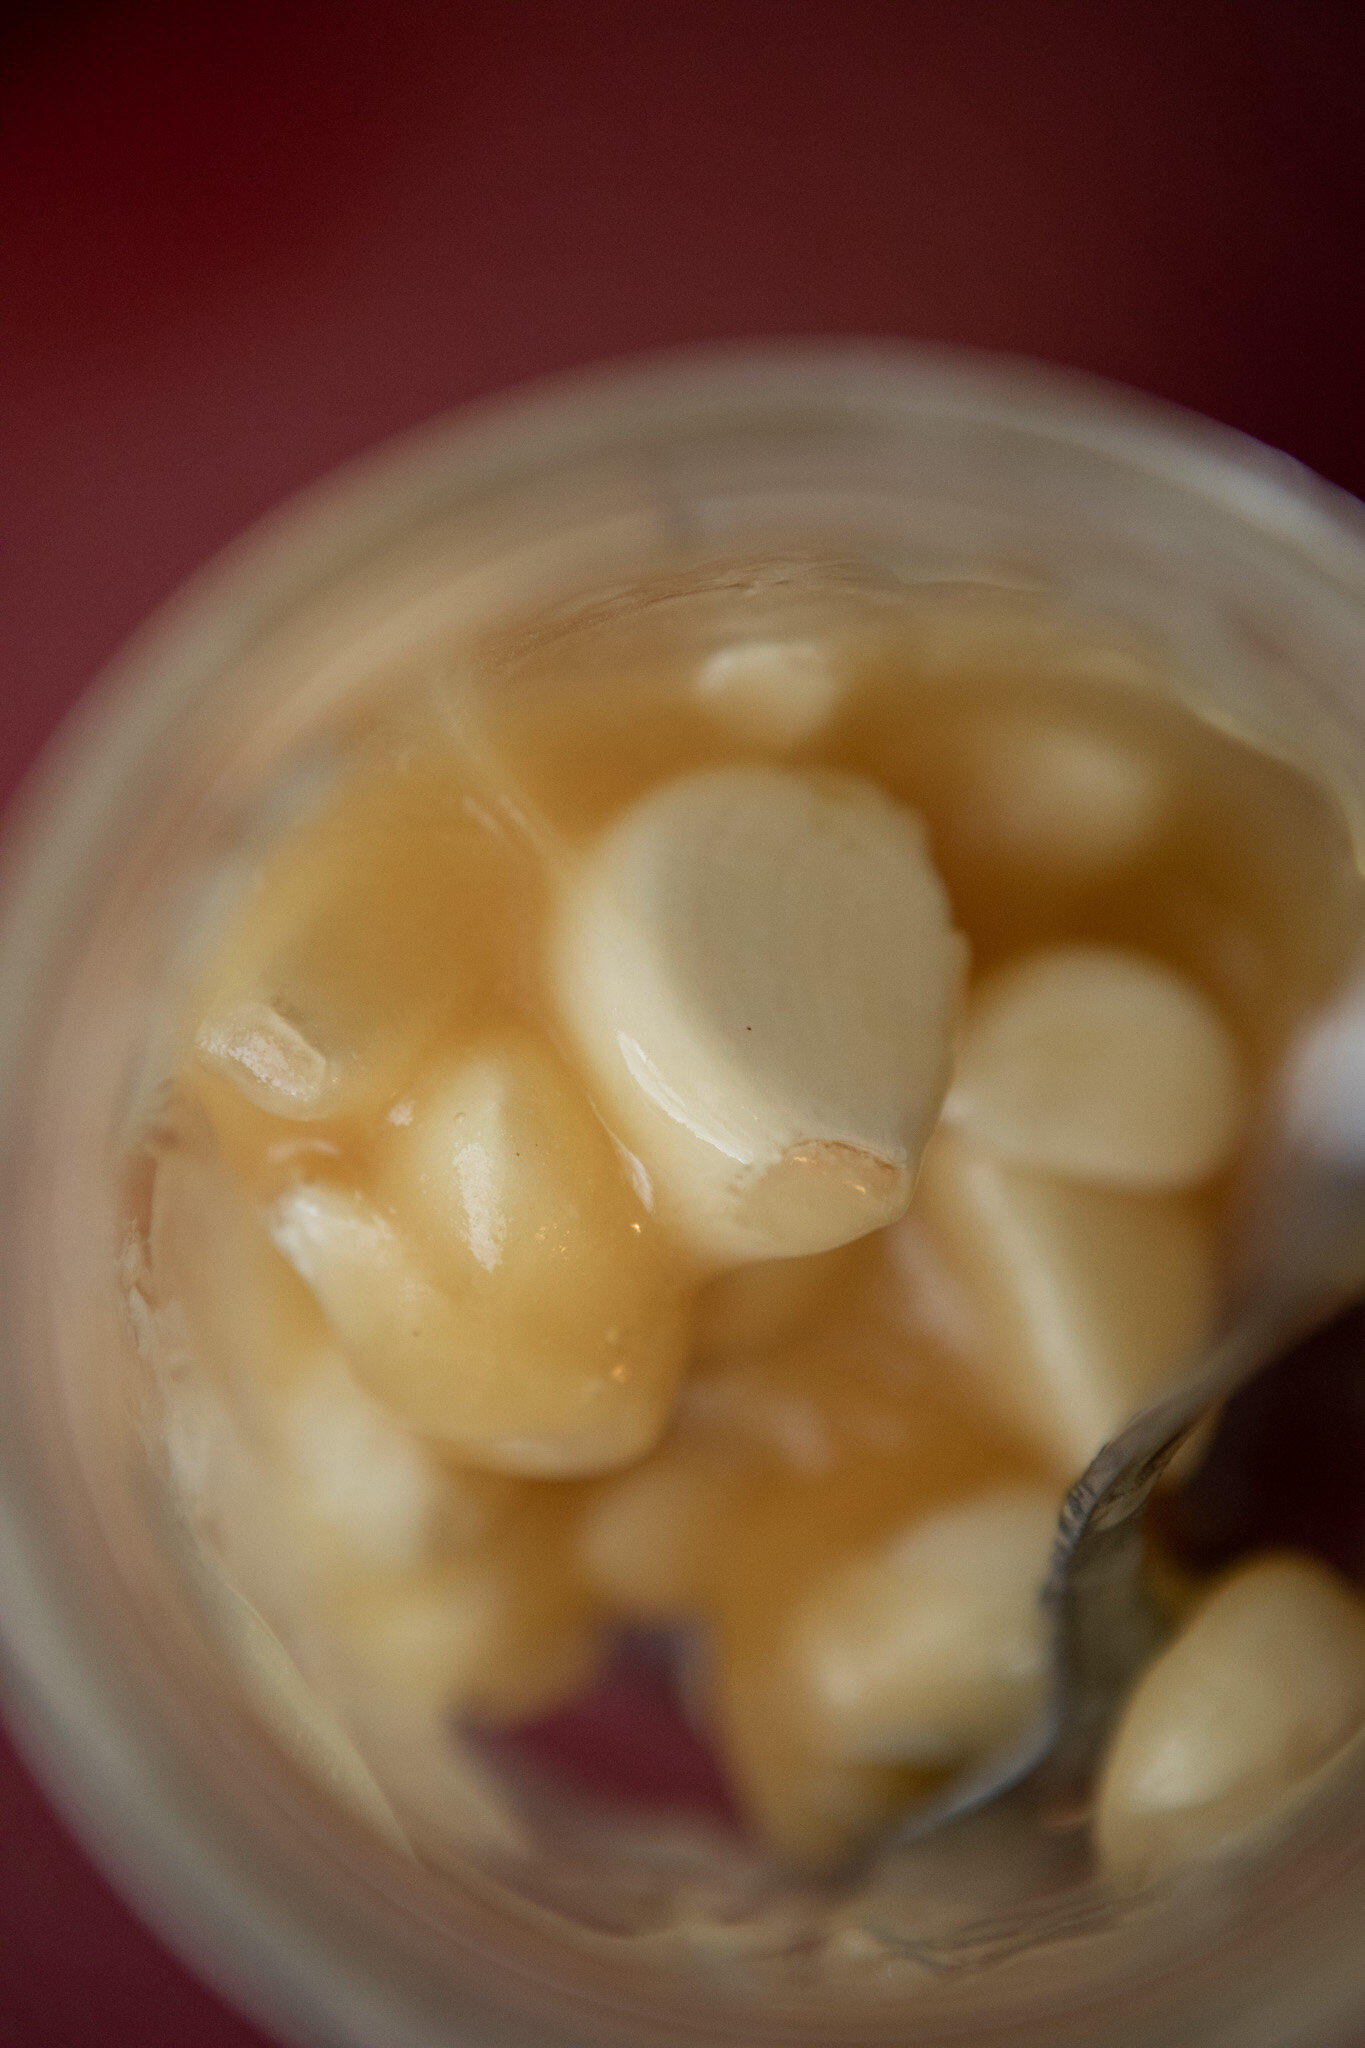
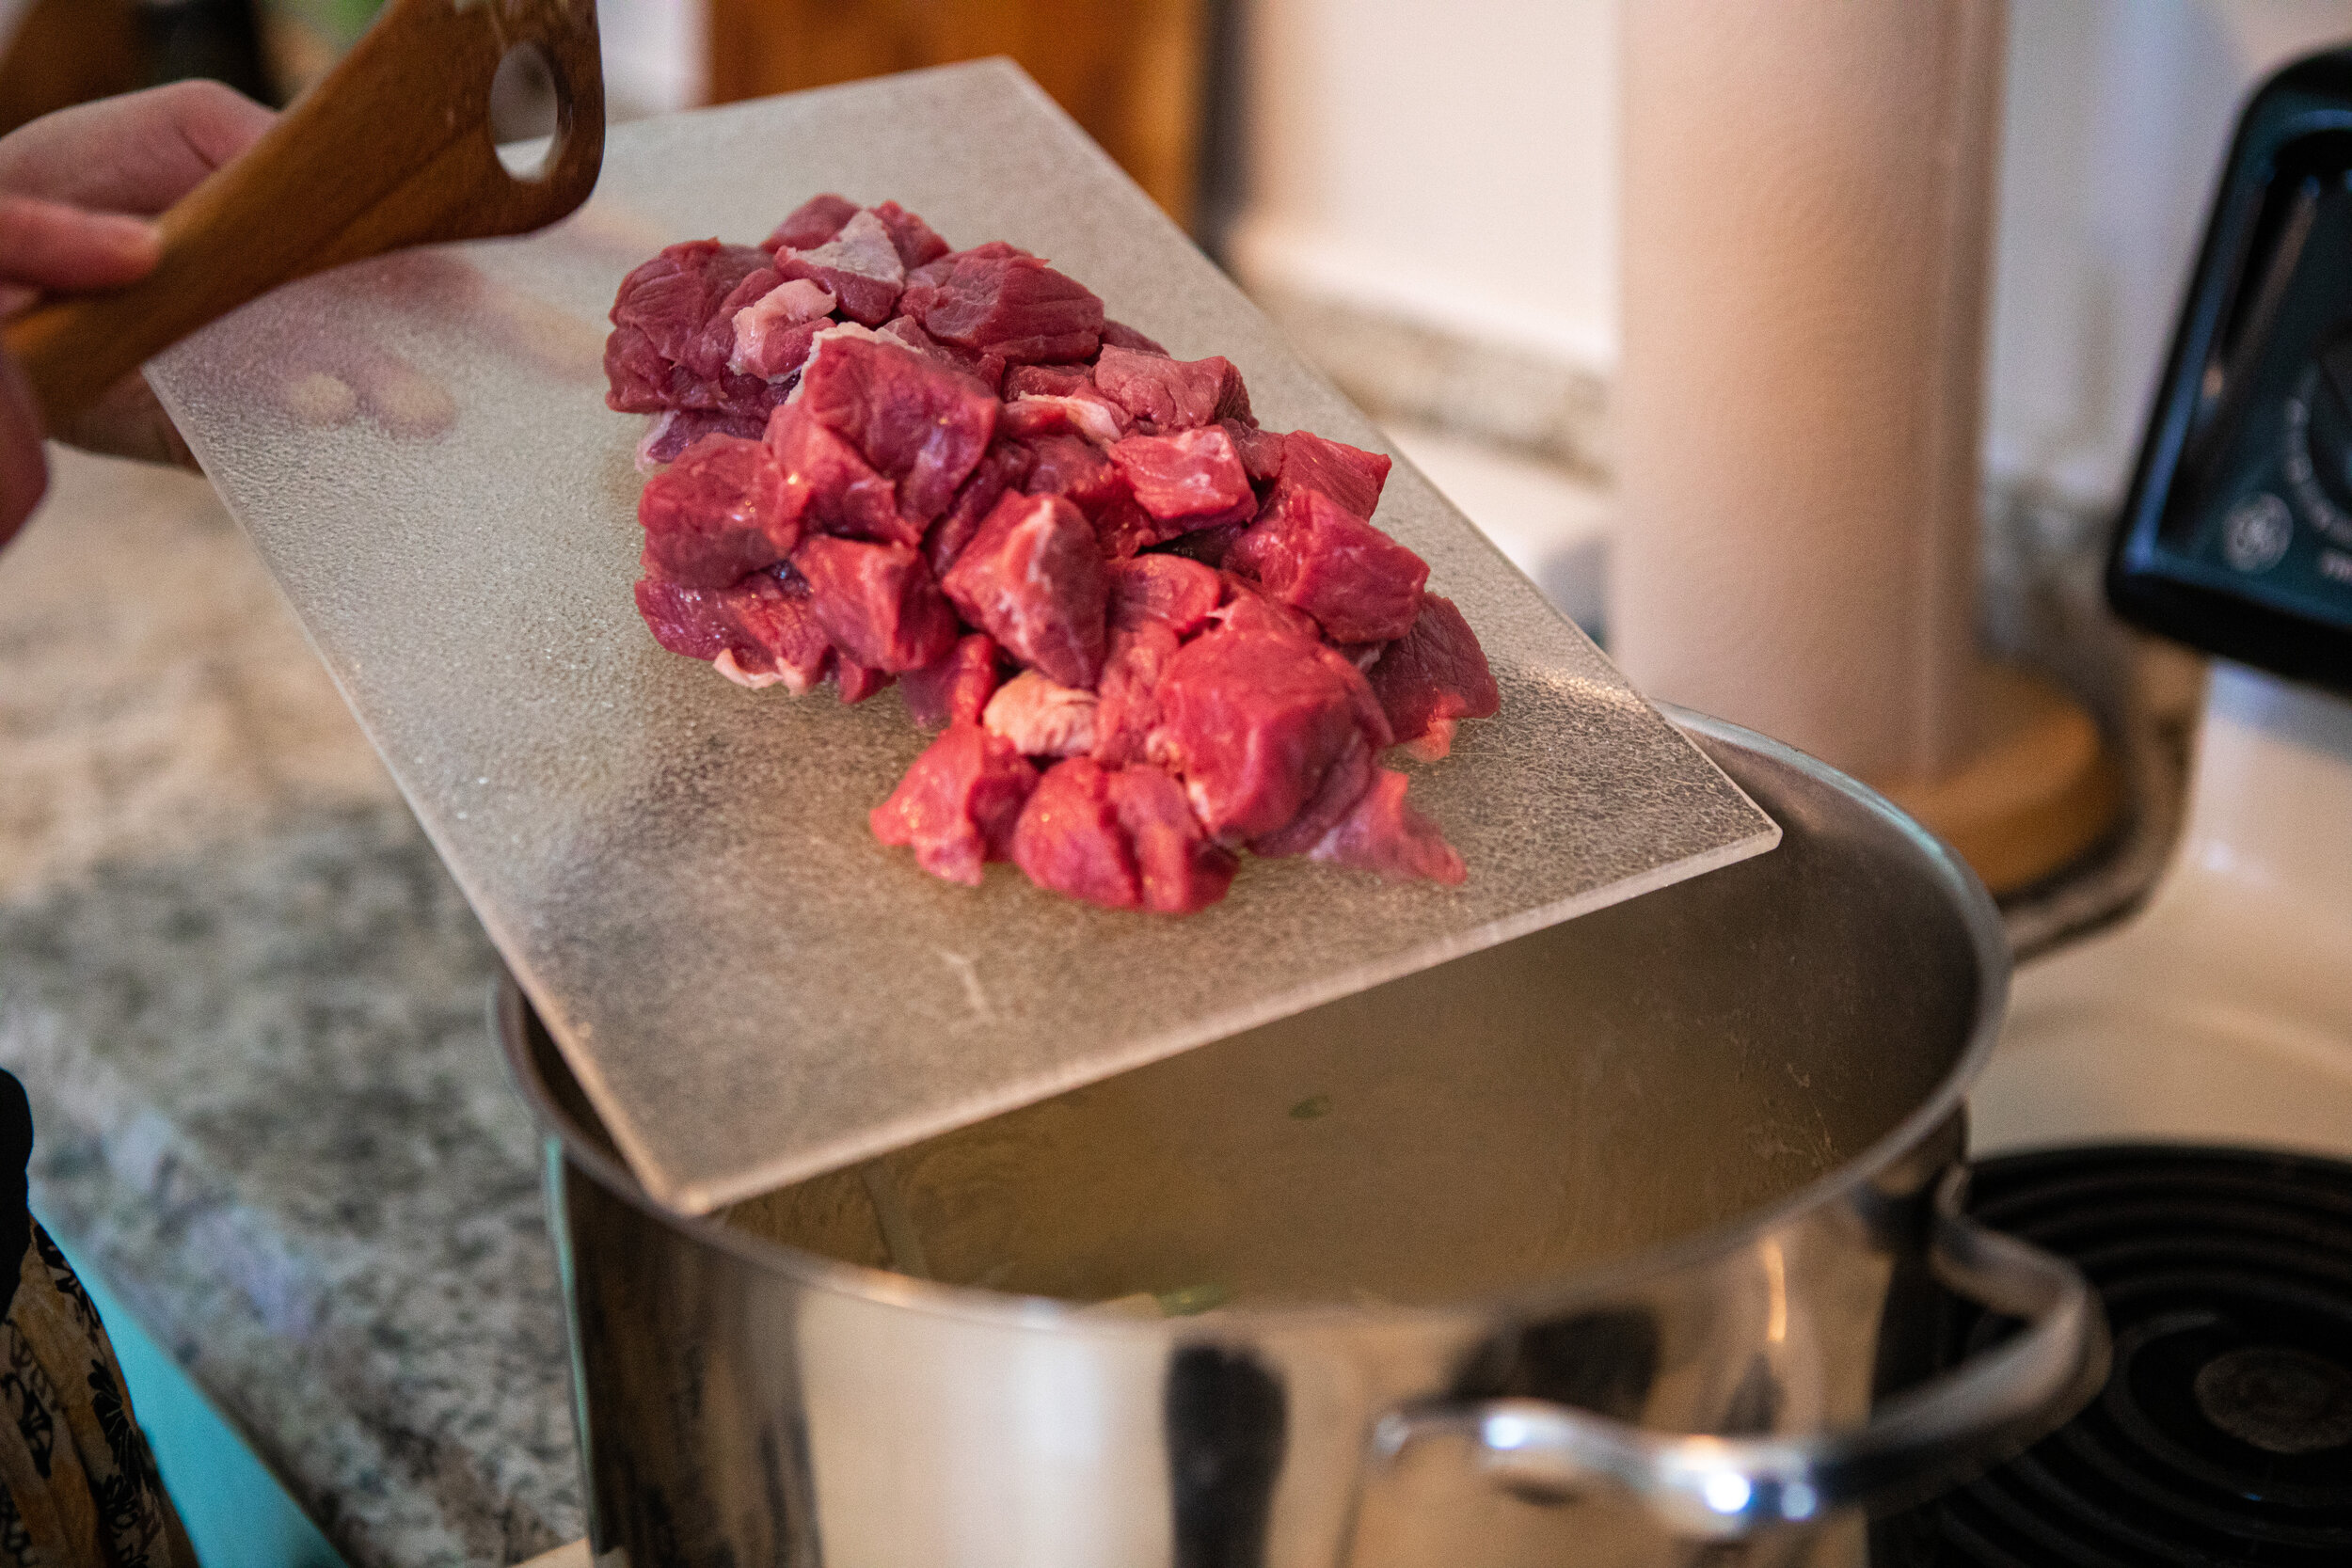
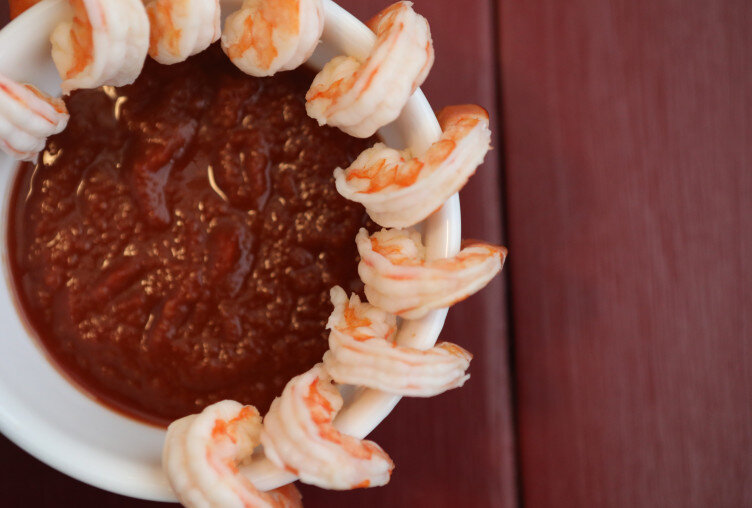
But there are some times when we get behind, and need more concentrated electrolytes. This was always true, and is not just a modern problem (although our treated water probably makes us more prone to it in recent time). When we need concentrated electrolytes, we can get it in several different forms. Bone broth is an excellent electrolyte drink. Meat stock and other foods that contain gelatin can also be nourishing in this way, especially when you add salt to taste. But if you don’t feel like food, you can make your own electrolyte drink with citrus juice, specifically lemon or lime juice.
Natural Electrolyte Drink Recipe
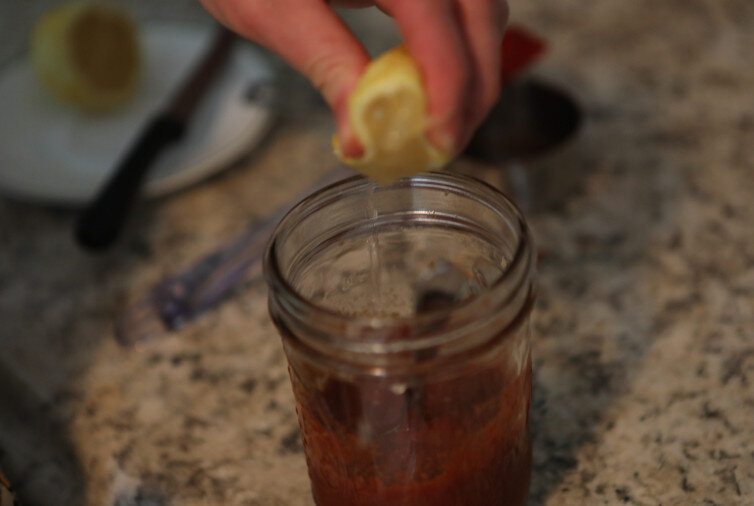
8 oz filtered water
juice of 1 lemon or lime*
1/8-1/4 tsp sea salt (Celtic or Baja Gold are best)
Directions:
Fill up a glass or jar with approximately 8 oz of water, and add desired amount of sea salt. Next roll your lemon or lime on the counter, applying pressure, until it feels more squishy inside. This means the juices have been released. (This will make juicing easier, and will also increase the amount of juice that will end up in your drink.) Cut the lemon or lime in half, then squeeze the juice into the water. Use your discretion, you may need to use 1.5-2 fruits if they are small or dry. Then stir and enjoy!
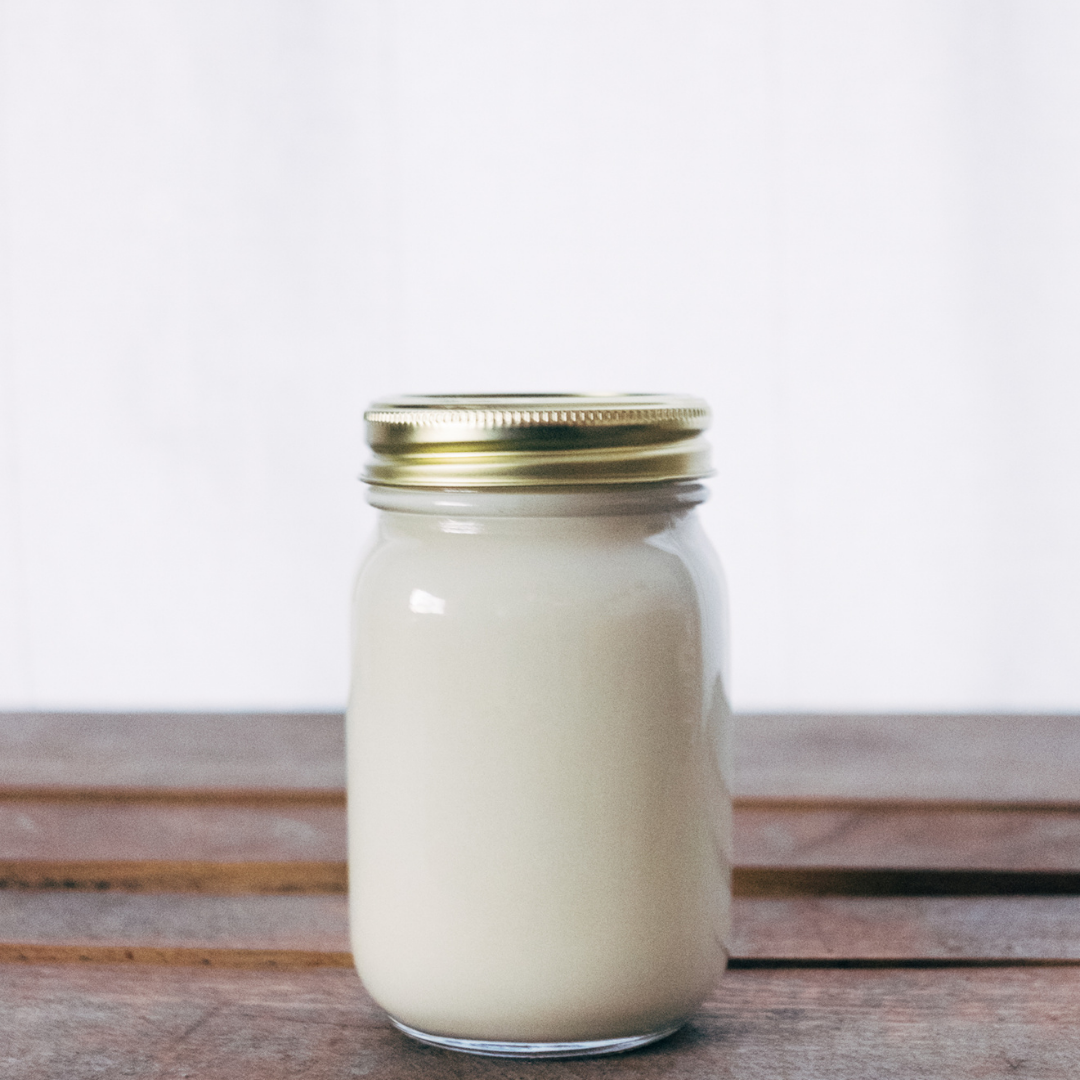
Listen to your body as you are drinking it. Sip or gulp as directed by your taste buds and intuition. I like to make mine in a pint mason jar with a lid, so I can bring it with me and sip on it throughout the day. It is great anytime, not just when you are sick or out in the sun. Minerals are necessary to health, and if you are feeling tired, run down, tense or just “off” you may need more of them. Try this drink out and see how it feels!
*Lemons and limes are different in their nutritional and electrolyte make-up. I would recommend defaulting to limes, as this seems to be more hydrating. But you can experiment with lemons as well to see which your body likes best!