


What is the difference between fermented garlic and honey fermented garlic? The difference is mostly sweetness, but fermented garlic uses a saltwater brine, whereas honey garlic uses the liquid from the garlic cloves combined with the live enzymes and microbes in the honey to ferment. Both are very useful to support the immune system, but honey garlic has the additional benefit of raw honey. Most children like the sweetness, so it may be easier to get garlic into the children.
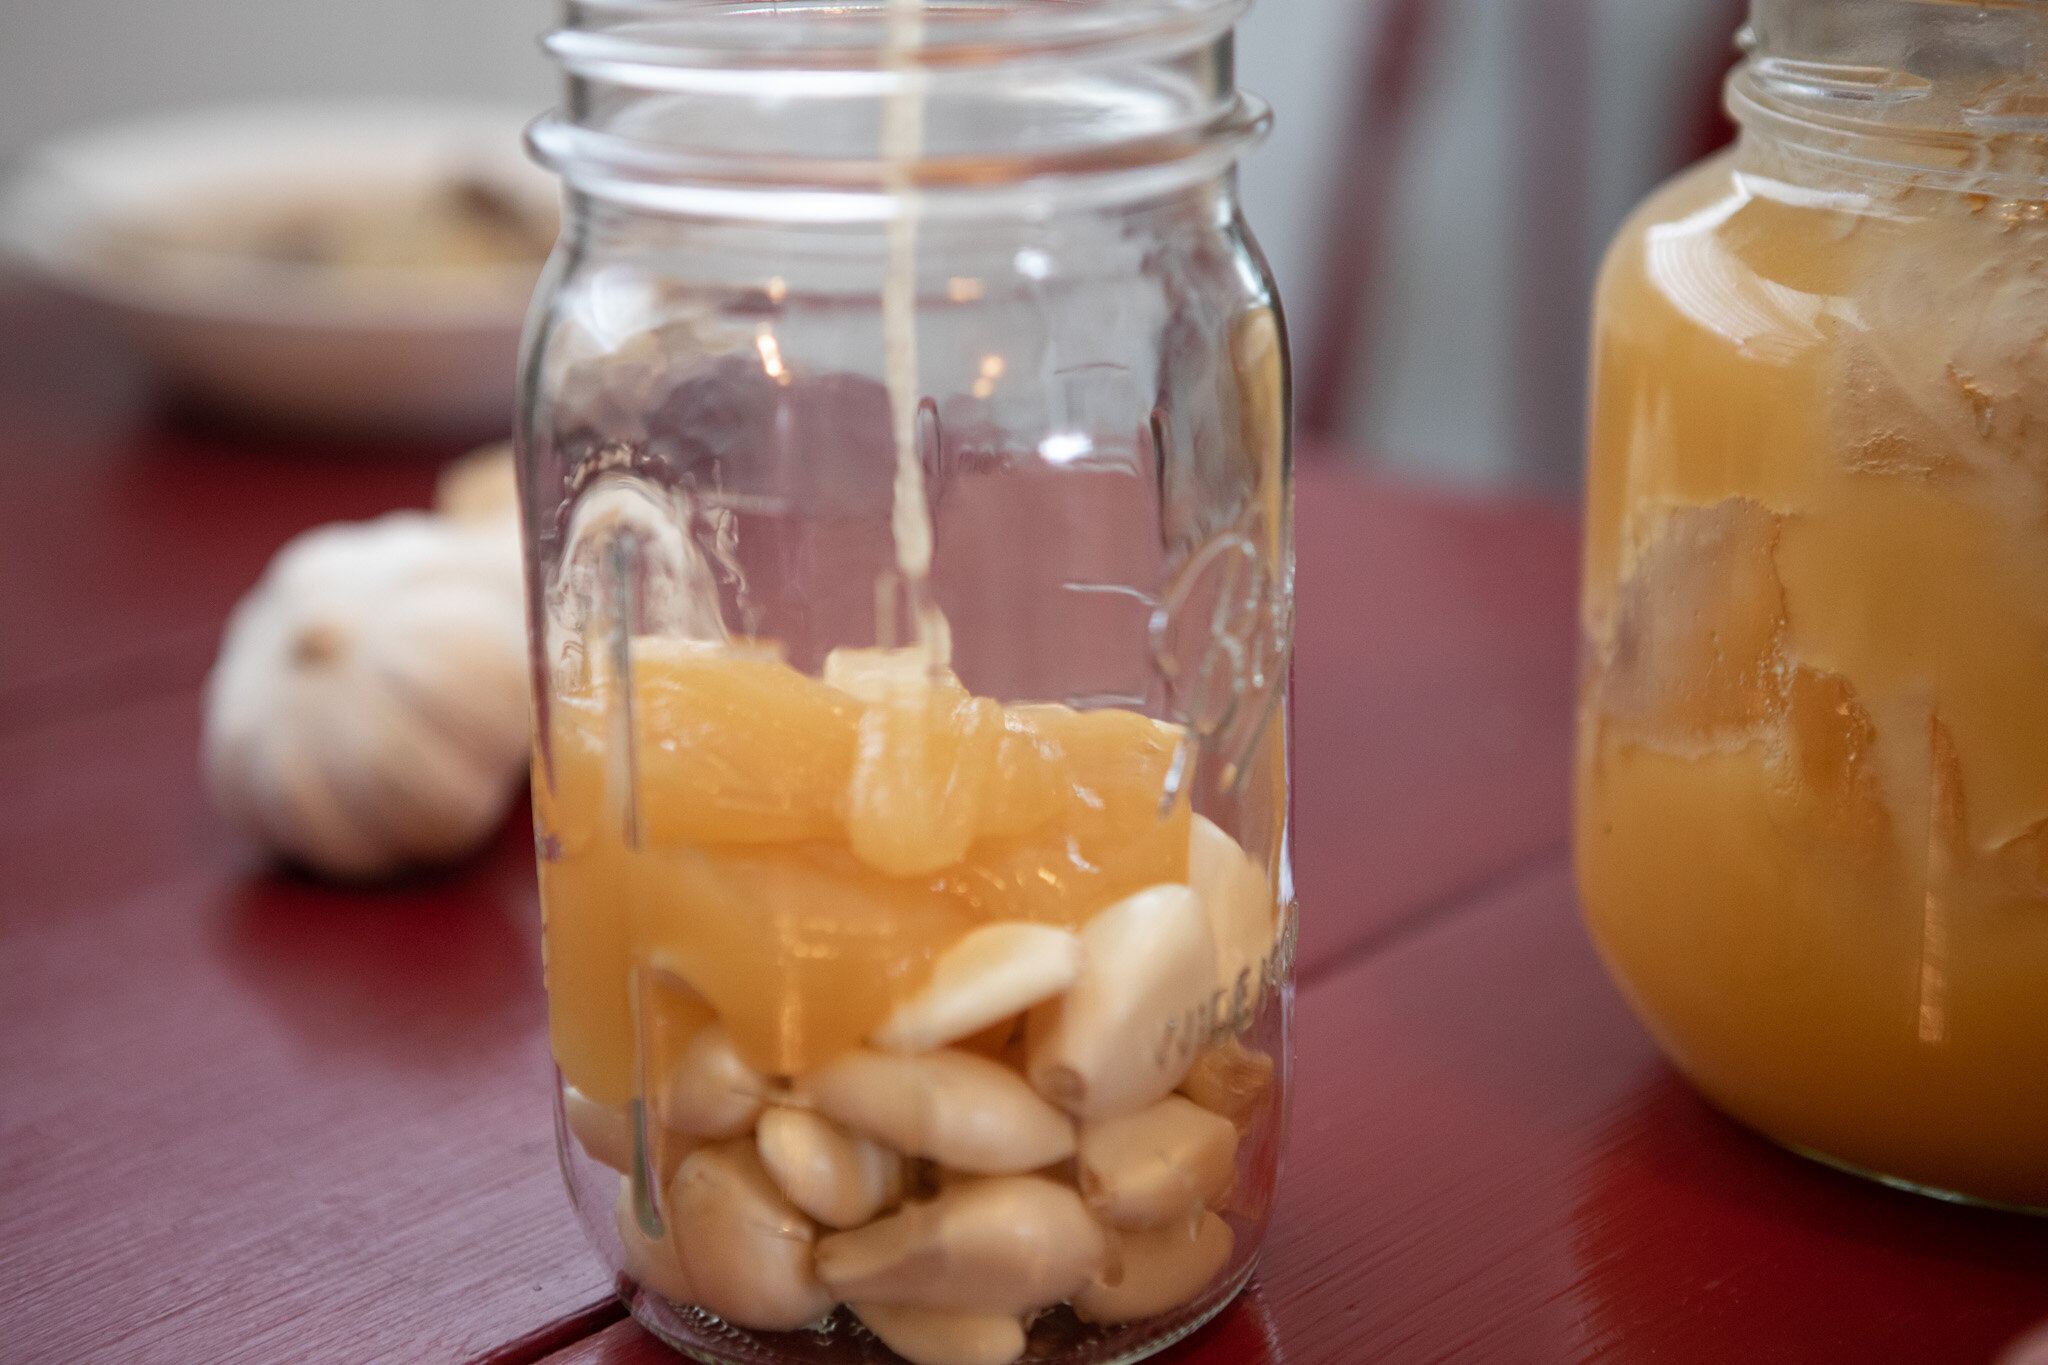
How long does it take to ferment? Fermentation will be well on its way in about a week, but most prefer to ferment for about a month. Even in this thick honey the garlic did float, so make sure to turn it over every day to make sure the garlic stays coated while it ferments. Check the lid before, it may come loose from the gassings.
Where do I source local, raw honey? You want to get your honey from a local farmer. One, because they’re the best. Two, local honey can help with allergies. When you buy your honey, ask the following questions to see how aligned your beekeeper is with your priorities of healthy honey:
Where are your bees located?
How do you process your honey?
Is it cold pressed or raw?
Their answers will give you an idea how close they are to pesticide areas and will give you an idea if your beekeeper is trying to avoid pesticide areas. The process they describe should include harvesting their honey, putting it in a cold spinner, and spinning the honey while filtering out pieces of beeswax and bee parts with a mesh filter. The honey then goes into buckets and is divided into the containers that you purchase. You want to find honey that is processed with no heat, and only the basic filtering. Most people who do this process will do only small batches, which is ideal.
Ingredients for Honey Fermented Garlic:
Garlic, peeled
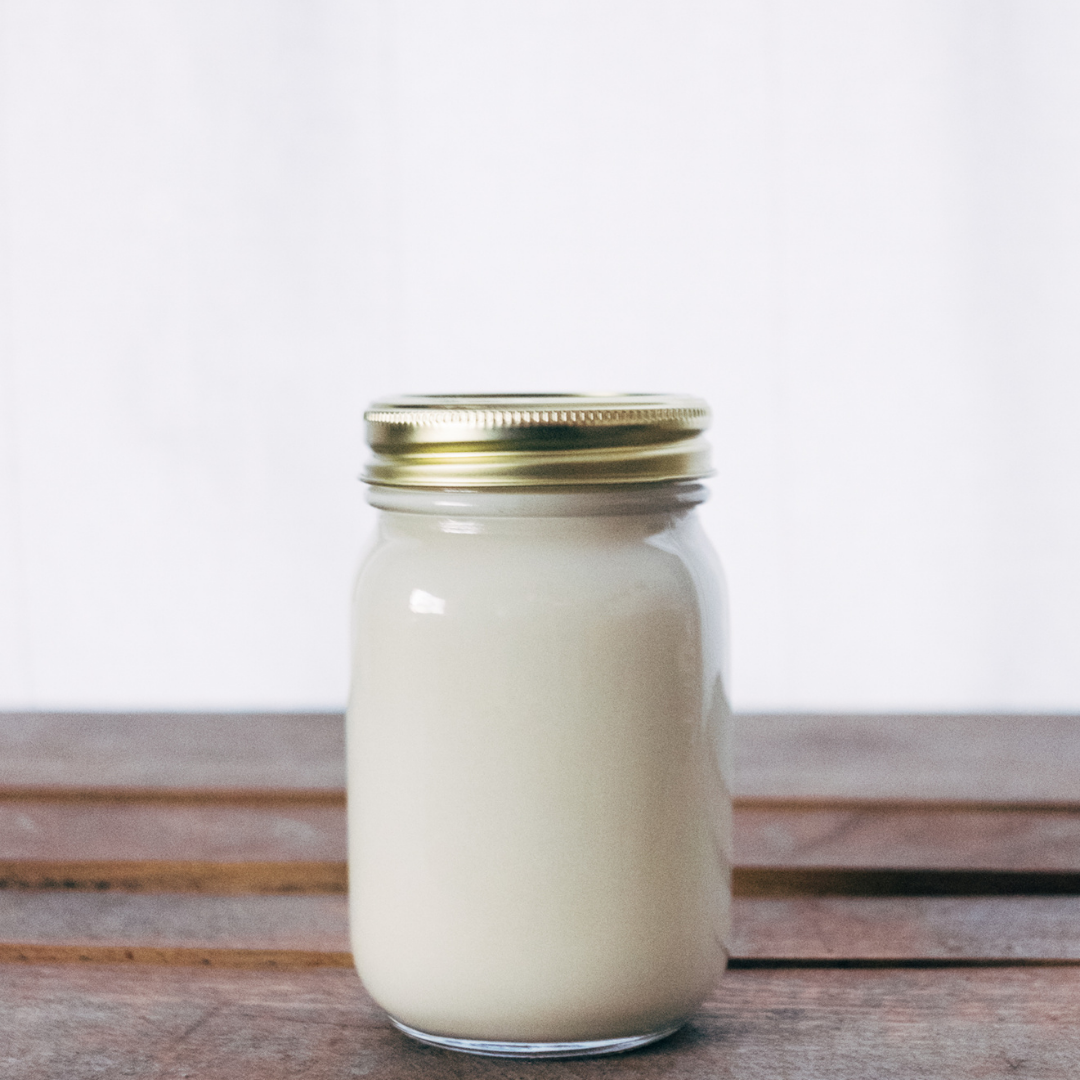
Raw Honey
Directions for Honey Fermented Garlic:
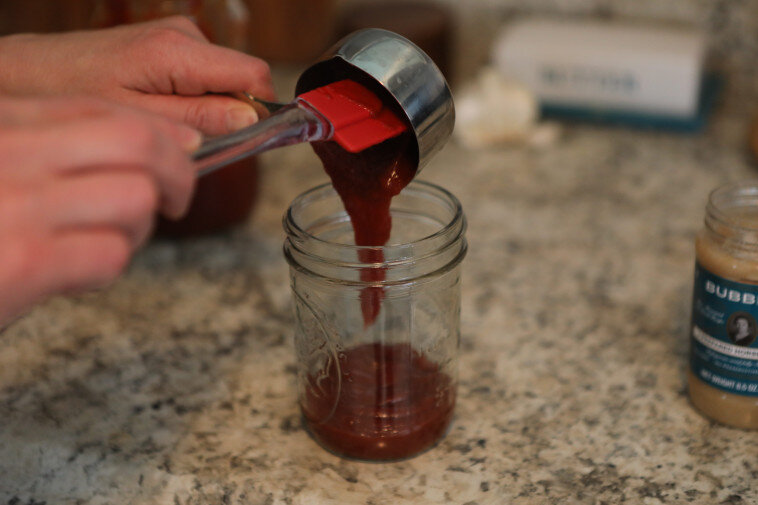
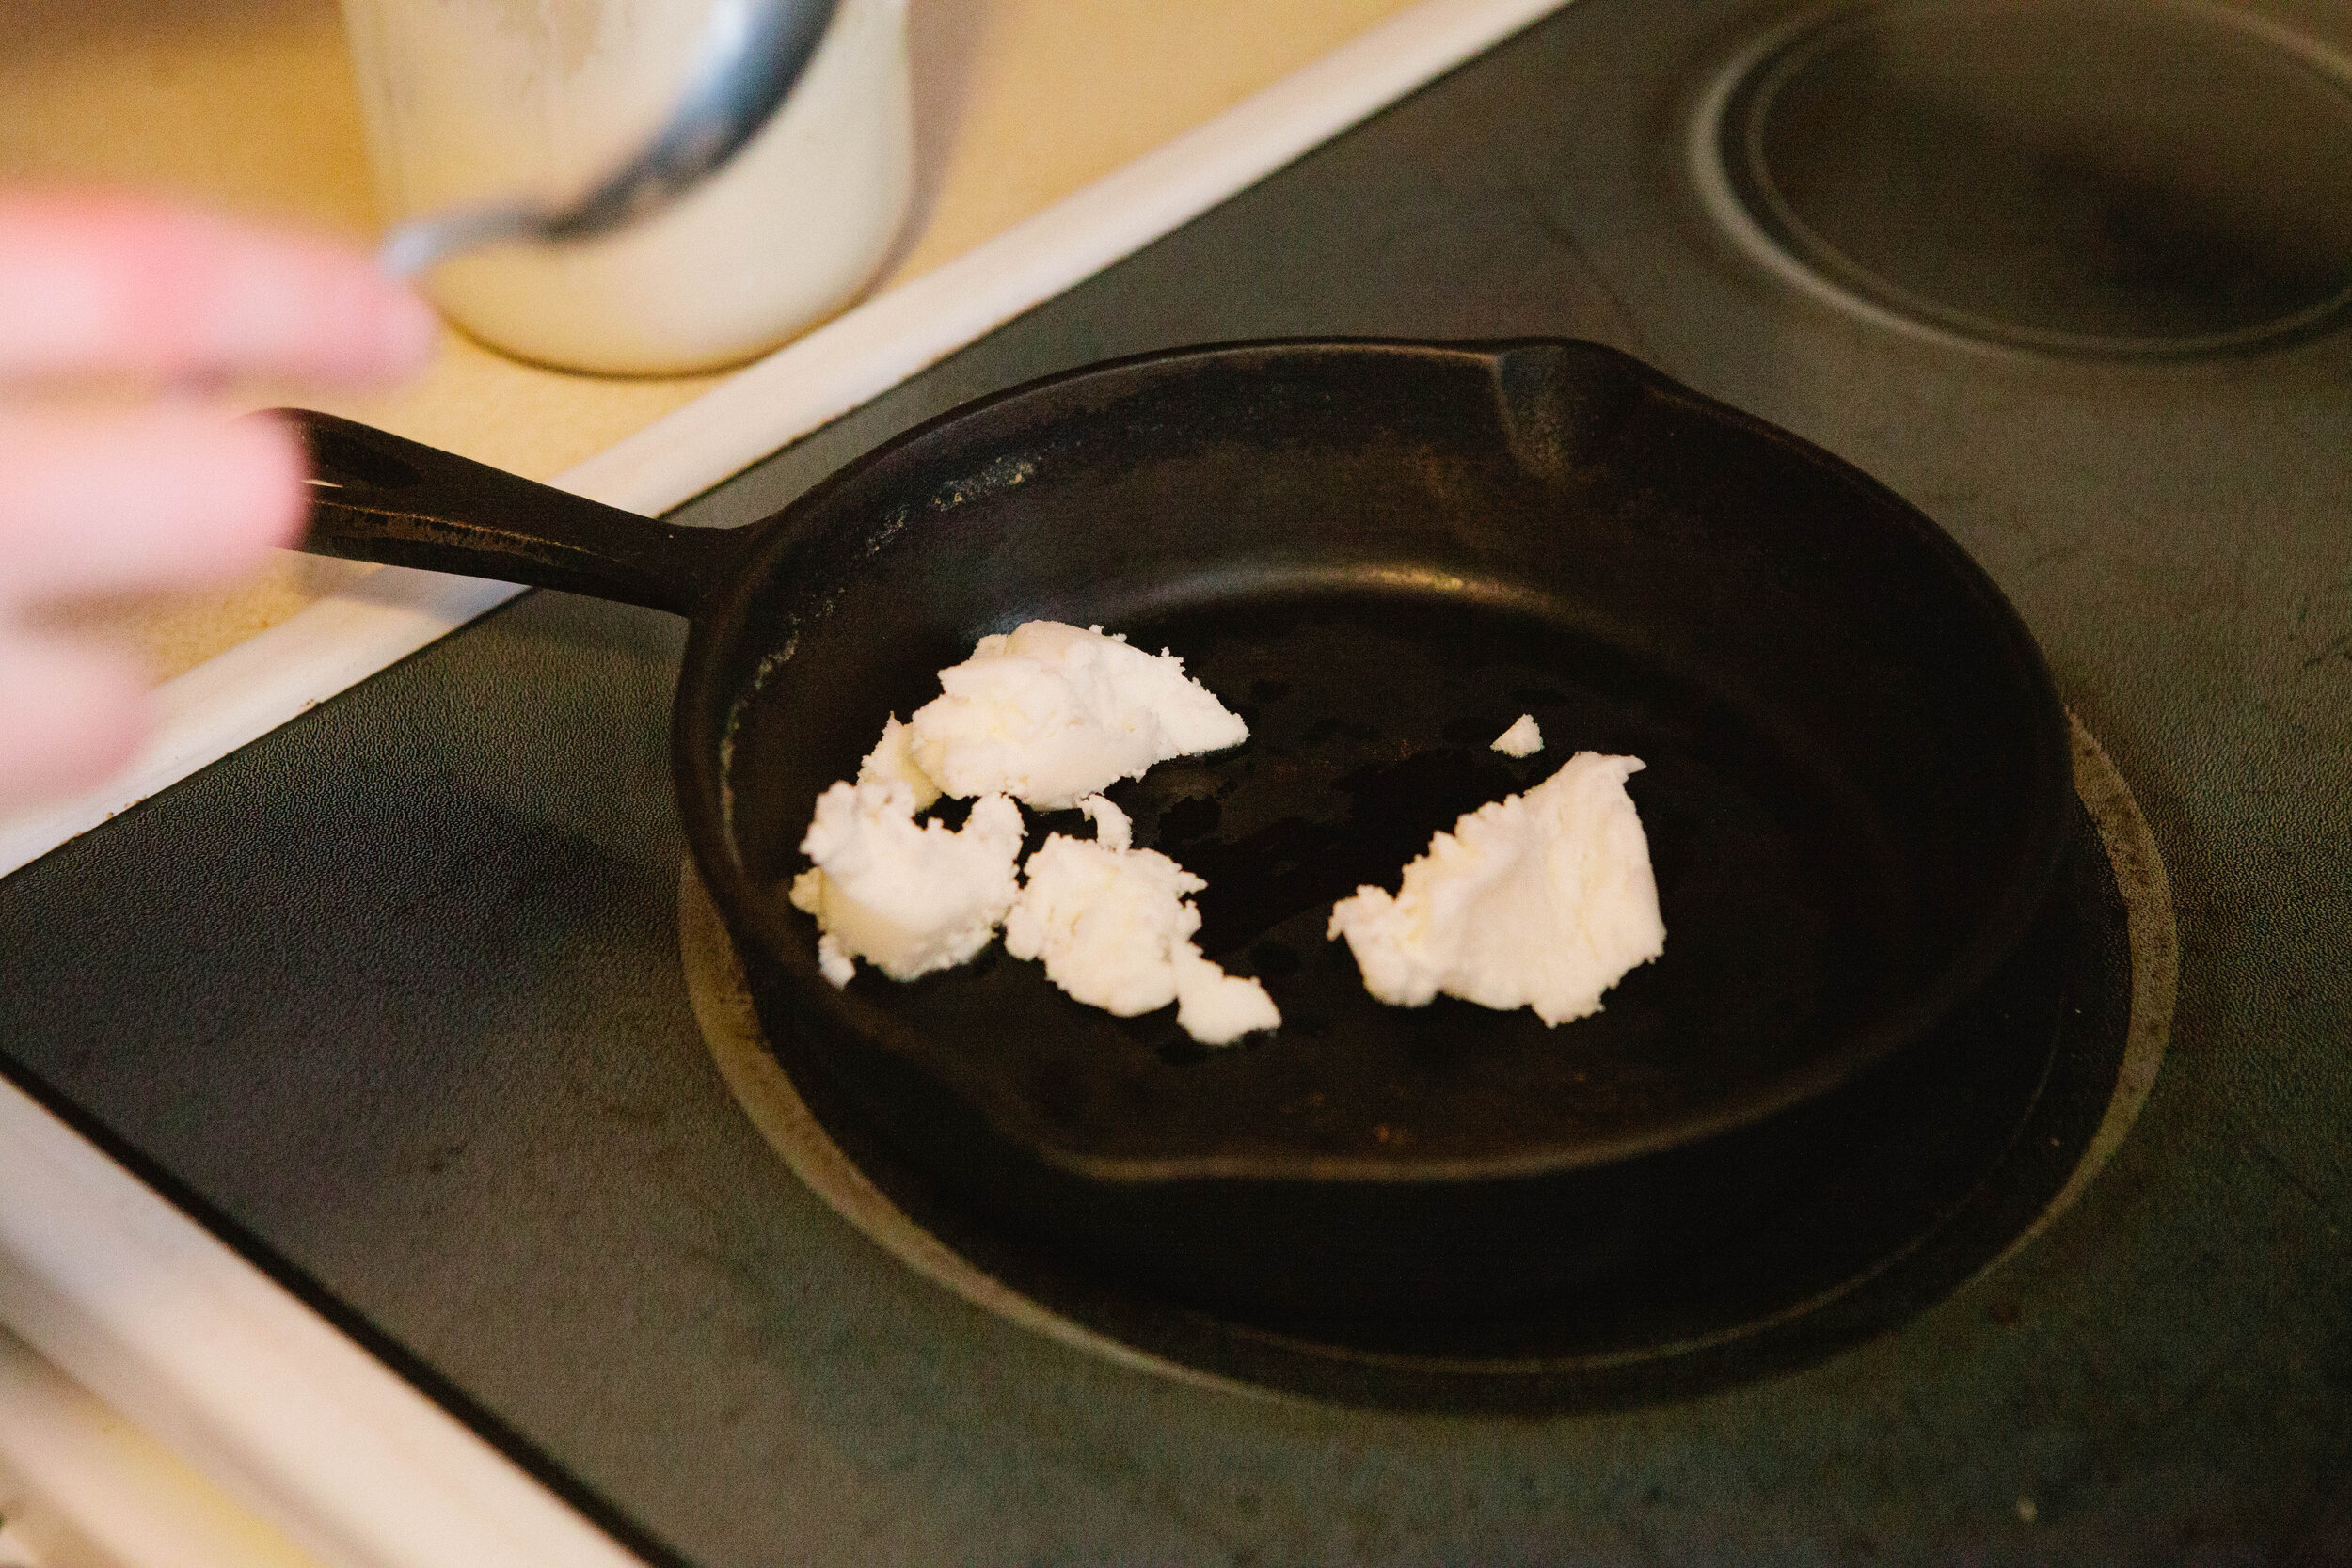
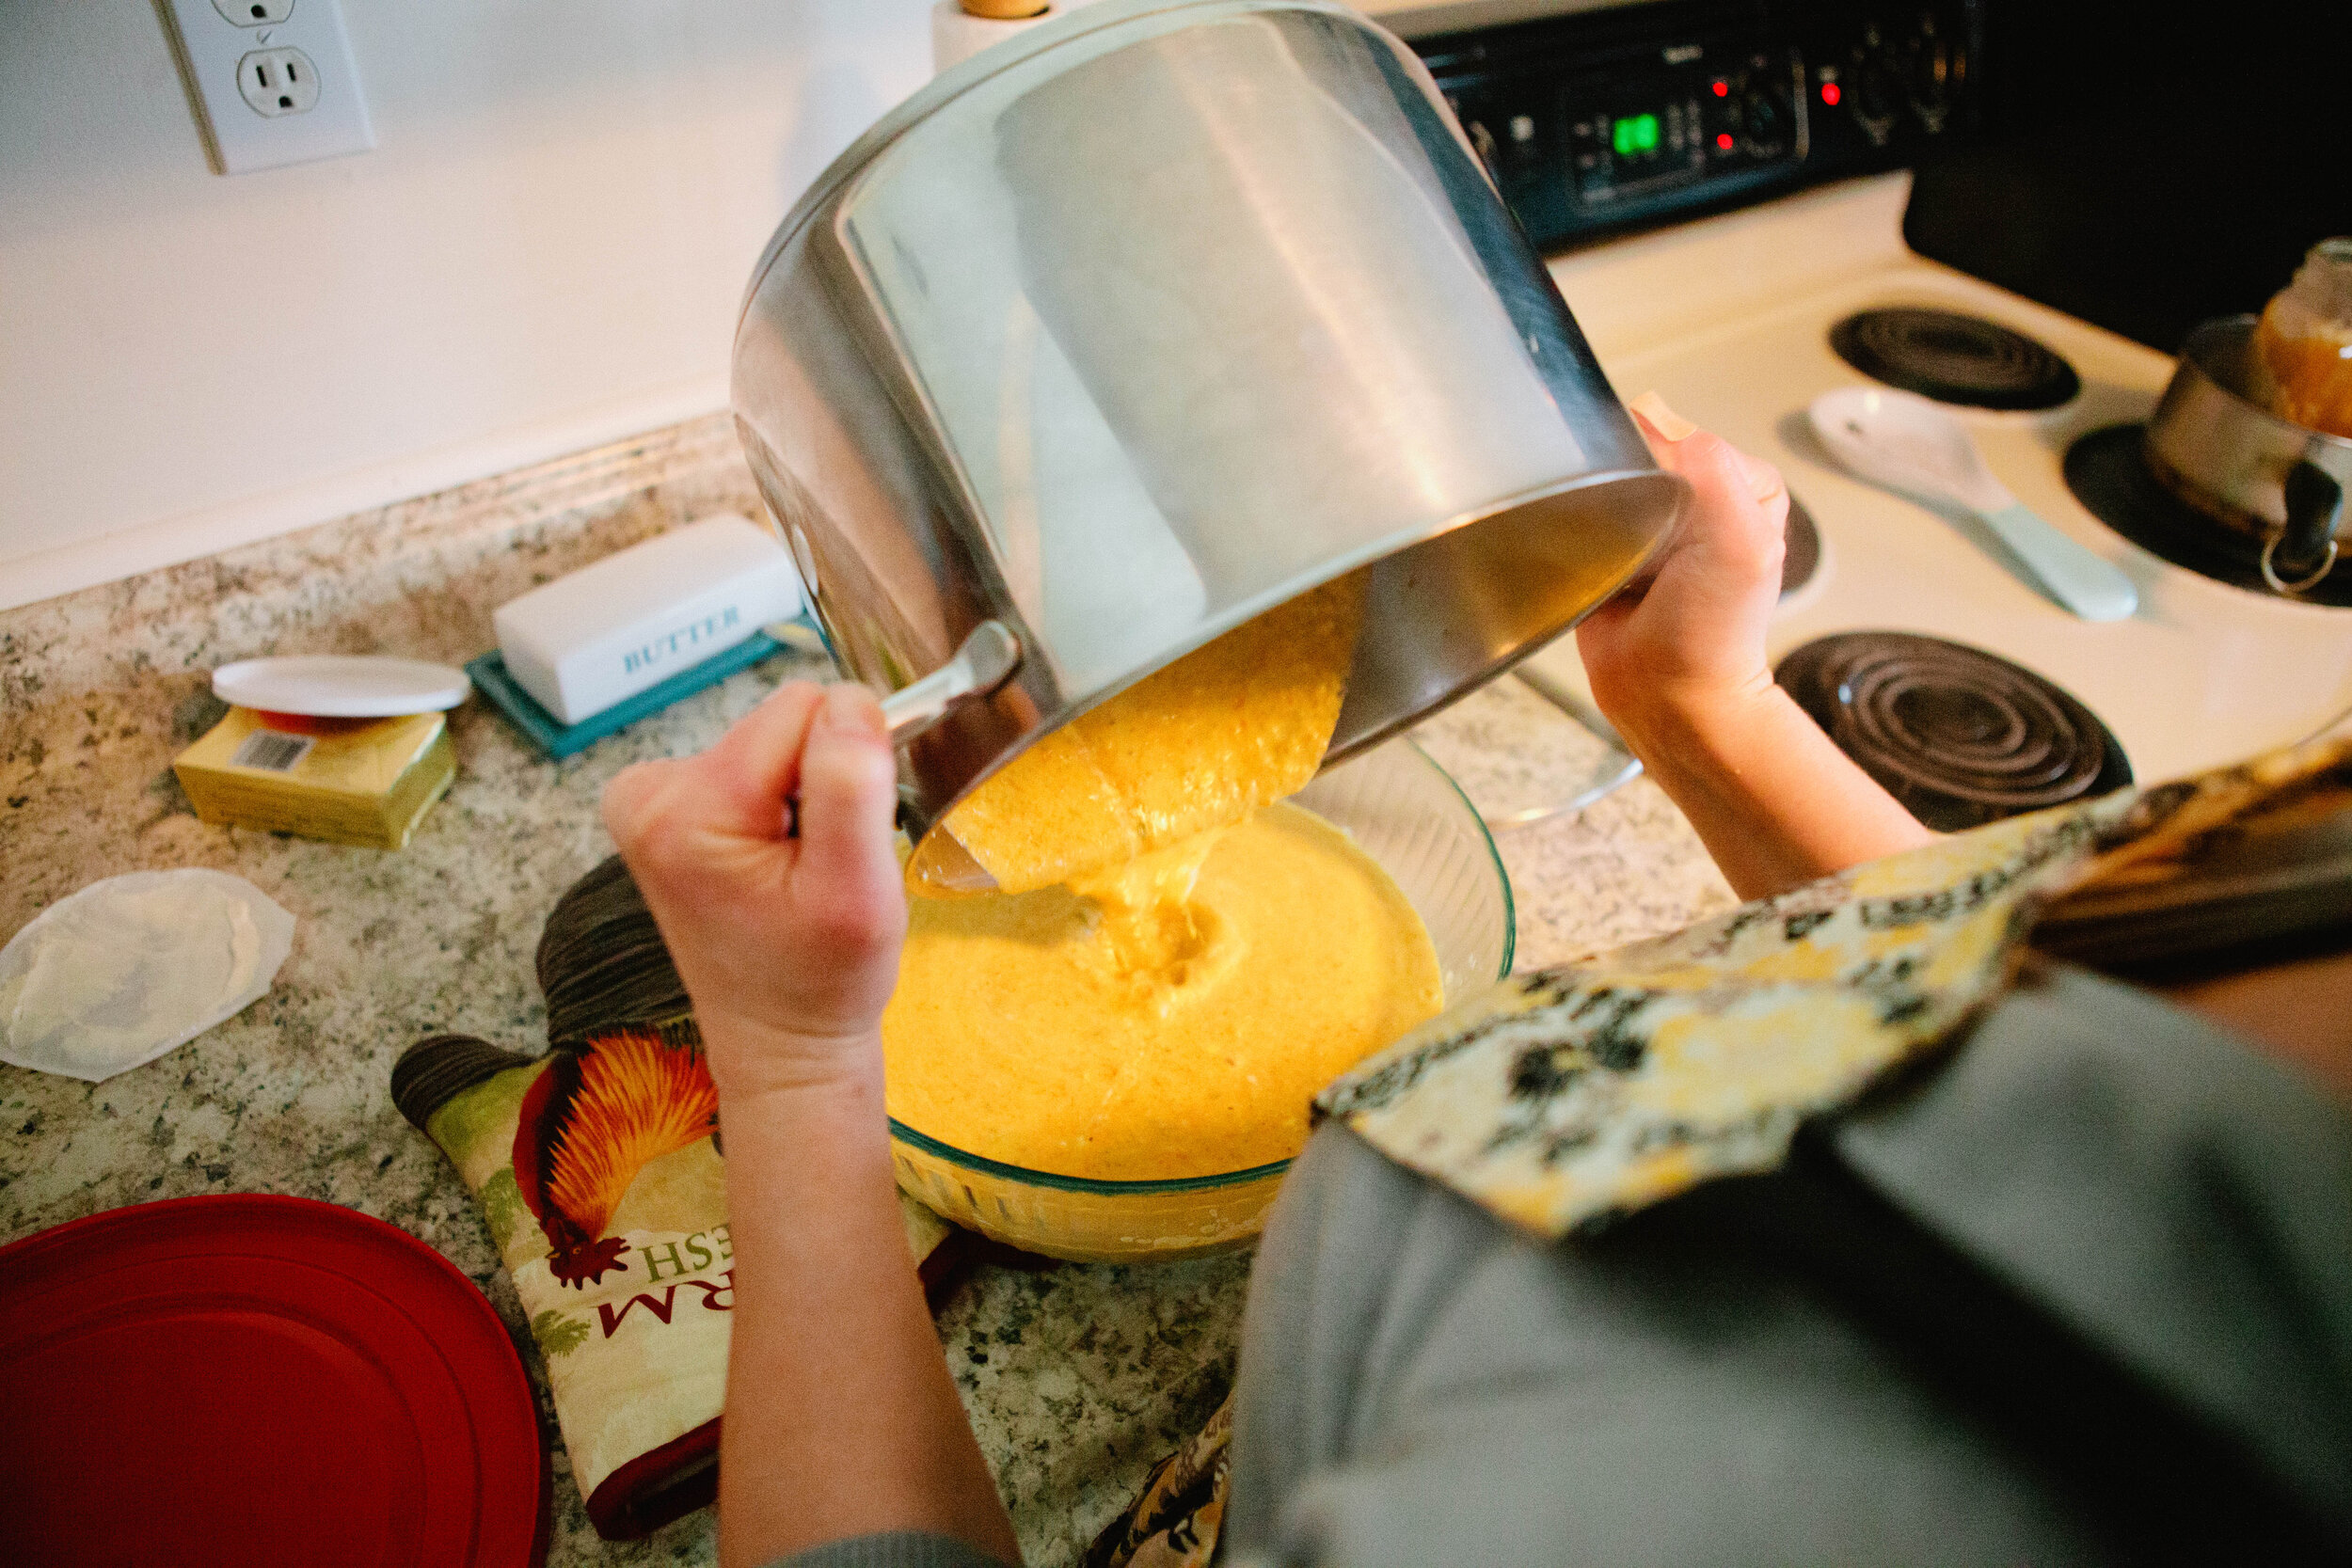
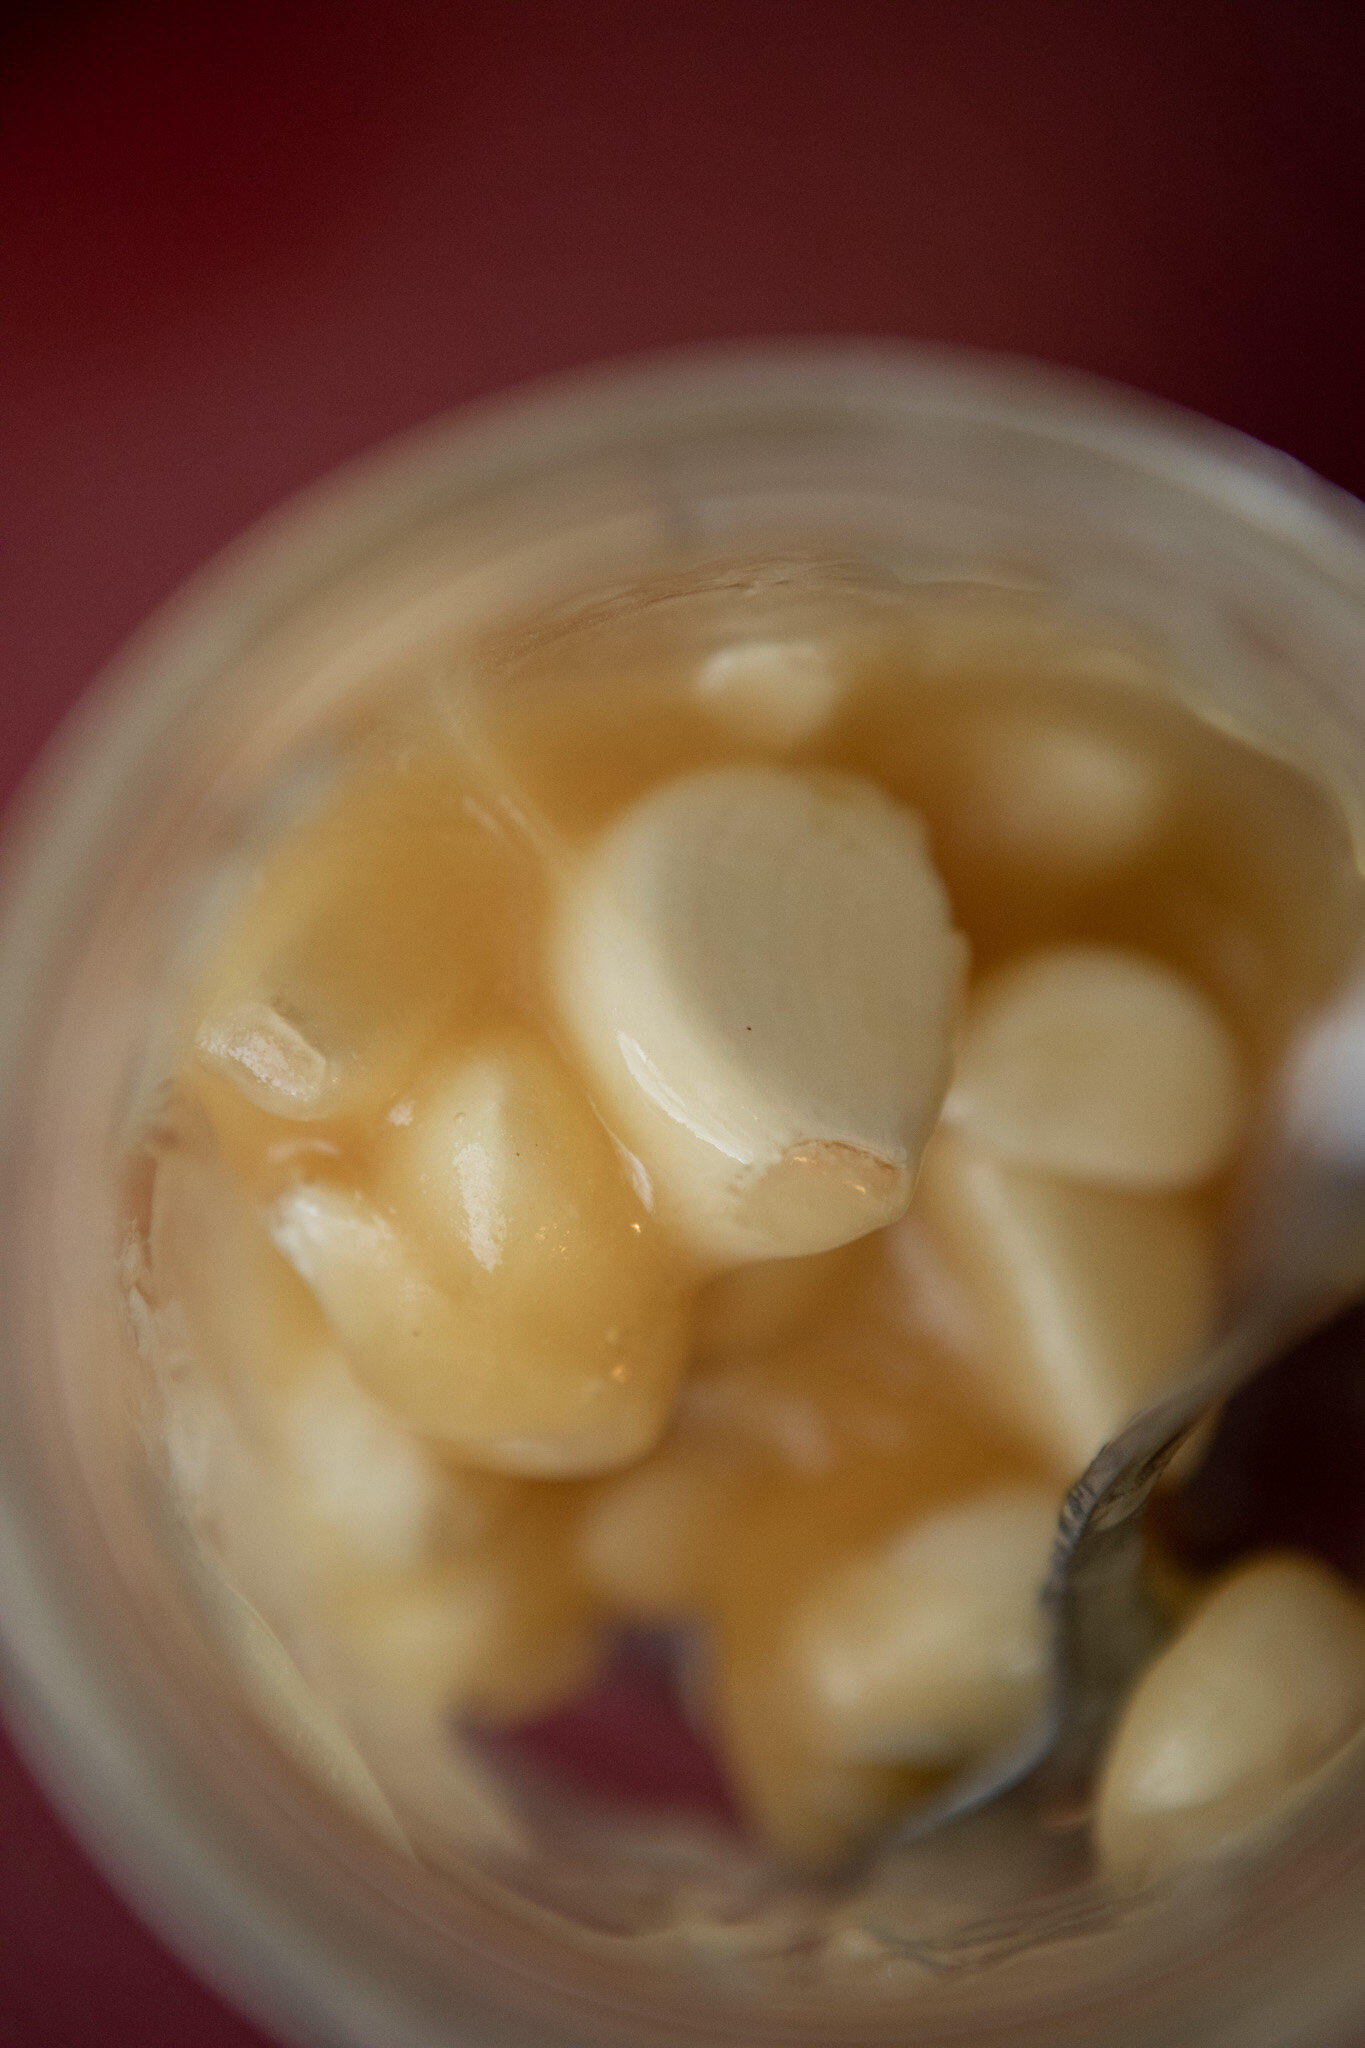
Peel enough garlic to fit in your jar, you want both the honey and the garlic to be raw. Do not crush garlic. The bacteria and wild yeast in the raw honey and the juice in the garlic is what is used for the fermentation.

Add enough raw honey to the jar to cover the garlic cloves.
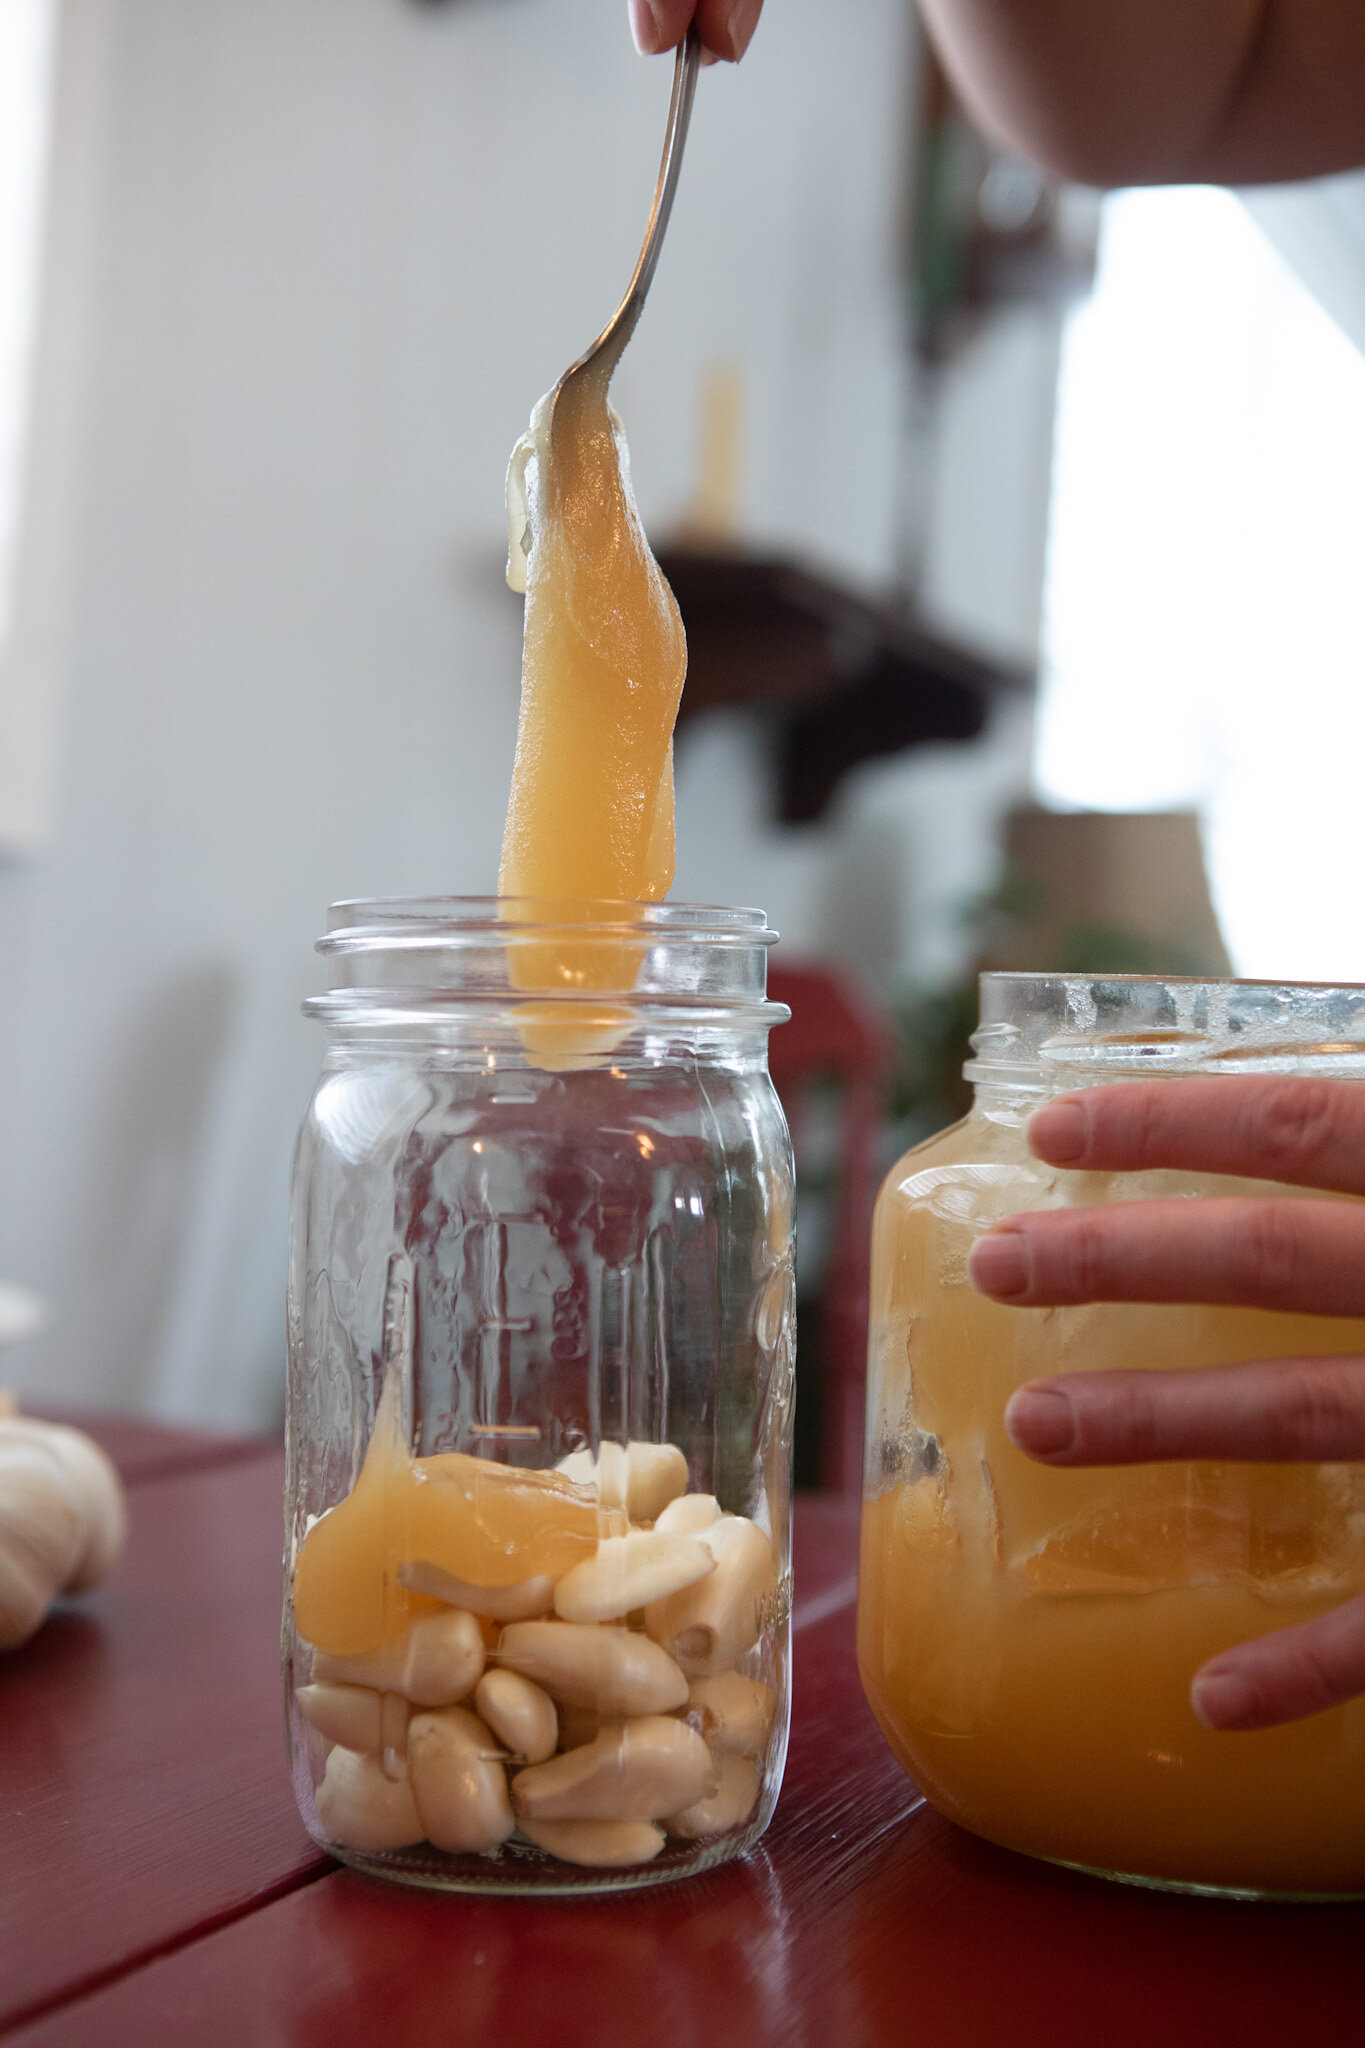
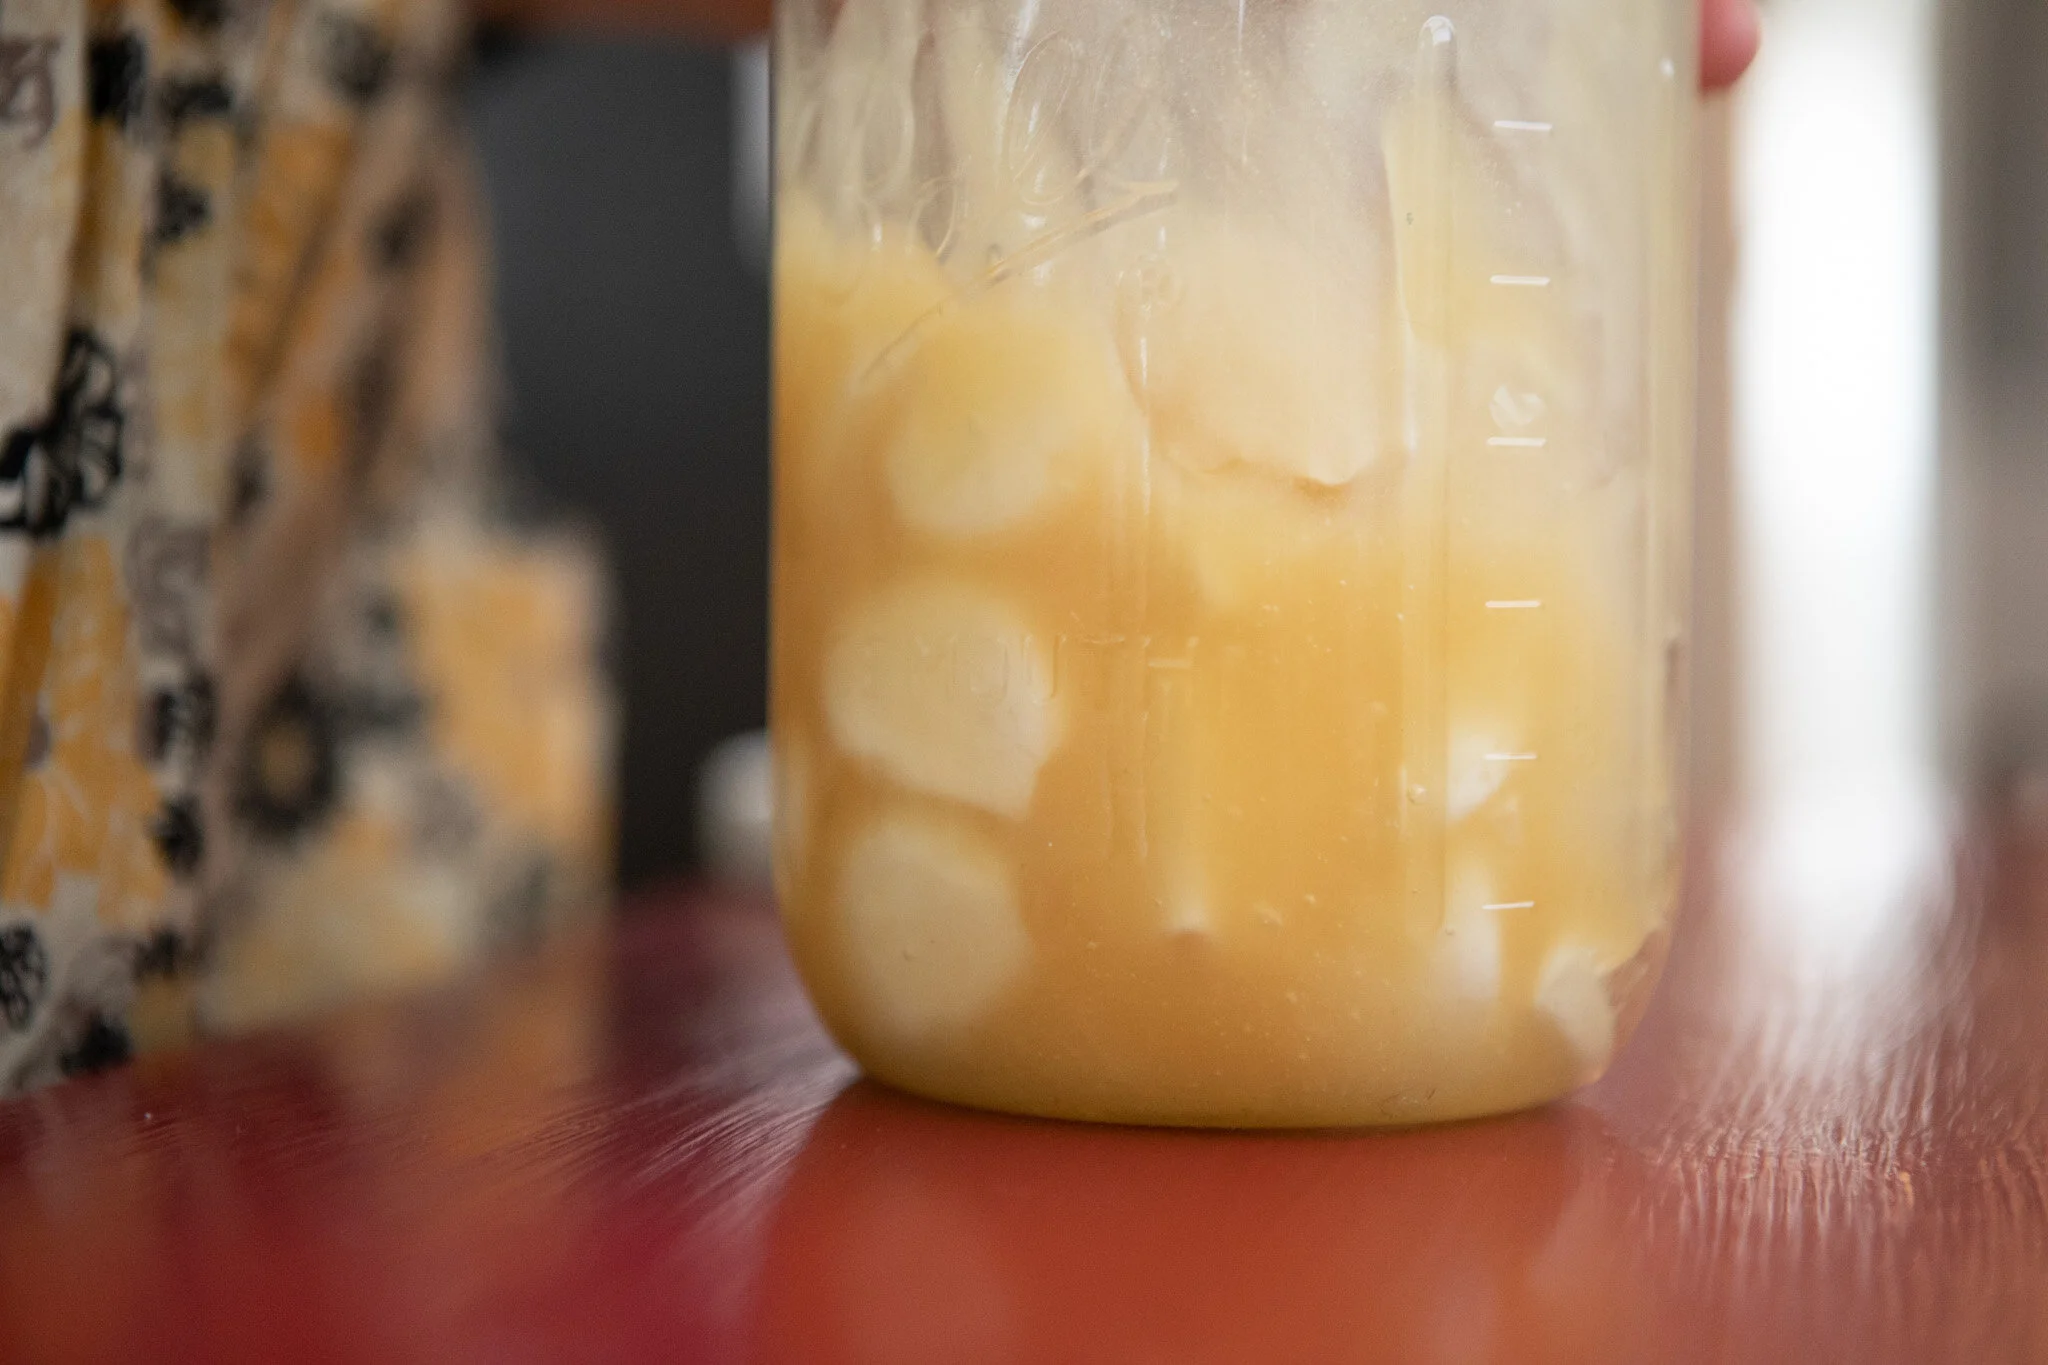
Place a lid on the jar and find a cool place for it to rest. The mixture can bubble up, so I recommend keeping a plate underneath. Turn over every day or so. Eat anytime, but it takes a month to be finished.
A few notes:
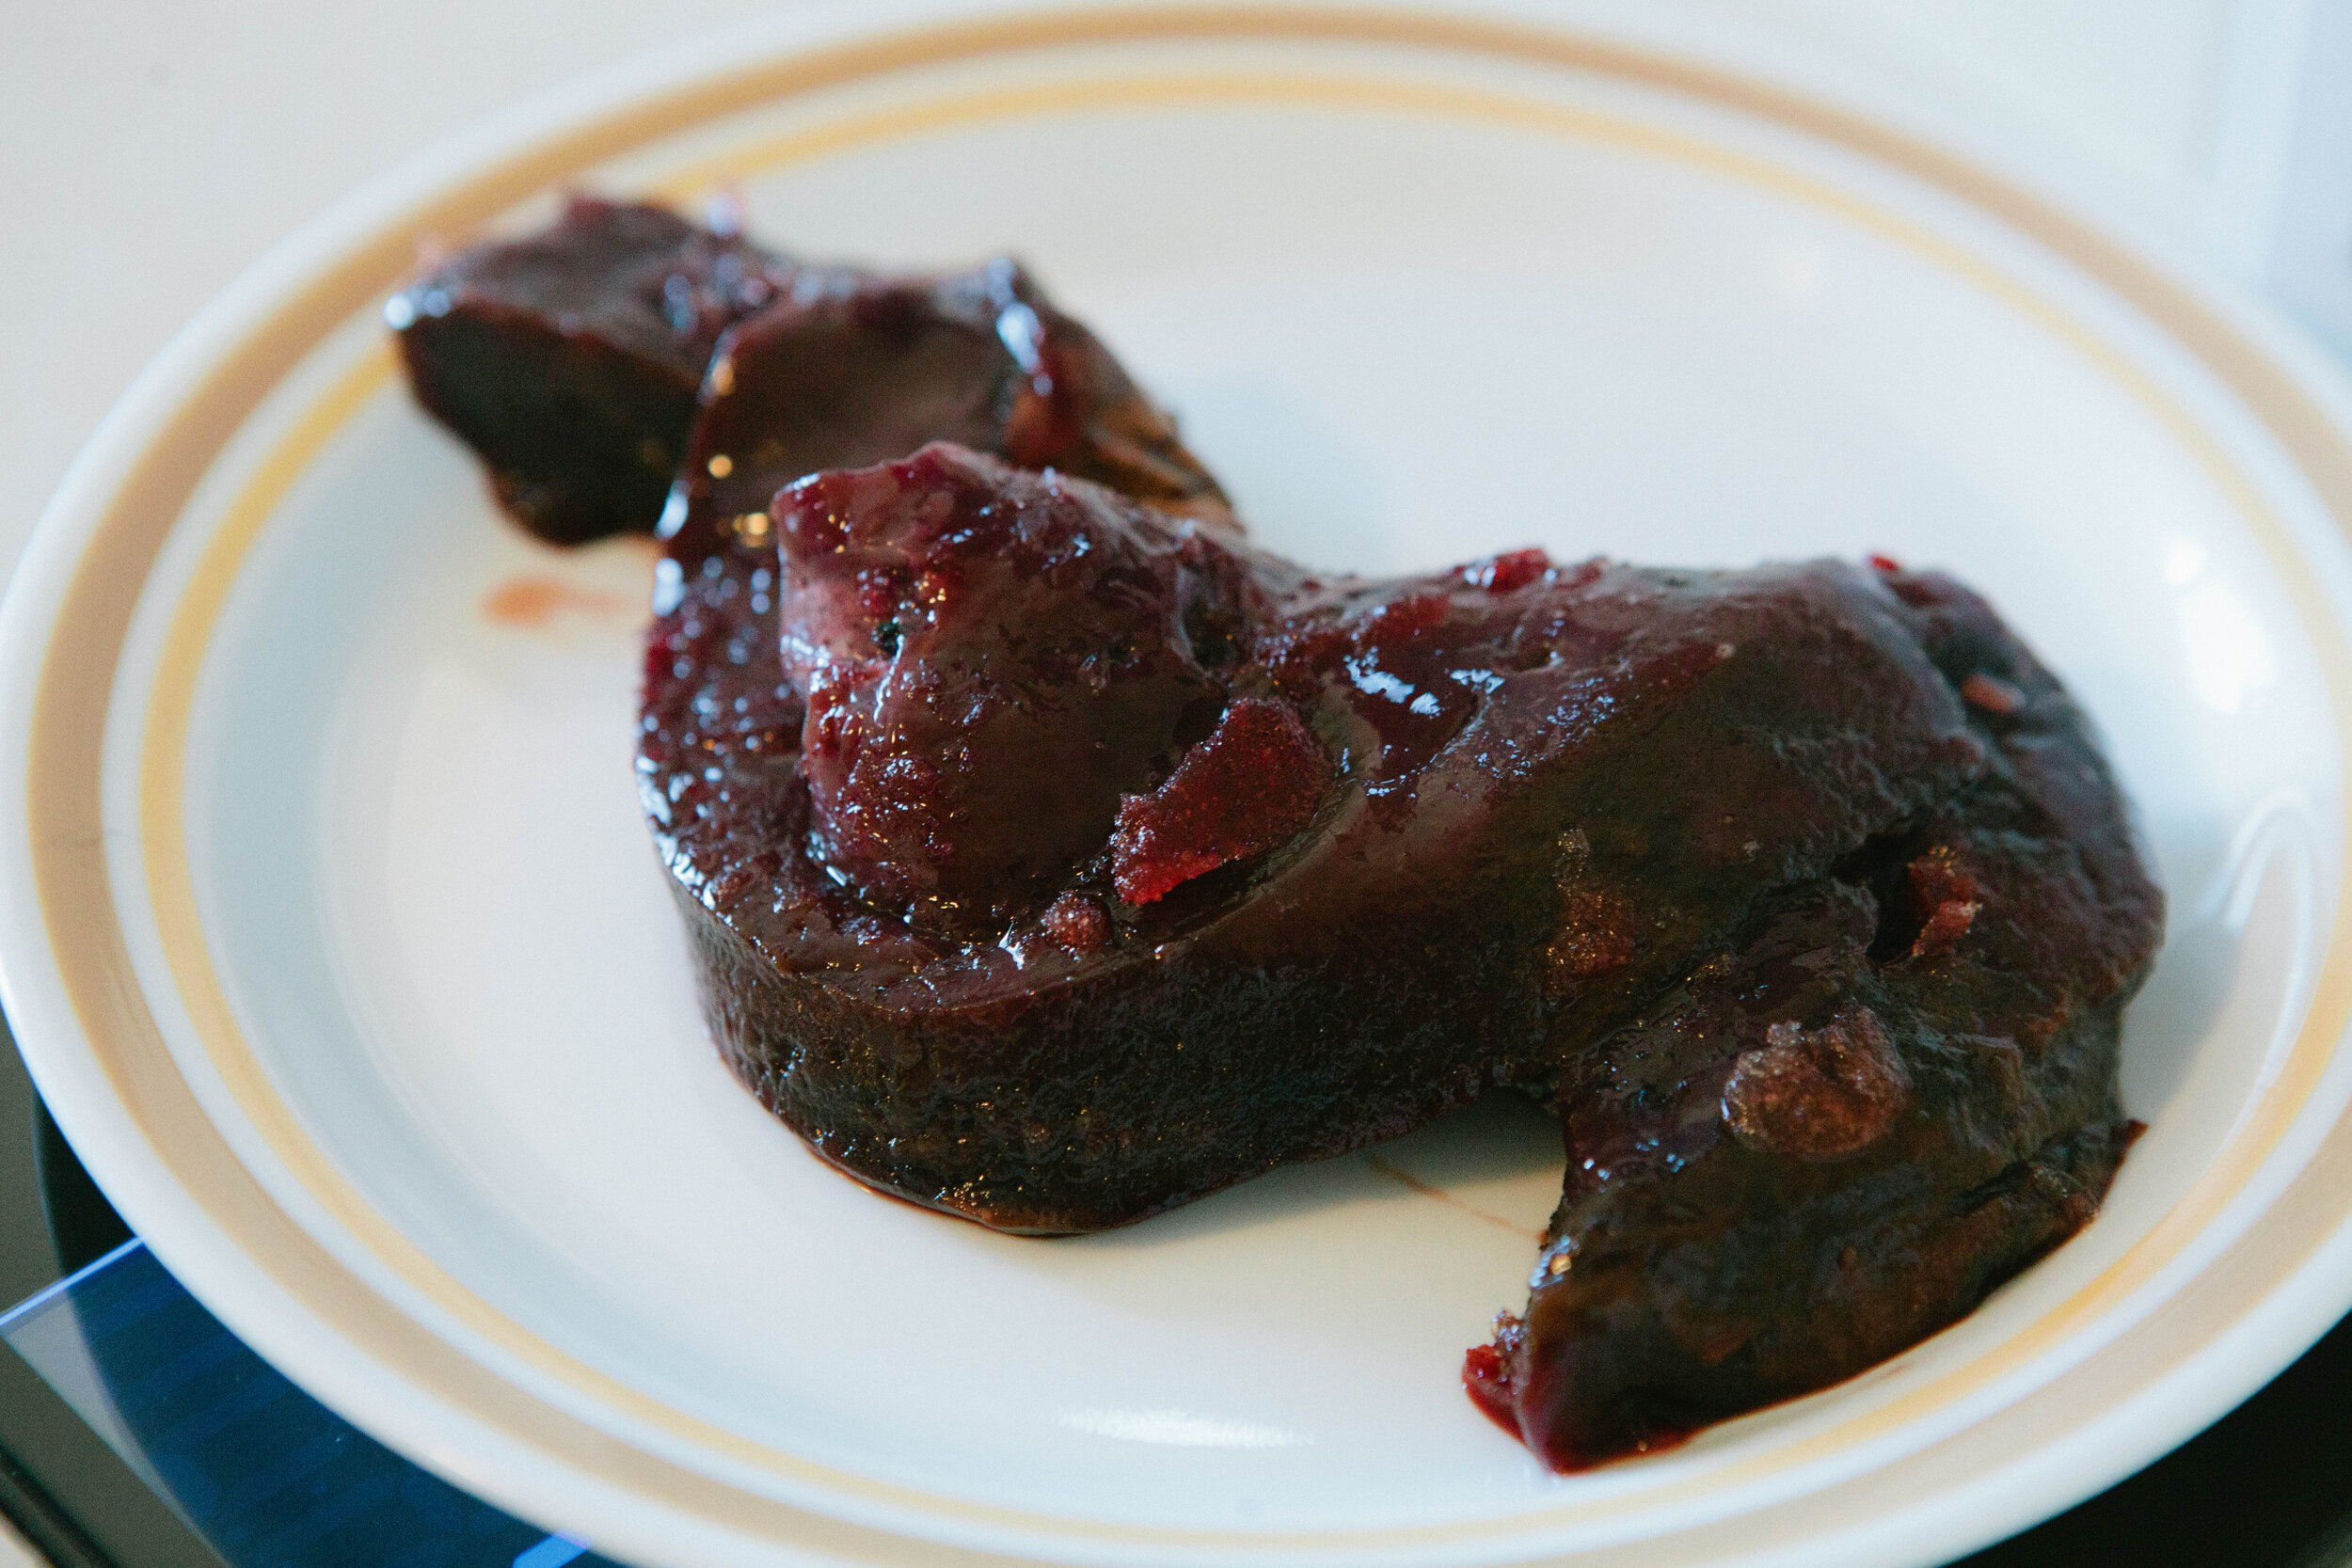
Garlic cloves can turn blue or green while fermenting. Not to worry, this is related to the sulfur content in the garlic.
Honey Fermented Garlic can be stored for long periods of time in a cool dark place.
The longer you ferment, the milder the flavor.
To eat, you eat with the honey. Keep them together. Because it has medicinal properties. Enjoy!!

Honey Fermented Garlic
Ingredients
- Garlic, peeled
- Raw Honey
Instructions
- Peel enough garlic to fit in your jar, you want both the honey and the garlic to be raw. Do not crush garlic. The bacteria and wild yeast in the raw honey and the juice in the garlic is what is used for the fermentation.
- Add enough raw honey to the jar to cover the garlic cloves.
- Place a lid on the jar and find a cool place for it to rest. The mixture can bubble up, so I recommend keeping a plate underneath. Turn over every day or so. Eat anytime, but it takes a month to be finished.
- To eat, you eat with the honey. Keep them together. Because it has medicinal properties. Enjoy!!