Do you or someone you love have a baby who is ready to start eating food besides breast milk or formula? Does your baby have symptoms of leaky gut such as trouble sleeping, rashes, eczema, or colic, or have they been on medications or formula? If so, Hollie has created an online course just for you!
Making GAPS Fun for Kids
Feeding Your Baby
How do you start feeding your baby so that you can give them the gift of health? When I had my first baby I was terrified that she would have a peanut allergy. It seemed like one of those things that just happened, like drawing the short end of the stick. I had no idea that what I allowed into my baby’s body would help determine whether or not she developed allergies, sensitivities and other health issues.
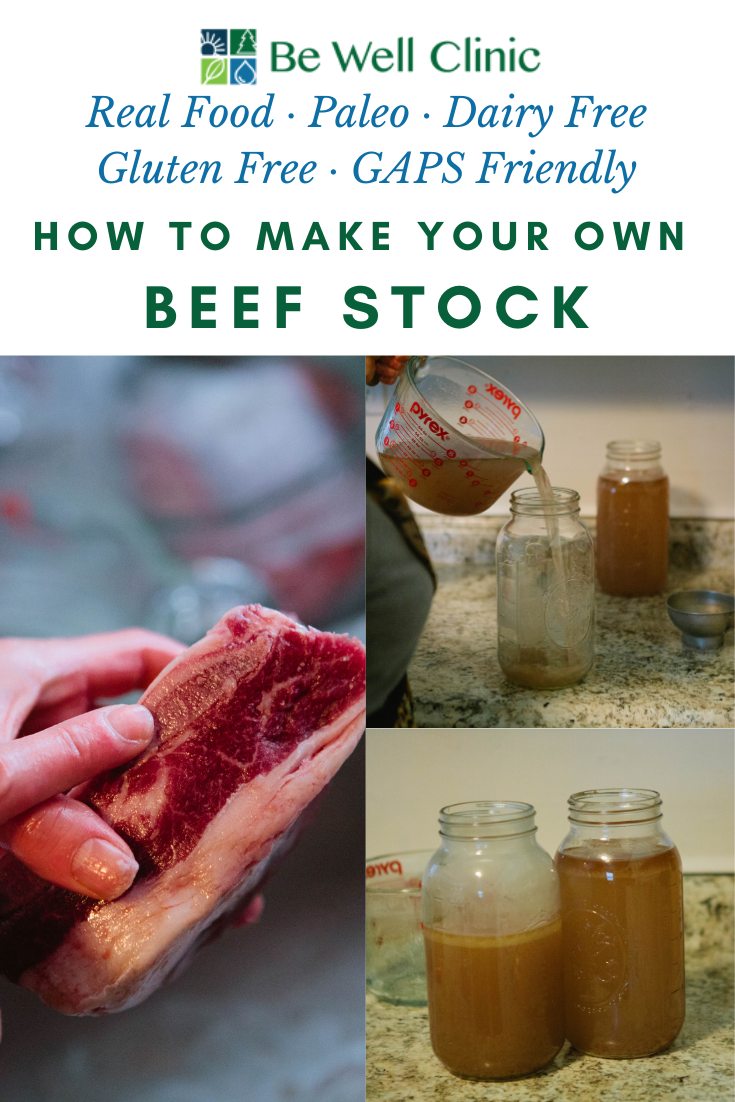
How to Make Beef Stock
We use a lot of chicken stock around here but that doesn’t mean it’s superior to other kinds of stock. We’ve recently been working on adding soup recipes that are especially delicious with beef stock.
Whatever meat you use, remember it should be 80% meat and 20% bone with a joint. Depending on your cut, you might need to add additional meat to fulfill these ratios.
Meat stock is a pillar in healing a leaky gut but this rich food is beneficial to anyone. It provides large amounts of the immune system’s favorite foods, is very easy to digest, and is a great base to modify for other healing and nutritious recipes.
Meat stock is meant to be a meal in itself. It’s short cooking time allows the meat to remain edible while still enriching stock with easy to absorb nutrients. This is the perfect thing to eat anytime you are feeling ill or stressed or “can’t get filled up” hungry. These are some of the reasons meat stock is such an important part of the healing process of the GAPS Diet. Any time you are consuming meat stock on a regular basis, your body will be receiving the healing benefit.
Meat stock can be made into a soup or simply drunk on its own as a hot beverage with a meal. You can also poach a couple eggs in your stock for a rich breakfast. Stock can also be used to cook rice or other soaked grains to increase their digestibility and nutritional content. In short, this should be considered a staple to have in your kitchen at all times, either in the fridge or the freezer.
There are a variety of ways you can skim the scum off the top of your stock. I usually use a slotted spoon but you can also use a mesh scum skimmer, a slotted spoon, a small strainer, or a large soup spoon.
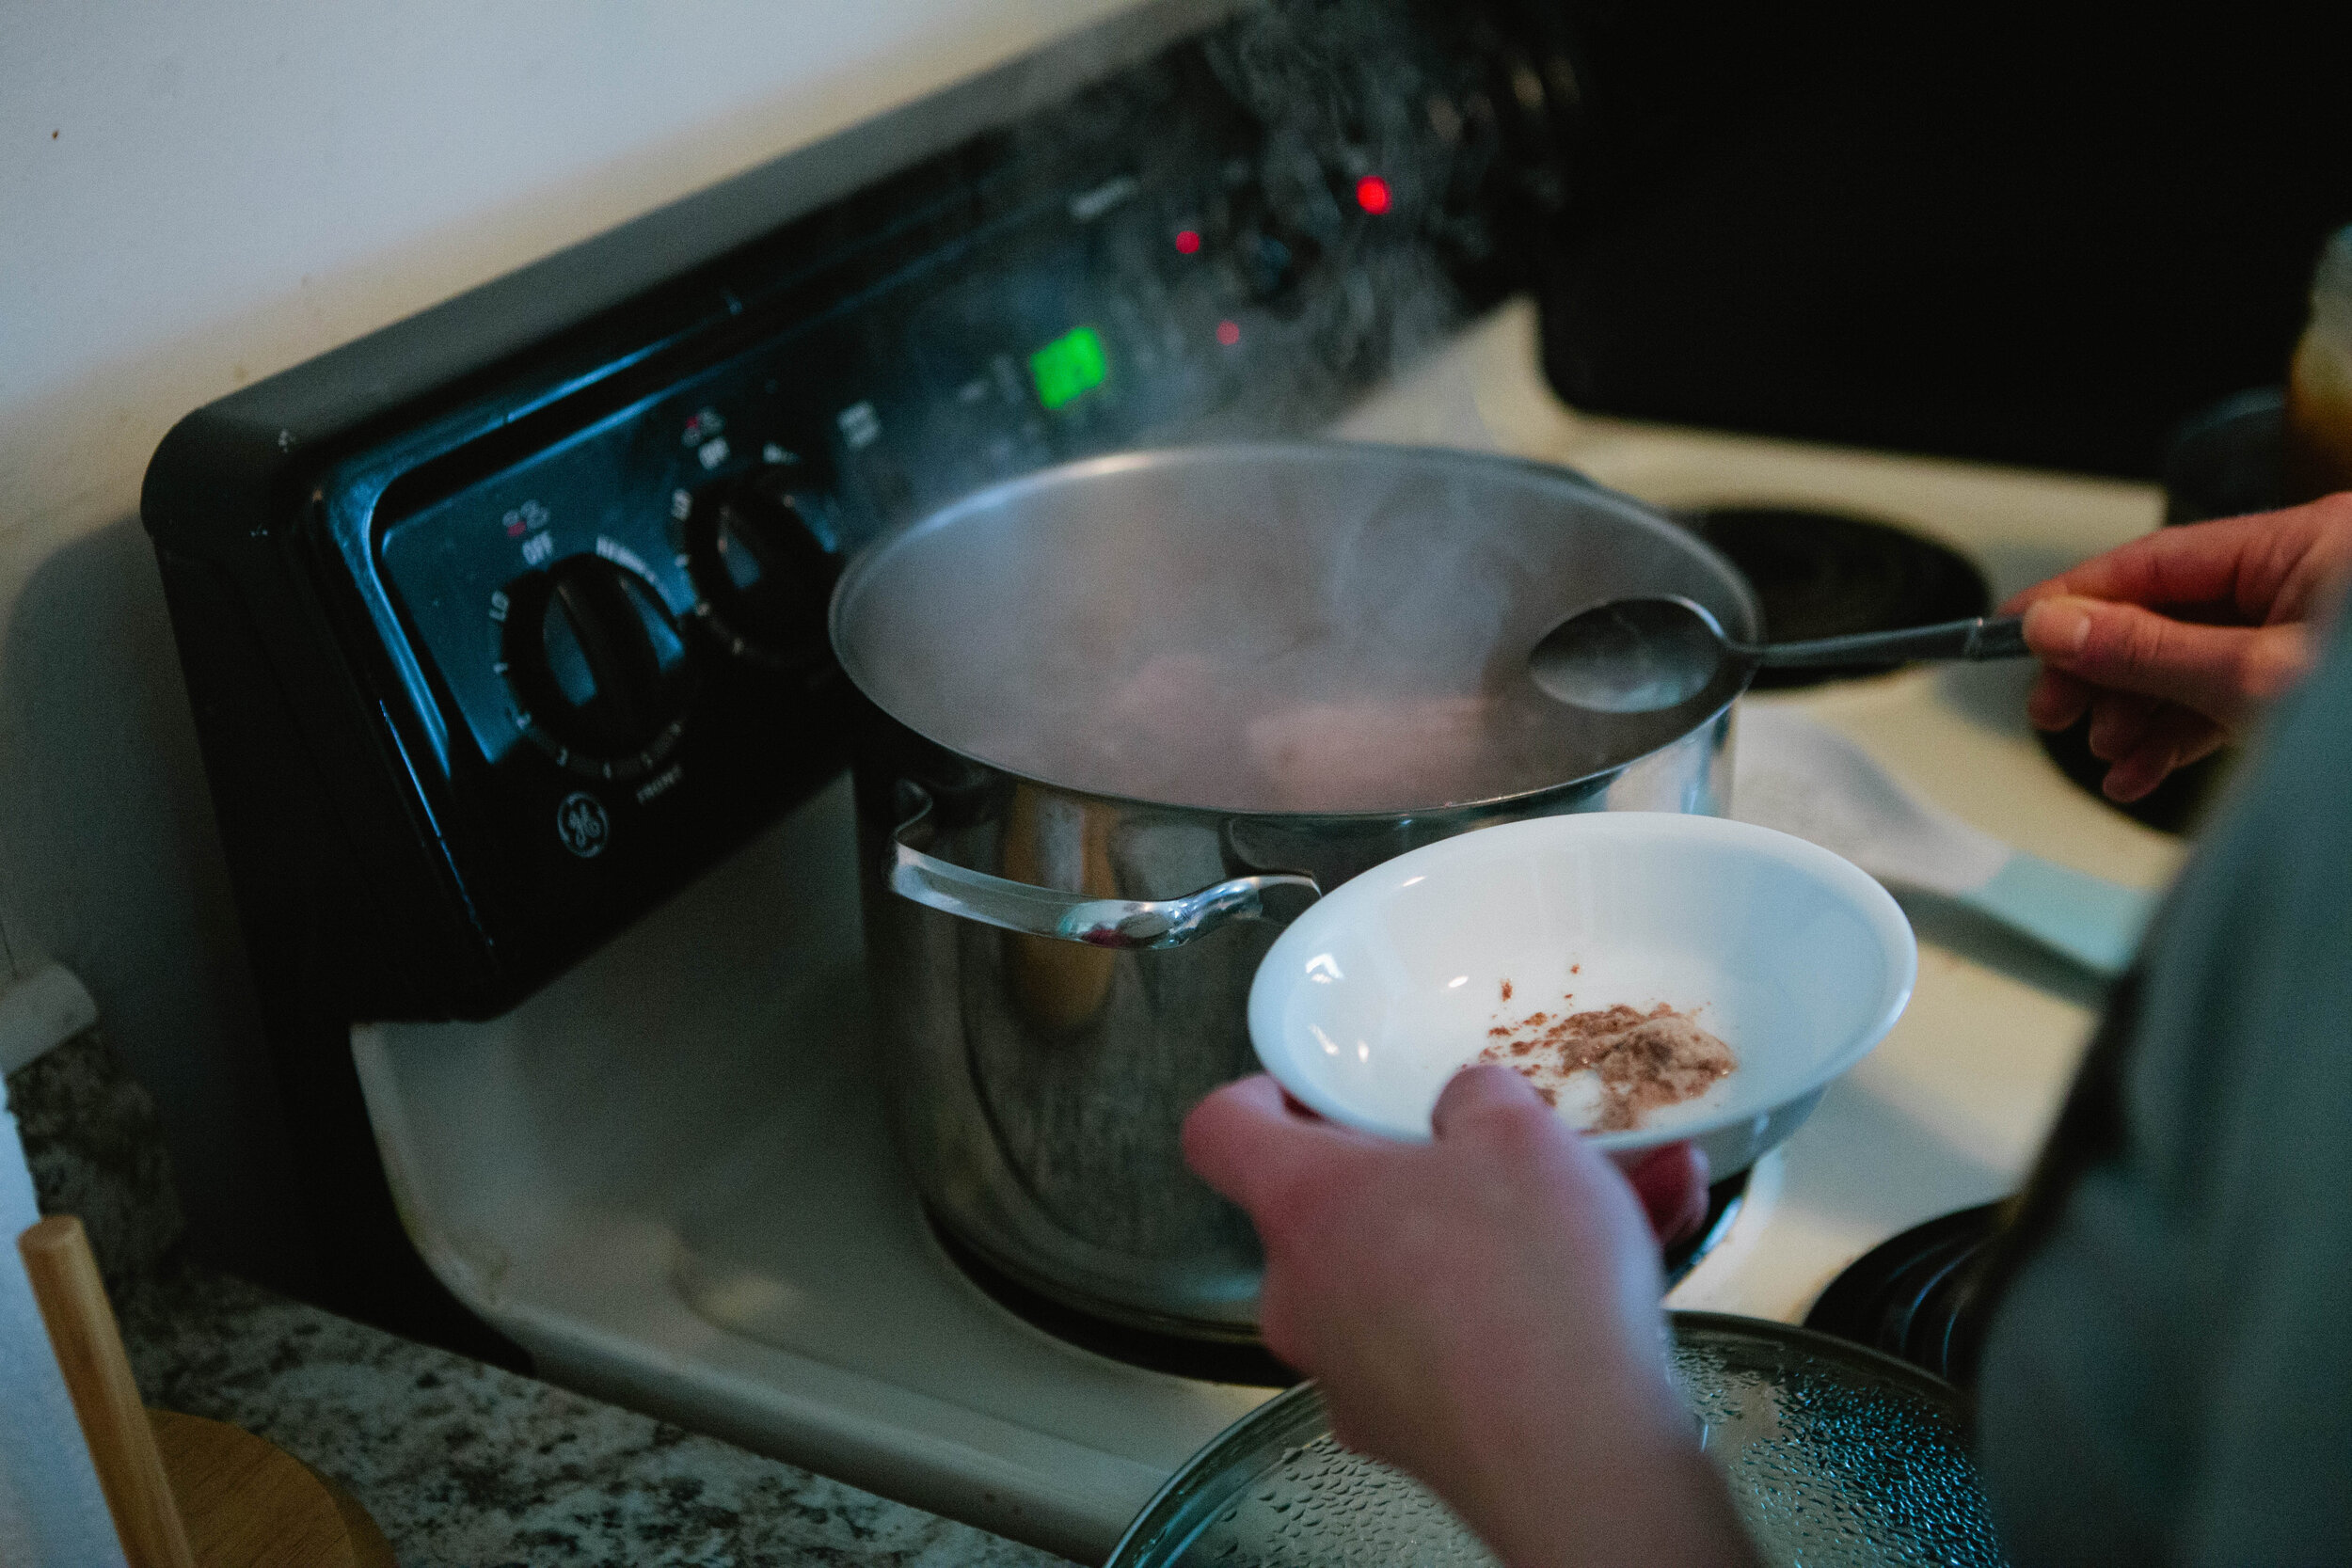
Skimming the scum off the top is where you can tell the quality of your meat. If your meat is poor quality, had a lot of hormones or was poorly processed, you’ll get scum that’s heavy, grey and unappetizing. If you have a good quality meat, you will have a small amount of light almost white colored scum that appears as a lighter foam. This is also where you can tell if your meat has gone bad at this point.
You can store your stock in the fridge or the freezer, depending on how quickly you’ll consume the batch.
A NOTE ABOUT MEAT STOCK AND THE GAPS INTRO DIET:
When Dr. Natasha Campbell talks about meat in stage 1, she’s referring to eating primarily the gelatinous meats like skin, joints and connective tissue. When meat is added on Stage 2, she means the muscle eats, the only thing we Americans consider to be meat. Eating a lot of muscle meat can be constipating so if this is your issue, be sure to eat every last bit of the skin and joints.
Ingredients for Beef Stock:
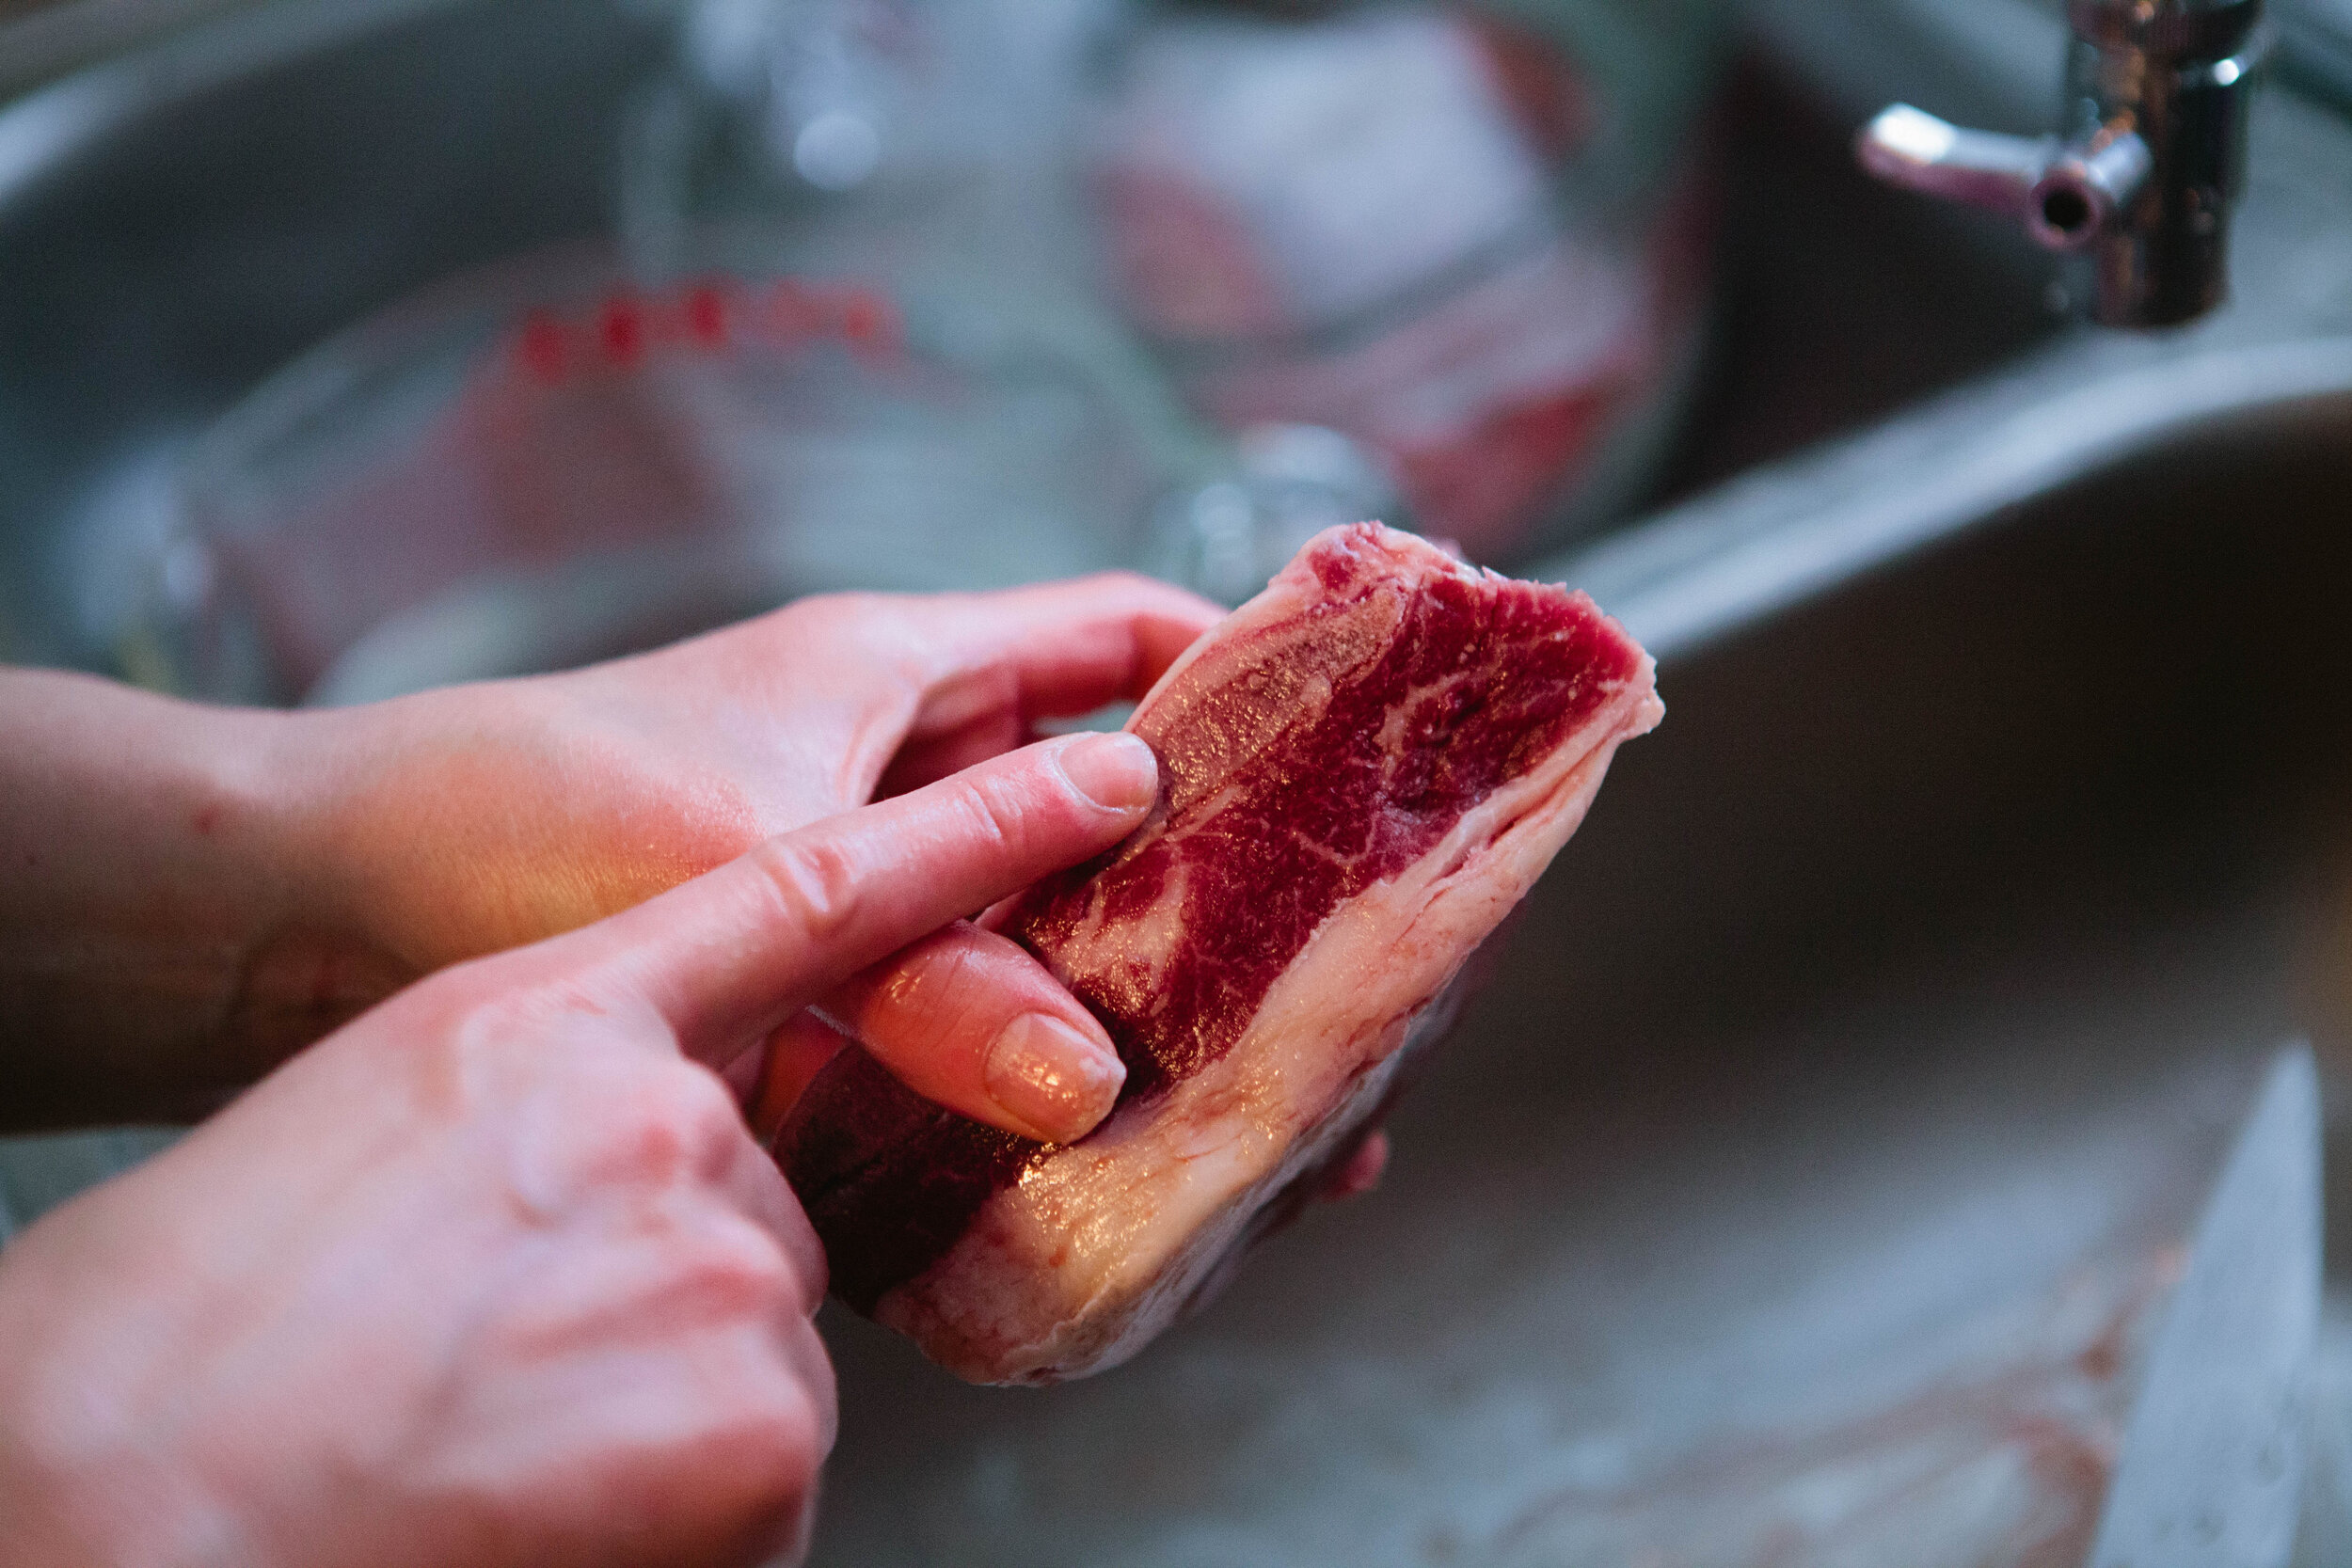
Beef. I am using 3 ½ lbs of beef short ribs. Whatever meat you use, remember it should be 80% meat and 20% bone with a joint. Depending on your cut, you might need to add additional meat to fulfill these ratios.
Small handful of peppercorns
2 Bay Leaves
Filtered Water
Directions for Beef Stock:
Cut your beef ribs apart so that each rib is separated.
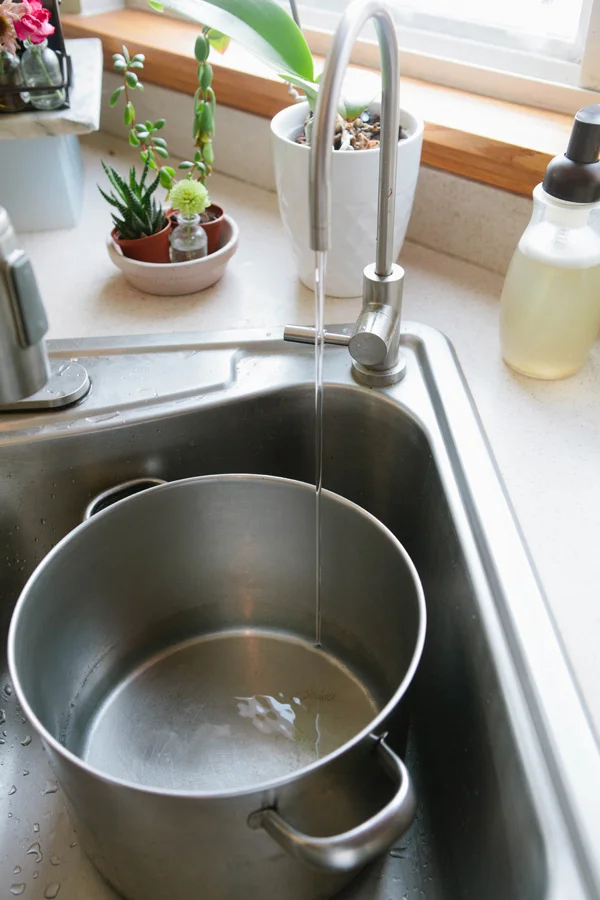
Add to a pot and fill with filtered water.
Add peppercorns whole and bay leaves to the pot.
If you are using dry herbs and are on Intro GAPS, pre-stage 4, put your herbs in a reusable herb or tea infuser or muslin pouch for easy removal. This is not necessary if you are using fresh herbs.
Turn pot up to high to bring to a boil. Skim the scum off the top of your pot.
Turn heat down lower to a simmer. Simmer beef stock for 3-5 hours.
Strain the beef stock using a large mesh strainer and a funnel or large measuring cup with a lip.
Place in jars or a large bowl and allow to cool completely before placing in the fridge or freezer.
How to Make Sauerkraut - DIY Sauerkraut
Fermented cabbage is very high in vitamin C which is essential for healing a leaky gut. Vitamin C is anti-inflammatory and immune boosting.
While good quality sauerkraut can be obtained in most stores now, I still prefer to make my own as I think it tastes the best. I put a lot of love and anticipation into my sauerkraut, as I don’t eat it until it has been fermenting for at least three months.
Making your own sauerkraut is very cost effective if you are eating on a budget. Not only are you making it for pennies, fermenting vegetables increases the bioavailability of nutrients, making this a ‘food hack.’
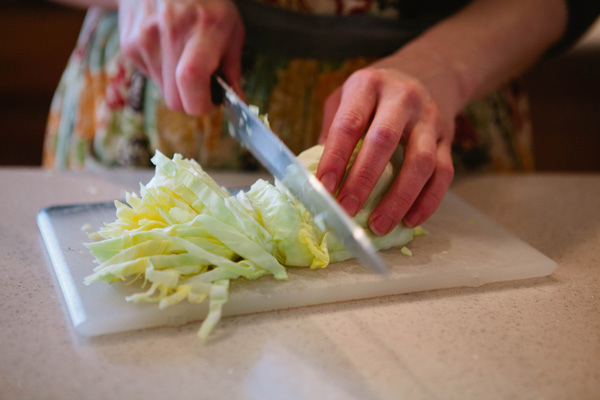
I used to cut my cabbage in a food processor but I feel that all time considered, including clean up time, it’s actually faster to cut it yourself. Plus, I like touching the cabbage myself instead of letting a machine cut it.
Sauerkraut works anaerobically, meaning it does not require oxygen. Any vegetable that is above the level of the water can grow mold or undesirable bacteria strains.
I do my sauerkraut in one quart jars because I prefer to open a smaller amount at a time. You can use any size jar that you want. An open jar in the fridge will keep for six months to a year. If kept at cooler temperatures, unopened, like in a root cellar or in the fridge, sauerkraut will keep for two or more years.
You can add whey to your cabbage to make the sauerkraut. Not using whey is called wild fermentation. It allows for different bacteria to grow than using a dairy based whey. I prefer to make my sauerkraut without whey.
With all ferments, variety is key. Using both whey and simply salt to make your ferments provides good variety in your diet.
Ingredients for Making Your Own Sauerkraut:
1 Medium Cabbage
2 tbsp Salt
Filtered Water
Directions for Making Your Own Sauerkraut:
Remove and rinse outside leaves and reserve them for the tops of your jars to keep the vegetables from coming up the level of the water.
Slice cabbage into slivers. As you slice it, keep turning it to keep yourself safe and keep your cabbage evenly sized.
Add a little bit of salt and massage with your hands for a few minutes. The salt starts breaking down the cell walls of the cabbage, which will save you from having to beat the cabbage a lot.
After you have massaged your cabbage, let it sit for 10 - 15 minutes.
Knead your cabbage again.
Once you have kneaded your cabbage to the desire texture, fill your jars. It’s best to continue kneading until you can squeeze a little bit of water from the cabbage.
Fermenting cabbage produces a decent amount of gas, Make sure to leave head room in your jars to accommodate. This means lightly packing cabbage into your jar, about ¾ full.
Add water to just under the shoulder of the jar.
Sometimes cabbage produces enough liquid while it's fermenting. If it doesn’t feel free to add more liquid.
Top your sauerkraut off with a whole cabbage leaf, packing it along the sides of the jar to keep all the vegetables below the level of the liquid.
Seal with a two piece lid.
Leave on your counter. No need to burp this ferment! This process works anaerobically, without oxygen. If your jars burp, overflow or explode, you simply packed your jar too tight with vegetables.
Making Whey
Easy Do-It-Yourself Whey from Yogurt
Whey is the other protein in milk aside from casein. It’s only present after milk products have been cultured and it’s a live food. This liquid is teeming with good lactic acid producing bacteria (LABs.) Whey is a basic to keep on hand because it can be used to ferment flours, seeds, nuts, vegetables, or as a starter to culture other dairy.
I use homemade yogurt to make my whey but you can use store bought yogurt to make your own whey. Make sure you get a full fat, grass fed yogurt that only contains milk and cultures. It’s ok if it’s pasteurized as the culturing process adds life back to this food! Greek yogurt will not work to make whey as there is very little whey naturally in that strain of yogurt. If you are sensitive to lactose or casein, you should leave your store bought yogurt out on the counter, unopened, for an additional 12 - 24 hours to finish culturing the yogurt before you strain the whey. (Essentially making it lactose free.)
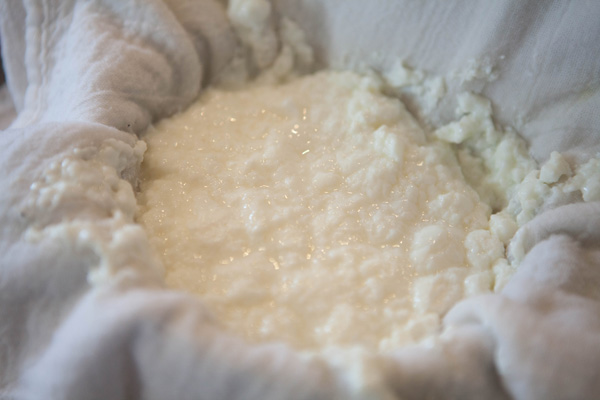
If you strain your yogurt for a long time, it becomes almost like a cream cheese substance. It’s great to add fresh herbs to and make a dip!
To speed along the straining time, stir your yogurt well before adding it to the cloth.
I really like using the villi life culture from the Heirloom Yogurt Starter pack at Cultures for Health. Not only is it a mesophilic culture, meaning it cultures at room temperature instead of at 110 degrees like most yogurts, but it is a runnier yogurt and produces a lot of whey for my baking and fermenting needs.
I enjoy to the runniness of the ville life culture. If you don’t, simply separate some of the whey out of each batch for a thicker end product.
The cloth I used is the single fold diaper cloth, you can purchase it at Walmart or find something similar at Cultures for Health.
It’s best to use a plastic funnel because metal can be damaging to the good bacteria inside the whey.
Whey keeps in the fridge for about six months if you’ve successfully removed most of the milk solids and strained well.
Ingredients for DIY Whey
3 Cups Homemade Yogurt
Directions for DIY Whey
Set a plastic strainer inside a large measuring cup or bowl.
Fold the cloth four times and set inside the strainer.
Pour your yogurt into the cloth.
Gather the edges of your cloth and secure with a rubber band.
Leave to sit and strain for as long as desired.
If you want to simply thicken your yogurt, leaving it for only ten minutes is fine. If you’d like to strain all the whey out to make a cream cheese, you can leave it for much longer. I often leave mine out overnight.
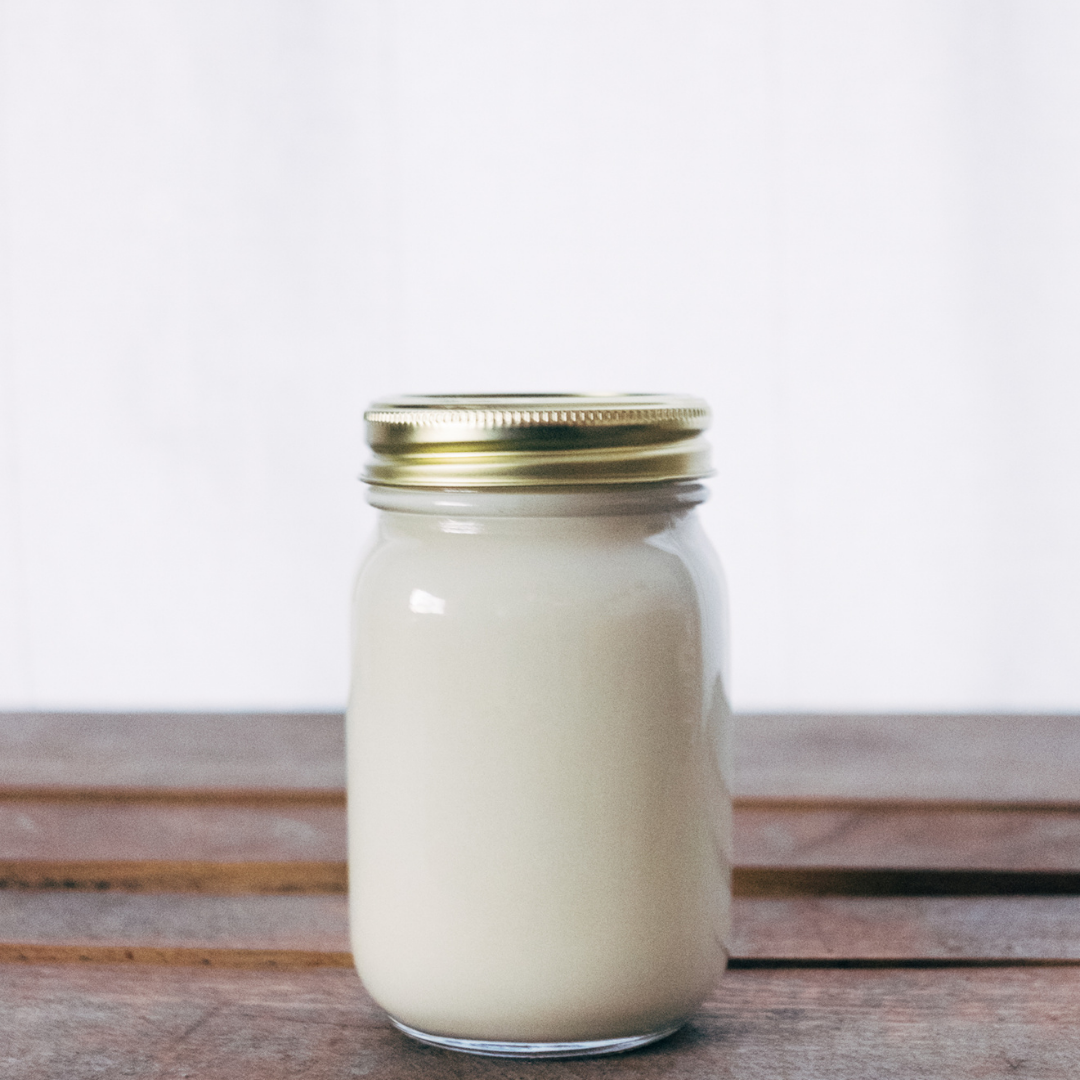
Once you have strained enough whey out, pour it into a clean glass jar.
Rinse your cloth well in hot water. Don’t use soap! Hang to dry.
Use your whey to ferment flours, seeds, nuts, or vegetables, or as a starter to culture other dairy. What will you use your whey for?
How to Make Whey
ingredients:
- 3 Cups Homemade Yogurt
instructions:
How to cook How to Make Whey
- Set a plastic strainer inside a large measuring cup or bowl.
- Fold the cloth four times and set inside the strainer.
- Pour your yogurt into the cloth.
- Gather the edges of your cloth and secure with a rubber band.
- Leave to sit and strain for as long as desired.
- If you want to simply thicken your yogurt, leaving it for only ten minutes is fine. If you’d like to strain all the whey out to make a cream cheese, you can leave it for much longer. I often leave mine out overnight.
- Once you have strained enough whey out, pour it into a clean glass jar.
- Rinse your cloth well in hot water. Don’t use soap! Hang to dry.
- Use your whey to ferment flours, seeds, nuts, or vegetables, or as a starter to culture other dairy. What will you use your whey for?
Chicken Stock Recipe
Meat stock is a pillar in healing a leaky gut but this rich food is beneficial to anyone. It provides large amounts of the immune system’s favorite foods, is very easy to digest, and is a great base to modify for other healing and nutritious recipes.
Meat stock is meant to be a meal in itself. It’s short cooking time allows the meat to remain edible while still enriching stock with easy to absorb nutrients. This is the perfect thing to eat anytime you are feeling ill or stressed or “can’t get filled up” hungry. These are some of the reasons meat stock is such an important part of the healing process of the GAPS Diet. Any time you are consuming meat stock on a regular basis, your body will be receiving the healing benefit.
Meat stock can be made into a soup or simply drunk on its own as a hot beverage with a meal. You can also poach a couple eggs in your stock for a rich breakfast. Stock can also be used to cook rice or other soaked grains to increase their digestibility and nutritional content. In short, this should be considered a staple to have in your kitchen at all times, either in the fridge or the freezer.
This recipe is stock without aromatics. I prefer stock this way currently because it’s a neutral base ingredient that can be changed in any way for any other recipe. Making stock this way, you can also feed your dog the extra chicken meat because the base doesn’t have onions. Make sure you debone the chicken before giving to your dog; they should not have chicken bones.
You’ll notice I set aside the breasts of the chicken. Good stock should be 80% meat and 20% bone with a joint. Using a whole chicken, this ratio is fulfilled without needed the breasts. You can use the breasts in other recipes or add to the soup later for more tender meat.
There are a variety of ways you can skim the scum off the top of your stock. I usually use a slotted spoon but you can also use a mesh scum skimmer, a slotted spoon, a small strainer, or a large soup spoon.
Skimming the scum off the top is where you can tell the quality of your meat. If your meat is poor quality, had a lot of hormones or was poorly processed, you’ll get scum that’s heavy, grey and unappetizing. If you have a good quality chicken, you will have a small amount of light almost white colored scum that appears as a lighter foam. This is also where you can tell if your meat has gone bad at this point. If your chicken is not good, you will smell an obvious sulfur smell.
You can store your stock in the fridge or the freezer, depending on how quickly you’ll consume the batch.
A note about Meat Stock and the GAPS Intro Diet:
When Dr. Natasha Campbell talks about meat in stage 1, she’s referring to eating primarily the gelatinous meats like skin, joints and connective tissue. When meat is added on Stage 2, she means the muscle meats, the only thing we Americans consider to be meat. Eating a lot of muscle meat can be constipating so if this is your issue, be sure to eat every last bit of the skin and joints.
Fill large stock pot with water.
Remove chicken from package and remove giblets from interior. Rinse chicken.
Cut chicken into 8 pieces, joints exposed. First, remove the wings at the base of the joint.
Slice the drumsticks, pop the joint out of the meat and finish slicing off the drumstick.
Slice down the center of the bird, exposing the back. Slice the back off.
With the chest cavity down, slice to the right of the breast bone, removing one breast and then the other.
Pull the tenders off the breast (the underside of the breast) and remove the skin from the breast. Set the breasts aside for a different recipe.
Optionally, seperate the drumstick from the thigh.
This is how your chicken should look once you've cut it into the pieces.
Place pieces of chicken into the water. First, the back, then breastbone, then wings, thighs, then the drumsticks. Add in all giblets and extra skin from breasts.
Meat should be covered with about two inches of water. Here I am measuring the water level with my finger.
Bring to a boil. It usually takes 10-15 minutes to bring to a boil.
Skim the scum off the top using a mesh scum skimmer, a slotted spoon or a large soup spoon. Try to leave as much fat as you can in the pot.
If you miss skimming the scum, your meat stock is fine. The scum is simply impurities. Removing them improves the overall taste of your meat stock but leaving them is not harmful.
Reduce your heat and leave the pot at a simmer for 1 - 1 ½ hours.
Longer simmering will make the meat tasteless. Longer than 8 hours causes the histamine amounts to be higher which can cause nerve irritation symptoms in people with a leaky gut.
Simmering means movement in the water and very little movement on the surface.
Remove the whole pieces of chicken onto a platter. I use a strainer to make it easier.
Allow the chicken pieces to cool.
Debone the chicken chunks.
When you find the heart - SCORE! Eat it! This is my reward to myself for deboning the chicken.
Make sure you remove only the bones! Everything else is delicious and healthy for you. This photo shows all that should be left after you have deboned the chicken.
Toss the bones or freeze them for bone broth at a later time. I don’t like bone broth so I toss them.
Once stock has cooled slightly, pour into jars or use immediately for soup, like this GAPS Legal Chicken Tortilla Soup.
If you’d like to freeze your stock, wait for it to cool to room temperature. This inhibits bacteria growth.
Then, to cool completely, store in the fridge.
Once your stock has completely cooled, add to a BPA free freezer bag. Lay inside a container to shape your bag. Freeze solid.
Do this one bag at a time!
After deboning the chicken, sift through the meat picking out all the skin and organ meat.
Add these back to your stock and blend them with an immersion blender or blender.
It will get frothy! Don’t be alarmed!
Chicken Stock
ingredients:
- Filtered Water
- 1 Whole Chicken
instructions:
How to cook Chicken Stock
- Fill large stock pot with water.
- Remove chicken from package and remove giblets from interior. Rinse chicken.
- Cut chicken into 8 pieces, joints exposed. First, remove the wings at the base of the joint.
- Slice the drumsticks, pop the joint out of the meat and finish slicing off the drumstick.
- Slice down the center of the bird, exposing the back. Slice the back off.
- With the chest cavity down, slice to the right of the breast bone, removing one breast and then the other.
- Pull the tenders off the breast (the underside of the breast) and remove the skin from the breast. Set the breasts aside for a different recipe.
- Optionally, separate the drumstick from the thigh.
- This is how your chicken should look once you've cut it into the pieces.
- Place pieces of chicken into the water. First, the back, then breastbone, then wings, thighs, then the drumsticks. Add in all giblets and extra skin from breasts.
- Meat should be covered with about two inches of water. Here I am measuring the water level with my finger.
- Bring to a boil. It usually takes 10-15 minutes to bring to a boil.
- Skim the scum off the top using a mesh scum skimmer, a slotted spoon or a large soup spoon. Try to leave as much fat as you can in the pot.
- If you miss skimming the scum, your meat stock is fine. The scum is simply impurities. Removing them improves the overall taste of your meat stock but leaving them is not harmful.
- Reduce your heat and leave the pot at a simmer for 1 - 1 ½ hours.
- Longer simmering will make the meat tasteless. Longer than 8 hours causes the histamine amounts to be higher which can cause nerve irritation symptoms in people with a leaky gut.
- Simmering means movement in the water and very little movement on the surface.
- Remove the whole pieces of chicken onto a platter. I use a strainer to make it easier.
- Allow the chicken pieces to cool.
- Debone the chicken chunks.
- When you find the heart - SCORE! Eat it! This is my reward to myself for deboning the chicken.
- Make sure you remove only the bones! Everything else is delicious and healthy for you. This photo shows all that should be left after you have deboned the chicken.
- Toss the bones or freeze them for bone broth at a later time. I don’t like bone broth so I toss them.
- Once stock has cooled slightly, pour into jars or use immediately for soup, like this GAPS Legal Chicken Tortilla Soup.
- If you’d like to freeze your stock, wait for it to cool to room temperature. This inhibits bacteria growth.
- Then, to cool completely, store in the fridge.
- Once your stock has completely cooled, add to a BPA free freezer bag. Lay inside a container to shape your bag. Freeze solid.
- Do this one bag at a time!
- After deboning the chicken, sift through the meat picking out all the skin and organ meat.
- Add these back to your stock and blend them with an immersion blender or blender.
- It will get frothy! Don’t be alarmed!

