


What is switchel? Switchel is a fermented lemon/ginger drink that is especially refreshing during the summer when working in the heat! The fermented aspect provides probiotics for the gut, the apple cider vinegar helps you be able to drink greater amounts without feeling bloated, and the lemon and ginger help hydrate you more effectively! Plus, it is simply delicious. I try to always have a few bottles brewing throughout the summer.
Ingredients for switchel:
2-3 inches of fresh ginger (peeled and chopped)
1 cup hot water + enough filtered water to fill the jar
4 Lemons (juiced)
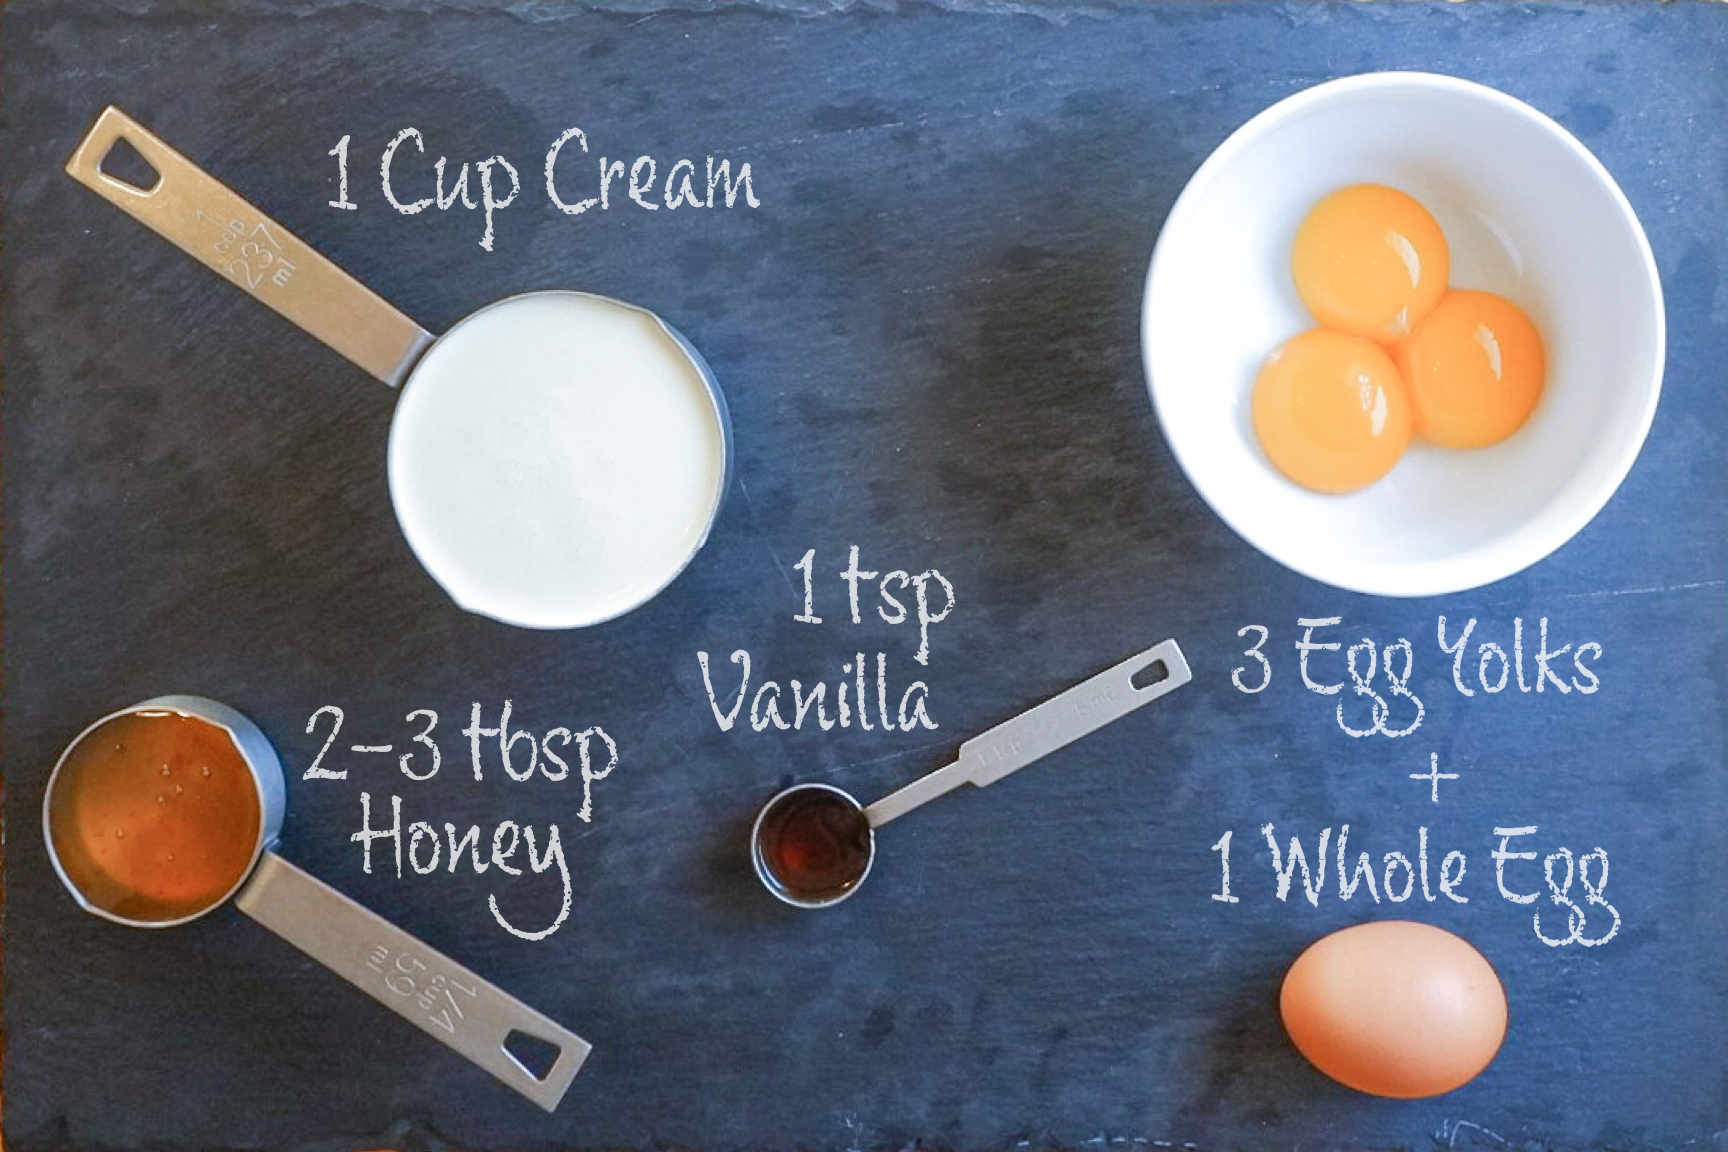
¼ - ⅓ cup Apple Cider Vinegar - raw, unfiltered with the mother
¼ cup raw honey
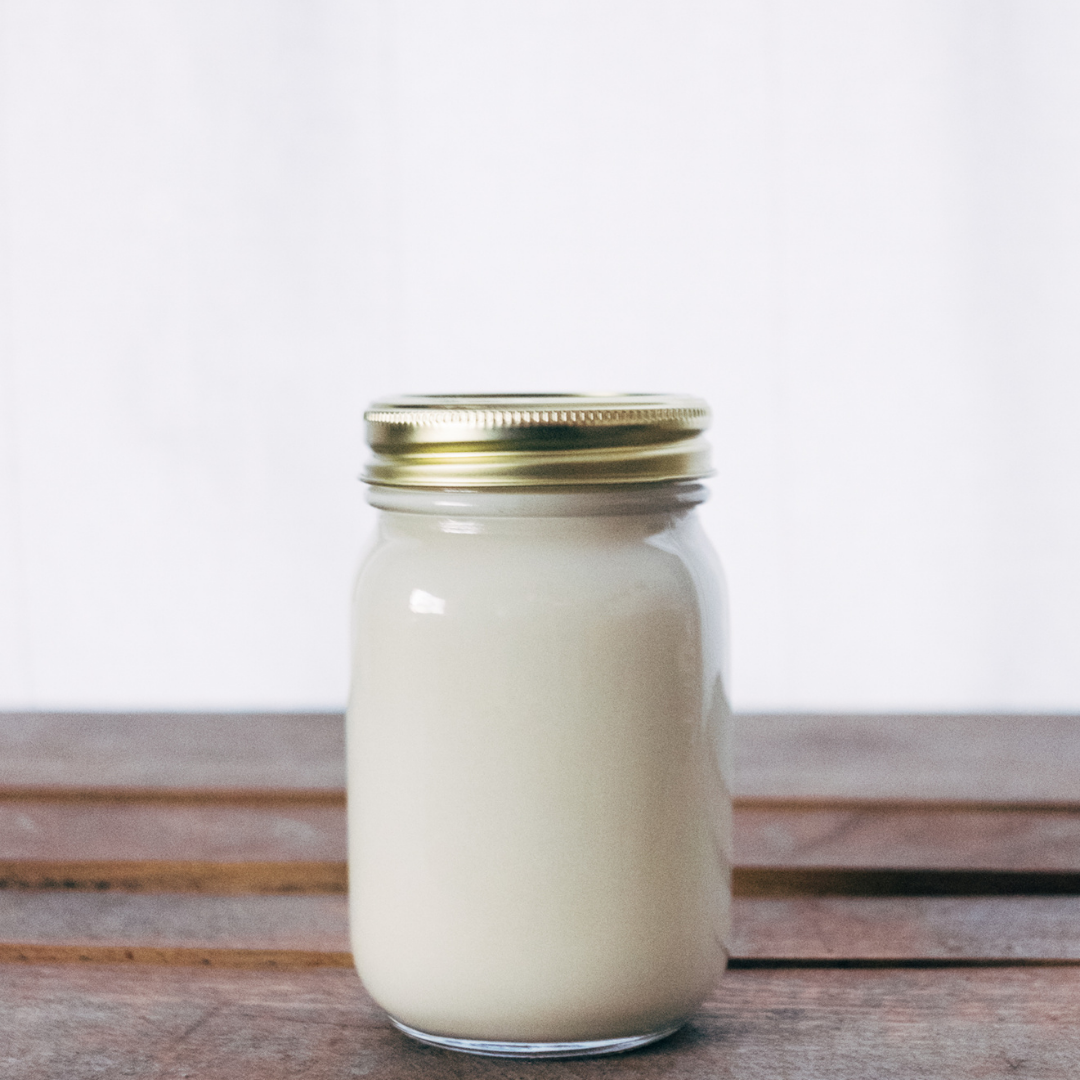
A ½ gallon mason jar (or similar vessel that can close tightly)
Additional Supplies for switchel:
½ Gallon sized mason jar or similar vessel with a sealing lid
Metal strainer
Directions for making switchel:
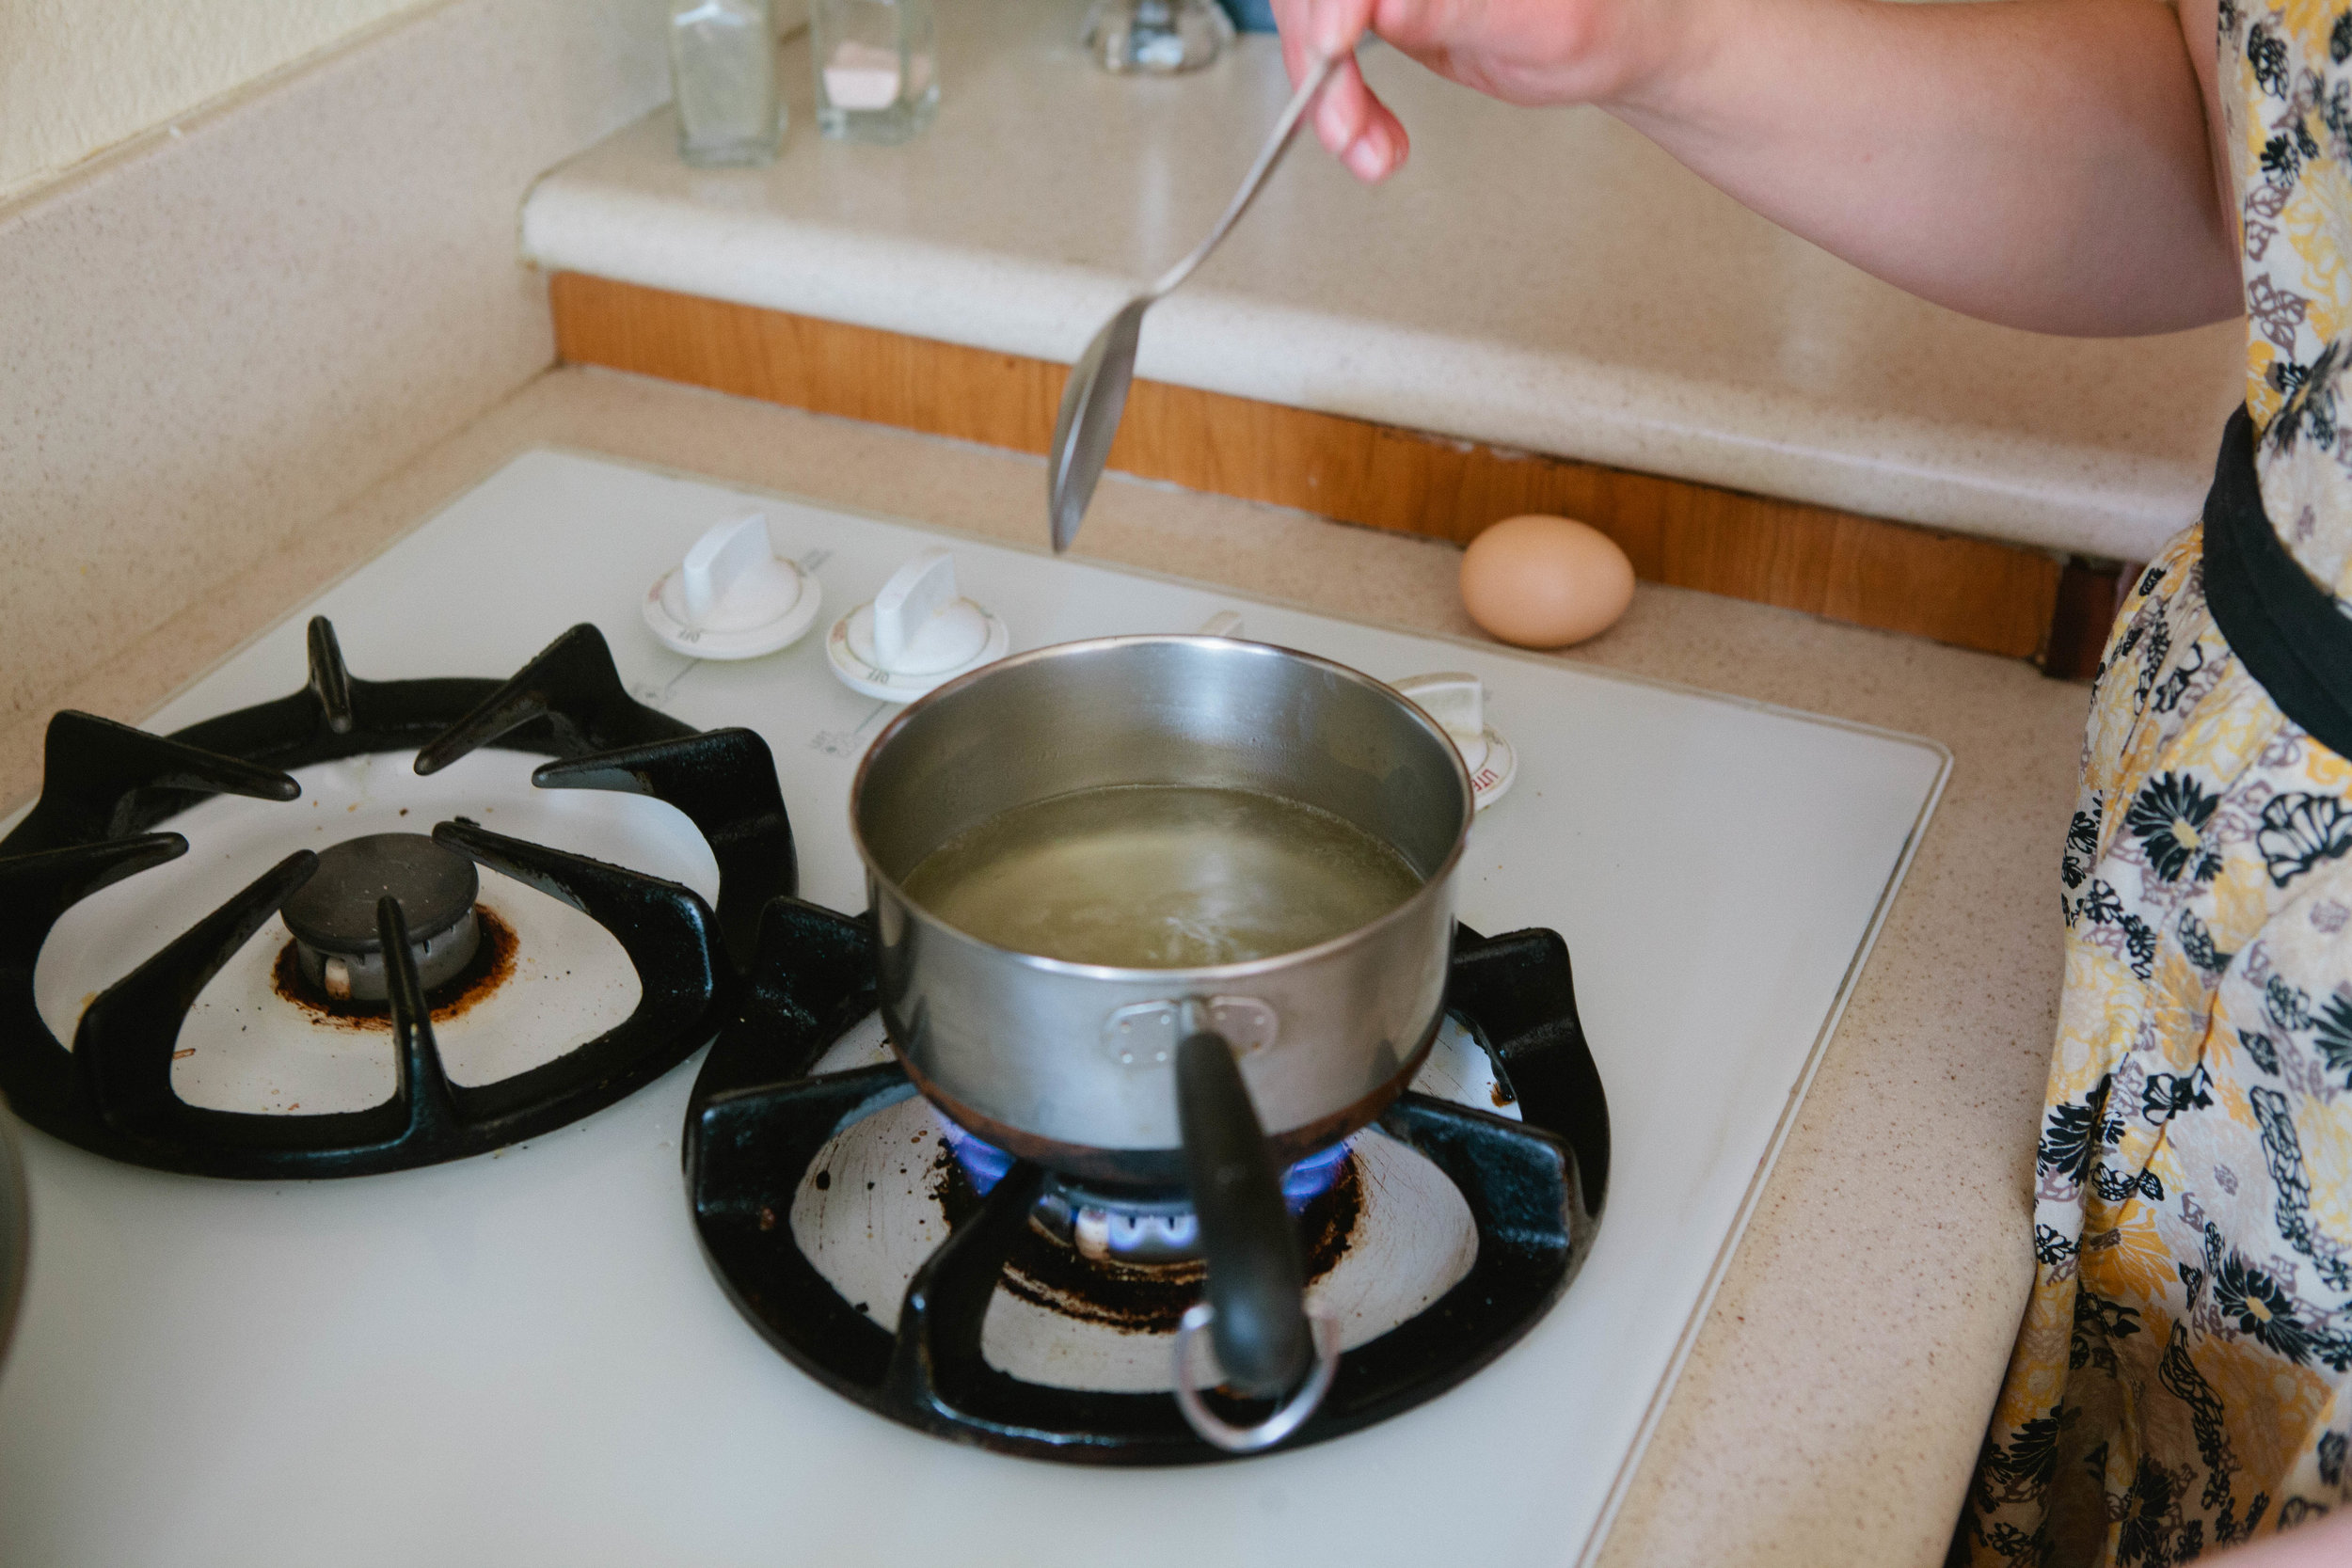
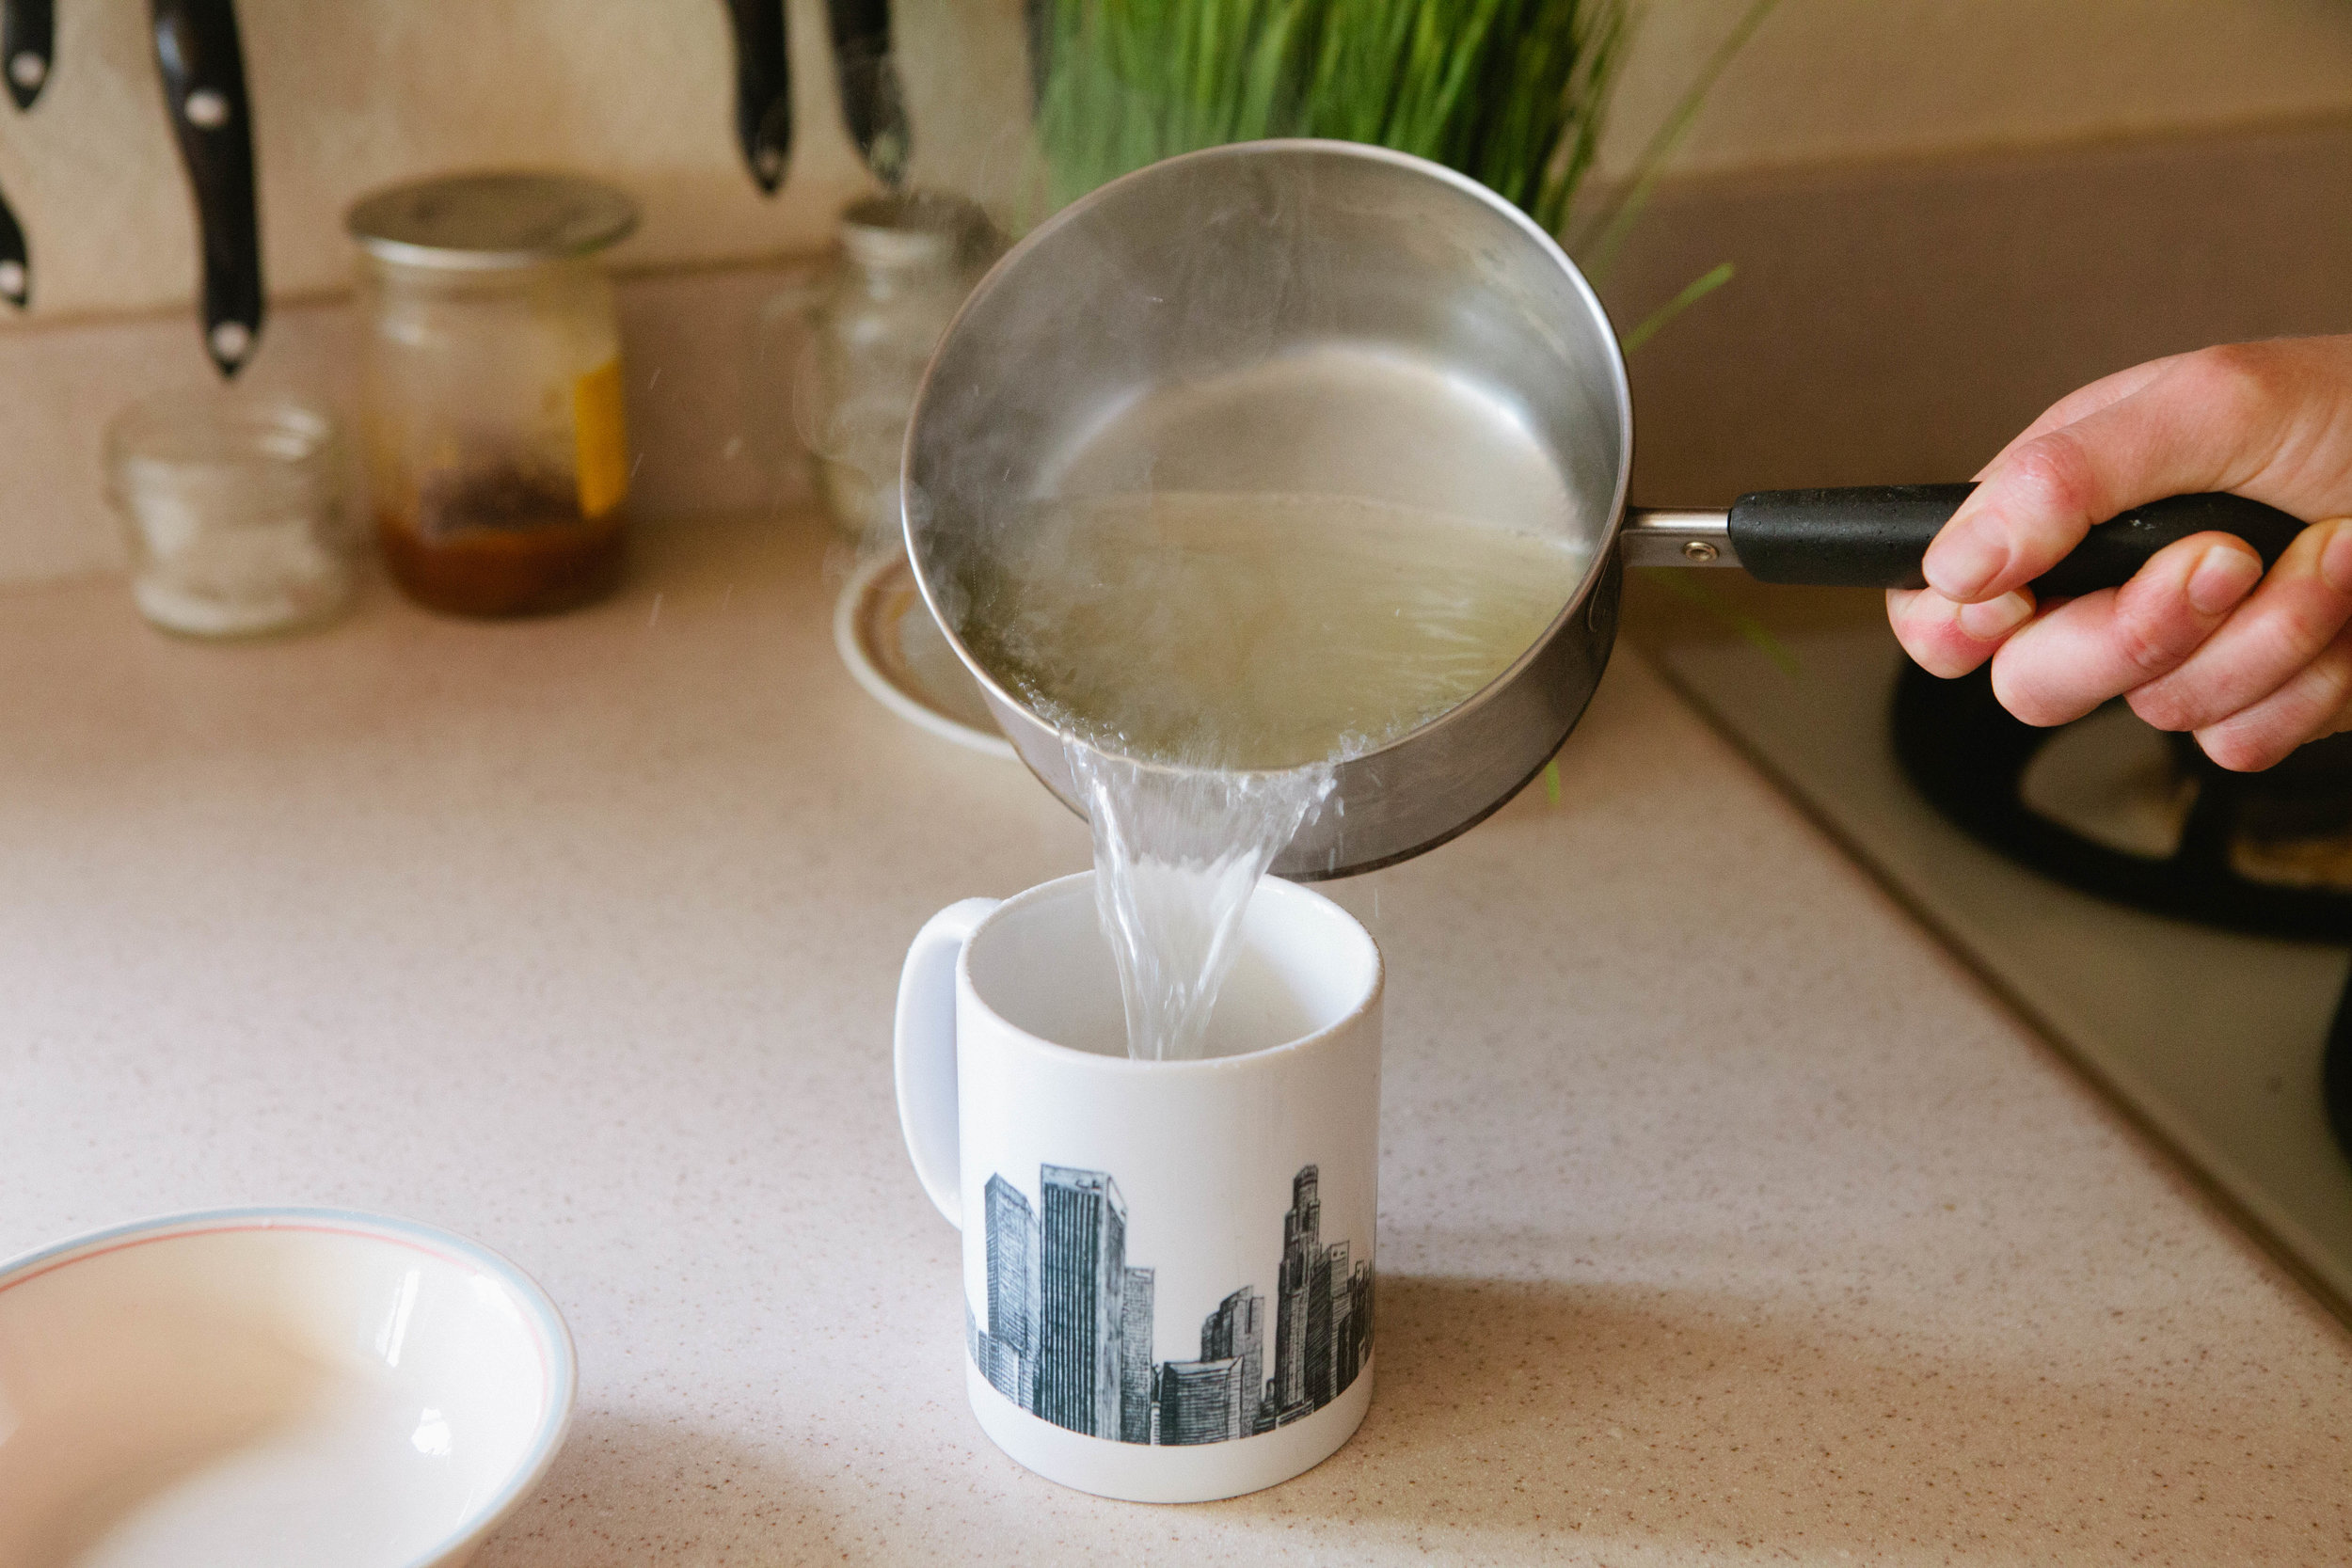
In a small bowl, combine the hot water with the honey. We want the water to be just hot enough to allow the honey to dissolve - it should not be boiling, or this will kill off the beneficial microbes in the honey.
To the mason jar, add the chopped ginger, fresh lemon juice and apple cider vinegar. Add the honey-water mixture, then add filtered water to fill up to approximately 1 inch from the top of the jar. Cover tightly and give the jar a few shakes to mix everything up. Loosen the lid slightly and leave on the counter at room temperature for 24-36 hours.
Once done, strain the switchel into a clean glass vessel (I use just another mason jar or a swing-top bottle) and store in the refrigerator.
Pour over ice and enjoy!
- Hollie
Switchel
Ingredients
- 2-3 inches of fresh ginger (peeled and chopped)
- 1 cup hot water + enough filtered water to fill the jar
- 4 Lemons (juiced)
- ¼ - ⅓ cup Apple Cider Vinegar - raw, unfiltered with the mother
- ¼ cup raw honey
- A ½ gallon mason jar (or similar vessel that can close tightly)
Instructions
- In a small bowl, combine the hot water with the honey. We want the water to be just hot enough to allow the honey to dissolve - it should not be boiling, or this will kill off the beneficial microbes in the honey.
- To the mason jar, add the chopped ginger, fresh lemon juice and apple cider vinegar. Add the honey-water mixture, then add filtered water to fill up to approximately 1 inch from the top of the jar. Cover tightly and give the jar a few shakes to mix everything up. Loosen the lid slightly and leave on the counter at room temperature for 24-36 hours.
- Once done, strain the switchel into a clean glass vessel (I use just another mason jar or a swing-top bottle) and store in the refrigerator.
- Pour over ice and enjoy!