0
items
$0


GAPS Friendly Homemade Yogurt
Let’s make yogurt! Around here we are very into fermented and cultured foods. Not only are they delicious but they are so full of probiotics, vitamins and minerals that are easy for our bodies to utilize!
Fermented and cultured foods can seem intimidating to those who have not made them, but once you’ve started in the world of ferments and cultures, you will see how easy, quick, and fun they are.
Yogurt is one of my family’s favorites. We use raw milk, but you can use pasteurized milk if that is all you have access to. It will need to be whole milk, preferably organic, and grass fed, and it cannot be UHT (or ultra-high temperature) pasteurized. You’ll treat it a little differently than raw milk, so pay attention to those directions. You can also use numerous types of starters - whey, creme fraiche, another yogurt - if you have any of these on hand, you can make yogurt! Like the milk, if you are using yogurt as a starter, you can use one that you previously made, or you can use yogurt from the store. Just make sure it is whole milk, organic, plain, with no other ingredients added beside the milk and the probiotic strains.
As far as cultured dairy products go, yogurt is high in protein versus fat. For this reason, we usually recommend it to people who are more prone to diarrhea or soft stools instead of people who are constipated (for whom we would recommend a higher fat content dairy like sour cream or creme fraiche).
Let’s dive in!
Ingredients for Homemade Yogurt:
Milk
Whey
Pour your milk into a pot and slowly heat it over the stove. Raw milk should be heated to 110 F. Pasteurized milk needs to be heated up to 180 F, then cooled to 110 F.
This is very important because when milk is pasteurized, it starts growing bacteria that are not beneficial, and can actually be quite harmful (this is why pasteurized milk has an expiration date and why it “goes bad” when it is too old or left out of refrigeration). We have to kill these off first before we let the culturing process happen.

Once your milk is at temperature, remove from heat and add your starter. This can be yogurt, whey or crème fraiche. Whey generally makes a thinner yogurt, a previous yogurt will make a thicker yogurt, and crème fraiche tends to make a creamier yogurt. Stir briefly to combine.

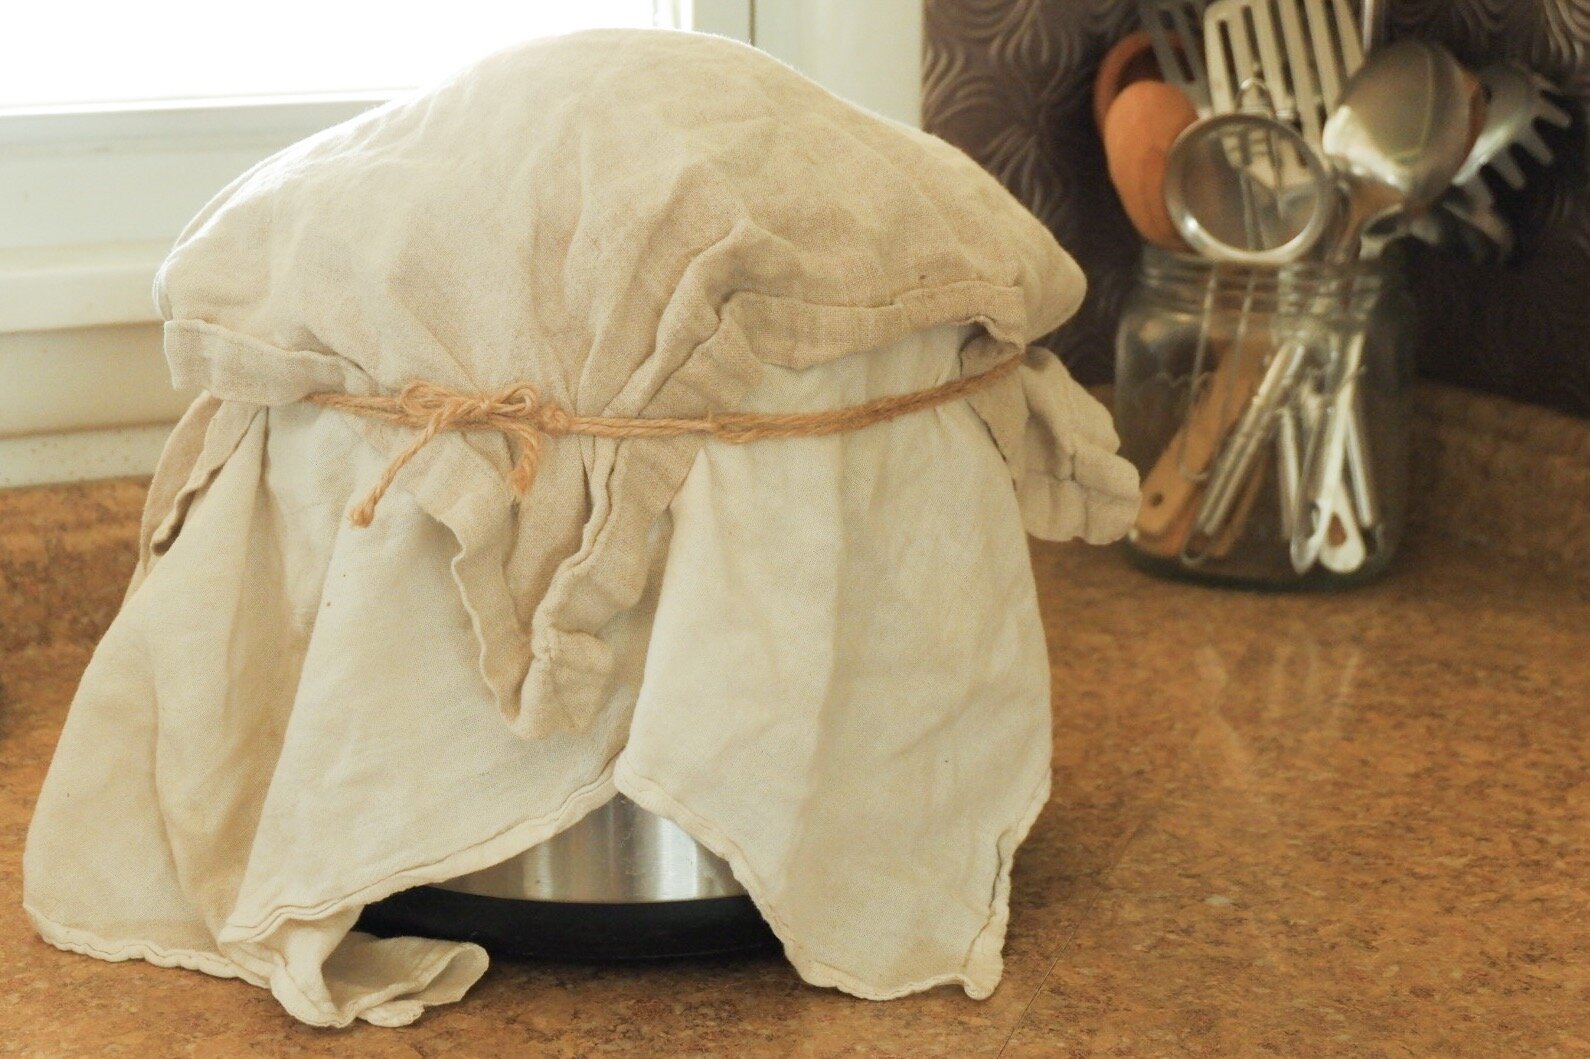
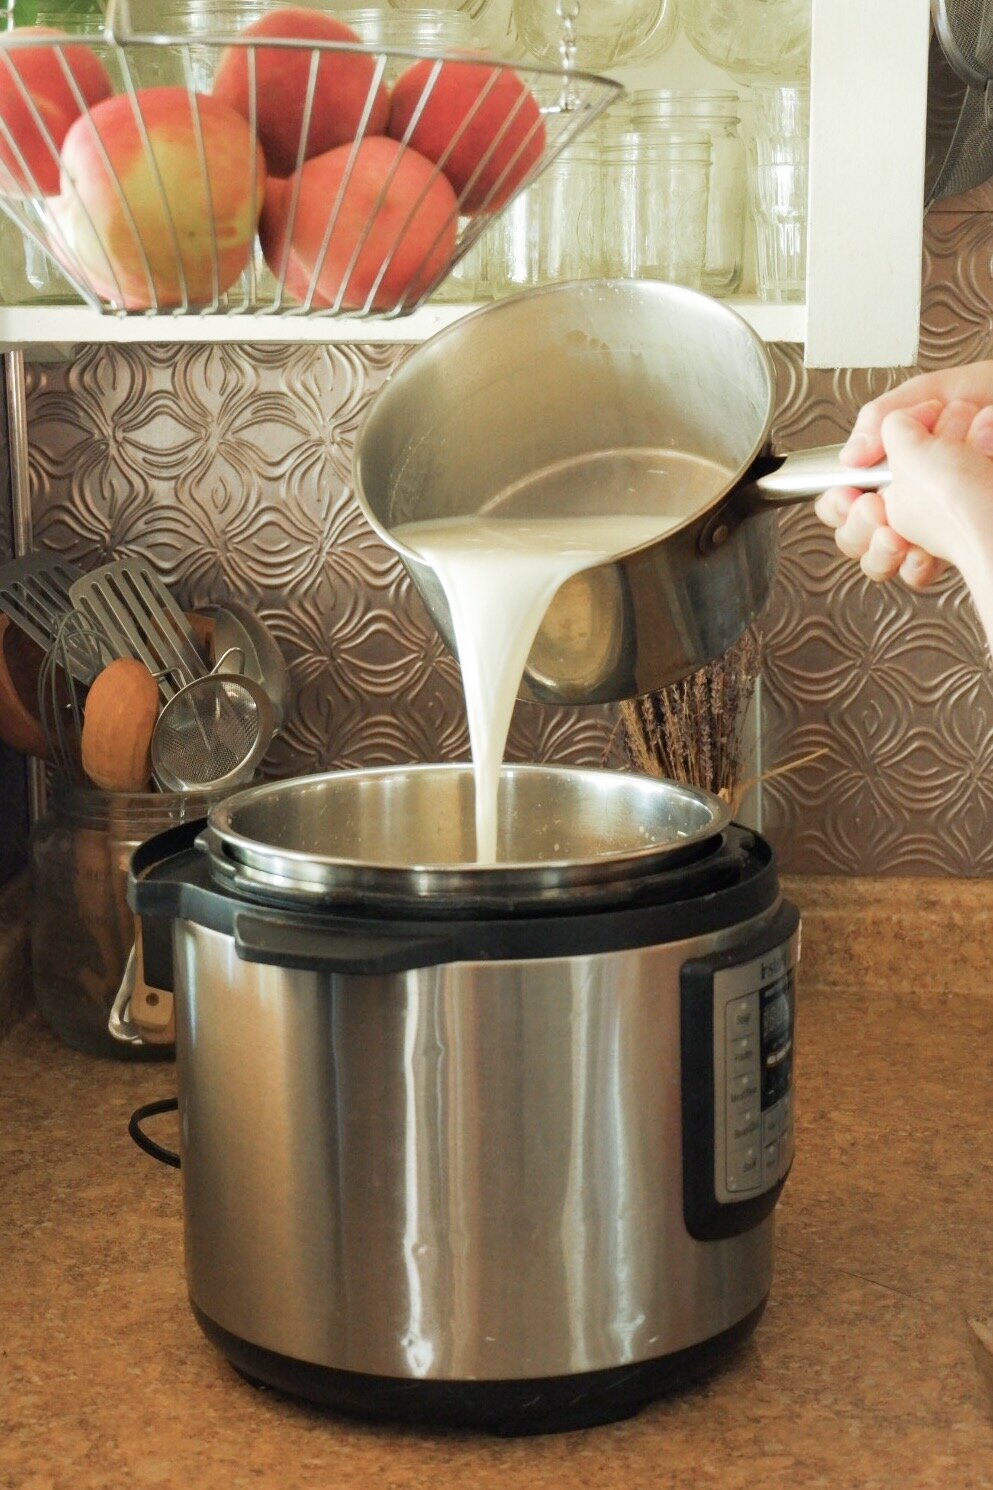
Pour the milk/starter mixture into an insulated container. I use my instant pot with it unplugged and covered. Then I wrap a couple towels around it to keep any heat from leaking out. You can use a thermos, or place your milk in a jar and put it somewhere where you can regulate the temperature such as in a dehydrator or in the oven with the pilot light on. The goal is to keep the milk at 110 F for the next 24-36 hours. Many recipes will say 8-12 hours is fine. When trying to reduce the lactose level and predigest the proteins as much as possible, we aim for at least 24 hours. I find that closer to 28-30 hours produces my favorite consistency/flavor balance. (If you are following the GAPS nutritional protocol, stick to the longer timeframe.)
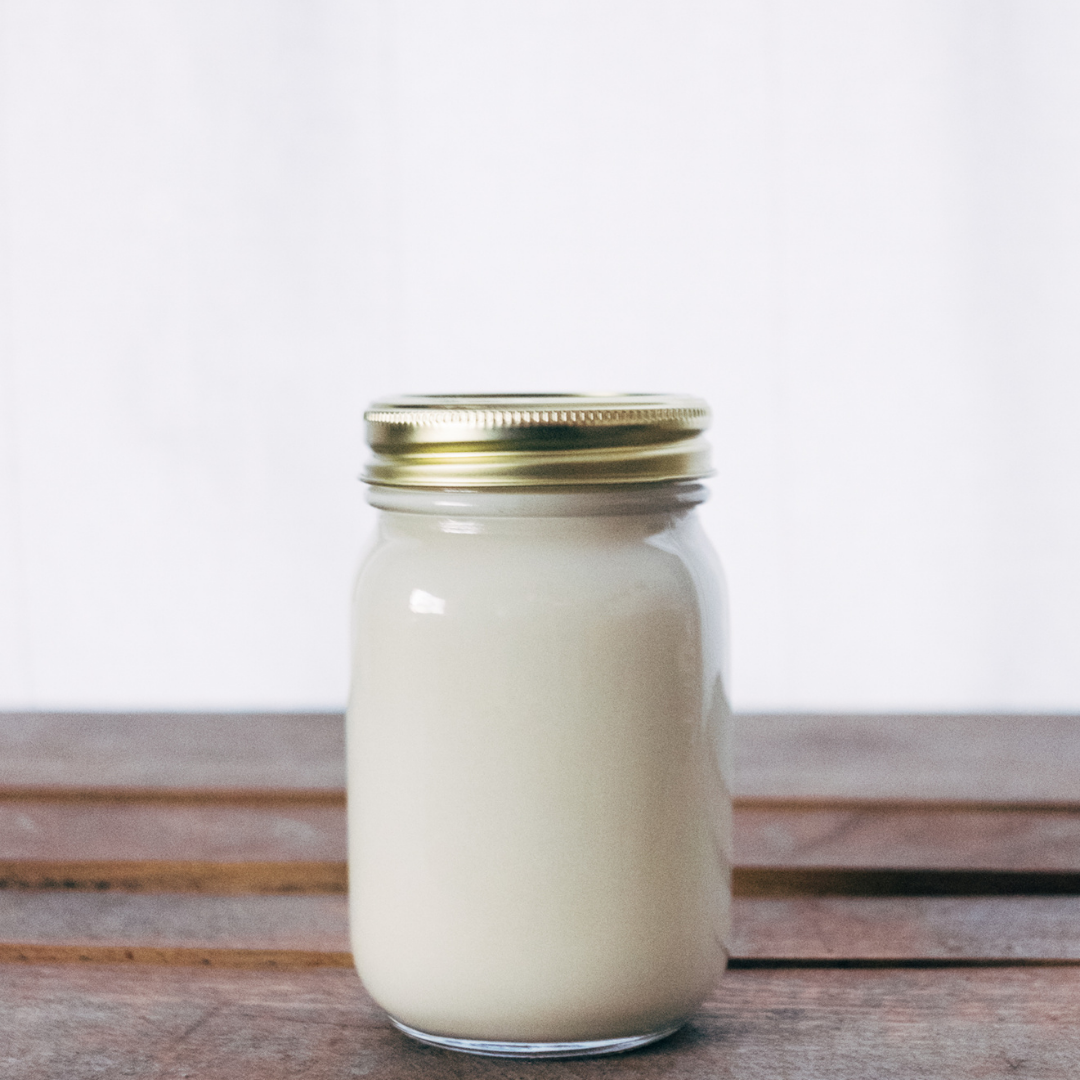
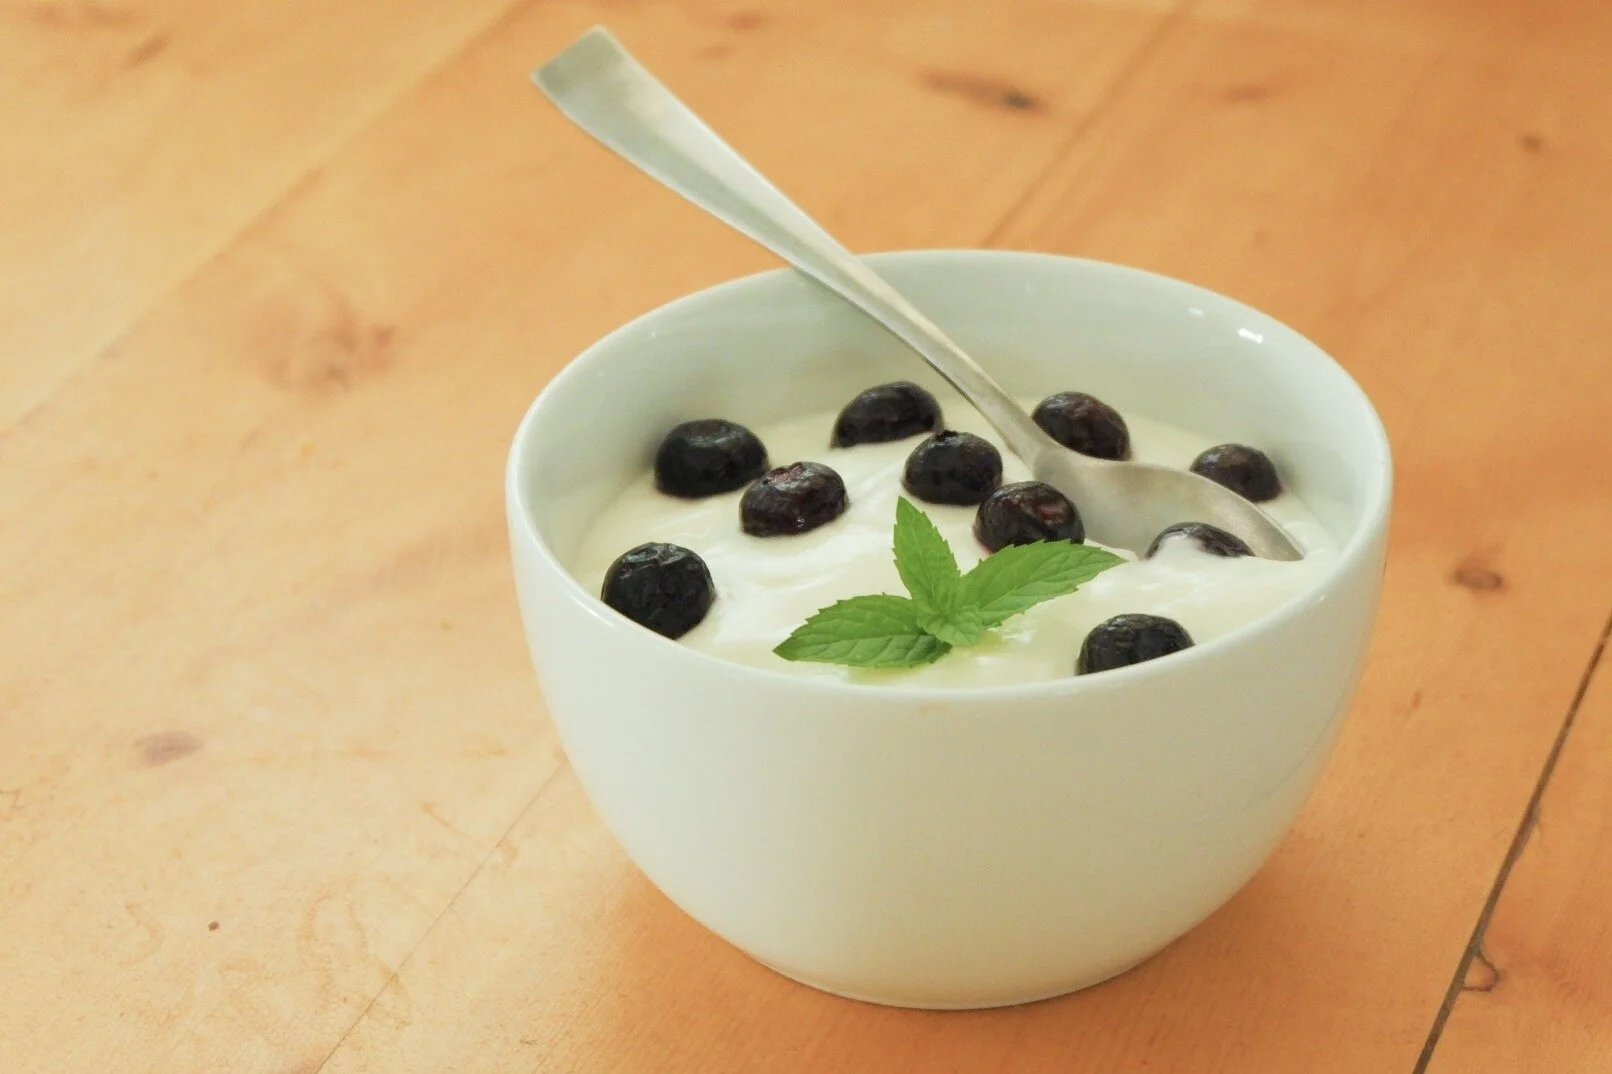
When the culturing process is done (24-36 hours later), your yogurt is complete! Pour into a glass jar, store in the fridge and enjoy!

Homemade Yogurt
Ingredients
- Milk
- Whey
Instructions
- Pour your milk into a pot and slowly heat it over the stove. Raw milk should be heated to 110 F. Pasteurized milk needs to be heated up to 180 F, then cooled to 110 F.
- This is very important because when milk is pasteurized, it starts growing bacteria that are not beneficial, and can actually be quite harmful (this is why pasteurized milk has an expiration date and why it “goes bad” when it is too old or left out of refrigeration). We have to kill these off first before we let the culturing process happen.
- Once your milk is at temperature, remove from heat and add your starter. This can be yogurt, whey or crème fraiche. Whey generally makes a thinner yogurt, a previous yogurt will make a thicker yogurt, and crème fraiche tends to make a creamier yogurt. Stir briefly to combine.
- Pour the milk/starter mixture into an insulated container. I use my instant pot with it unplugged and covered. Then I wrap a couple towels around it to keep any heat from leaking out. You can use a thermos, or place your milk in a jar and put it somewhere where you can regulate the temperature such as in a dehydrator or in the oven with the pilot light on. The goal is to keep the milk at 110 F for the next 24-36 hours. Many recipes will say 8-12 hours is fine. When trying to reduce the lactose level and predigest the proteins as much as possible, we aim for at least 24 hours. I find that closer to 28-30 hours produces my favorite consistency/flavor balance. (If you are following the GAPS nutritional protocol, stick to the longer timeframe.)
- When the culturing process is done (24-36 hours later), your yogurt is complete! Pour into a glass jar, store in the fridge and enjoy!