That big yellow blob in the sky has so many benefits for us! We teach our children to get outside and play but did you know all the amazing benefits the sun can give us, even as adults?
Book Recommendations on Natural Pet Care
Many of us have pets, and we want the best for them! Pets do best on good, nourishing foods, and in an environment where you are supporting them. Support could look like understanding and responding to their cues, or feeding them well. It can also look like engaging with them to train and to play, which will also lower their anxiety and let them know you are in charge, so they can enjoy life!
Book Recommendations on Raising Healthy Children
It is more difficult than ever to raise a health child these days. But our bodies are so amazing! Feeding good and nourishing food, supporting the microbiome, treating illnesses naturally, and avoiding as many toxins as possible are some ways you can support your child’s body, allowing it to grow as strong as healthy as possible! Here are my top recommendations on raising healthy children.
Dear Mama, You're Doing Great
Nutritional Resources
Coronavirus: What You Can Do About it!
I imagine that, like mine, your last month or so has been full of fighting fears and wondering about the future. Between the coronavirus that has been globally spreading, to censorship and legislation that has been threatening our personal and parental freedoms, this has been easy to do. This, of course, is on top of the normal fear and pressure of inadequacy we can feel every time we scroll social media or turn on the news.
Meal Prep Recipes for the GAPS Diet
Meal prep means preparing your meals for the week ahead (or even longer) in advance. You can do as much of the process as you want ahead of time. The goal of meal prep is to make eating well easier for you and your family. If meal prep stresses you out, then it’s not helping!
The process of planning your meal prep starts with…you guessed it - planning your meals! I use Plan to Eat to help layout meals. You simply add your favorite recipes to the queue and then drag and drop them to the calendar. Plan to Eat even does your grocery list for you! Start a free trial here. You can also meal plan with any calendar app or simply pen and paper. It’s really up to you and what works best for you and your family.
Whether you’re an avid meal prepper or you’re just looking for a few meals to fill your freezer, these recipes are a great way to always have filling, nutritious, real food on hand to feed yourself and your family.
There’s a few recipes that are always great to have on hand. These are the basic building blocks for a lot of other recipes.
Fermented Garlic
This is an easy beginner ferment to make. Raw garlic, has many supportive health benefits. And when raw garlic is fermented, many of these increase. The fermentation process takes about 6 weeks to complete!
Gluten Free, Dairy Free, Egg Free
Chicken Stock
Meat stock is a pillar in healing a leaky gut but this rich food is beneficial to anyone. It provides large amounts of the immune system’s favorite foods, is very easy to digest, and is a great base to modify for other healing and nutritious recipes. This recipe can be modified for any type of meat stock.
Gluten Free, Dairy Free, Egg Free
Spaghetti Sauce
I’ve always liked spaghetti and spaghetti sauce but when I started making my own spaghetti sauce, I realized I liked my own sauce best of all! I love making my own spaghetti sauce because I get to be in charge of the flavor, texture, and strength. Plus, I know everything that’s in it!
Gluten Free, Dairy Free, Egg Free
Salad Dressing
I was searching for the perfect sausage recipe. I discovered I don’t like a sausage that is heavily flavored with sage. My ideal tasting sausage was Jimmy Dean’s sausage which, of course, contains MSG.
I needed to find a recipe that would keep me from occasionally caving and eating Jimmy Dean.
Gluten Free, Dairy Free, Egg Free
Lovely Lard
Eating animal fat is important to our body's health. But eating enough fat can be challenging, especially when there is a dairy allergy. Lard is a great alternative to butter, and its taste is more mild than that of tallow. You can buy lard at the store, but it is expensive and may be hydrogenated or of poor quality. Making your own lard is simple and easy, and can be done for a fraction of the price.
Gluten Free, Dairy Free, Egg Free
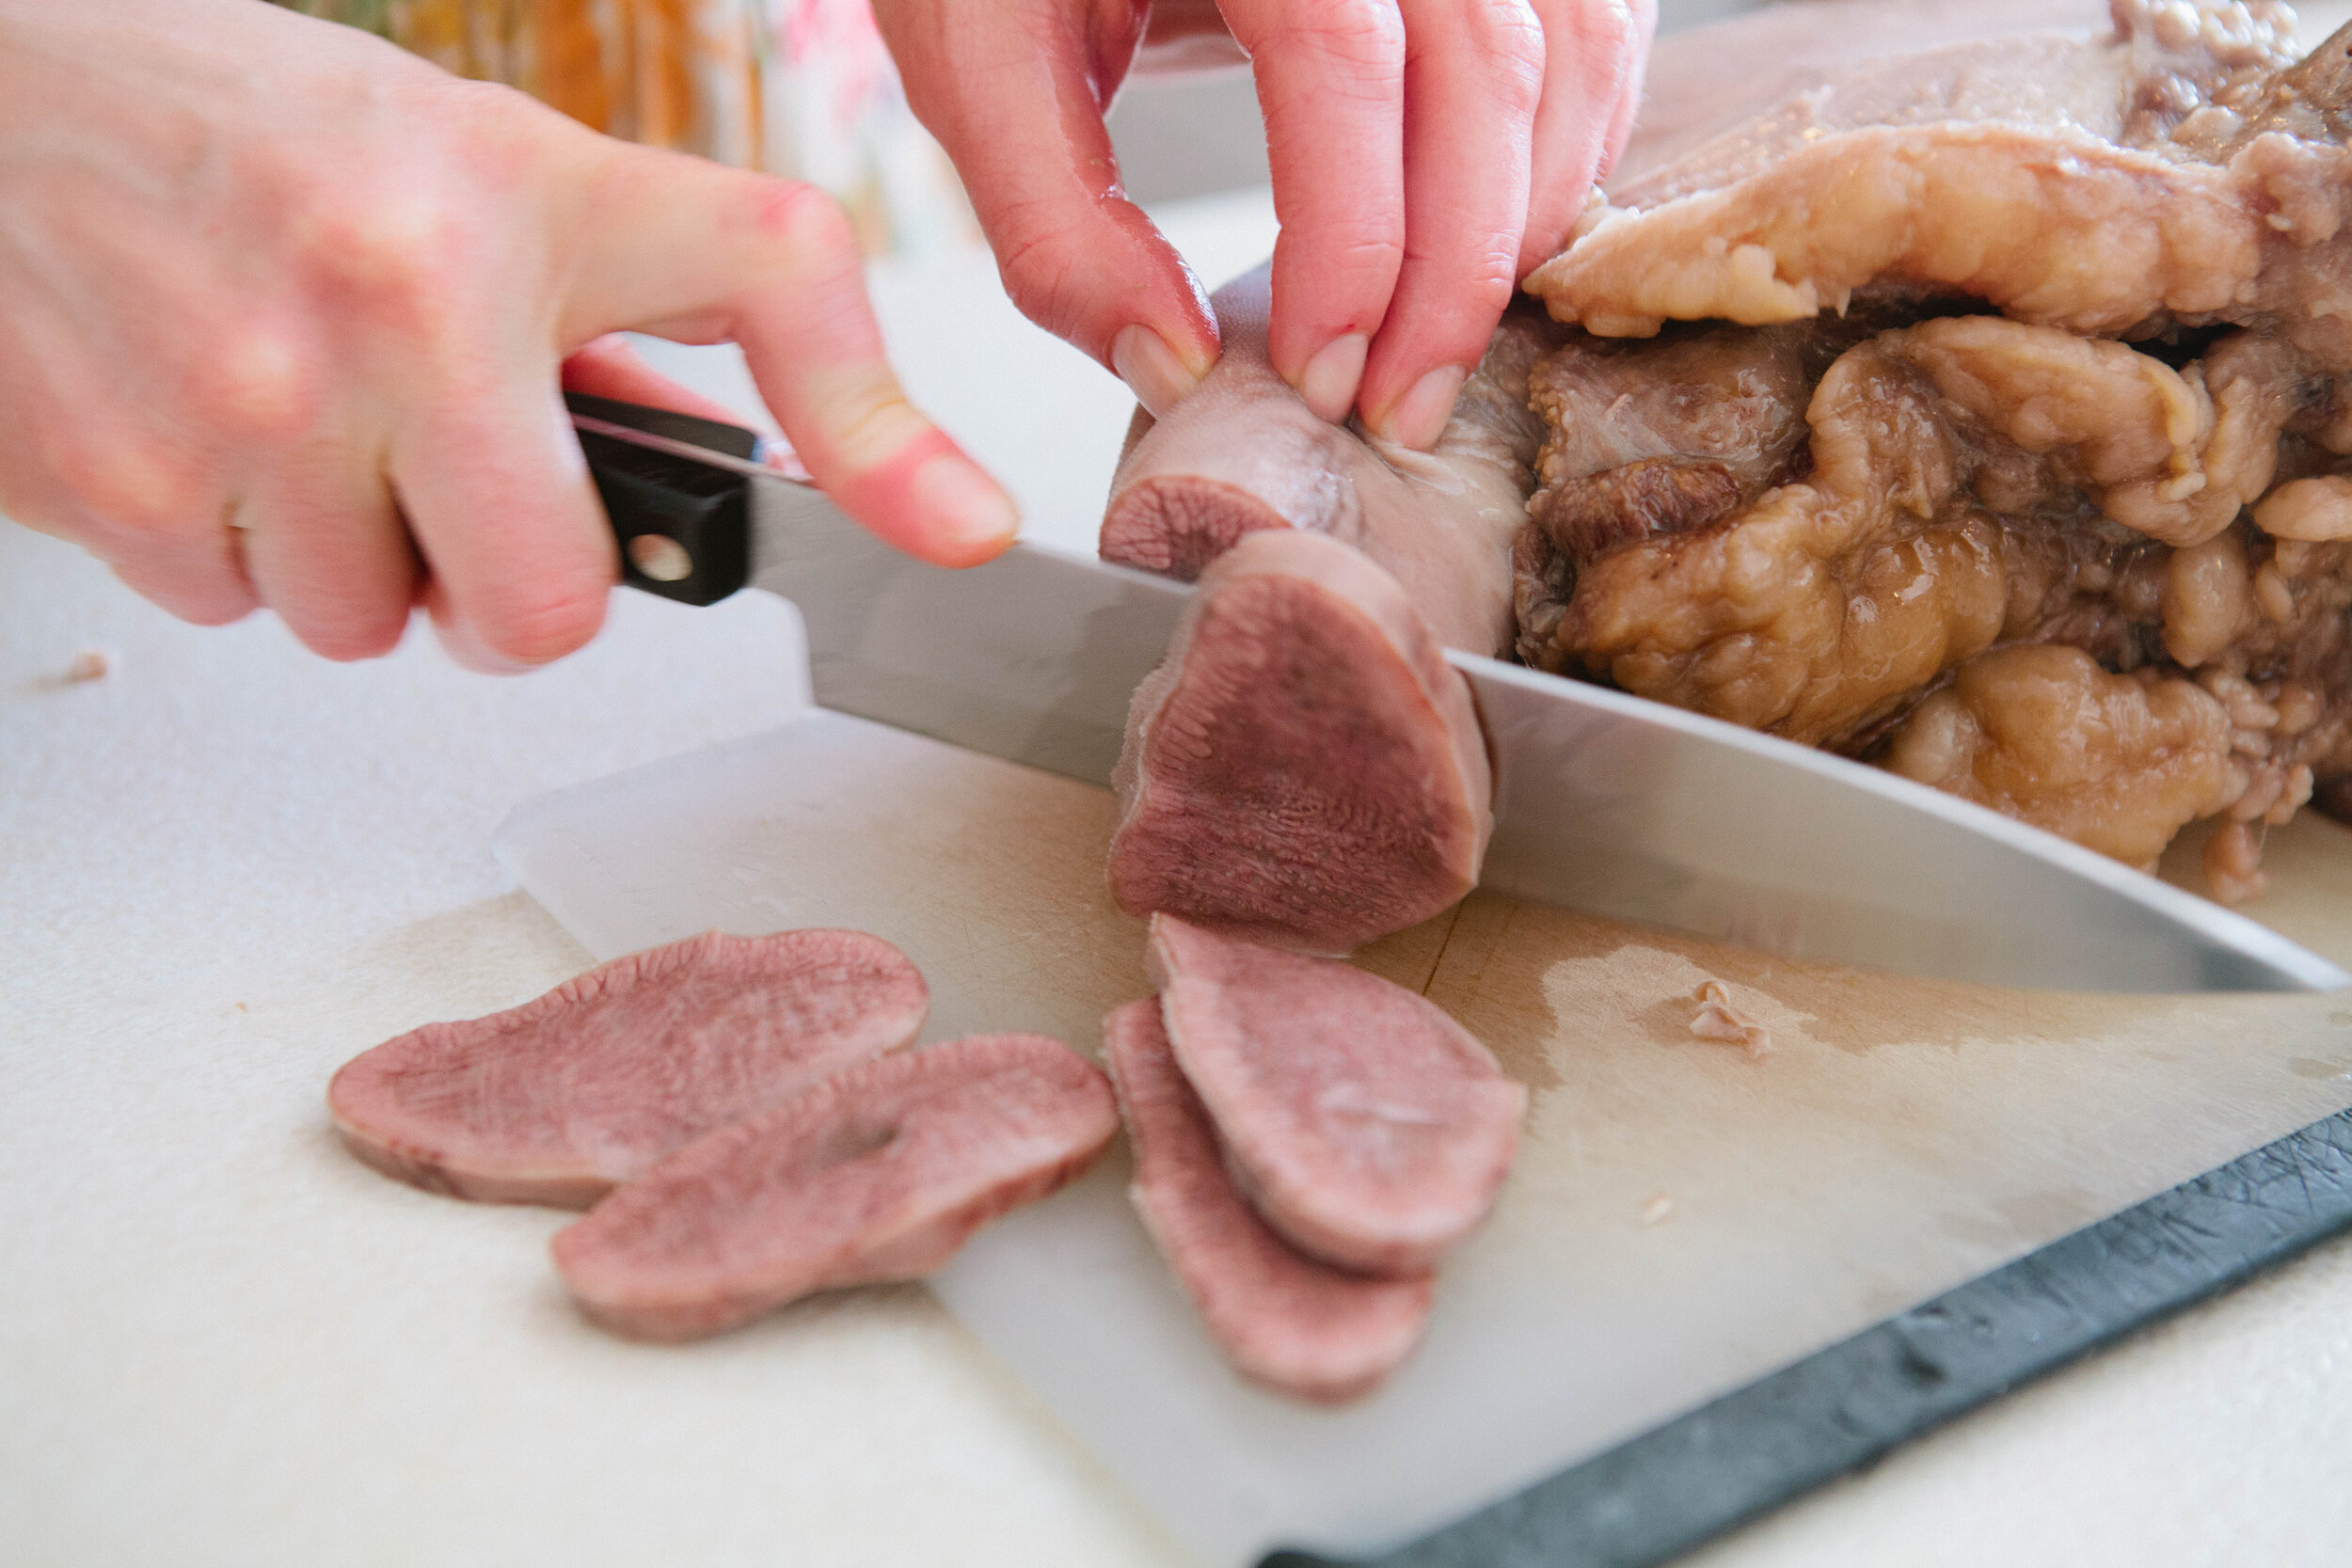
Beef Tongue
Beef tongue is very simple to prepare. I prefer to boil it, but you can also put it in a slow cooker for 8 hours. Either way, the stock that you’re left with is rich and delicious. I’ve kept my beef tongue stock before and used it to make Egyptian Lentil Soup. You can also shred beef tongue to use it in tacos or slice it to use in a stir fry.
Gluten Free, Dairy Free, Egg Free
The recipes below are easy to make in large quantities and freeze well, making them the ideal meals for meal prepping on the GAPS Diet!
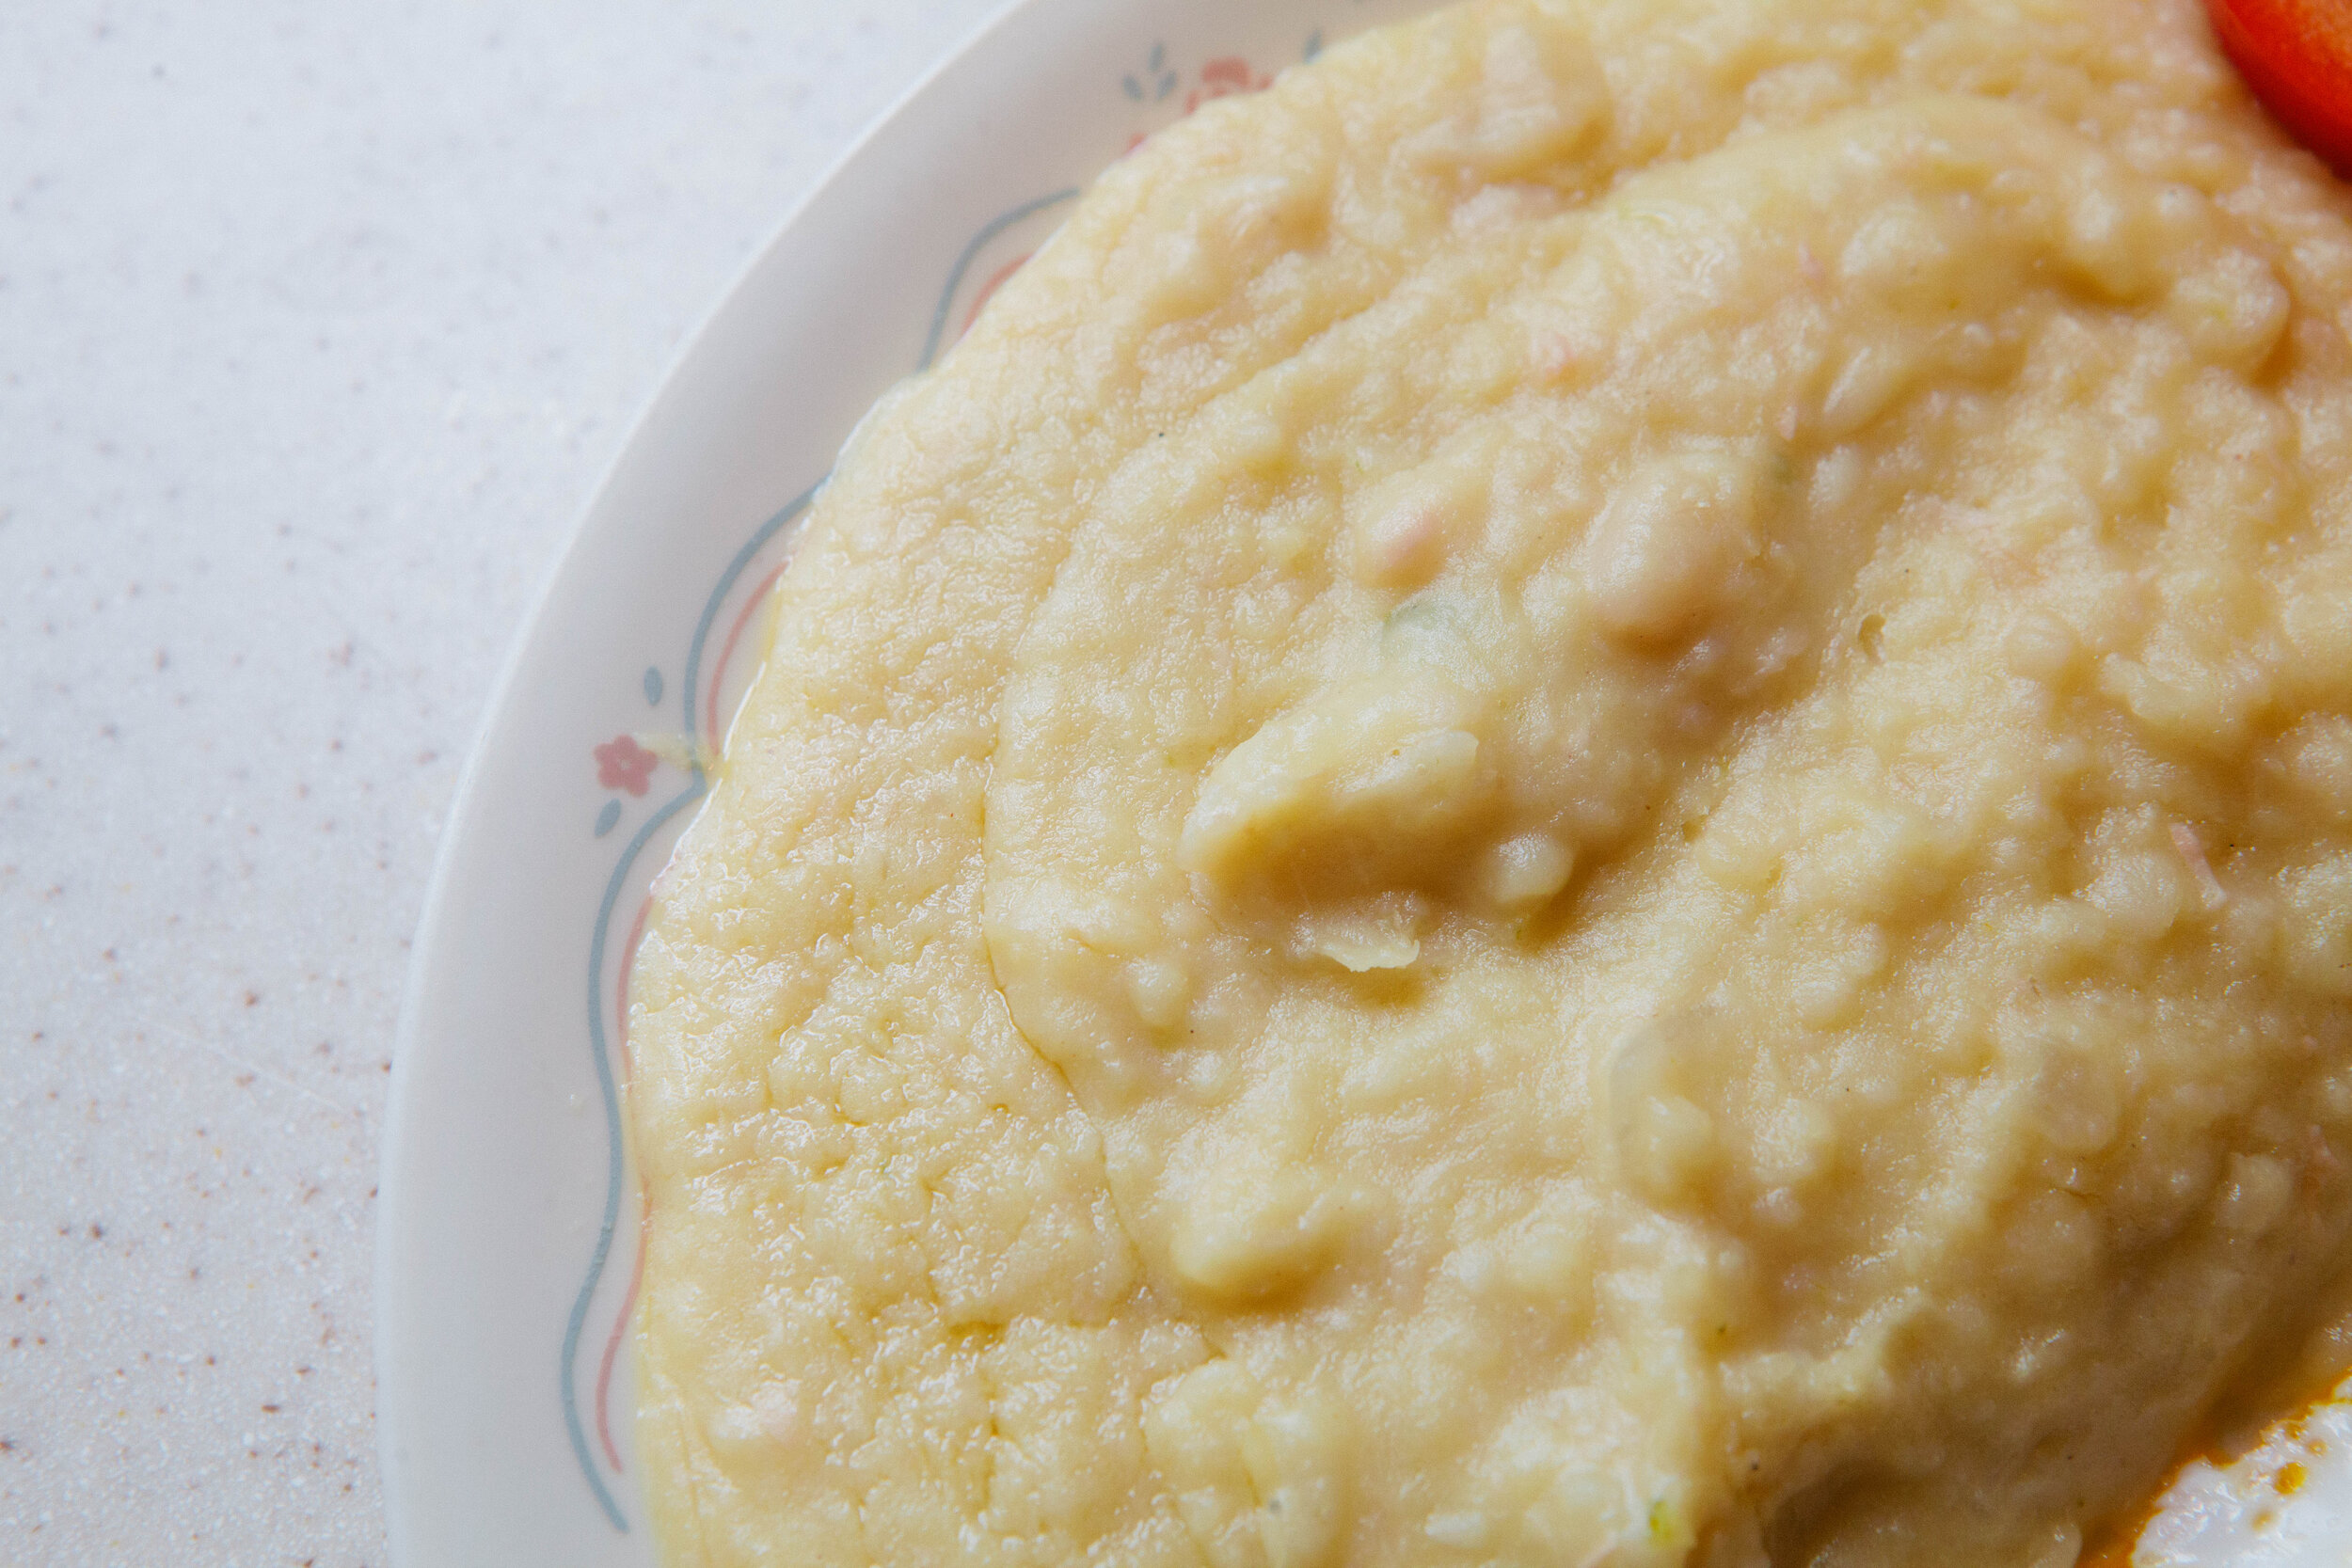
Sprouted Refried Navy Beans
Beans make everything delicious! When they’re properly prepared and you can tolerate them, navy beans are a good addition to your diet. These are great served with anything that has a Mexican theme with them. I like them next to eggs, like a Huervos Rancheros sort of feel.
Gluten Free, Dairy Free, Egg Free
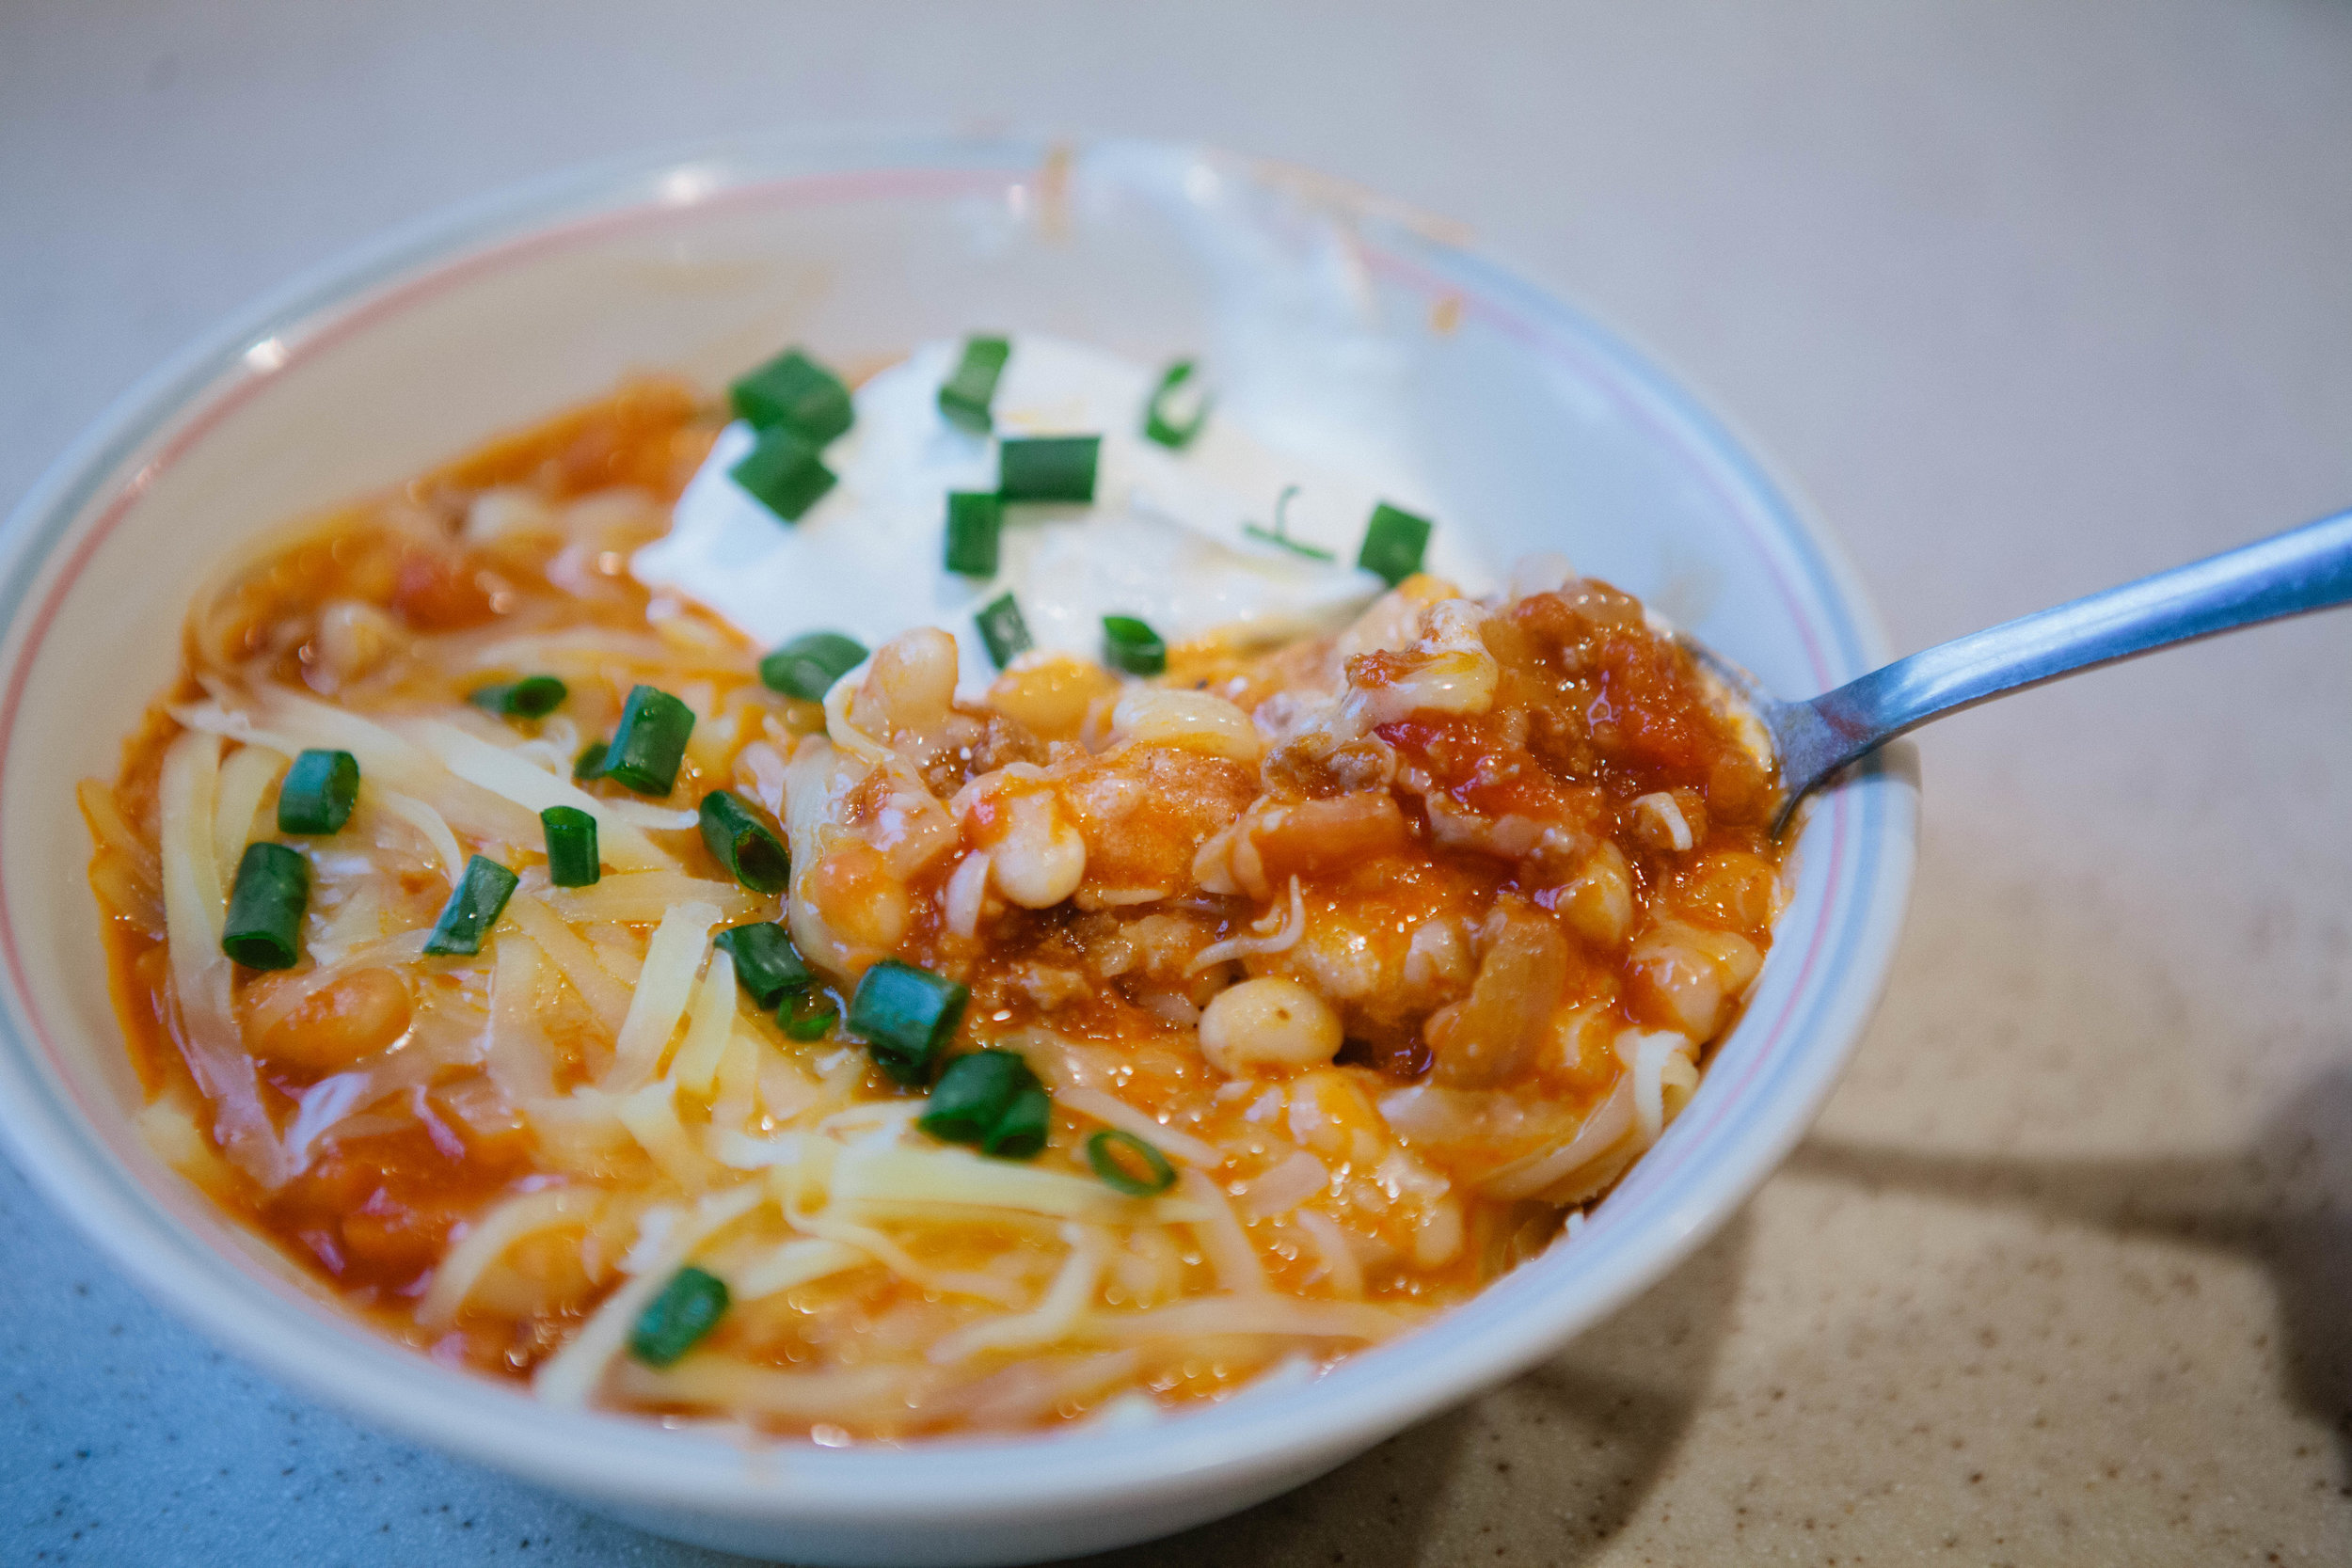
GAPS Legal Chili
I was excited to make this chili as I hadn’t had it for years! This homemade chili was well worth the effort because of how delicious it was - and how many meals it made!
Gluten Free, Dairy Free, Egg Free
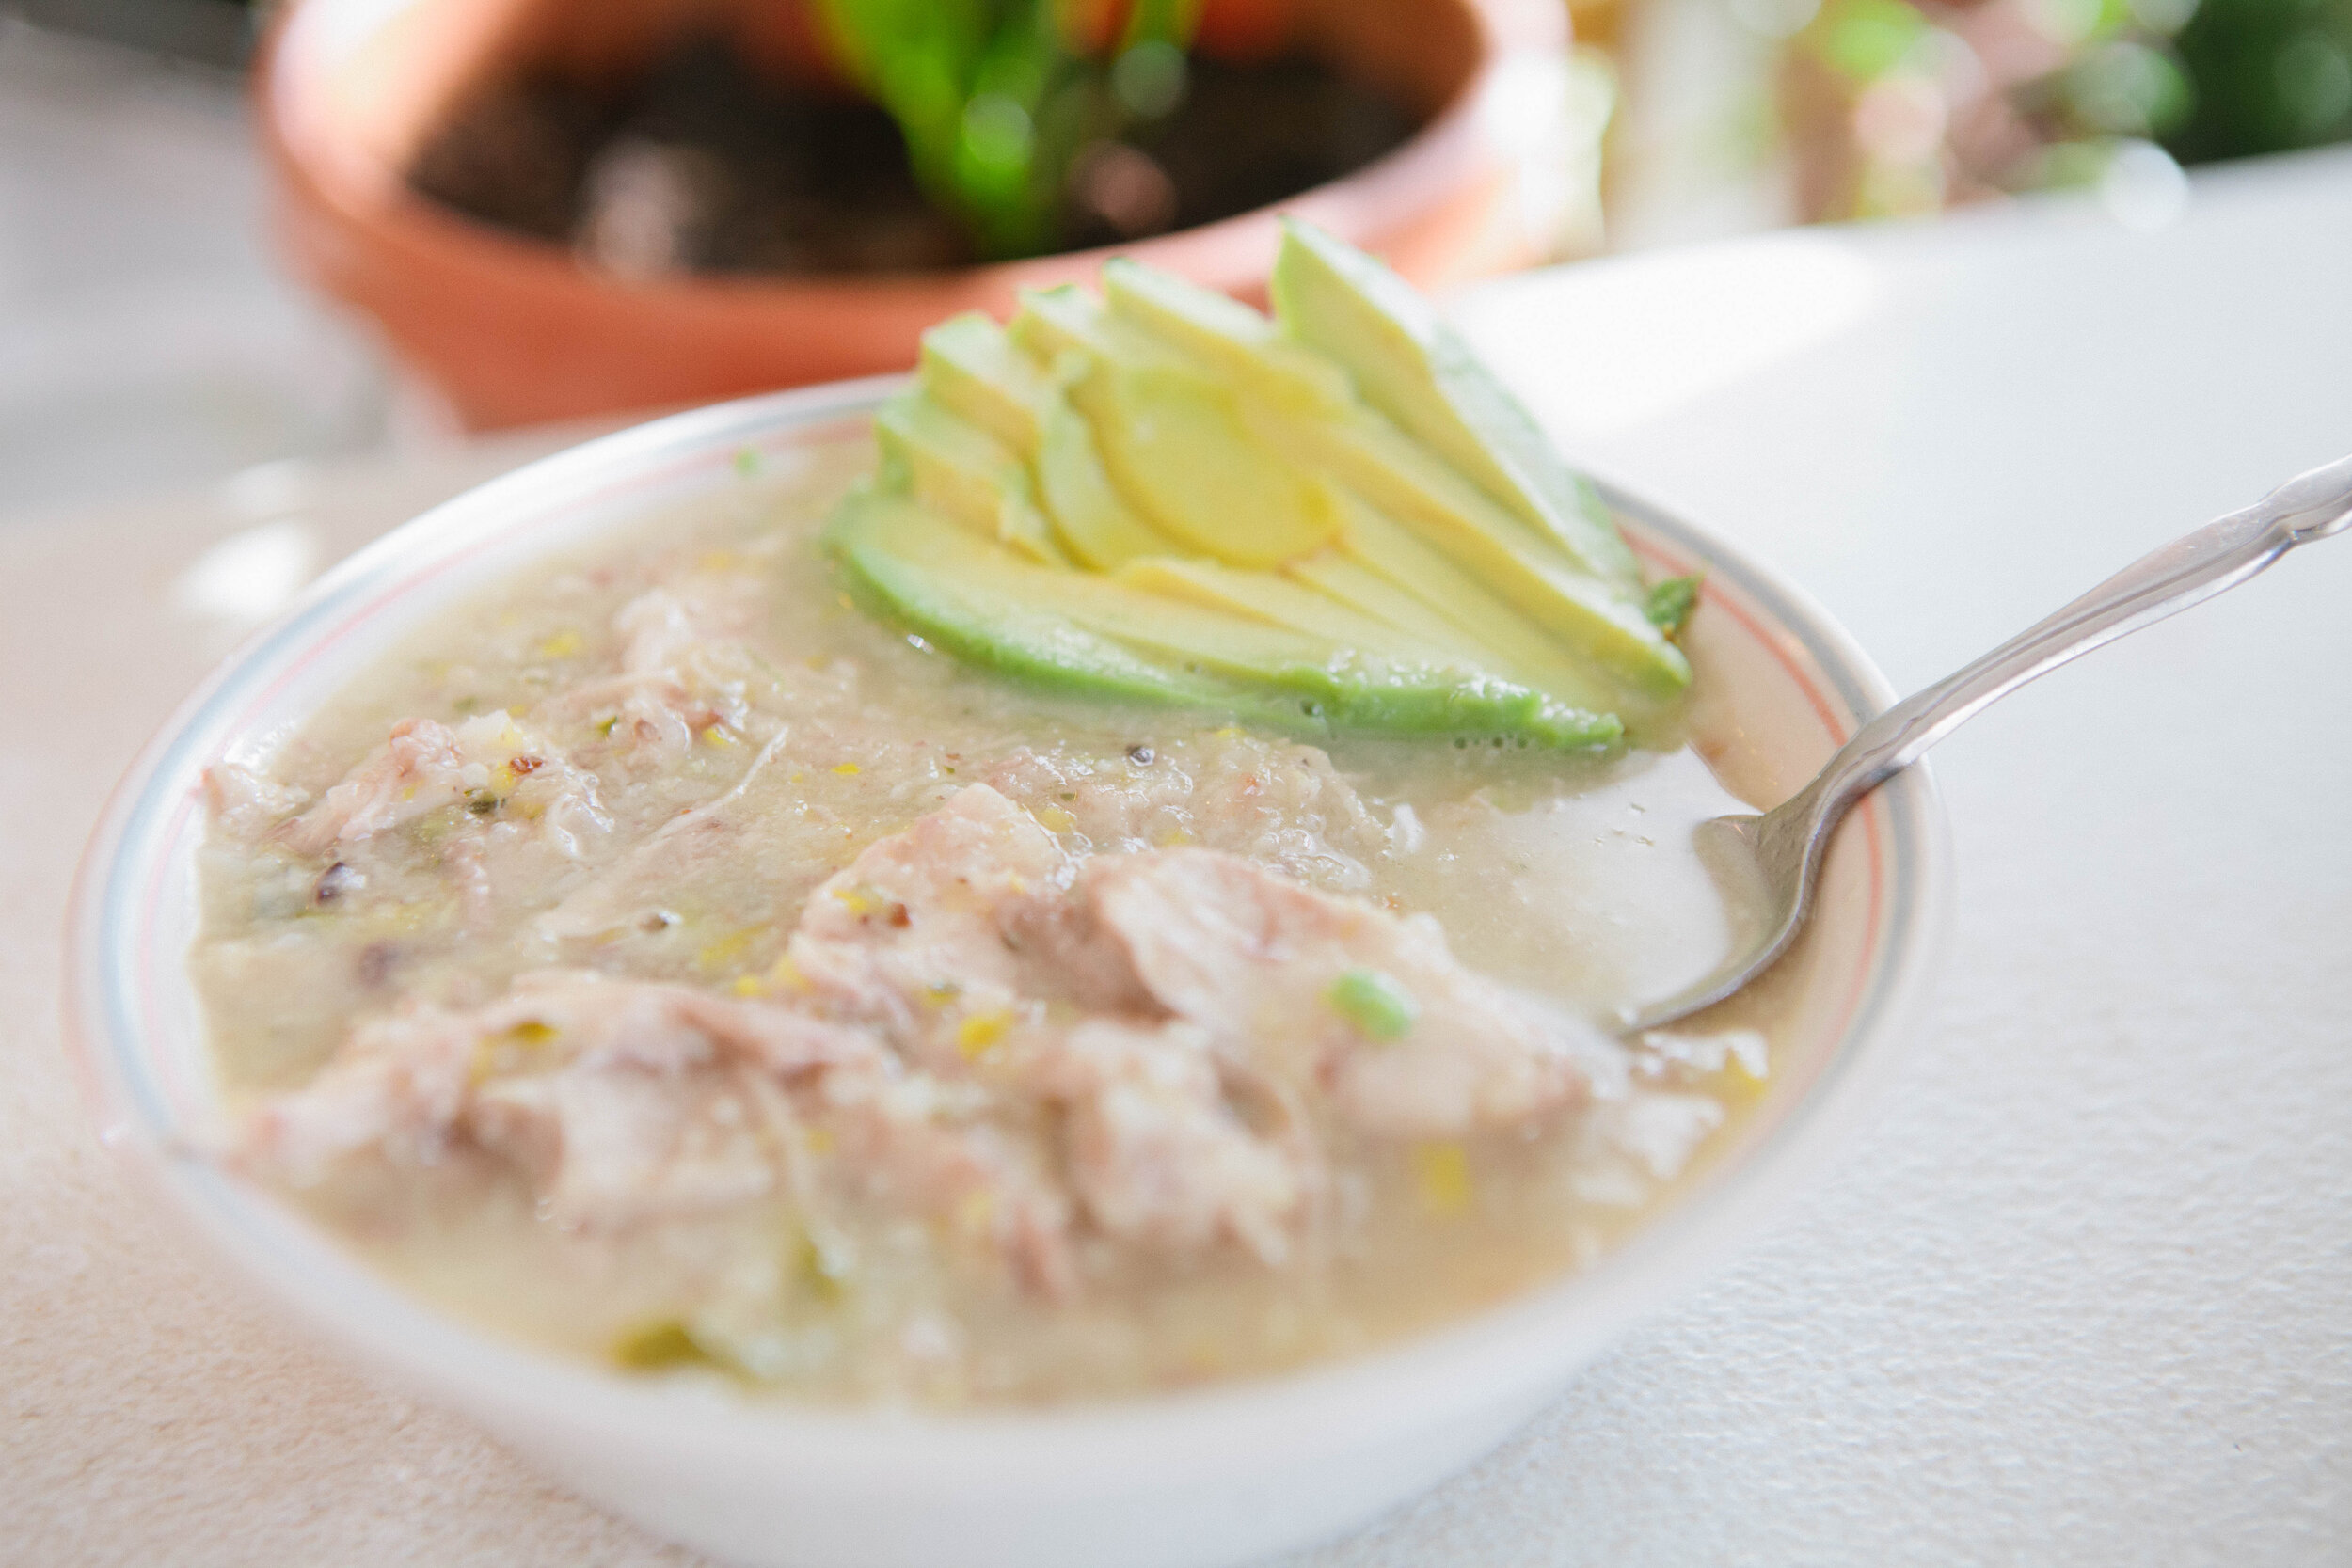
Creamy Garlic Chicken Soup
This is one of my favorite soups! It’s warm and creamy and so delicious. This soup is easy to make in large or small batches depending on how many servings you need.
Gluten Free, Dairy Free, Egg Free
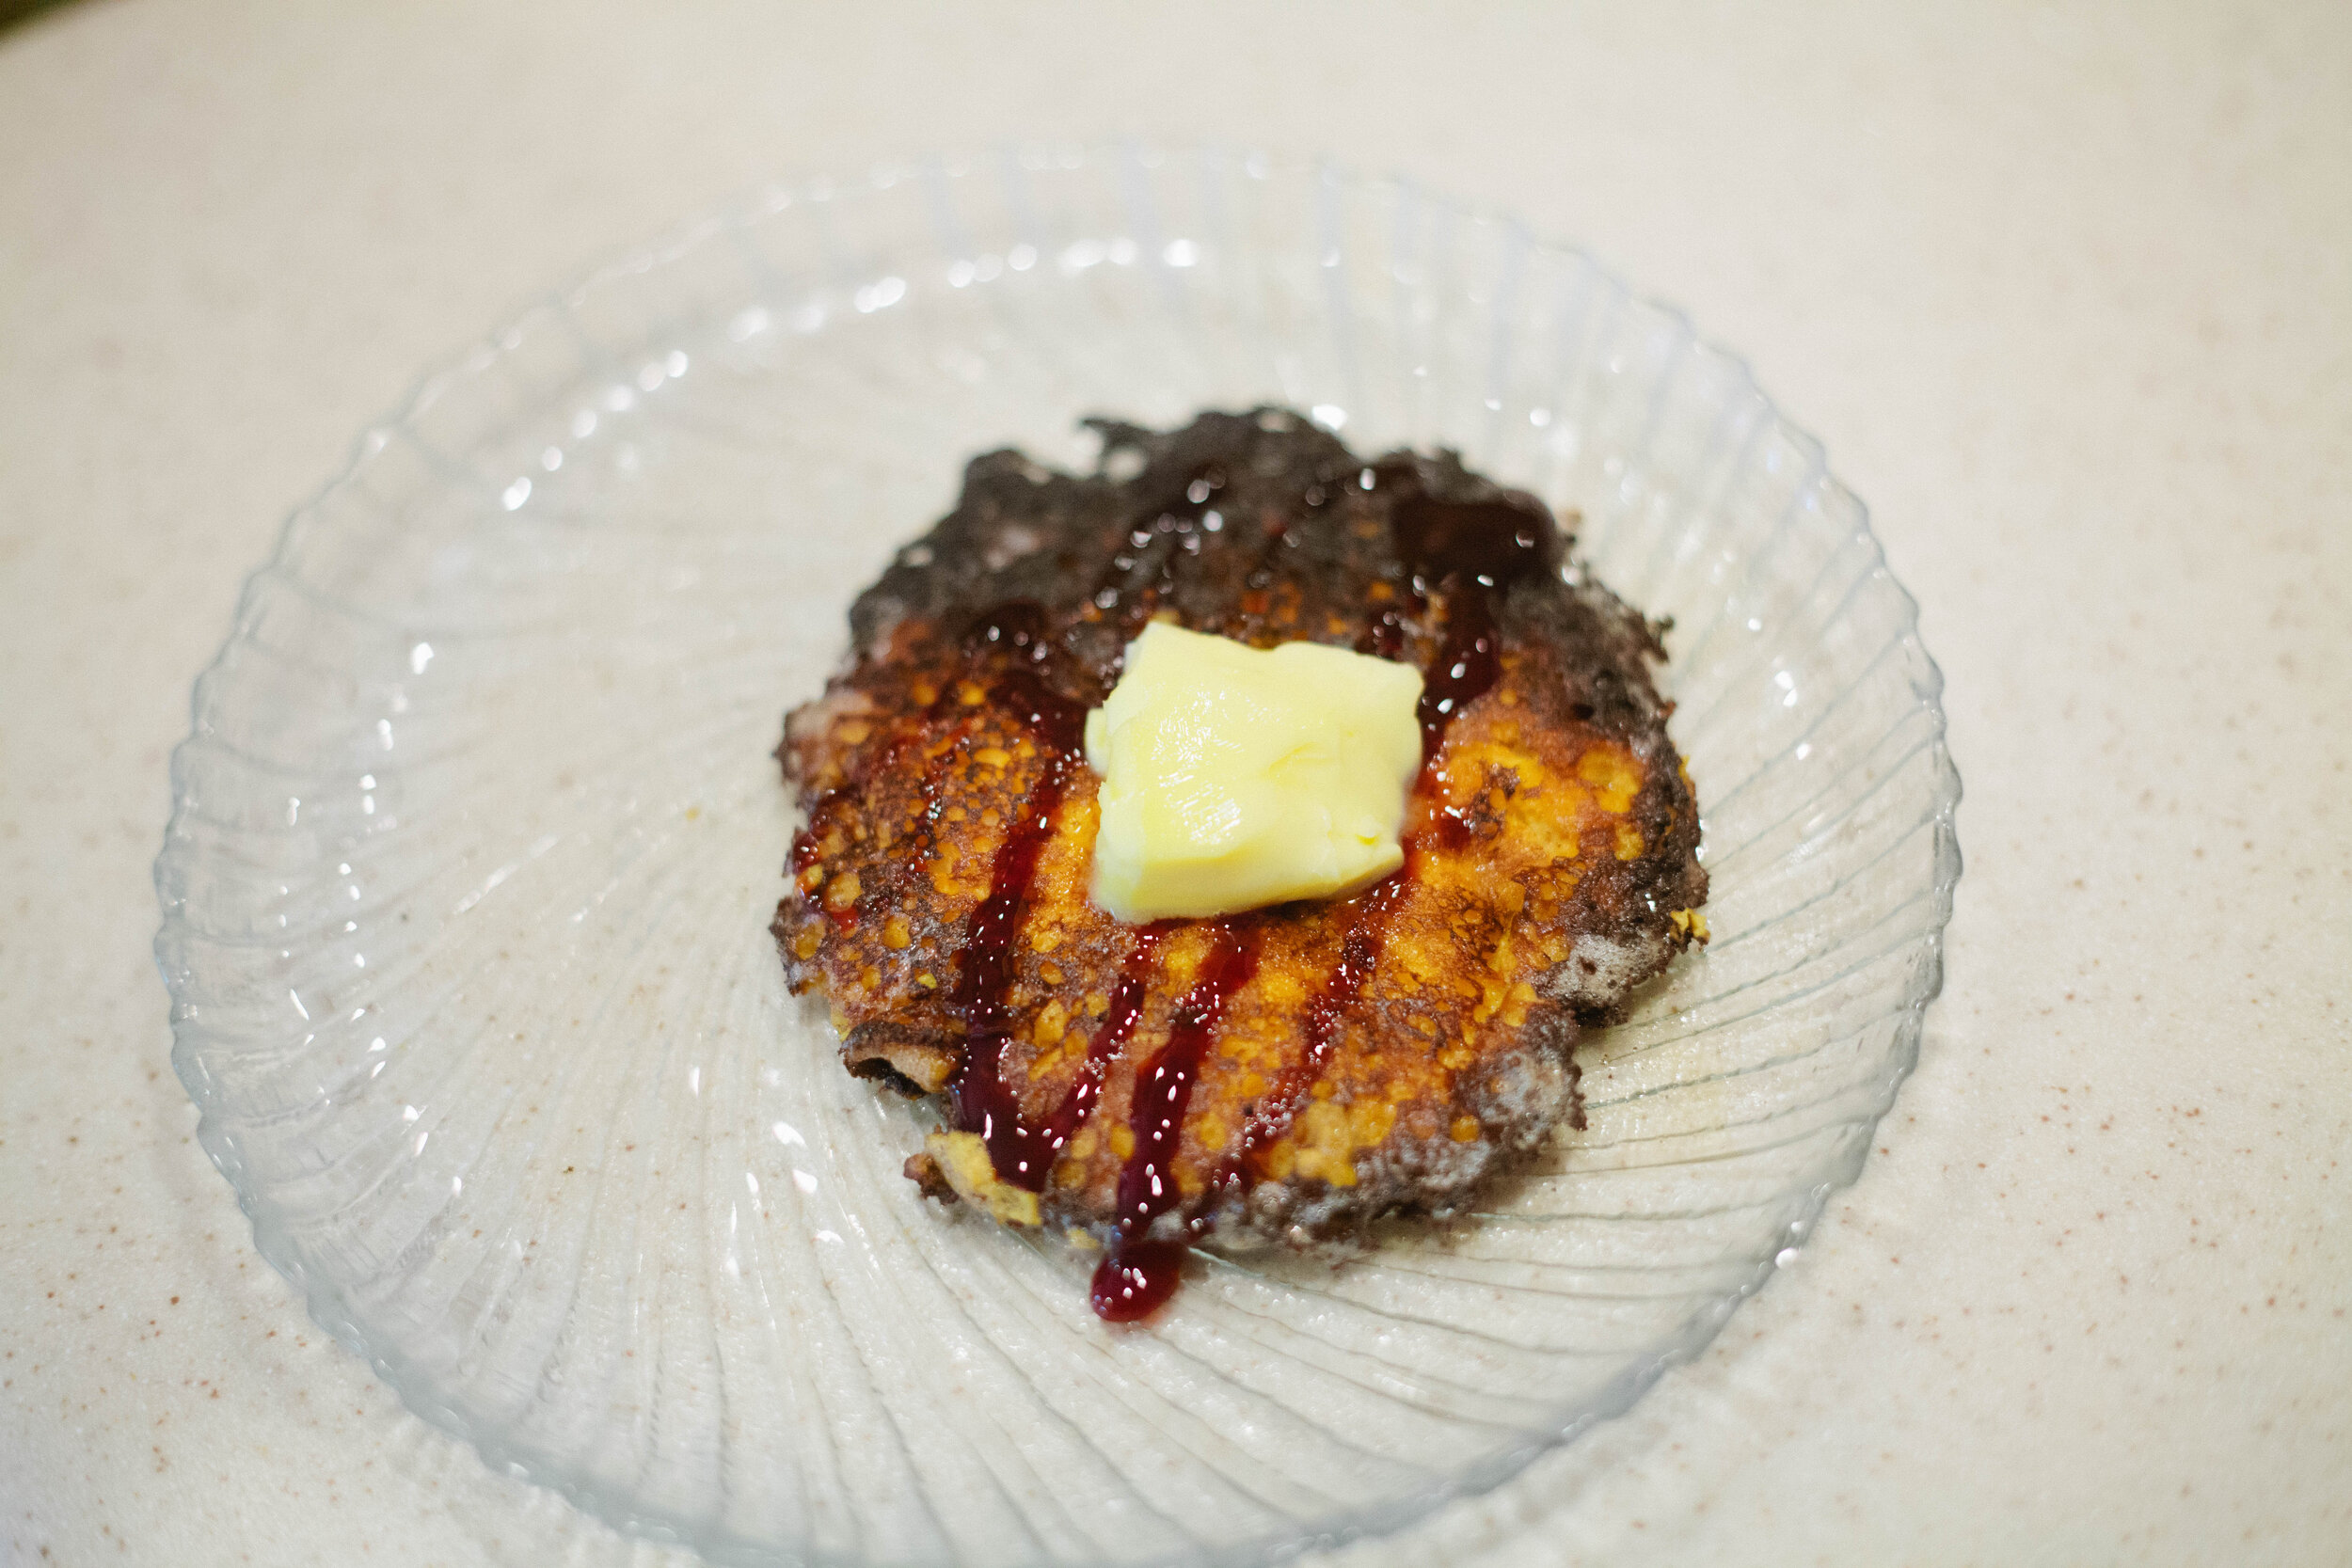
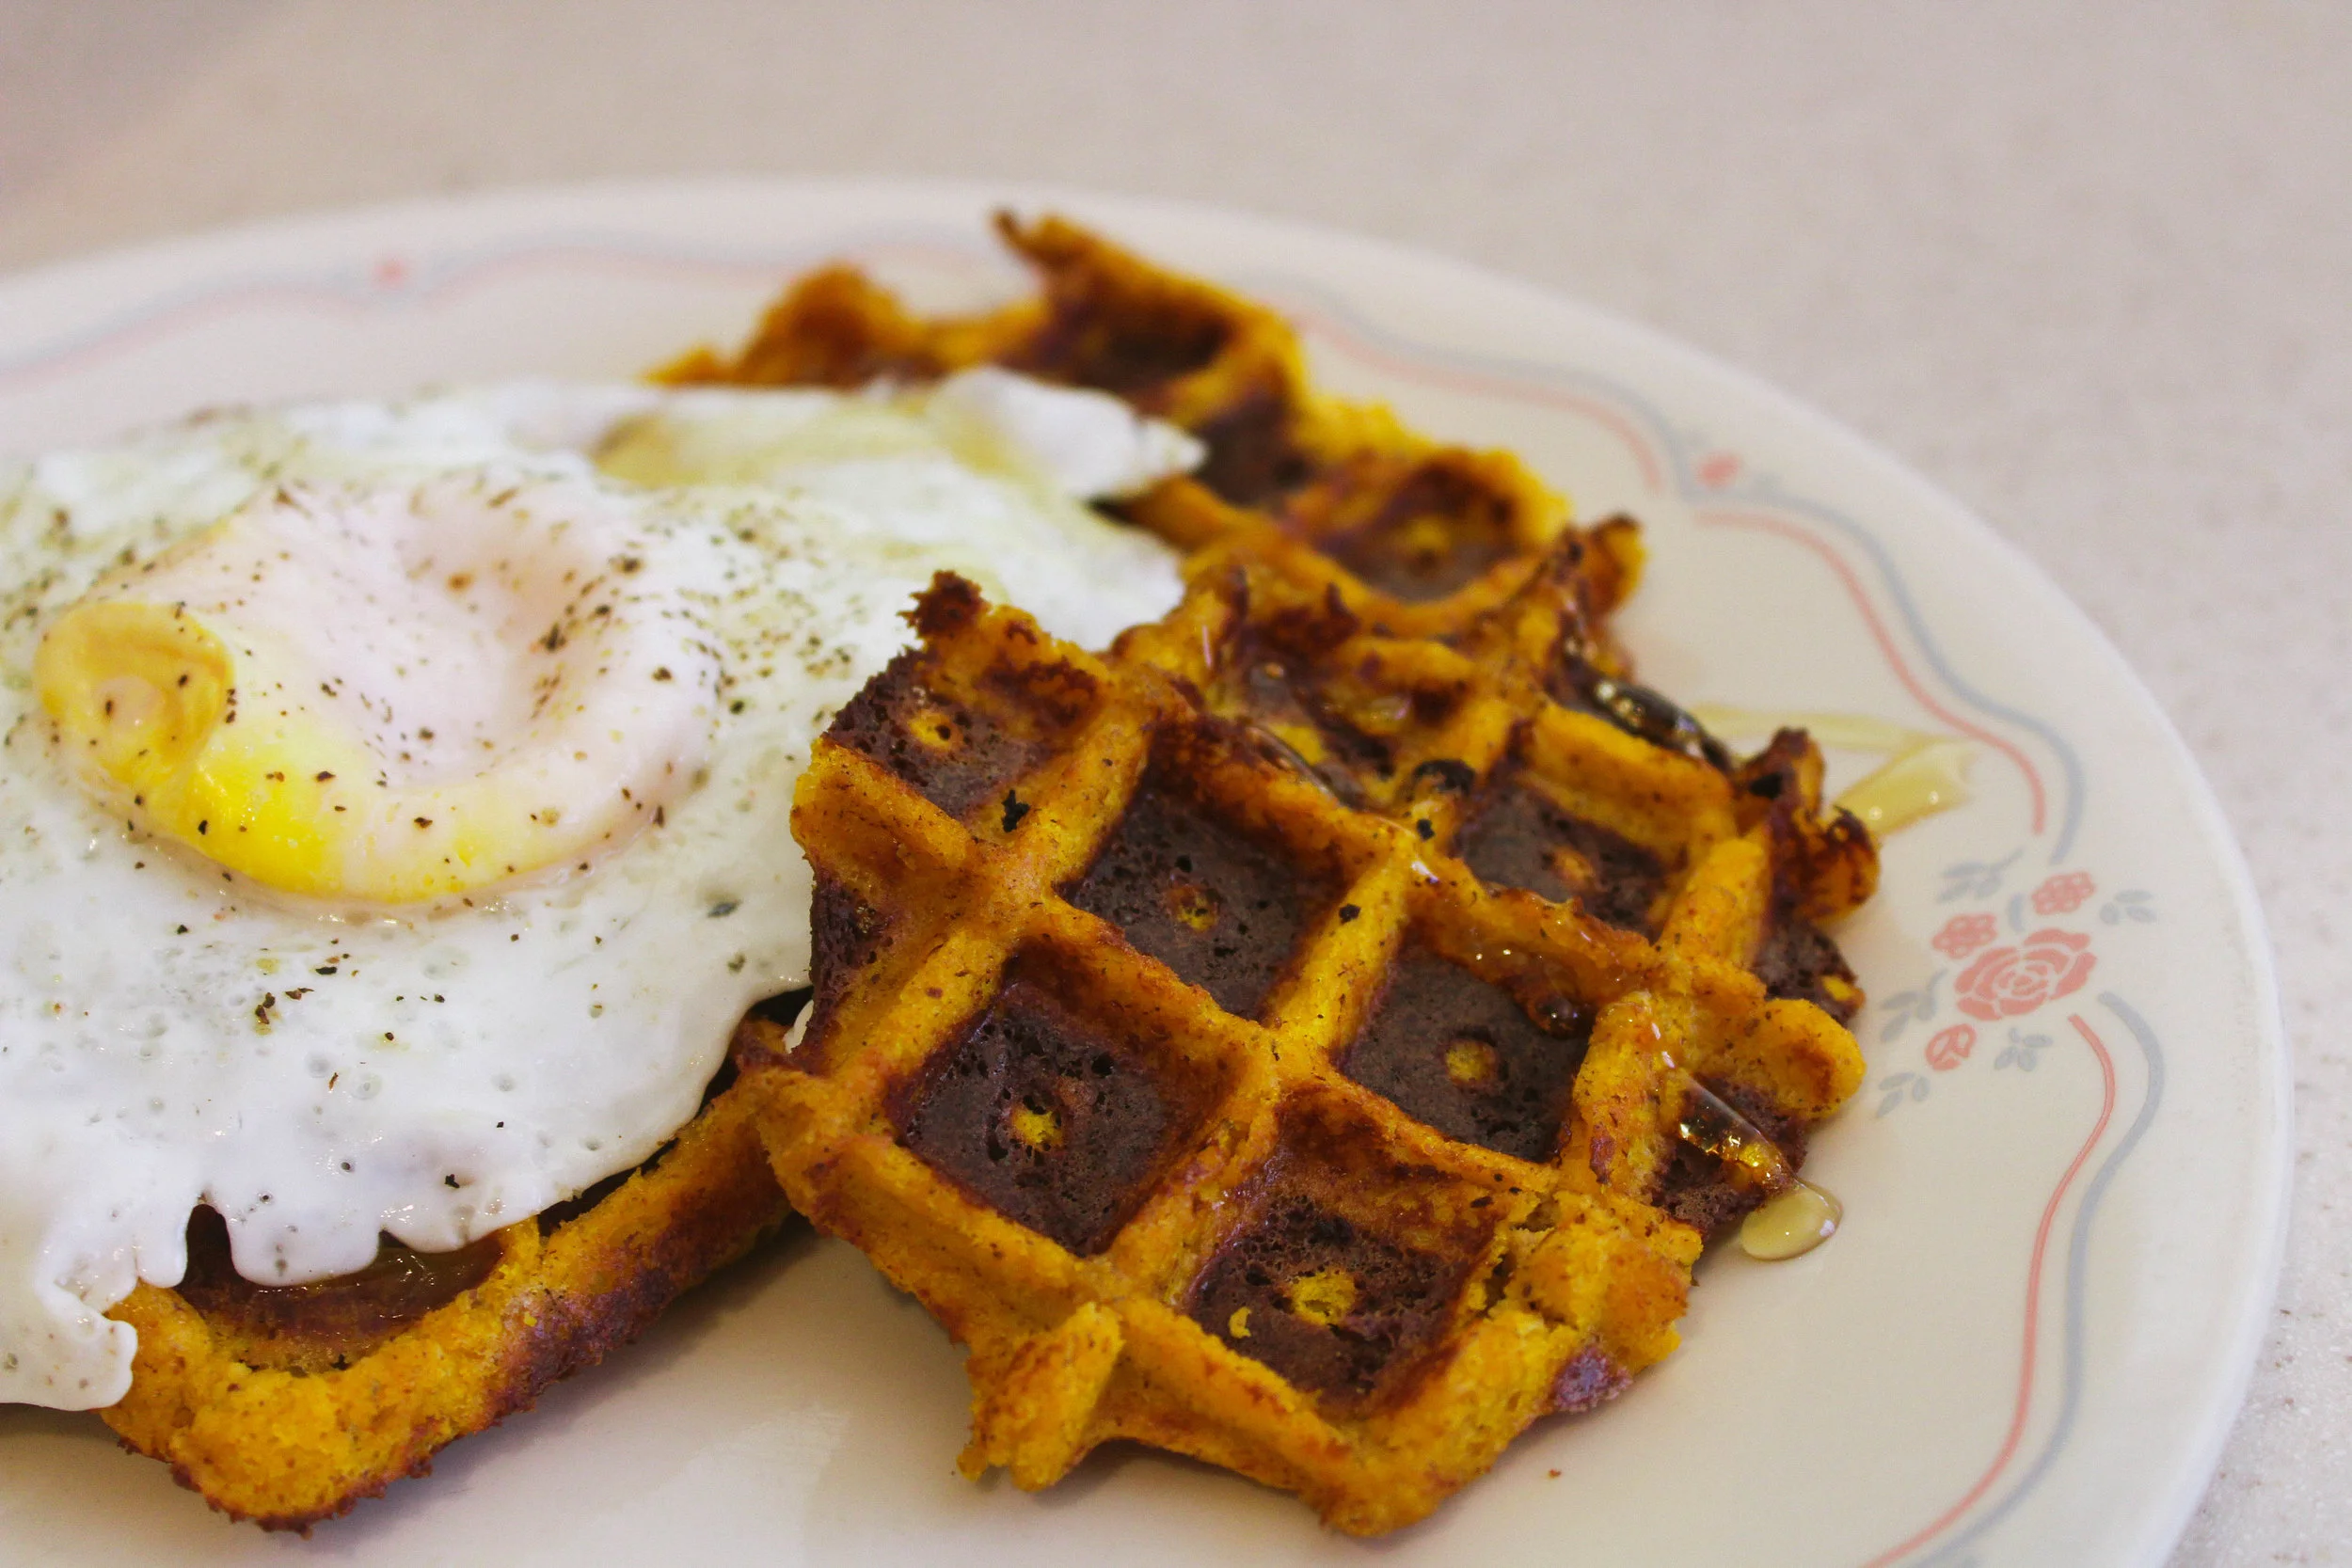
GAPS Legal Pancakes
These pancakes are a basic of the GAPS Diet. They can be made with butternut squash or pumpkin. It’s easy to make a large batch and they freeze well for a quick snack.
Gluten Free, Dairy Free
Chicken Tortilla Soup
This Chicken Tortilla Soup recipe is a result of me expanding my horizons in genres of food that I cook and eat! It wasn't too spicy, and it's different than plain meat stock that you typically eat on Stage 1. There were tons of suggestions about different ways to make it, so it's also easy to switch up to match your tastes.
Gluten Free, Dairy Free, Egg Free
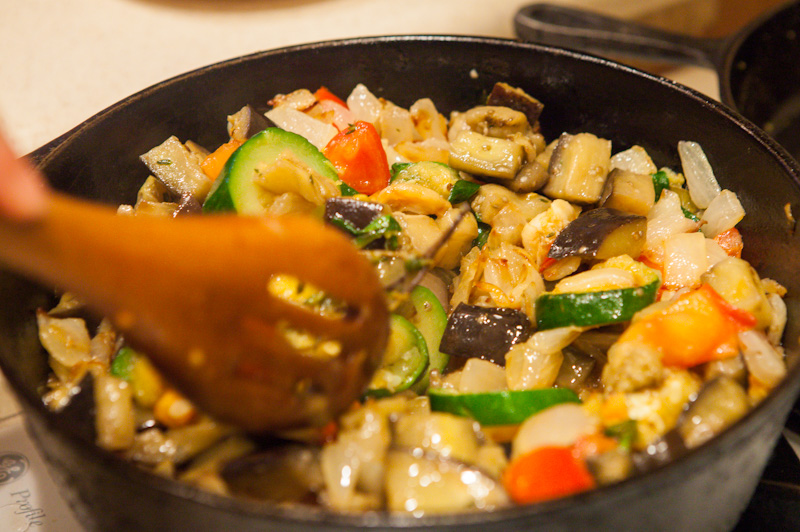
Ratatouille
This recipe is a warm and filling side, and can even function as a meal on days your body is wanting very little meat. The lard creates a stoutness to this recipe that fills you up without making it feel like a heavy meal. I have found this recipe to be a wonderful support food when I am stressed, cold or tired and need a little more in the way of carbohydrates and fat.
Gluten Free, Dairy Free, Egg Free
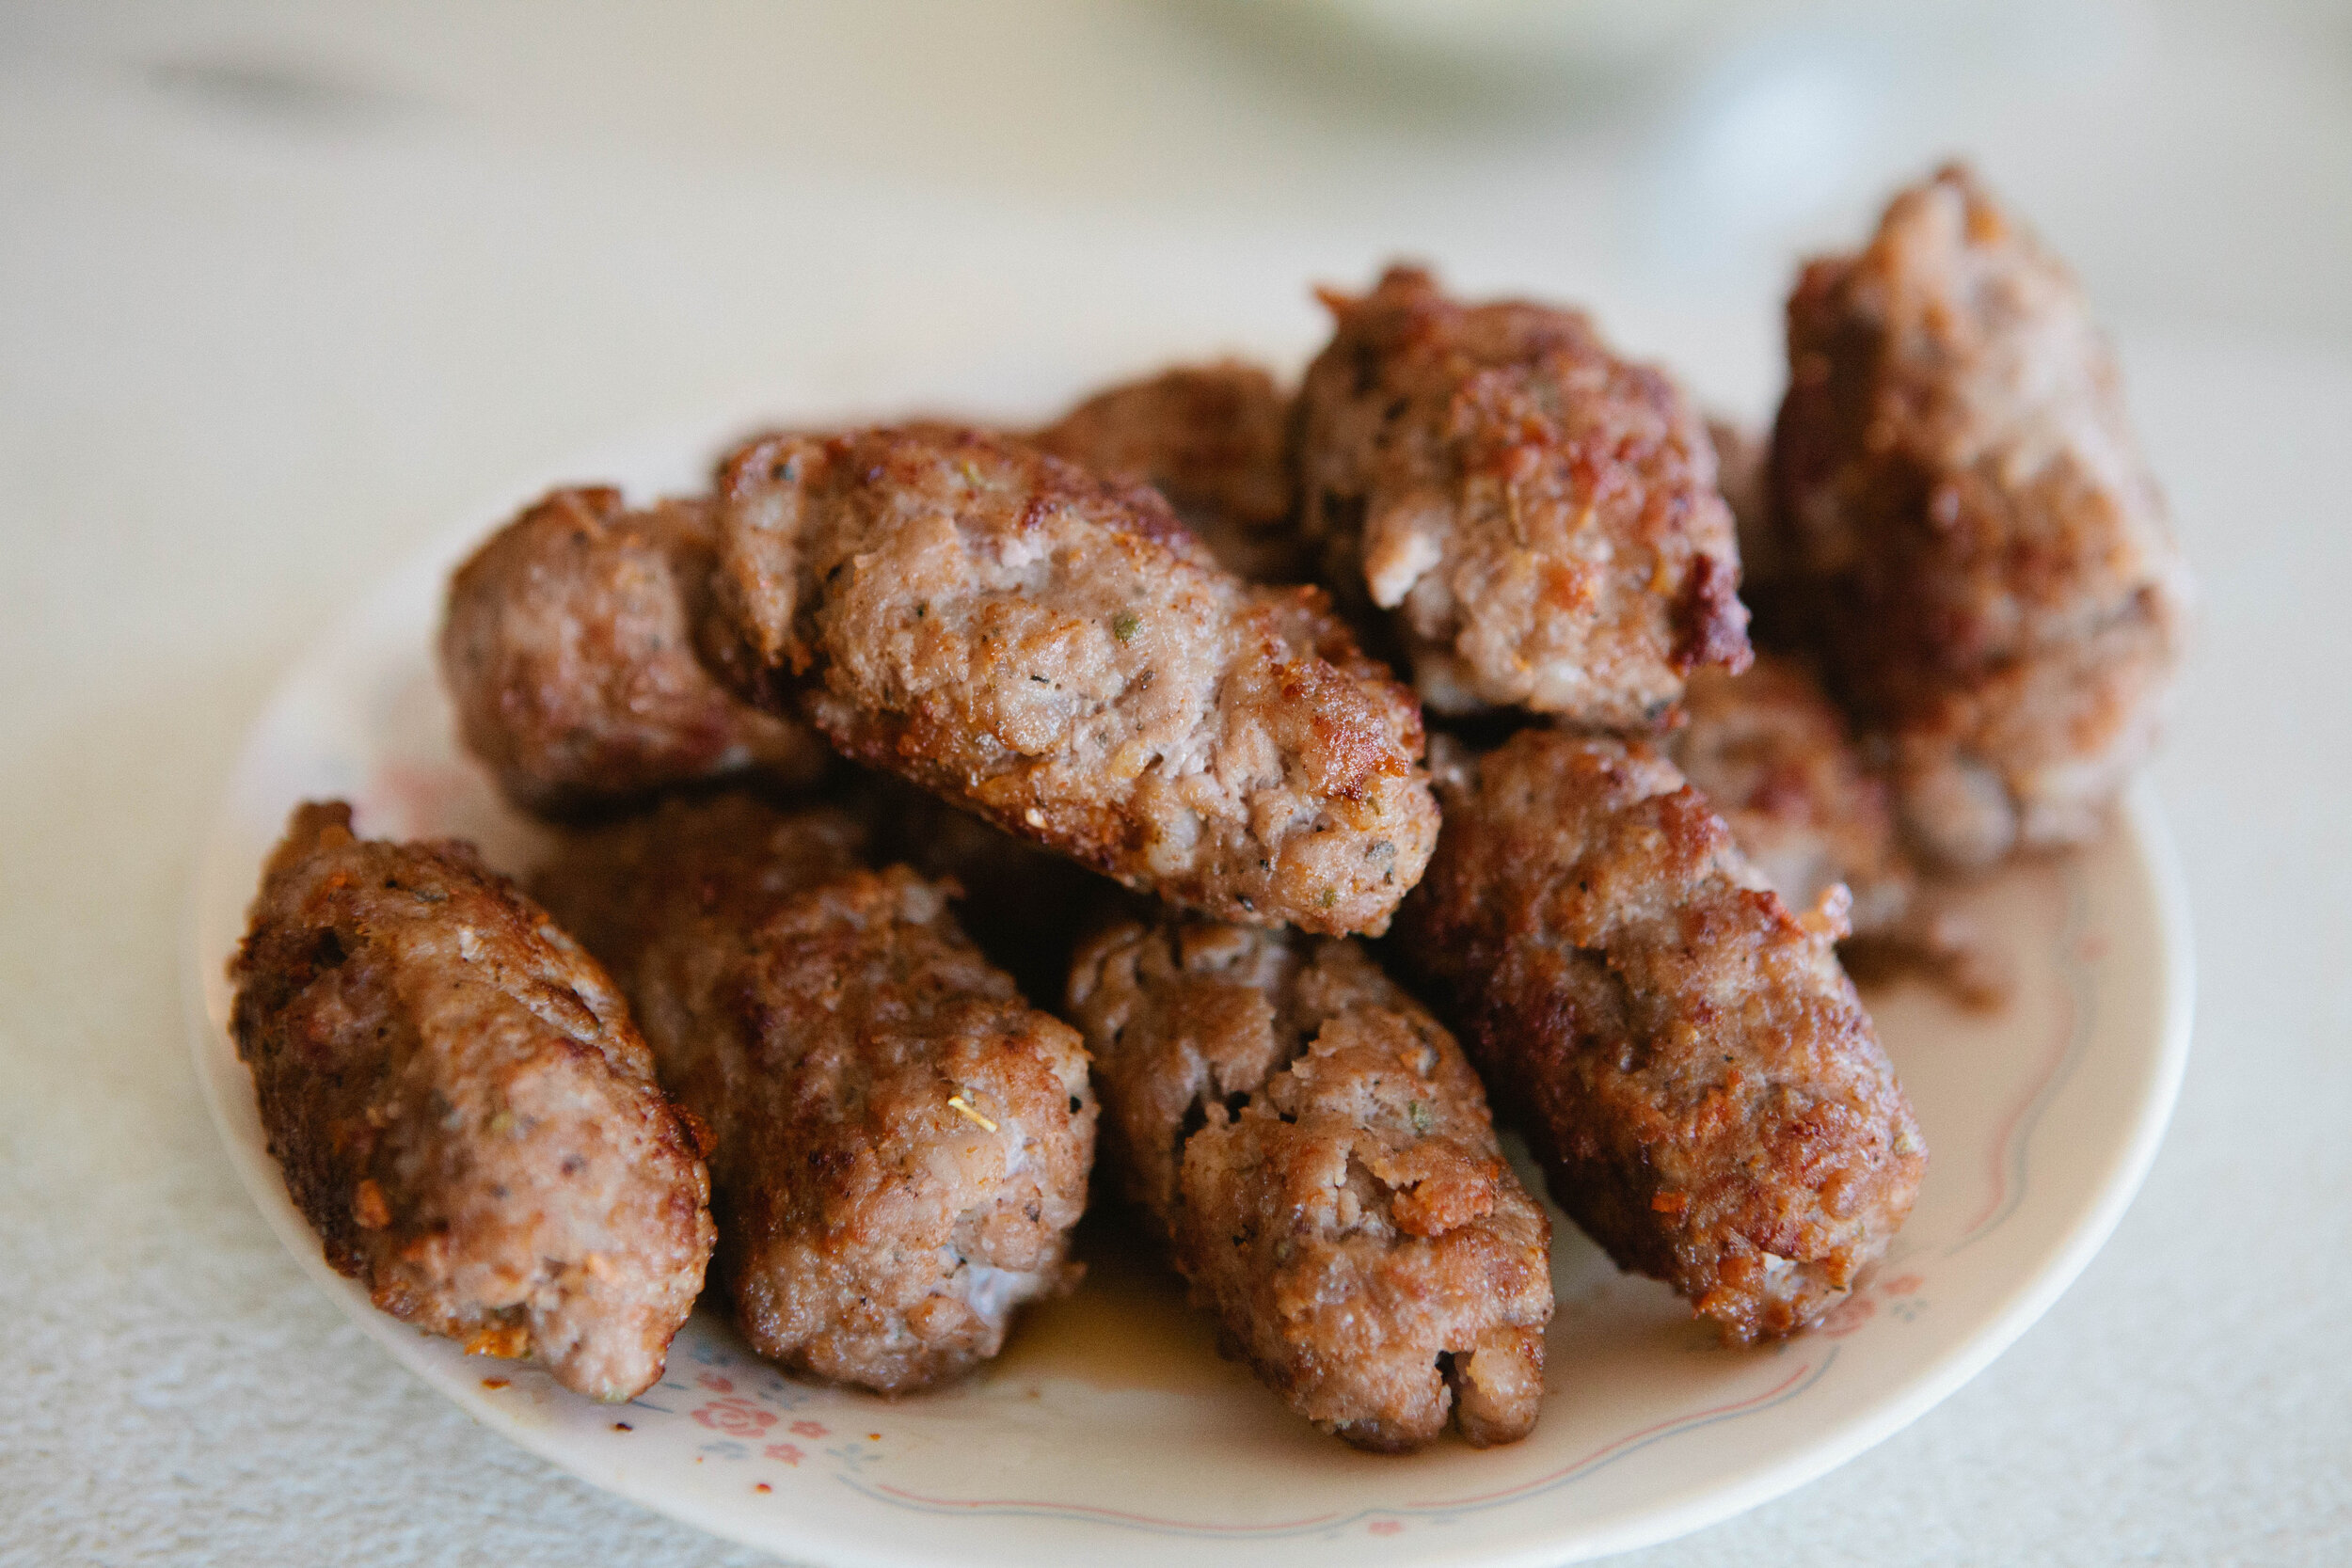
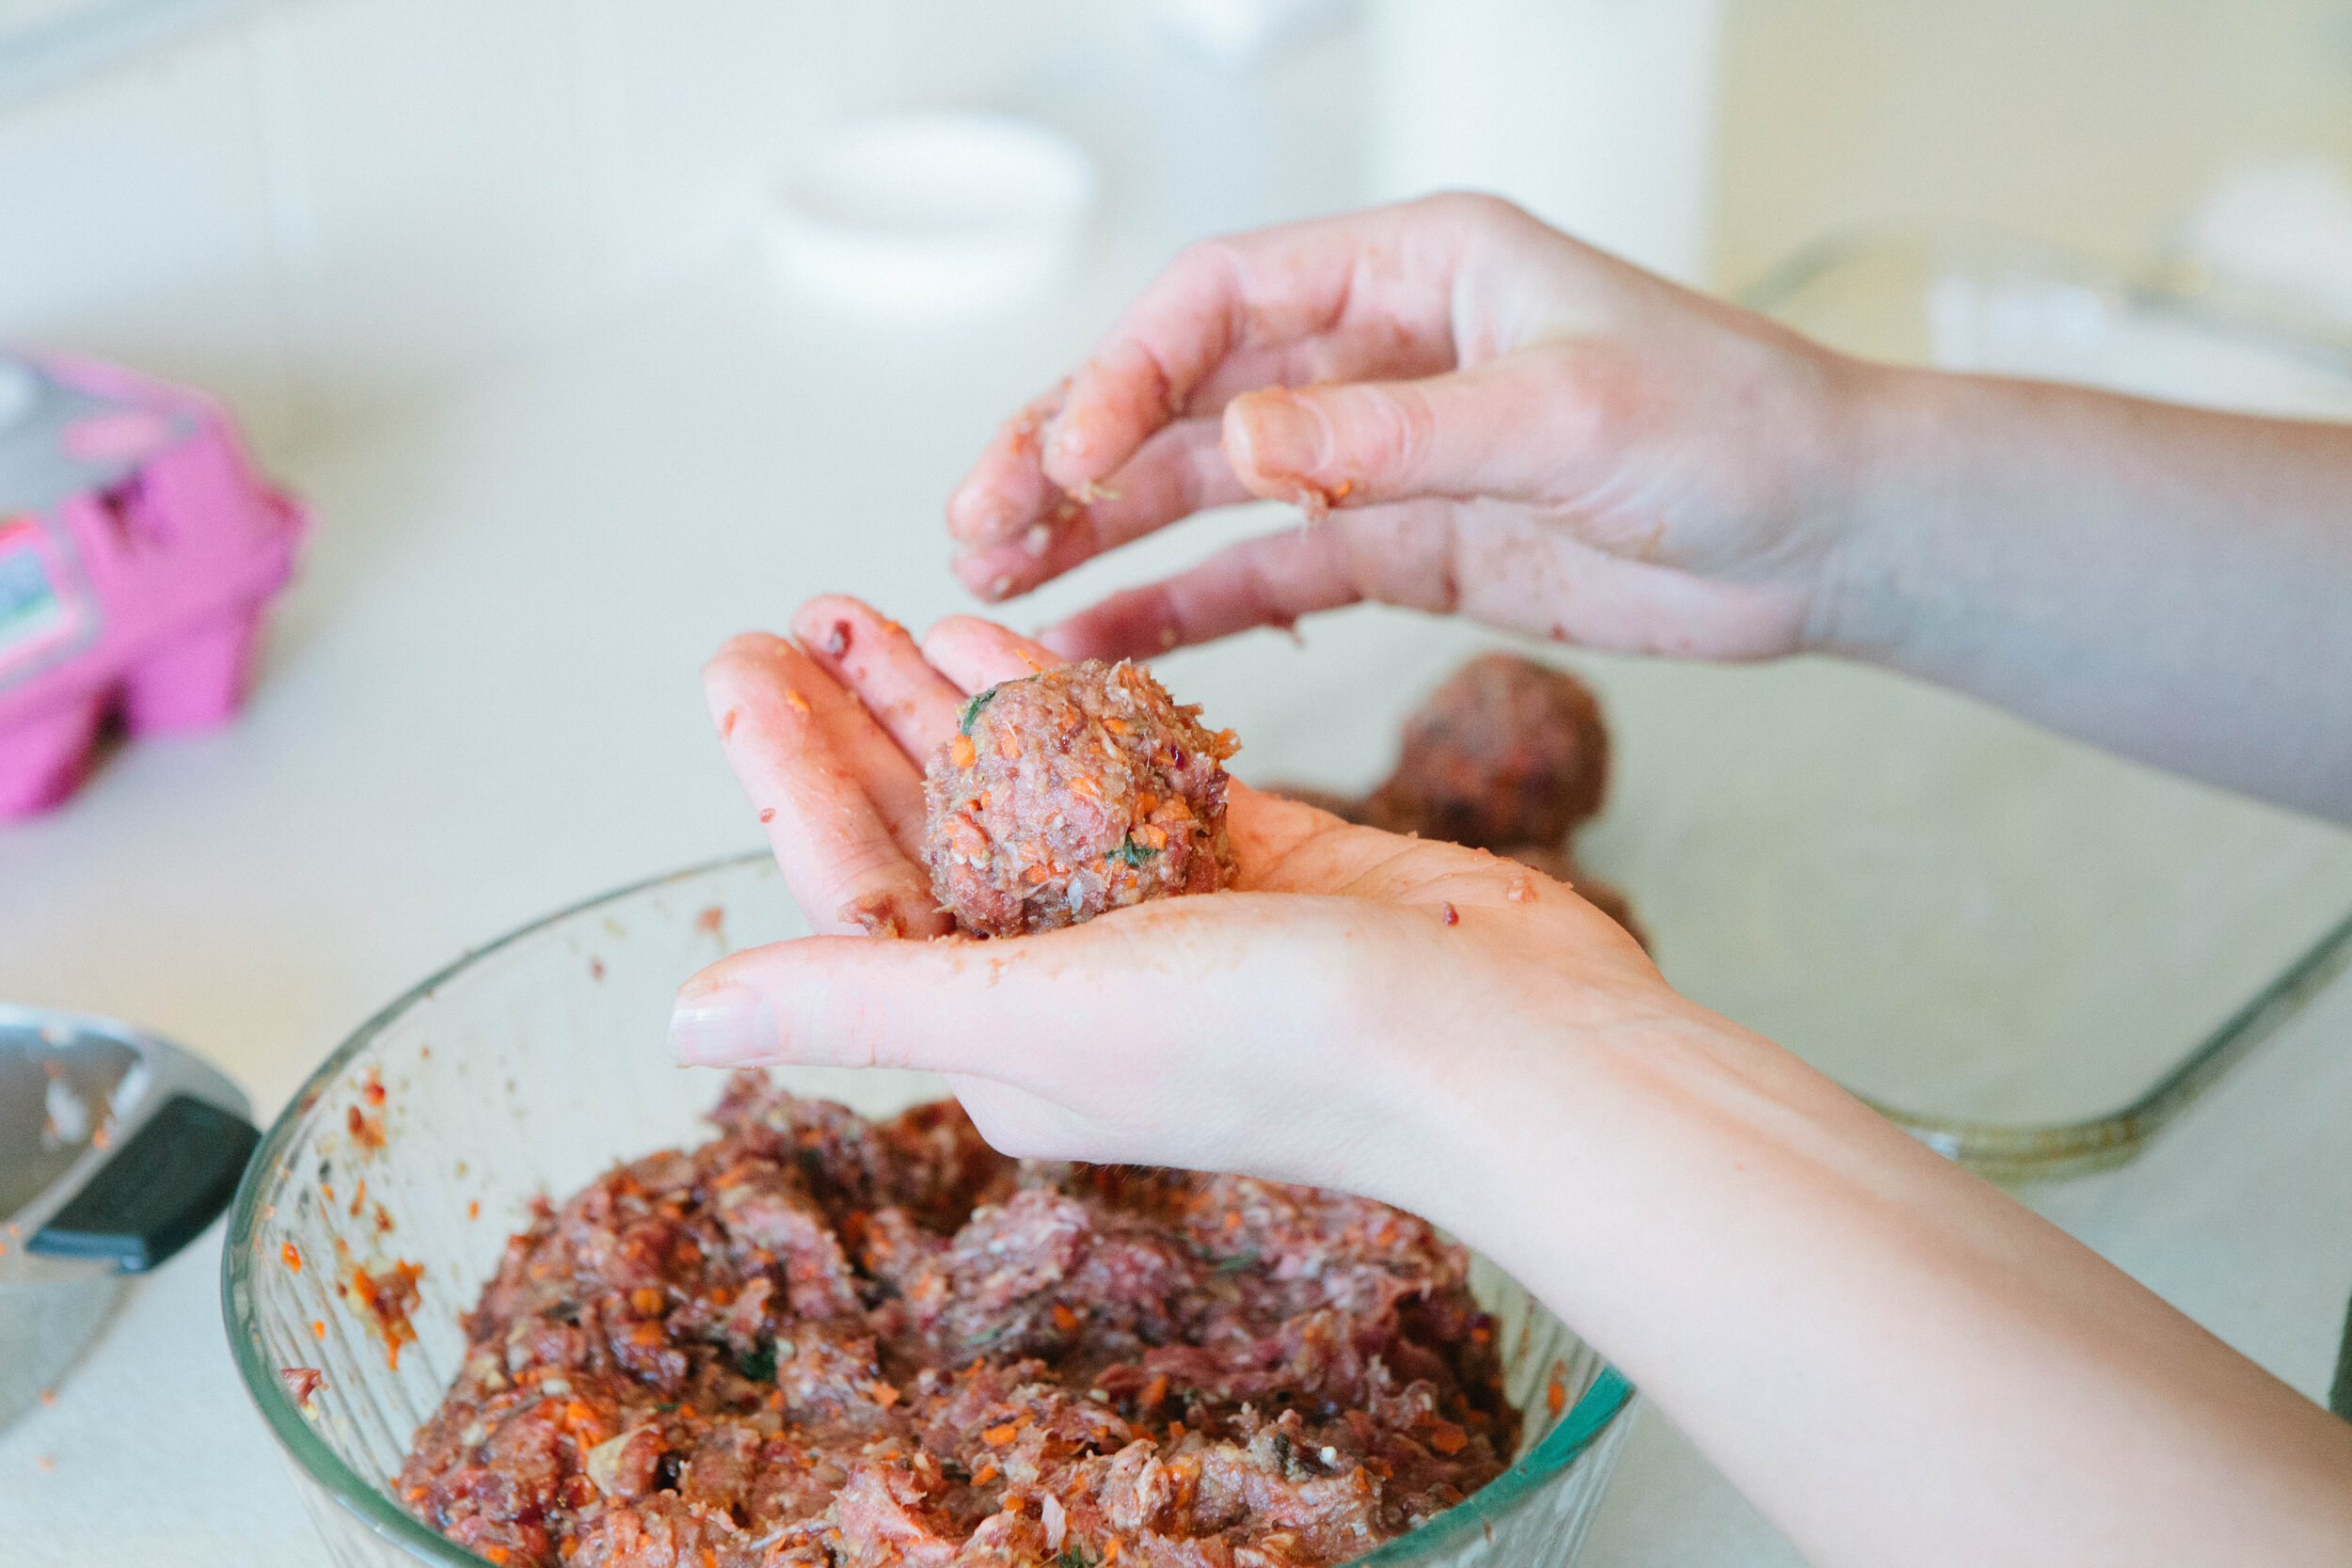
Liver Meatballs
Liver is an amazing superfood! This is a recipe that I recommend to a lot of moms! It’s a great way to help your kids eat a little bit of liver every day, which is the best way to eat liver. This recipe makes a lot of meatballs so you can freeze them and take out a few at a time to have for lunch or dinner.
Gluten Free, Dairy Free, Egg Free
Lamb Meatballs
Meatballs are a simple way to add variety to your diet. They can also be a great way to get your kids to eat vegetables! Add finely chopped onions, zucchini, peppers, etc. in to your meatballs to add vegetables.
I’m making these meatballs with lamb burger but you can do it with any kind of burger.
Gluten Free, Dairy Free, Egg Free
Egyptian Lentil Soup
This delicious soup is legal on Full GAPS, and has been a hit with every single one of the many people I have served it too. This is not a leftover that gets forgotten in the fridge... it has disappeared much sooner than you want it to be gone!
Gluten Free, Dairy Free, Egg Free
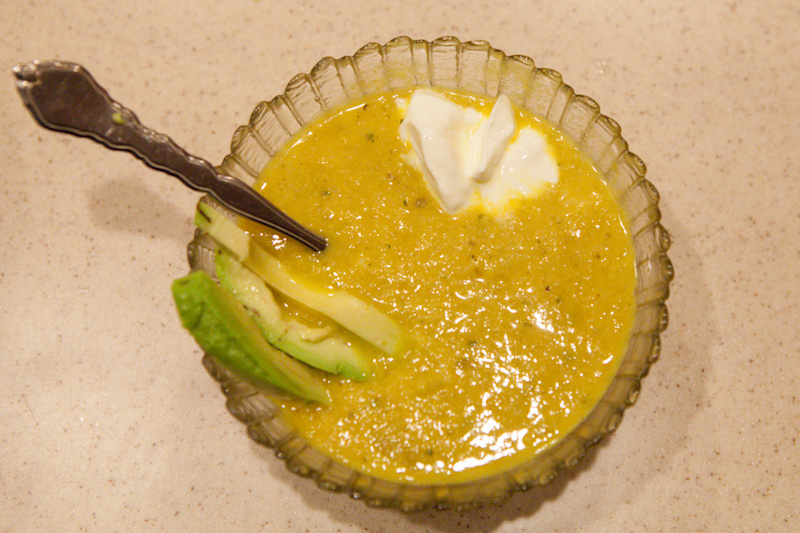
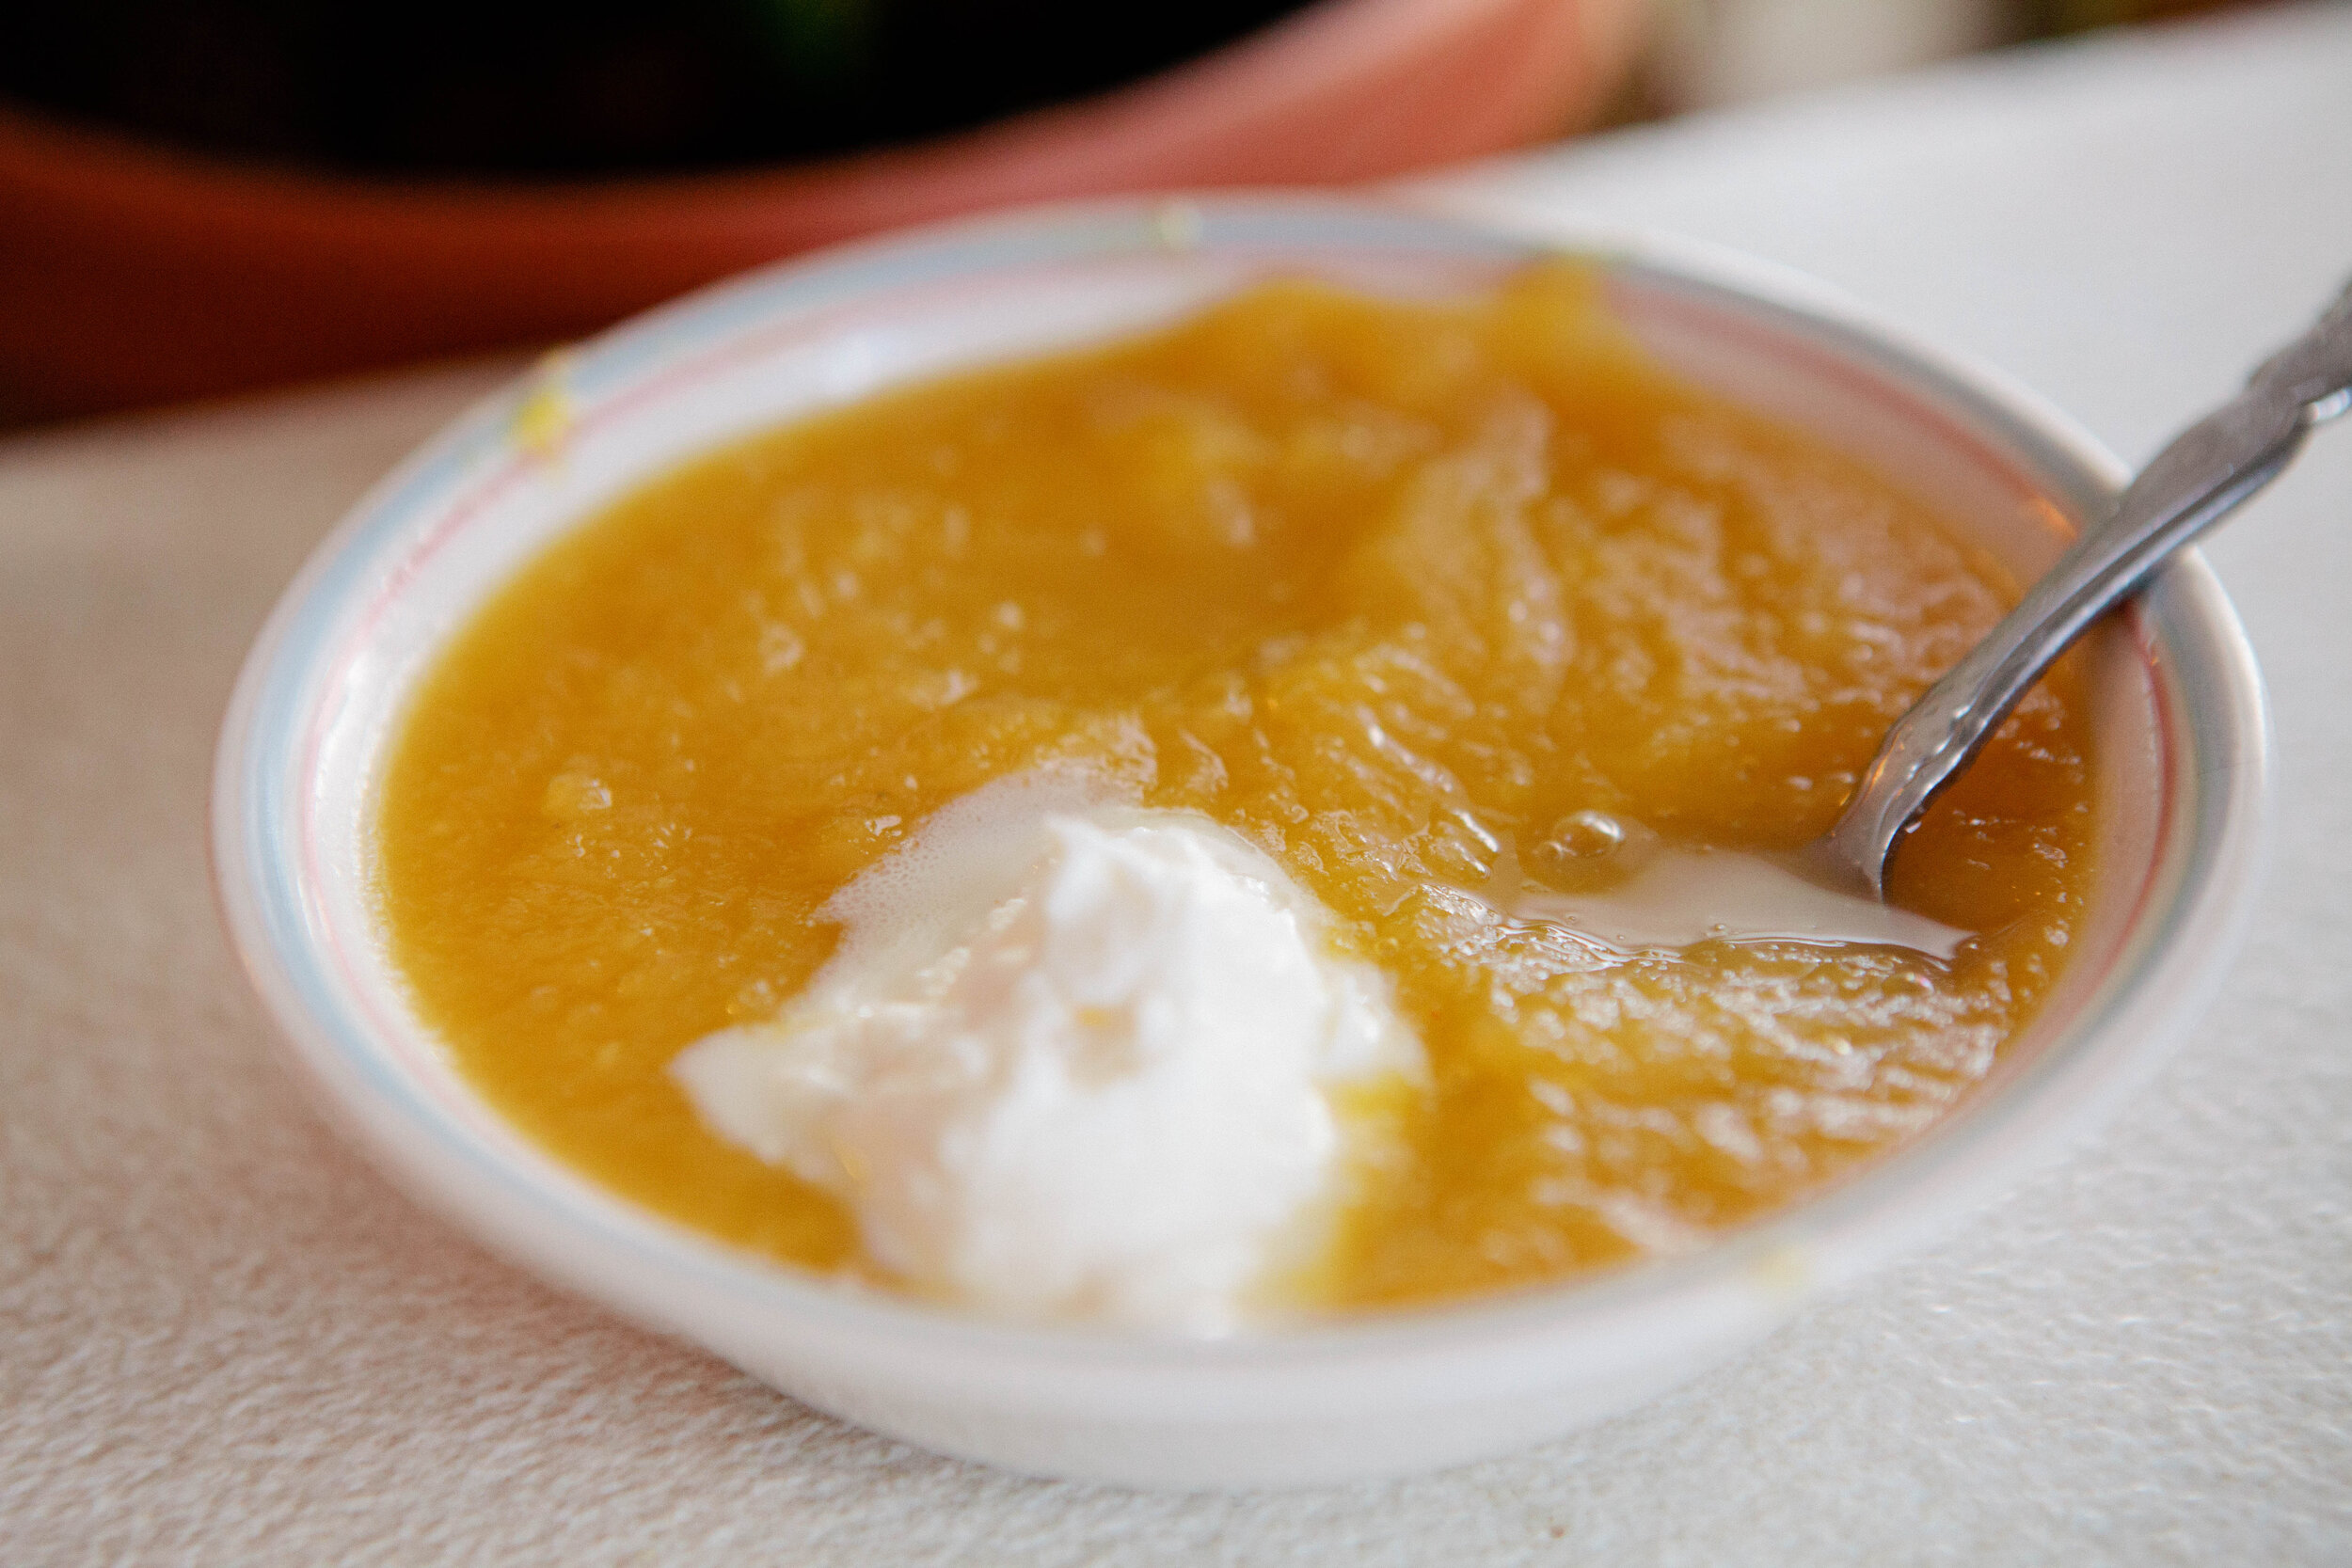
Pumpkin Soup
Once you have the puree for this pumpkin soup recipe, you can also use it to make a pumpkin pie or use it to make GAPS Pancakes.
I usually eat a small bowl of pureed soup alongside a much larger bowl of another soup. It’s a great way to have a multi course meal on the GAPS Intro Diet.
Gluten Free, Dairy Free, Egg Free
How to Apply Iodine to Your Skin
Iodine is an important mineral for our bodies. Iodine is used by the body to make hormones in your thyroid. Fluorine and chlorine compete with iodine to by used in your thyroid because they’re a similar enough molecule. Both fluorine and chlorine are toxic to our cells, meaning they damage the cells function. If there is not enough iodine in your cells, your body will quickly uptake whatever it can find that’s closest - meaning fluorine and chlorine.
Traditional Weaning Diet - Baby's First Foods
Until very recently, the first foods for a weaning child looked very different than what we consider standard today. In fact, advertising and marketing have created an entirely new genre of food titled “Baby and Kid Food.”
However, for most of human history, children merely ate what their parents ate, starting with simple, nutrient dense foods and progressing as they grew.
Many parents purchase jarred baby food, start with rice cereal, or start with other modern recommendations. The truth is, the best baby foods are dense, whole, real foods, that primarily come from animals.
Animal foods are incredibly important for your developing child. We are constantly amazed at the fast growth in a little baby but we less often think about the nutrition required to provide for that growth. Animal foods are, as a rule, more dense in their nutritional value because the stomachs of herbivores is unique. It breaks food down repeatedly. Additionally, herbivores have a rich and flourishing microbiome that does most of their digestion for them.
Despite common belief, the truth is that animal foods are also easier to digest, making them the ideal food for babies to start with.
These first foods can be started, in most cases, any time after four months and when babies are showing certain developmental cues. The main ones are they no longer have a tongue thrust when something is placed in their mouth, they can support their own head, and they show interest in food.
Lightly salting your baby’s food is important— they need minerals too! Use natural sea salt on your baby’s food. (I do not recommend using sodium chloride (refined table salt) for anyone, especially your baby). Refined and iodized table salt is detrimental to anyone’s health, especially a small child. Learn more about choosing the right salt here.
Remember, it can take 12-14 introductions of a new food for that food to be accepted by your child. If they don’t like a food the first few times you offer it, don’t stress! At first, food introduction is not about nutrition, it’s about the experience. In the first year or so of your child’s life, you have an amazing opportunity to create a beautiful and informational relationship with food. Your goal right now is not to make sure your child likes everything. Your goal is to expose them to all the foods that are in nature so that for the rest of their life they will be able to choose foods according to their nutritional needs. Take away all your stress, put aside any neat freak in you and allow your baby to taste, touch and be bathed in the foods that will serve their bodies the rest of their lives.
Now let’s talk about the first foods I recommend for babies. These are based on the research of Dr. Weston A. Price, and are outlined in Sally Fallon’s Nourishing Traditions Book of Baby and Child Care, available on Amazon (affiliate link).
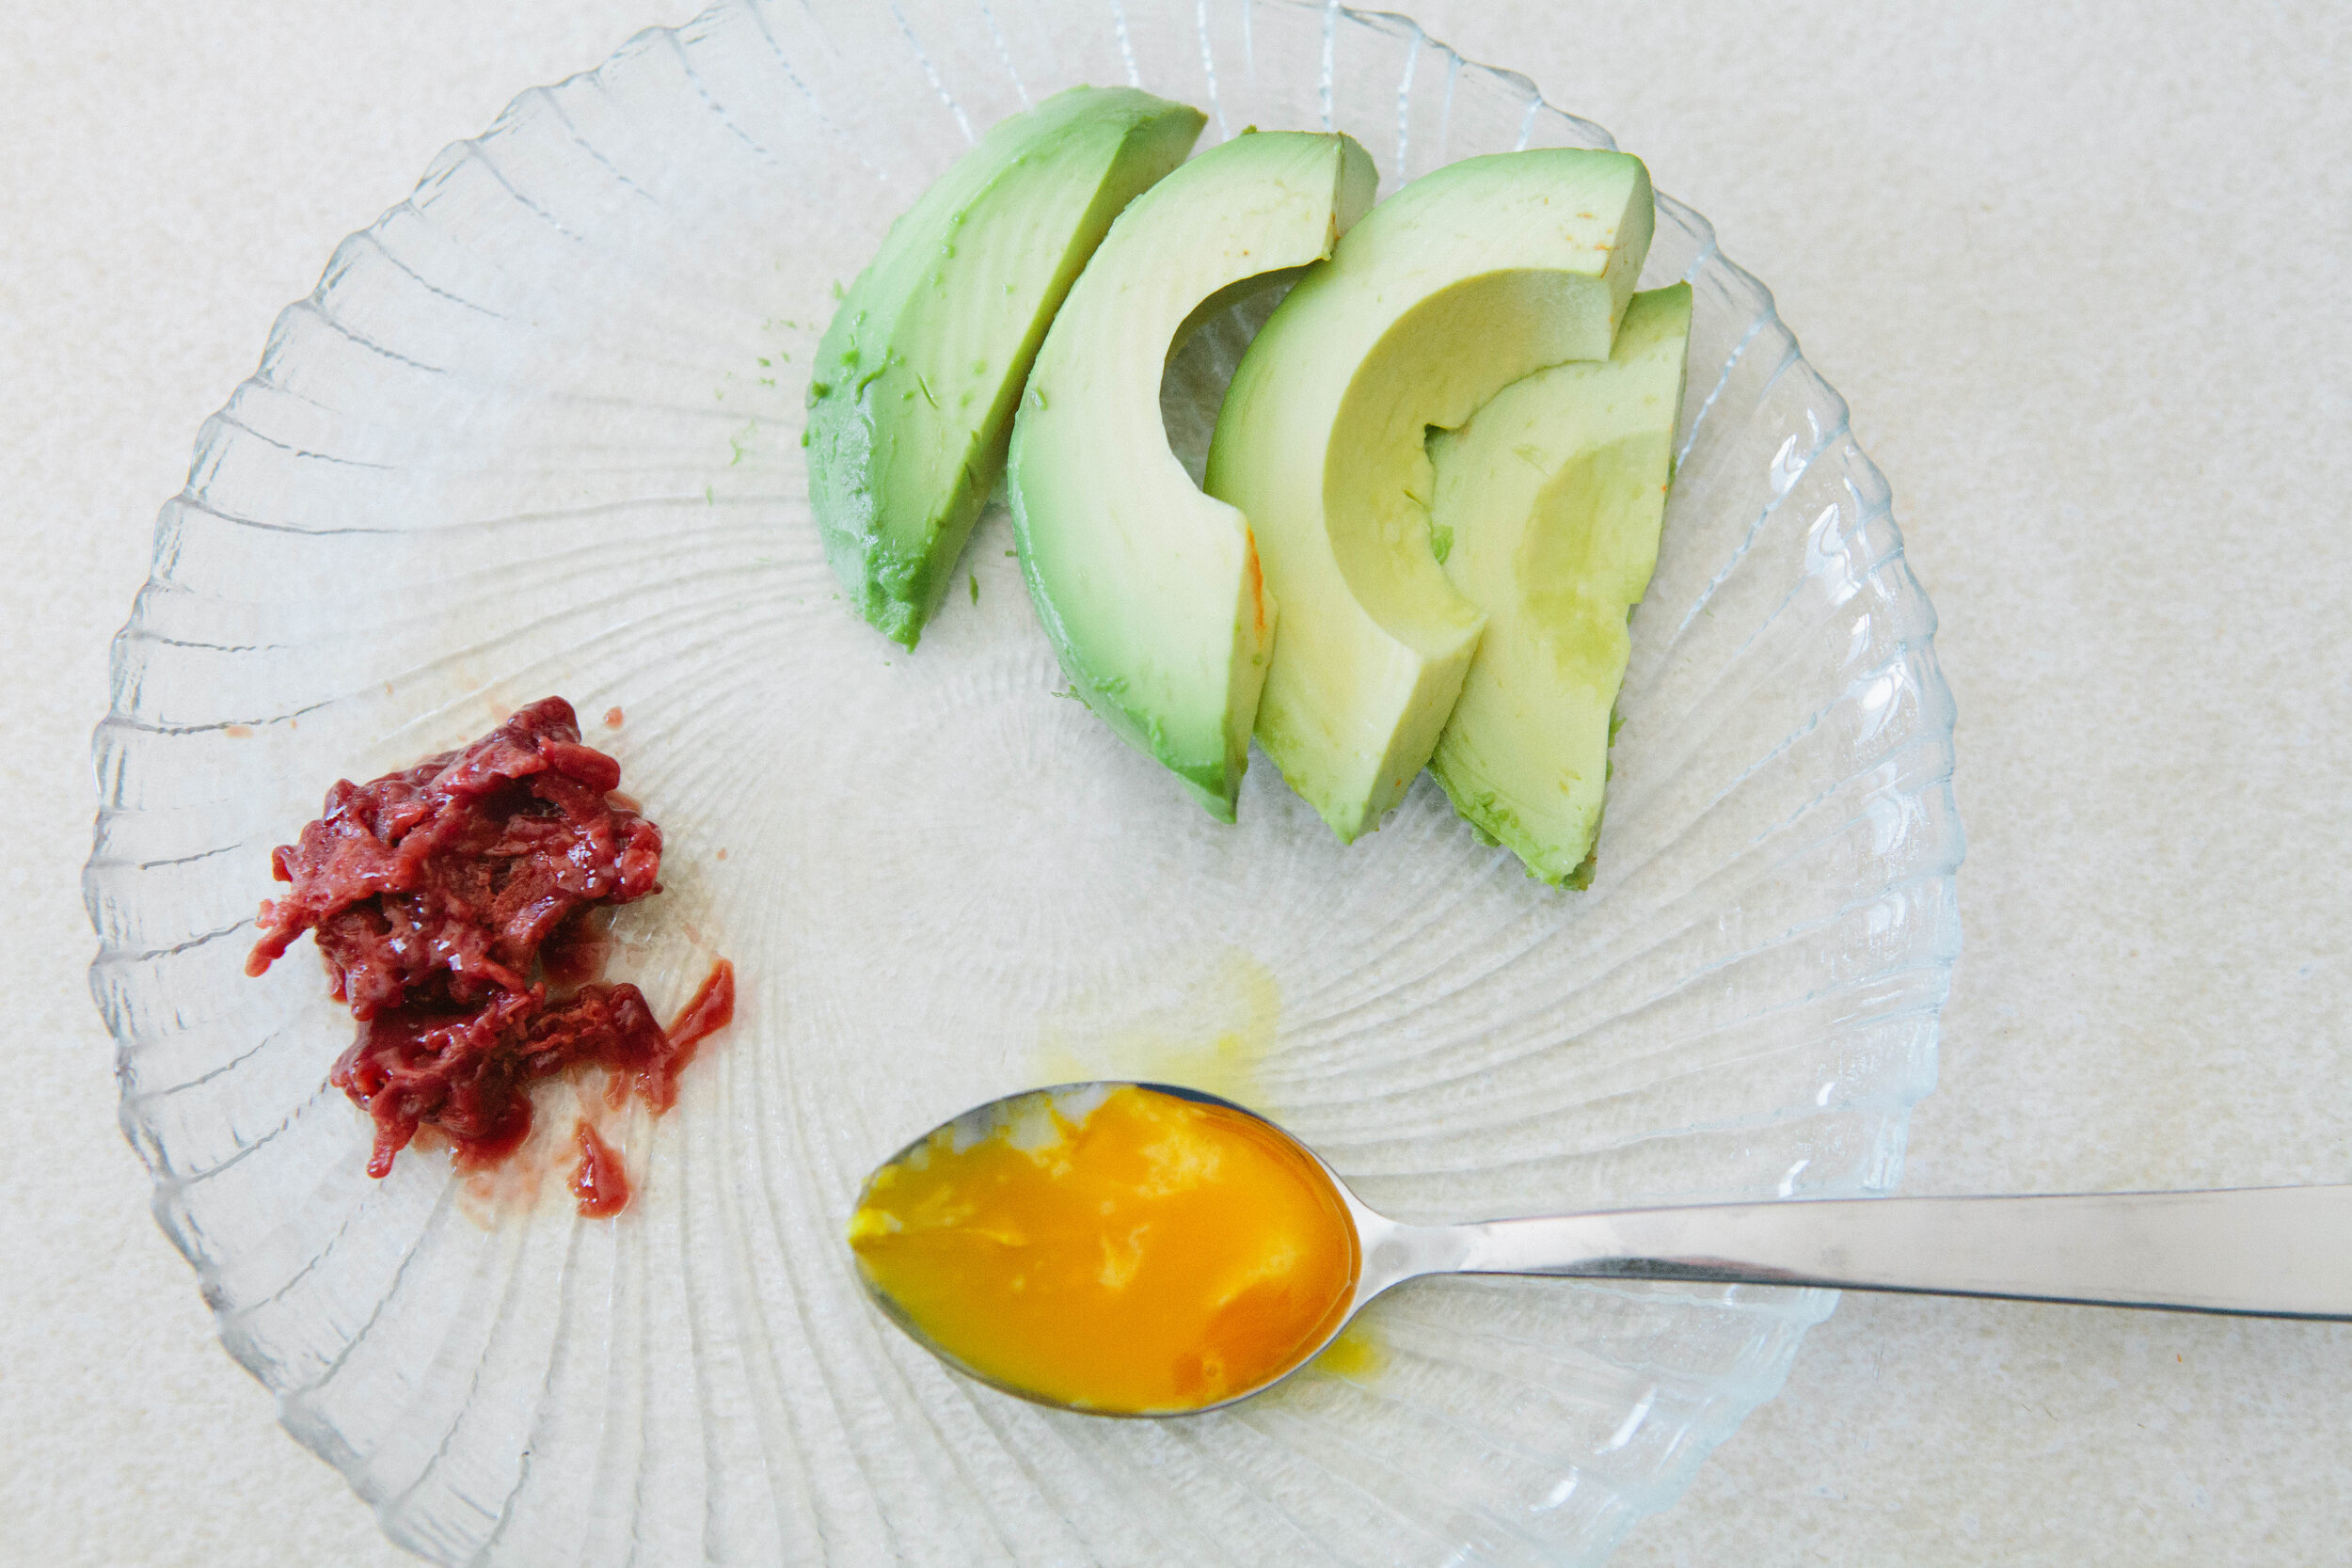
Liver:
Liver is rich in lots of important vitamins and minerals that aid in growth.
For this “recipe” we are using beef liver that has been deeply frozen for two weeks at least. Beef liver is cleaner and has less potential of pathogens than chicken liver. Deep freezing the liver for two weeks is important because it kills any dangerous pathogens and creates a safe food that’s able to be eaten raw by your baby. If you only have access to chicken liver, I recommend making a liver pâté for your baby.
Directions for Feeding Liver to Your Baby:
Thaw the liver in the fridge, and don’t soak the liver in any acid.
Cut liver into approximately 1 inch cubes. One cube will be one serving for a day.
Freeze the liver cubes on a baking sheet lined with parchment paper. Individually freezing the liver will allow you to later store them in a bag as separately frozen pieces. And frozen liver is easier to grate than warm liver!
When it’s mealtime, grate the liver on a cheese grater. Serve your baby about a tablespoon of grated liver per day. Many babies enjoy the taste of liver, and some even prefer eating it cut into small pieces.
Raw (Runny) Egg Yolk
We start babies off with egg yolks because egg whites are very hard to digest. As your child grows, you can progress to giving them a whole egg. Lightly scrambling a whole egg in lots of animal fat is an amazing food! Runny yolks contain more cholesterol than firm yolks, as the cooking process destroys cholesterol. And cholesterol is good!
A note about egg whites: it’s important to not regularly eat egg whites without the yolks. The yolks contain nutrients that help digest the egg white. If you consume many egg whites alone, your body has to work very hard and you may end up with nutritional deficiencies.
Directions for Feeding Egg Yolk to Your Baby:
Add about an inch of water to a small pan on the stove.
Turn stove to high heat and let water get to a rolling boil.
Crack one egg into the water once it is boiling rapidly.
After a little time, ease the white up off the bottom of the pan.
Cook the egg only until the white is set. Remove the egg from the pan. A slotted spoon works best.
Use a spoon to take the liquid yolk out and feed directly to your baby. The first time you feed your baby an egg yolk, give them only a small amount. But after you are sure there is no reaction, increase the amount until they are eating the entire yolk. After that you may proceed to feeding them the entire egg.
Avocado
Avocados are a unique food because they are approximately ⅓ protein, ⅓ fat and ⅓ carbohydrate. This is a great first plant food for your baby.
Simply slice an avocado into small slices to feed to your baby. As with the introduction of any new food, start with a small amount the first day and gradually increase over time.
Add a shake of salt to the top of the avocados… delicious!
Introducing Cooked Vegetables and Meat
While purees may be easier, some research is showing that babies who learn how to manipulate food pieces in their mouth instead of being forced to progress more quickly with pureed foods will have less trouble with gag reflex and other oral difficulties for their entire lives.
Any mix of vegetables and meat will work! Feel free to start and stay simple. In most cases, your baby can eat whatever the family is eating so there’s no need to make an additional meal. Simply grate some frozen liver on top of whatever you are serving to your baby, and enjoy real foods as a family!
Foods to Avoid (at least in the beginning)
This list looks very different from the traditional weaning diet you may be used to hearing about. You may be wondering if I forgot a few foods. Fruits and grains are the modernly recommended first foods, so let’s briefly discuss them here.
Fruit:
Fruit is not inherently bad, but the sweetness can throw off your baby’s taste buds and cause them to avoid the dense foods they need to be eating. Historically fruit was only available for a short season in the summer, so we know it can’t be essential to a growing baby. Also, it is likely that your child will like fruit whenever you introduce it to them! So wait on the fruit, maybe until the summer after your baby’s first year. I don’t recommend a ban of this food, just try to avoid it as much as possible, and don’t feel like you HAVE to give it to them as part of a “balanced diet.”
Grains:
Grains also are not inherently bad, but until your child has their two year molars, they will be unable to digest grains properly (even properly prepared grains). That being true, you can see that there will be little to no nutritional benefit to eating grains for your child, and all the potential for the difficulties and complications surrounding grains (leaky gut, allergies, etc). So grains are best avoided until those two year molars are in, and they have a well established, health gut flora that will assist in digesting grains. Then the correct, properly prepared grains are a wonderful addition to their diet!
I hope these recommendations are helpful to you. Questions? Ask them in the comments below.
Happy feeding!
The Best Way to Add Fermented Food to Your Diet
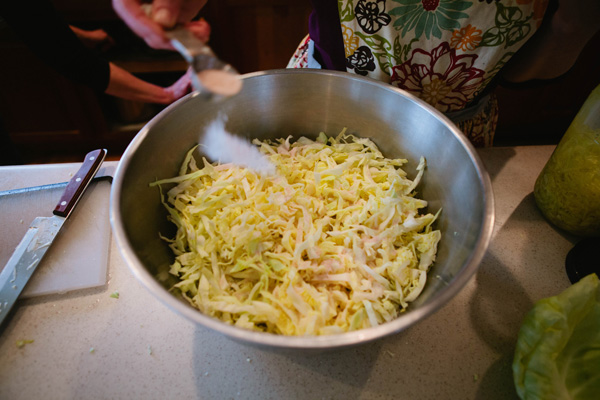
Fermenting - one of the best things I discovered on my journey of healing!
The process of preserving food by fermenting it is something that’s been around for centuries and is practiced all other world. It’s not just the process of creating alcoholic beverages like beer or wine, or creating different types of dairy like cheese or yogurt. Eating fermented foods is a huge part of the GAPS Diet, but anyone who adds fermented foods to their diet will see some benefit.
There’s so many benefits to fermenting! Fermenting food means you’re helping beneficial bacteria and yeast grow that aid in digestion. Fermented foods are packed full of probiotics, which helps your gut health. It also boosts immunity by producing lactic acid, which pathogenic bacteria cannot live in the presence of. It allows you to preserve food longer which means that you’re throwing less away! It also increases the nutritional availability without adding anything extra.
While any type of ferment that you consume is beneficial, there are good, better, and best ways to ferment.
Good: Buying a Ferment at the Store
There are a variety of common ferments that are available at most grocery stores. Starting small and adding just one ferment to your diet will bring some benefit to your gut health and overall wellbeing.
While purchasing a ferment from a store isn’t the most beneficial for your wallet or your health, if you want to dip your toes into fermented foods, purchasing one can be just fine. Find one that has the least amount of ingredients possible and has the least amount of processing. Fermented foods should be as close to the source as they can be.
Better: Buying Multiple Ferments at the Store
There are many kinds of fermented foods so experiment! Adding a variety of ferments to your diet is important because you and your gut will get a much wider variety of bacteria, all naturally. Fermented foods come in many different varieties, like pickled vegetables, sauerkraut, or even liquids like kombucha and kefir.
A better option for getting ferments into your diet is to purchase a variety of high quality ferments from the store.
Best: Making and Consuming Your Own Variety of Ferments
Making your own ferments is absolutely the best! I love making my own ferments because I can buy large quantities of food in season and locally and preserve it for a long time. I also know what I’m eating because I added it myself!
Consuming a variety of different kinds of ferments is important for our gut health. By making your own, you can save a lot of money and get all the variety you need!
When you make your own ferments, you’re intimately connected with what you’re eating. This is important for thoughtful eating.
If you’re interested in fermenting your own food, I’ve shared a lot about fermenting over the years! You can see more on the process of fermenting here and here, and specifically about lacto-fermenting here. Whey is a great way (get it!) to start the fermentation process for many ferments. You can learn about making your own whey here.
For recipes on fermenting food, check out my beet kvass recipe, my recipe for fermented garlic (learn more about the benefits of fermented garlic) or learn how to ferment almond flour for baking.
The Best Cookware for Your Kitchen
Good, Better, Best: Cookware Options
Cookware is an essential part of a kitchen. It’s what we use daily to prepare our meals so of course we want it to be long lasting and healthy for our families and loved ones we are lovingly and carefully preparing food for! Selecting the right cookware is important. Not only will well made cookware last longer, meaning it’s a better investment, but the wrong cookware can actually do more harm than good for your family by leaking toxins and chemicals into the food you consume. There are good, better, and best options when it comes to cooking. What type you choose is largely determined by what you’ll be cooking.
Best Cookware Options
If you’re baking or roasting…
Properly seasoned stoneware and glass are the best cookware options when you are baking. Glass bakeware is great for baking casseroles in or roasting vegetables. I cover any vegetable in fat (lard is my personal favorite for roasting) whether it’s covered or uncovered! I love my casserole dish that has a great glass lid with it. However, if you have a dish that doesn’t have a lid, you can also use a layer of parchment paper with a layer of aluminum foil over the top as the lid.
Seasoned stoneware is my favorite for baking cookies and pizzas. A well seasoned stoneware piece can make a huge difference between a mushy or crips cauliflower pizza crust! If you are using stoneware, be aware that it might change your cooking time. I find it’s best to heat the stoneware up in the oven while the oven preheats. Then, while the food is cooking, I keep a close eye on it as it’s getting towards the end of it’s prescribed cooking time. It will probably cook a few minutes less.
If you’re boiling…
A stainless steel pot with a thick base and more metal on the bottom is the best option when you need to boil or steam on the stove. You can tell it’s a good stainless steel pot because it’s heavier! Having a thick metal base on the bottom helps with heat distribution so your food doesn’t scorch on the bottom of your pan. A great bonus is this makes for easy clean up too!
If you’re frying or reheating…
A properly seasoned cast iron pan is the workhorse of the kitchen! I use my cast iron to reheat most of my food since I do not use a microwave. I also use it to fry up my eggs and bacon in the morning, or cook a quick stirfry. It’s good for just about anything! If you have a problem with food sticking to your cast iron, it’s because you’re not heating it properly before adding your food or you’re not adding enough fat while you’re cooking. Use a lot of fat and nothing will stick! Seasoning your cast iron properly is easy. Just leave fat in it all the time! If you ever need to wash it out with water, immediately add more fat back to the pan.
Better Cookware Options
If you’re baking…
Aluminum baking trays that are lined with parchment paper are ok if you don’t have stoneware. Make sure you put the barrier of the parchment paper between your cookware and the food. Aluminum should never touch your food. The same thing goes for lining aluminum muffin trays.
If you’re boiling…
If you can’t find a stainless steel pot with a thick base, using a stainless steel pot without a thick base and with no coating on it is ok. If you know that your pots or pans are lead free, they can be used in your daily cooking as well.
Good Cookware Options
Using a ceramic pot or pan that has nonstick coating on it is better than a traditional non-stick coating. Keep in mind the smallest scratches on this you won’t be able to see. If you see the coating come off as you are washing the pan or cooking with it, it’s time to get rid of the pan! This is certainly not my preference in cooking but is better than traditional non-stick coating and will do in a pinch.
I do not recommend aluminum pots and pans, as you never want aluminum touching your food. Any pots or pans with traditional non-stick coating, plastic silicone baking trays and silicone bakeware are also not recommended.
What’s your favorite pot or pan in your kitchen? Do you have a go-to?
Why You Should Dilute Essential Oils
If you are an essential oil user, you may have heard that diluting hot oils, like oregano, that you want to use topically or diluting the oils you put on your child’s skin is recommended. However, I've recently learned that diluting all essential oils is beneficial. I only recommend using therapeutic oils, especially if you are putting them in or on your body. If you want to apply oils to your skin, I recommend using a carrier oil to dilute them and increase their effectiveness.
Watch the short video below on how to dilute essential oils, or read on for more in depth help diluting your essential oils.
Does diluting essential oils reduce their effectiveness?
It may seem that if you dilute the essential oils you are using, you may also be reducing their effectiveness. However, diluting oils may actually increase their effectiveness.
First, diluting the essential oils you apply topically will decrease the amount that evaporates into the air. This means that more of the beneficial oil will stay on your skin and be able to bring support to your body.
Your skin is the largest organ of your body. It's made of several layers that help to protect your internal body. The outermost layer of your skin is called the epidermis. This is the part of your skin that provides a waterproof barrier and is tough for solutions, like essential oils, to permeate. Diluting your essential oils before you apply them to your skin actually drives the oil solution into your epidermis layer, easier and deeper. This means the oil reaches your internal body quicker and you are able to see the benefits faster.
If you have sensitive skin issues, diluting your essential oils before applying them is additionally beneficial. Diluting will help lower the risk of you experiencing skin irritation.
These emotion oils are part of the Touch Line from doTerra. All of the oils in this doTerra line are prediluted to the correct ratios for quick application. You can order the Touch Line for yourself here.
How do I dilute an essential oil?
To dilute an essential oil before you apply it to your skin, you use what are called carrier oils. Carrier oils include avocado oil, olive oil, jojoba oil, grapeseed oil, or coconut oil (especially fractionated coconut oil.) In selecting the ideal carrier oil for you, you want to always make sure that it is 100 percent pure. Each oil has a different scent and even texture so selecting your carrier oil could be researched or just be a personal preference.
The following ratios of dilution come from doTerra, my preferred brand of essential oils.
For one teaspoon of carrier oil add:
1 drop essential oil for a 1% ratio
2 drops for 2%
5 drops for 5%
One tablespoon of carrier oil:
3 drops essential oil for 1%
6 drops for 2%
15 drops for 5%
One fluid ounce of carrier oil:
6 drops essential oil for 1%
12 drops for 2%
30 drops for 5%
What do you think? Will you try diluting your essential oils next time?
If you want more information on essential oils, I share more here!
How to Care for Your Hair Naturally
Shampoos, conditioners, pomades, mousses, hair sprays and more - we’re told constantly that healthy hair requires a lot of products. It seems like everywhere you look, someone is trying to get you to put something new on your hair. The truth is, these products actually make our hair worse, even those touted as “all-natural” or “organic.” Using just a few simple ingredients and methods will leave your hair healthier than using all those products. It’s budget friendly too because you probably already have these ingredients on hand regularly!
Ideal Morning Routine
What to Expect at a Holistic Well Child Visit
One of my favorite holistic healthcare services that we offer for Northern Colorado families at Be Well Clinic is the Well Child Visit. We see children of all ages, from newborns to 18 years old. A Well Child visit is different from a Sick Visit because it’s a routine checkup. We believe children are fundamentally well, and their bodies are constantly striving to be well if they are given the right foods and environment. Unless there is cause for concern or something that we are working on together, you may find that Be Well Clinic well child visits are further apart than the typical schedule. We trust you as a parent to let us know if something is not seeing right with your child's growth and development.
Homemade Traditional and Gluten Free Playdough Recipe with Cassava Flour
I remember having so much fun with Playdoh as a kid! Building and sculpting - the play was endless. Homemade playdough is easy to make and there's a good chance you have all the ingredients you need on hand already! I wanted to experiment with a gluten free version of the playdough recipe for my friends who have children with gluten allergies. In my opinion, this version actually worked better than the original! The playdoh was less sticky and held it's shape much better. It was much easier to sculpt with. A true win-win! These recipes are adapted from DIY Natural's Homemade Playdough Recipe.
Traditional Playdough Recipe Ingredients
1 Cup Flour
1/4 Cup Salt
1/2 Cup Water
Food Coloring (I used natural food coloring.)
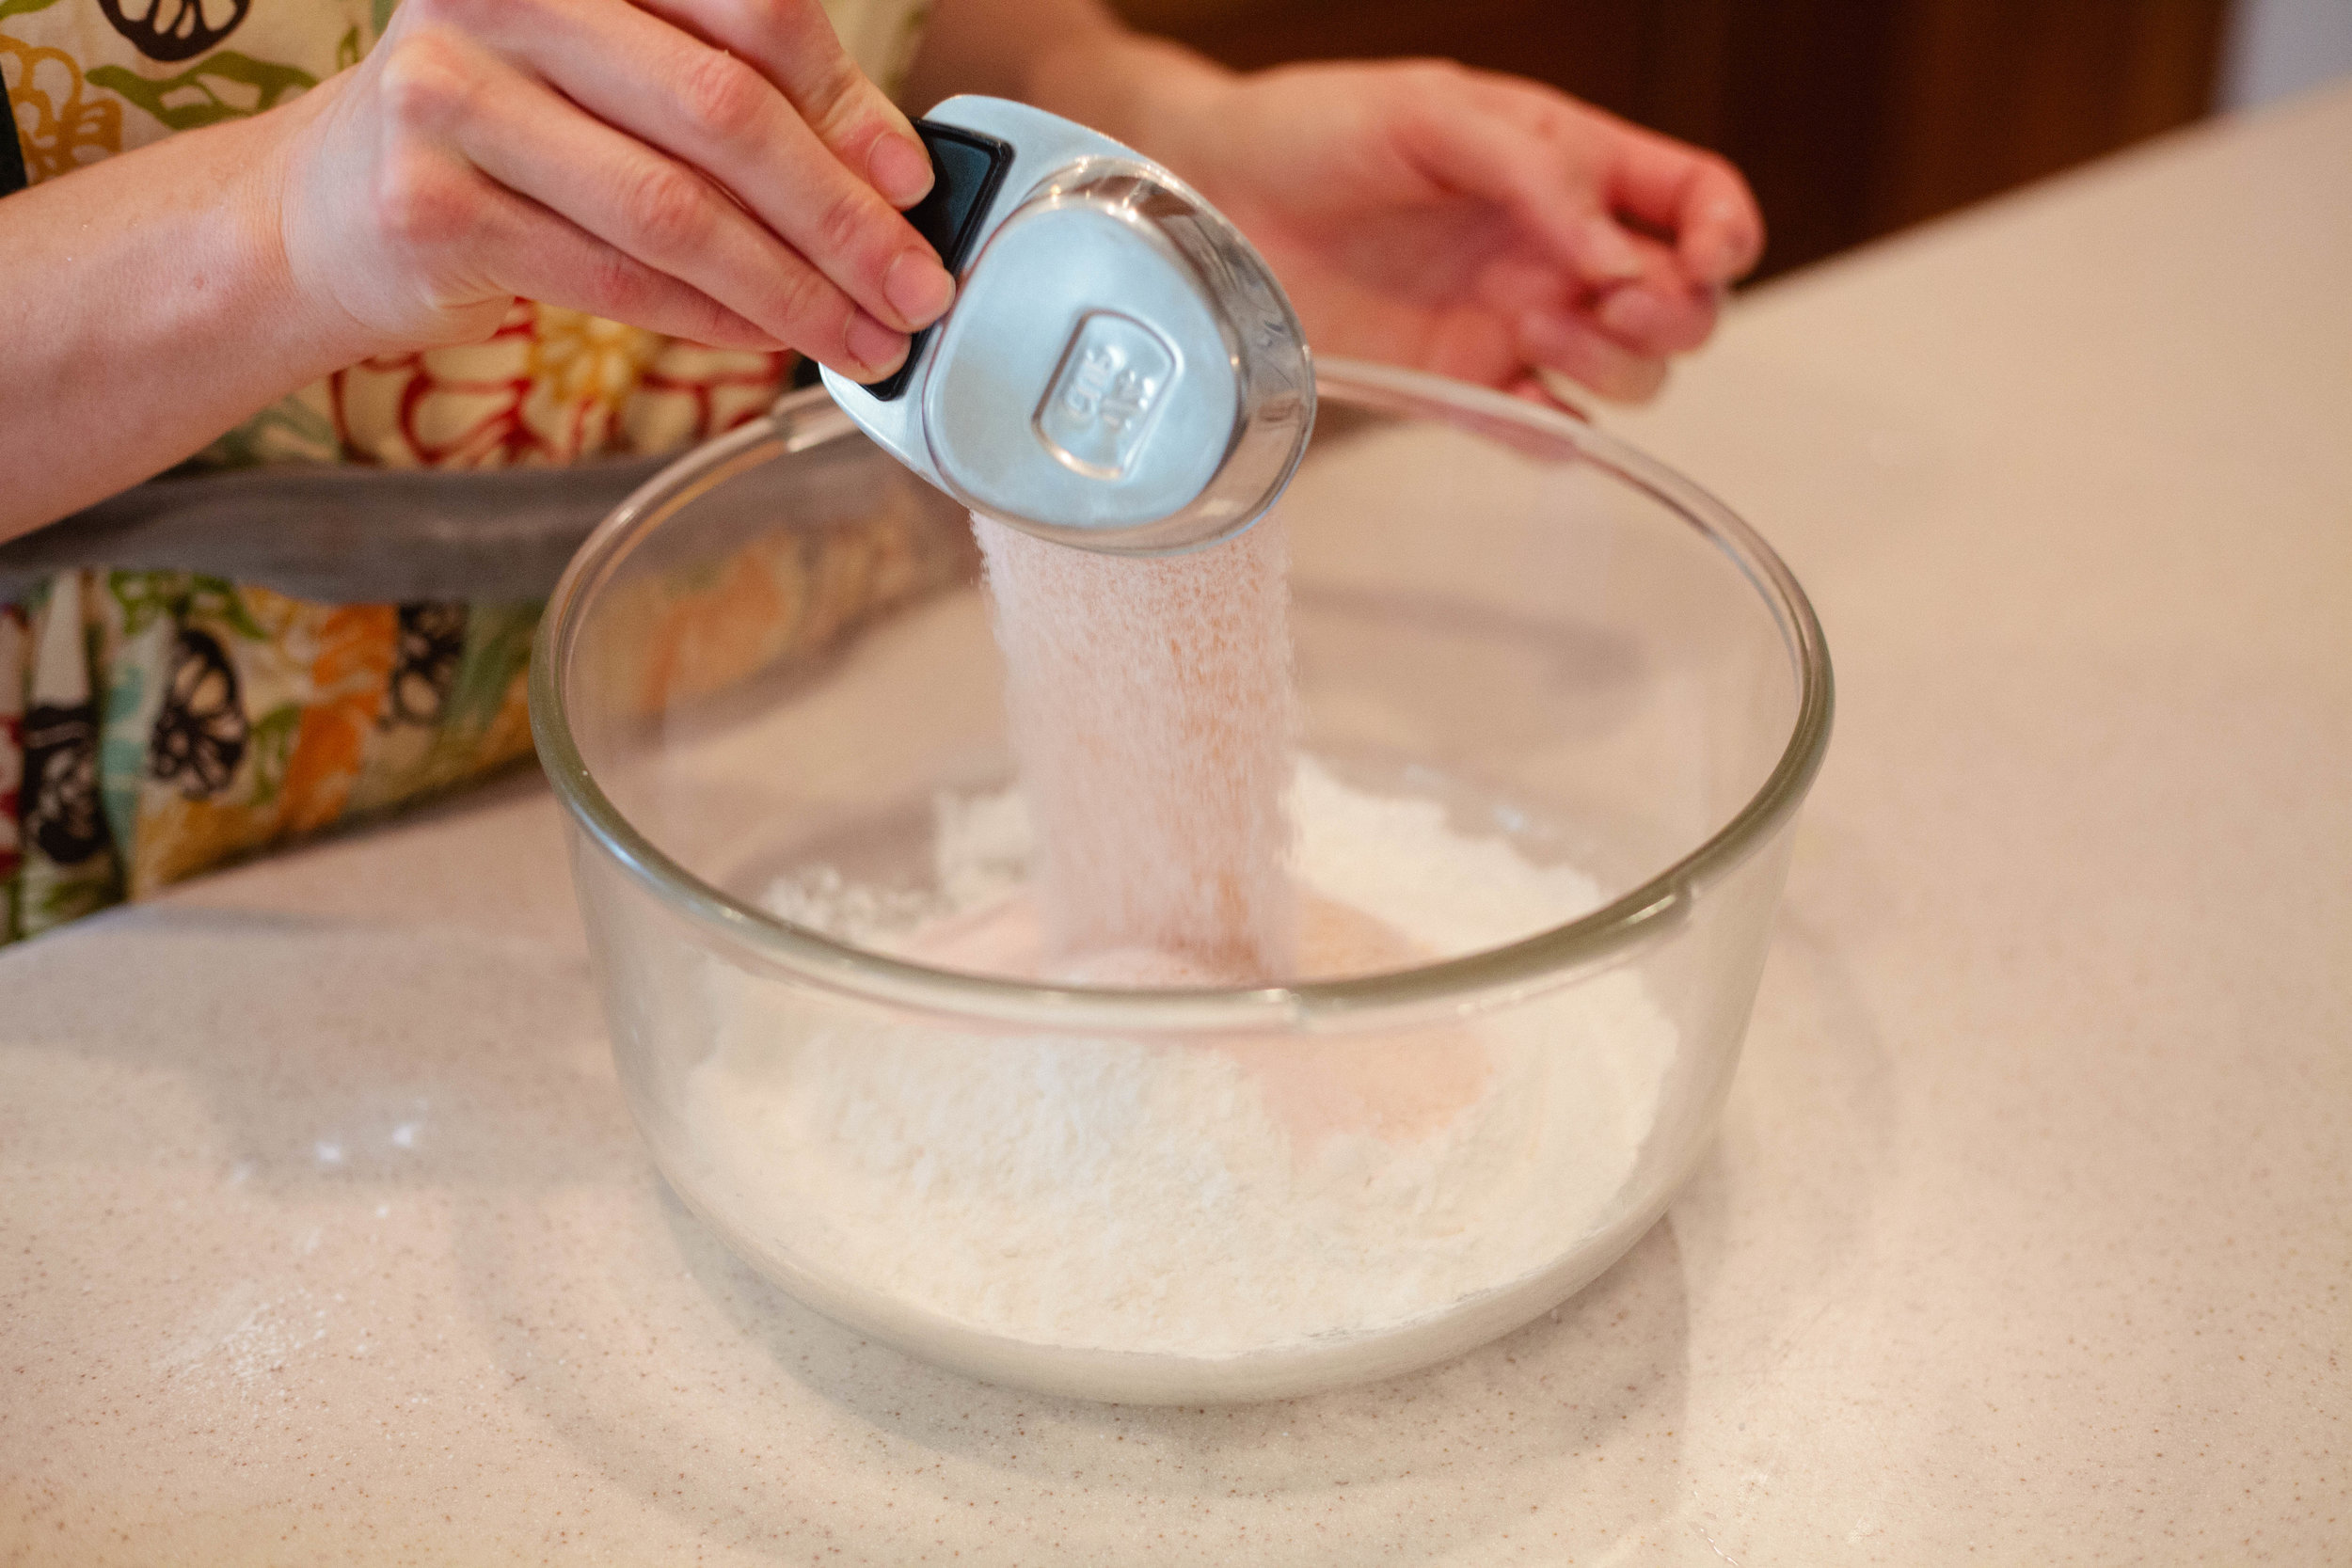
Combine flour and salt in a bowl.
In a separate bowl or cup, add food coloring to water. I added half of a packet, but you can add more if you want a richer color.
Stir water & food coloring mixture into flour and salt. Stir to combine.
When mixture is combined, knead for several minutes.
Add flour as needed in small amounts, less than 1 tsp at a time, until the dough is no longer sticky.
Store in a plastic bag without air.
Gluten Free Playdough Recipe Ingredients
1 Cup Cassava Flour
1/4 Cup Salt
3/4 Cup Water
Food Coloring (I used natural food coloring.)
Combine flour and salt in a bowl.
In a separate bowl or cup, add food coloring to ½ cup hot water. I used half a packet, you can add more if you want a richer color.
Add water and food coloring mixture into flour and salt. Stir to combine.
Once combined, knead into a ball.
Add ¼ cup more hot water slowly and knead until dough is no longer crumbling or falling apart.
Traditional Homemade Playdough
ingredients:
- 1 Cup Flour
- 1/4 Cup Salt
- 1/2 Cup Water
- Food Coloring (I used natural food coloring.)
instructions:
How to cook Traditional Homemade Playdough
- Combine flour and salt in a bowl.
- In a separate bowl or cup, add food coloring to water. I added half of a packet, but you can add more if you want a richer color.
- Stir water & food coloring mixture into flour and salt. Stir to combine.
- When mixture is combined, knead for several minutes.
- Add flour as needed in small amounts, less than 1 tsp at a time, until the dough is no longer sticky.
- Store in a plastic bag without air.
Gluten Free Homemade Playdough
ingredients:
- 1 Cup Cassava Flour
- 1/4 Cup Salt
- 3/4 Cup Water
- Food Coloring (I used natural food coloring.)
instructions:
How to cook Gluten Free Homemade Playdough
- Combine flour and salt in a bowl.
- In a separate bowl or cup, add food coloring to ½ cup hot water. I used half a packet, you can add more if you want a richer color.
- Add water and food coloring mixture into flour and salt. Stir to combine.
- Once combined, knead into a ball.
- Add ¼ cup more hot water slowly and knead until dough is no longer crumbling or falling apart.
How to Use Trunk Rolls to Improve Reflux and Colic Symptoms in Babies Naturally
Colic (severe, fluctuating abdominal pain that causes crying and screaming in an infant) and reflux (leakage of stomach contents into the esophagus through an open sphincter causing pain and spit-up in infants) are challenges for parents and caregivers, not to mention the babies! But these conditions don't have to be tolerated!
Garden-fresh Vegetables Without the Garden
Summer is the time that vegetables shine! Many people are pulling beautiful zucchini, tomatoes, beans, peppers and greens out of their gardens. Fresh vegetables are in season, and you may find yourself desiring them more than usual. Go with it! Until the recent days of automobiles, airplanes and refrigeration, our bodies were used to getting fresh vegetables only during the short months of the growing season. Thousands of years of eating does leave an impression, and a healthy body will naturally crave more fresh fruits and vegetables in the summertime.
Side note: I have observed that people who are in a focused time of healing don't have this craving for fresh produce, and people who are needing to focus on detox can have fresh vegetable cravings year-round. That's okay, your body knows what it needs! Listen to your body's innate intelligence!
But depending on your situation, you may not have a garden, which makes fresh vegetables a little harder to come by. This is the case for me again this year. So today I thought I would share some ways to get fresh vegetables.
#1 Find a friend who gardens
Now, I am not telling you to mooch off a friend, leaving them to do all the hardwork. But many gardeners find themselves overflowing with vegetables right about now. Some of them may be happy just to see their hard work end up in a grateful stomach, while others would appreciate some help harvesting, preserving, or weeding in exchange for some produce. This is the best way to get vegetables, in my opinion. You will get to spend time in the wonderful sun, get to know your friend better, and maybe even learn a little about gardening. And nothing beats a fresh, hand-picked vegetable served up for dinner!
#2 Join a CSA
CSA stands for community supported agriculture. In a "working share," individuals come together under the leadership of the organizer and spend a set amount of time working around in a garden or farm for a share of the produce. There is usually a monetary investment as well. Most CSAs accept members only around the beginning of the year, so look for one to join for the next growing season. Some CSAs also offer a "non-working share," which allows an individual to pay only, and is a great option for those with jobs or situations that don't allow them the flexibility to work in the garden.
#3 Visit a local farmer's market
This one is an option for most people, but it can be a little tricky. Just because it's at a farmers market does not mean it was grown in a way that is different than the commercial food. That being said, there is going to be some benefit from eating local, naturally-ripened food, so don't rule it out if it's all you can get. The best way to know what you are buying is to talk to the farmers. Ask them how where they are located, and about their farm or garden. See what types of things they use for pesticides (organic food is often grown with organic pesticides), and what other farming/gardening practices they use. While it is not a guarantee, you may be able to find amazing and fresh produce, and at the same time provide support to that small local farm.
#4 Buy local produce at your grocery store
Here is Colorado, at the peak of the season, stores carry many things that are "Colorado Proud," meaning they are grown in Colorado. Not all stores label where their produce comes from, so ask your grocer which items are grown in your area, state, or in the United States. Made in the USA does not automatically make that food better, but knowledge is always power!
So there you go! Four ways to get garden-fresh produce without a garden. How about you? Where do you get your garden-fresh produce?
The Lost Art of Reheating Food without a Microwave
Microwaves, advertised to be "the greatest cooking discovery since fire," can be found in almost every American home.
And I recommend that you never use one!
There are many reasons why microwaves should be avoided (read: remove them from your house), including lost nutrition, creation of free radicals and carcinogens, and radiation leakage. These effects are well documented in studies. If you are interested in researching this more, try starting with this article and it's references. But today we are not going to debate the safety of microwaves, but bring back the lost art of reheating food without a microwave.
When I first decided to ditch my microwave I had to experiment with reheating food. Before that moment I don't think I had ever reheated food outside of a microwave. I had a lot to learn. But that was years ago, and reheating food without a microwave is second-nature to me now... I don't have to think about it.
Today I want to share with you what I've learned, so you too can practice this lost art. Choosing which reheat method to use depends on several factors, but in reality, there is more than one way to reheat a dish!
With practice you will be choosing your reheating option without thinking about it.
Basic reheating options are:
Stove-top (pan)
Stove-top (skillet)
Oven
Toaster oven
Slow cooker
The method that you choose depends on what you want to reheat, how much time you have, what options you have available, and how hot your house is already (this is a real consideration for me in the summertime because I do not have central air). Again, with time you will figure out which methods work for you. There are no wrong answers—just ones that work better than others.
Use these guidelines to get started:
Keep the heat low: high heat = greater risk of dry, burnt food
Cover the food to retain moisture
Use a steamer basket to reheat vegetables or pasta
Add a little water or fat if your food is dry
Reheat your food in animal fat (bonus: this adds to the nutrition)
For larger amounts a slow, covered reheat in the oven is efficient
Use a toaster oven or oven to make food crispy
When bringing food to a party in a slow cooker, heat before leaving
Reheat in a slow cooker using the medium or high (not warm) setting
Place glass jars of frozen soup in water and bring to a boil together
Tips for cleaning and caring for your cookware:
Soak glass and metal cookware to save on scrubbing time
If food is stuck in the pot or pan, add a couple of inches of water to it and bring to a boil; allow to boil for a few minutes then wash the dish in hot running water (be careful not to burn yourself!)
Avoid putting cold water on a hot glass or cast-iron dish
Wash pots and pans (including cast-iron) immediately using hot water
Special care for cast-iron:
Do not use soap
Dry immediately after washing (may use the stovetop)
Always renew the fat "seasoning" on the cast-iron after every rinse
I hope this has given you the courage to begin reheating your food without a microwave. It is not difficult, it is simply a habit change. You can do it!
If you're unsure of how to reheat something, ask in the comments below!

