A huge percentage of Americans have had their gallbladders removed, and almost all of us have experienced the nausea, pain, cramping or even vomiting that goes along with gallbladder stress. Surgery is becoming the treatment of choice, but is that your only option? Of course not! Gallbladder health can be achieved simply, when you know what to do!
How to Emotionally Support Your Kids
The topic of anxiety and depression in children has been highlighted in the news recently. We have all been under extra stress for the last several months, this includes our children. Our children need to be supported emotionally whether they are showing signs of stress or not. We all feel emotions and our body gives us signals that we need to listen to.
Fermented Cocktail Sauce
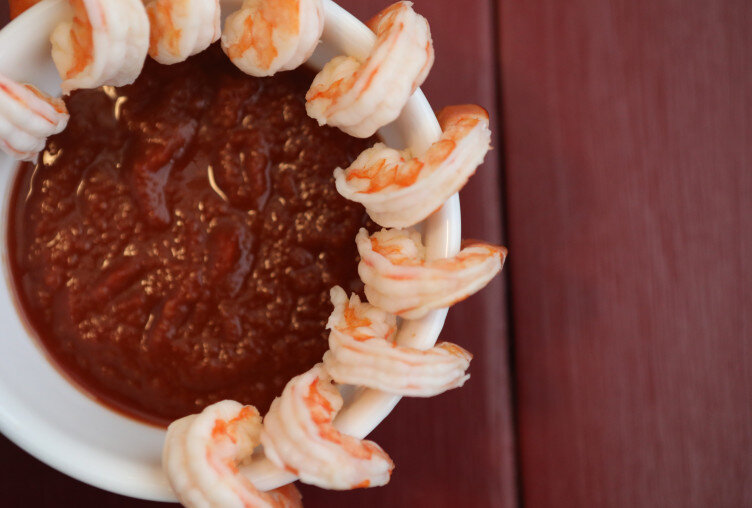
Cocktail sauce can be used on any seafood. Traditionally it is used for shrimp, but can be eaten with other shellfish such as crab, lobster or different varieties of fish. It is is a great opportunity to add a ferment to your seafood dinner. This recipe serves two, but can easily be doubled or tripled.
*When you purchase seafood, it should always be wild caught and sourced from a location that is not off the coast of China. When seafood is fresh, it tastes very mild. As it ages, it will become more and more “fishy.” Flash frozen seafood is often the best because was preserved in the freshest state possible.
Ingredients for Fermented Cocktail Sauce
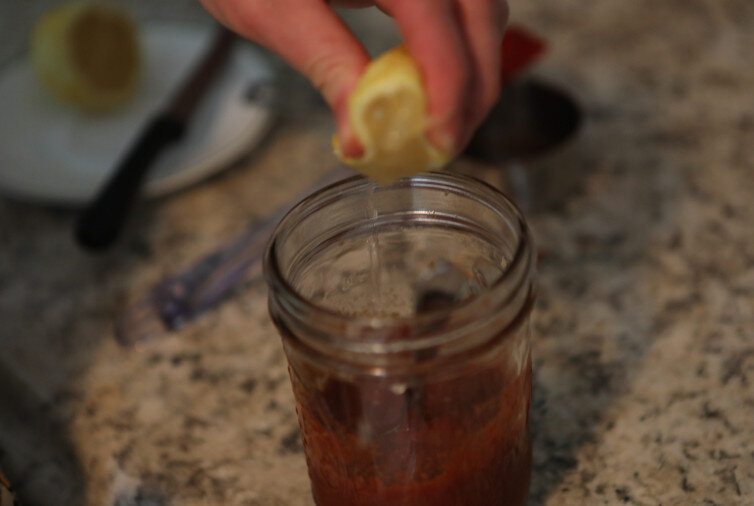
1 Tbsp. Fresh Squeezed Lemon Juice
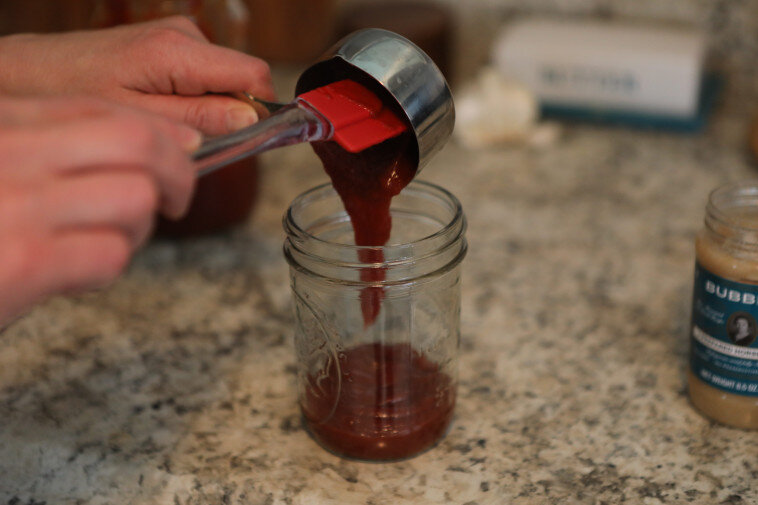
½ Cup Fermented Ketchup
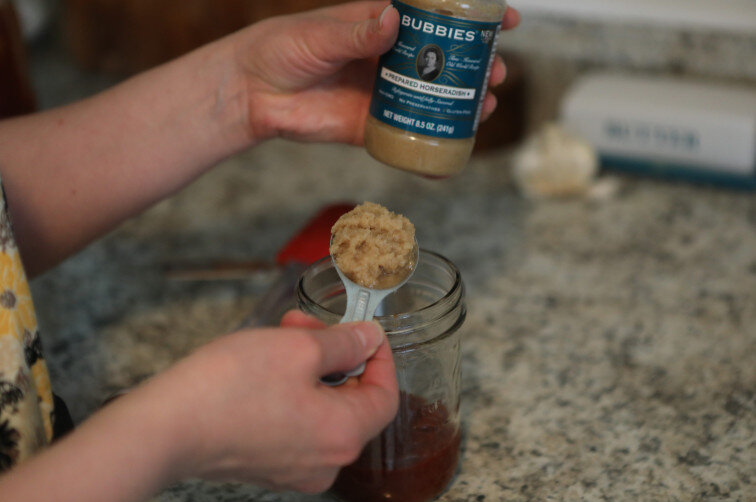
2 ½ Tbsp. Horseradish
Pinch of salt
Directions for Fermented Cocktail Sauce
Mix the fermented ketchup, horseradish, lemon juice and salt.
Defrost shrimp by running them under room temperature water.
Play with the flavors until you like the combination. If you like it to be more spicy, you may want to add extra horseradish. The fermented ketchup includes salt, so you may want to use less salt.
Once you have the ingredients already in your fridge, this recipe takes a quick three minutes to mix together. I am not sure how it stores, due to the how the lemon juice may interact with the other ingredients, but if you end up successfully keeping some in your fridge for a period of time, let us know.
I recommend making this delicious fermented cocktail sauce fresh with your meal.
Fermented Cocktail Sauce
Ingredients
- 1 Tbsp. Fresh Squeezed Lemon Juice
- ½ Cup Fermented Ketchup
- 2 ½ Tbsp. Horseradish
- Pinch of salt
Instructions
- Mix the fermented ketchup, horseradish, lemon juice and salt.
- Play with the flavors until you like the combination. If you like it to be more spicy, you may want to add extra horseradish. The fermented ketchup includes salt, so you may want to use less salt.
- I recommend making this delicious fermented cocktail sauce fresh with your meal.
Nutrition for Stress Relief
We have all been under extra stress for the last several months. Whether you have felt stressed, or if you have felt fairly even-keeled, I can almost guarantee that your body has experienced stress. Why? Because stress is not just an emotional experience, but is a word used to describe things that make the body work harder to maintain homeostasis.
15 Minute Sheet Pan Shrimp Fajitas
While not everyone’s favorite, Shrimp Fajitas are enjoyed by many. You don’t have to go to a restaurant to enjoy this delicious meal. In fact, you can make it so quickly, this is part of our 15 Minute Meal Series. The cooking process actually takes 15 minutes itself, so be sure to leave yourself a little more time. This meal can still be thrown together when you are short on time.
When you purchase seafood, it should always be wild caught and sourced from a location that is not off the coast of China. When seafood is fresh, it tastes very mild. As it ages, it will become more and more “fishy.” Flash frozen seafood is often the best because was preserved in the freshest state possible.
Ingredients for Shrimp Fajitas
1 Yellow Onion
2 Bell Peppers (preferably two different colors)
Garlic
1 lb. Shrimp (peeled & deveined)
1 Tbsp. Butter
1 tsp. Cumin
1 tsp. Coriander
1 tsp. Chili Powder
1 tsp. Red Pepper Flakes
Sourdough Tortillas
Lime Wedges and Cilantro for garnish
Directions for Sheet Pan Shrimp Fajitas
Preheat the oven to 450 degrees. Add butter to sheet pan, and melt in the oven. While waiting, slice the peppers and onions fajita-style.
Defrost the shrimp by running them under room temperature water.
Spread your sliced peppers, onions, and defrosted shrimp on the cookie sheet or cast iron skillet with melted butter. Add seasonings and place in oven.
Stir at 15 minutes, and check for doneness. If needed, cook until shrimp are turning translucent. Garnish with lime and cilantro, and serve with fermented sourdough tortillas. Enjoy!!
Sheet Pan Shrimp Fajitas
Ingredients
- 1 Yellow Onion
- 2 Bell Peppers (preferably two different colors)
- Garlic
- 1 lb. Shrimp (peeled & deveined)
- 1 Tbsp. Butter
- 1 tsp. Cumin
- 1 tsp. Coriander
- 1 tsp. Chili Powder
- 1 tsp. Red Pepper Flakes
- Sourdough Tortillas
- Lime Wedges and Cilantro for garnish
Instructions
- Preheat the oven to 450 degrees. Add butter to sheet pan, and melt in the oven. While waiting, slice the peppers and onions fajita-style.
- Defrost the shrimp by running them under room temperature water.
- Spread your sliced peppers, onions, and defrosted shrimp on the cookie sheet or cast iron skillet with melted butter. Add seasonings and place in oven.
- Stir at 15 minutes, and check for doneness. If needed, cook until shrimp are turning translucent. Garnish with lime and cilantro, and serve with fermented sourdough tortillas. Enjoy!!
Liver and Onions
Liver and onions are what most people think of when they think about eating liver. It seems that for decades this was the most popular modality of eating liver. Probably because it could be cooked up and served as a meal in contrast to things like liver pate which is a side to another main course.
If you are an older adult, liver and onions may be why you think you dislike liver. If that’s the case, we encourage you to try again. There is a good chance that the person cooking this dish overcooked the liver.
Liver and onions is traditionally made with cow’s liver. If you choose to use cow’s liver I recommend reading our blog on read our blog on “calming the flavor of beef liver”, before cooking, you do not necessarily need to use this preparation for more mild tasting livers such as chicken, and domesticated fowl.
Ingredients for Liver and Onions
2/3 Lbs Liver
1 Yellow Onion
Butter
Salt
Directions for Liver and Onions
Cut the liver into slices, making sure to cut off any membrane pieces that are some people's major objection to eating liver.
Add butter to your cast iron pan and turn the heat on low to melt the butter. While the butter is melting, slice onions and add the onions to the pan. Cook over low until your onions start to soften. The key to liver and onions is the timing. You want to add the liver when the onions only need to cook for 2-3 minutes.
Once the onions are softish, add salt to the onions. Add sliced liver to the pan and add salt to the liver as well. Turn your heat to medium-high just before adding the livers, and sauté until you have reached the desired doneness. A liver is cooked perfectly when it is still pink in the middle but not bloody.
To cover the liver flavor, you could also experiment with spices. Try adding your favorite spice and see what you think.
Liver is important for us to be eating everyday, but it can be difficult to prepare daily. Is this is the way you like liver, consider making a large batch and freezing so you can defrost and enjoy some everyday.
Do you actually love liver and onions? If so, tell us your tips and tricks!!
Liver and Onions
Ingredients
- 2/3 Lbs Liver
- 1 Yellow Onion
- Butter
- Salt
Instructions
- Cut the liver into slices, making sure to cut off any membrane pieces.
- Add butter to your cast iron pan and turn the heat on low to melt the butter.
- Cut the onion into slices, and add the onions to the pan with melted butter.
- Cook over low until your onions start to soften.
- Once the onions are softish, add salt to the onions.
- Add sliced liver to the pan and add salt to the liver as well.
- Turn your heat to medium-high just before adding the livers, and sauté until you have reached the desired doneness.
- A liver is cooked perfectly when it is still pink in the middle but not bloody.
- To cover the liver flavor, you could also experiment with spices. Try adding your favorite spice and see what you think.
What Are Persistent Primitive Reflexes?
I first heard about this idea years ago, but recently have been learning more and more on the subject, and thought I would share it with you, my wonderful readers! This area is the idea of persistent primitive reflexes. There are great people who research and teach about this fascinating piece of the health puzzle.
GAPS Legal Turkish Eggs
Eating eggs is a huge part of a healthy diet. However, it is easy to get bored with traditional egg recipes like omelets, scrambled eggs, or hard boiled eggs. This recipe is quick and simple, with an exciting blend of flavors, making it a great way to change up eating eggs.
Most consumers know greek yogurt as a thick, high protein yogurt. Greek yogurt is not just yogurt with whey strained out but is actually a unique culture used to inoculate the milk (growing bacteria on purpose to make the cultured dairy.) It is these particular probiotic strains that make the particular taste and texture of greek yogurt. You can buy these specific cultures online including from Cultures for Health.
If you don’t like Greek Yogurt, you can use any yogurt. Simply strain some of the whey out of it to make it thicker. While this recipe is traditionally made with greek yogurt, you could also make this particular recipe using any thick yogurt, creme fraiche, or sour cream.
While I prepared this with only one egg per bowl, you could easily add two or three eggs to the herbed yogurt. Feel free to play with the spices you add to find a palate and flavor profile that you like. I ate this simply with a spoon but you could also dip cut vegetables like carrots into it.
Ingredients for Turkish Eggs
3 tbsp Butter
1 cup Greek Yogurt
½ tsp Hot Smoked or Hungarian Paprika
1 tbsp High Quality Olive Oil
1 Clove Garlic, Minced
1 tsp Dried Oregano
2 eggs
Directions for Turkish Eggs
Melt butter in a small sauce pan on the stove. Add the paprika.
In a bowl, mix the greek yogurt, olive oil, garlic, and oregano.
Add filtered water to a pot. Bring to a gentle simmer.
Add eggs gently to poach them. Simmer for 2-3 minutes depending on how done you’d like the yolk to be.
Divide the yogurt mixture between two bowls. Add one egg to each bowl.
Drizzle half the butter mixture over each bowl. Top with parsley.
If you are not on GAPS, serve with a toasted piece of sourdough, topped with plenty of butter or not.
GAPS Legal Turkish Eggs
Ingredients
- 3 tbsp Butter
- 1 cup Greek Yogurt
- ½ tsp Hot Smoked or Hungarian Paprika
- 1 tbsp High Quality Olive Oil
- 1 Clove Garlic, Minced
- 1 tsp Dried Oregano
- 2 eggs
Instructions
- Melt butter in a small sauce pan on the stove. Add the paprika.
- In a bowl, mix the greek yogurt, olive oil, garlic, and oregano.
- Add filtered water to a pot. Bring to a gentle simmer.
- Add eggs gently to poach them. Simmer for 2-3 minutes depending on how done you’d like the yolk to be.
- Divide the yogurt mixture between two bowls. Add one egg to each bowl.
- Drizzle half the butter mixture over each bowl. Top with parsley.
- If you are not on GAPS, serve with a toasted piece of sourdough, topped with plenty of butter or not.
Real Food Raw Cheesecake
Cheesecake was never something I enjoyed until very recently. At first, when I was younger, I just didn’t like cheesecake. Then I was allergic to dairy for ten years. Then I started the GAPS Diet and didn’t eat sugar for years! Because of that, it never occurred to me to try to make a recipe similar to a cheesecake until my cousin, who’s very good at making cheesecake, made cheesecake with a gluten free crust and I tried some. I realized how delicious it is and how simple it is to create as a real food dessert.
As I’ve been exploring the world of desserts, I’m realizing more and more how desserts were a way to eat a lot of animal fat and traditional recipes were very nutrient dense foods. One of the main problems of desserts is the processed sugars. Sugar can be a problem if you often eat too much of it at a sitting, especially if it is not accompanied by generous amounts of animal fat. Sugar is further a problem when processed and refined because refined sugar removes the important nutrients such as magnesium, B vitamins, and other trace nutrients that assist your body in breaking down the sugar naturally. Not only does processed sugar spike our blood sugar, we don’t have the magnesium molecules needed to safely break down the sugar and utilize it in our bodies. We can correct all of that. We can go back to using high concentrations of animal fats in our desserts and use sugars that are natural and whole. In this way, most people can enjoy desserts for special occasions once a certain amount of healing has been done in their bodies.
From Nourishing Traditions by Sally Fallon, Measurements Adjusted for Round Pan
**The USDA warns against consuming raw dairy and egg products. Healthy animals have healthy raw milk and eggs. Source your food well. We’re not liable if you get sick.
Ingredients for Real Food Raw Cheesecake
1 1/2 cup dry Truly Raw Almonds (from Azure Farms) to make 2 cups Almond Flour
¼ cup Yogurt
Filtered Water
½ cup dates, if you do whole dates with pits, it’s about 6
1 - 2 tsp butter
Generous ½ cup of Raw Milk
2 Eggs
1 Tablespoon of Gelatin
14 - 16 ounces cream cheese
¼ cup Honey
½ tsp Vanilla
Salt
Directions for Real Food Raw Cheesecake
Properly prepare your nuts. If you are just fermenting your almonds or almond flour, you need to start 24 hours before. If you are wanting to soak and then sprout your almonds, you need to start 2-3 days before. They can be prepared ahead of time and will keep for weeks to months if dehydrated.
Take cream cheese out of the fridge a few hours before you are ready to prepare your cheesecake.
When your nuts are properly prepared, rinse them thoroughly with filtered water. I left the brown skins on my almonds because I wanted the contrasting color to the pale cheesecake. You can definitely remove them if you’d like. Then grind your prepared nuts as finely as you can. You can use a food processor, hand food processor, blender, or VitaMix. They do not have to be dry to grind them.
You may have a little extra almond flour at this stage. Measure your almonds to get two cups.
Blend your nuts and dates together. I used an immersion blender but anything that will really pulverize them together is sufficient.
Generously butter a 9 inch round glass baking dish. Press the date almond paste into the pie crust pan to form the crust. Set aside.
Add raw milk to a small saucepot. Separate egg yolks and whites. Add egg yolks to the pot with the raw milk. Mix together to break apart yolks.
Turn the stove onto the medium low heat. Add gelatin to the milk and egg mixture. Mix together. Heat until the gelatin is just dissolved. DO NOT COOK. Gelatin is dissolved when you are able to only hold your finger in the liquid less than 3 seconds. Quickly remove from the heat.
To a large bowl, add the softened cream cheese, honey, and vanilla. Beat with an immersion blender or mixer until smooth and combined.
Add in the slightly cooled milk mixture to the cream cheese mixture. Blend until completely smooth.
Place the mixture of cream cheese into the fridge.
In a separate bowl with the egg whites, add a pinch of salt. Beat until stiff peaks form.
Gently fold the egg white mixture into the cream cheese mixture.
Pour the mixture into the prepared pan with a crust.
Cool for several hours until hard.
Real Food Raw Cheesecake
Ingredients
- 1 1/2 cup dry Truly Raw Almonds (from Azure Farms) to make 2 cups Almond Flour
- ¼ cup Yogurt
- Filtered Water
- ½ cup dates, if you do whole dates with pits, it’s about 6
- 2 tsp butter
- Generous ½ cup of Raw Milk
- 2 Eggs
- 1 Tablespoon of Gelatin
- 16 ounces cream cheese
- ¼ cup Honey
- ½ tsp Vanilla
- Salt
Instructions
- Properly prepare your nuts. If you are just fermenting your almonds or almond flour, you need to start 24 hours before. If you are wanting to soak and then sprout your almonds, you need to start 2-3 days before. They can be prepared ahead of time and will keep for weeks to months if dehydrated.
- When your nuts are properly prepared, rinse them thoroughly with filtered water. I left the brown skins on my almonds because I wanted the contrasting color to the pale cheesecake. You can definitely remove them if you’d like. Then grind your prepared nuts as finely as you can. You can use a food processor, hand food processor, blender, or VitaMix. They do not have to be dry to grind them.
- You may have a little extra almond flour at this stage. Measure your almonds to get two cups.
- Take cream cheese out of the fridge a few hours before you are ready to prepare your cheesecake.
- Blend your nuts and dates together. I used an immersion blender but anything that will really pulverize them together is sufficient.
- Generously butter a 9 inch round glass baking dish. Press the date almond paste into the pie crust pan to form the crust. Set aside.
- Add raw milk to a small saucepot. Separate egg yolks and whites. Add egg yolks to the pot with the raw milk. Mix together to break apart yolks.
- Turn the stove onto the medium low heat. Add gelatin to the milk and egg mixture. Mix together. Heat until the gelatin is just dissolved. DO NOT COOK. Gelatin is dissolved when you are able to only hold your finger in the liquid less than 3 seconds. Quickly remove from the heat.
- To a large bowl, add the softened cream cheese, honey, and vanilla. Beat with an immersion blender or mixer until smooth and combined.
- Add in the slightly cooled milk mixture to the cream cheese mixture. Blend until completely smooth.
- Place the mixture of cream cheese into the fridge.
- In a separate bowl with the egg whites, add a pinch of salt. Beat until stiff peaks form.
- Gently fold the egg white mixture into the cream cheese mixture.
- Pour the mixture into the prepared pan with a crust.
- Cool for several hours until hard.
15 Minute Meal: Zoodles and Steak
This is my go-to meal. I eat this or something very similar to this for about 80% of my meals. All I need is a vegetable cooked in fat and meat cooked in fat!
Don’t be afraid to utilize this recipe a lot. Because it’s so simple, you can get a huge variety of meals out of it based on the herbs and spices you use and the cut of meat you use. It’s a recipe that has helped me to not feel overwhelmed cooking real food for every meal. Keep it simple and save elaborate meals for times when you have more energy or need something special.
This recipe serves 1-2 but can easily be multiplied to serve more people. Don’t forget to drink a mug of meat stock alongside for a rich and filling meal.
Ingredients for 15 Minute Zoodles and Steak
1 small zucchini per adult
3-5 tbsp of butter
1 tbsp of avocado oil
3 cloves of garlic, roughly chopped
Dried Herbs and Spices
1 tsp Salt
Directions for 15 Minute Zoodles and Steak
Wash your zucchini. Cut the ends off the zucchini.
Using a vegetable peeler, peel the zucchini down to the seeds, turning as you go. Depending on the angle you hold the vegetable peeler, you’ll get different size noodles. Do not peel the middle core with seeds. You can chop the core later or compost it. If you are the beginning stages of GAPS and sensitive to having a lot of seeds, you should dispose of the core piece.
To a cast iron pan, add 2 tbsp of butter and 1 tbsp of avocado oil. Add the zucchini noodles and use your hands to quickly toss them in the butter and oil before they get too hot.
Sautee the zoodles. This means stir them and then let them sit - don’t continually stir!
After the noodles have cooked for 2-3 minutes, add a few pinches of salt. Adding the salt too early will cause the zucchini to sweat too much and get too wet. As it cooks, add more salt to taste.
After a few more minutes, add your herbs and spices. On early stages of GAPS, you would do fresh herbs. Later stages, you can use dried herbs. I usually do oregano, thyme, sage, garlic, and onion.
After your vegetables are semi-soft, heat a second cast iron pan on the stove. Add 1-2 more tbsp of butter to the new pan and turn to medium heat.
Add in your steaks. Season with your desired spices. Currently, I’ve been enjoying salt and paprika.
Cook your steaks to your desired doneness. I usually turn them over a couple times to ensure the spices are distributed evenly and that the steaks are cooking evenly. If you have a very thick steak, you might want to stand it up for a minute or so on each side to evenly cook the edges as well.
Add your zoodles to your plate and top with the steaks. Remember to pour over the extra butter, fat, and spices that have collected in the pan.
15 Minute Meal: Zoodles and Steak
Ingredients
- 1 small zucchini per adult
- 5 tbsp of butter
- 1 tbsp of avocado oil
- 3 cloves of garlic, roughly chopped
- Dried Herbs and Spices
- 1 tsp Salt
Instructions
- Wash your zucchini. Cut the ends off the zucchini.
- Using a vegetable peeler, peel the zucchini down to the seeds, turning as you go. Depending on the angle you hold the vegetable peeler, you’ll get different size noodles. Do not peel the middle core with seeds. You can chop the core later or compost it. If you are the beginning stages of GAPS and sensitive to having a lot of seeds, you should dispose of the core piece.
- To a cast iron pan, add 2 tbsp of butter and 1 tbsp of avocado oil. Add the zucchini noodles and use your hands to quickly toss them in the butter and oil before they get too hot.
- Sautee the zoodles. This means stir them and then let them sit - don’t continually stir!
- After the noodles have cooked for 2-3 minutes, add a few pinches of salt. Adding the salt too early will cause the zucchini to sweat too much and get too wet. As it cooks, add more salt to taste.
- After a few more minutes, add your herbs and spices. On early stages of GAPS, you would do fresh herbs. Later stages, you can use dried herbs. I usually do oregano, thyme, sage, garlic, and onion.
- After your vegetables are semi-soft, heat a second cast iron pan on the stove. Add 1-2 more tbsp of butter to the new pan and turn to medium heat.
- Add in your steaks. Season with your desired spices. Currently, I’ve been enjoying salt and paprika.
- Cook your steaks to your desired doneness. I usually turn them over a couple times to ensure the spices are distributed evenly and that the steaks are cooking evenly. If you have a very thick steak, you might want to stand it up for a minute or so on each side to evenly cook the edges as well.
- Add your zoodles to your plate and top with the steaks. Remember to pour over the extra butter, fat, and spices that have collected in the pan.
Gluten Free Noodle Alternatives
Years ago, it was quite unheard of to have a noodle alternative. But recently, allergies to gluten have allowed many traditional flour noodle alternatives to appear.
Large flat noodles can be replaced by cabbage, zucchini or yellow squash slices, or eggplant. Rice can be replaced by cauliflower. Long, skinny noodles can be replaced by zucchini or yellow squash zoodles or spaghetti squash.
Below you’ll find recipes to make two of my go-to noodle alternatives. If I want the convenience of something out of a box or a more traditional noodle for things like pasta salad, then I look for a minimally processed, minimal ingredient alternative noodle such as lentils, rice flour, seaweed, etc.
How to Make Zucchini Noodles
You can use a zoodler to make noodles out of your zucchini. I use a simple vegetable peeler! You will need one small zucchini per adult.
Wash your zucchini. Cut the ends off the zucchini.
Using a vegetable peeler, peel the zucchini down to the seeds, turning as you go. Depending on the angle you hold the vegetable peeler, you’ll get different size noodles. Do not peel the middle core with seeds. You can chop the core later or compost it. If you are the beginning stages of GAPS and sensitive to having a lot of seeds, you should dispose of the core piece.
To a cast iron pan, add 2 tbsp of butter and 1 tbsp of avocado oil. Add the zucchini noodles and use your hands to quickly toss them in the butter and oil before they get too hot.
Sautee the zoodles. This means stir them and then let them sit - don’t continually stir!
After the noodles have cooked for 2-3 minutes, add a few pinches of salt. Adding the salt too early will cause the zucchini to sweat too much and get too wet. As it cooks, add more salt to taste.
After a few more minutes, add your herbs and spices. On early stages of GAPS, you would do fresh herbs. Later stages, you can use dried herbs. I usually do oregano, thyme, sage, garlic, and onion.
Then - enjoy!
How to Make Spaghetti Squash
Preheat oven to 400.
Slice spaghetti squash in half lengthwise.
Remove seeds and strings in center. You can compost the seeds but you might get lots of volunteer spaghetti squash seedlings. (Which is not necessarily a bad thing.)
Roast in the oven for 35 minutes to an hour. It depends on the size of your squash. I like my squash to be very soft and well cooked. This is also important for the GAPS Diet to have well cooked vegetables.
Check your squash after 35 minutes to see if they are softened and squishy. They should not be mush, but should feel much softer.
When they are soft, remove them from the oven. If you need your squash to cool faster, you can flip them over. I prefer to keep them with the middle side down so they continue while they cool.
Check your spaghetti squash with a fork to see if it is done. If not, cook for a while longer.
Once the spaghetti squash is cooked, remove the insides of the squash by scraping a fork along the insides.
Feeding Your Baby
How do you start feeding your baby so that you can give them the gift of health? When I had my first baby I was terrified that she would have a peanut allergy. It seemed like one of those things that just happened, like drawing the short end of the stick. I had no idea that what I allowed into my baby’s body would help determine whether or not she developed allergies, sensitivities and other health issues.
Game Meat Stuffed Bell Peppers
This recipe falls into that category of simple but rich in flavor and possibilities. It’s really up to you to make this dish something that you and your family will enjoy! My favorite part of these growing up was the minced peppers inside the peppers so don’t skip this part!
Anytime you eat game meat, you need to pay good attention to adding extra animal fat. I ground my elk burger with lamb fat to make it pretty fatty. This is a good start but I’m also going to add lots of other fat to the vegetable mixture as I cook it.
This is a great recipe to use up vegetables that are in your fridge. Some good staples are onion, garlic, celery, carrots, zucchini, etc. If you do zucchini, cauliflower, or eggplant, remember they are very moist vegetables and you should drain those vegetables after frying to help mitigate the moisture level.
It’s also a great recipe to get organ meats into your diet. I added liver to this one but you can add others if you’d like. I used beef liver because I like saving my chicken livers for recipes that need more mild flavors.
Ingredients for Game Meat Stuffed Bell Peppers
2 lbs Ground Elk Burger
7 -9 Red, Yellow, or Orange Peppers
4 tbsp butter
1 Whole Onion
2 Carrots
6-8 Cloves Garlic
3-4 Sprigs of Thyme
2 Sprigs Oregano
1 sprig Rosemary
2+ tsp Salt
Freshly Ground Pepper
1/2 lb Beef Liver
Directions for Game Meat Stuffed Bell Peppers
Finely mince your vegetables that are not peppers. Feel free to use your food processor if you want to, particularly if you have children that can spot vegetables they are under the illusion of not liking! You want approximately a 1:1 ratio of carrots to onions.
Preheat oven to 350.
Add butter to a cast iron pan and turn to medium heat. Add carrots and onions (or other hard vegetables) to the pan.
Cut the tops off your peppers, leaving a nice boat to be later filled by your meat and vegetables, and then finely mince the tops. Stand the peppers upright in a glass baking dish.
Let vegetables cook, adding additional vegetables based on how long they will take to cook. Add salt when you add each vegetable and add additional butter if your vegetables soak it in. After about 10 minutes, add in the minced peppers.
After an additional 5 minutes, add in minced garlic, and stir to cook.
When vegetables are soft, remove from heat.
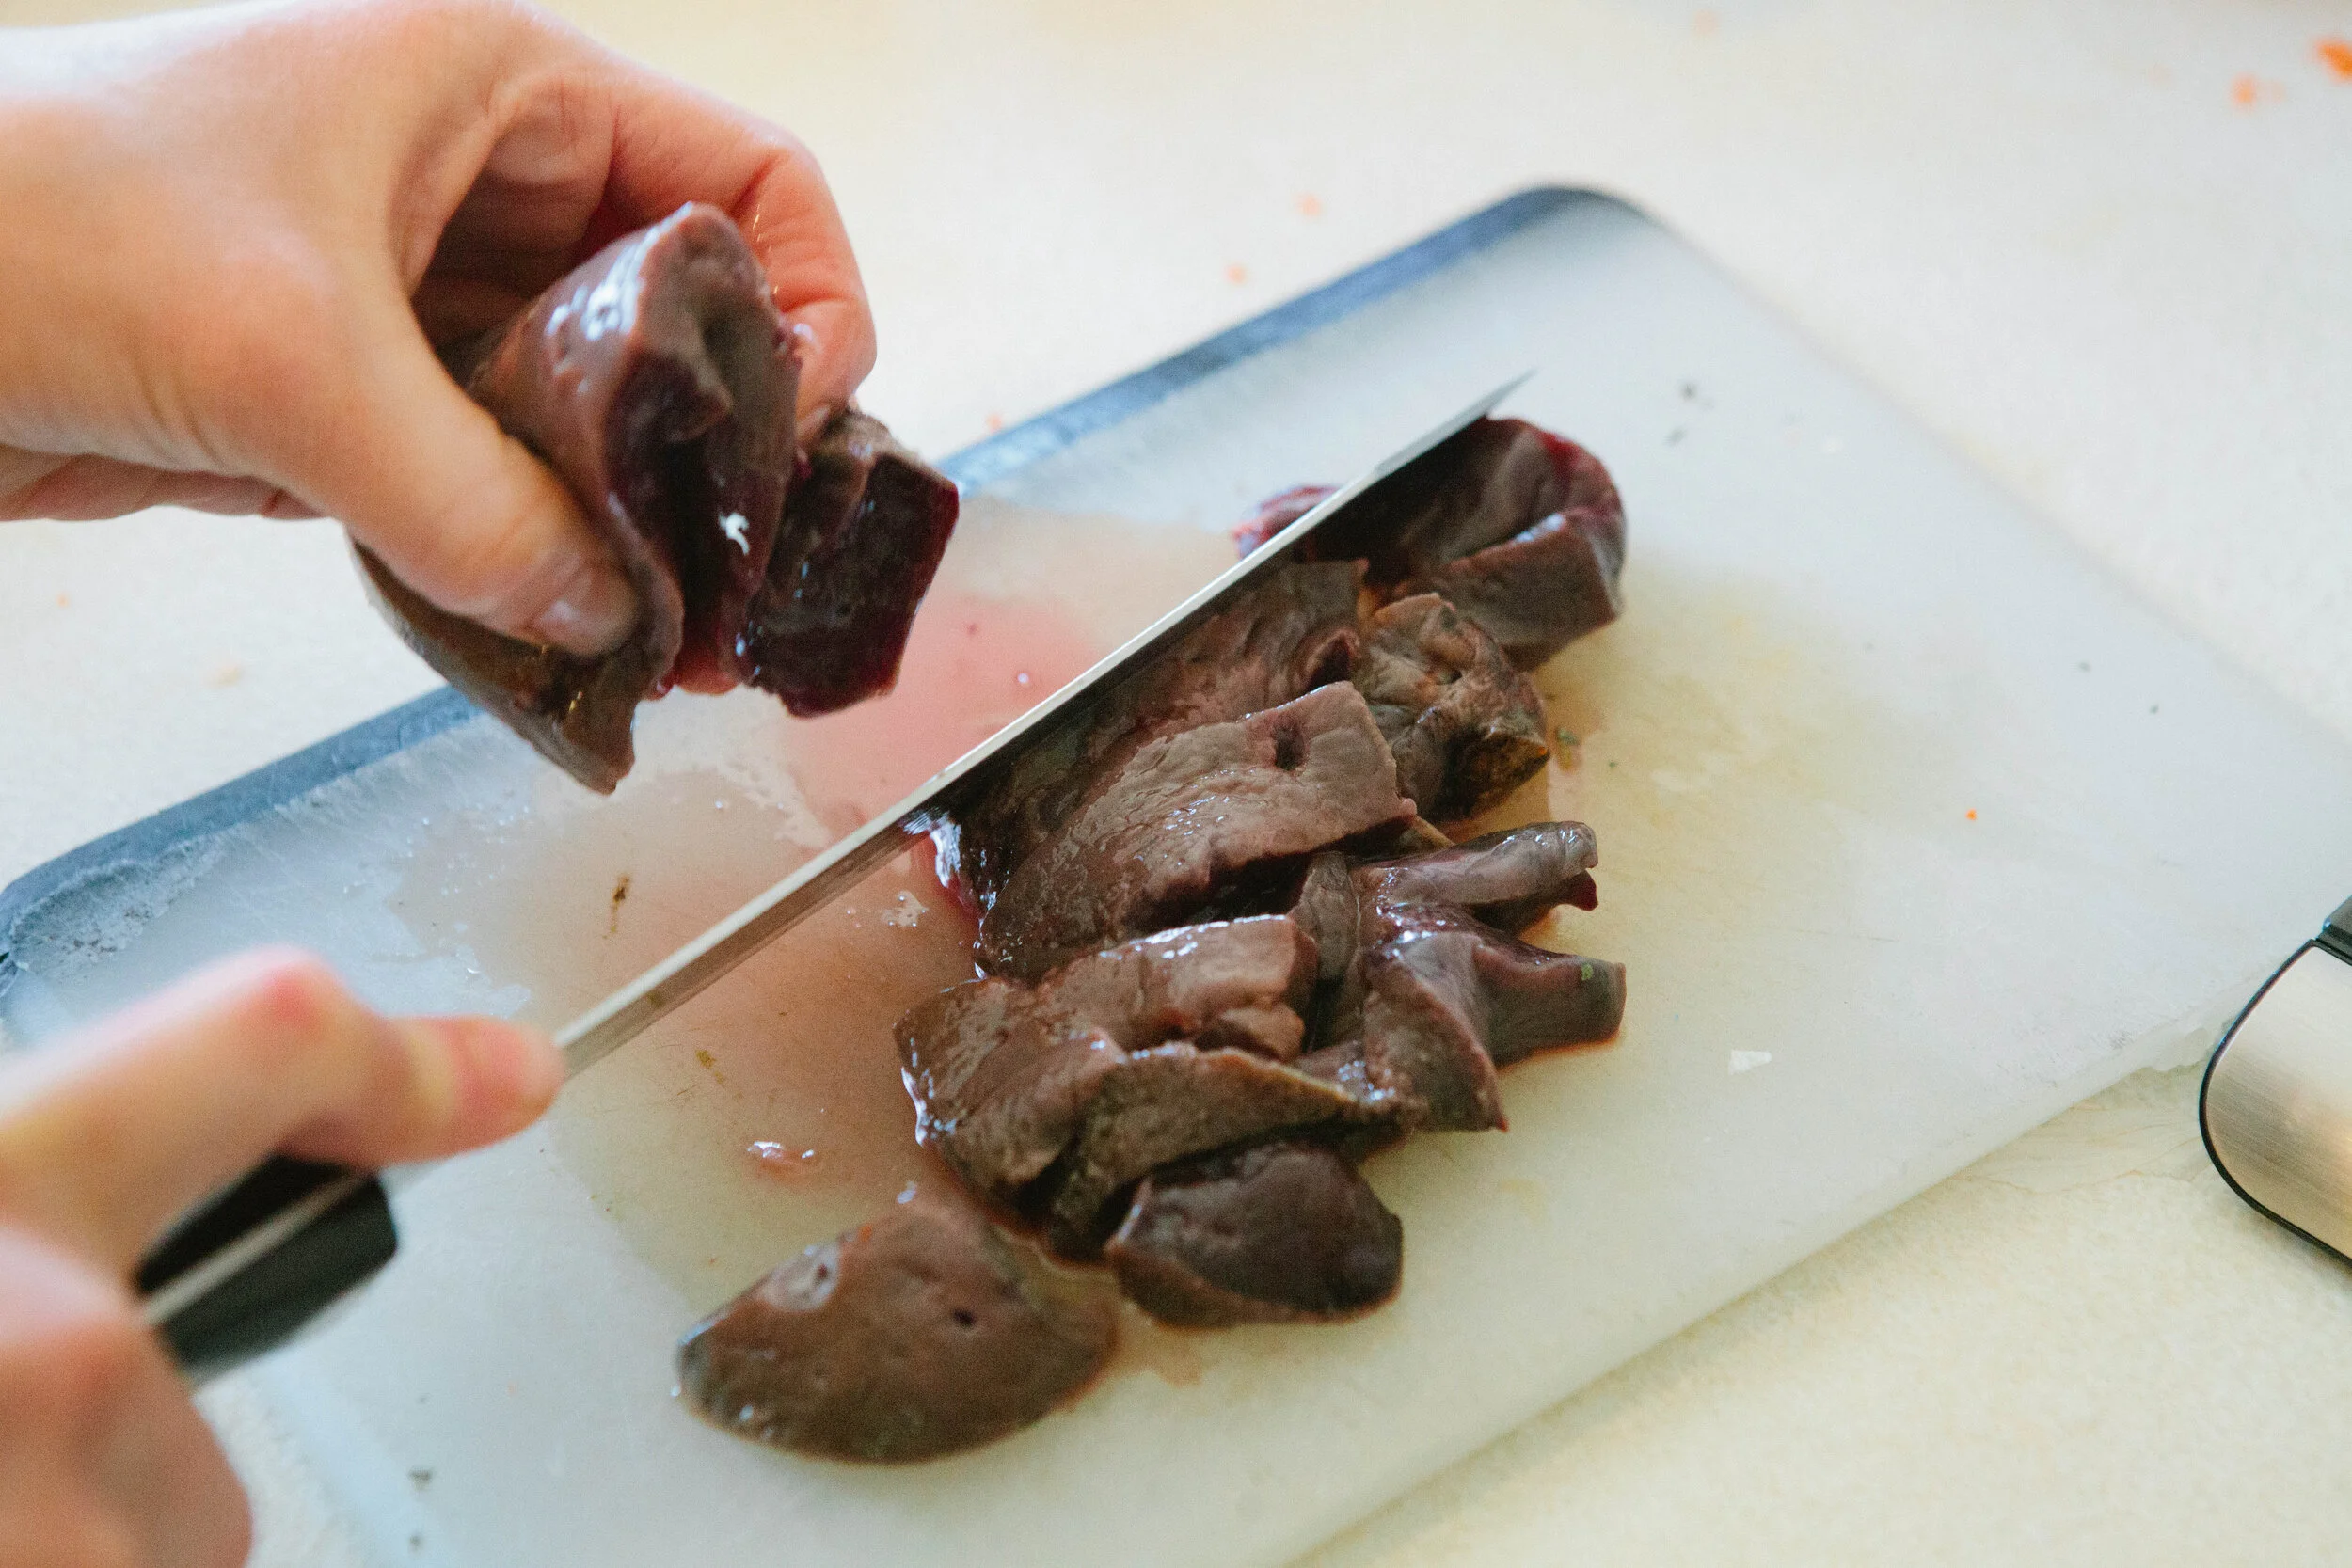
Finely chop or blend liver. The finer you chop it the less likely it will be noticed.
Add the liver to the ground meat and mix with your hands.
Add in the slightly cooled but still warm cooked vegetables. Mix the meat and vegetables well.
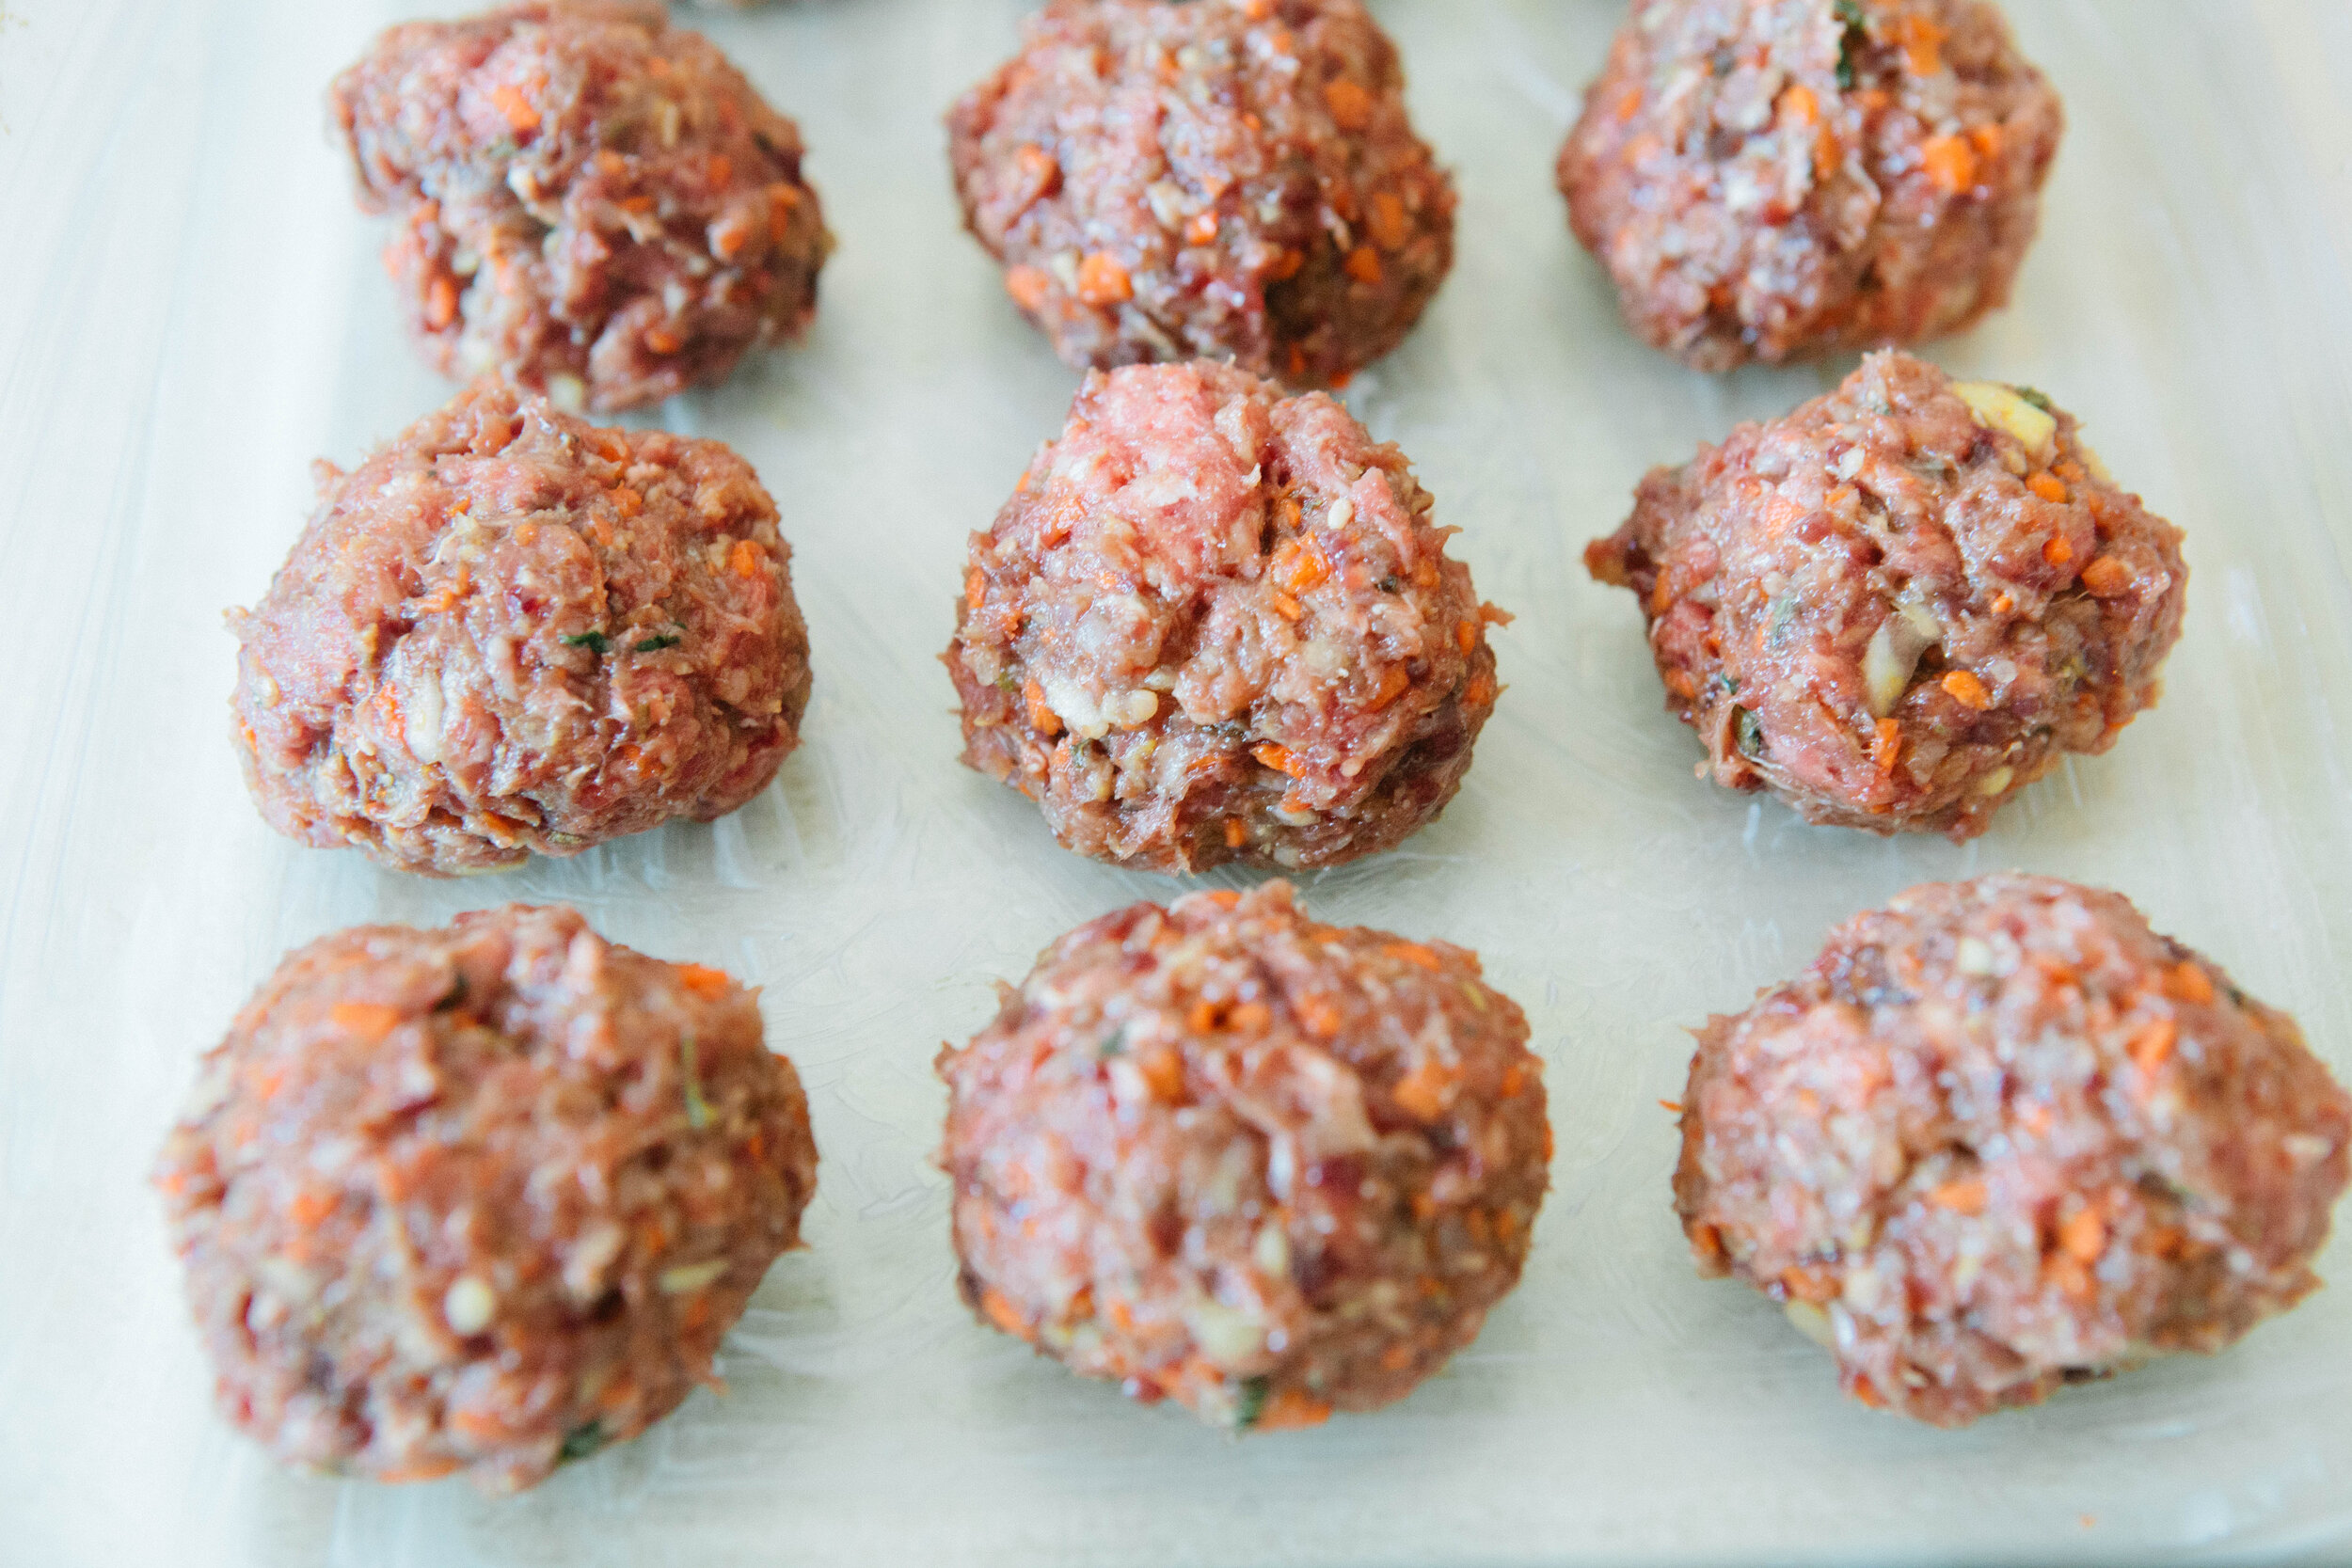
Using a spoon or your hands, pack the meat and vegetable mixture tightly into the peppers. You can pack them pretty tight and full because the mixture will shrink as they cook.
Add the peppers to the oven. Bake for 45 minutes until meat is the correct temperature.
Game Meat Stuffed Bell Peppers
Ingredients
- 2 lbs Ground Elk Burger
- 9 Red, Yellow, or Orange Peppers
- 4 tbsp butter
- 1 Whole Onion
- 2 Carrots
- 8 Cloves Garlic
- 4 Sprigs of Thyme
- 2 Sprigs Oregano
- 1 sprig Rosemary
- 2+ tsp Salt
- Freshly Ground Pepper
- 1/2 lb Beef Liver
Instructions
- Finely mince your vegetables that are not peppers. Feel free to use your food processor if you want to, particularly if you have children that can spot vegetables they are under the illusion of not liking! You want approximately a 1:1 ratio of carrots to onions.
- Preheat oven to 350.
- Add butter to a cast iron pan and turn to medium heat. Add carrots and onions (or other hard vegetables) to the pan.
- Cut the tops off your peppers, leaving a nice boat to be later filled by your meat and vegetables, and then finely mince the tops. Stand the peppers upright in a glass baking dish.
- Let vegetables cook, adding additional vegetables based on how long they will take to cook. Add salt when you add each vegetable and add additional butter if your vegetables soak it in. After about 10 minutes, add in the minced peppers.
- After an additional 5 minutes, add in minced garlic, and stir to cook.
- When vegetables are soft, remove from heat.
- Finely chop or blend liver. The finer you chop it the less likely it will be noticed.
- Add the liver to the ground meat and mix with your hands.
- Add in the slightly cooled but still warm cooked vegetables. Mix the meat and vegetables well.
- Using a spoon or your hands, pack the meat and vegetable mixture tightly into the peppers. You can pack them pretty tight and full because the mixture will shrink as they cook.
- Add the peppers to the oven. Bake for 45 minutes until meat is the correct temperature.
How to Decrystallize Honey
Honey is very important and a very nutrient dense food. However it is fragile and should be treated with respect. In ayurvedic tradition, honey is sacred and shouldn’t be heated. Heating honey turns the honey toxic and the bees in the hive work extremely hard to make sure their honey does not reach 104. On a hot summer day, much energy is spent by the bees to cool the honey so it does not become toxic. Toxic honey is discarded by the bees.
Crystalized honey works well for some things but can be messy and difficult to work with for other things! If the raw honey you buy is crystallized, you can decrystallize it very simply, taking care not to overheat the honey.
There are a couple main rules to decrystallizing honey. Number one - never let it get above 104. Number two - make sure you decrystallize your honey completely. Otherwise it will recrystallize much quicker.
What you will need for this recipe: crystallized and raw honey, a thermometer to make sure your temperature is not getting too high. If your thermometer is touching the bottom of the pan, it may read incorrectly. Take care to check where your thermometer is.
You want to get your honey from a local farmer. One because they’re the best. Two local honey can help with allergies. When you buy your honey, ask the following questions to see how aligned your beekeeper is with your priorities of healthy honey: where are your bees located? This will give you an idea how close they are to pesticide areas and will give you an idea if your beekeeper is trying to avoid pesticide areas. How do you process your honey? Asking questions like is it cold pressed or raw can sometimes get a yes answer, even if the process is different from what you mean. The process they describe should include harvesting their honey, putting it in a cold spinner, and spinning the honey while filtering out pieces of beeswax and bee parts with a mesh filter. The honey then goes into buckets and is divided into the containers that you purchase. No heat, no processing, and only the basic filtering. Most people who do this process will do only small batches, which is ideal.
As you may have noticed, nearly all the sweets recipes on our blog do not use honey that is heated as the sweetener. It’s better to use dates or other fruits, or maple syrup if you are tolerating it for cooked recipes. Honey is best enjoyed cold and raw.
15 Minute Beef and Broccoli Stir Fry
This was a recipe my mom made a lot and I love the combination of beef and broccoli together.
Soy sauce is often added to beef and broccoli because it’s an asian dish. Soy is not the superfood it’s touted to be! When long fermented, soy adds a great flavor to your food. BUT if it is not properly prepared, it can have significant detrimental effects to your health, mostly related to estrogen dominance symptoms in both men and women. These symptoms include things like moodiness, weight gain, breast development in men, heavy periods in women, and water retention. Luckily, commercially available long fermented soy sauce is now available at many grocery stores! Be sure the soy sauce you buy is long fermented.
You can serve this on it’s own or add on top of properly prepared wild rice.
Serves 3-4
Ingredients for Beef and Broccoli Stir Fry
3-4 stalks of Broccoli (approximately 3-4 cups of cut broccoli)
1 lb Beef: Any cut will work, you want a cut that’s more tender. Loin roast cut was what I had on hand.
3 tbsp Tallow or Lard
1 tbsp Soy Sauce
Salt
Directions for Beef and Broccoli Stir Fry
Rinse broccoli. Trim off the stalks and any fibrous pieces, since these will not cook completely in 15 minutes. Cut broccoli into similarly sized pieces for even cooking.
Slice beef against the grain into long pieces. Don’t skimp on the cut! A tough cut of beef will make this a less enjoyable dish.
Melt tallow or lard in a pan. Heat to high and add broccoli pieces quickly.
Reduce heat to medium and stir broccoli. Cover with a lid for additional steaming. Allow broccoli to cook for about 8 minutes until soft.
Add sliced beef to the pan. Sprinkle additional soy sauce over the beef. Cover again.
Stir every 2 minutes to ensure even cooking.
When beef is just cooked, remove from heat and allow to rest slightly. Salt to taste so you don’t add too much soy sauce. I added about six shakes of salt to the entire dish.
Serve on it’s own, or on top of properly prepared wild rice. Serve alongside soy sauce on the table.
Liver Jalapeno Poppers
Recently I put up a recipe about bacon wrapped liver pieces, a suggestion from a patient of mine. They turned out amazing! As I was eating them, I thought “a little cream cheese would be nice with these '' which then led me to thinking of jalapeno poppers.
Thus began the quest to find the perfect ratio of liver in a jalapeno popper that would go unnoticed by the general public. My idea was to put a small sliver of liver inside each jalapeno, filling them with cream cheese and wrapping them in bacon.
Store bought cream cheese is not technically GAPS Legal. If you are following the GAPS Protocol, you could instead substitute a yogurt cheese, which is made by dripping the whey from the yogurt.
For the bacon, you have multiple options. You can cure your own bacon (see directions here) or if tolerating, you can purchase a commercially available bacon following these guidelines. It’s best if the pigs were not fed antibiotics or hormones and uncured bacon, depending on the ingredients, can also be considered Full GAPS Legal. Curing agents include high nitrates which can be irritating to your body and detrimental to your healing journey. Also to legally be called a curing brine, it must contain a certain ratio of salt and sugar thus any bacon that is labeled cured will contain some amount of sugar, which is not GAPS Legal. Uncured bacon may avoid these issues but be sure to read your labels.
If possible, wear gloves when you are cutting your jalapenos. If you don’t have gloves, coat your hands in fat to avoid having the oils seep into your skin. If you have burning on your skin from the jalapenos, fill a cup with 50% apple cider vinegar and 50% filtered water to dilute it. Place your fingers in the cup for 5 to 10 minutes until the sting goes away.
While you may not be able to pass these off at a party, hopefully this is a treat your real food eating family can enjoy.
Ingredients for Liver Jalapeno Poppers:
10 Jalapenos
12 oz. Bacon
3 Chicken Livers (this is the mildest liver, you can use other liver if you have it)
6 - 8 oz Cream Cheese or Yogurt Cheese
Directions for Liver Jalapeno Poppers:
Put on your gloves OR coat your hands in oil. If at any point you start to feel heat, add more oil!
Rinse your jalapenos in filtered water. Slice in half longways and remove the pith and seeds. Optionally, rinse the jalapenos again in filtered water to remove any leftover seeds. Dry with a paper towel.
Preheat your oven to 400 degrees.
Cut the bacon in half. Put the cream cheese on another plate so you don’t cross contaminate any remaining cream cheese from your package with blood from the livers. Allow the cream cheese to warm slightly so it is pliable but not soft.
Rinse the livers in filtered water. Cut into long slices.
Assemble the poppers by placing a piece of bacon on a cutting board or plate. Add one half of the jalapeno on top. Place long strips of liver inside the jalapeno. Take a chunk of cream cheese and squish it to make a log. Place on top of the liver pieces. Wrap the bacon around the livers.
Place in a glass baking dish. No other fat is needed. If you have extra livers and bacon when you are done assembling your jalapenos, I suggest making bacon wrapped livers.
Bake at 400 degrees for 30-40 minutes until bacon is crispy.
Enjoy!
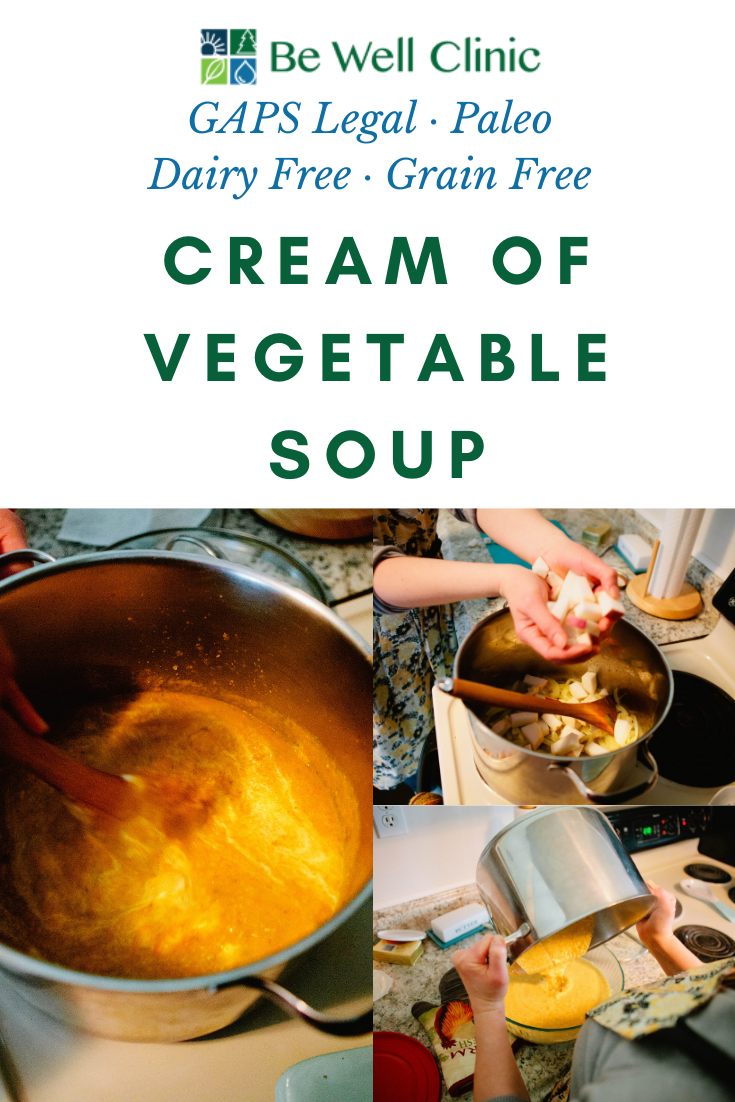
Cream of Vegetable Soup
I have two purposes for posting this cream of vegetable soup. Number one if you have recipes that call for cream of vegetable soup, you no longer have to use a canned cream of vegetable soup (similar to this cream of mushroom soup) Number two at different times in our healing journey, our body would like more vegetables so this is a way to get a rich and thick soup that contains meat’s amino acids without having to digest meat pieces.
The goal of this soup is rich flavor. Be liberal in your vegetables and herbal seasonings. You can use other vegetables if you have them!
Ingredients for Homemade Cream of Vegetable Soup:
¼ cup of Butter
1 Medium White Onion
Garlic
3-4 Carrots
1 Large Turnip or Zucchini
2 Stalks of Celery
1 tsp Salt
1 Handful, about 20 sprigs, Parsley
8 Peppercorns
4 cups Stock (whatever you have on hand. I had beef but you can use chicken or vegetable although you won’t get the healing properties of animal amino acids)
16 oz. Sour Cream
Directions for Cream of Vegetable Soup:
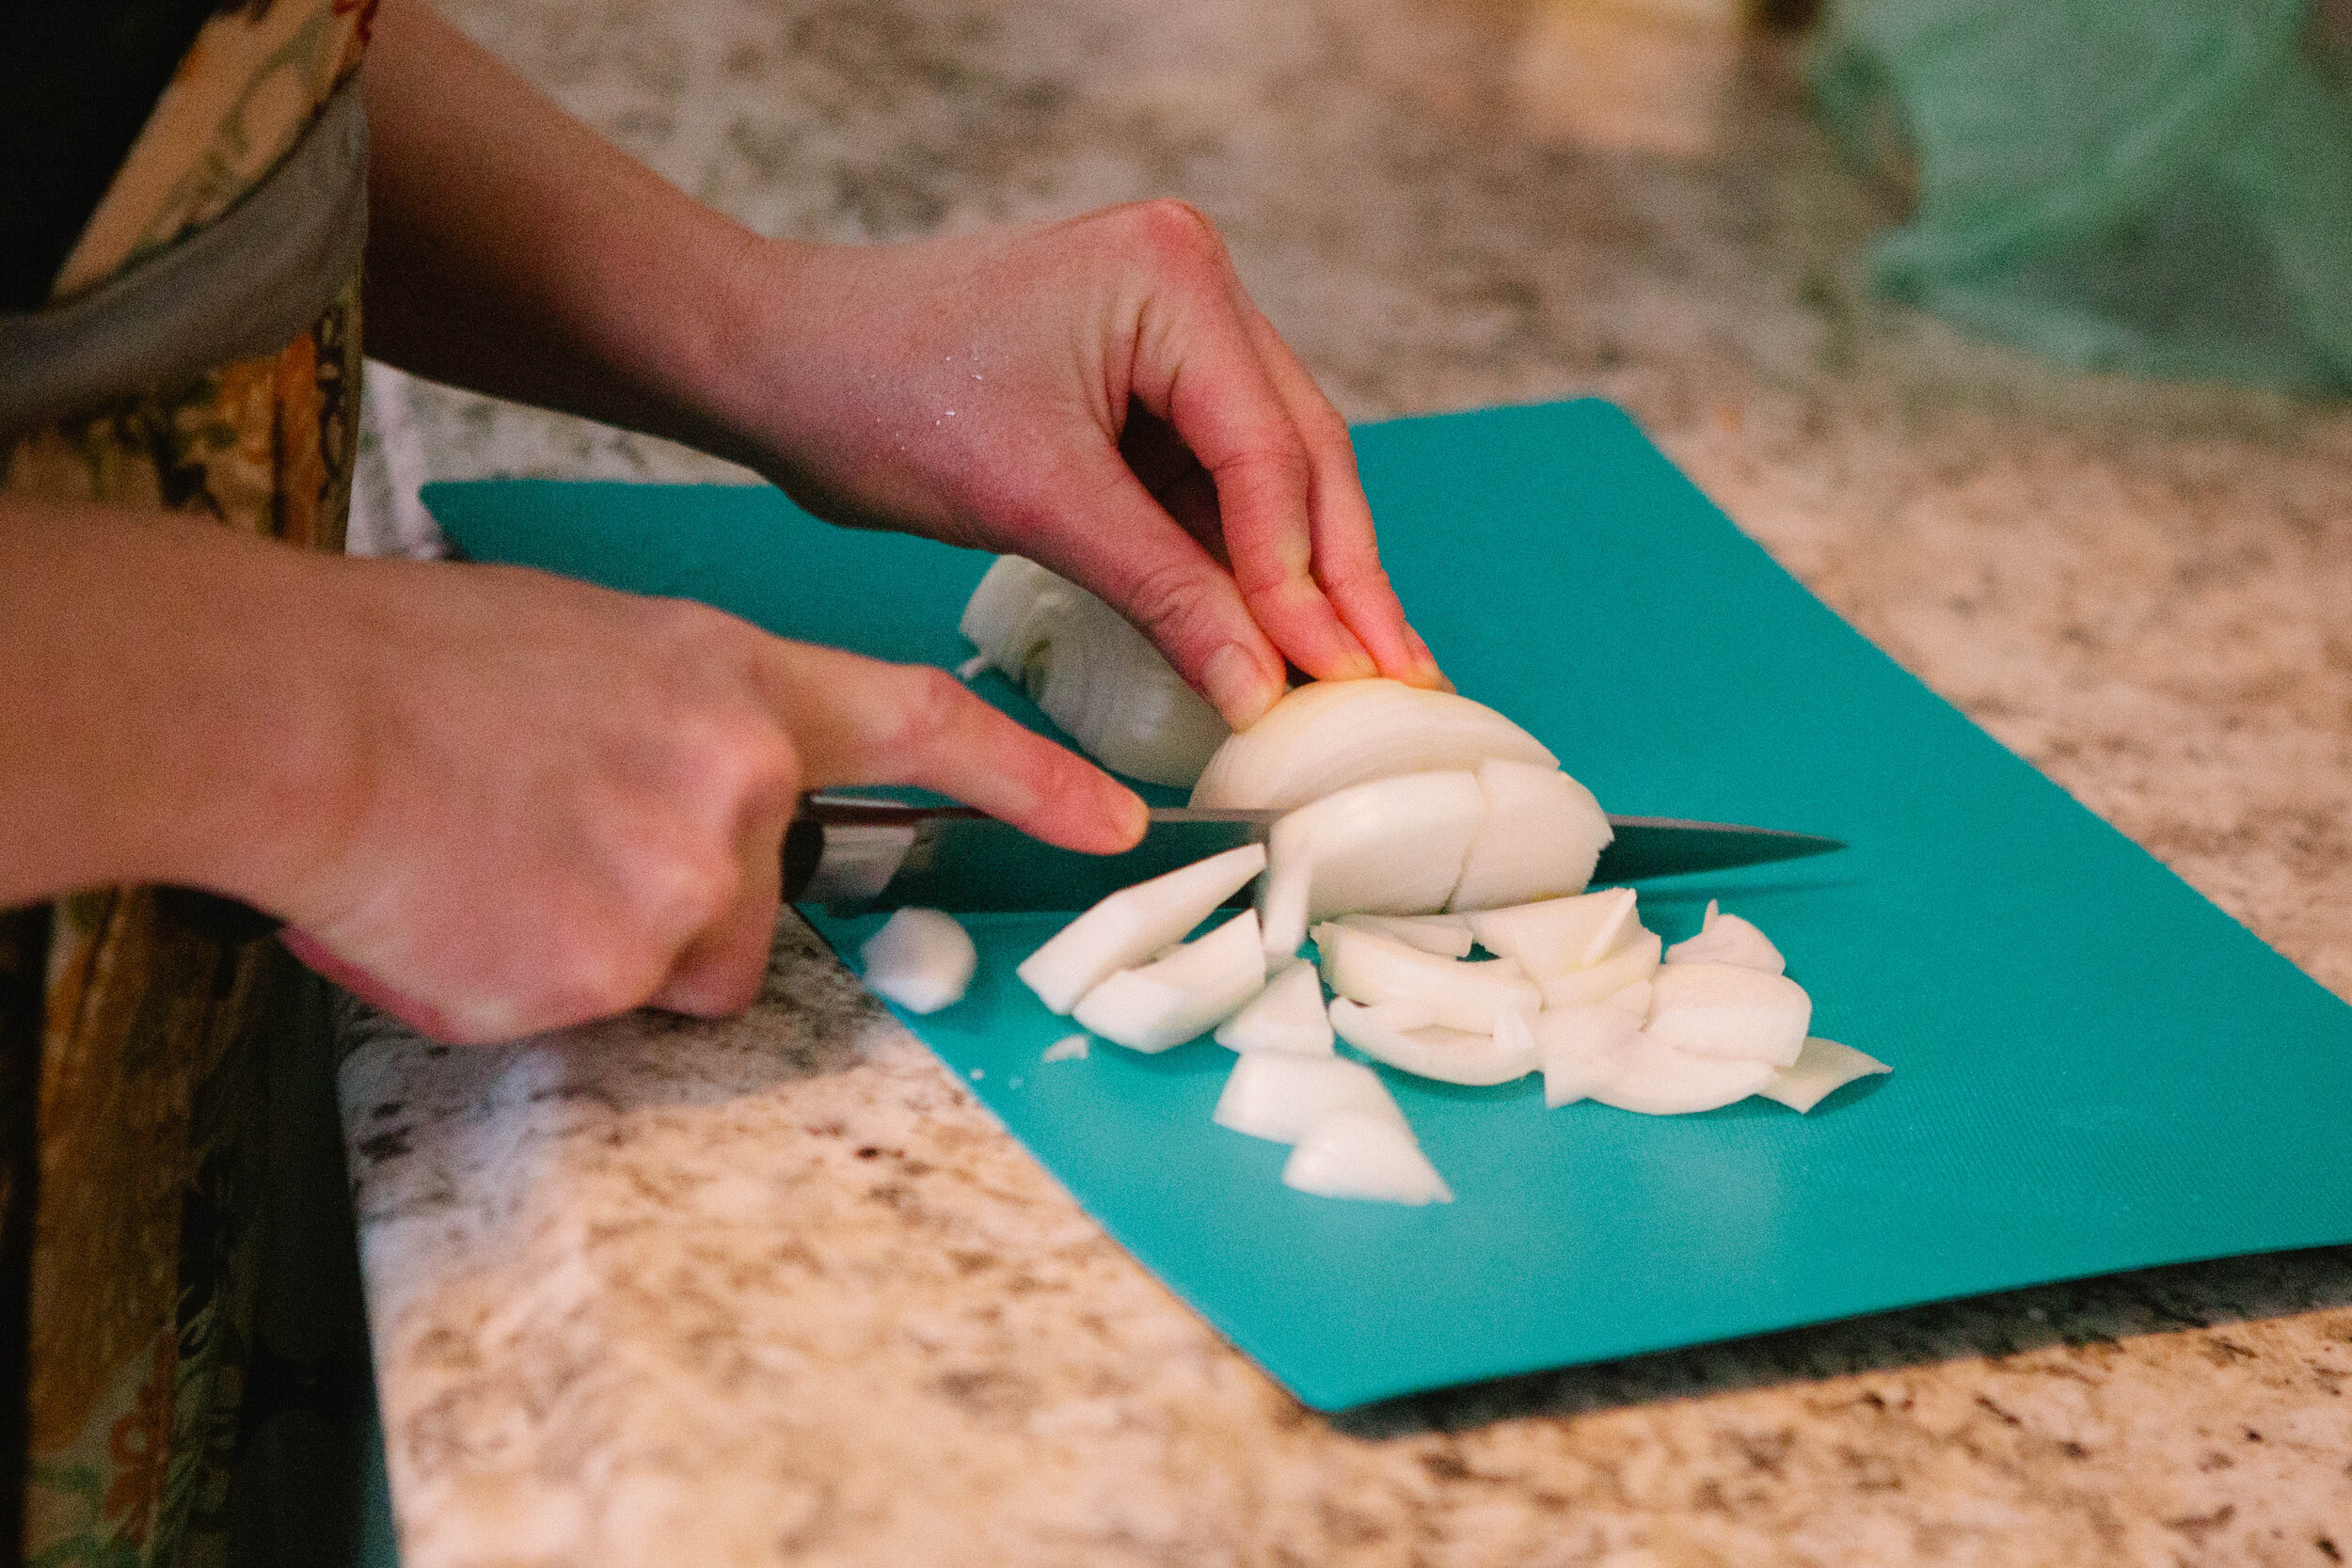
In a large stock pot, melt butter. Cut the onion in half and slice it. Add to the melted butter.
Cube the turnip, and slice the carrots and celery. Add to the stock pot. Roughly chop the parsley, and add to the pot with the salt and peppercorns. Mix.
Add in the stock and allow to simmer on low for about 40 - 60 minutes, until the vegetables are soft.
Immersion blend your soup or place it in a blender until it is completely smooth and free of chunks.
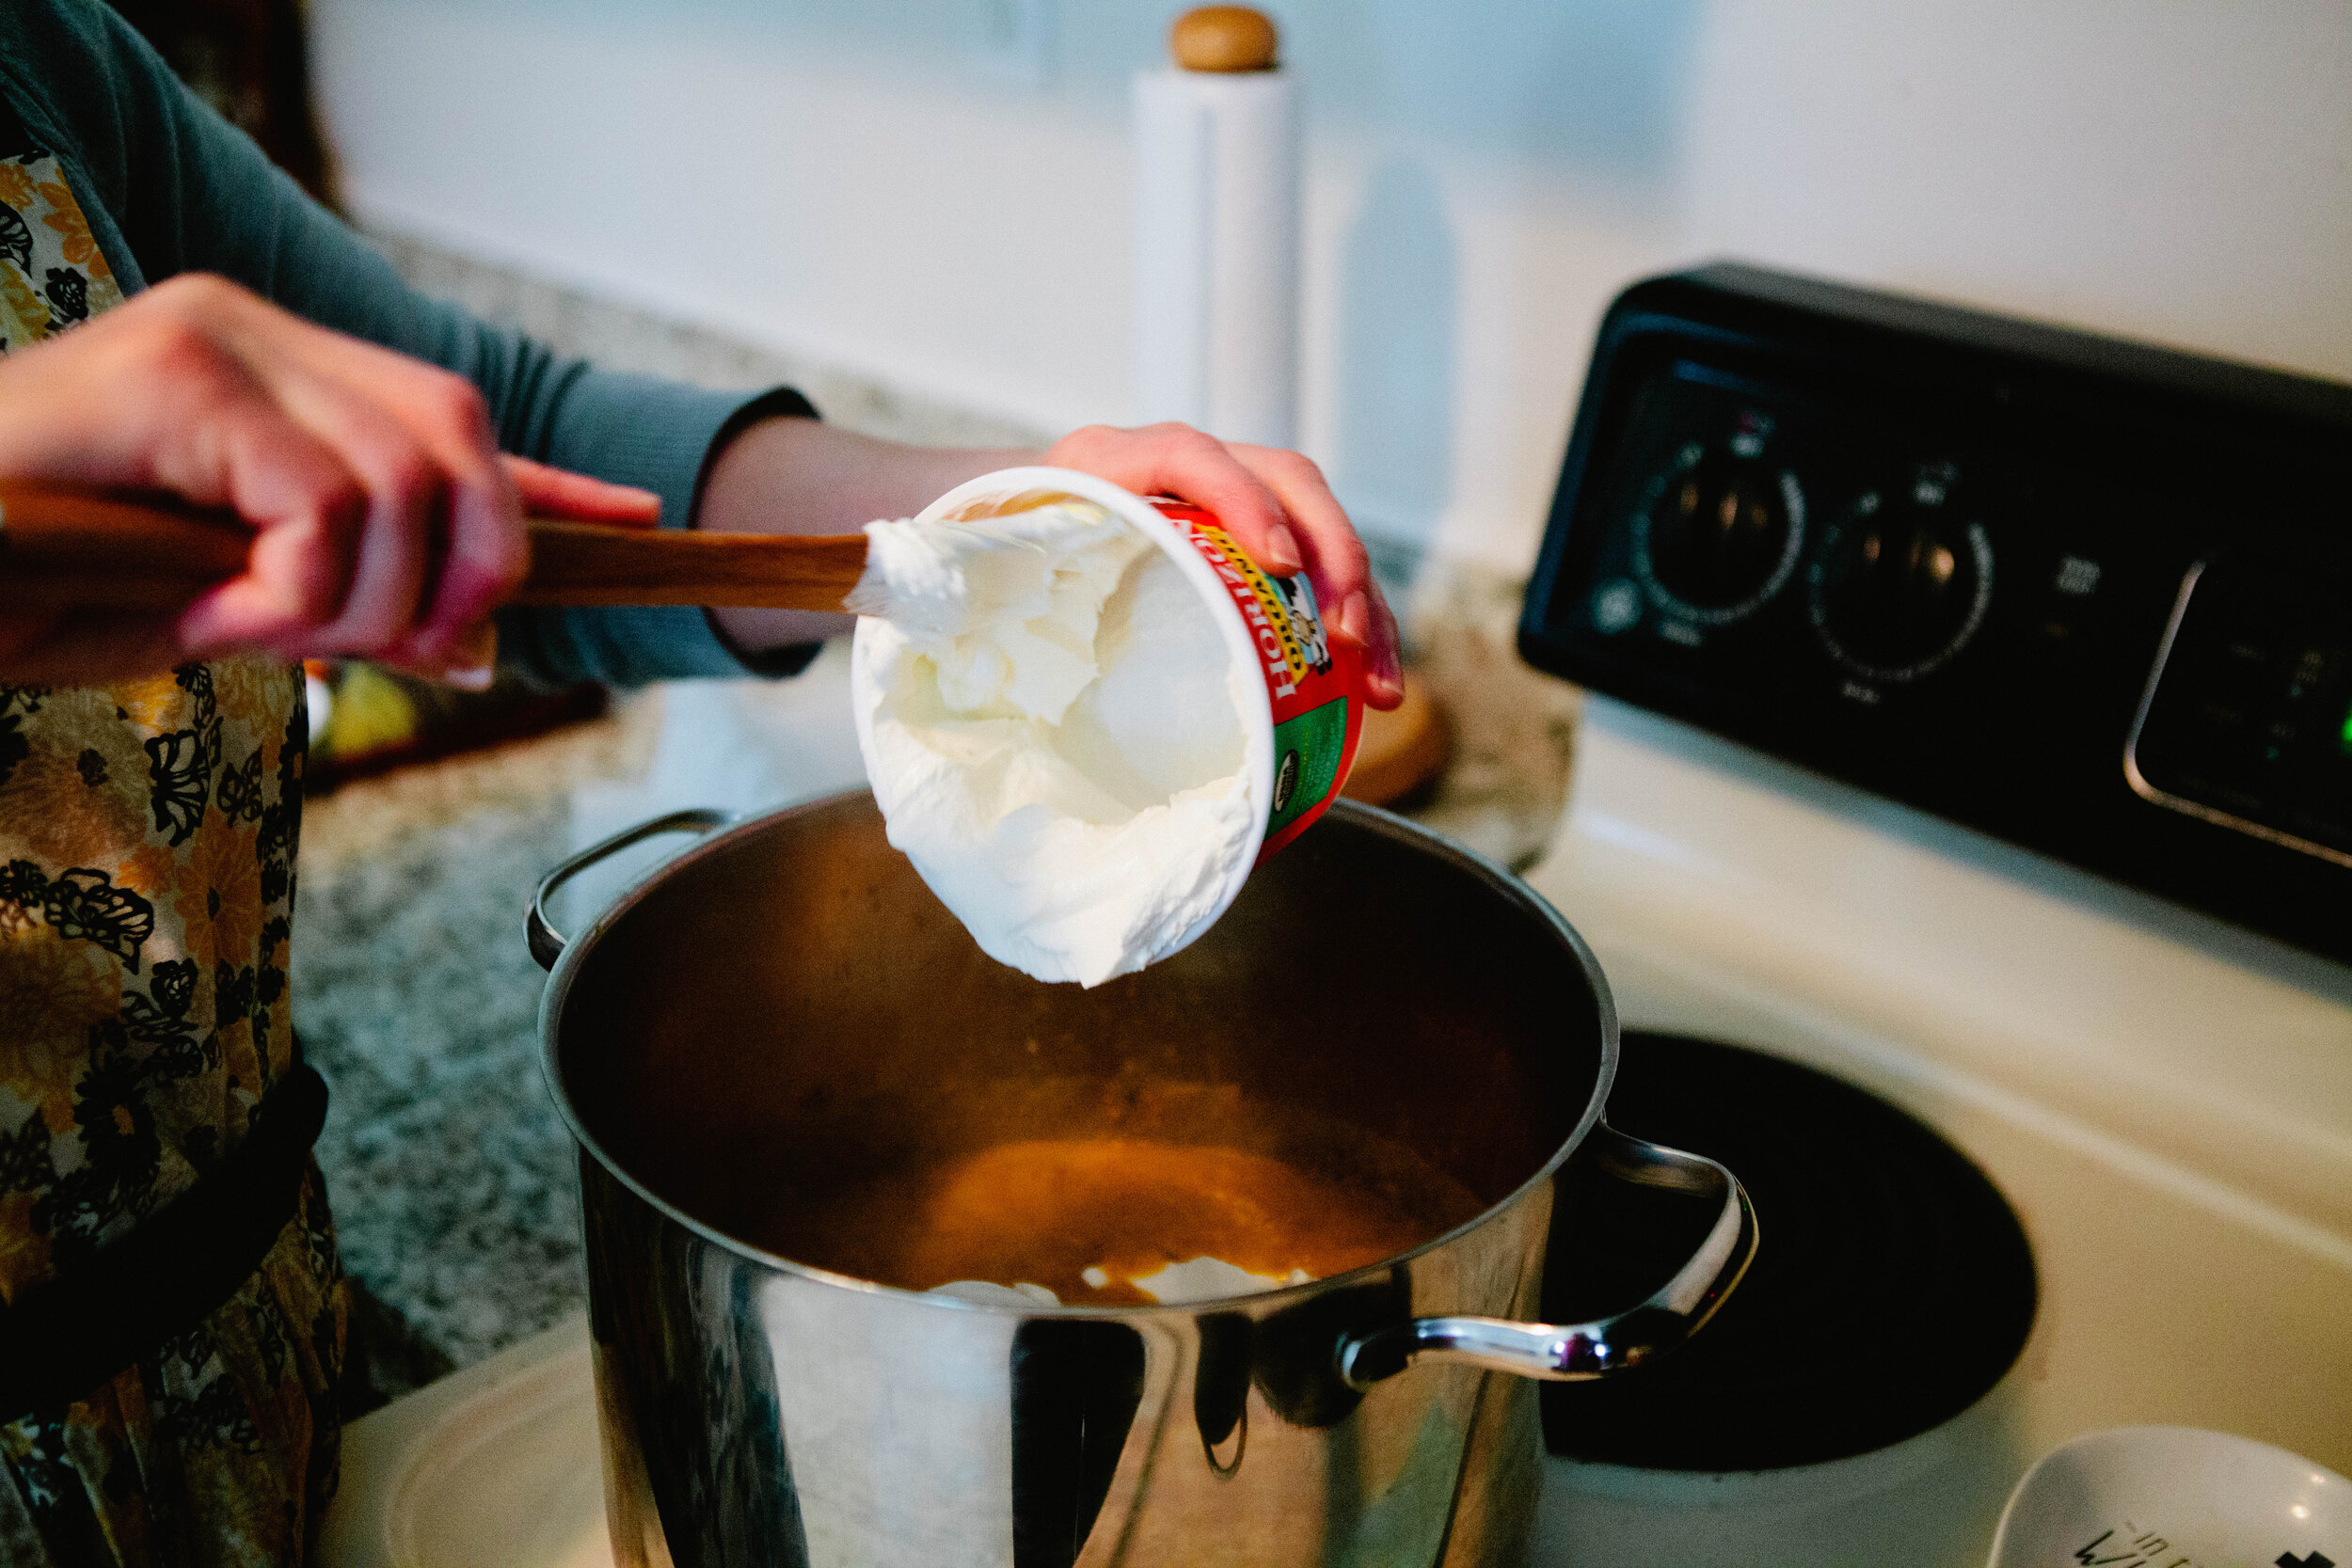
Add in sour cream. Stir to combine and melt the sour cream.
Enjoy!
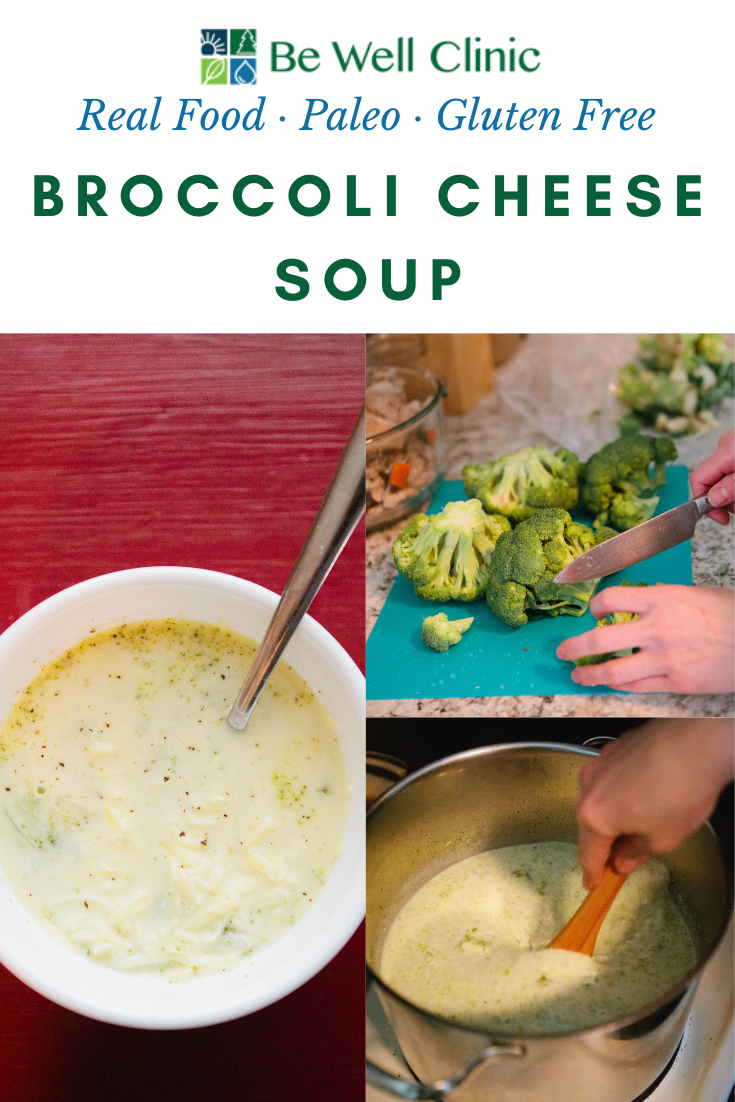
Broccoli Cheese Soup
My mom used to make a version of broccoli cheese soup which I enjoyed until I started reacting to dairy. This recipe is definitely not something that can be made dairy free. If you are able to enjoy dairy, I recommend it. It’s made from nutrient dense foods, primarily butter, cheese, broccoli and stock, which will result in a filling nutrient dense soup perfect for cold winter months! If you cannot yet enjoy dairy, I highly recommend following the GAPS Diet so you can eat this soup.
Ingredients:
7 cups Chicken Stock
½ Stick/ 4 tbsp Butter
1 Medium Onion
6 Cloves of Garlic
1 - 2 tsp of Salt, to taste
6 cups of Broccoli Florets, about 3 heads
4 oz White Cheddar Cheese, Freshly Grated
1 1/2 cups (12 oz) Cream
Directions:
Add the butter to a large pot. Turn the heat to medium / medium low. Allow the butter to melt. Roughly chop the onion and add to the pot.
Stir the onion to coat thoroughly with butter. Allow the onion to cook for about five minutes, turning down if the heat is too much. Do not allow the onions to caramelize.
Add the garlic to the pot when the onions are soft. After a few minutes, add in the stock. Stir in the salt, to taste.
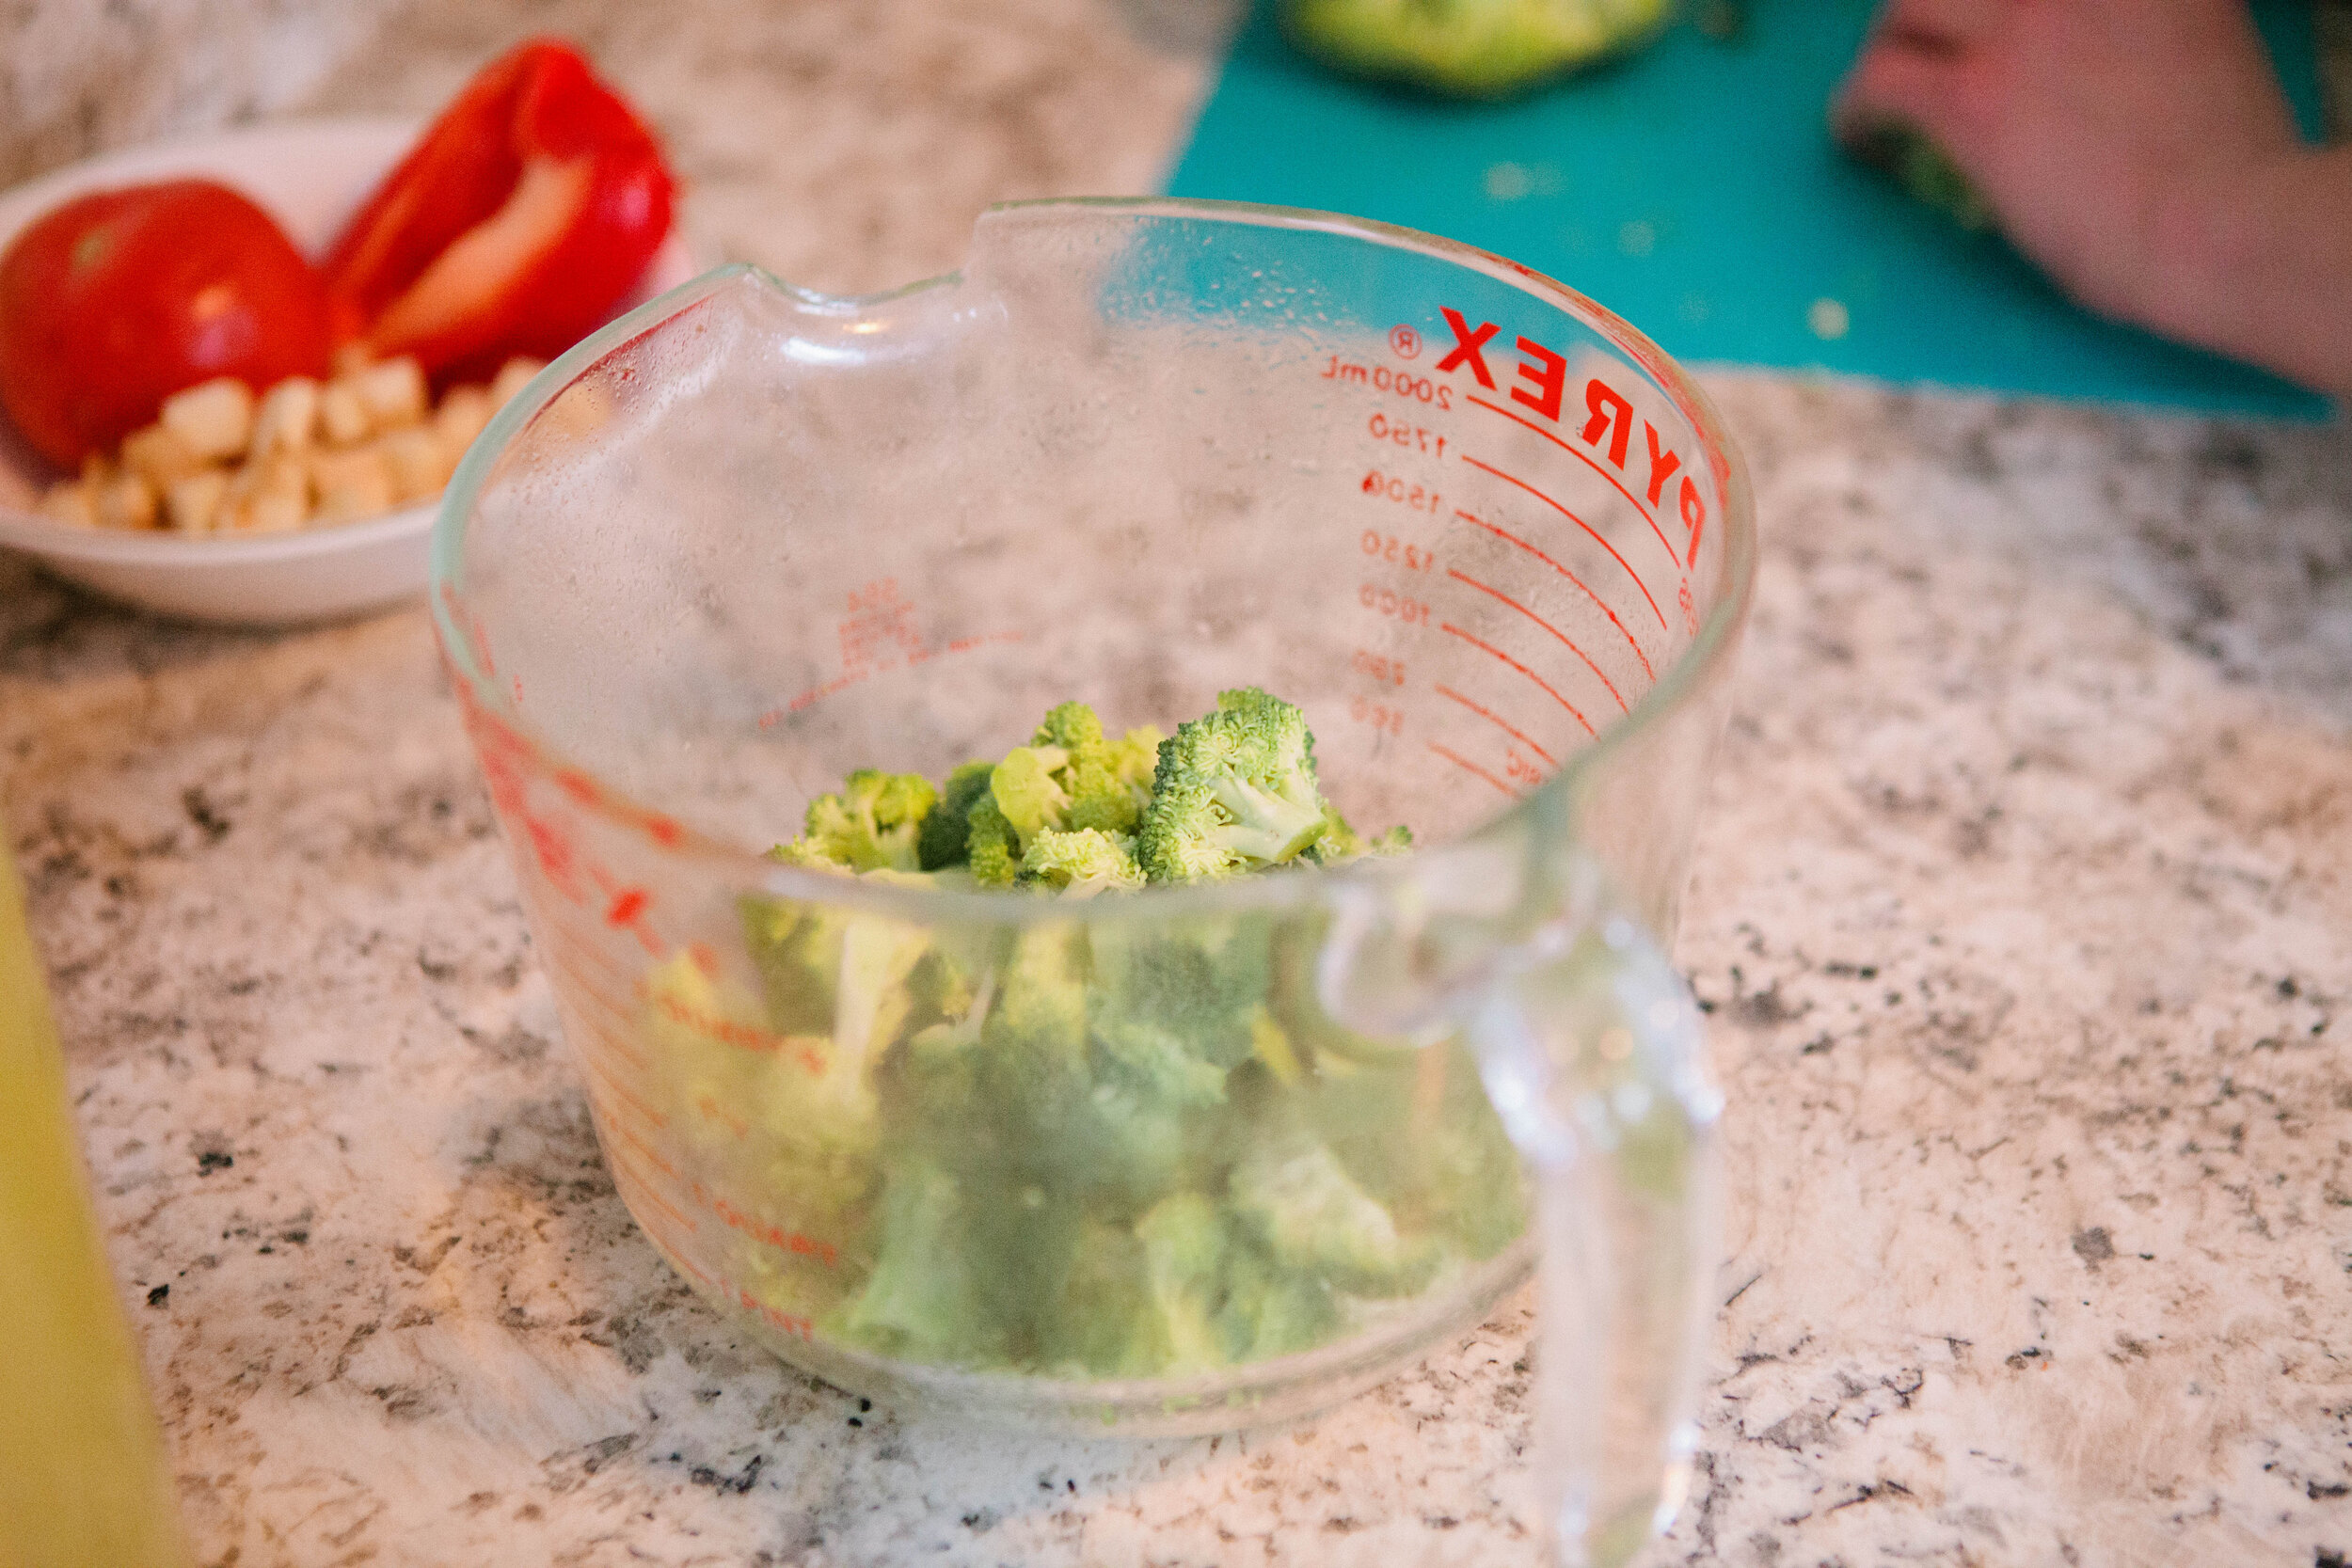
Roughly chop the broccoli. If you do not plan to blend your soup, chop it into small pieces.
Add the broccoli to the pot and stir. Turn up the heat to medium high. When the mixture reaches a boil, adjust heat to keep the mixture at a rolling simmer.
When broccoli is soft, add mixture to a blender or immersion blend it and remove it from the heat.
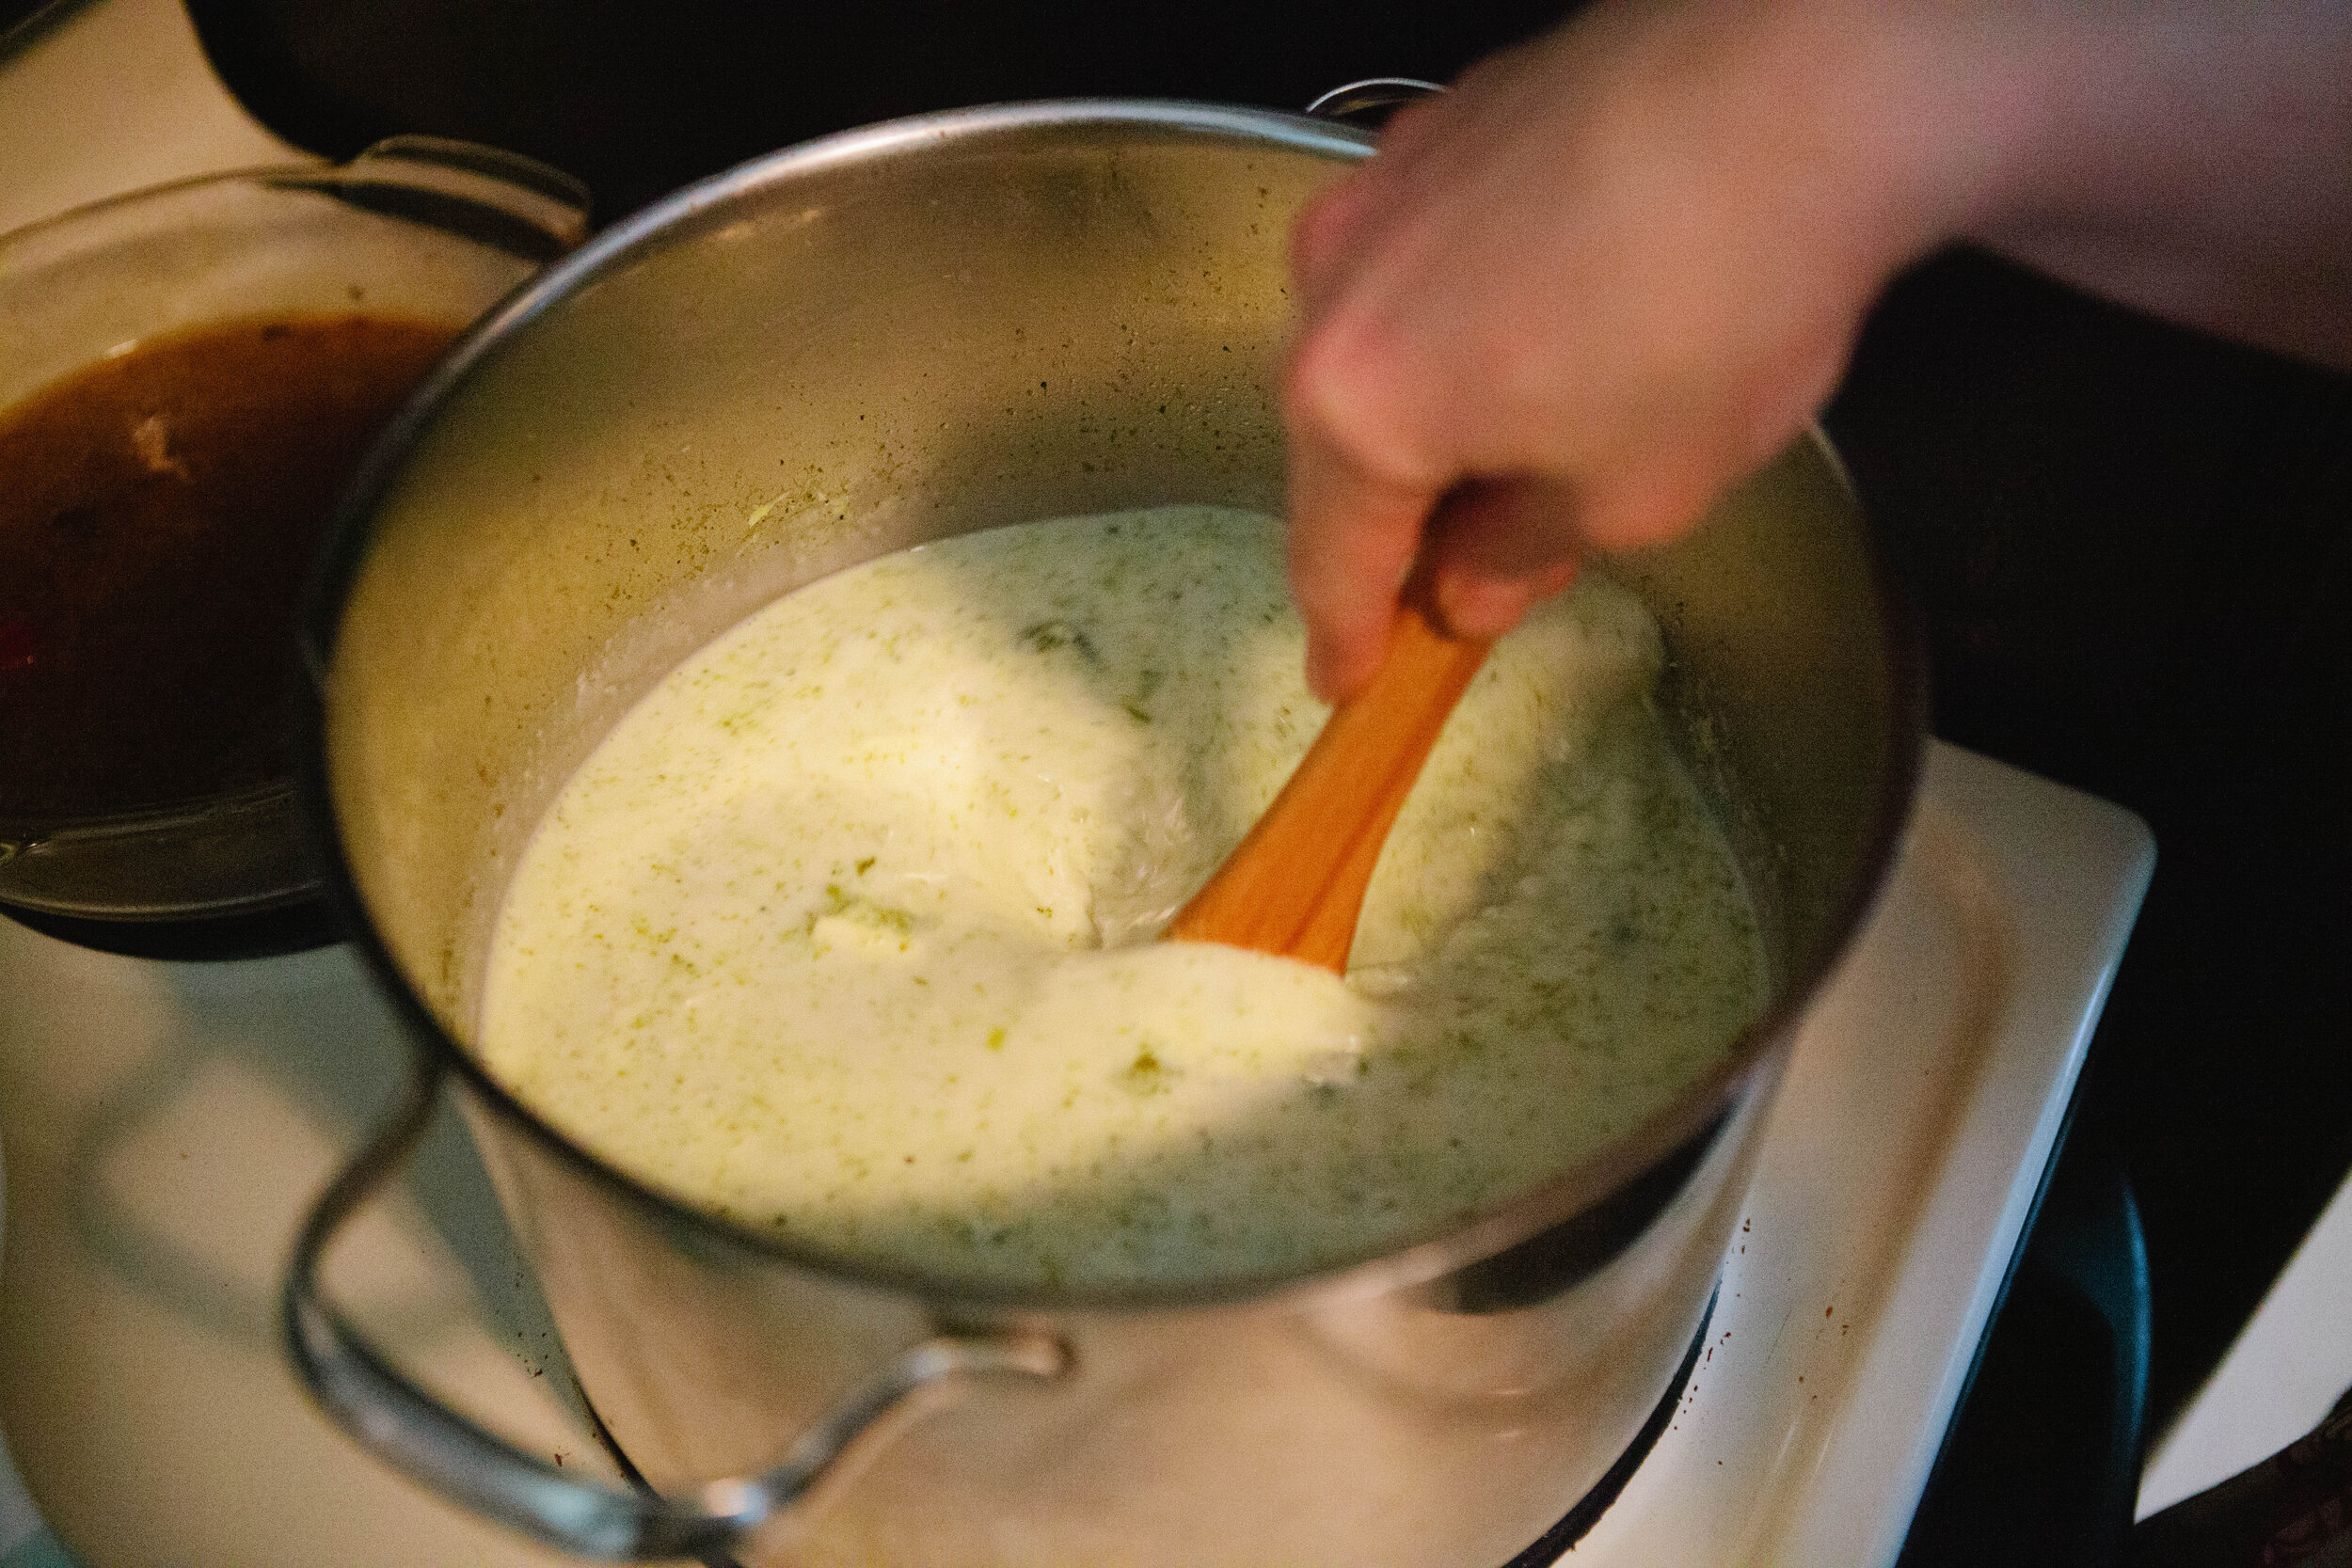
Grate the cheese. Add in the cream and cheese to the broccoli mixture and stir until combined and cheese is melted.
Serve with more fresh grated cheese on top. Salt to taste - if you made stock without salt, you will likely need lots of salt!
Enjoy!
Broccoli Cheese Soup
Ingredients
- 7 cups Chicken Stock
- ½ Stick/ 4 tbsp Butter
- 1 Medium Onion
- 6 Cloves of Garlic
- 2 tsp of Salt, to taste
- 6 cups of Broccoli Florets, about 3 heads
- 4 oz White Cheddar Cheese, Freshly Grated
- 1 1/2 cups (12 oz) Cream
Instructions
- Add the butter to a large pot. Turn the heat to medium / medium low. Allow the butter to melt. Roughly chop the onion and add to the pot.
- Stir the onion to coat thoroughly with butter. Allow the onion to cook for about five minutes, turning down if the heat is too much. Do not allow the onions to caramelize.
- Add the garlic to the pot when the onions are soft. After a few minutes, add in the stock. Stir in the salt, to taste.
- Roughly chop the broccoli. If you do not plan to blend your soup, chop it into small pieces.
- Add the broccoli to the pot and stir. Turn up the heat to medium high. When the mixture reaches a boil, adjust heat to keep the mixture at a rolling simmer.
- When broccoli is soft, add mixture to a blender or immersion blend it and remove it from the heat.
- Grate the cheese. Add in the cream and cheese to the broccoli mixture and stir until combined and cheese is melted.
- Serve with more fresh grated cheese on top. Salt to taste - if you made stock without salt, you will likely need lots of salt!
- Enjoy!
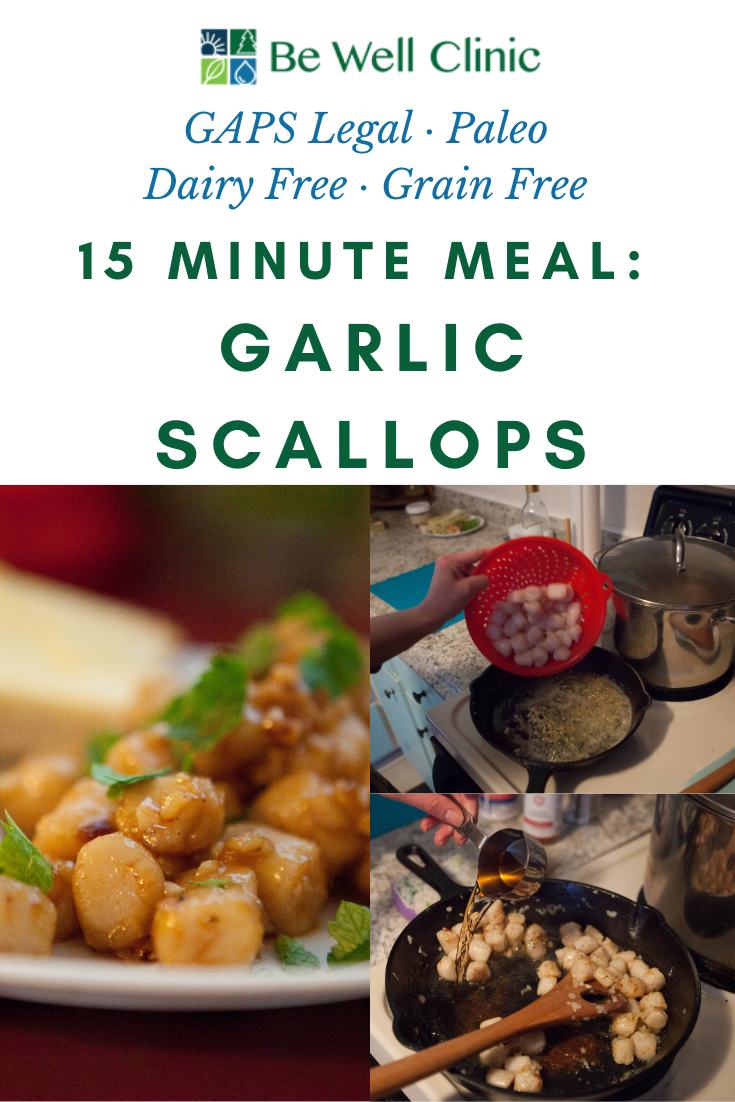
15 Minute Meal: Garlic Scallops
Sourcing well is always important for any meat. In landlocked states, it’s a great idea to buy flash frozen seafood because it is fresher. Check where your scallops are caught. You want wild caught scallops and not caught off the coast of China if possible. Scallops are filter food through the water where they live. Try to get clean living scallops.
If you get live scallops, make sure to put them in salt water for several hours to allow them to expel their sand. You can change the water as needed.
Scallops are rich in iodine. Iodine is an important mineral for our bodies. Iodine is used by the body to make hormones in your thyroid. Fluorine and chlorine compete with iodine in your thyroid because they’re a similar enough molecule. Both fluorine and chlorine are toxic to our cells, meaning they damage the cells function. If there is not enough iodine in your cells, your body will quickly uptake whatever it can find that’s closest - meaning fluorine and chlorine. Being well nourished and having enough iodine will prevent your body from trying to use fluorine or chlorine in your thyroid. Learn more about iodine and why we need it in this blog post.
Ingredients for Garlic Scallops:
16 oz Wild Caught Scallops
3 tbsp Butter
4 Large Cloves of Garlic
¼ cup White Wine
Pinch of Cayenne Pepper
3-4 Shakes of Salt
Freshly Ground Black Pepper
Directions for Garlic Scallops:
If your scallops are frozen, thaw them on the counter for approximately 30 minutes.
Rinse scallops. Mince garlic. Add butter into cast iron pan or other heavy skillet and heat medium high heat.
Add the garlic to the hot butter. Stir to coat. Continue to stir on medium high heat until the garlic starts to brown. Do not allow the garlic to burn. It will burn quickly.
Add the scallops to the hot butter and pan. Brown the scallops on both sides. If you have too much liquid from your scallops, drain off the liquid. Add more butter so they will brown.
When scallops are brown, add white wine, cayenne pepper, some salt, and freshly ground pepper.
Cook for a few minutes on the higher heat until the wine cooks off. Do not overcook the scallops!
Serve hot on their own or alongside a thick and hearty slice of sourdough bread with butter.
How to Eat Liver
I did not grow up eating organs. Just like most people, I was disgusted at the thought of eating liver. I didn’t make much effort to eat organ meat, especially livers. I did try to use a chicken liver in most pots of stock that I made. Over time, I have come to enjoy the taste of organ meats. Although, I still only like liver prepared certain ways.
It’s important to get grass-fed liver from healthy animals. You can tell the health of your liver by looking at it! It should be a dark red color. Unhealthy livers will be a pale, almost brown color. That shows a liver that’s aged or from an unhealthy animal and should not be used. It should be a robust red and not mushy.
A well prepared liver is the key to enjoying it. Some livers, like chicken livers, are mild enough to be cooked without any additional preparation. But beef liver, being from a larger animal, can be quite strong in flavor. There are ways however to diminish the strength of liver flavor by soaking it in whole milk (raw preferred!), apple cider vinegar, or lemon juice.
How to Calm the Flavor of Beef Liver
Beef liver, being from a larger animal, can be quite strong in flavor. There are ways however to diminish the strength of liver flavor.
How To Do a Liver Shot
Liver shots a quick way to get the important vitamins and minerals that liver provides for your body, without paying for dessicated liver capsules.
Liver Pate Recipe
You can make pate out of any type of liver, but chicken liver is the most mild, so that is a great one to start with if you are not used to eating liver.

