Real Food Recipes

15 Minute Meal: Stirfry

Stir fry is a very versatile dish because you can make it out of practically anything and flavor it any way that you want. Certain vegetables do tend to pair with certain flavor profiles so if you’re at a loss of what flavors to use, let your vegetables be your guide.

In my brain, there are two types of stir fry. There is an Asian stir fry that uses soy sauce and a “fresh” stir fry that is merely sauteed vegetables and herbs. While most people may think of stir fry as primarily Asian, my preference most of the time is a “fresh” soy sauceless stir fry. 

To make stir fry, simply use any vegetables that you have in the fridge; even ones that are starting to wilt! This is a great way to use up vegetables. Cut them into pieces. Determine the order you will add them to the pan depending on how long they will take to cook i.e. carrots and onions will go in first because they take much longer to cook than tomatoes or greens. 

This is also an excellent recipe to practice listening to your body. You can use the vegetable mixture that your body has been interested in, even if they don’t fit another recipe. You can make it as a small, single serving of only the vegetables that you are interested in. For example, for this particular stir fry, I used only the vegetables that I was craving at that time. I had thought about adding onions as well but they didn’t sound very good to me when it came time to cook so I simply didn’t use them!

As you are adding vegetables, keep an eye on the amount of fat in your pan. Some vegetables, such as eggplant or zucchini, will soak up a lot of the fat and you may need to add more as you go. Additionally to get a delicious flavor throughout, add a little salt and herbs each time you add a new vegetable.

You can easily add a cut of meat to the pan, such as thinly sliced chicken or beef strips, for an easy one pot dish or you can serve the stir fry as a side alongside a steak or other meat dish. 

Ingredients for Stirfry:

For today’s stir fry I will be using:

  • Zucchini

  • Carrots

  • Bok Choy

  • Brussel Sprouts

  • Celery

  • Peppers

  • Oregano

  • Thyme

  • Rosemary

You will also need the fat of your choice.

Directions for Stirfry:

IMG_0769.jpg

Cut all your vegetables. I like to keep my vegetables relatively the same size, especially by thickness. I find I much more enjoy spears in stir fry than rounds. Have all your vegetables ready to go before you start cooking your stir fry. Once you start cooking, it will go too fast to be chopping while you are cooking.

To a cast iron pan, add 2-3 tbsp of the fat of your choice. Today I am using tallow. When the fat is simmering in your pan, add your first vegetable.

Continue to add vegetables in the order that it takes for them to be done. Keep an eye on your fat and add more as needed. 

Add salt to each vegetable type as you add it. An easy way to do this is to add it to the top of the pan and then salt it as you would as if it was on the table; then stir in to the other vegetables.

Remember that each vegetable will continue to cook as you continue to add other vegetables. It takes practice to know how long to cook vegetables to your desired softness so keep cooking and don’t get discouraged!

Go as bold or as simple with flavors as you want. 

Enjoy!


15MinuteMealStirfry.png

15 Minute Meals: Stirfry

Author: The Be Well Clinic

Ingredients

  • For today’s stir fry I will be using:
  • Zucchini
  • Carrots
  • Bok Choy
  • Brussel Sprouts
  • Celery
  • Peppers
  • Oregano
  • Thyme
  • Rosemary
  • You will also need the fat of your choice.

Instructions

  1. Cut all your vegetables. I like to keep my vegetables relatively the same size, especially by thickness. I find I much more enjoy spears in stir fry than rounds. Have all your vegetables ready to go before you start cooking your stir fry. Once you start cooking, it will go too fast to be chopping while you are cooking.
  2. To a cast iron pan, add 2-3 tbsp of the fat of your choice. Today I am using tallow. When the fat is simmering in your pan, add your first vegetable.
  3. Continue to add vegetables in the order that it takes for them to be done. Keep an eye on your fat and add more as needed.
  4. Add salt to each vegetable type as you add it. An easy way to do this is to add it to the top of the pan and then salt it as you would as if it was on the table; then stir in to the other vegetables.
  5. Remember that each vegetable will continue to cook as you continue to add other vegetables. It takes practice to know how long to cook vegetables to your desired softness so keep cooking and don’t get discouraged!
  6. Go as bold or as simple with flavors as you want.
  7. Enjoy!
Notes:


Created using The Recipes Generator

How to Make Apple Chips - Dehydrated Apples

I love apples! I think they’re one of the easiest things to preserve. If you are trying to eat in season and preserve your own food, apples are a great way to start! (Check out our other recipes using apples!)

My dad is the best at stopping to ask people if they are going to use their apples. I have so many memories of spending hours with him in the evening drying apples and making applesauce. Every evening when he brings them home, he will spend hours making applesauce and getting them in a dehydrator.

For a long time my parents gave up making dried apples because my siblings and I would open up the dehydrator before the apples were ready and eat them.

You can use any variety of apples to do these. Some apples will end up sweeter than others but when you dry them, it doesn’t really matter much as we don’t generally eat dried apples for sweetness, only for crunch. I like to use firm apples only for dried apples. If you have any apples that are older or softer, you can turn them into apple sauce! 

I have an antique apple corer & slicer that I love to use and that makes this process so much faster. You can also manually peel, core or slice them using a knife or a mandolin but that takes longer.

Any dehydrator will do for this recipe! I’ve been using this one recently but have to keep a close eye on the temperature. You can also make them in the oven but you must keep a close eye on them. Use the lowest temperature setting. It takes about 2-4 hours depending on how crunchy you want them. Err on the side of caution when checking dryness levels. They will continue to dry when you take them out of the oven as they cool so if you dry them too much in the oven, you’ll end up with an apple that is too dry. 

When I process large amounts of apples, I always think about making apple cider vinegar! Save your peels and cores (but not any rotting or bruised parts) to make your own apple cider vinegar.

These dried apples should keep for a few months if you manage proper moisture control on them but we always ate them much faster!

P.s> Raw apples are stage 6 on the GAPS Diet. Dried fruit counts as raw fruit.

Ingredients for Dried Apples:

  • Apples: Peeled, Cored & Sliced

  • Lemons

  • Filtered Water

  • Essential Oils (Optional)

  • Cinnamon (Optional)

  • Dehydrator


Directions for Dried Apples:

IMG_0369.jpg

Fill a bowl with filtered water and lemon juice. You can also add some drops of essential oils if you’d like. On Guard is pretty delicious! Lemon essential oil will not work to keep the apples from turning brown; it is the acid in the lemon that does that.

IMG_0371.jpg

Rinse your apples & start to peel and core them. As they come off the machine, add them to the bowl with lemon juice and water. 

Set the peels and cores aside to use to make your own Apple Cider Vinegar. 

IMG_0400.jpg

Once you have the amount of apples that you want to dry, lay them out in single layers on dehydrator racks or on a pan. You can top them with cinnamon if you’d like.

Allow the apples to dry in a dehydrator for 5 to 6 hours.

Enjoy!

IMG_0776.jpg

HowToDryApplesDIYAppleChips.png
Author: The Be Well Clinic

Ingredients

  • Apples: Peeled, Cored & Sliced
  • Lemons
  • Filtered Water
  • Essential Oils (Optional)
  • Cinnamon (Optional)
  • Dehydrator

Instructions

  1. Fill a bowl with filtered water and lemon juice. You can also add some drops of essential oils if you’d like. On Guard is pretty delicious! Lemon essential oil will not work to keep the apples from turning brown; it is the acid in the lemon that does that.
  2. Rinse your apples & start to peel and core them. As they come off the machine, add them to the bowl with lemon juice and water.
  3. Set the peels and cores aside to use to make your own Apple Cider Vinegar.
  4. Once you have the amount of apples that you want to dry, lay them out in single layers on dehydrator racks or on a pan. You can top them with cinnamon if you’d like.
  5. Allow the apples to dry in a dehydrator for 5 hours.

Notes:


Created using The Recipes Generator

Simple Baked Apples

Apples should be eaten with plenty of animal fat so this is an ideal recipe for them! Apples contain a lot of sugar so the fat helps keep your blood sugar from spiking and, as we talked about in The One About Fat, fat soluble vitamins help us absorb other nutrients. 

This is a nostalgic warm winter treat for me. We used to start them when making dinner and then we’d have a great treat at the end of the meal. Because they take so long in the oven, it’s a great way to heat the house on a cold, snowy, winter day.

When I process large amounts of apples, I always think about making apple cider vinegar! Save your peels and cores (but not any rotting or bruised parts) to make your own apple cider vinegar.

Ingredients for Baked Apples:

  • Apples

  • Butter

  • Cinnamon

Directions for Baked Apples:

IMG_0410.jpg

Rinse your apples.

Remove the stems. Slice them in half around their equator (so the core is a star.)

Preheat the oven to 300.

IMG_0420.jpg

Using a melon baller or a knife, remove the core. Slice slightly into the apples around the core, not too deep, to allow the butter to really get into the apple.

IMG_0448.jpg

Place the apples in a glass baking dish. Add a decent sized chunk of butter to each the center of each apple.

Add a small amount of filtered water to the bottom of the baking dish so the apples do not burn.

IMG_0620.jpg

Place your apples in the oven for 1-2 hours. After about 30 minutes, remove the apples from the oven and baste them with any escaped butter. Put them back in the oven to continue cooking. 

Once the apples are soft, remove them from the oven.

Enjoy warm on their own or topped with raw milk ice cream and cinnamon. I also enjoy them cold the next day (but not as much as when they’re warm!)

IMG_0650.jpg

GAPSLegalBakedApples.png

GAPS Legal Baked Apples

Author: The Be Well Clinic

Ingredients

  • Apples
  • Butter
  • Cinnamon

Instructions

  1. Rinse your apples.
  2. Remove the stems. Slice them in half around their equator (so the core is a star.)
  3. Preheat the oven to 300.
  4. Using a melon baller or a knife, remove the core. Slice slightly into the apples around the core, not too deep, to allow the butter to really get into the apple.
  5. Place the apples in a glass baking dish. Add a decent sized chunk of butter to each the center of each apple.
  6. Add a small amount of filtered water to the bottom of the baking dish so the apples do not burn.
  7. Place your apples in the oven for 1-2 hours. After about 30 minutes, remove the apples from the oven and baste them with any escaped butter. Put them back in the oven to continue cooking.
  8. Once the apples are soft, remove them from the oven.
  9. Enjoy warm on their own or topped with raw milk ice cream and cinnamon. I also enjoy them cold the next day (but not as much as when they’re warm!)
Created using The Recipes Generator

The Importance of Putting Up Ferments in the Fall

The Importance of Putting Up Ferments in the Fall

The end of summer and beginning of fall offers us an abundance of great produce, whether it’s from our own garden or from farmers. While we can, in theory, continually purchase produce from the grocery store, we get better quality and more cost effective produce if we eat seasonally and locally. This great produce is only available at certain times of the year and it has to be stored somehow!

How to Do Liver Shots

How to Do Liver Shots

A liver shot is so great for your body! It’s a quick way to get the important vitamins and minerals that liver provides for your body. Desiccated liver is also a great option since it is raw, dehydrated liver. However, desiccated liver can be cost prohibitive. Liver shots are far more cost effective (grass fed liver is around $3 a pound here.) Liver shots are also raw. ⅔ of the nutrients that liver contains are lost when you cook it. You won’t taste the liver at all!

Chicken Paprikash

I’m ¼ Hungarian. I actually don’t know a lot about Hungarian culture because my family did such a great job assimilating to American culture. However, the one thing that did survive is a lot of traditional Hungarian dishes. Chicken Paprikash is one of my favorites and I’m excited to have a gluten free version of this recipe. 

Speaking of my grandparents and cooking, my grandfather was an engineer and always got upset at my grandmother for not measuring out her spices. One day she took the spice she had measured in her hand and put it in a measuring spoon. It measured exactly what it was supposed to be. After that, he didn’t comment about her measuring anymore. 

The type of paprika you use matters. You absolutely must use Hungrian paprika with this recipe. Otherwise it won’t taste right! Other paprikas are much more sweet and Hungarian paprika is more spicy. Using other paprika will give it a different taste profile which I’m not convinced would be any good. 

Ingredients for Chicken Paprikash:

  • 2 Chicken Breasts

  • 3 tbsp Butter

  • 1 Onion

  • 4 cloves of Garlic

  • 2 cups Stock 

  • 1 ½ tbsp Beef Gelatin Powder

  • 1 tsp Tallow 

  • 1 tbsp Hungarian Paprika

  • ½ tsp Salt

Directions for Chicken Paprikash:

IMG_0716.jpg

To a large pan, add butter and allow to warm.

Salt and pepper both sides of the chicken breasts. When pan is hot, add chicken and brown both sides. 

IMG_0719.jpg

Cut onion in half and slice. Peel garlic and roughly chop.  Remove the chicken from the pan. Add the onions to the pan and cook. Scrap any browned chicken bits off the bottom of the pan onto the onions. Add garlic to pan.

Add stock to the pan with the onions and warm thoroughly. Once it has reached blood temperature, add in beef gelatin powder and stir to mix.

IMG_0743.jpg

While the gelatin is activating, toast the paprika. Add tallow to a small pot and turn to medium heat. Once hot, add the paprika and toast until the paprika smells fragrant. 

When the paprika is fragrant, add to the pan with the onions

Deglaze the paprika pan with some of the stock mixture to make sure you get all the paprika out. Add salt. Stir for a few minutes and allow to reduce so that it thickens.

IMG_0793.jpg

Add the chicken back in and settle it into the paprika mixture. Cook chicken for 15-30 minutes depending on how thick your chicken is until a thermometer reads 170.

Serve over gluten free noodles, rice, or cauliflower mashed potatoes.

IMG_0811.jpg

GlutenFreeGAPSLegalChickenPaprikash.png

Chicken Paprikash

Author: The Be Well Clinic

Ingredients

  • 2 Chicken Breasts
  • 3 tbsp Butter
  • 1 Onion
  • 4 cloves of Garlic
  • 2 cups Stock
  • 1 ½ tbsp Beef Gelatin Powder
  • 1 tsp Tallow
  • 1 tbsp Hungarian Paprika
  • ½ tsp Salt

Instructions

  1. To a large pan, add butter and allow to warm.
  2. Salt and pepper both sides of the chicken breasts. When pan is hot, add chicken and brown both sides.
  3. Cut onion in half and slice.Peel garlic and roughly chop. Remove the chicken from the pan. Add the onions to the pan and cook. Scrap any browned chicken bits off the bottom of the pan onto the onions. Add garlic to pan.
  4. Add stock to the pan with the onions and warm thoroughly. Once it has reached blood temperature, add in beef gelatin powder and stir to mix.
  5. While the gelatin is activating, toast the paprika. Add tallow to a small pot and turn to medium heat. Once hot, add the paprika and toast until the paprika smells fragrant.
  6. When the paprika is fragrant, add to the pan with the onions
  7. Deglaze the paprika pan with some of the stock mixture to make sure you get all the paprika out. Add salt. Stir for a few minutes and allow to reduce so that it thickens.
  8. Add the chicken back in and settle it into the paprika mixture. Cook chicken for 15-30 minutes depending on how thick your chicken is until a thermometer reads 170.
  9. Serve over gluten free noodles, rice, or cauliflower mashed potatoes.
Created using The Recipes Generator

Recipes to Take Camping

Camping is one of my favorite activities. Being in nature is great for our bodies. If you have trouble sleeping, spending time camping can help reset your circadian rhythm.

Whether I’m headed out for the night or taking a multiple day hunting trip, I always bring real, delicious food to keep my body going.

Trail Mix

Commercial trail mixes contain candy, sweetened fruit, and unprepared nuts: not the superfoods they claim to be! This can be problematic if you are following a dietary protocol... you can't buy GAPS legal trail mix very easily! Fortunately, trail mix is fairly easy to make, and when you make your own, you can ensure the preparation (and ingredients) are exactly what you want!

GAPS Legal Chili

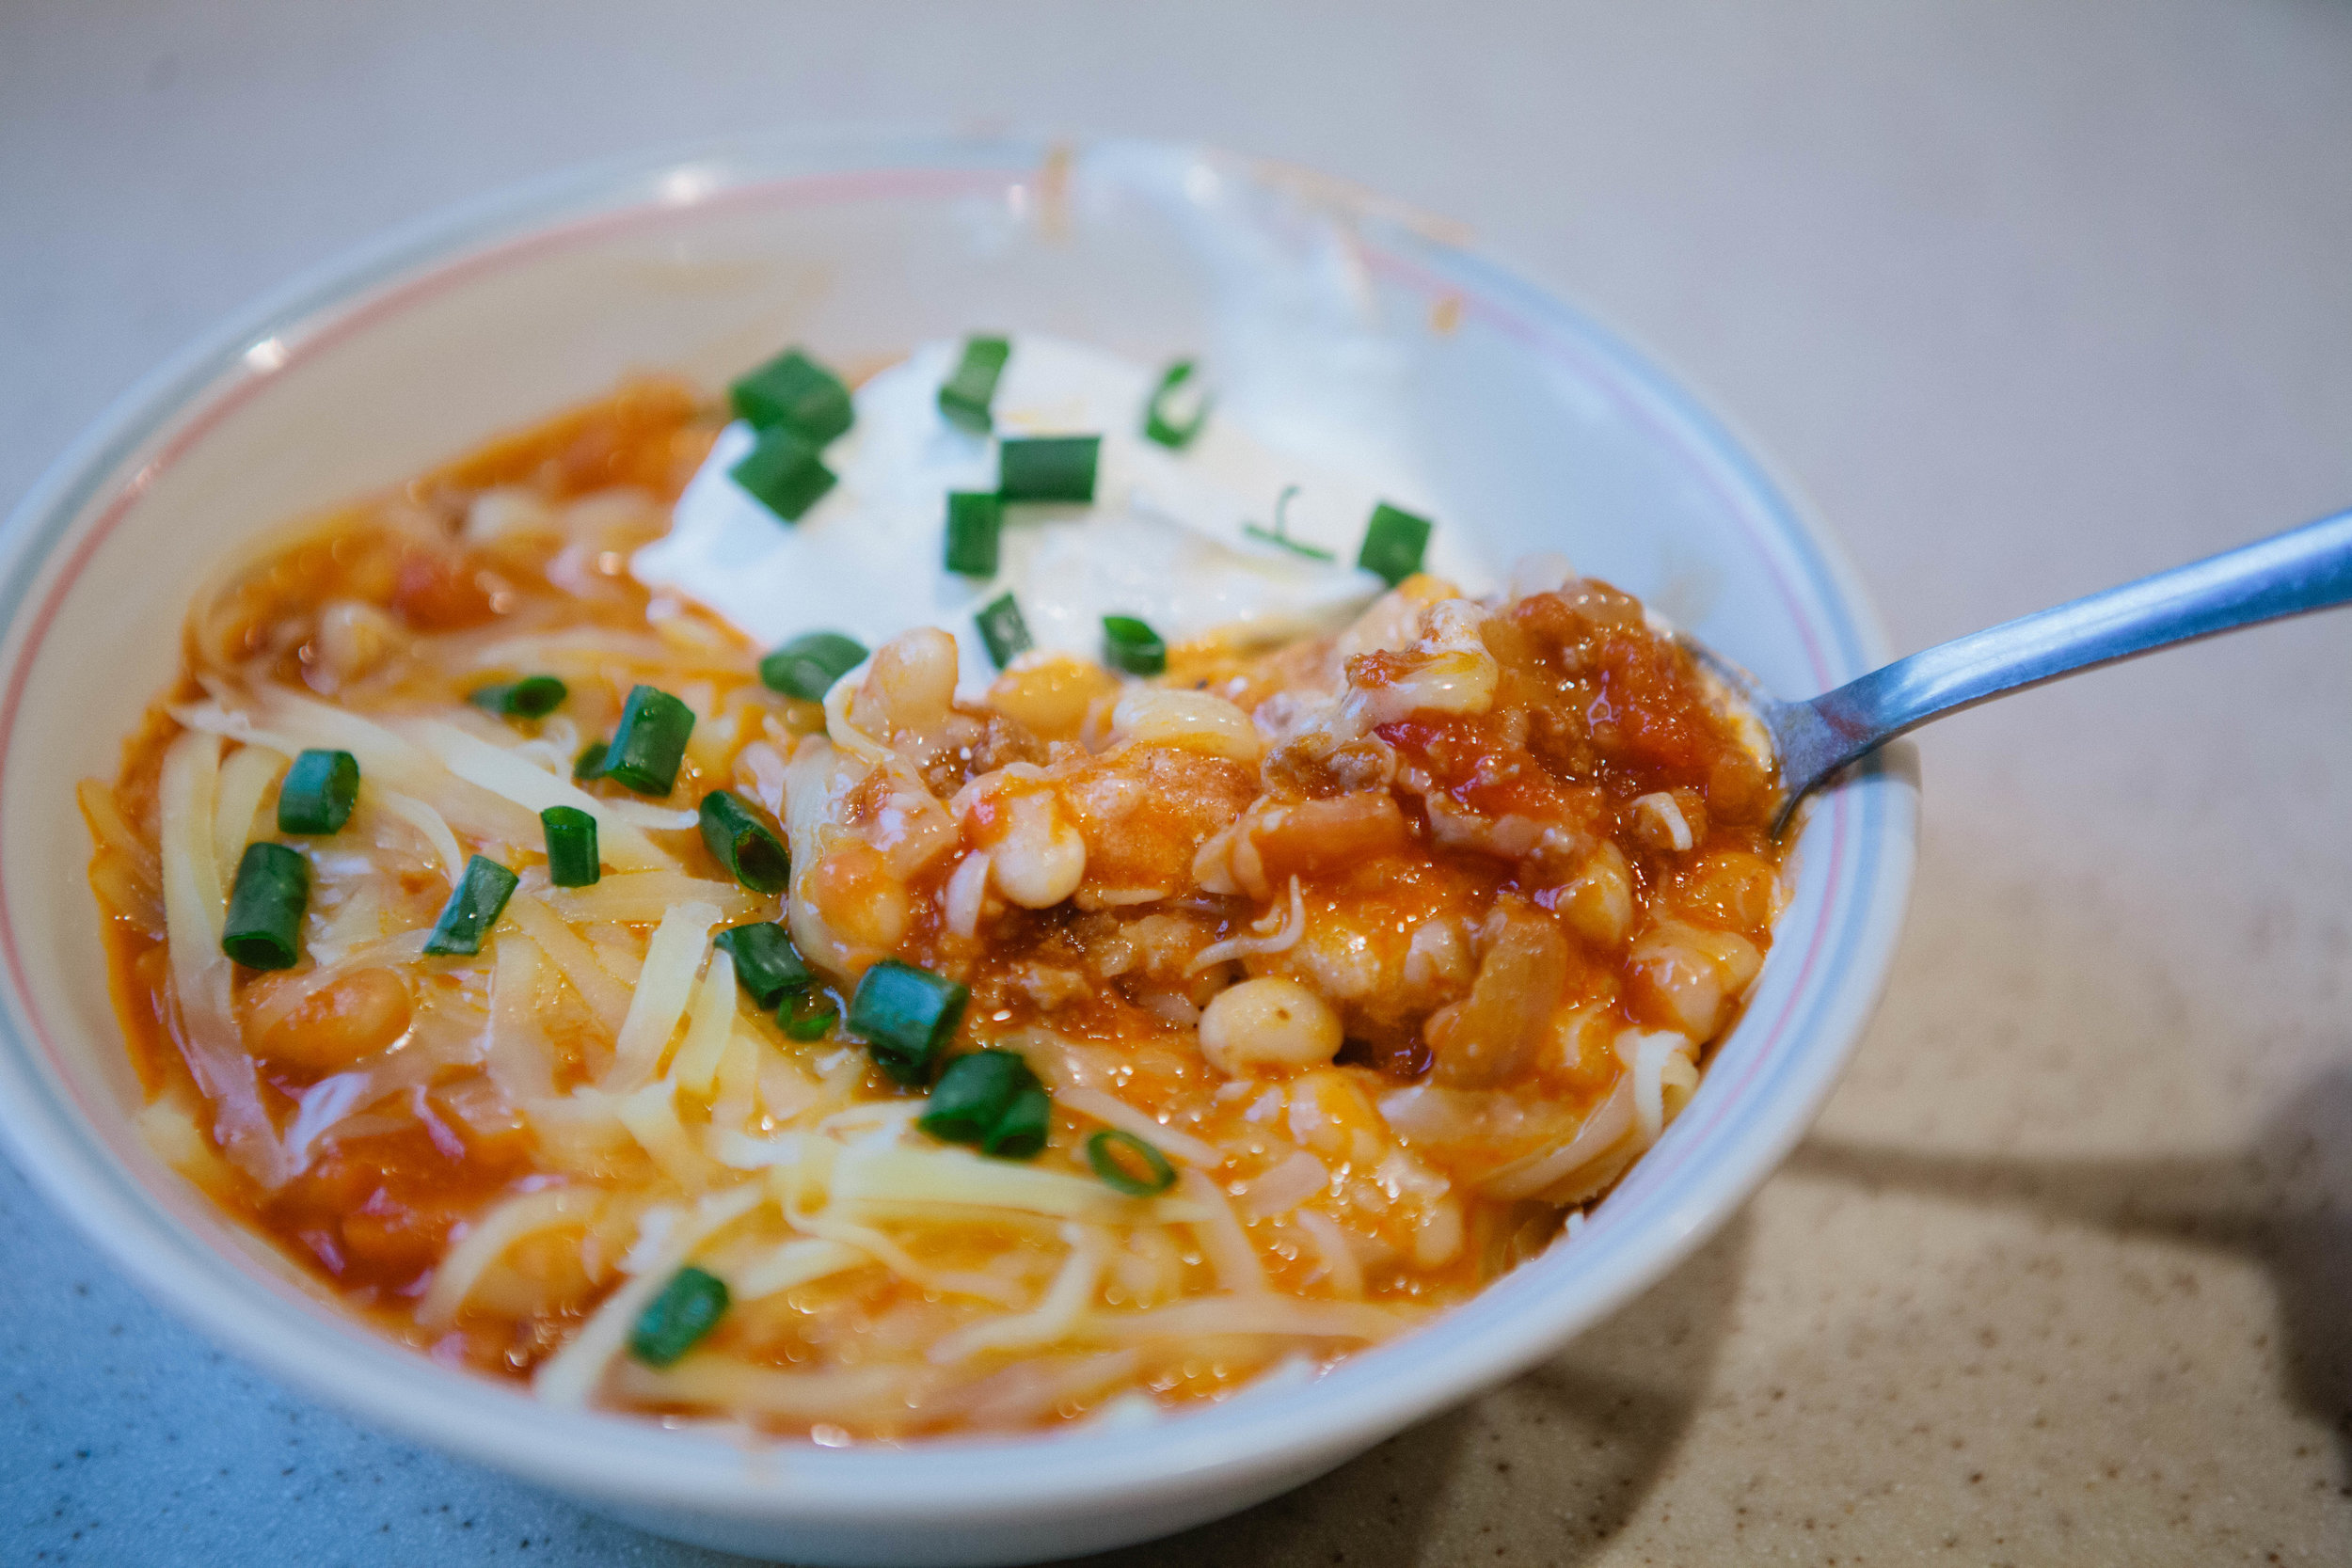
For a long time, I didn’t want to take the time to properly prepare the navy beans needed for this recipe. This homemade chili was well worth the effort because of how delicious it was - and how many meals it made!

Sprouted Refried Navy Beans

These are great served with anything that has a Mexican theme with them. I like them next to eggs, like a Huervos Rancheros sort of feel.

Egg Free, Dairy Free Sausage

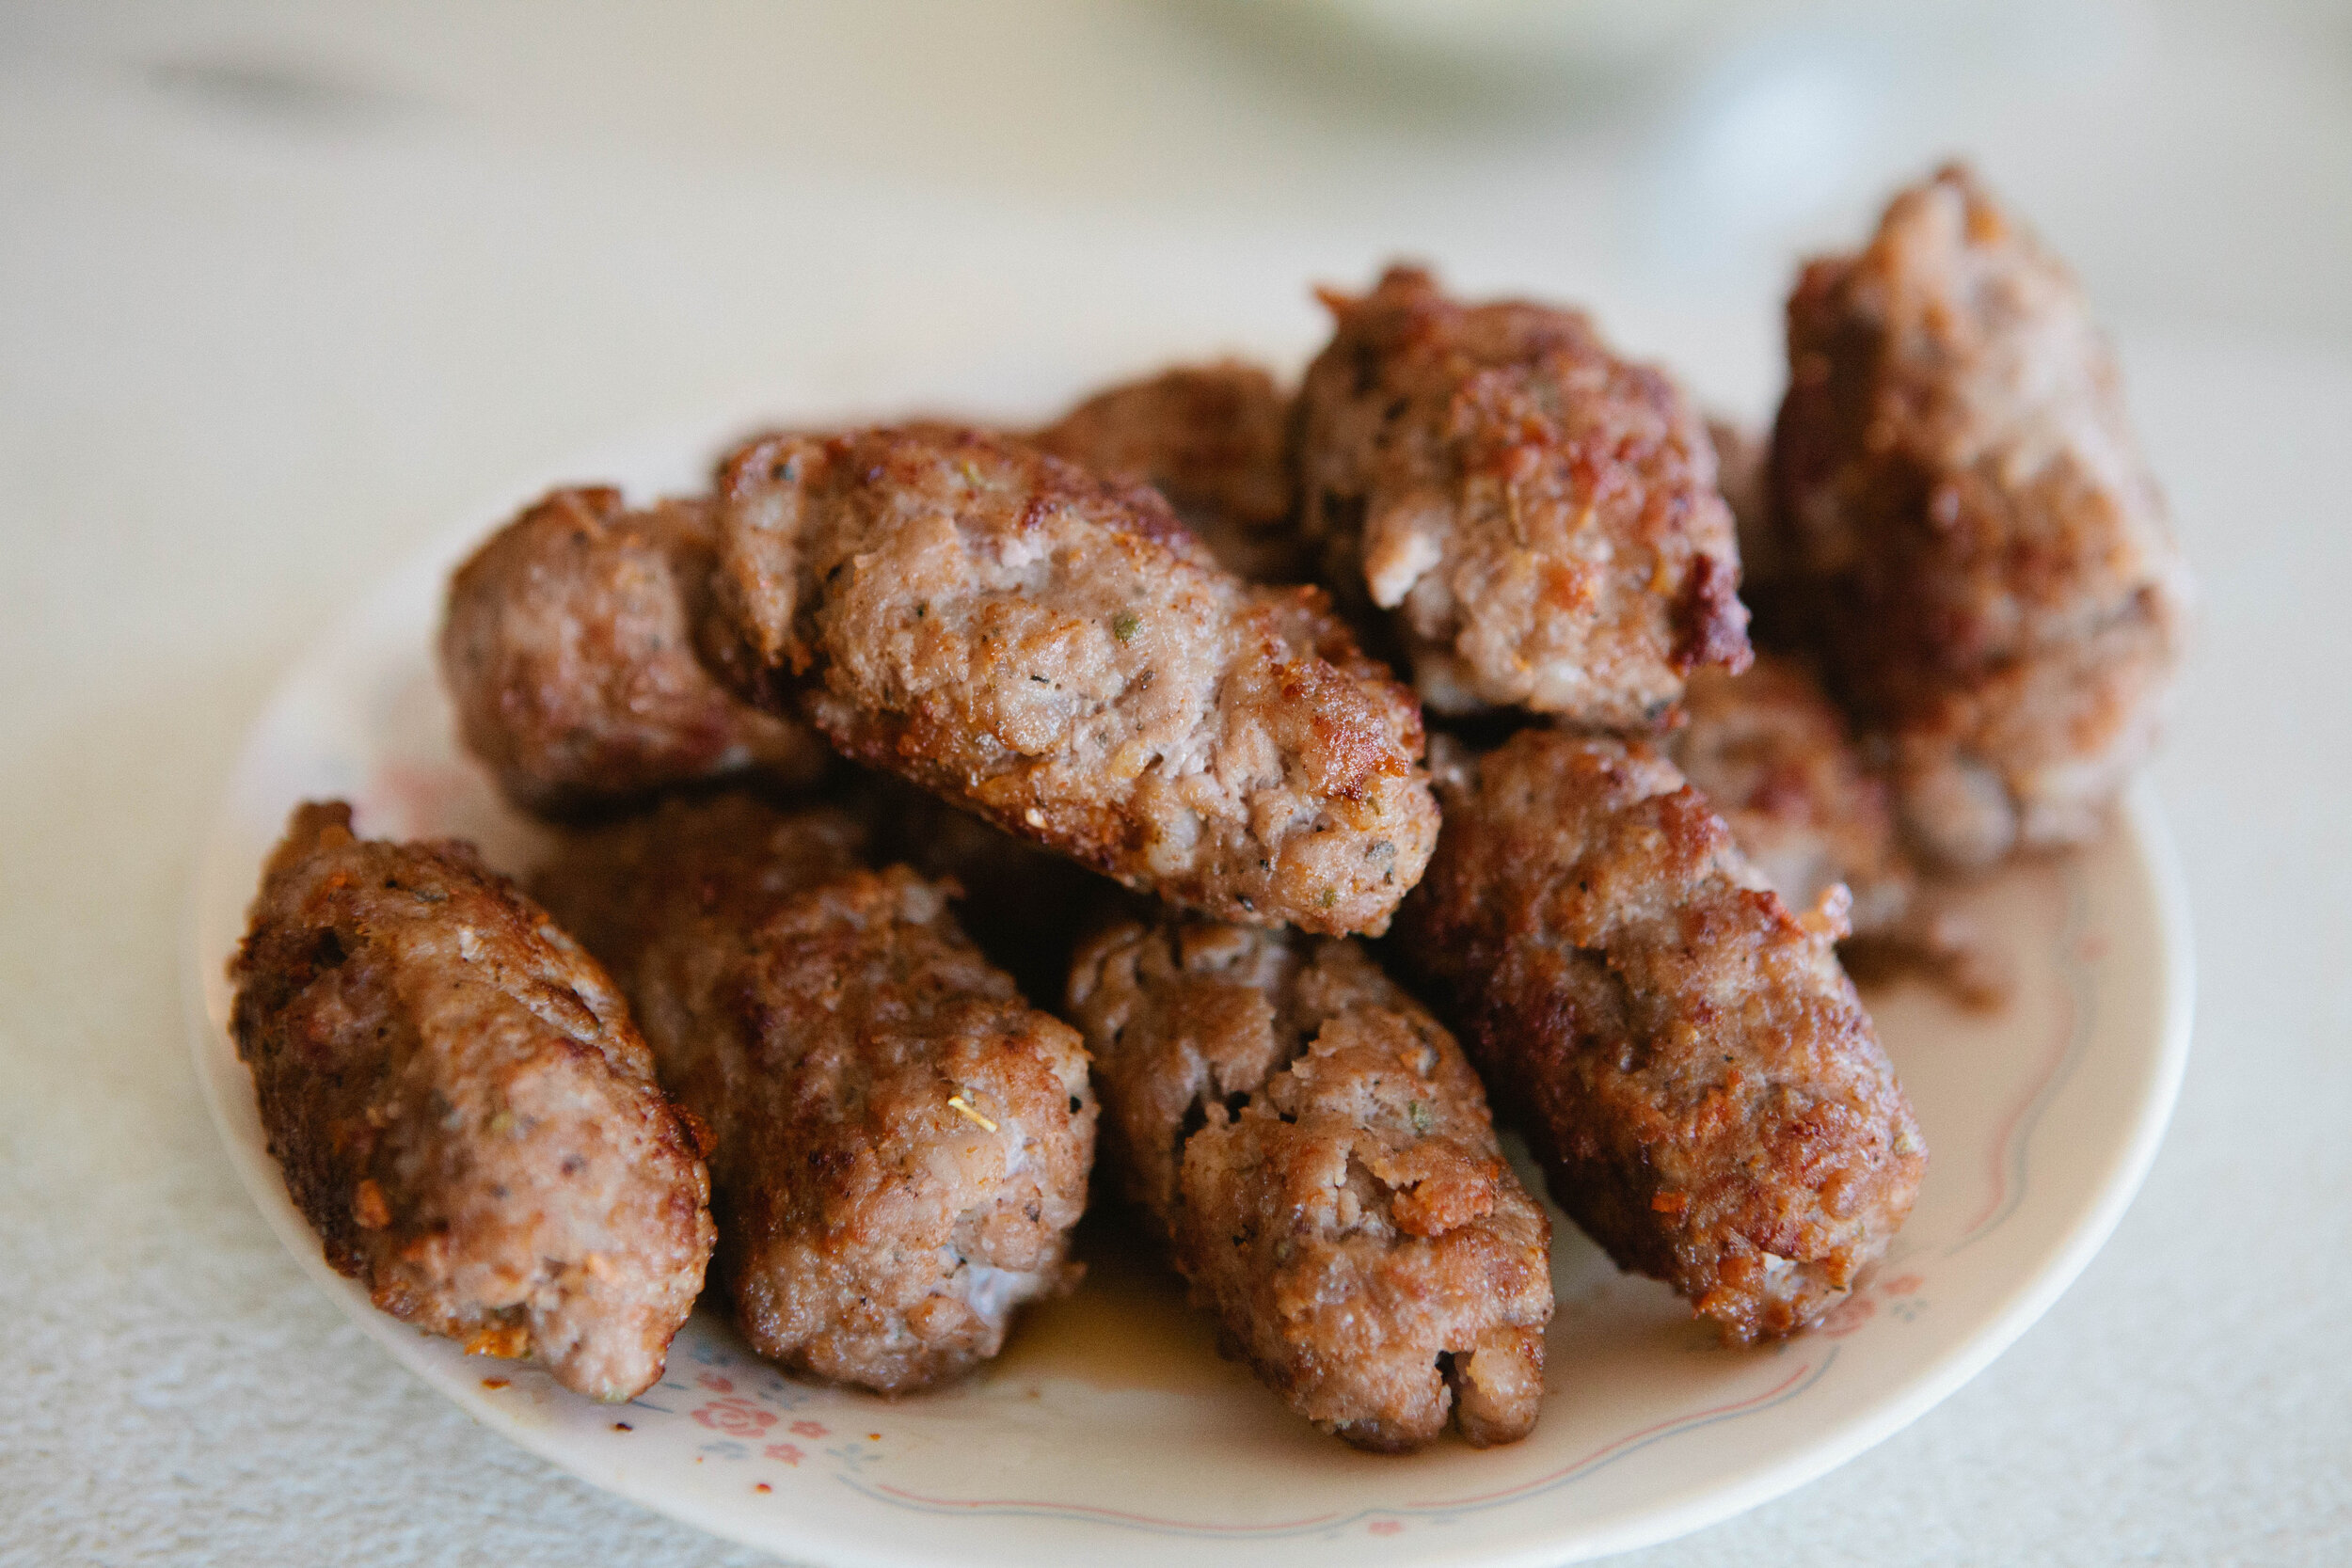
This sausage is the ideal breakfast sausage. It wouldn’t work well as a sausage with marinara sauce. It’s great alongside eggs or in an omelette. If I don’t want to eat cheese, it’s also a great, easy snack on the go.

Mayo Free Egg Salad

Eggs are a great non-meat protein source. While I usually recommend eating eggs yolks running to preserve the cholesterol on them, sometimes a hard boiled egg is hard to beat!

Crock Pot Pork Shoulder

This pork is a crowd favorite that I often bring to potlucks. It can be added to anything, including a sandwich or salad.  It also freezes well so you can make it into individual portions.

Beef Sliders

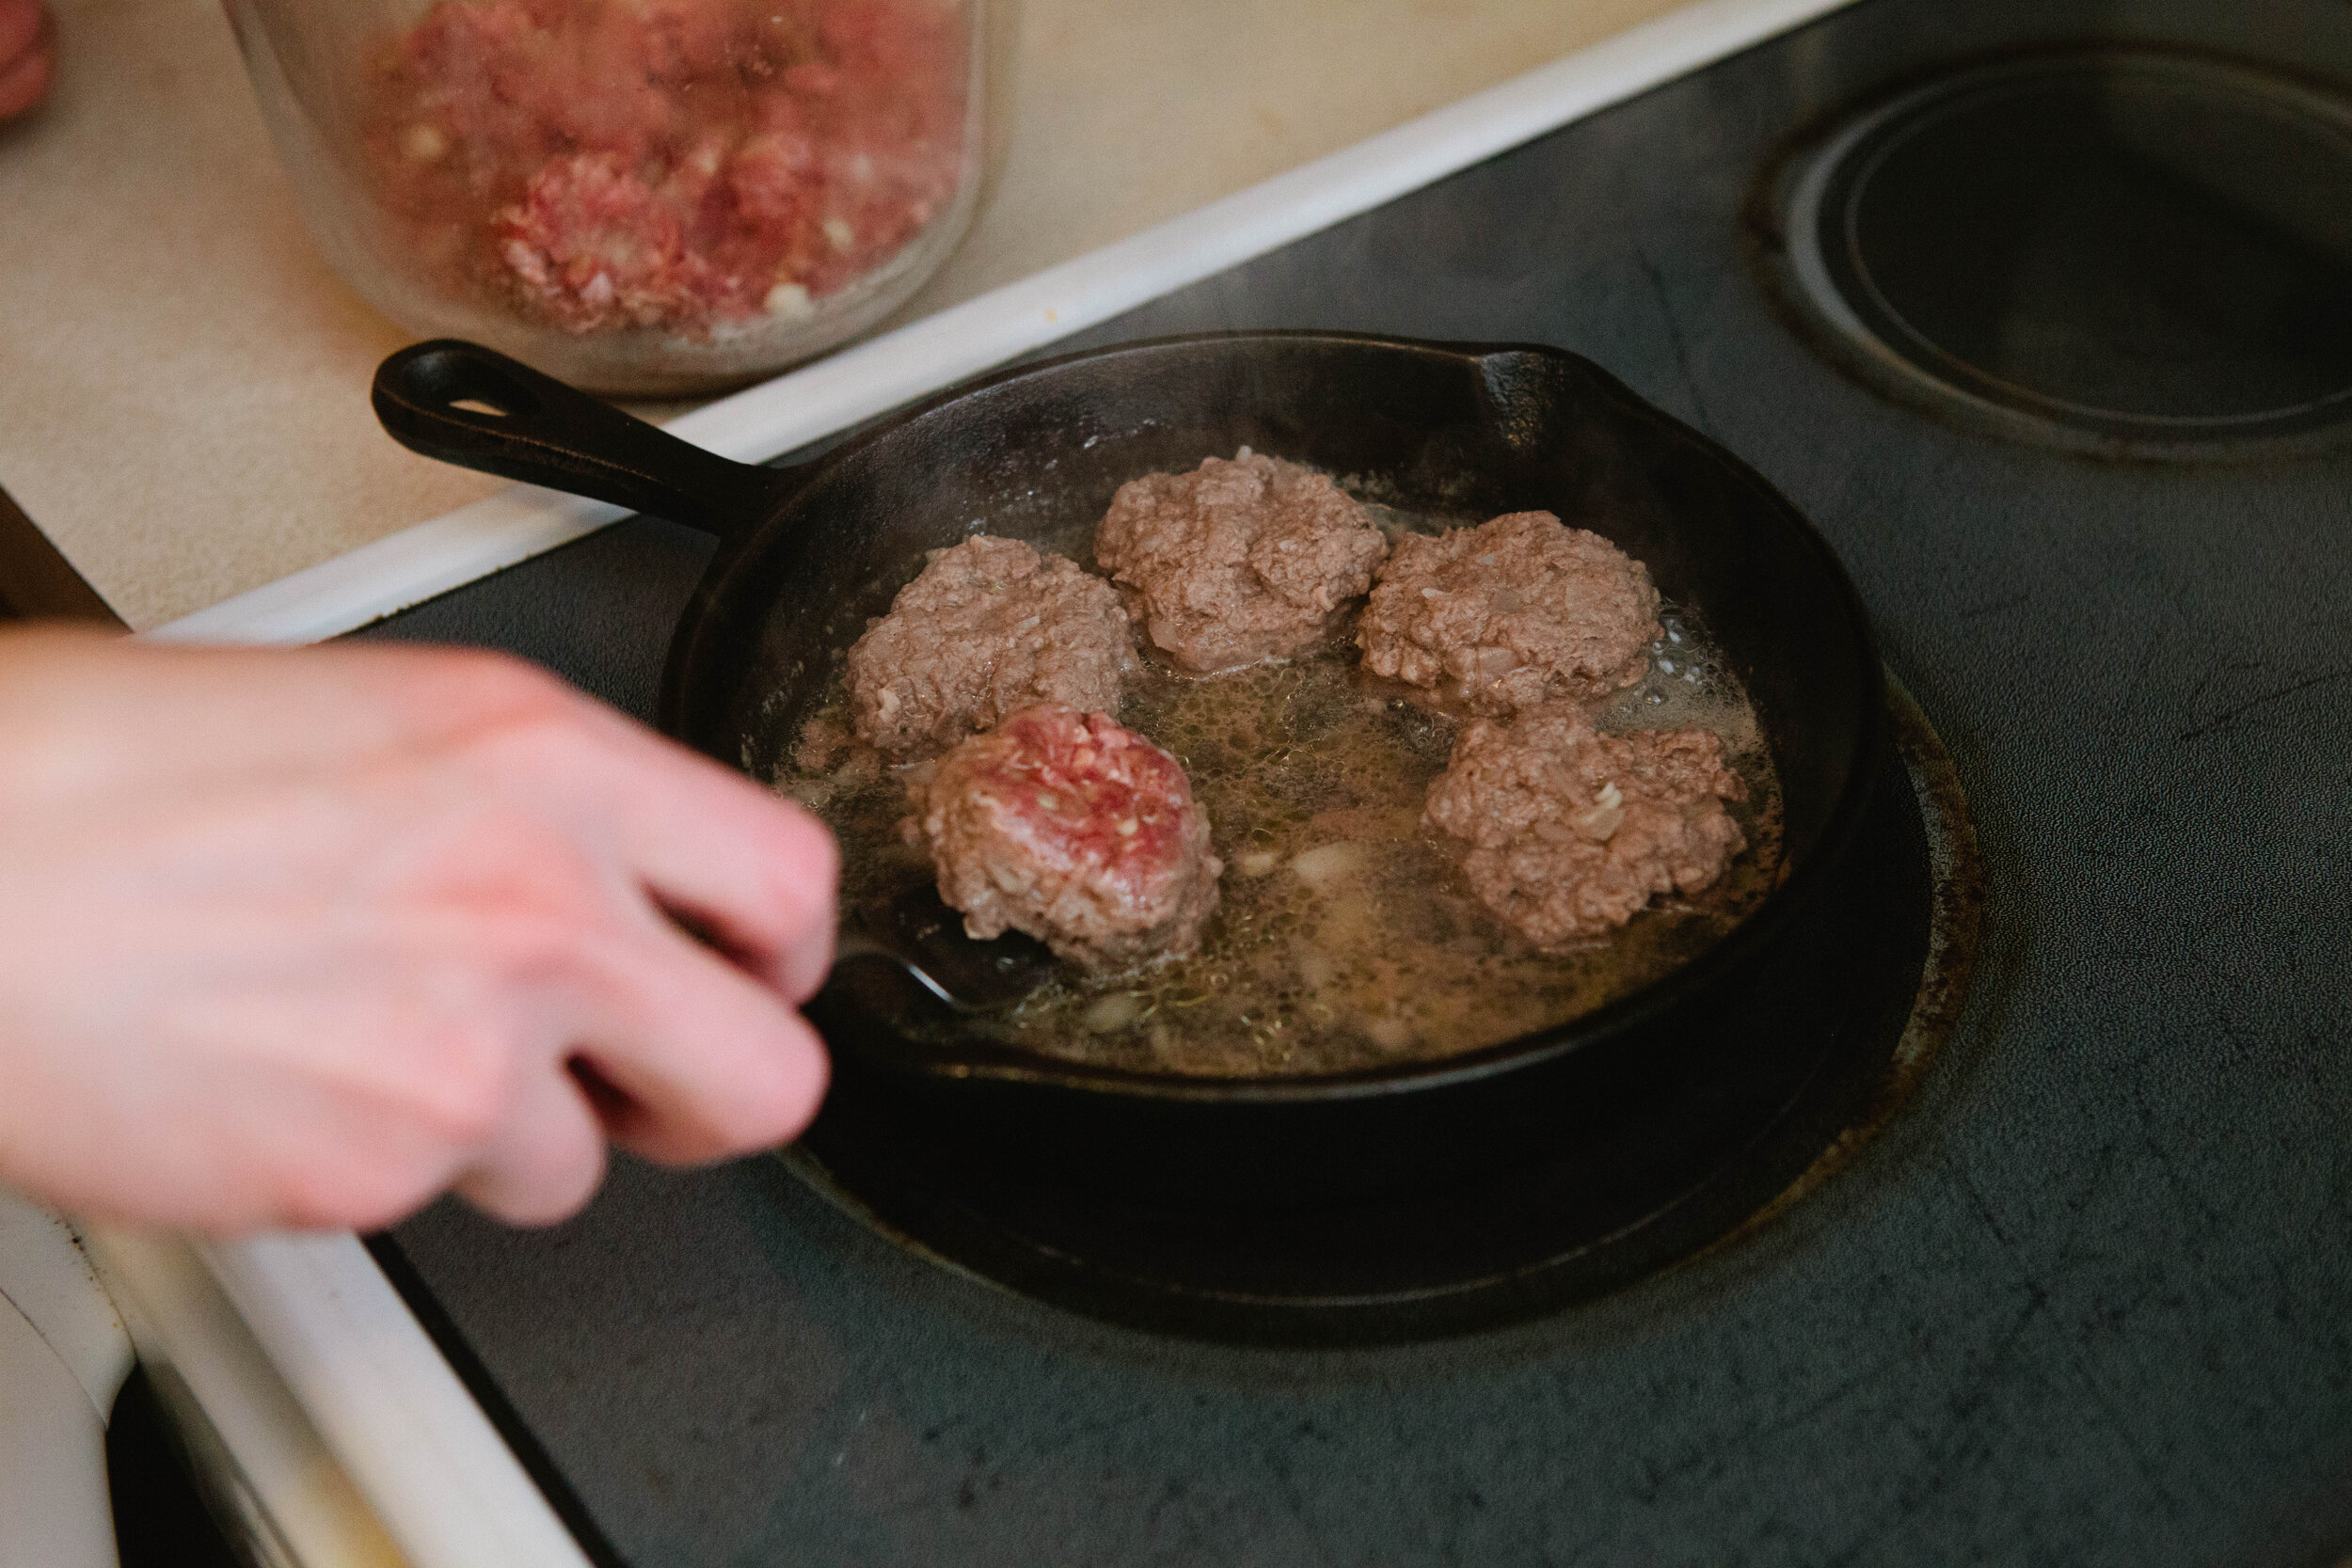
This meal is very versatile! It’s a quick, easy, and mobile protein. You can make sliders as simple as plain ground beef boiled in water or you can add spices to the ground beef mixture before cooking depending on what you are tolerating.

Baked Beans

This recipe also uses real ingredients for a full flavor baked bean! Unlike traditional baked beans, there’s no processed sugars. These beans are not GAPS legal because of the molasses and maple syrup. They are however gluten and dairy free.

Cured Pork Belly Bacon

Pork belly is a great meat because it is so high in fat! That’s why we enjoy bacon so much. Unfortunately most conventional bacons are cured with chemicals, natural and unnatural, some of which are not GAPS Legal - or good for us! If you have access to pork belly, this is a great way to enjoy this fatty cut of meat while on the GAPS Diet.

Real Food Onion Dip

Making delicious dips is not just about good food although pleasure in food is important and should never be underestimated. But when we make dips from real food ingredients we are also adding nutrition to our bodies with every bite. I love that the foods I used to eat that I thought weren’t best for my body are now foods I can make purposefully and joyfully knowing that each bite will bring nutrients to my body.

Italian Casserole

Italian Casserole is a very versatile dish that can be made with virtually any cut of meat that you might have on hand and any seasonal vegetables you have on hand. In fact, this is the ideal seasonal eating dish because it’s so versatile! 

Cream of Mushroom Soup

I like, like many others, grew up eating casseroles made with processed, commercially available cream of mushroom or cream of chicken soup and wanted to replicate the taste with real food ingredients. This soup can be used as a substitute for any commercially made cream of mushroom soup. I’m excited for the possibilities!

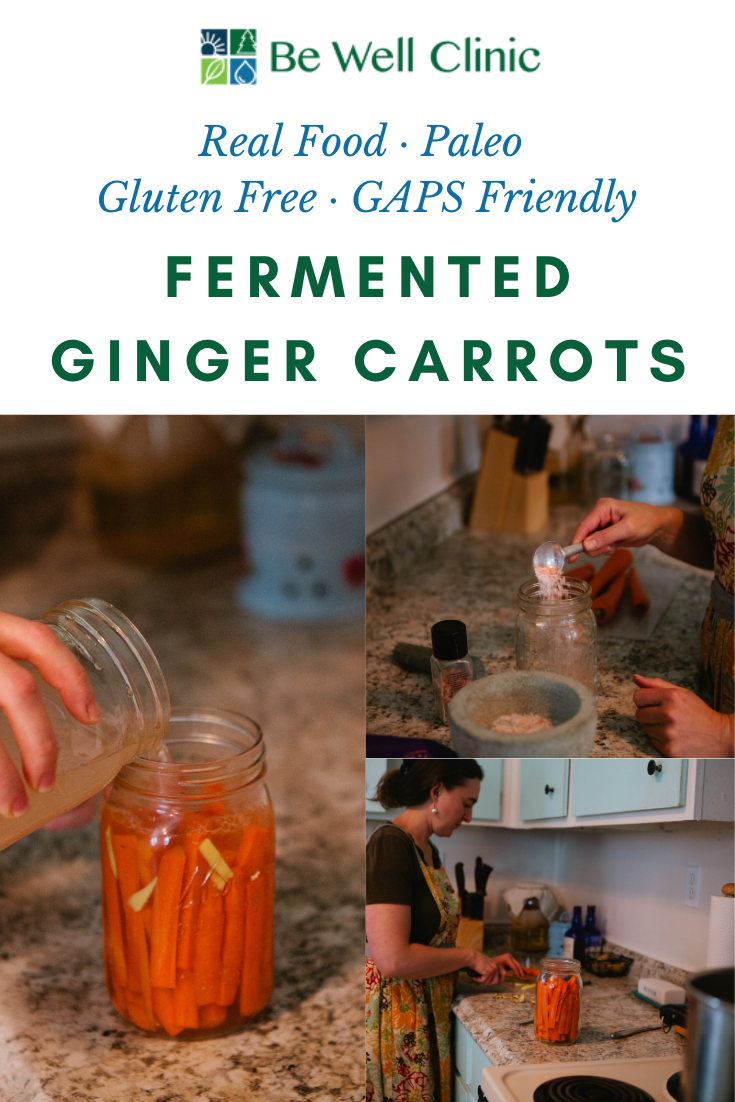
Fermented Ginger Carrots

These are a kid favorite!  This recipe is based on the Nourishing Traditions Cookbook but I’ve found most kids prefer carrots sliced rather than grated.

If you’re new to fermenting, read this section first! Otherwise, skip down to the recipe. 

Jars: I prefer using wide mouth jars for almost everything because small mouth jars are difficult to clean and access. There’s no need to sterilize jars for fermenting. If you clean your jars in your dishwasher, I recommend a quick rinse under hot water to remove any dishwasher soap residue.

Lids: Start with clean jar lids. You can reuse them as long as they are not very broken down or rusted. You can reuse lids from previous projects like water bath canning or other ferments as long as it is not rusty or the plastic is not visibly broken down.

Water: Be sure to use filtered water. The chlorine added to tap water kills microbial creatures so if you use it in your ferments, it will kill the good bacteria that we are trying to grow in our fermented food.

When you are jar fermenting, you need to have a tight seal with the metal lids but after you open a ferment, you can switch to a white plastic lid which will also save your metal lids from rusting and breaking down. 

I have found that simple tight lids work best, I do not use any gas releasing lids as I find them unnecessary and even detrimental. 

This is a super simple ferment to make and because these carrots taste almost fresh, it’s a great option for getting ferments into your children.  

I have just started creating a brine in a separate jar from the ferments. I really like it because it makes fermenting so much faster. All I have to do is pack my jars and then pour my liquid over it. This is especially great if I’m doing multiple types of ferment mixtures or vegetables.

Fun fact about carrots: if you’re growing your own carrots, leave them in the ground until after the first frost. They become sweeter. 

Ingredients

  • 3-4 tbsp Sea Salt (I find in Colorado, 3 is plenty!)

  • 5-6 Carrots

  • 2 inches Fresh Ginger

Directions

IMG_0481.jpg

Create a brine for the carrots. Fill a quart size jar with filtered water. Add salt. Stir. 

Slice carrots into jar sized spears. Cut off the ends. 

IMG_0501.jpg

Add carrots to jars. Shake them to make sure they fit completely. Leave 1 inch head room. 

Peel ginger with the back of a spoon or a knife. You can grate it or slice it. I prefer sliced because I don’t like the spice of ginger. 

IMG_0505.jpg

Wedge the slices of ginger in between the carrots so they don’t float.

Pour the brine of the carrots to the shoulder of the jar.

IMG_0525.jpg

Make sure all the carrots and ginger are under the water. 

Wipe the edge of the jar with a wet paper towel. 

IMG_0534.jpg

Put a lid on the jar and seal to hand tightness. You’re not securing it for take off!

Let set on the counter for a week because of the thickness of the carrots. You can always ferment longer or shorter. As long as there is pressure on the metal lid for at least 24 hours, I consider that fermented. The longer you ferment, the softer they will get. Because carrots are so hard, it will take a long time to get them too soft. If they do get too soft, you can simply cook with them!

I do not recommend burping ferments unless it appears that the jar lid is going to break. In general, I find this is only a problem when you have over filled your jars or when you are making garlic.

After a week, move the ferment to “cold storage.” This can be defined as the fridge, a cool place in your basement or a dark pantry. The lower the temperature, the slower the fermentation action will continue to happen. When you’re ready to eat it, switch the lid to a plastic lid. Wash and dry the metal lid to be used again.


FermentedGingerCarrots.png

Fermented Ginger Carrots

Author: The Be Well Clinic

Ingredients

  • 4 tbsp Sea Salt (I find in Colorado, 3 is plenty!)
  • 6 Carrots
  • 2 inches Fresh Ginger

Instructions

  1. Create a brine for the carrots. Fill a quart size jar with filtered water. Add salt. Stir.
  2. Slice carrots into jar sized spears. Cut off the ends.
  3. Add carrots to jars. Shake them to make sure they fit completely. Leave 1 inch head room.
  4. Peel ginger with the back of a spoon or a knife. You can grate it or slice it. I prefer sliced because I don’t like the spice of ginger.
  5. Wedge the slices of ginger in between the carrots so they don’t float.
  6. Pour the brine of the carrots to the shoulder of the jar.
  7. Make sure all the carrots and ginger are under the water.
  8. Wipe the edge of the jar with a wet paper towel.
  9. Put a lid on the jar and seal to hand tightness. You’re not securing it for take off!
  10. Let set on the counter for a week because of the thickness of the carrots. You can always ferment longer or shorter. As long as there is pressure on the metal lid for at least 24 hours, I consider that fermented. The longer you ferment, the softer they will get. Because carrots are so hard, it will take a long time to get them too soft. If they do get too soft, you can simply cook with them!
  11. I do not recommend burping ferments unless it appears that the jar lid is going to break. In general, I find this is only a problem when you have over filled your jars or when you are making garlic.
  12. After a week, move the ferment to “cold storage.” This can be defined as the fridge, a cool place in your basement or a dark pantry. The lower the temperature, the slower the fermentation action will continue to happen. When you’re ready to eat it, switch the lid to a plastic lid. Wash and dry the metal lid to be used again
Created using The Recipes Generator

Gluten Free Cream of Mushroom Soup

I tried making a Paleo Cream of Mushroom soup when I did Paleo about ten years ago. It was made with coconut and wasn’t the right consistency and not good. I haven’t tried again! 

But I like, like many others, grew up eating casseroles made with processed, commercially available cream of mushroom or cream of chicken soup and wanted to replicate the taste with real food ingredients. This soup can be used as a substitute for any commercially made cream of mushroom soup. I’m excited for the possibilities!

These mushrooms were sourced from Hazel Dell, a local farm just ten minutes from my house! While I love mushrooms, I don’t cook with them. I have a few things like mushroom ketchup that I absolutely love having mushrooms for. I’m thrilled to find a local resource to use! Being grown from a local farm, these mushrooms are a little more expensive than what you might find at the store. But I have a strong conviction that whatever I choose to invest in during this time of economic upheaval will survive and I want to be sure I’m supporting local resources and individual farmers. 

While I used Shiitake Mushrooms, you could also do a mixture of exotic mushrooms. Experiment and enjoy!

Makes approximately 32 ounces of soup

Ingredients:

  • 1 3/4 cups Chicken Stock

  • 5 cups Shiitake Mushrooms

  • ½ a small Onion

  • 4 sprigs of Fresh Thyme or ¼ tsp of Dried Thyme

  • 4 tbsp Butter

  • 1 ½  tbsp Beef Gelatin Powder

  • 1 tsp Salt

  • ½ tsp Pepper

  • 1 cup Cream

  • 1 tbsp Sherry 

Directions:

Make your stock. [Directions Here.]

IMG_8370.jpg

Thinly slice your mushrooms. 

In a large pan, add stock, mushrooms, and thyme. Toss or stir to coat. 

IMG_8374.jpg

Cover and cook until mushrooms are soft, about 10-15 minutes. Your mushrooms will cook down a lot!

IMG_8380.jpg

Add ¼ cup of stock to a separate small pan. Add beef gelatin powder and stir to dissolve. Add in butter and mix well until butter is melted and mixture is thick.

IMG_8399.jpg

Blend mushrooms with an immersion blender or with a table blender slightly, leaving some chunks.

Add gelatin mixture, cream, and sherry to mixture. Mix and let simmer for 10-15 minutes. If you need the sherry to be cooked out, make sure your soup is at an active simmer!

Enjoy!


CreamofMushroomSoup.png

Gluten Free Cream of Mushroom Soup

Author: The Be Well Clinic

Ingredients:

  • 1 3/4 cups Chicken Stock
  • 5 cups Shiitake Mushrooms
  • ½ a small Onion
  • 4 sprigs of Fresh Thyme or ¼ tsp of Dried Thyme
  • 4 tbsp Butter
  • 1 ½ tbsp Beef Gelatin Powder
  • 1 tsp Salt
  • ½ tsp Pepper
  • 1 cup Cream
  • 1 tbsp Sherry

Instructions:

  1. Make your stock. [Directions Here.]
  2. Thinly slice your mushrooms.
  3. In a large pan, add stock, mushrooms, and thyme. Toss or stir to coat.
  4. Cover and cook until mushrooms are soft, about 10-15 minutes. Your mushrooms will cook down a lot!
  5. Add ¼ cup of stock to a separate small pan. Add beef gelatin powder and stir to dissolve. Add in butter and mix well until butter is melted and mixture is thick.
  6. Blend mushrooms with an immersion blender or with a table blender slightly, leaving some chunks.
  7. Add gelatin mixture, cream, and sherry to mixture. Mix and let simmer for 10-15 minutes. If you need the sherry to be cooked out, make sure your soup is at an active simmer!
  8. Enjoy!
Created using The Recipes Generator

Fermented Sourdough Tortillas

Ingredients for Sourdough Tortillas:

  • ½ cup Sourdough Starter

  • 3 tbsp Melted Lard

  • 1 tsp sea salt

  • ½ cup Raw Milk

  • 2 cups Einkorn All Purpose Flour (Jovial) + more for dusting

  • Cheese for Quesadilla 

Directions for Sourdough Tortillas:

24 hours before:

Melt lard slightly in a saucepan. Transfer lard to a large bowl. Add in milk and salt. Stir.

When cooled slightly, add in the starter and stir. Add ½ cup of flours until you reach 2 cups.

Remove from the bowl and add to a slightly floured surface. Knead for 3 minutes.

Put in a bowl on the counter. Cover. If you live in a dry climate like me, you may want to put a little bit of filtered water on top of your dough and cover with a wet towel.

After 24 hours:

IMG_8474.jpg

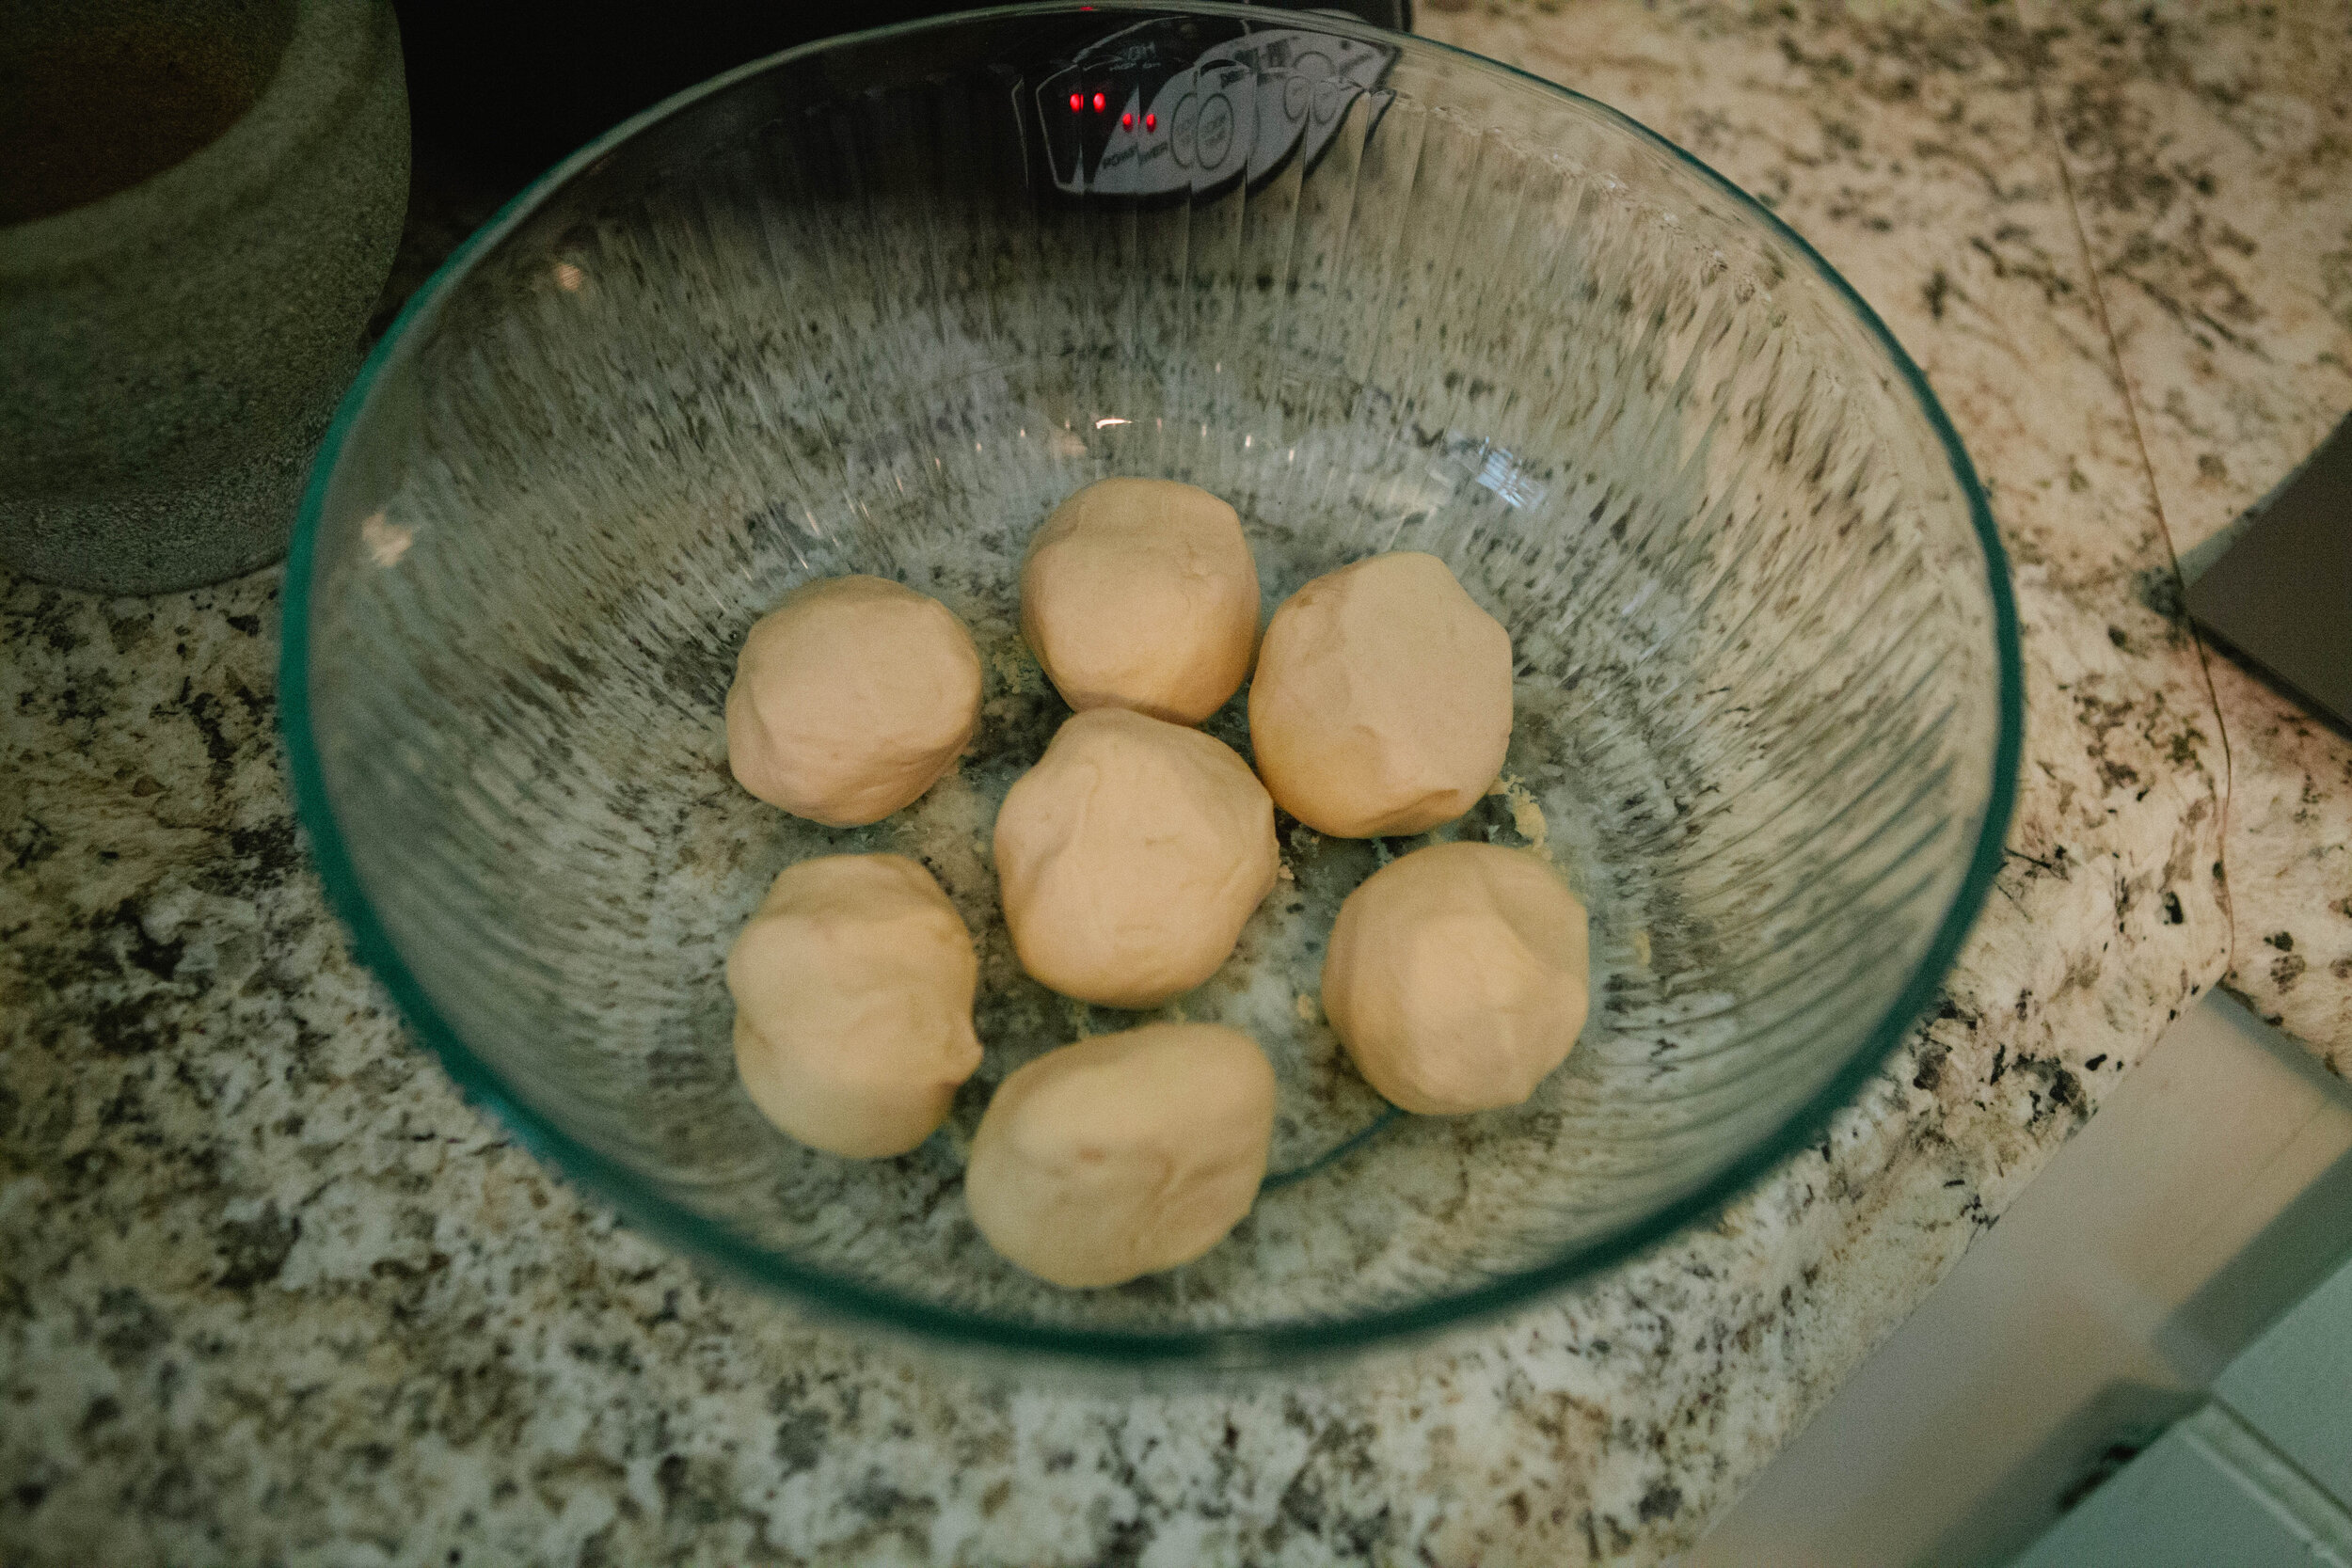
Divide dough into 8 pieces. Roll into balls and set aside.

Heat a little bit of lard or tallow in a pan, enough to cover the bottom.

IMG_8485.jpg

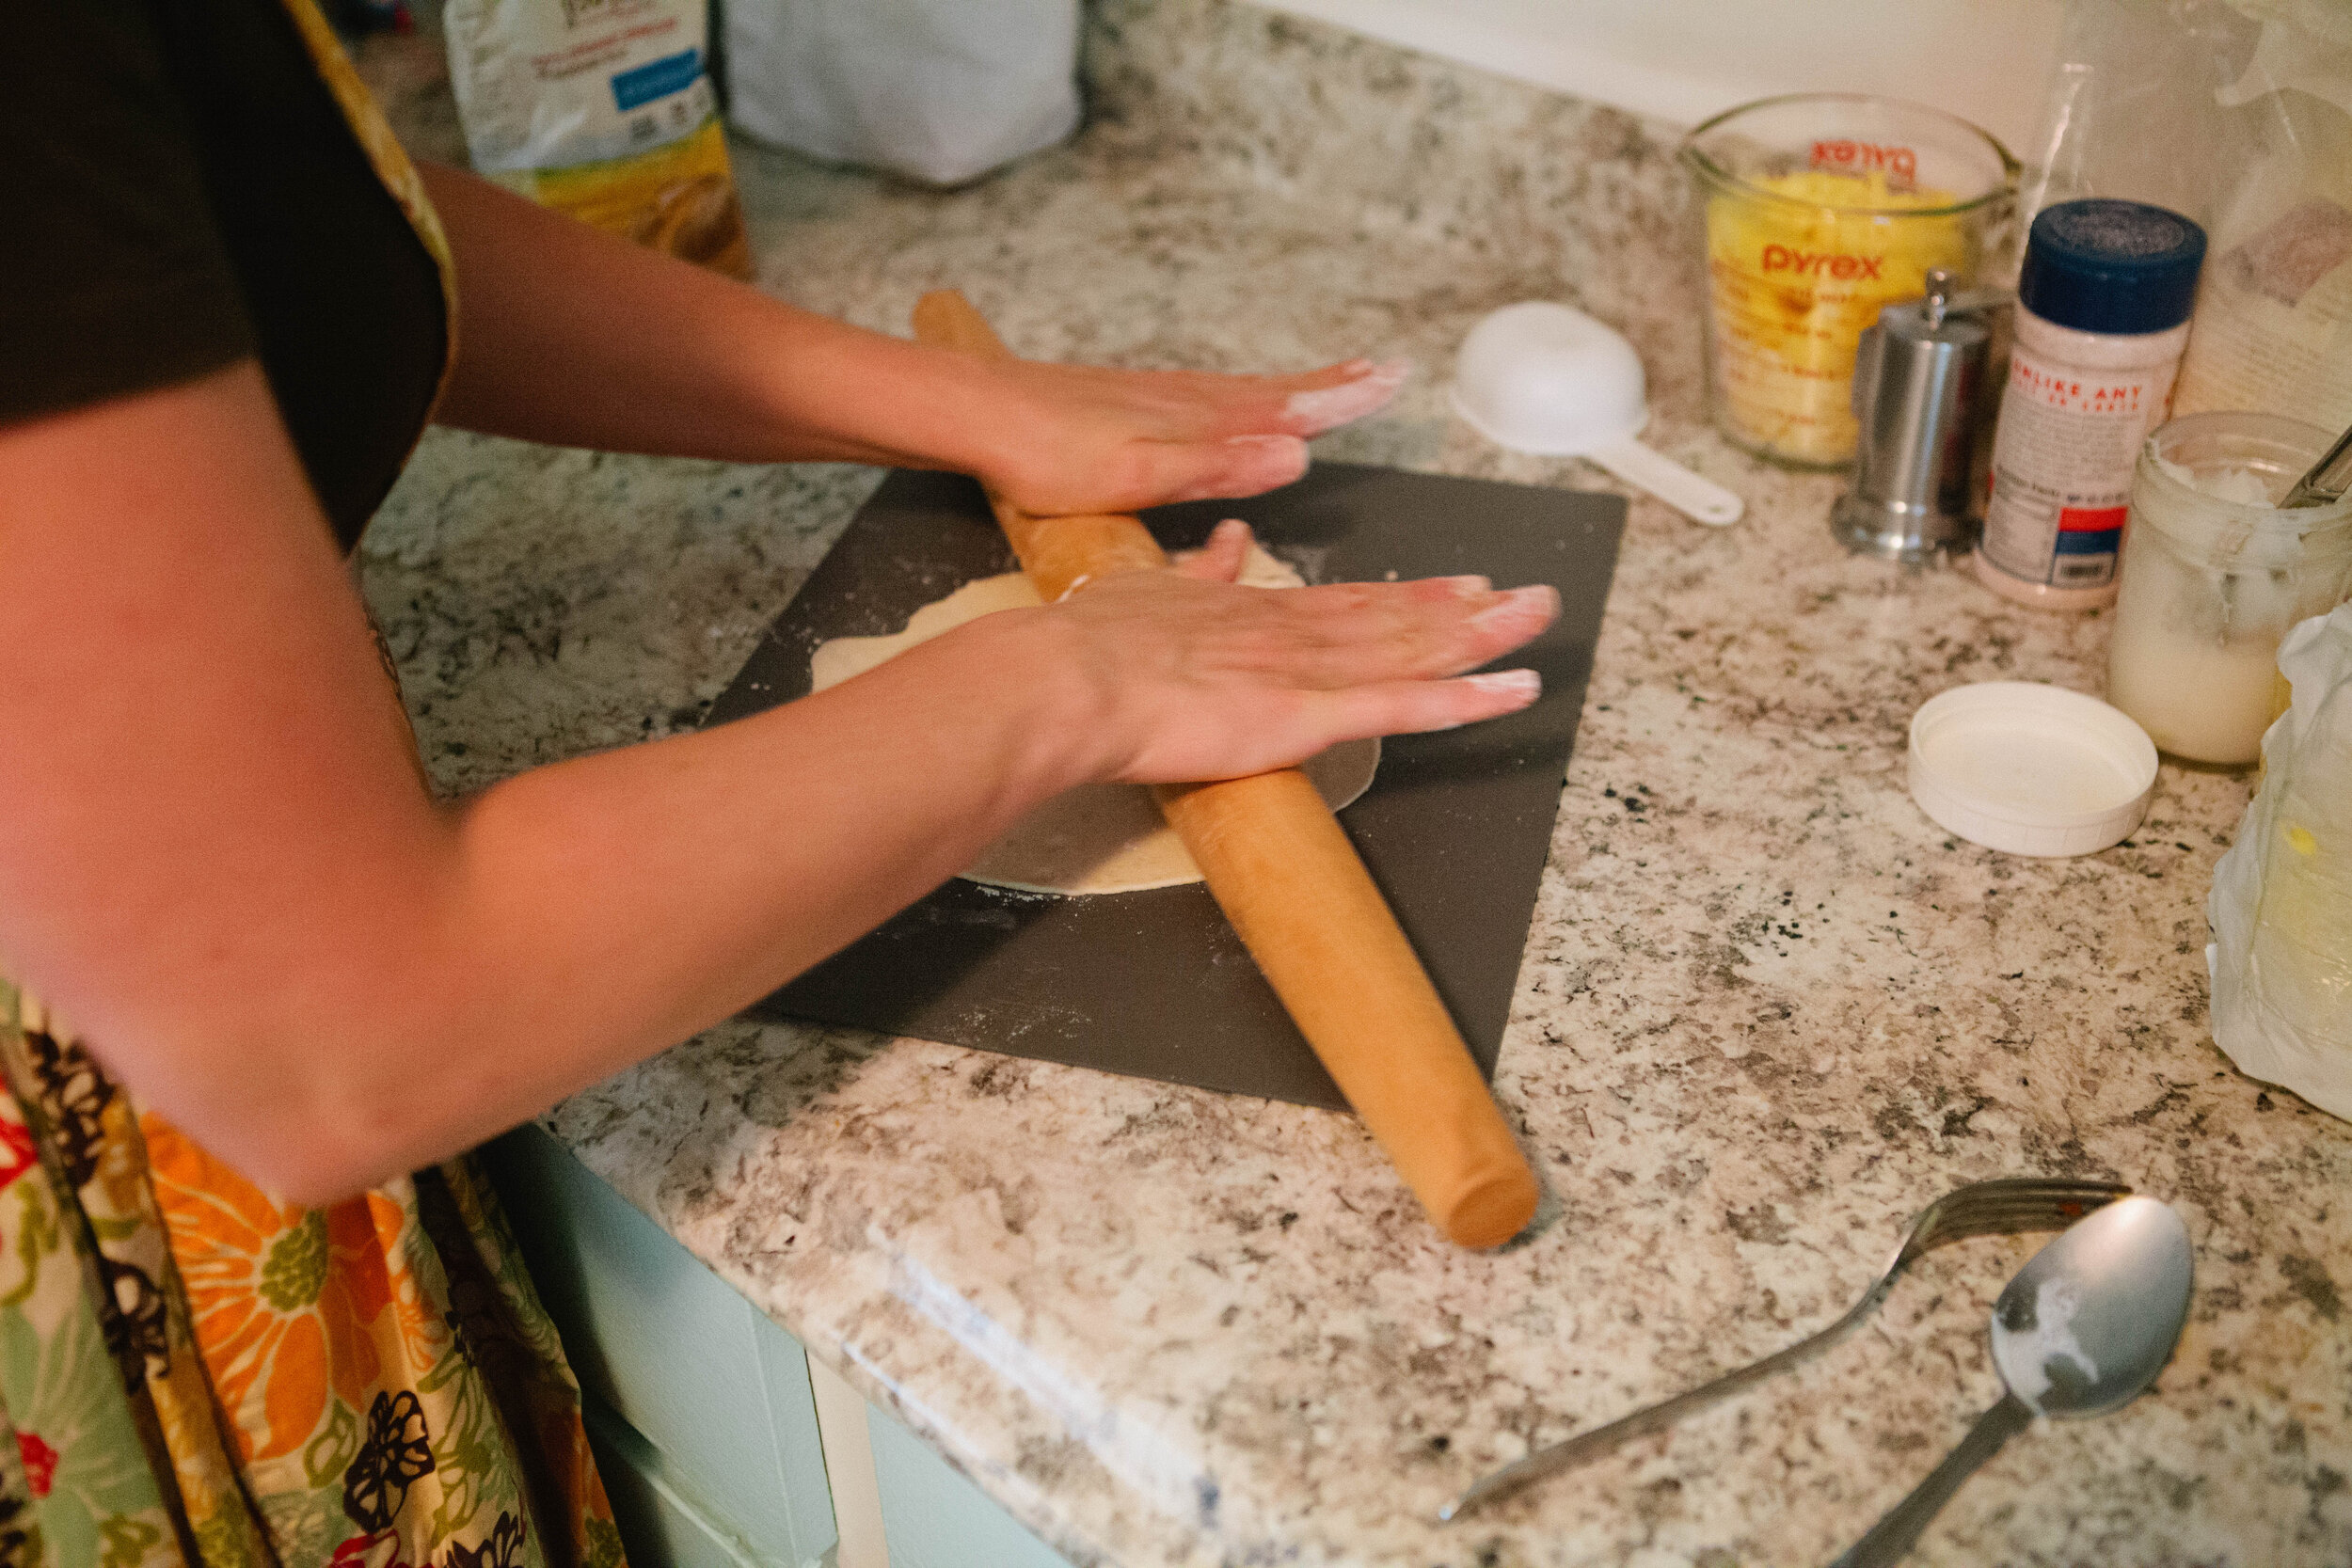
Add a light dusting of Einkorn flour to a board or the counter. You can also use cornstarch, tapioca starch, cassava flour, rice flour, or potato starch for this part of the process -anything that you can tolerate if you can’t tolerate un-fermented wheat.

Roll tortilla balls 1 by 1 flat into a circle.

IMG_8491.jpg

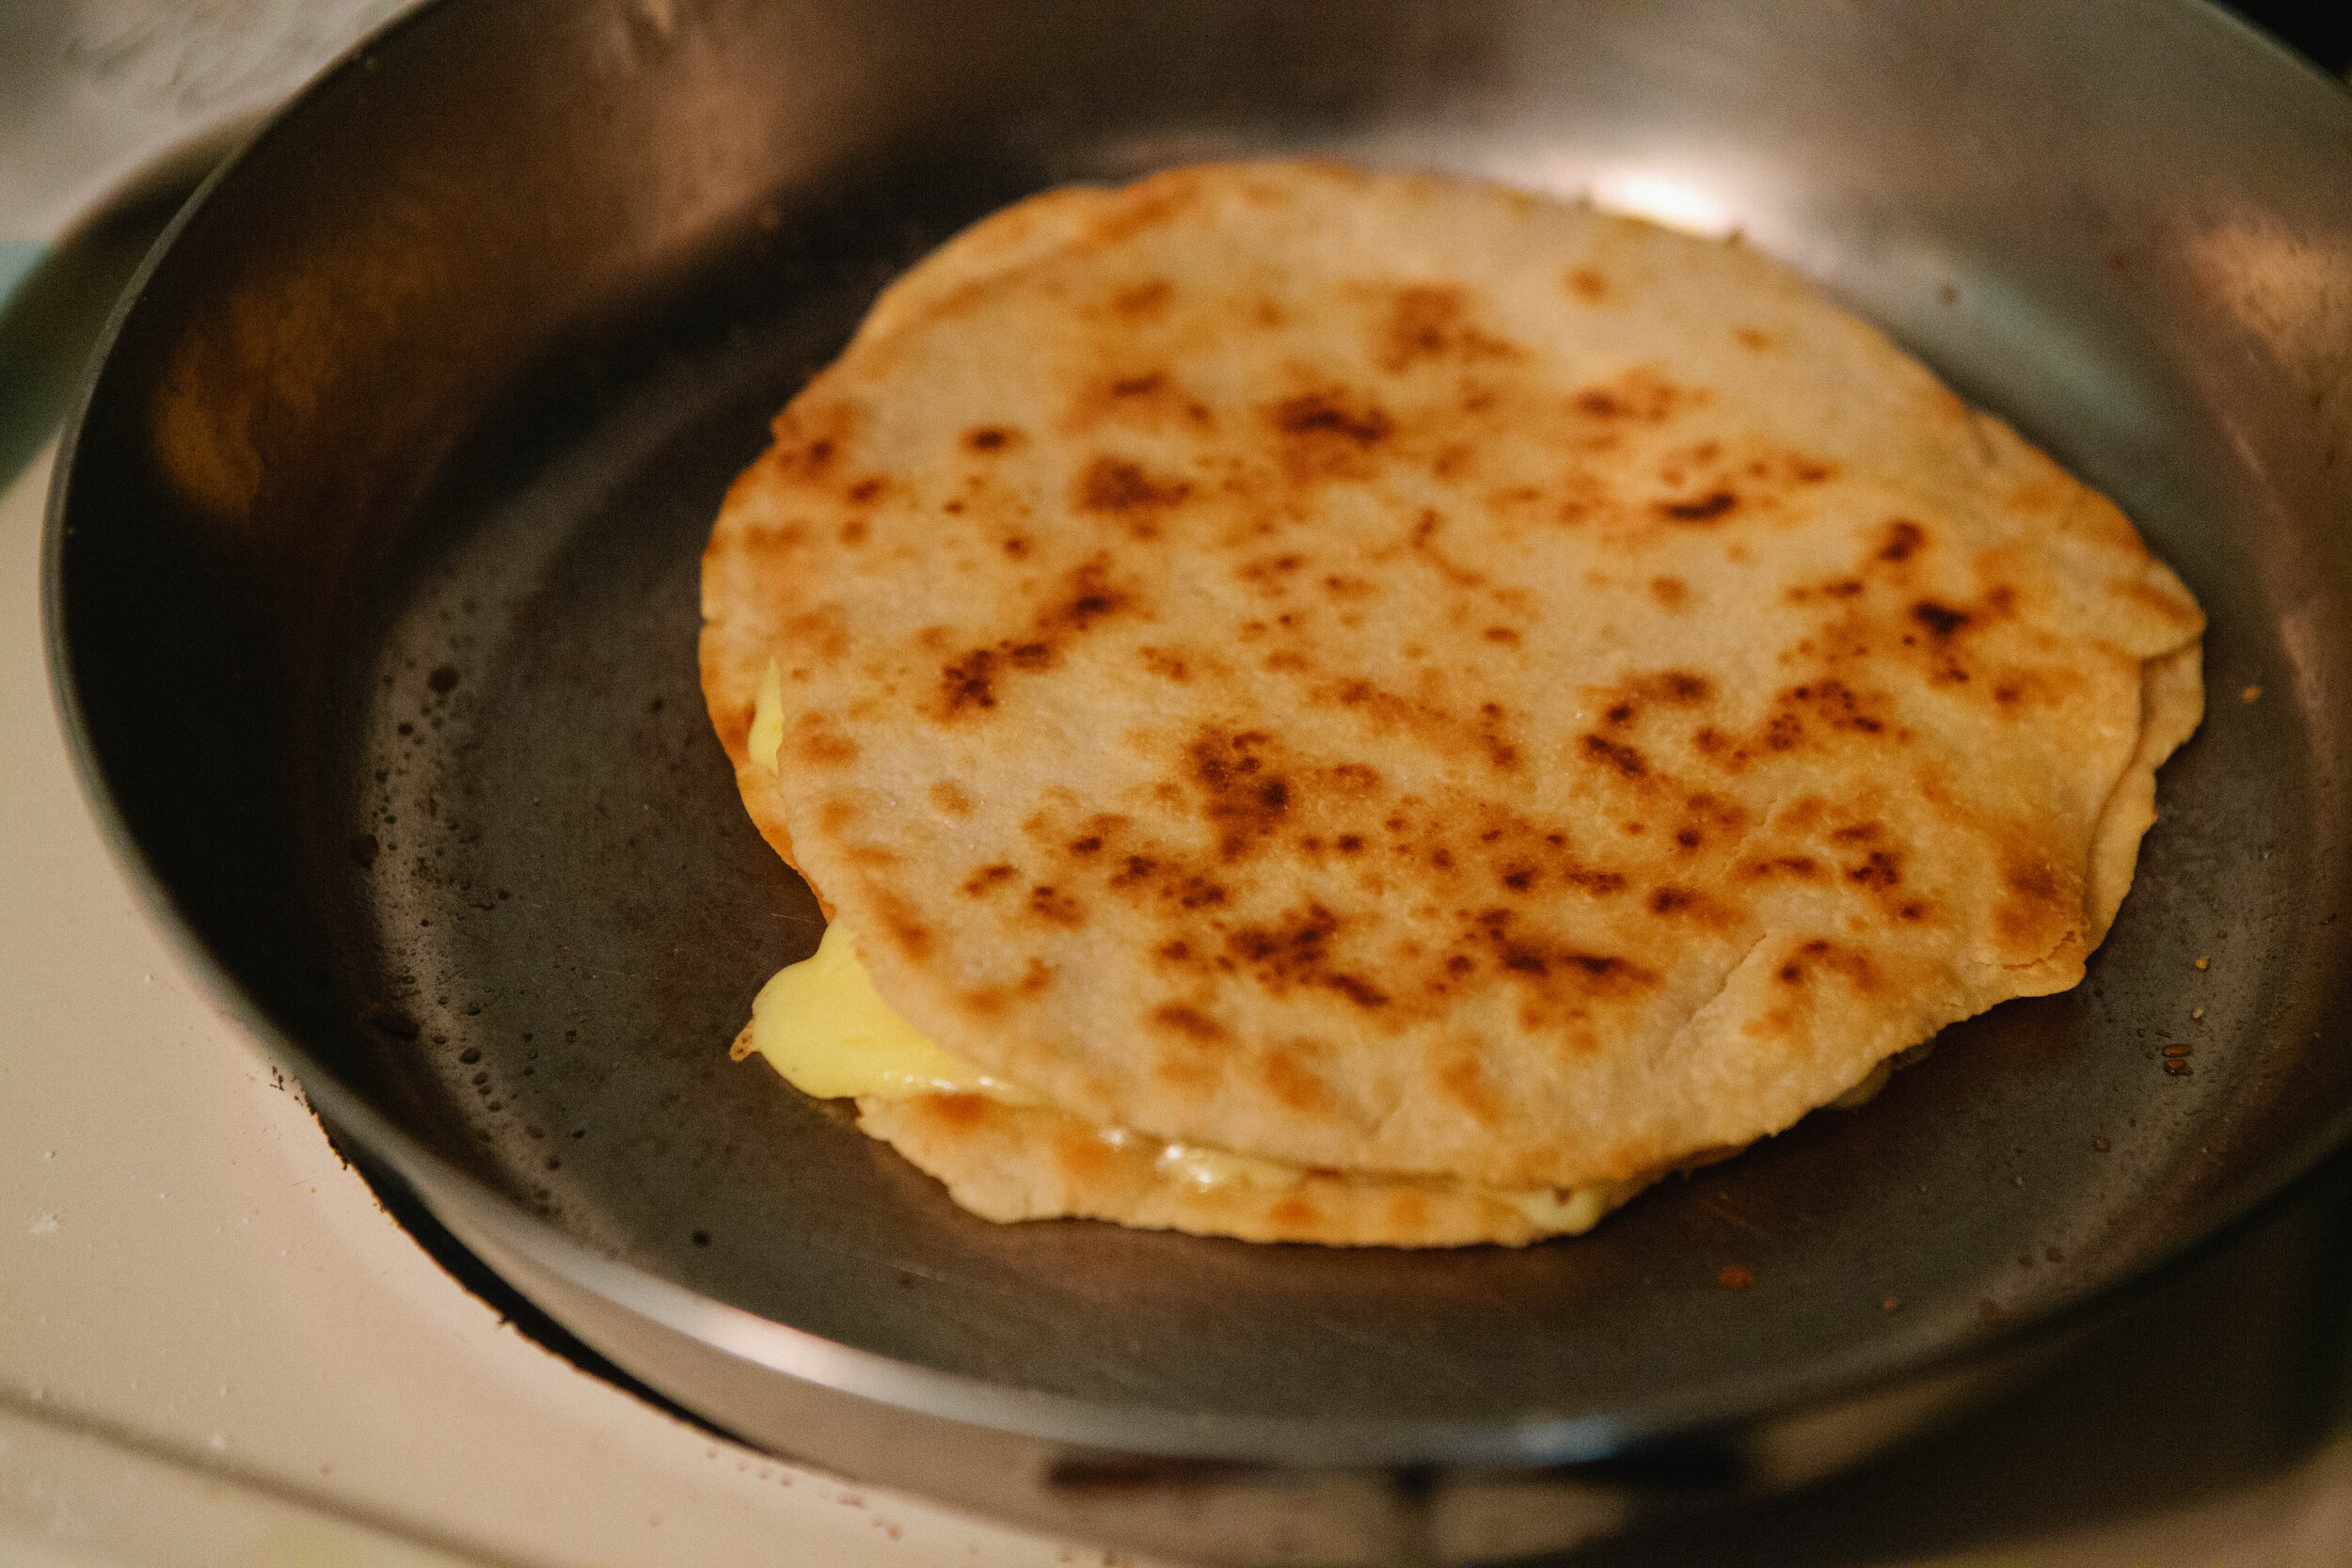
When the pan is hot, add the tortilla.

When there are cooked bubbles and it peels away from the pan easily, you can flip the tortilla and cook the other side.

IMG_8547.jpg

When both sides are cooked, add cheese and top with another tortilla.


Author: The Be Well Clinic

Ingredients:

  • ½ cup Sourdough Starter
  • 3 tbsp Melted Lard
  • 1 tsp sea salt
  • ½ cup Raw Milk
  • 2 cups Einkorn All Purpose Flour (Jovial) + more for dusting
  • Cheese for Quesadilla

Instructions:

  1. 24 hours before:
  2. Melt lard slightly in a saucepan. Transfer lard to a large bowl. Add in milk and salt. Stir.
  3. When cooled slightly, add in the starter and stir. Add ½ cup of flours until you reach 2 cups.
  4. Remove from the bowl and add to a slightly floured surface. Knead for 3 minutes.
  5. Put in a bowl on the counter. Cover. If you live in a dry climate like me, you may want to put a little bit of filtered water on top of your dough and cover with a wet towel.
  6. After 24 hours:
  7. Divide dough into 8 pieces. Roll into balls and set aside.
  8. Heat a little bit of lard or tallow in a pan, enough to cover the bottom.
  9. Add a light dusting of Einkorn flour to a board or the counter. You can also use cornstarch, tapioca starch, cassava flour, rice flour, or potato starch for this part of the process -anything that you can tolerate if you can’t tolerate un-fermented wheat.
  10. Roll tortilla balls 1 by 1 flat into a circle.
  11. When the pan is hot, add the tortilla.
  12. When there are cooked bubbles and it peels away from the pan easily, you can flip the tortilla and cook the other side.
Created using The Recipes Generator
FermentedSourdoughTortillas.png

GAPS Italian Casserole

Italian Casserole is a very versatile dish that can be made with virtually any cut of meat that you might have on hand and any seasonal vegetables you have on hand. In fact, this is the ideal seasonal eating dish because it’s so versatile! 

When choosing your meat, you do need to ensure there is a bone with a joint in it to achieve some amount of gelatinous healing stock. If your cut of meat is not very fatty, you can add some fat to the dish. Cooking with fat will help draw the nutrients out of the food because the fat helps your body absorb nutrients and makes them more readily available. Learn more about the benefits of fat here!

This is a Stage 2 food on the GAPS Protocol. It still makes a thick gelatinous stock but the meat isn’t fully immersed in water when it’s cooked which potentially makes it a little more difficult to digest.

I highly recommend making this in a dutch oven if you have one available. If you don’t, any covered casserole dish or slow cooker will work.

 Ingredients for GAPS Italian Casserole:

  • Meat: I used 2.75 lb Lamb Shoulder

  • Fresh Herbs: I used parsley, thyme, basil, oregano

  • Vegetables: I used zucchini squash, leeks, and carrots

  • 6 Cloves of Garlic

  • Salt

  • 1 liter Filtered Water or Stock

Directions for GAPS Italian Casserole:

IMG_8209.jpg

Cut up your vegetables and add them to your cooking dish. Mix them together.

Roughly chop your herbs and add them to your cooking dish. Salt as desired.

Peel the garlic cloves and smash them with the side of your knife. 

IMG_8247.jpg

Rinse the meat well. Nestle the meat fat side up into the dish with vegetables. Add salt to the meat.

IMG_8259.jpg

Add filtered water to the dish. I pour at the sides so that I don’t pour the delicious salt off. 

IMG_8451.jpg

Cook 4-8 hours in the oven or crock pot depending on the heat that you have and the time that you have. I wouldn’t go more than eight hours because of the glutamic acid. Low and slow will always be more delicious!

Enjoy as a meal on its own!


GAPS Italian Cassrole

Author: The Be Well Clinic
Prep time: Cook time: Total time:

Ingredients:

  • Meat: I used 2.75 lb Lamb Shoulder
  • Fresh Herbs: I used parsley, thyme, basil, oregano
  • Vegetables: I used zucchini squash, leeks, and carrots
  • 6 Cloves of Garlic
  • Salt
  • 1 liter Filtered Water or Stock

Instructions:

  1. Cut up your vegetables and add them to your cooking dish. Mix them together.
  2. Roughly chop your herbs and add them to your cooking dish. Salt as desired.
  3. Peel the garlic cloves and smash them with the side of your knife.
  4. Rinse the meat well. Nestle the meat fat side up into the dish with vegetables. Add salt to the meat.
  5. Add filtered water to the dish. I pour at the sides so that I don’t pour the delicious salt off.
  6. Cook 4-8 hours in the oven or crock pot depending on the heat that you have and the time that you have. I wouldn’t go more than eight hours because of the glutamic acid. Low and slow will always be more delicious!
  7. Enjoy as a meal on its own!
Created using The Recipes Generator
GAPSItalianCasserole.png

Cured Pork Belly at Home

Pork belly is a great meat because it is so high in fat! That’s why we enjoy bacon so much. Unfortunately most conventional bacons are cured with chemicals, natural and unnatural, some of which are not GAPS Legal - or good for us! If you have access to pork belly, this is a great way to enjoy this fatty cut of meat while on the GAPS Diet.

When sourcing your pork, make sure you find pastured pork. Pigs need to eat dirt within hours of life in order to have a proper microbiome which will set up the gut (and thus full body) health of the pig for their whole life. 

Once your pork belly is cured, you can slice into bacon pieces. Freeze it wrapped in packages or cook up the whole batch and invite your friends to a bacon party. While delicious on it’s own for breakfast, you can also add bacon to this baked beans recipe. You can also use the grease from the bacon for this wilted salad recipe. If you like the taste of bacon, you can also use the fat as the fat to fry your vegetables in.

Ingredients for Cured Pork Belly:

5 lbs Pork Belly

3 tbsp Juniper Berries

2  tbsp Freshly Ground Pepper

2 tbsp Fresh Sage

1 tbsp Thyme 

2 tbsp Salt

8 ish tsp Honey

Directions for Curing Pork Belly at Home:

IMG_8284.jpg

Add your herbs to a mortar and pestle to grind. Mix herbs and pepper in a small bowl.

IMG_8314.jpg

Trim any less than fresh pieces off your meat and slice into chunks.

IMG_8330.jpg

Add spice mixture to chunks and rub into the meat.

Drizzle approximately 1 tsp of honey on each side. 

IMG_8363.jpg

Wrap each piece in unbleached butcher paper or in parchment paper. Close with tape or twine. 

Add pork belly to fridge. 

Every day, flip the pork belly over.

Allow to cure for 5-6 days depending on the thickness of the pork belly. If it’s thicker, you may need to allow it to cure for longer.

IMG_8365.jpg

HowtoCurePorkBelly.png

Cured Pork Belly

Author: The Be Well Clinic
Prep time: Cook time: Total time:

Ingredients:

  • 5 lbs Pork Belly
  • 3 tbsp Juniper Berries
  • 2 tbsp Freshly Ground Pepper
  • 2 tbsp Fresh Sage
  • 1 tbsp Thyme
  • 2 tbsp Salt
  • 8 ish tsp Honey

Instructions:

  1. Add your herbs to a mortar and pestle to grind. Mix herbs and pepper in a small bowl.
  2. Trim any less than fresh pieces off your meat and slice into chunks.
  3. Add spice mixture to chunks and rub into the meat.
  4. Drizzle approximately 1 tsp of honey on each side.
  5. Wrap each piece in unbleached butcher paper or in parchment paper. Close with tape or twine.
  6. Add pork belly to fridge.
  7. Every day, flip the pork belly over.
  8. Allow to cure for 5-6 days depending on the thickness of the pork belly. If it’s thicker, you may need to allow it to cure for longer.
Created using The Recipes Generator

How to Host a Real Food Barbecue

When you are on a real food diet, sometimes one of the worst places to go is a barbecue because it can be difficult to find foods you can eat. However, that’s only because we have changed the way we make and prepare foods. Actually, all foods that you find at a barbecue were at one point real foods! With just a few tweaks and some preparation time, you can create a barbecue full of real food to satisfy you and your friends.

If you’ve never made any of these foods from scratch before, I recommend starting with just one and perfecting the recipe before moving on to the next one.

This timeline will give you the directions to create a full real food BBQ with the following recipes:

48 Hours Before:

Combine all the ingredients for the Fermented Ketchup and mix well. Add to a mason jar with a lid tightly closed. Allow to ferment at room temperature for two days. Be sure to give some head space, at least an inch at the top of the jar.

24 Hours Before:

24 hours before, soak the beans for the Baked Beans in filtered water. Rinse every 12 hours until they grow sprouts.

The Day Of:

8 hours ahead of time, bring a large pot of water to boil on the stove for the Baked Beans. You want to add enough water to cover the beans. Rinse the beans again, moving them in the water with your hand. You want to remove as many of the skins of the beans as you can.

Add butter or lard to a large cast iron pan. When melted, add in chopped onion. 

Measure out 4 cups of sprouted beans into a large pot. Skim the skins off the top of the beans as they float to the top. Preheat the oven to 350.

When the beans are boiling, add in the remaining ingredients. If your large pot is not oven safe, place your beans in a large oven safe dish. Or if you’re like me and can’t find your large oven safe dish, two smaller ones are fine.  

Place the beans in the oven for about 6 hours. In Colorado, I had to stir and add about a half to a full pint of water to the beans every hour. Make sure you watch them so they don’t burn to the bottom of the pan.

An hour ahead of time, fill a large pot with filtered water. Bring to a boil on the stove. Cut the butternut squash at the base of the neck. Remove the skin of the butternut squash using the sharpest knife you can find, leaving as much of the meat on as you can.

Determine the size you want your french fries to be and cut the squash in half. Scrap out the squash innards. Slice your squash into long, thin slices resembling a french fry.

Preheat oven to 400. Add 1-2 tbsp of tallow or lard to the fries, enough to coat them. Shake salt over the top. Lay them out onto a baking sheet covered with parchment paper. Bake for approximately 30 minutes at 400. Stir every ten minutes. Then broil them for 5 minutes until crisp.

Salt them again immediately after they come out of the oven.

Add all ingredients for BBQ sauce to a jar and shake to combine.

Light the grill. Cook the chicken for a few minutes on each side then coat with BBQ sauce.

Wash and roll your lemons to get the juices released. Slice them in half and squeeze into a small mesh strainer over a jar, glass, or small pitcher to catch any seeds.

Add 3 cups of water to the mixture and stir. Add in 2 tablespoons of honey and mix well.

Plate everything and enjoy!

Check out some additional dishes for a barbecue!

Real Food Onion Dip

Onion dip used to be my favorite party dip. For a long time, I have not eaten it because commercially prepared dips are full of chemicals. However, like with many foods that are now available commercially, these used to be available made from scratch. This is my attempt at making a real food onion dip.

Making delicious dips is not just about good food although pleasure in food is important and should never be underestimated. But when we make dips from real food ingredients we are also adding nutrition to our bodies with every bite. I love that the foods I used to eat that I thought weren’t best for my body are now foods I can make purposefully and joyfully knowing that each bite will bring nutrients to my body. It’s taken me many years to get where I am and I still have far to go but I want to encourage you to keep pursuing learning how to make real nutritious food for yourself and your family. You will never regret it!

Ingredients for Onion Dip:

2 Small or 1 Medium Onions

2 tbsp Butter

4-5 Cloves of Garlic

¼ tsp Salt + more for seasoning onions

8 oz Sour Cream

2 tsp Mushroom Ketchup

1 tsp Apple Cider Vinegar

Directions for Onion Dip:

IMG_8272.jpg

Finely chop onions. Like really tiny. Add to a frying pan with butter and stir to evenly coat. Season with salt.

IMG_8279.jpg

Cook the onions until they are caramelized. Peel the garlic cloves and finely chop. Add to the pan and stir.

Watch your onions, stirring every 5-10 minutes to keep them from burning. They should take around 20-30 minutes to fully caramelize.

Once the onions have caramelized, turn off the heat so they cool slightly.

IMG_8298.jpg

In a bowl, add sour cream, slightly cooled onions, mushroom ketchup, apple cider vinegar and the ¼ tsp of salt. Stir to combine.

Allow the mixture to sit at room temperature for a few hours for the flavors to blend.

Dip carrot sticks, cheese sticks or quesadillas. Enjoy!


HowtoMakeRealFoodOnionDip.png

Real Food Onion Dip

Author: The Be Well Clinic
Prep time: Cook time: Total time:

Ingredients:

  • 2 Small or 1 Medium Onions
  • 2 tbsp Butter
  • 4-5 Cloves of Garlic
  • ¼ tsp Salt + more for seasoning onions
  • 8 oz Sour Cream
  • 2 tsp Mushroom Ketchup
  • 1 tsp Apple Cider Vinegar

Instructions:

  1. Finely chop onions. Like really tiny. Add to a frying pan with butter and stir to evenly coat. Season with salt.
  2. Cook the onions until they are caramelized. Peel the garlic cloves and finely chop. Add to the pan and stir.
  3. Watch your onions, stirring every 5-10 minutes to keep them from burning. They should take around 20-30 minutes to fully caramelize.
  4. Once the onions have caramelized, turn off the heat so they cool slightly.
  5. In a bowl, add sour cream, slightly cooled onions, mushroom ketchup, apple cider vinegar and the ¼ tsp of salt. Stir to combine.
  6. Allow the mixture to sit at room temperature for a few hours for the flavors to blend.
  7. Dip carrot sticks, cheese sticks or quesadillas.
Created using The Recipes Generator

Gummy Worms

For a birthday celebration or other special occasion, gummy worms can be a great treat! This recipe is full GAPS legal and although it should be consumed infrequently, it’s a sweet treat you can offer your kids with no guilt. 

These gummy worms are easy to make in any flavor or flavor combination you or your kids like. The ratio of fruit to gelatin is pretty forgiving. Just shoot for approximately two cups of fruit. You want to keep the ratio of gelatin to water the same. 

While I don’t normally recommend using silicone, there’s not really a different option to make gummy worms that are shaped like well worms. The molds I used are oven safe but I still try to avoid as much contact between something warm and plastic. I also purchased silicone trays that were trying. They are FDA approved for safety; not all the trays I found had the same certifications. Make sure you wash them before you use them!

Ingredients for Gummy Worms:

  • 2 heaping cups of fruit

  • ⅔ cup filtered water + more for the bottom of your pot

  • 2 tbsp of gelatin 

  • 2 tbsp of honey

Directions for Gummy Worms:

IMG_1652.jpg

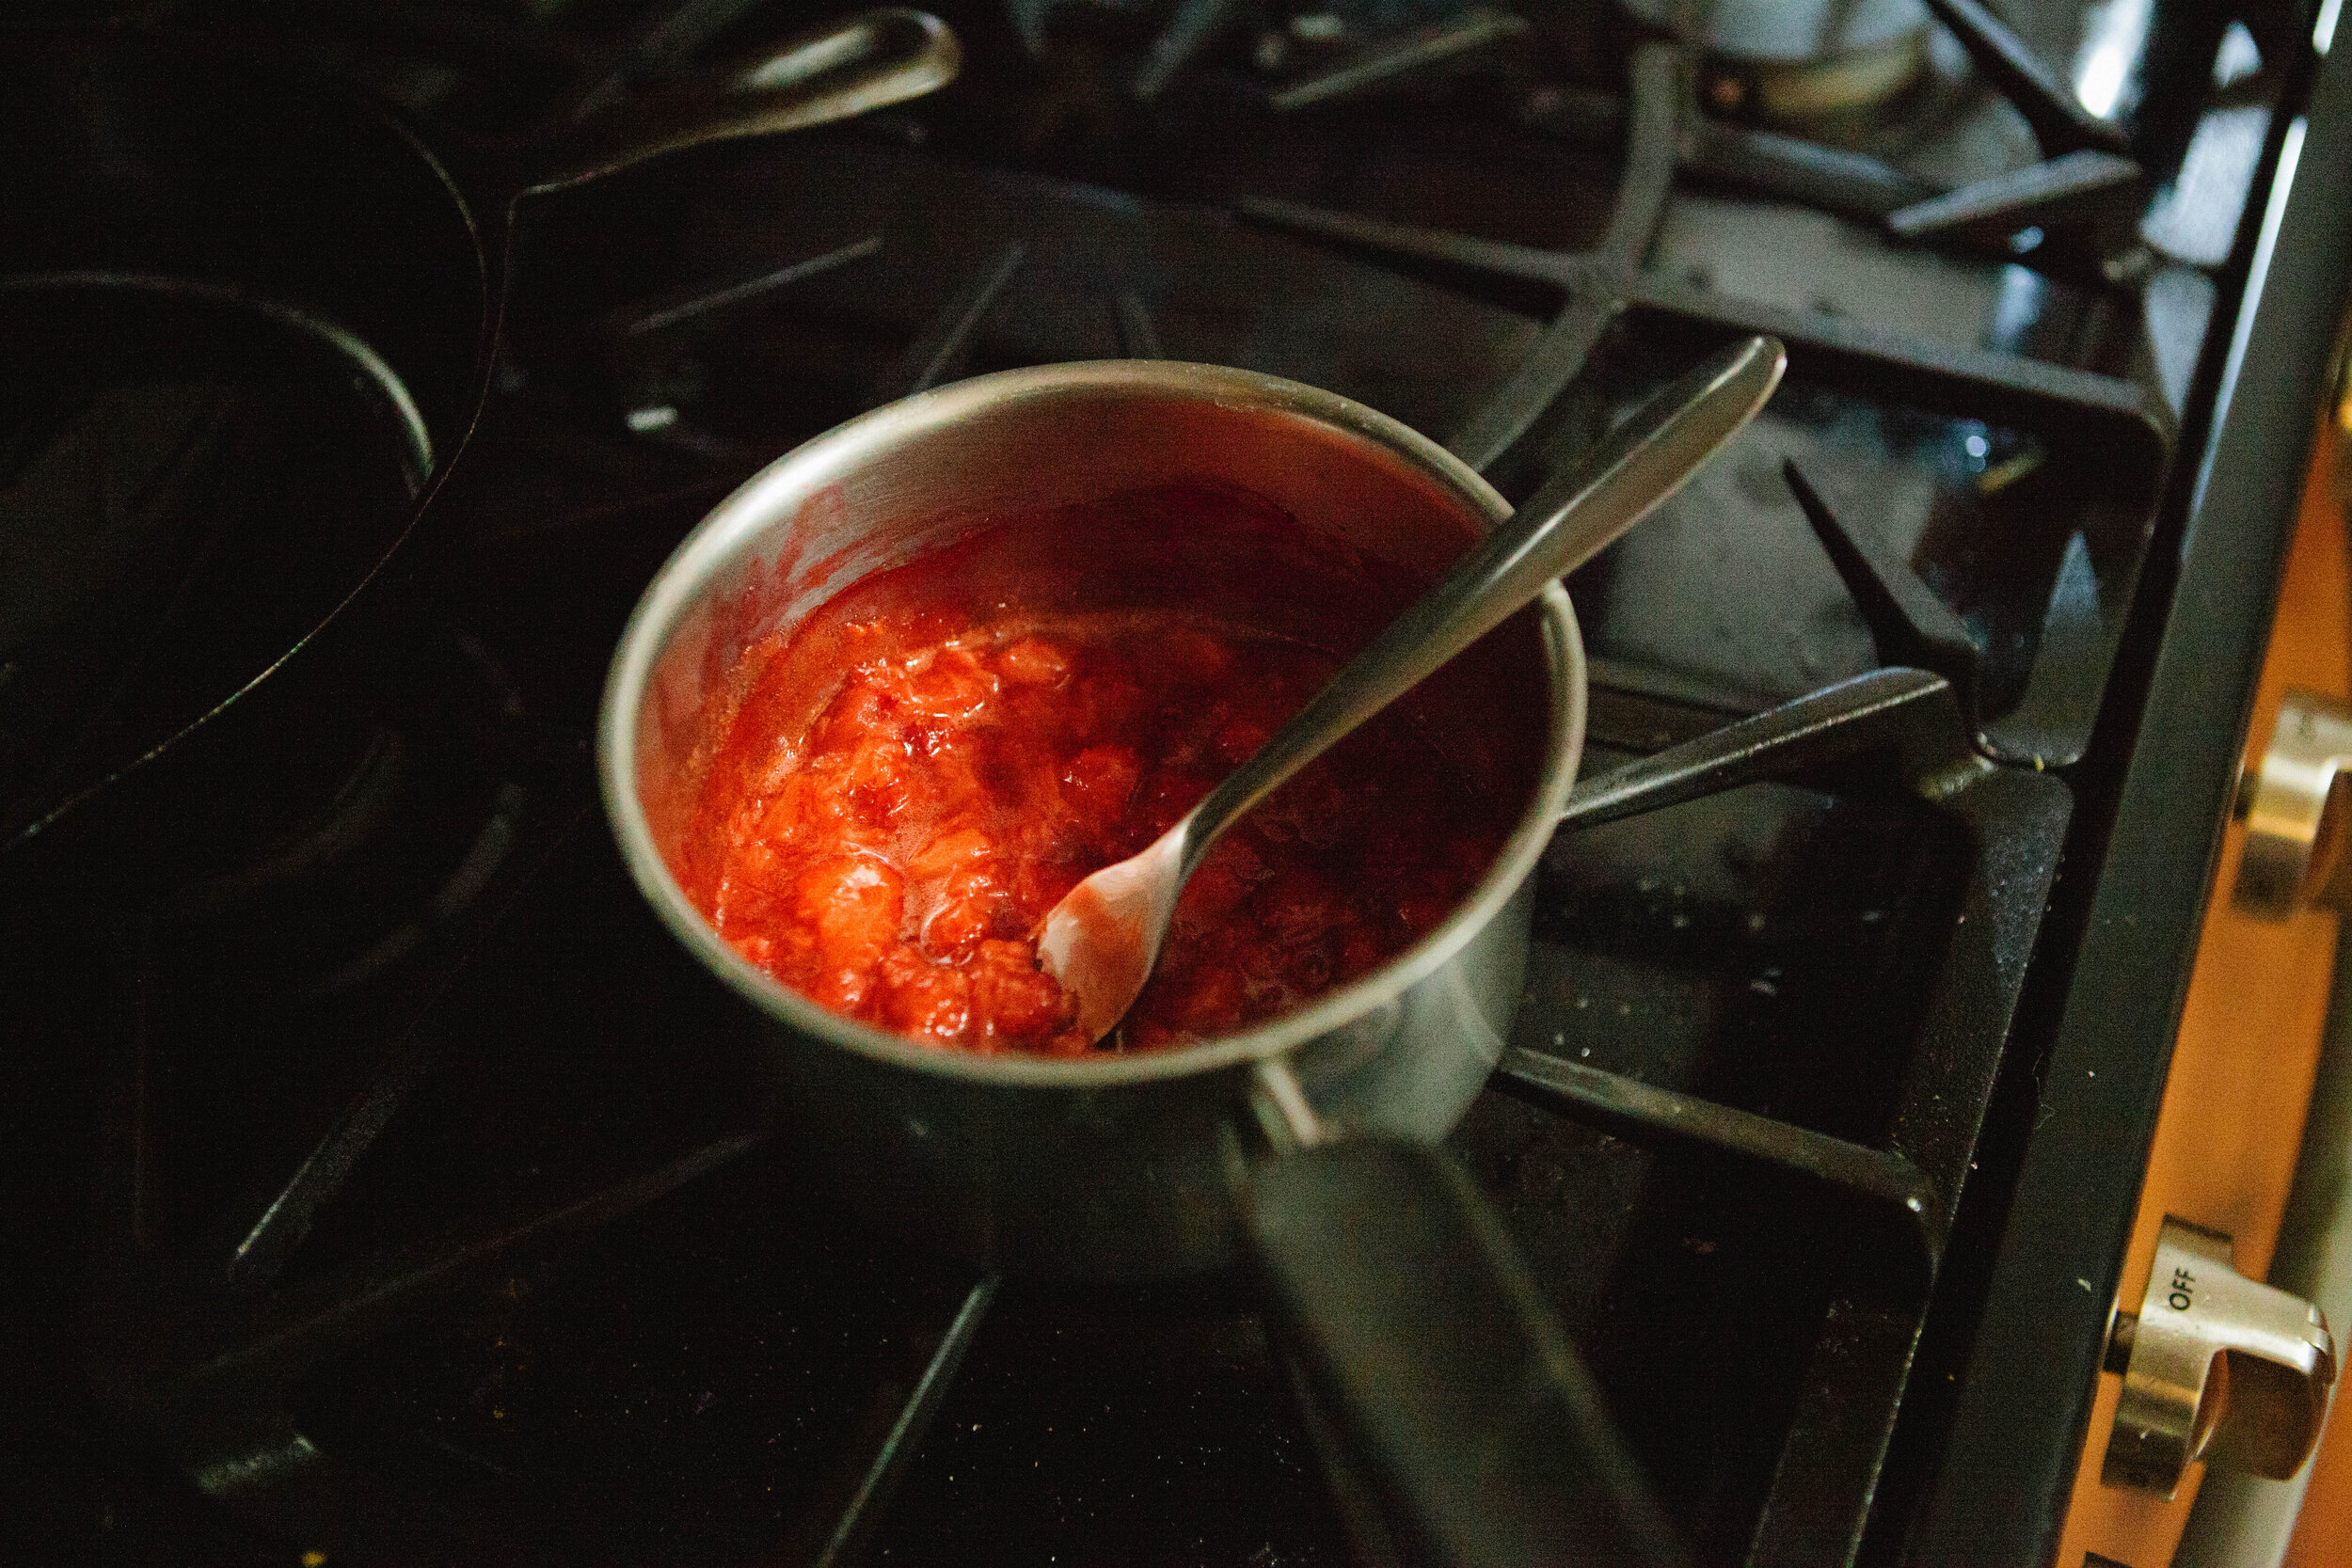
Add heaping cups of fruit to a small sauce pan. Add a little water on the bottom to keep them from burning. Turn the stove to medium heat. Simmer until the berries are very soft and mashable.

Warm ⅔ cup of water in another small sauce pan. When warmed at least to 90 degrees, add in gelatin and whisk for several minutes to mix completely. Cooler water will cause your gelatin to clump. The mixture needs to be “blood temperature.” 

IMG_1660.jpg

Add the fruit mixture to a food processor with the gelatin mixture. Blend until smooth.

Allow to cool and settle slightly. When cooled slightly, add the honey. It’s important not to add the honey to the mixture when it’s too hot or it will cook it. Optionally, strain the mixture through a small mesh strainer to catch any chunks. 

IMG_1681.jpg

Using a spoon, dropper, or turkey baster, fill your gummy molds until the mixture is to the top.

Set the mixture into the fridge to cool OR fill a tray with ice and water and set the mixture on top. 

IMG_1846.jpg

Chill for approximately one to two hours. Remove from the molds. I found it easiest to use a spoon to remove them.

Enjoy!


Howtomakerealfoodgummyworms.png

Gummy Worms

Author: The Be Well Clinic
Prep time: Cook time: Total time:

Ingredients:

  • 2 heaping cups of fruit
  • ⅔ cup filtered water + more for the bottom of your pot
  • 2 tbsp of gelatin
  • 2 tbsp of honey

Instructions:

  1. Add heaping cups of fruit to a small sauce pan. Add a little water on the bottom to keep them from burning. Turn the stove to medium heat. Simmer until the berries are very soft and mashable.
  2. Warm ⅔ cup of water in another small sauce pan. When warmed at least to 90 degrees, add in gelatin and whisk for several minutes to mix completely. Cooler water will cause your gelatin to clump. The mixture needs to be “blood temperature.”
  3. Add the fruit mixture to a food processor with the gelatin mixture. Blend until smooth.
  4. All to cool and settle slightly. When cooled slightly, add the honey. It’s important not to add the honey to the mixture when it’s too hot or it will cook it. Optionally, strain the mixture through a small mesh strainer to catch any chunks.
  5. Using a spoon, dropper, or turkey baster, fill your gummy molds until the mixture is to the top.
  6. Set the mixture into the fridge to cool OR fill a tray with ice and water and set the mixture on top.
  7. Chill for approximately one to two hours. Remove from the molds. I found it easiest to use a spoon to remove them.
  8. Enjoy!
Created using The Recipes Generator

Honey Sweetened Lemonade

Lemonade is more than just a delicious beverage! The acidity and sweetness are perfect to rehydrate you on a hot day. 

You can take this basic lemonade recipe and add some salt to make it even more of an electrolyte replacement. You could also add some fresh berries, cucumber, or mint to add additional flavoring. 

It’s far easier to make lemonade with a lemon squeezer but I can tell you it is possible to make lemonade with only a knife and your hands! 

Honey is the sweetener in this recipe. It’s a monosaccharide sugar which means the body doesn’t need to break it down any further to absorb it. This means the sugar doesn’t stick around in the intestines where pathogenic microbes can eat it. It is the only separate sweetener allowed on the GAPS Protocol for this season. It’s not a good idea to heat honey so using it to sweeten lemonade is the perfect use. 

This simple recipe only takes a short time to prepare and it’s sure to be a hit every time you make it!

Ingredients for Honey Sweetened Lemonade:

This recipe makes 1 quart of lemonade.

  • ½ cup lemon juice (approximately 2 large lemons)

  • 3 cups of water

  • 2 tbsp honey

Directions for Honey Sweetened Lemonade:

IMG_1636.jpg

Wash and roll your lemons to get the juices released. Slice them in half and squeeze into a small mesh strainer over a jar, glass, or small pitcher to catch any seeds.

IMG_1668.jpg

Add 3 cups of water to the mixture and stir.

Add in 2 tablespoons of honey and mix well. 

IMG_1703.jpg

Add any other flavorings you’d like or enjoy on it’s own!


Naturally Sweetened Lemonade with Honey

Author: The Be Well Clinic
Prep time: Cook time: Total time:

Ingredients:

  • ½ cup lemon juice (approximately 2 large lemons)
  • 3 cups of water
  • 2 tbsp honey

Instructions:

  1. Wash and roll your lemons to get the juices released. Slice them in half and squeeze into a small mesh strainer over a jar, glass, or small pitcher to catch any seeds.
  2. Add 3 cups of water to the mixture and stir.
  3. Add in 2 tablespoons of honey and mix well.
  4. Add any other flavorings you’d like or enjoy on it’s own!
Created using The Recipes Generator
NaturallySweetenedLemonadeMadewithHoney.png

Baked Beans Made with Sprouted Navy Beans

Baked beans are a summer staple! But traditional canned beans are full of sugar and can have MSG. They can also cause flatulence because they are not sprouted. These baked beans are sprouted for maximum nutrition. This recipe also uses real ingredients for a full flavor baked bean! Unlike traditional baked beans, there’s no processed sugars.

These beans are not GAPS legal because of the molasses and maple syrup. They are however gluten and dairy free. These are based on the Nourishing Traditions recipe by Sally Fallon. I wanted to try this recipe as is but I think it would also be delicious to fry bacon and peppers alongside the onions to add into the bean mixture.

This recipe takes a lot of time to make - like two days time! It doesn’t require a lot of active time in the kitchen, however you do need to plan ahead for when you want to enjoy them.

Serve these beans alongside other summer favorites, like barbecue meats or mayo-free deviled eggs for a Real Food BBQ!

Ingredients for Sprouted Baked Beans:

  • 4 cups navy beans, sprouted

  • ½ cup lard or butter

  • 1 onion

  • 3 cloves of Garlic

  • Filtered Water

  • 1 7 oz can of tomato paste

  • 3 tbsp naturally fermented soy sauce

  • 3 tbsp vinegar

  • ¼ cup maple syrup

  • ¼ cup molasses 

  • 1 tsp Sea Salt

Directions for Sprouted Baked Beans:

IMG_4861.jpg

24 hours before, soak the beans in filtered water. Rinse every 12 hours until they grow sprouts.

Bring a large pot of water to boil on the stove. You want to add enough water to cover the beans.

IMG_1454.jpg

Rinse the beans again, moving them in the water with your hand. You want to remove as many of the skins of the beans as you can.

IMG_1444.jpg

Add butter or lard to a large cast iron pan. When melted, add in chopped onion. 

IMG_1458.jpg

Measure out 4 cups of sprouted beans into a large pot. If you have a large quantity of leftover beans that you have sprouted, I suggest freezing them as is in 2 or 4 cup increments OR making another bean recipe like refried beans or chili. 

Add enough filtered water to cover the beans in the pot. Bring to a boil. 

IMG_1464.jpg

Skim the skins off the top of the beans as they float to the top. Preheat the oven to 350.

When the beans are boiling, add in the remaining ingredients.

IMG_1491.jpg

If your large pot is not oven safe, place your beans in a large oven safe dish. Or if you’re like me and can’t find your large oven safe dish, two smaller ones are fine.  

Place the beans in the oven for about 6 hours. 

IMG_1515.jpg

In Colorado, I had to stir and add about a half to a full pint of water to the beans every hour. Make sure you watch them so they don’t burn to the bottom of the pan. These take a lot of water!

After about six hours or when the beans are soft, take them out of the oven and enjoy!


SproutedBakedNavyBeans.png
Author: The Be Well Clinic
Prep time: Cook time: Total time:

Ingredients:

  • 4 cups navy beans, sprouted
  • ½ cup lard or butter
  • 1 onion
  • 3 cloves of Garlic
  • Filtered Water
  • 1 7 oz can of tomato paste
  • 3 tbsp naturally fermented soy sauce
  • 3 tbsp vinegar
  • ¼ cup maple syrup
  • ¼ cup molasses
  • 1 tsp Sea Salt

Instructions:

  1. 24 hours before, soak the beans in filtered water. Rinse every 12 hours until they grow sprouts.
  2. Bring a large pot of water to boil on the stove. You want to add enough water to cover the beans.
  3. Rinse the beans again, moving them in the water with your hand. You want to remove as many of the skins of the beans as you can.
  4. Add butter or lard to a large cast iron pan. When melted, add in chopped onion.
  5. Measure out 4 cups of sprouted beans into a large pot. If you have a large quantity of leftover beans that you have sprouted, I suggest freezing them as is in 2 or 4 cup increments OR making another bean recipe like refried beans or chili.
  6. Add enough filtered water to cover the beans in the pot. Bring to a boil.
  7. Skim the skins off the top of the beans as they float to the top. Preheat the oven to 350.
  8. When the beans are boiling, add in the remaining ingredients.
  9. If your large pot is not oven safe, place your beans in a large oven safe dish. Or if you’re like me and can’t find your large oven safe dish, two smaller ones are fine.
  10. Place the beans in the oven for about 6 hours.
  11. In Colorado, I had to stir and add about a half to a full pint of water to the beans every hour. Make sure you watch them so they don’t burn to the bottom of the pan.
  12. After about six hours or when the beans are soft, take them out of the oven and enjoy!
Created using The Recipes Generator

Butternut Squash French Fries

Butternut squash french fries are a labor of love. They are totally worth it but you may forget that during making them. The most time consuming part is cutting up the squash into french fry pieces. If you have the patience to do this, you will get rich, filling, crispy fries that are truly a great replacement for potatoes. 

When you’re purchasing your squash, try to find one with a long neck and more neck than gourd bottom. A medium size butternut squash makes enough fries for 2-4 people to enjoy a generous portion. If you need to make more, you can easily follow the same recipe with multiple squashes.

Often, when I make these fries for myself, I use only the neck of the squash due to the ease of cutting it into fry shaped pieces and will use the body of the squash to make a soup with small meatballs or squash pancakes. 

Based on Dr. Natasha Campbell-McBride’s new recommendations on butternut squash, it’s recommended to wait until you are on Full GAPS to make this recipe.

Ingredients for Butternut Squash:

  • Butternut Squash

  • 1-2 tbsp Tallow or Lard

  • 1 tsp Salt

  • Additional seasonings as desired

Directions for Butternut Squash:

IMG_1593.jpg

Cut the butternut squash at the base of the neck. Remove the skin of the butternut squash using the sharpest knife you can find, leaving as much of the meat on as you can.

Determine the size you want your french fries to be and cut the squash in half. Scrap out the squash innards.

IMG_1605.jpg

Slice your squash into long, thin slices resembling a french fry.

IMG_1700.jpg

Preheat oven to 400. Add 1-2 tbsp of tallow or lard to the fries, enough to coat them. Shake salt over the top.

Bake for approximately 30 minutes at 400. Stir every ten minutes. Then broil them for 5 minutes until crisp.

Salt them again immediately after they come out of the oven. Enjoy!

IMG_1779.jpg

Alternate Preparation:

Fill a large pot with filtered water. Bring to a boil on the stove.

Add the fry pieces to the pot of boiling water. Boil for 3-5 minutes. Preheat oven to 400.

Drain the water from the fries and remove from heat.

Add 1-2 tbsp of tallow or lard to the fries, enough to coat them. 

Lay them out onto a baking sheet covered with parchment paper.

Bake for approximately 40 minutes at 400. Then broil them for 5 minutes until crisp.


ButternutSquashFrenchFries.png

Butternut Squash French Fries

Author: The Be Well Clinic
Prep time: Cook time: Total time:

Ingredients:

  • Butternut Squash
  • 1-2 tbsp Tallow or Lard
  • 1 tsp Salt
  • Additional seasonings as desired

Instructions:

  1. Fill a large pot with filtered water. Bring to a boil on the stove.
  2. Cut the butternut squash at the base of the neck. Remove the skin of the butternut squash using the sharpest knife you can find, leaving as much of the meat on as you can.
  3. Determine the size you want your french fries to be and cut the squash in half. Scrap out the squash innards.
  4. Slice your squash into long, thin slices resembling a french fry.
  5. Preheat oven to 400. Add 1-2 tbsp of tallow or lard to the fries, enough to coat them. Shake salt over the top.
  6. Lay them out onto a baking sheet covered with parchment paper.
  7. Bake for approximately 30 minutes at 400. Stir every ten minutes. Then broil them for 5 minutes until crisp.
  8. Salt them again immediately after they come out of the oven. Enjoy!
Created using The Recipes Generator

What to Cook When It's Too Hot to Cook

We’re in the middle of summer here now and that means it’s HOT! When it’s so hot outside (and inside!), it can be hard to want to cook or prepare good, nutritious food for yourself or your family. As you listen to your body, you might also find yourself wanting more and more of the fresh fruits and vegetables that are in season during summer’s bounty and simpler foods.

If you’re craving salad, try dressing it up with my simple salad dressing recipe. Meat stock is a great idea for nutrient dense foods year round. In the summer, I like to drink it warm in the morning or as a cool beverage. You can also pop the gel off the top of your meat stock like a cold meat jelly. The recipes below are some more of my suggestions for real, nutrient dense foods to eat when it’s simply too hot to cook. Add your favorites in the comments!

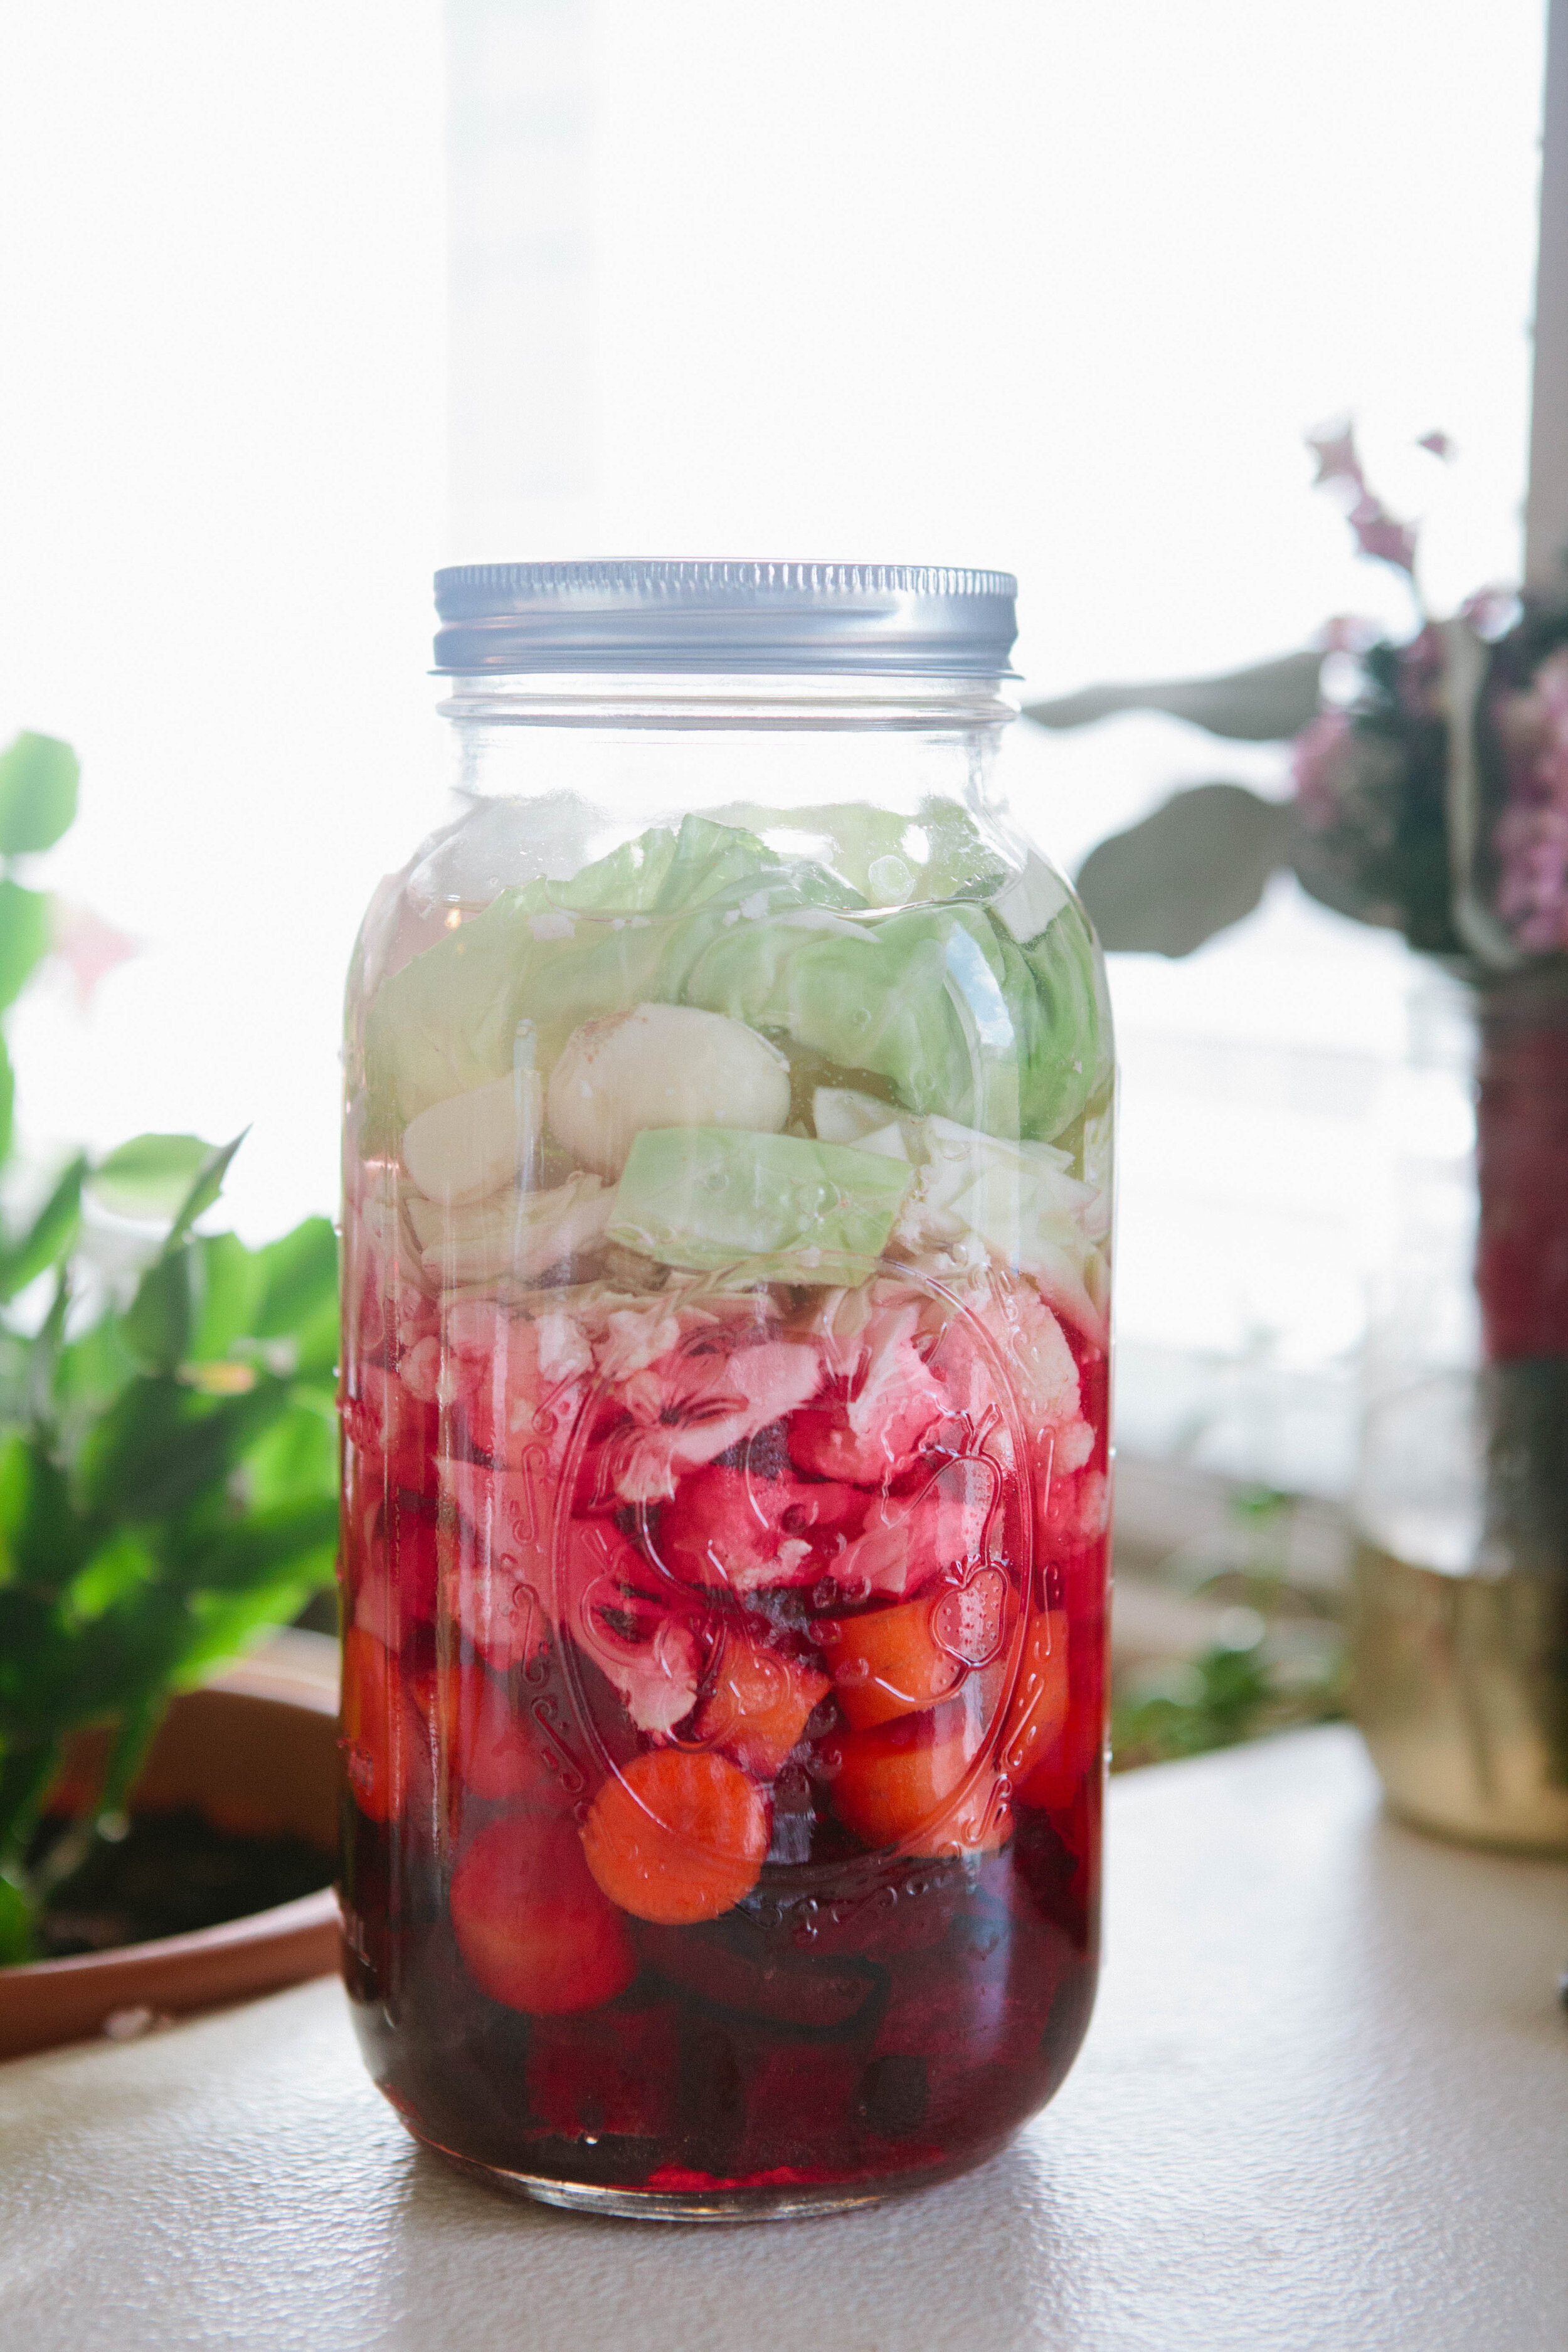
beet kvass

Anyone can make this simple fermented drink! It requires only a few ingredients, and only a few minutes to "put up."

GAPS Milkshake

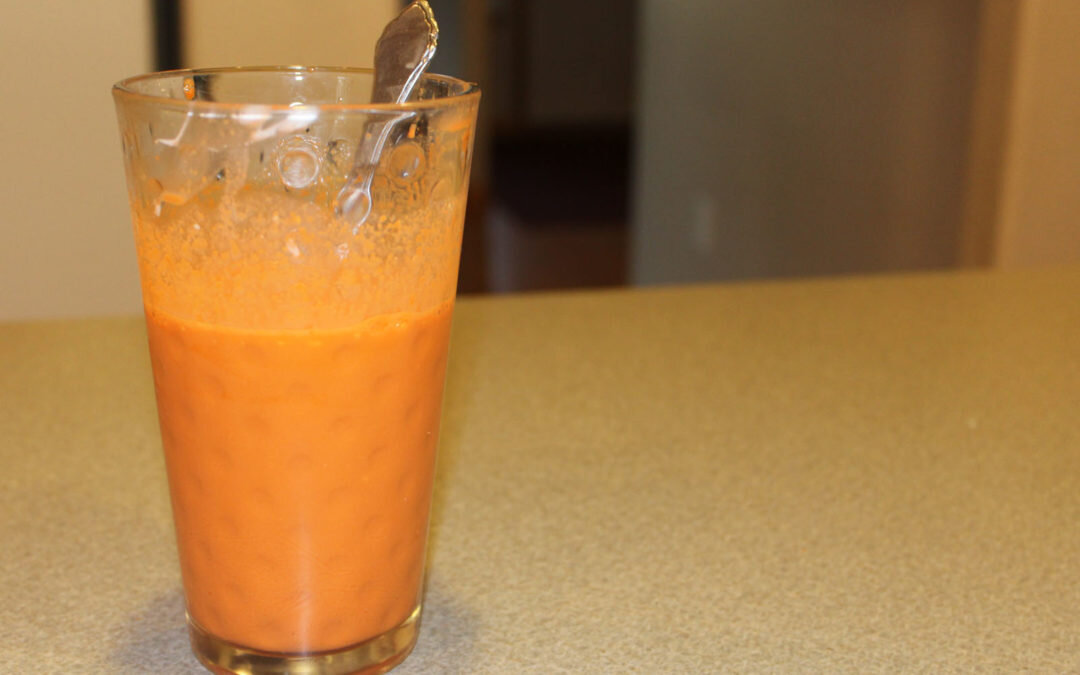
The GAPS™ milkshake is mix of juice, protein, and fat. Because it is easily digested, usually in about 20 minutes, it can be eaten when you don't have much time to sit and digest.

Vegetable medley

This recipe contains five different vegetables: beets (good for liver and blood cleansing), cabbage (stimulates digestion), carrots (contain vitamin A), and cauliflower (makes it taste better, believe me), and garlic (good for immune support).

Swedish Gravlax

This is a brined fish meal legal on GAPS stage 2. You eat little pieces, one small piece a day.

Guacamole

Enjoy this guacamole with any type of cut up vegetables. I also like it on top of eggs, like an omelette. Pressing it tightly into a container and adding a pit to the top will help it to not turn brown. Off the GAPS diet, enjoy with your canola, soybean and safflower free corn chips! Coconut chips are the best option to buy in stores.

Mayo Free Egg Salad

Eggs are a great non-meat protein source. While I usually recommend eating eggs yolks running to preserve the cholesterol on them, sometimes a hard boiled egg is hard to beat!

You can serve it spread on a romaine lettuce leaf, as shown, or you can use it as a dip for cucumber slices or carrots.. Feel free to use whatever herbs you have in the fridge and experiment to find your favorites.

Carrot Raisin Dessert Salad

While technically a salad, this is a very sweet dish. I recommend consuming it at the end of a meal as a treat. The amount of honey you add will depend on your own personal tastes and how sweet your carrots are.


BBQ Sauce Two Ways

Barbecue sauce is a true American food tradition. Different regions prefer different flavors and variations. Here is a basic, more traditionally made barbeque sauce. After you have gotten the hang of this barbecue sauce, I encourage you to try to replicate your current commercial favorites or make a new one entirely!

If you’re used to commercially made barbecue sauces, starting with my sweet barbecue sauce might be a smoother transition for you and your family and more familiar to your taste buds. This savory barbecue sauce is, to me, more of a wing sauce.

The full recipes make 1 and ½ cups of barbecue sauce. You can easily half, double, or triple the recipe depending on what you need!

You can put it in an old bottle or keep in a jar. Keep in the fridge. I’m unsure exactly how long this will keep in the fridge. However, similar ferments are fine for 1-3 months. If there’s any obvious mold or any putrefied (vomit like) smells, it’s probably time to make a new batch!

Savory BBQ Sauce:

Ingredients:

Directions:

Combine ingredients in a jar and shake to combine.

Sweet BBQ Sauce:

Ingredients:

Directions:

Add all ingredients to a jar and shake to combine. 

IMG_1836.jpg

Recipe Suggestion:BBQ Chicken on the Grill

Cut up an organic chicken. Preheat the grill until hot.

Season chicken with a little salt and add to grill.

Turn over after a few minutes and add BBQ sauce to one side.

Turn again and add BBQ sauce to second side.

Continue adding BBQ sauce as the chicken cooks until it is done.


HowtoMakeSweetandSavoryBarbecueSauce.png