Basics of GAPS

Real Dairy Recipes

On GAPS we don't avoid dairy forever, but we do culture it to make it more digestible. Even if you are not following the GAPS diet, you may find your body likes dairy better when it's cultured. Check out these recipes for ideas and directions on culturing and enjoying your dairy products.

How to culture dairy

Making Whey

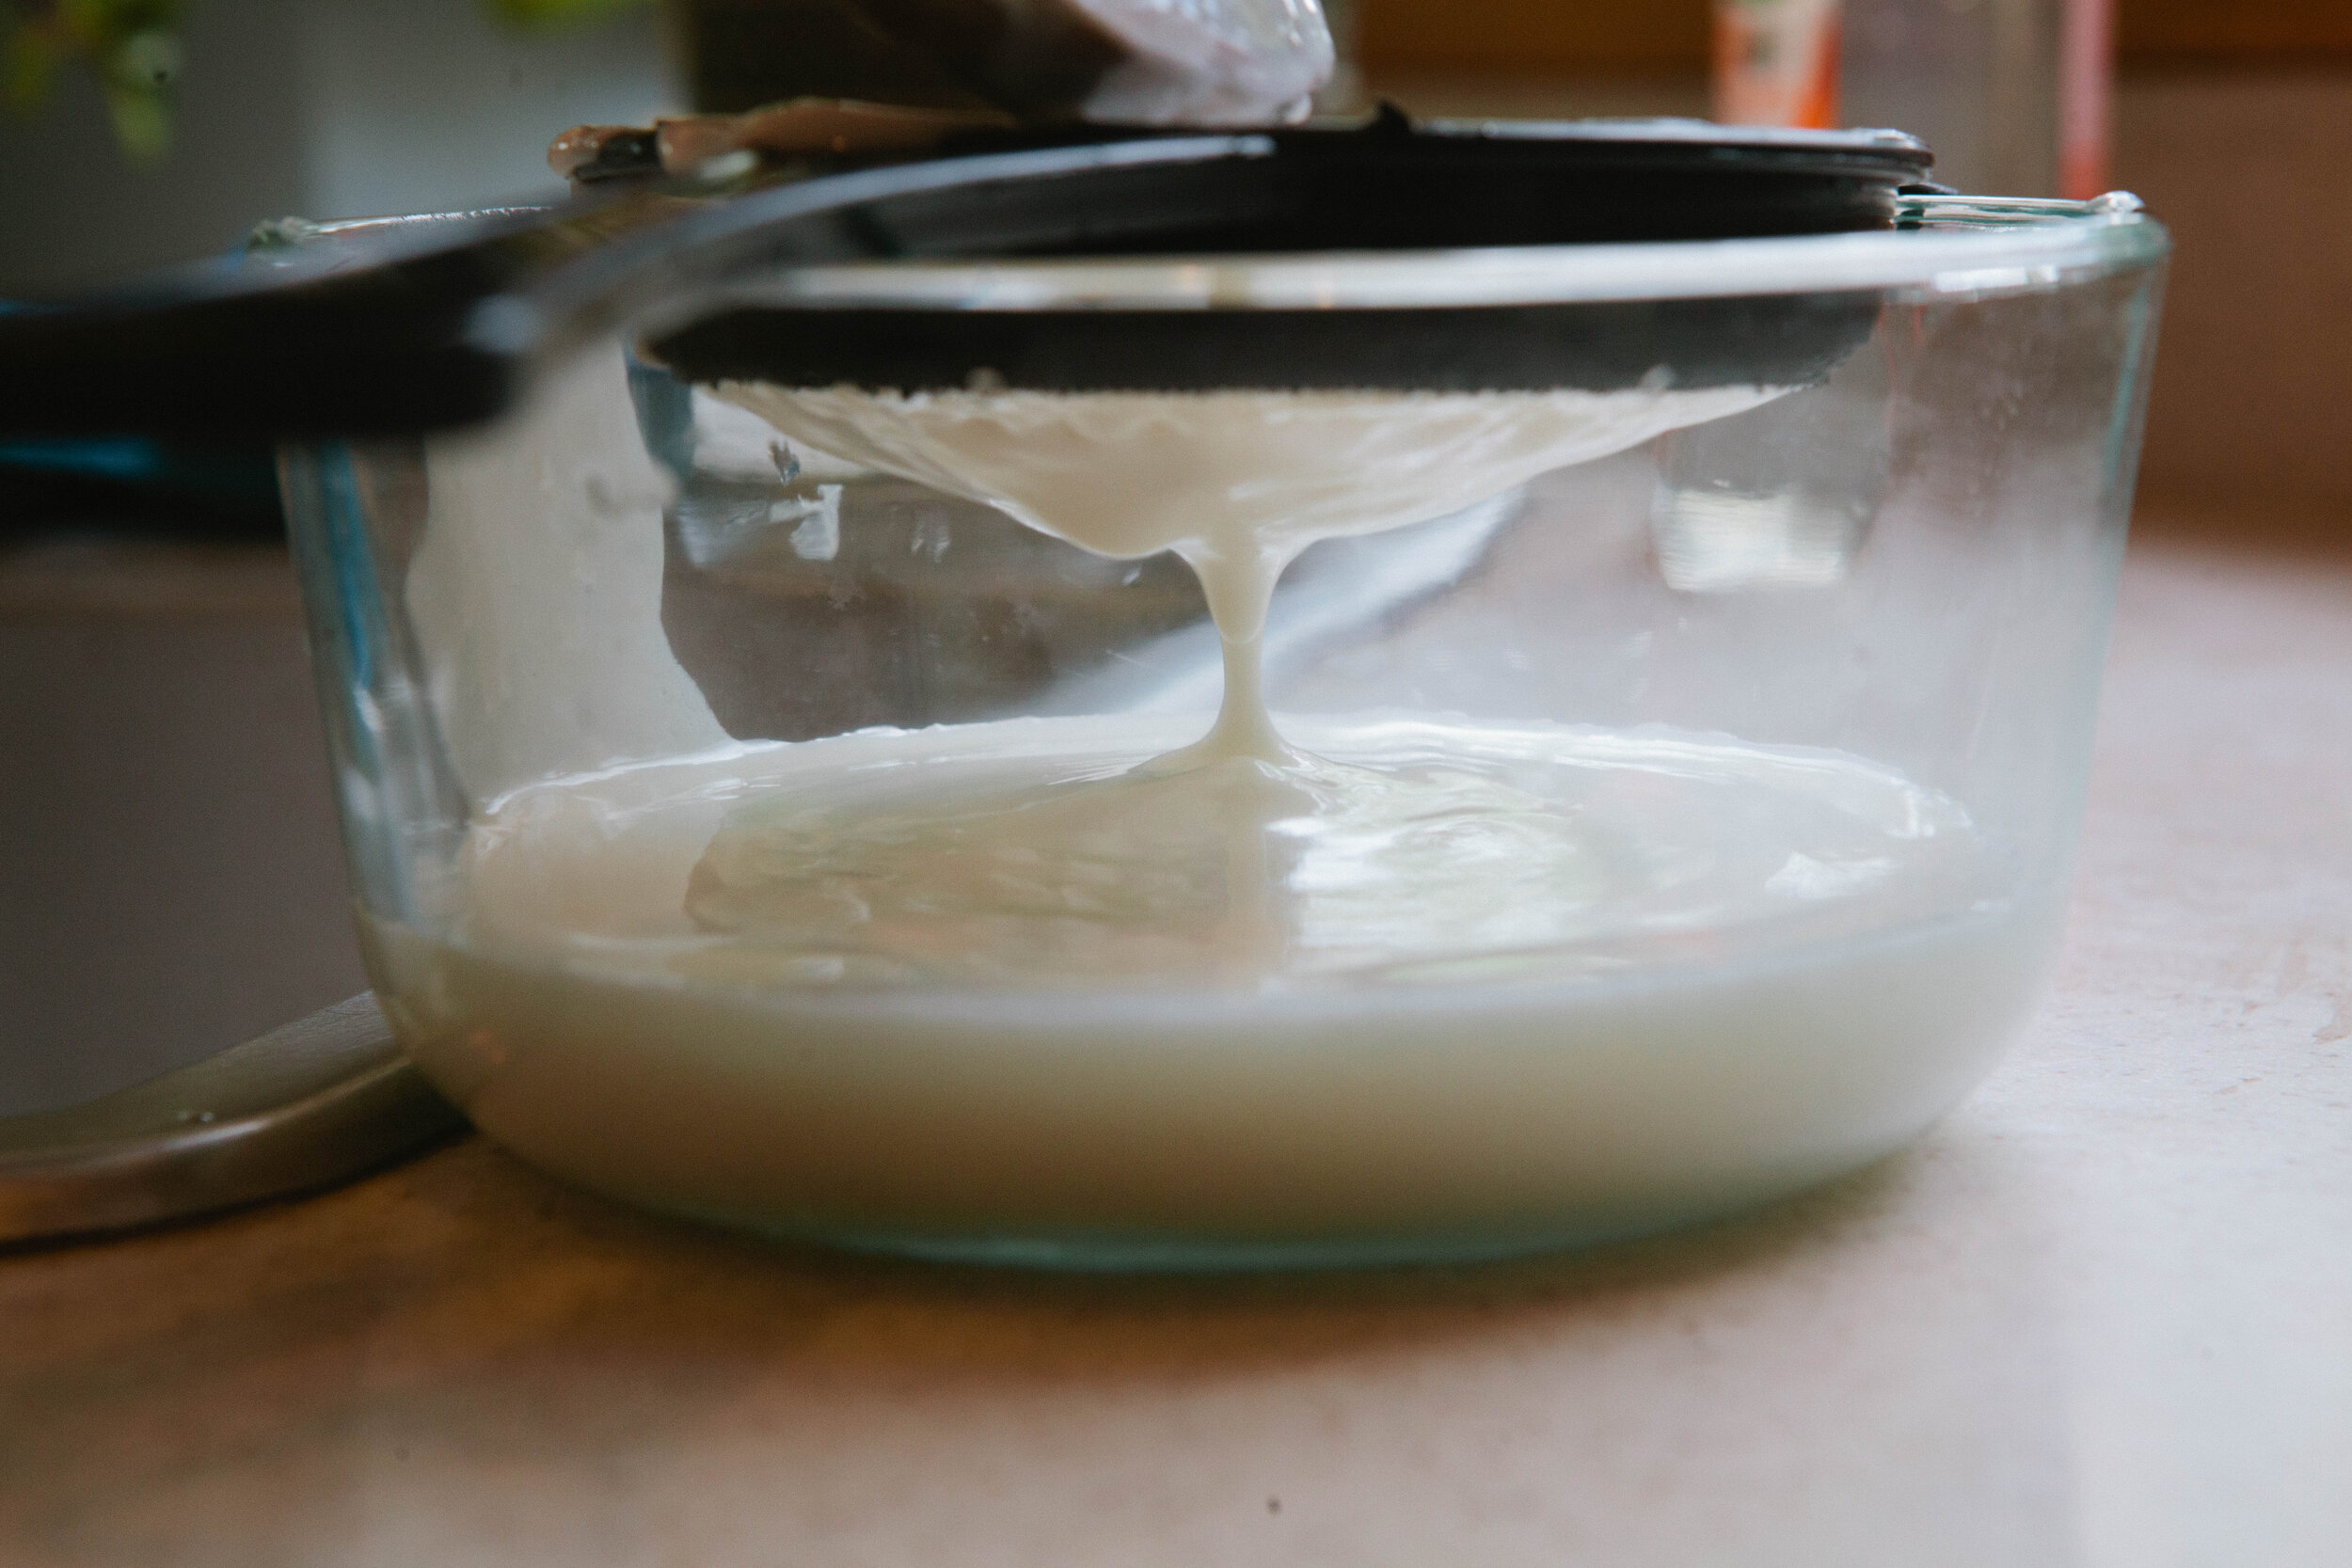
Whey is the other protein in milk aside from casein. It’s only present after milk products have been cultured and it’s a live food. This liquid is teeming with good lactic acid producing bacteria (LABs.) Whey is a basic to keep on hand because it can be used to ferment flours, seeds, nuts, vegetables, or as a starter to culture other dairy.

Making Your Own Kefir

Kefir is a fermented drink made from kefir grains. It’s a bit like a very thin yogurt and has great health benefits!

The great news is, like many fermented drinks, kefir is very easy to make on your own!


Milk Recipes

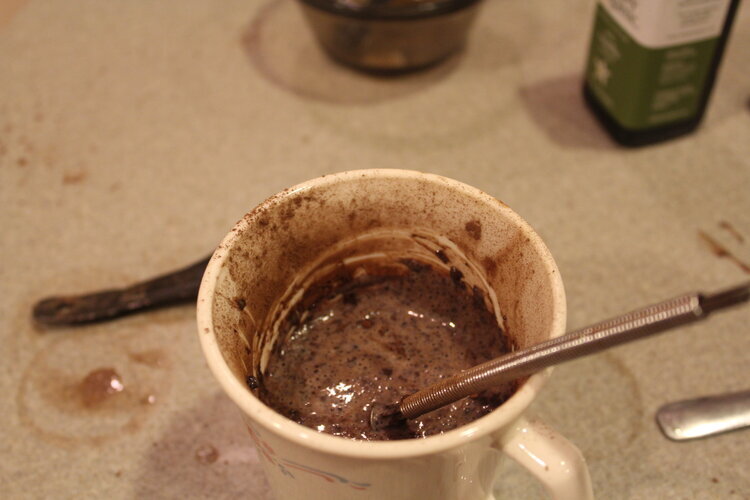
Decadent Hot Chocolate

This hot chocolate is amazing. Rich, thick, decadent, filling, indulging, chocolaty goodness. 

It even passed the skeptical, hot chocolate-loving teenage boy test.  

Which is a big deal.   And it's a nutrient-dense food!  

Raw Milk Chocolate Pudding

Some days don't you just miss pudding cups? I know I do. Now you can make your own! The most frequent comment about this pudding (besides "yum", "delicious", and "mmm...") is that it tastes just like a chocolate pudding cup!


Milk Ice Cream

I discovered this delicious ice cream years and years ago from an old ice cream maker recipe book. This is really making a custard base which makes it thick and creamy and allows you to not have to add so many filler ingredients. You can make it with cream or whole milk.


Cheese Recipes

Twice Baked Cauliflower

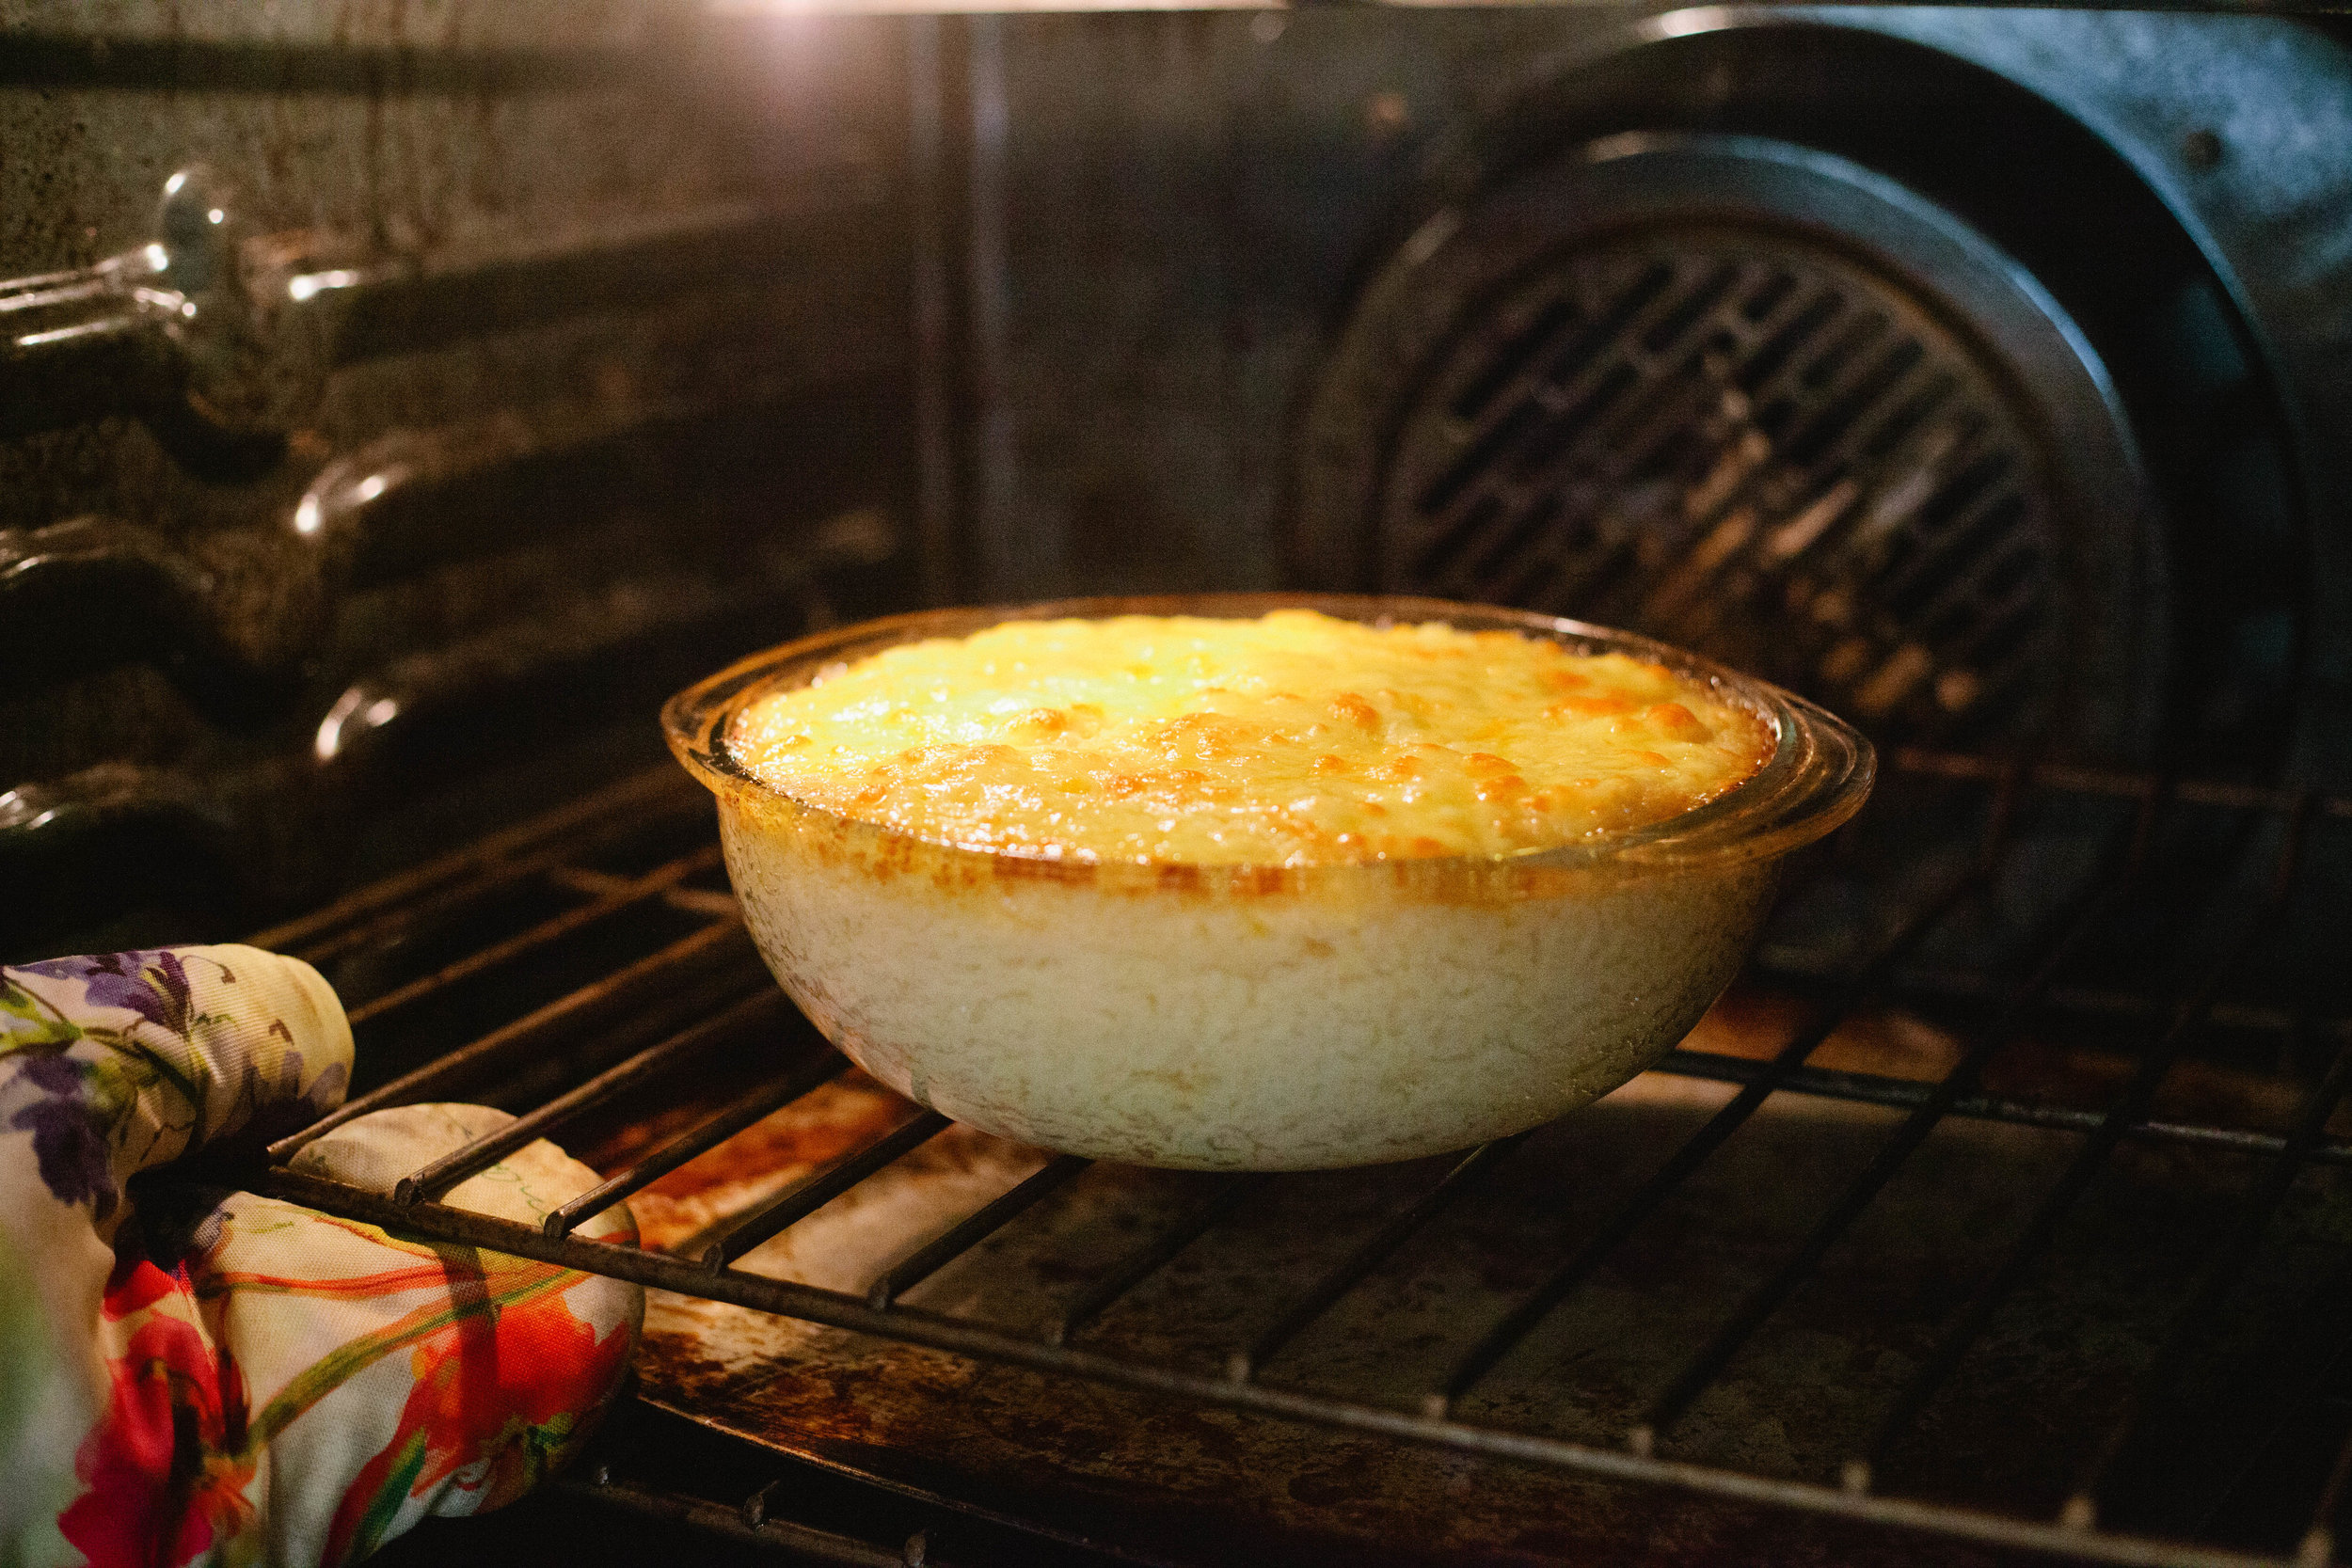
Stop whatever dinner plans you have and go buy a cauliflower! This recipe is the best side dish I have ever had... and I don't even really like cauliflower that much!

Every time I think about it I involuntarily smile and say "yum" to myself (or out loud).

It may be the butter. Or the cheese…

Spinach & Artichoke Dip

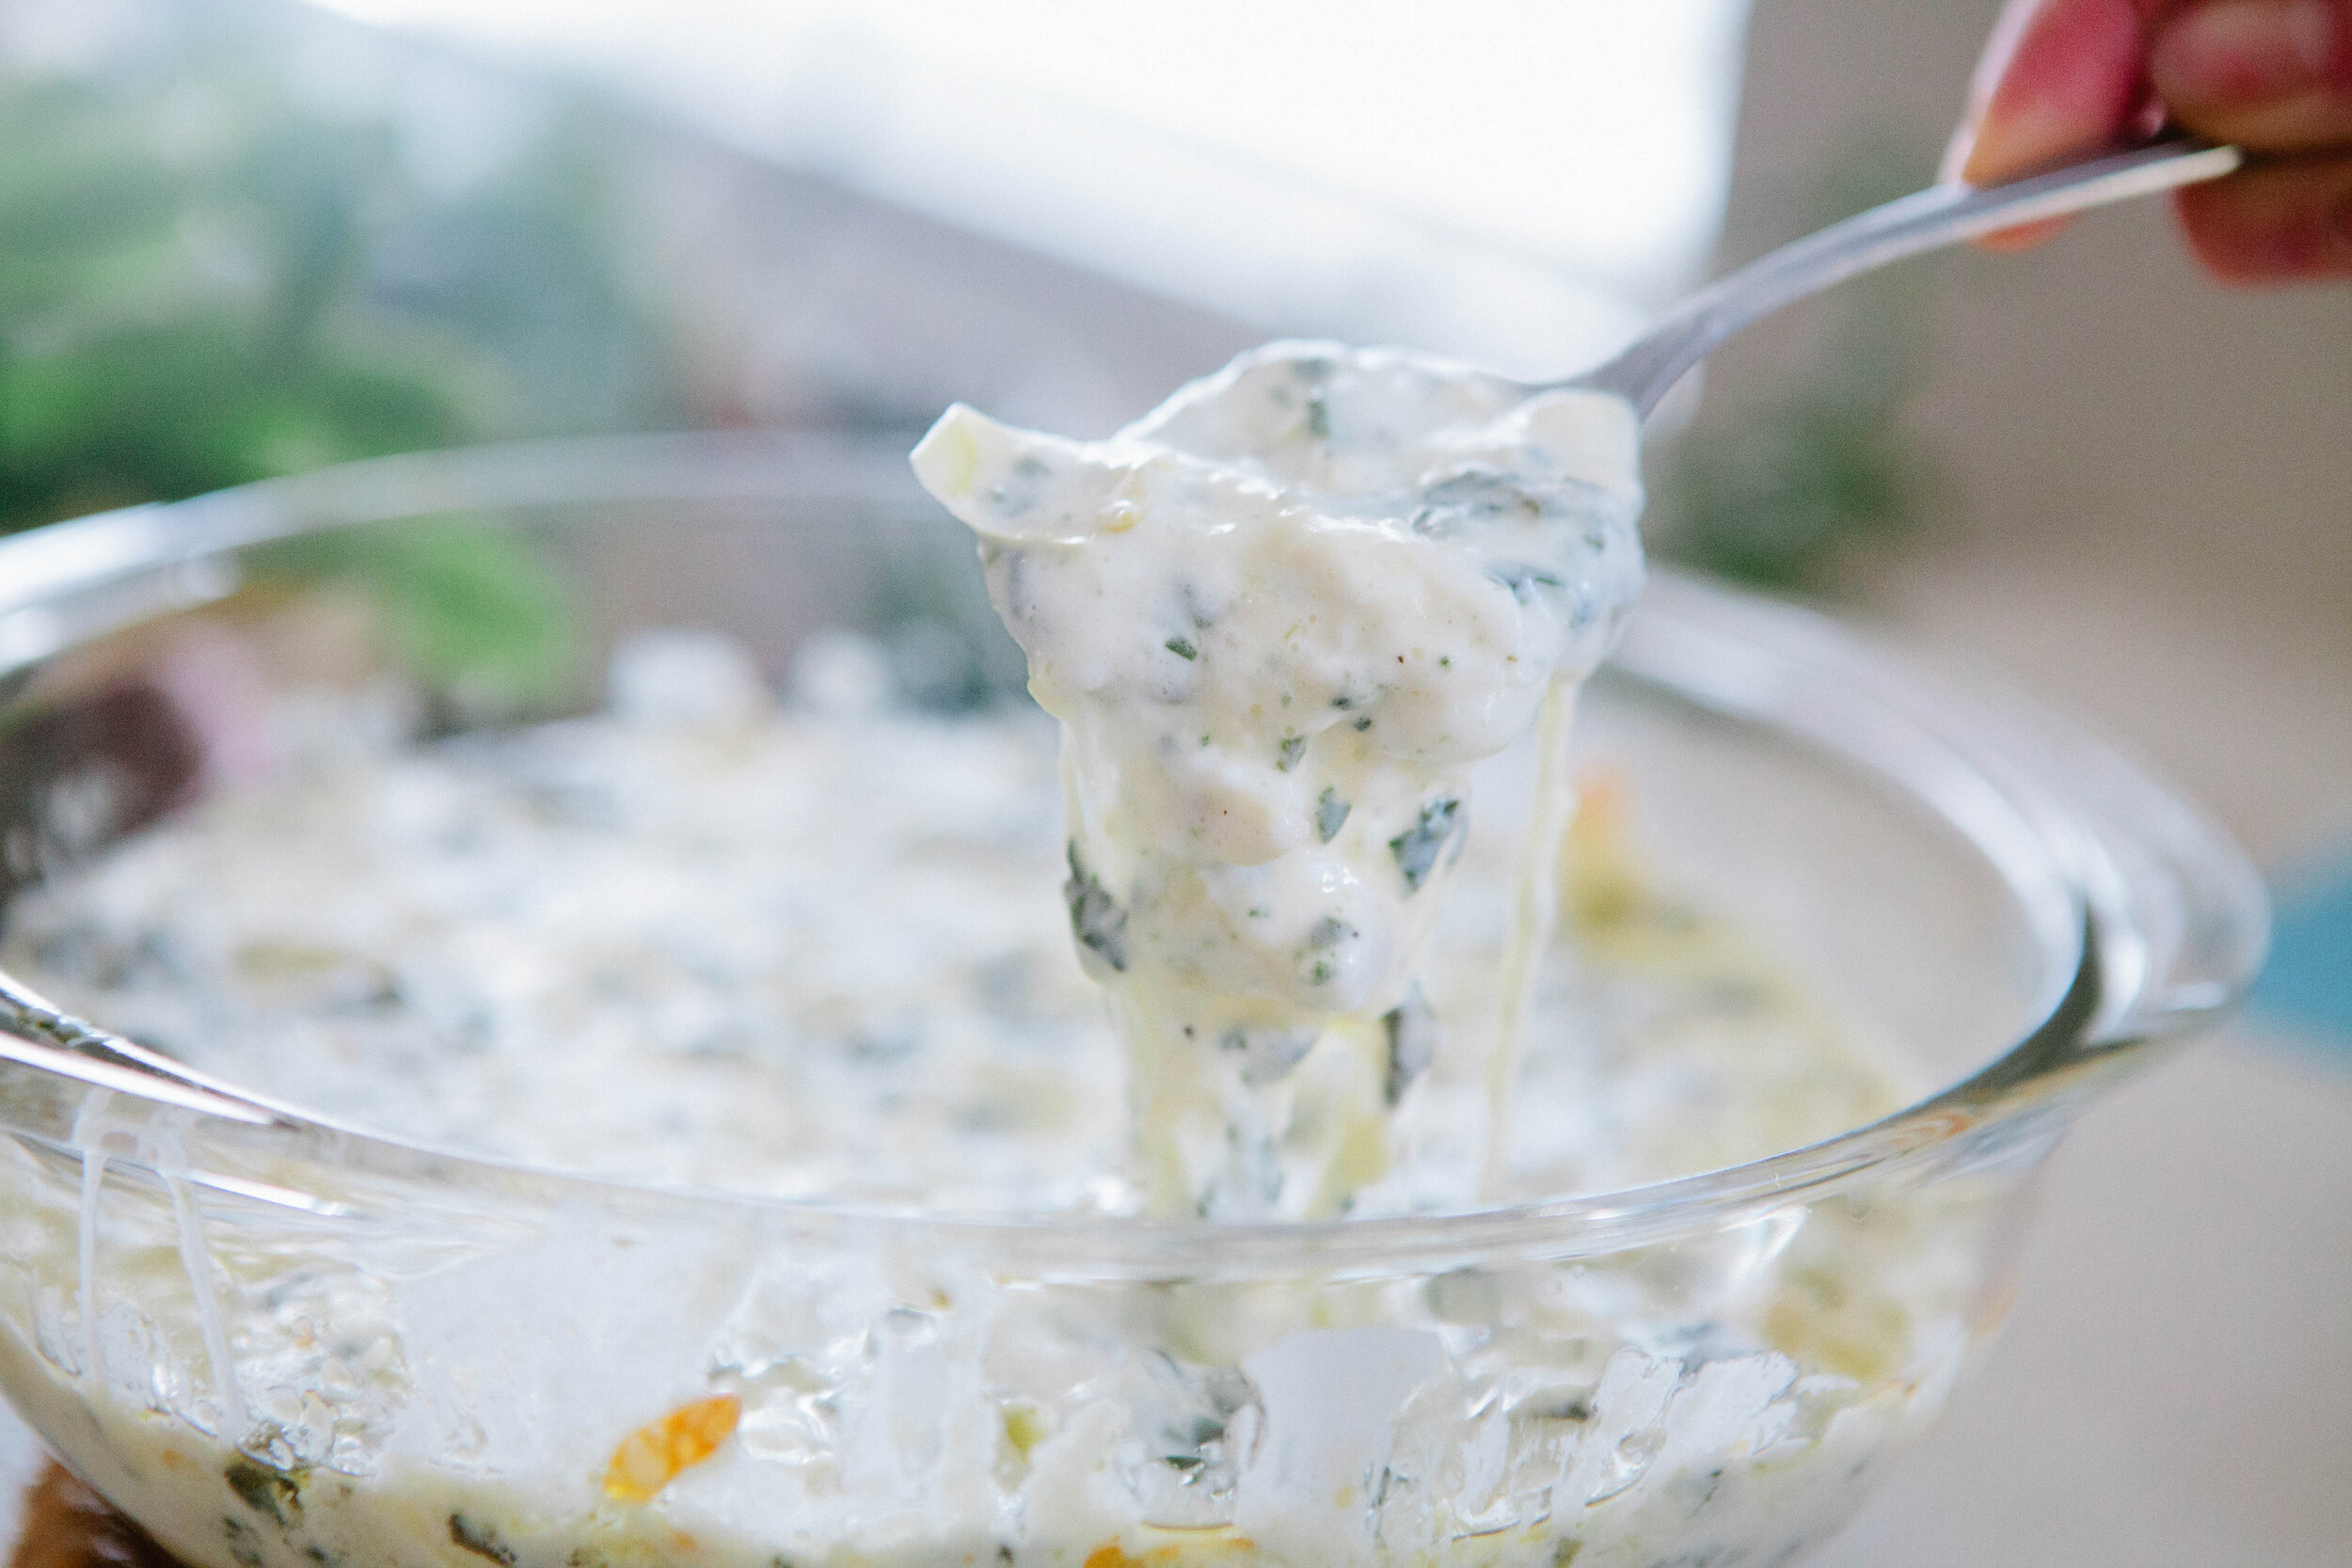
Spinach and artichoke dip - just the name conjures up images of a creamy, delicious dip. This one is made with real foods and no mayonnaise and is as delicious as a traditional spinach and artichoke dip. Spinach and artichoke dip gets a bad rap but this recipe is actually a great source of fat!


Sour cream or creme fraiche

Mayo Free Deviled Eggs

One of the foods I miss most? Mayonnaise. Now I know there are different mayos out there, even ones you can make yourself that are GAPS legal. But unless it tastes like the Real Mayo deliciousness that I remember, I have no interest in consuming it. I was a mayo snob long before I payed attention to what I ate!

Mayo Free Egg Salad

Eggs are a great non-meat protein source. While I usually recommend eating eggs yolks running to preserve the cholesterol on them, sometimes a hard boiled egg is hard to beat! I substitute mayo for sour cream in this recipe and it has even more flavor. It’s delicious!


Make Your Own Ranch Dressing

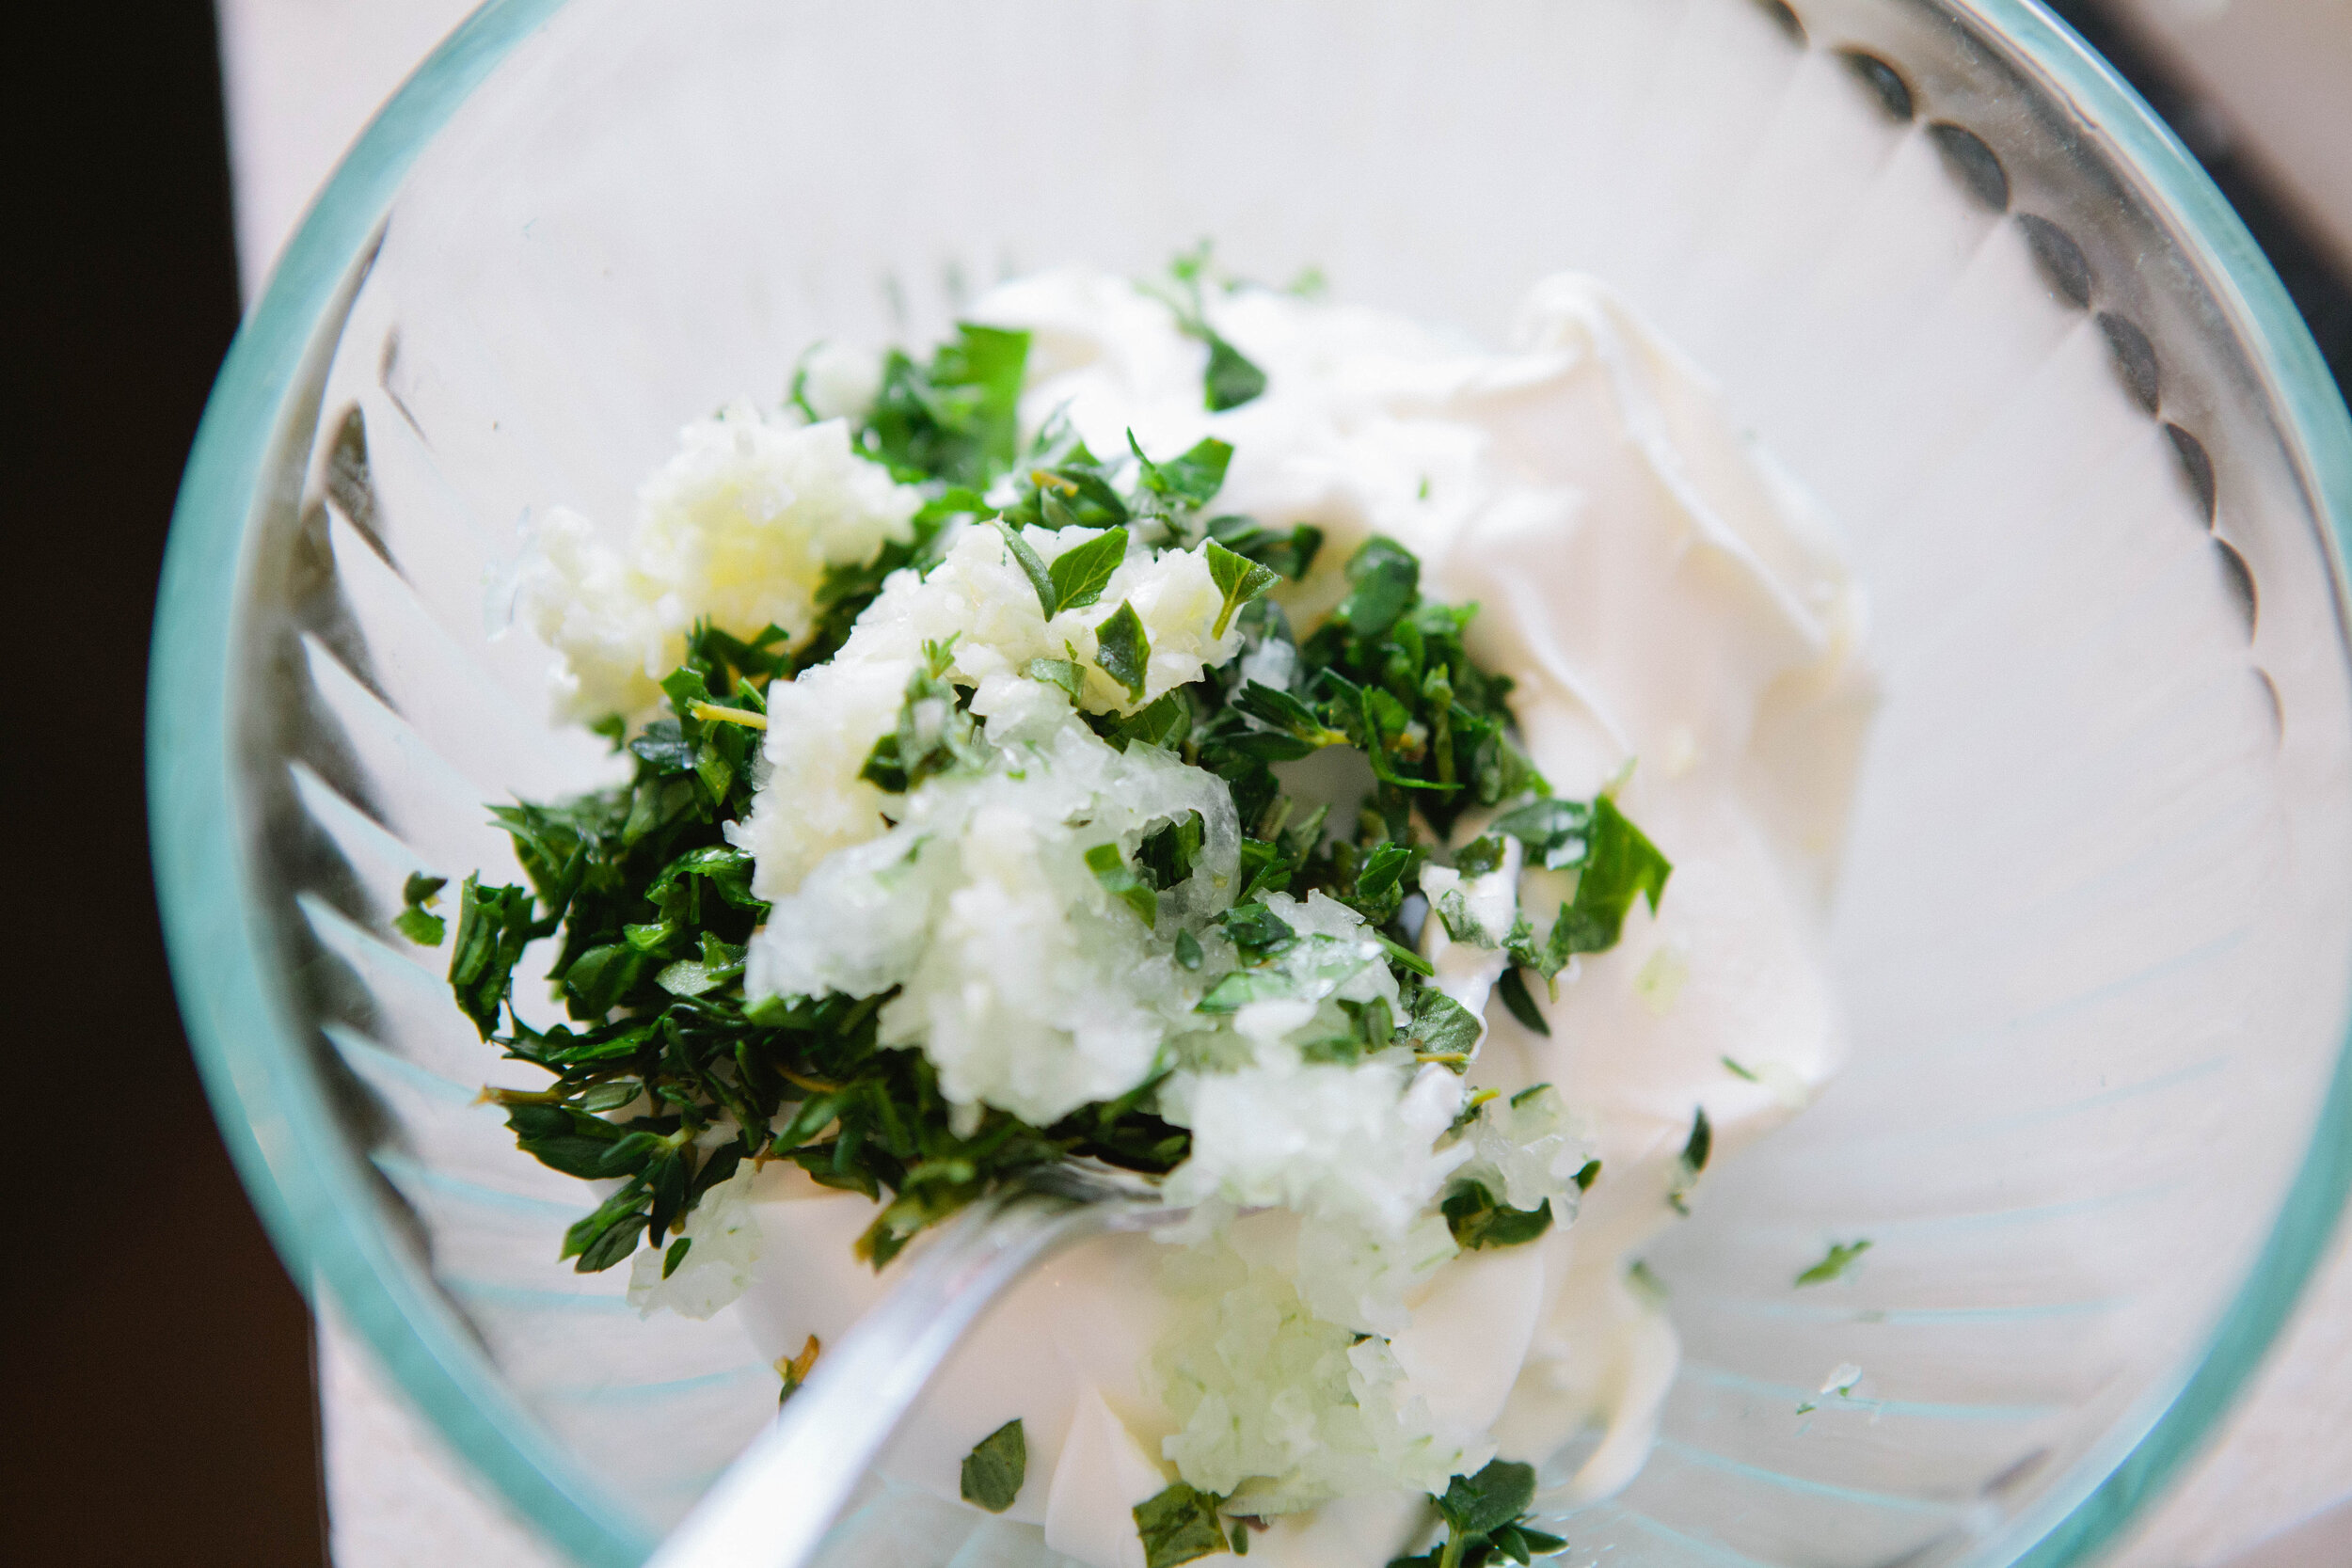
Ranch dressing is typically used as a dip and you can definitely dip any number of cut vegetables into this mixture. However, you could also use this delicious blend as an added flavoring for lots of dishes!

 

How to Calm the Flavor of Beef Liver

Especially in today’s toxic and stressful world, it’s important to be eating organ meats, including liver. I did not grow up eating organs. Just like most people, I was disgusted at the thought of eating liver. I didn’t make much effort to eat organ meat, especially livers. I did try to use a chicken liver in most pots of stock that I made. Over time, I have come to enjoy the taste of organ meats. Although, I still only like liver prepared certain ways.

It’s important to get grass-fed liver from healthy animals. You can tell the health of your liver by looking at it! It should be a dark red color. Unhealthy livers will be a pale, almost brown color. That shows a liver that’s aged or from an unhealthy animal and should not be used. It should be a robust red and not mushy.

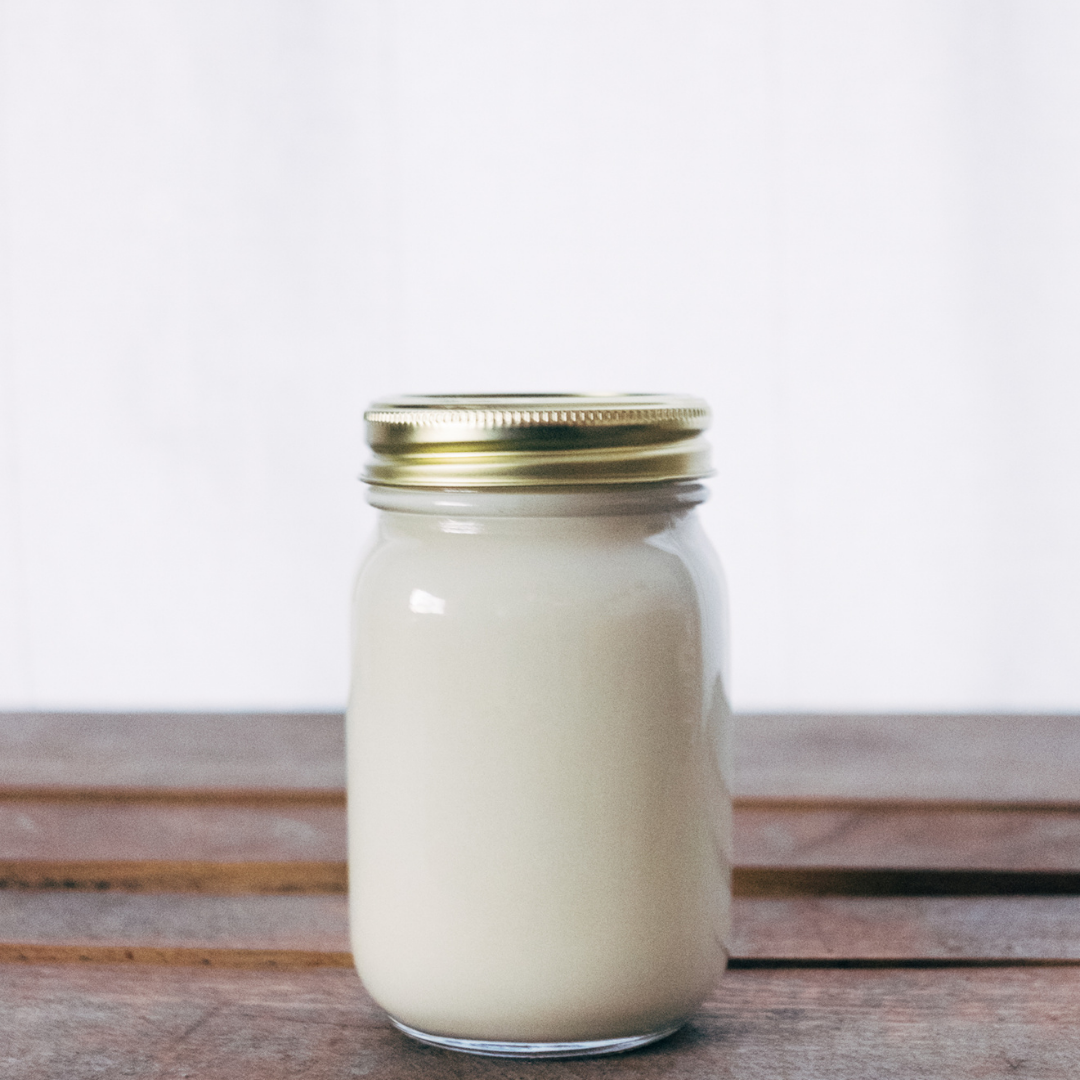
A well prepared liver is the key to enjoying it. Some livers, like chicken livers, are mild enough to be cooked without any additional preparation. But beef liver, being from a larger animal, can be quite strong in flavor. There are ways however to diminish the strength of liver flavor by soaking it in whole milk (raw preferred!), apple cider vinegar, or lemon juice.

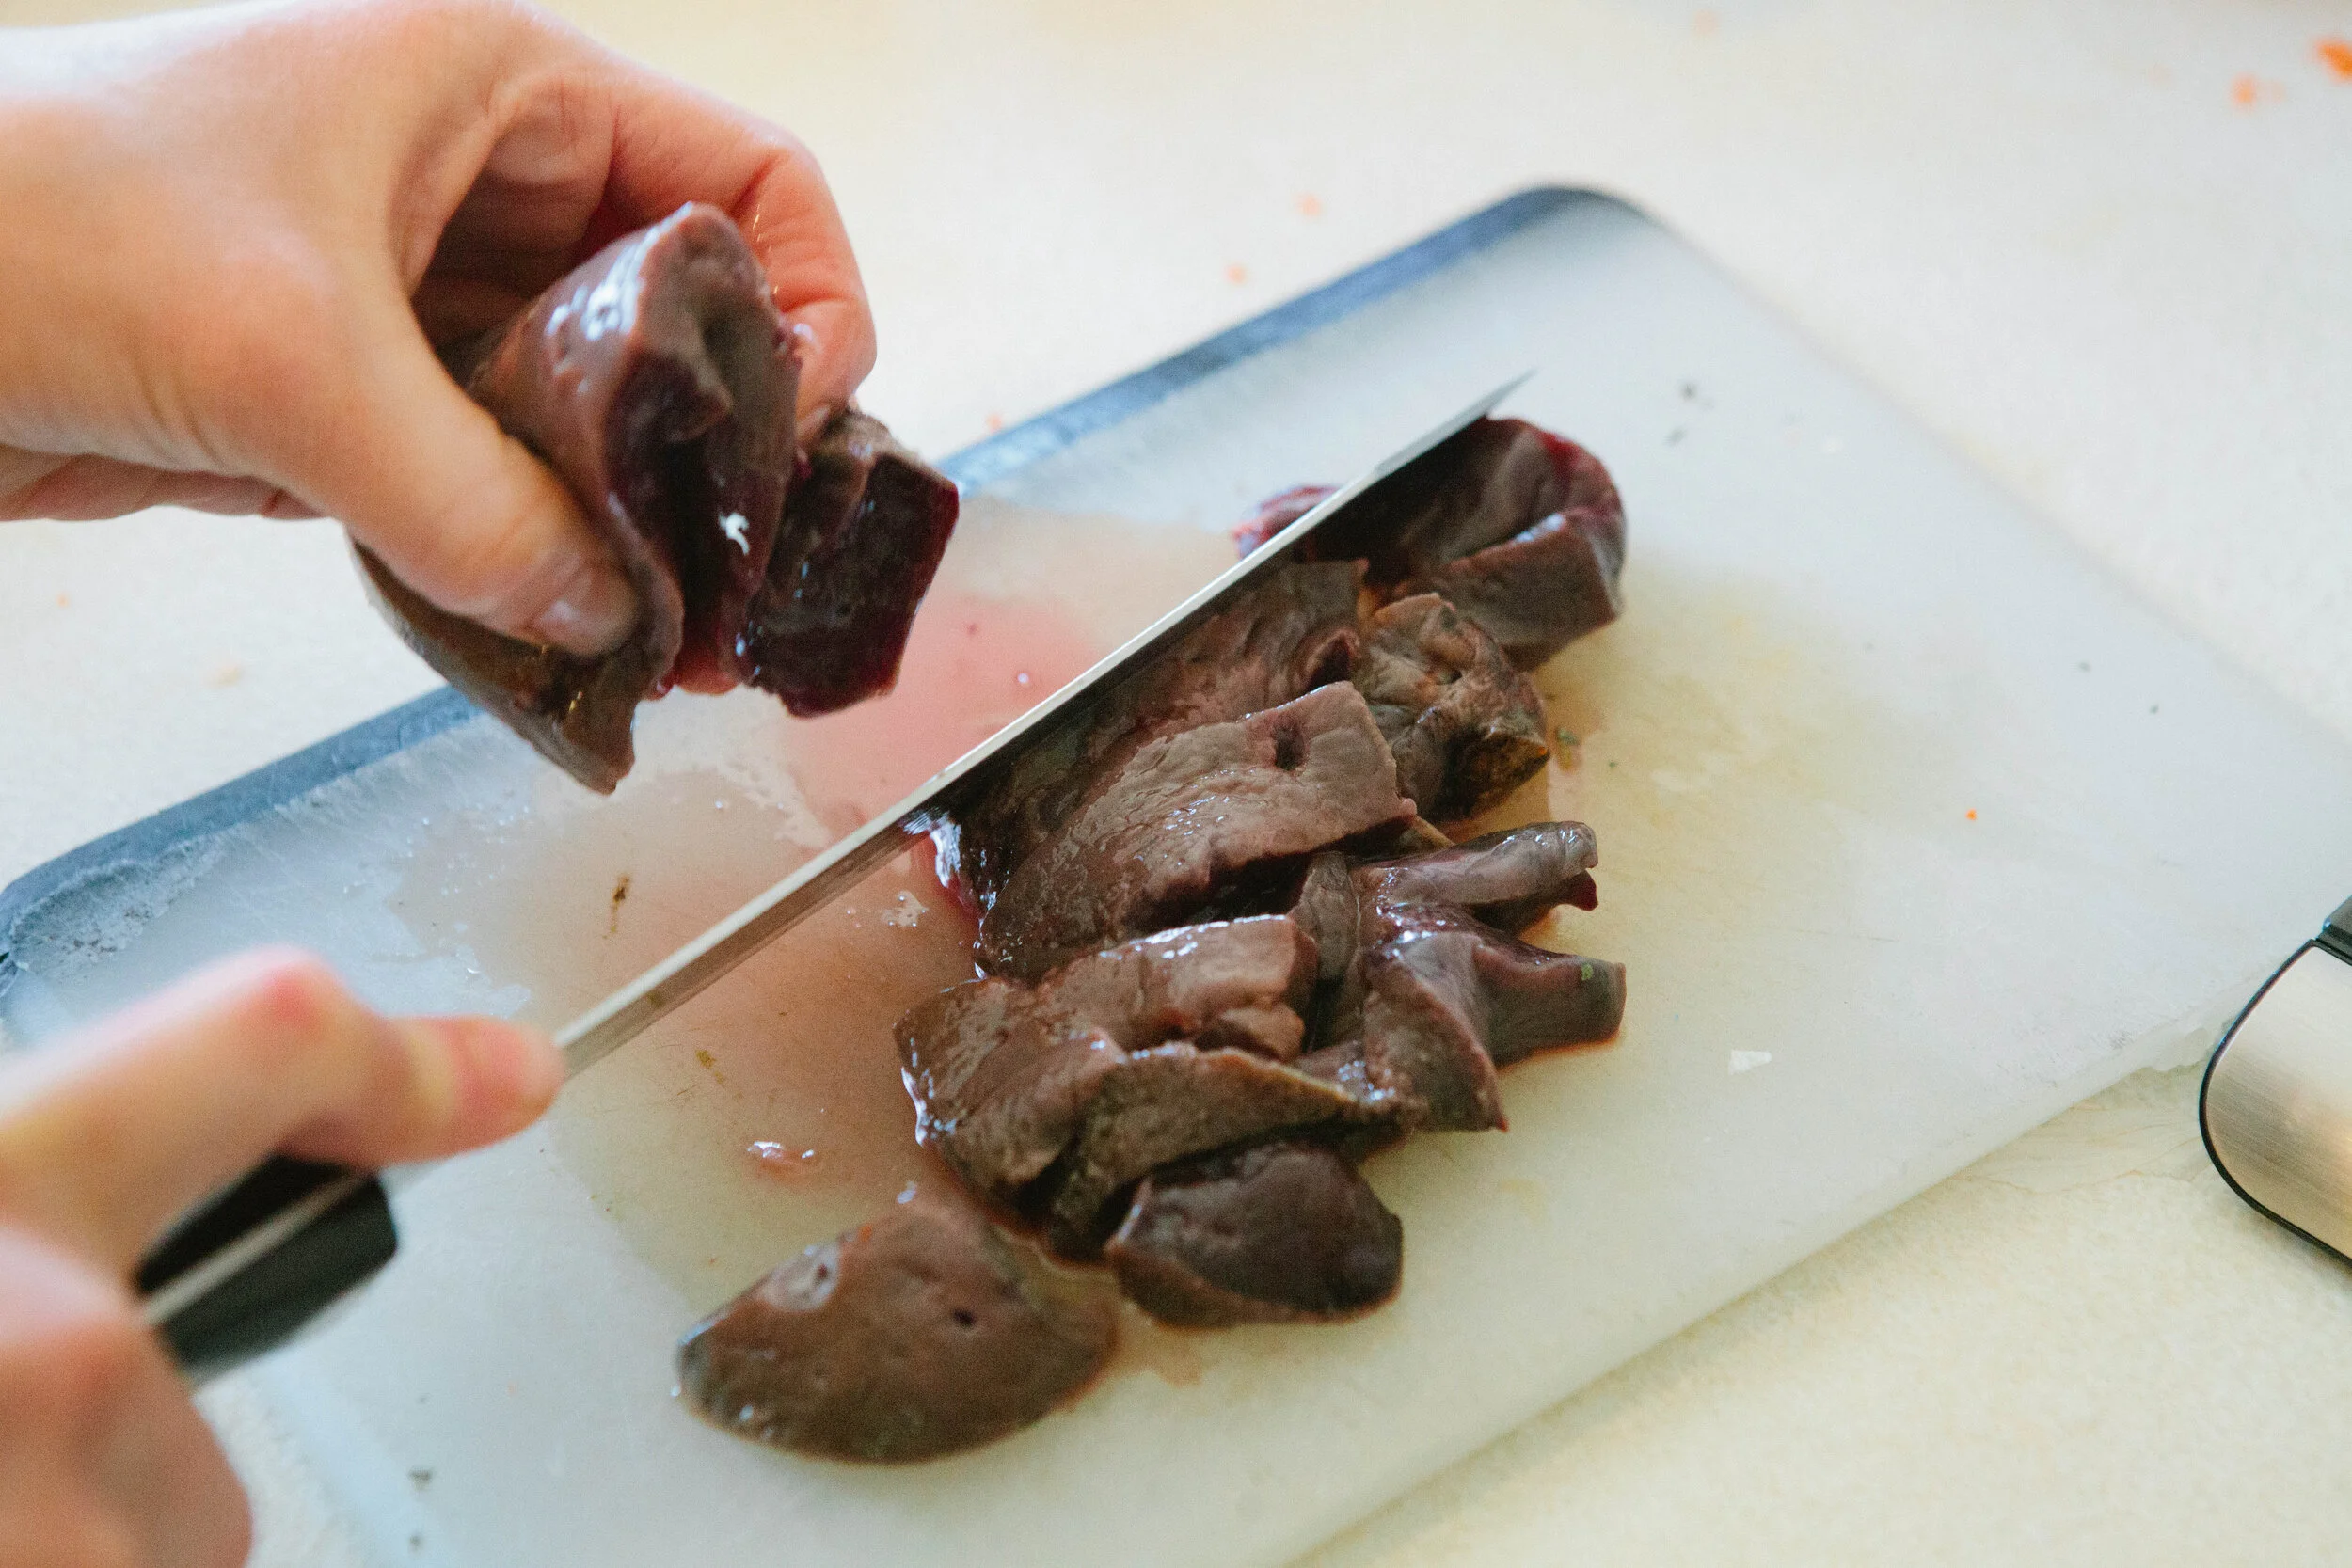
For many recipes, you may decide to thinly slice your liver before soaking it. You need probably 1/8 to 1/4 cup of acid. You want to soak the liver for 30 to 90 minutes. The acid begins to denature the proteins which improves the texture and taste. But if you leave your liver for too long in the acid, it will start to “overcook” the liver, creating an undesirable texture.

If you remove the filament from around your liver, the edges won’t curl when you cook it! If you go to a butcher, you can ask them to remove it, or you can remove it yourself.


Now that you’ve chosen your liver, thaw it to room temperature. Slice if desired.

IMG_6122.jpg

Place your liver in a bowl with filtered water. Add 4-8 tablespoons of apple cider vinegar, lemon juice, or whole milk (raw preferred.) Allow to soak for anywhere from 30 minutes to 2 hours. The time you soak is determined by the thickness of your slices and your texture preferences.

IMG_6158.jpg

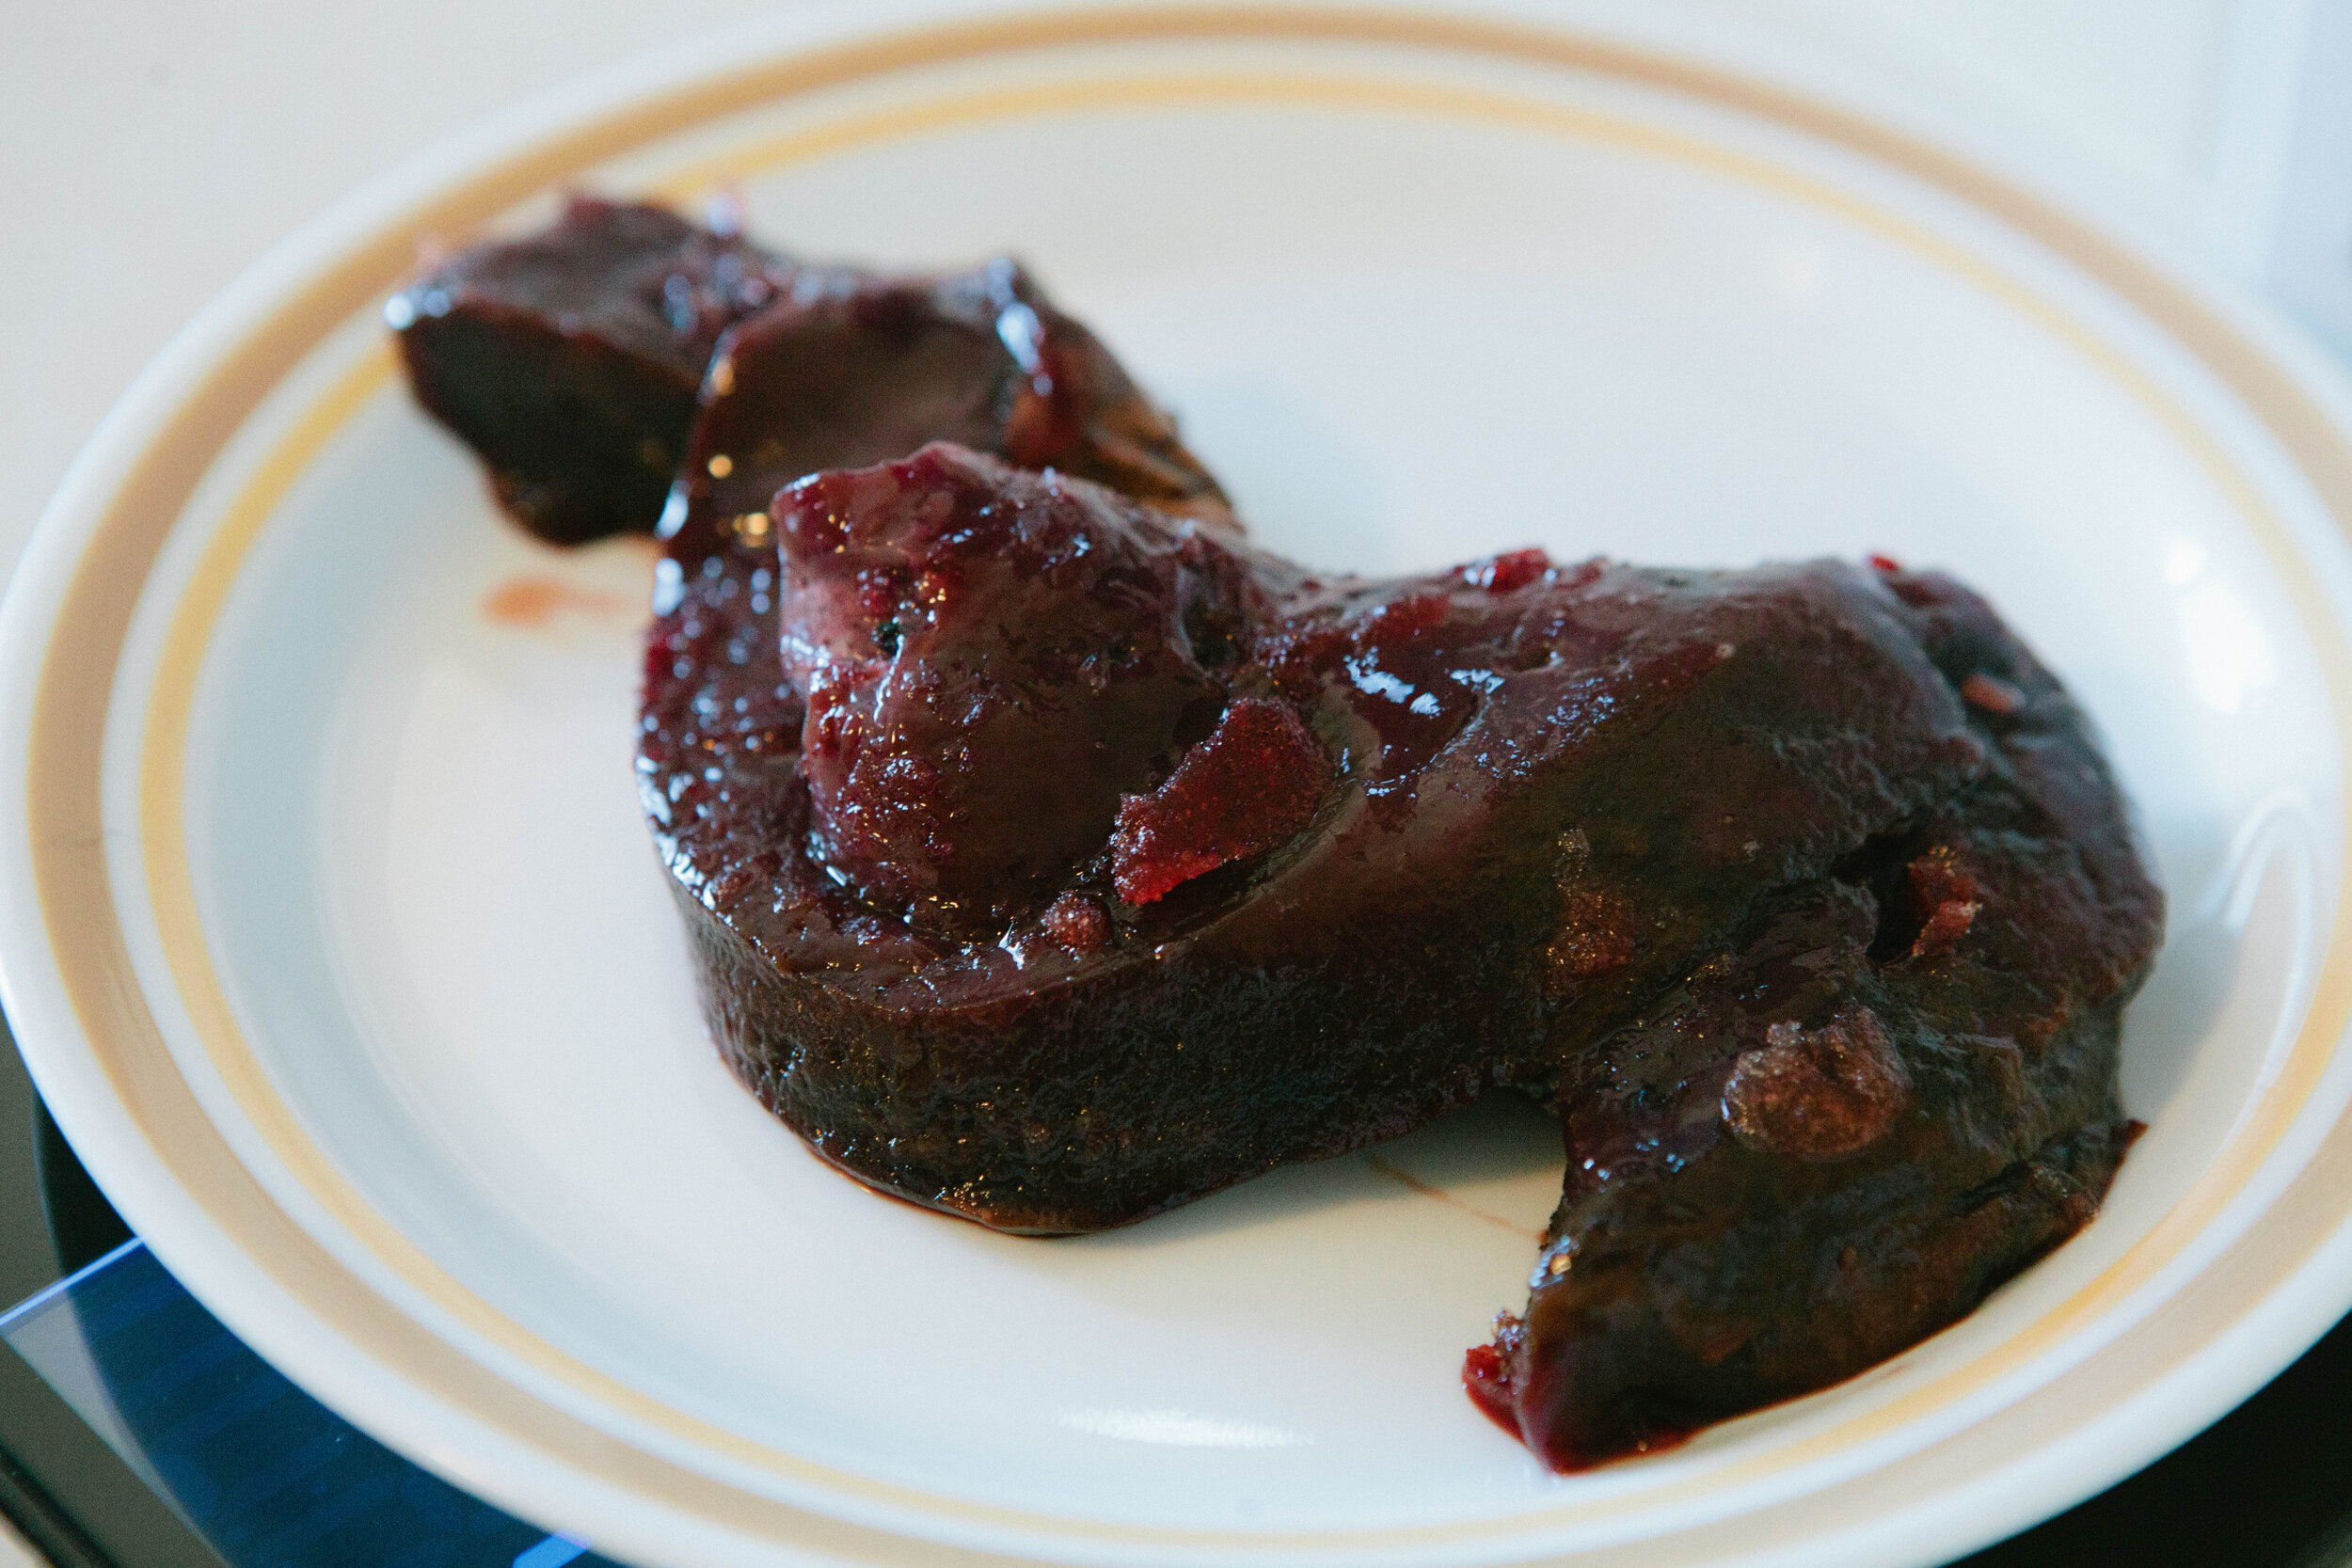
After soaking the liver for your desired time, you can remove it and cut it up to prepare it per your recipe. As you can see from the picture below, I did not soak this long enough for the acid to permeate the entire liver. This will lead to a slightly stronger liver taste. This liver was blended in a food processor and added to ground hamburger to make meatballs so the stronger taste was okay.

IMG_6185.jpg

Do you have any tips or tricks about how you enjoy liver? Share what you know below!

How to Prepare Vegetables

Vegetables are SO versatile. There’s endless ways to season them and eat them. They can be fermented, roasted, fried, or eaten raw. Plants like fruits and vegetables cleanse our bodies. They help our bodies to process and remove the toxins that we are exposed to on a daily basis from the environment around us, even if we do our best to avoid toxins. We mostly benefit from the fiber, antioxidants, enzymes, and other detoxifying substances.

Summer is the time that vegetables shine! Many people are pulling beautiful zucchini, tomatoes, beans, peppers and greens out of their gardens. Fresh vegetables are in season, and you may find yourself desiring them more than usual. Go with it!

Below are a few recipes for how to use the vegetables that you grow in your gardens. If you need help sourcing vegetables without having a garden, check out this blog. To learn about vegetable quality, this blog can help.

Fermented Vegetables

Vegetable Medley

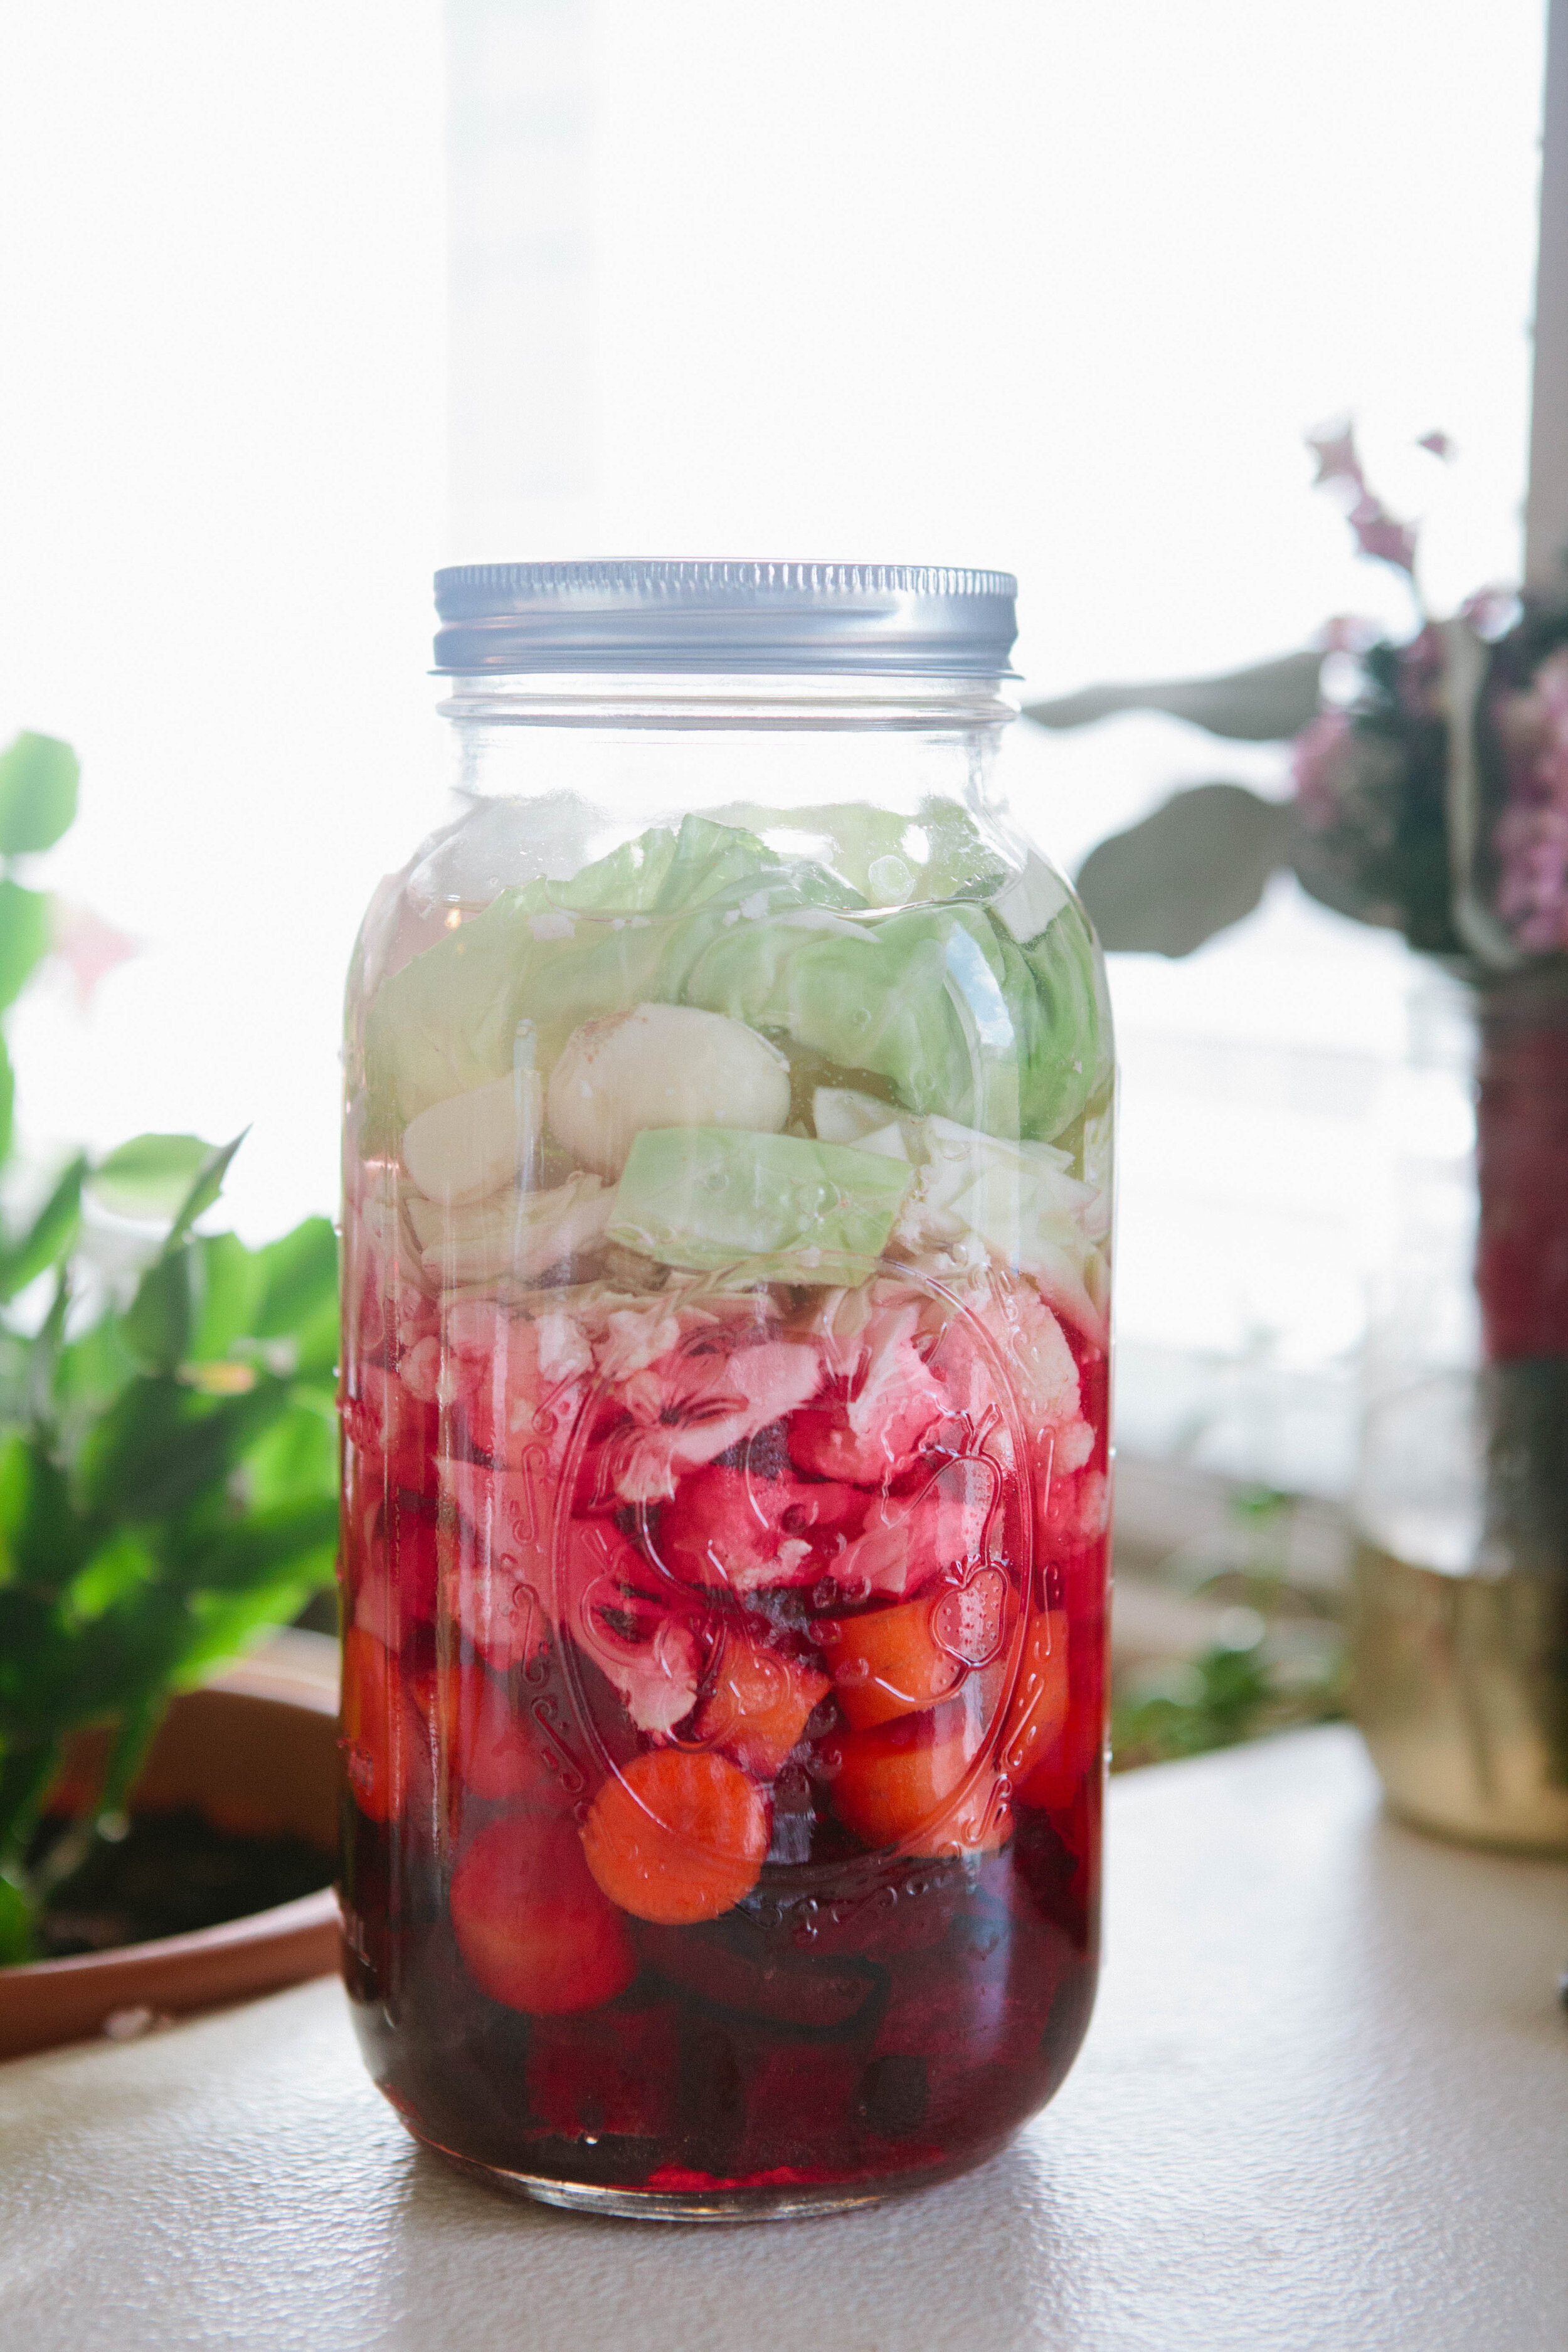
This recipe contains five different vegetables: beets (good for liver and blood cleansing), cabbage (stimulates digestion), carrots (contain vitamin A), and cauliflower (makes it taste better, believe me), and garlic (good for immune support). It makes a very rich and flavorful liquid, which is also a wonderful probiotic drink.

Gluten Free, Dairy Free, Egg Free

Simple Roasted Beets

Not only are beets high in many vitamins and minerals, including vitamin C, beets have been shown to lower blood pressure, detoxify the body (especially by cleansing the blood and the liver), fight inflammation, boost stamina in workouts, and more!

Gluten Free, Dairy Free, Egg Free

Beet Kvass

Beet Kvass is a liver tonic. Anyone can make this simple fermented drink! It requires only a few ingredients, and only a few minutes to "put up."

Want to learn how? Good!

Gluten Free, Dairy Free, Egg Free

Sauerkraut

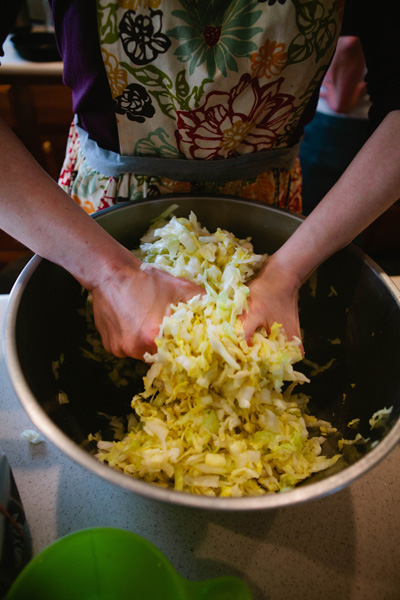
While good quality sauerkraut can be obtained in most stores now, I still prefer to make my own as I think it tastes the best. I put a lot of love and anticipation into my sauerkraut, as I don’t eat it until it has been fermenting for at least three months.

Gluten Free, Dairy Free, Egg Free


Cabbage Tonic

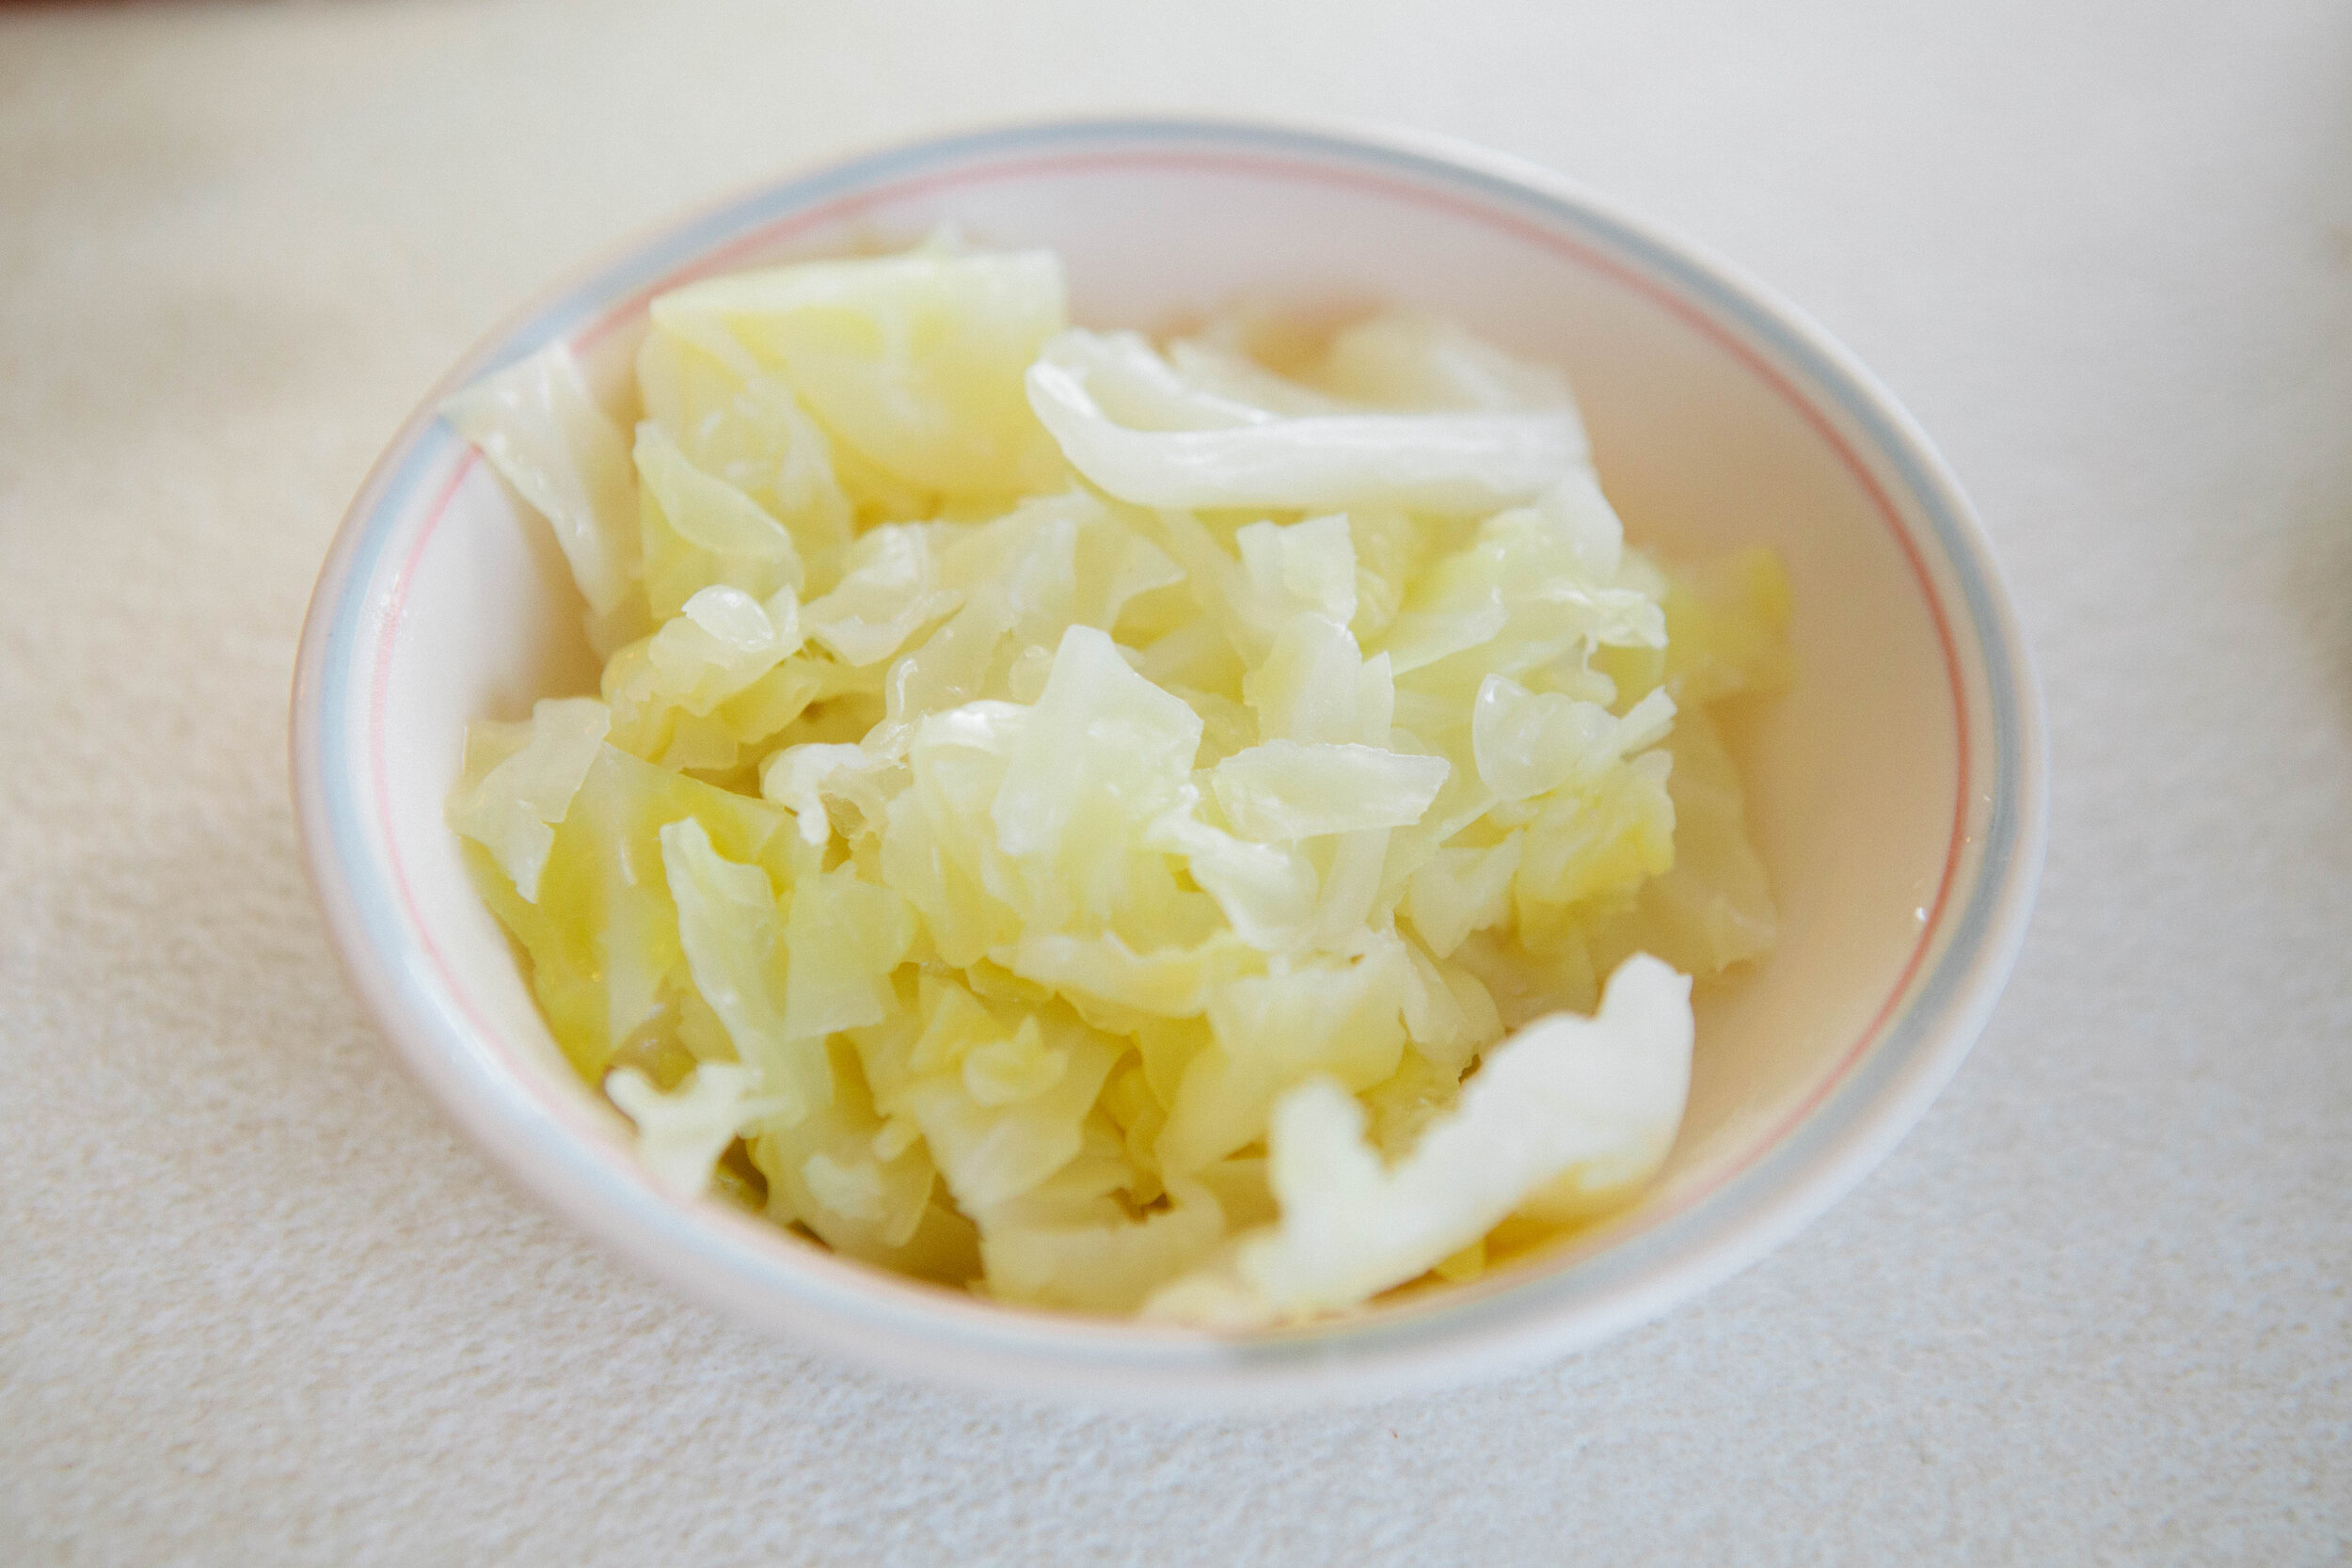
This cabbage tonic can be taken from the beginning of the Intro Diet of GAPS. Use this tonic daily to help change your gut flora.

Gluten Free, Dairy Free, Egg Free


Vegetables in Soups


Cabbage Soup

I love this cabbage soup. Maybe it’s because of my German roots. Try cutting your cabbage into long strips to resemble noodles for pasta loving children. 

Gluten Free, Dairy Free, Egg Free


Raw Vegetables

Carrot Raisin Dessert

This is a quick and easy recipe to whip up. It’s a GAPS Legal dish but is sure to be a crowd pleaser even for those who aren’t on GAPS.

While technically a salad, this is a very sweet dish. I recommend consuming it at the end of a meal as a treat.

Gluten Free, Dairy Free

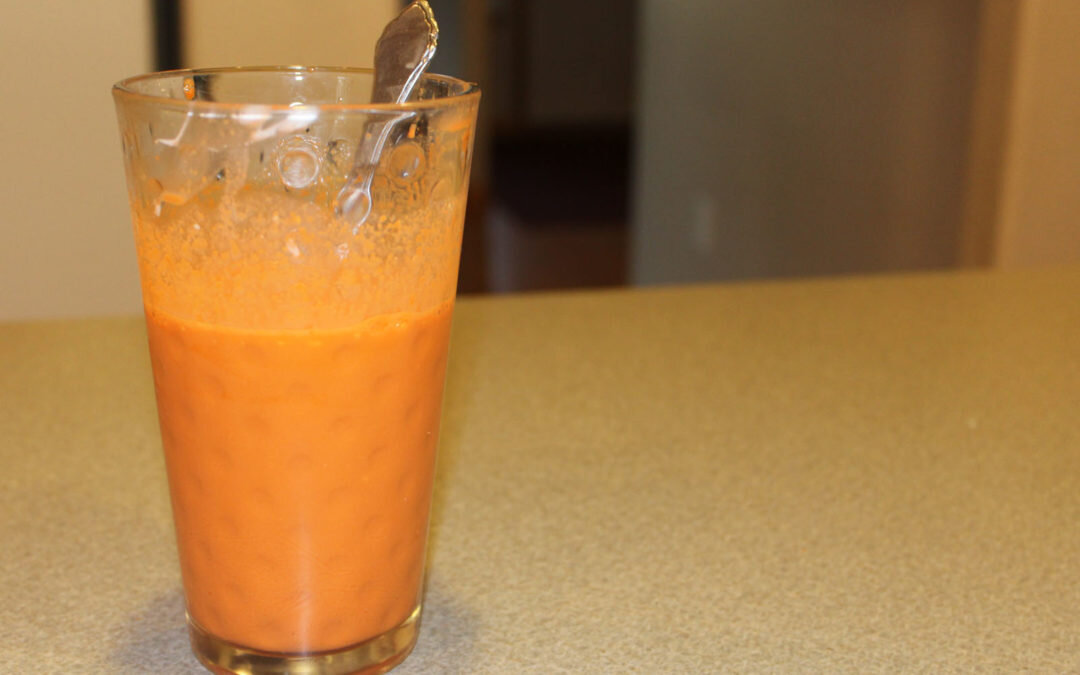
GAPS Milkshake

This recipe is a simple, but powerful one! It is called the GAPS™ milkshake, and it packs a powerful punch! This delicious, satisfying and helpful beverage is a wonderful way to daily consume your freshly-pressed juices, and can even be a meal.

Gluten Free, Dairy Free

Cooked Vegetables

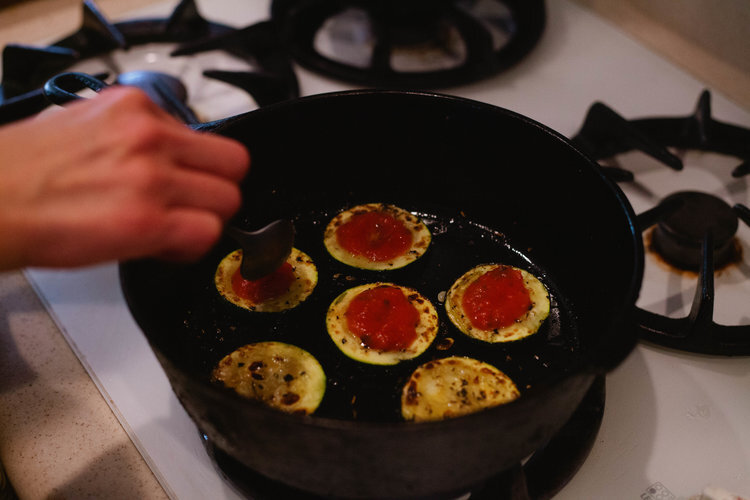
Zucchini Pizza Bites

Recently I needed a bit of a change. I needed something exciting to eat! And I really wanted pizza. But even though I know how to make a GAPS legal pizza crust I did not want to spend the time or energy to make it. Then I came up with this brilliant idea... pizza bites... on zucchini!

Gluten Free, Dairy Free, Egg Free

Steamed Broccoli

My main reason for eating broccoli is to use it as a vehicle for butter. Need I say more?

Broccoli itself does have some amazing nutritional content on its own, separate from carrying butter. It's high in both soluble and insoluble fiber, potassium, and the vitamins B6, C and A.

Gluten Free, Dairy Free

Spinach & Artichoke Dip

This Chicken Tortilla Soup recipe is a result of me expanding my horizons in genres of food that I cook and eat! It wasn't too spicy, and it's different than plain meat stock that you typically eat on Stage 1. There were tons of suggestions about different ways to make it, so it's also easy to switch up to match your tastes.

Gluten Free, Dairy Free, Egg Free

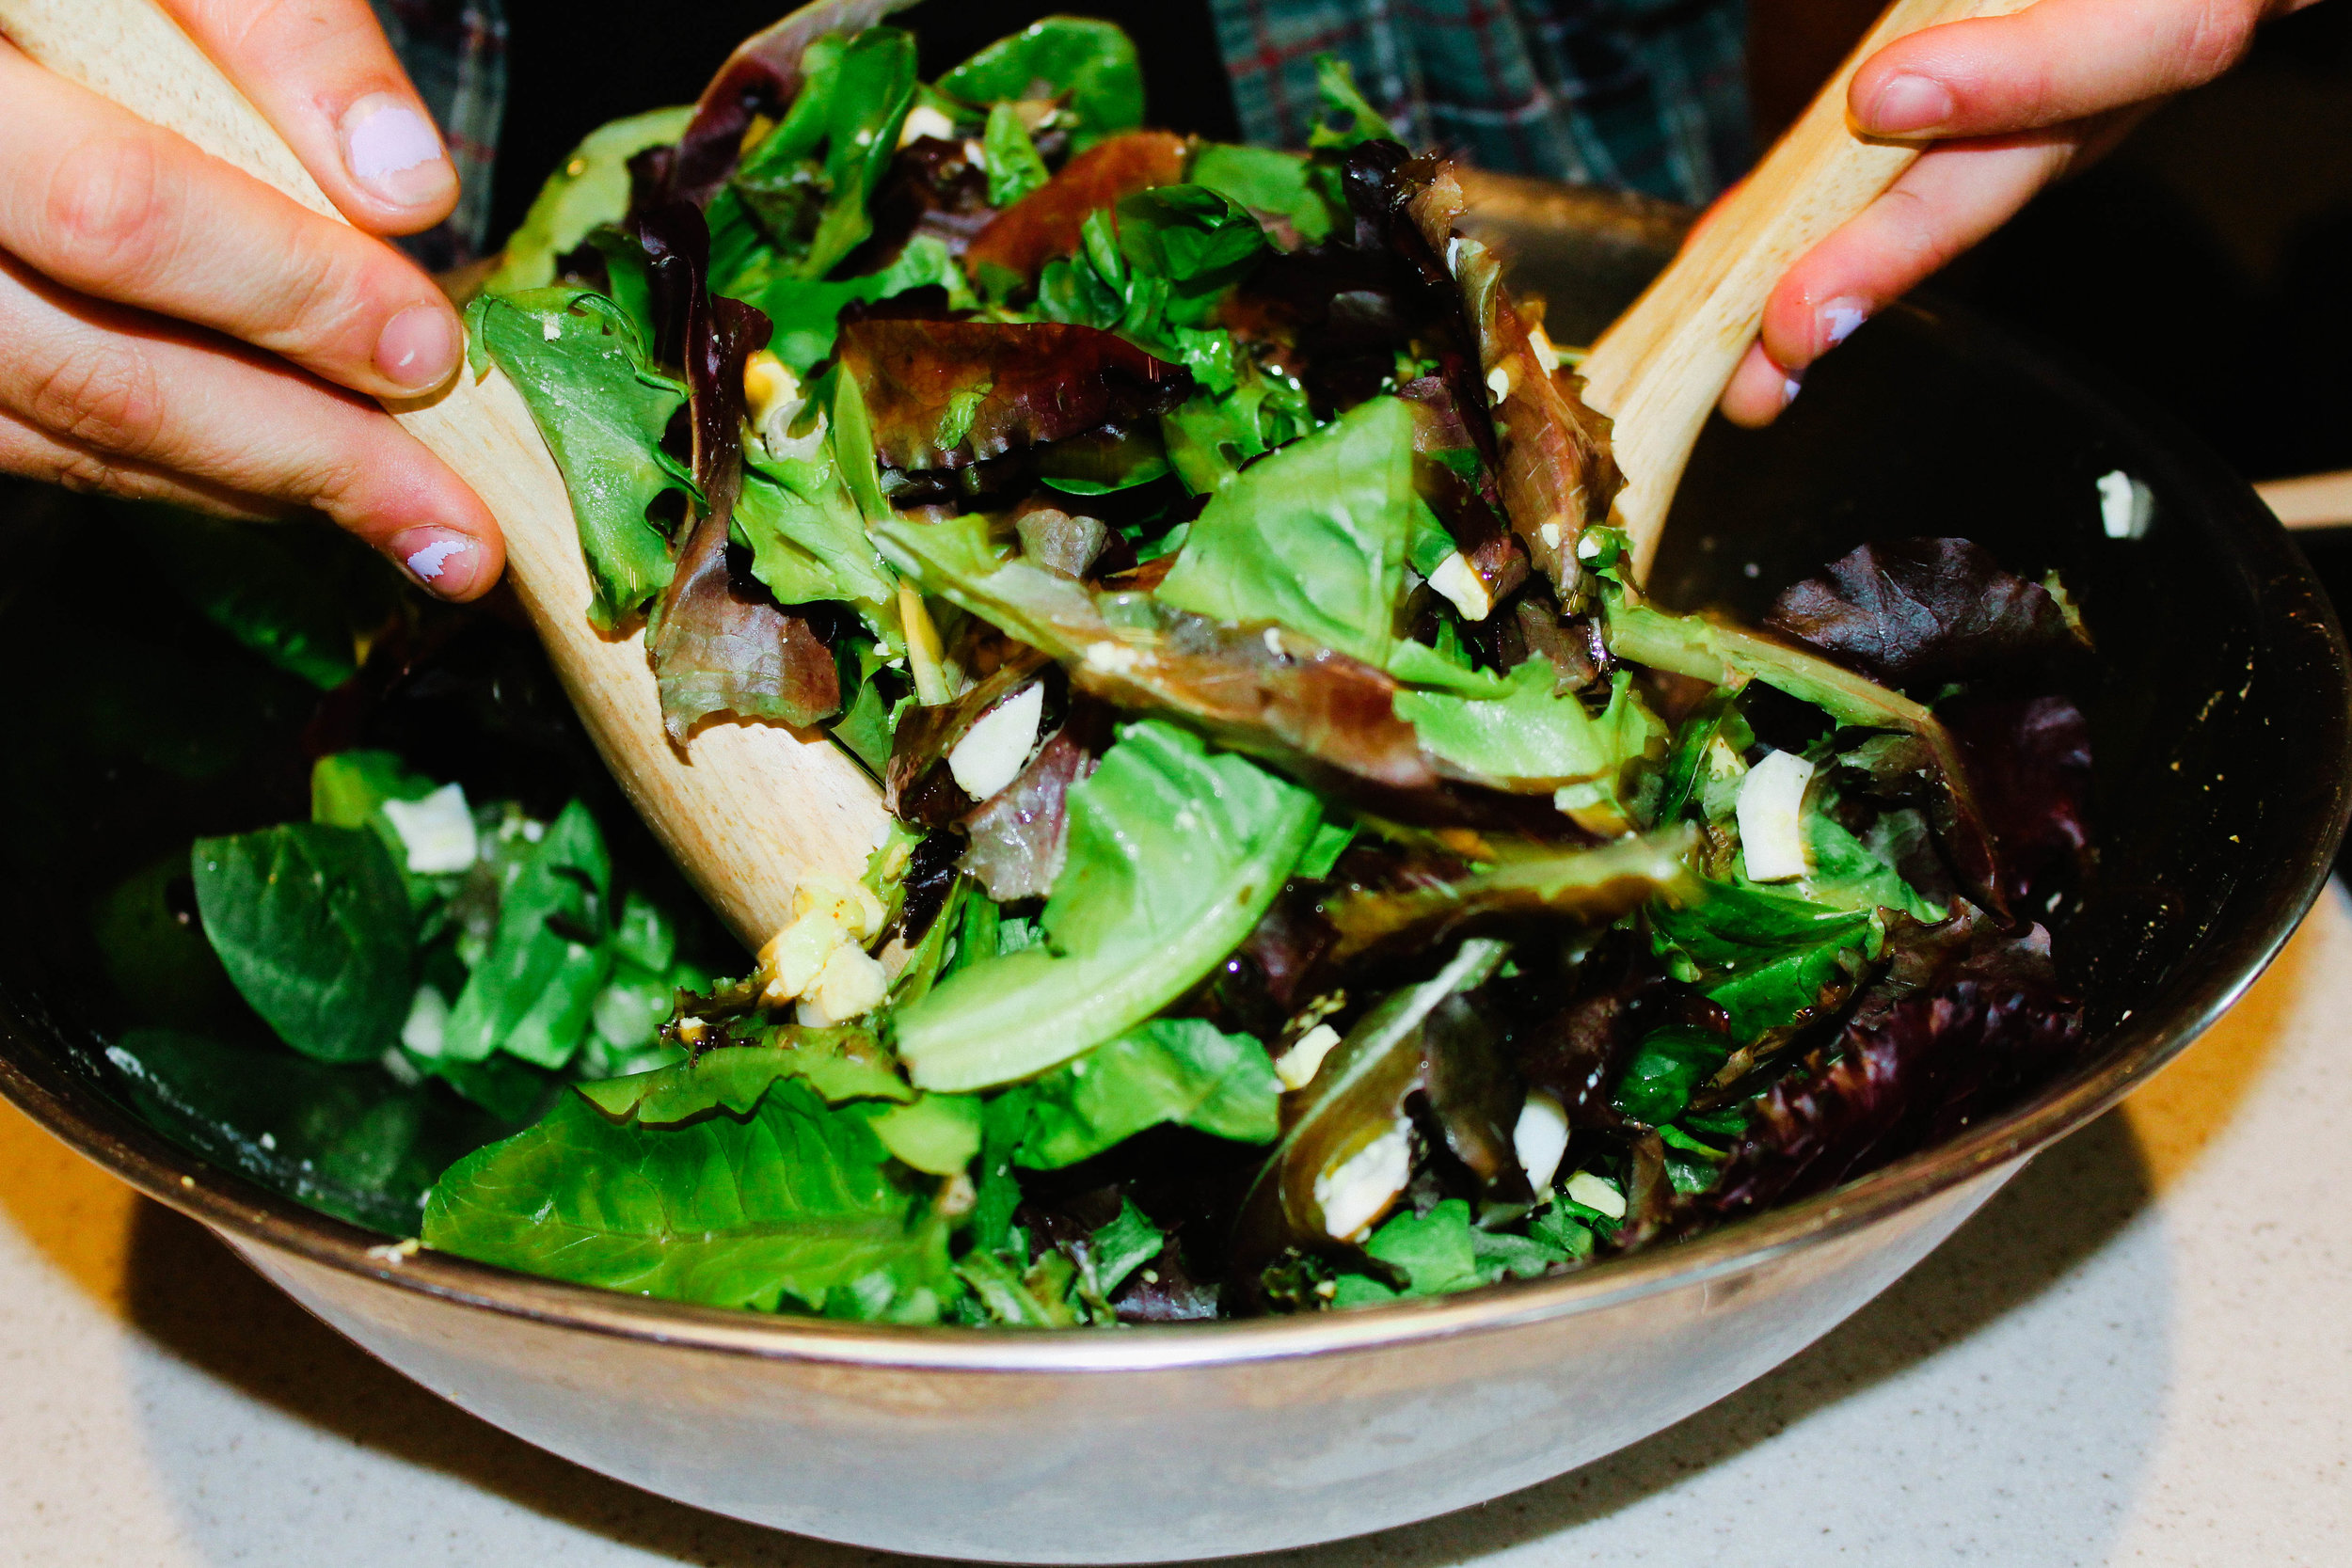
Wilted Salad

Wilted lettuce salad is an amazing recipe that will make the salad go quicker than you ever thought possible! It was a family favorite when I was growing up, and continues to be so today. It combines just about everything I think is amazing and delicious!

Gluten Free, Dairy Free, Egg Free

Cast Iron Brussels Sprouts

I know most people don’t care for brussels sprouts. I’ve never shared their view. I think it’s probably because my grandma drowned brussels sprouts in butter when she cooked them. Back in the day, we used to talk about how unhealthy this was but now I know better.

Gluten Free, Dairy Free, Egg Free

Twice Baked Cauliflower

Stop whatever dinner plans you have and go buy a cauliflower! This recipe is the best side dish I have ever had... and I don't even really like cauliflower that much!

Gluten Free, Dairy Free, Egg Free

A Guide to Commercial Egg Quality

Eggs are one of the best nutrient dense foods but not all eggs are created equal! Just like choosing good meat and vegetables, it’s important to choose good, quality eggs. This topic is not discussed very often, so in this post I’d like to lay out for you some of the main character qualities to look for in a good nourishing egg.

Just like with any food, it’s best to rely on your five senses to determine a particular food’s quality. Some of this can only be done with experimentation, so I encourage you to purchase a variety of brands or eggs from local farmers and make your own observations on freshness, quality, and nutrient density.

I love that I was able to see first hand what a best quality egg looks like when I had my own chickens. They were fed small grain, organic, non-GMO, corn free soy free feed, they had constant access to outside during the day, and ran over half an acre of pasture. I understand not everyone has access to a farmer, and not everyone can have their own laying hens,so this blog post is to help you determine which eggs that are available to you are the best quality.


First, let’s talk about some confusing terms. There’s not a lot of regulation on these terms, and marketing experts often use them to promote their product, but it does not necessarily mean their eggs are of higher quality.

Color of Egg: The color of an egg is determined by the breed of chicken that lays it. No chickens are inherently better than others, so the color of your egg alone doesn’t matter in terms of nutritional content or quality.

Cage Free: This term only indicates that the chickens are not confined in a small, individual cage for 24 hours a day. Cage free does not mean the chickens have access to outside and they may be confined in crowded spaces.

Organic: This refers to the food the chicken is eating. Organic food is better than conventional food because it decreases the number of nasty pesticides and GMOs, but these chickens’ diets are likely heavy in soy and corn or anything else as long as it’s labeled organic.

Vegetarian Fed: This is not a natural diet for a chicken! A natural chicken diet consists of bugs, roadkill, grasses, grains and seeds. They are omnivores! If you limit a chicken to a vegetarian diet, you are messing with nature and your egg will not contain the full amount of nutrition it should.

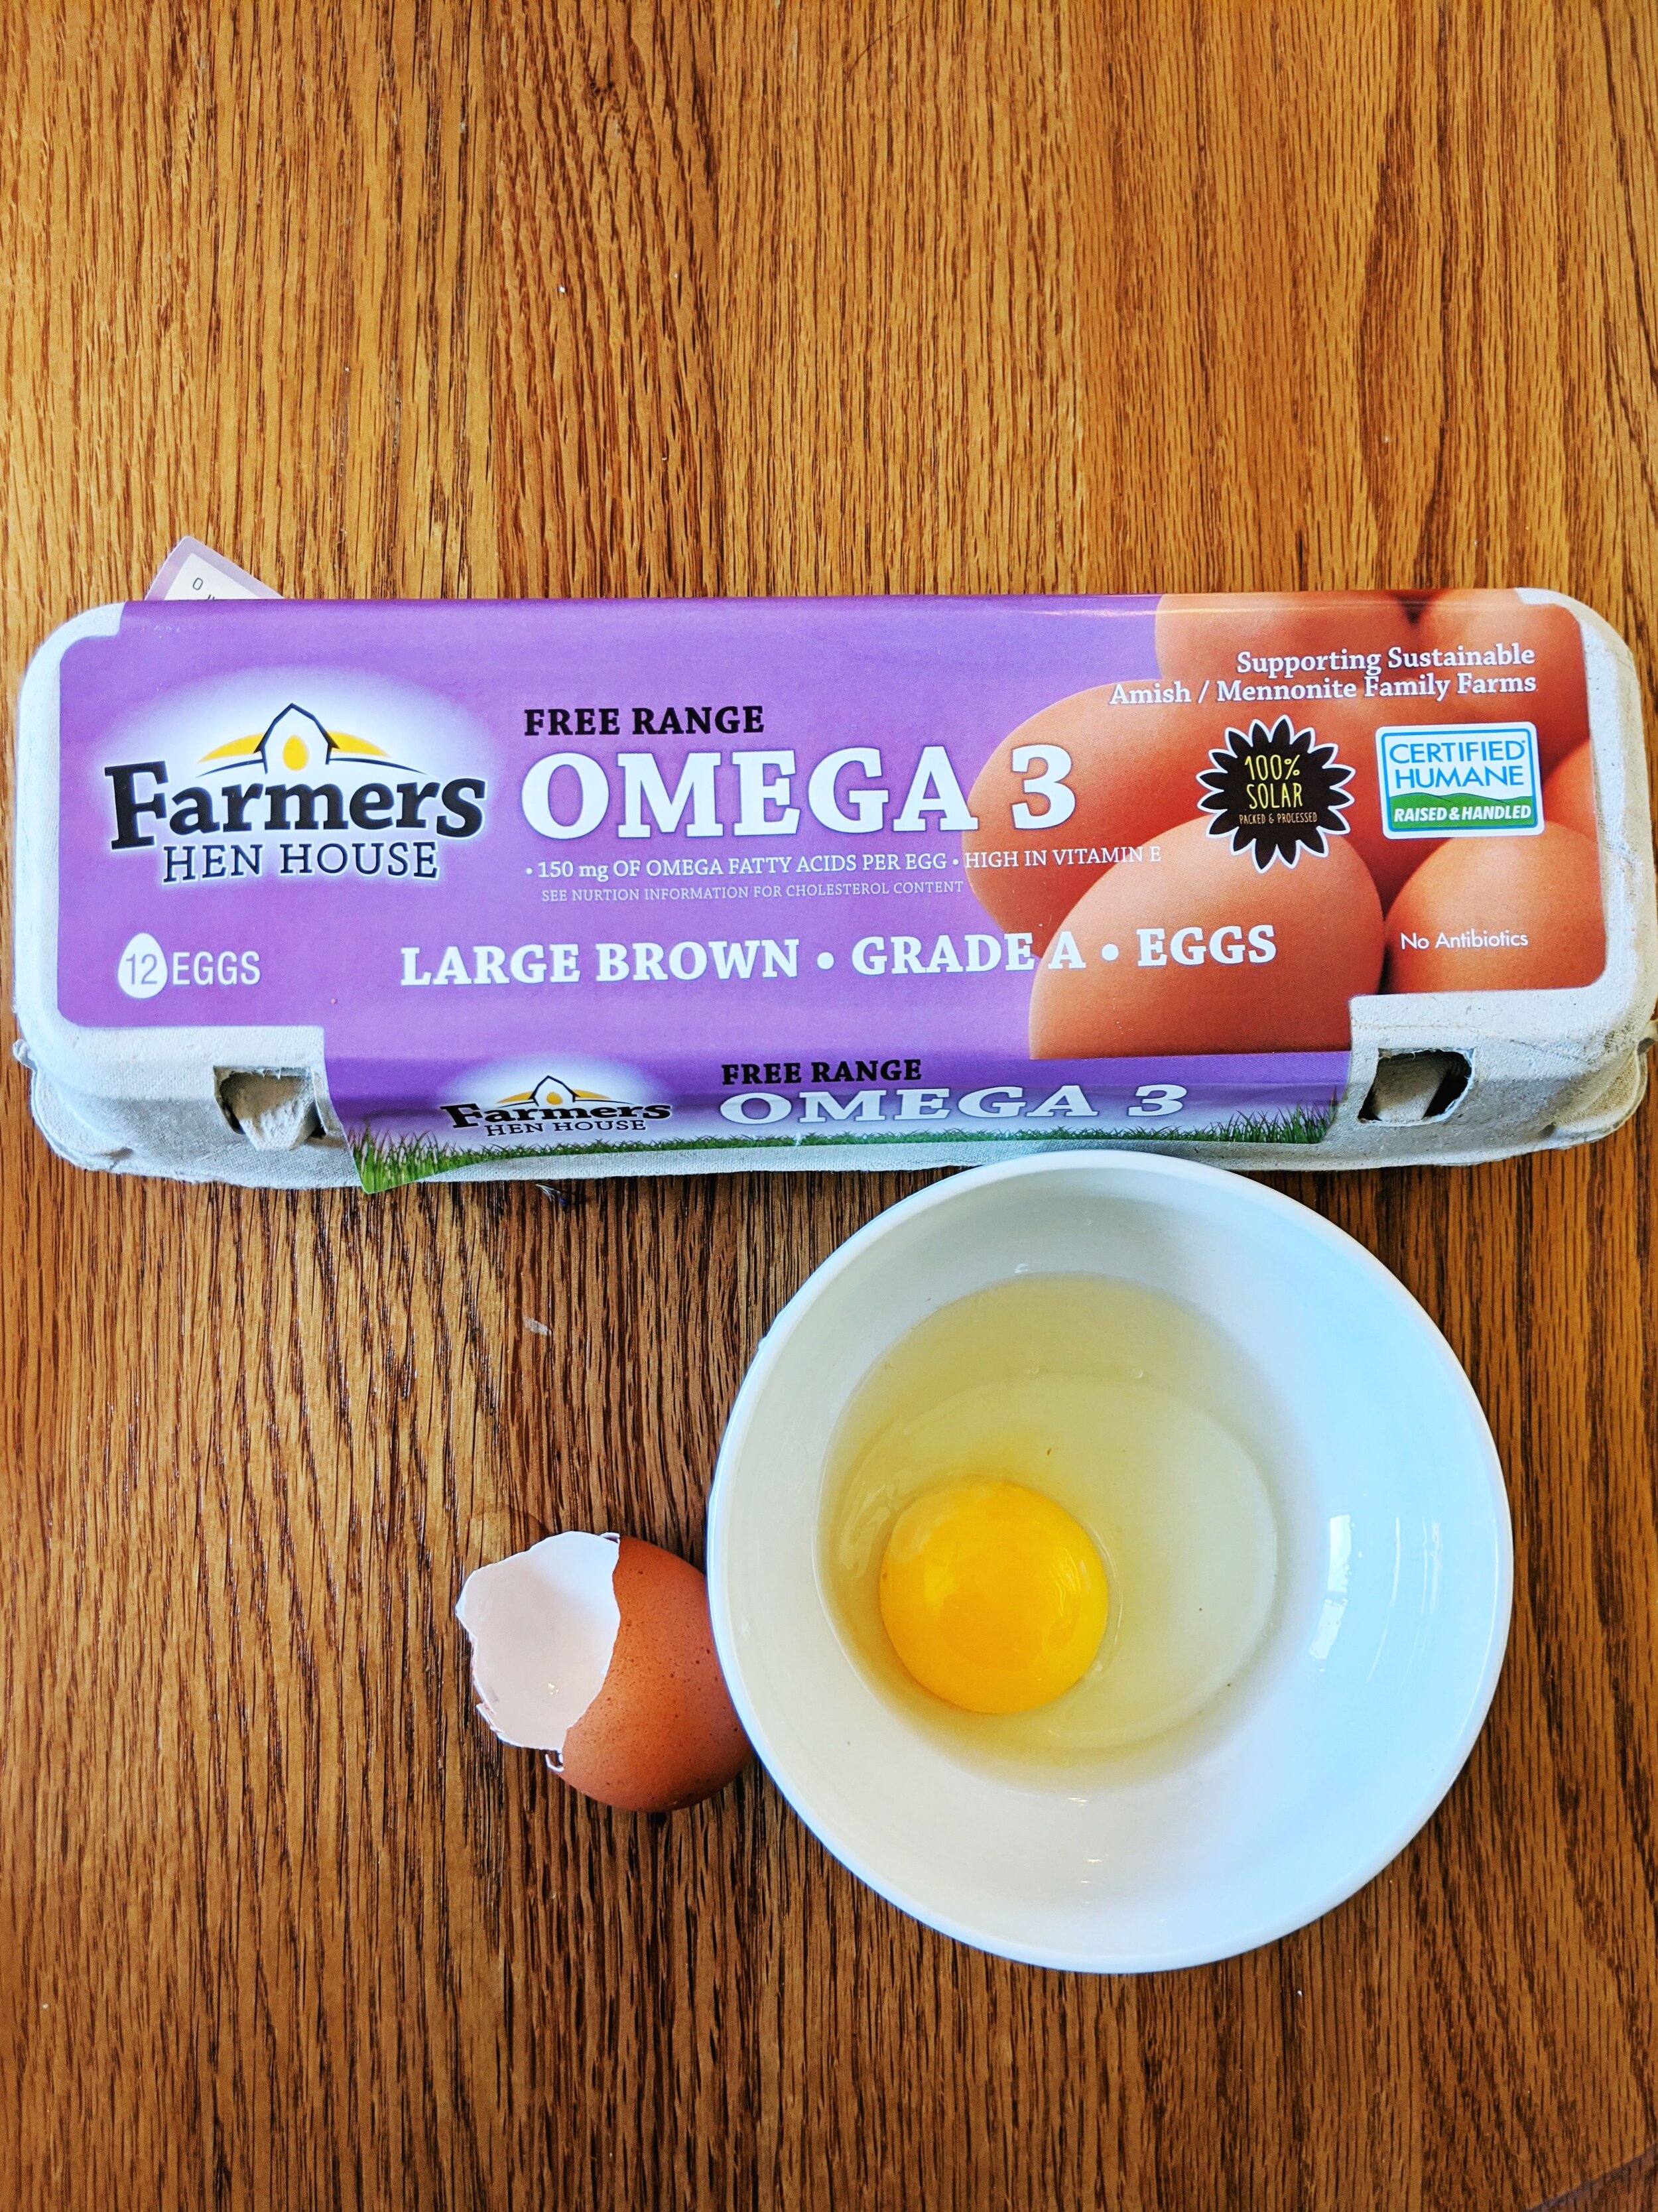
Free Range: Free range indicates that chickens have to “have access to the outdoors” but it doesn’t specify the amount of space or the amount of time the chickens have to be outside. There may not even be enough room outside for each chicken so some chickens may never be outside.

Pasture Raised: Pasture Raised indicates chickens who are given enough space for all of them to be outside and are moved to fresh pasture regularly, giving them access to new bugs and grass. This is the best choice for any egg you purchase. These chickens have the best opportunity to eat the appropriate chicken diet, get sunshine, and be happy!

Omega-3: Omega-3’s are important in our diet, but an egg from a chicken fed a natural diet will have plenty of Omega-3 in it. If a company is advertising Omega-3 eggs, it is very likely they are giving supplements to ensure a certain level of Omega-3’s in their eggs. Depending on the quality of supplement, this may or may not be good for you, and again if the chicken is given access to sun and an omnivore diet, an additional supplement is unnecessary. On that note, there are different foods and supplements that can be fed to chickens to make their yolks more orange or darker yellow. This does not, of course, equal the same quality of nutrition that a pastured chicken can put in their egg.

Certified Humane: This is a label given to egg raisers who meet the requirements of the Humane Farm Animal Care. In essence, it means the birds are treated well, not starved or debeaked, but does not necessarily mean they are given access to outdoors and beak trimming is also allowed.

Grades: The grades AA, A, & B on the side of the package don’t just refer to size. They refers to the quality and freshness of the egg. “AA” is the best, according to the USDA, but we will teach you how to grade your own eggs!

New advertising measures are used constantly! If you see something new advertised on a carton of eggs, it’s a great idea to look up what qualifications, if any, are necessary to add that label to their carton.
Now that we understand some of the marketing definitions, you can purchase the best quality eggs and do some observations to determine the freshness and quality of an individual egg.

First, look at the thickness and smoothness of the egg shell. A shell that is very thin is deficient in calcium. An overly thick shell likely has an artificial amount of calcium supplementation in the chicken’s diet. A bumpy or disfigured egg shell can indicate health problems or deficiencies in the chicken.

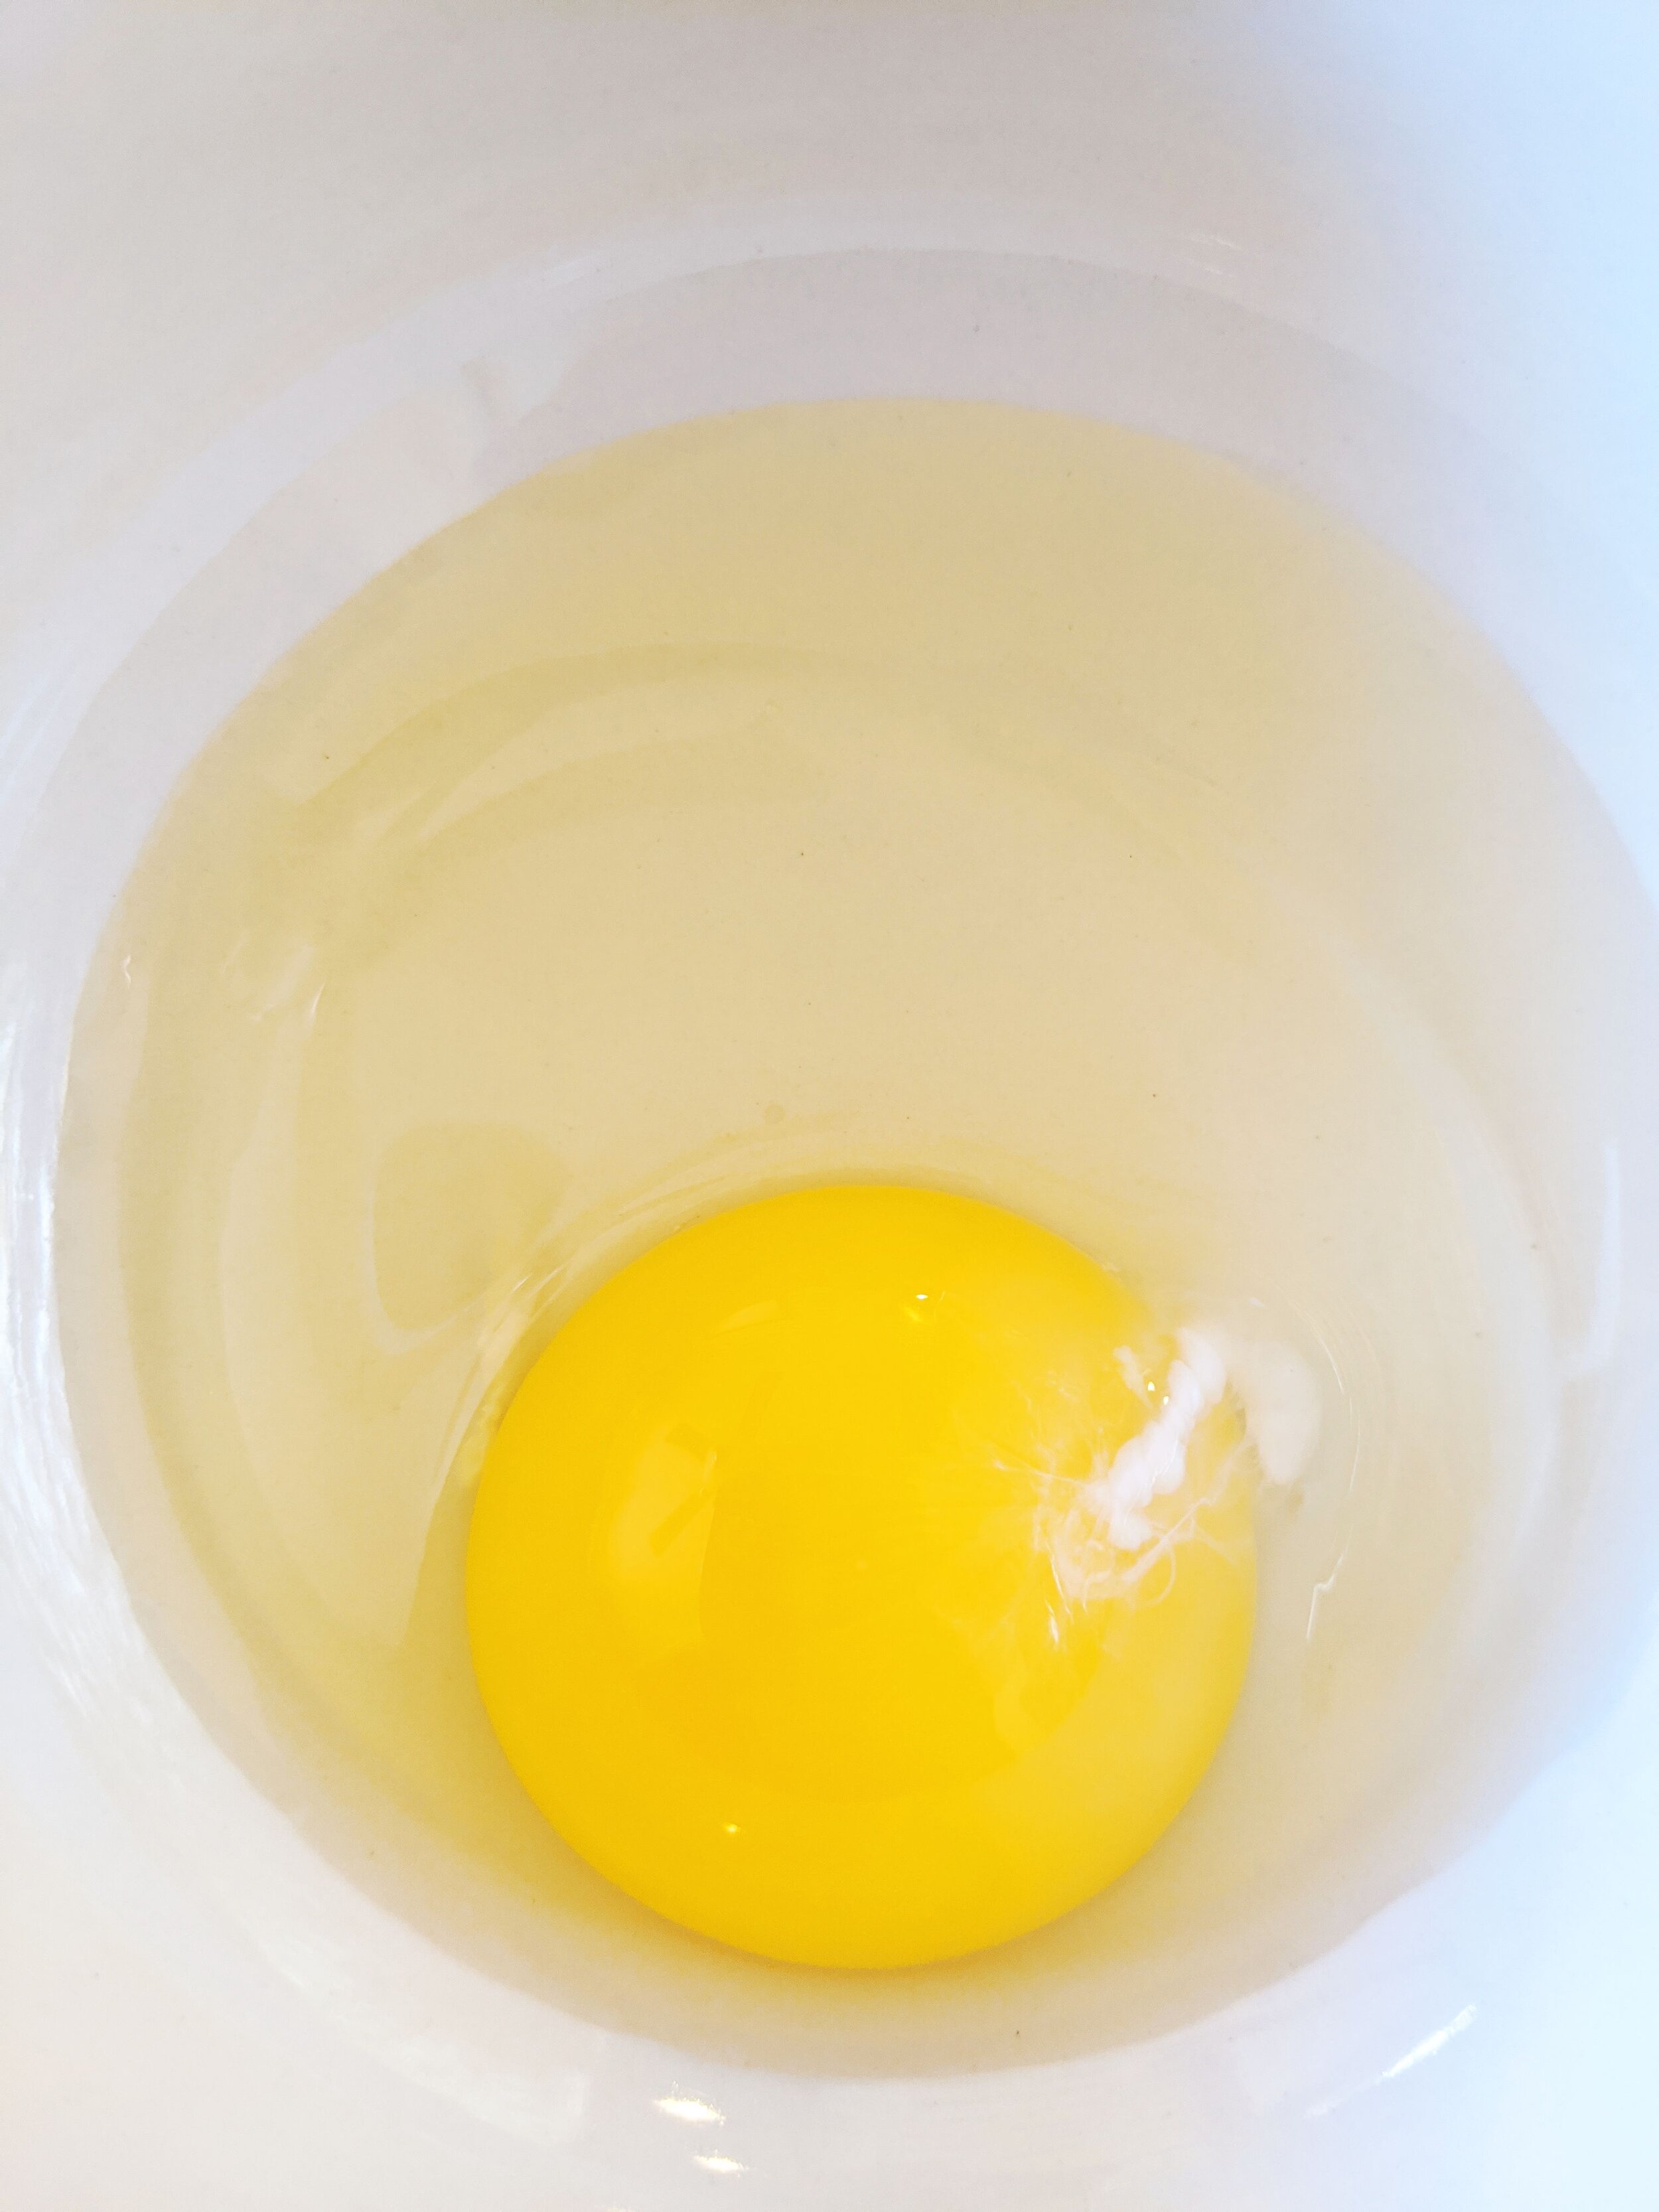
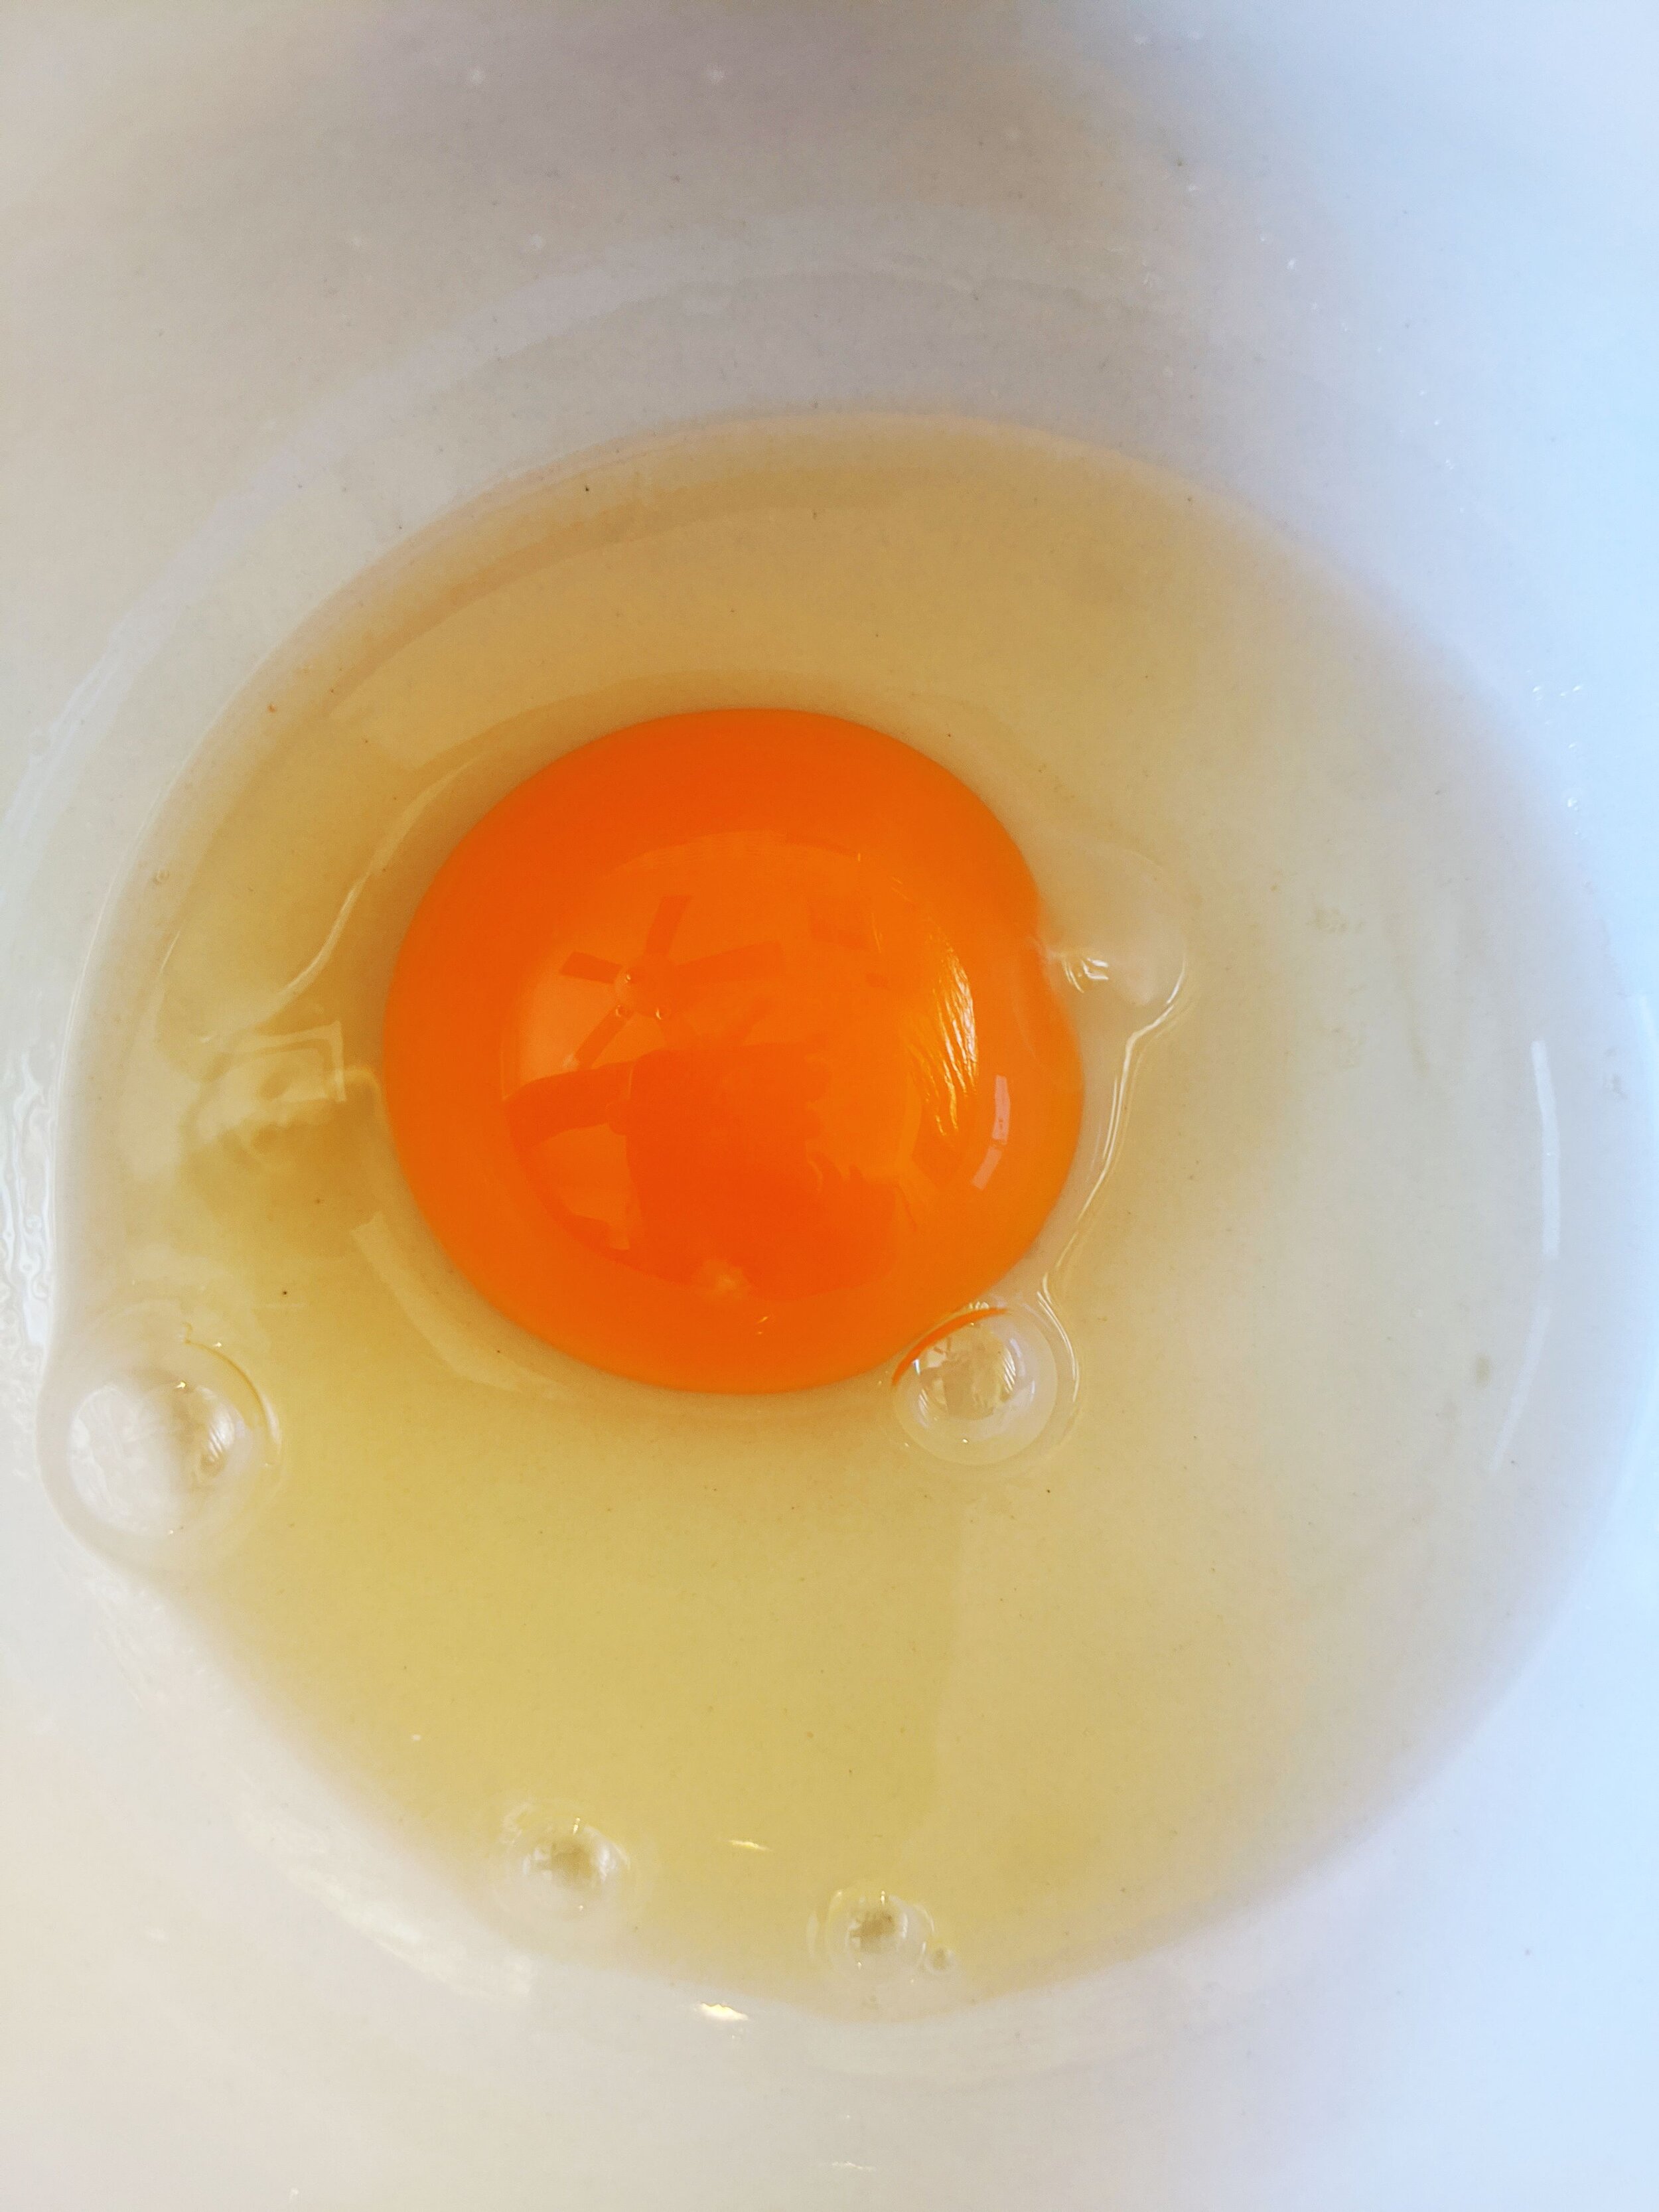
Second, we look at the color of the yolk. Chickens given access to bugs and grass lay eggs with deeper yellow to orange yolks. As a reminder, there are substances, including natural ones, that can be fed to a chicken to make their egg yolk artificially more yellow. Also keep in mind that there is less green plants and bugs in the winter, so even good quality eggs will likely have lighter yellow yolks in the winter.

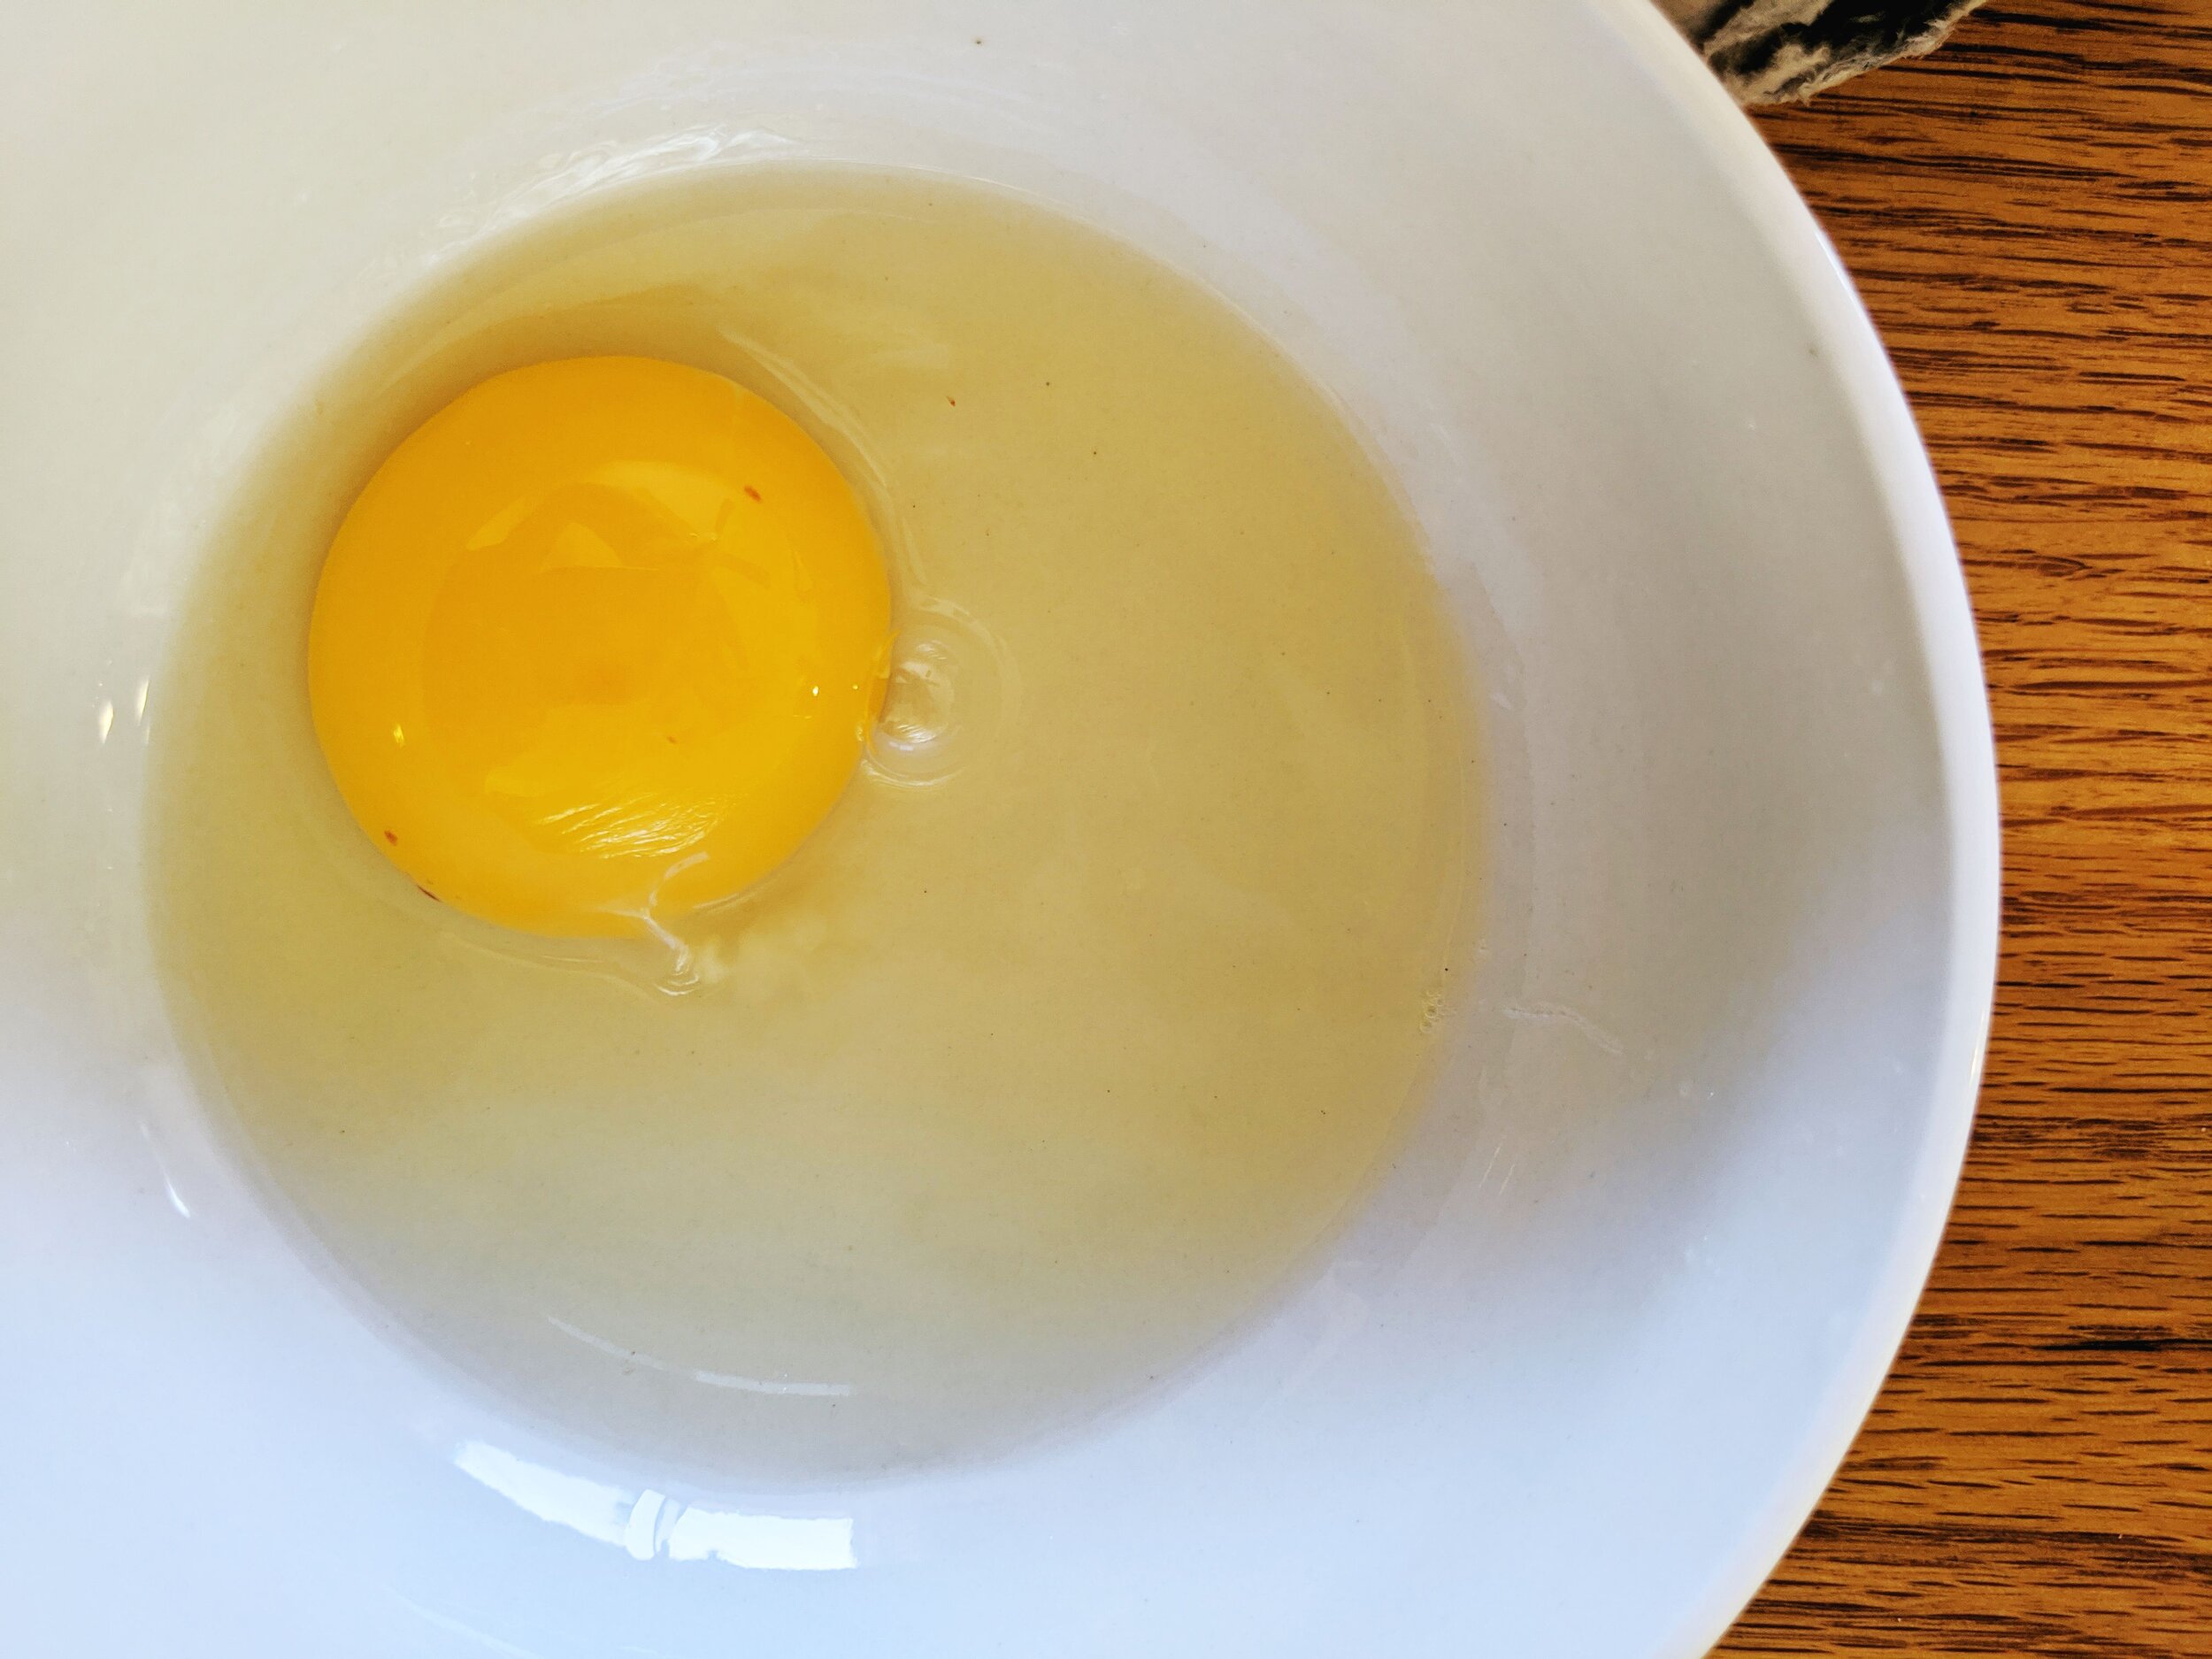
Third, we look at the white of the egg. A fresh and nutrient rich white will hold together and stand together in the pan. A poor quality or old egg white will spread out over the entire area. I’ve heard that the quality of the egg white is what professional chefs use to judge the quality of an egg.

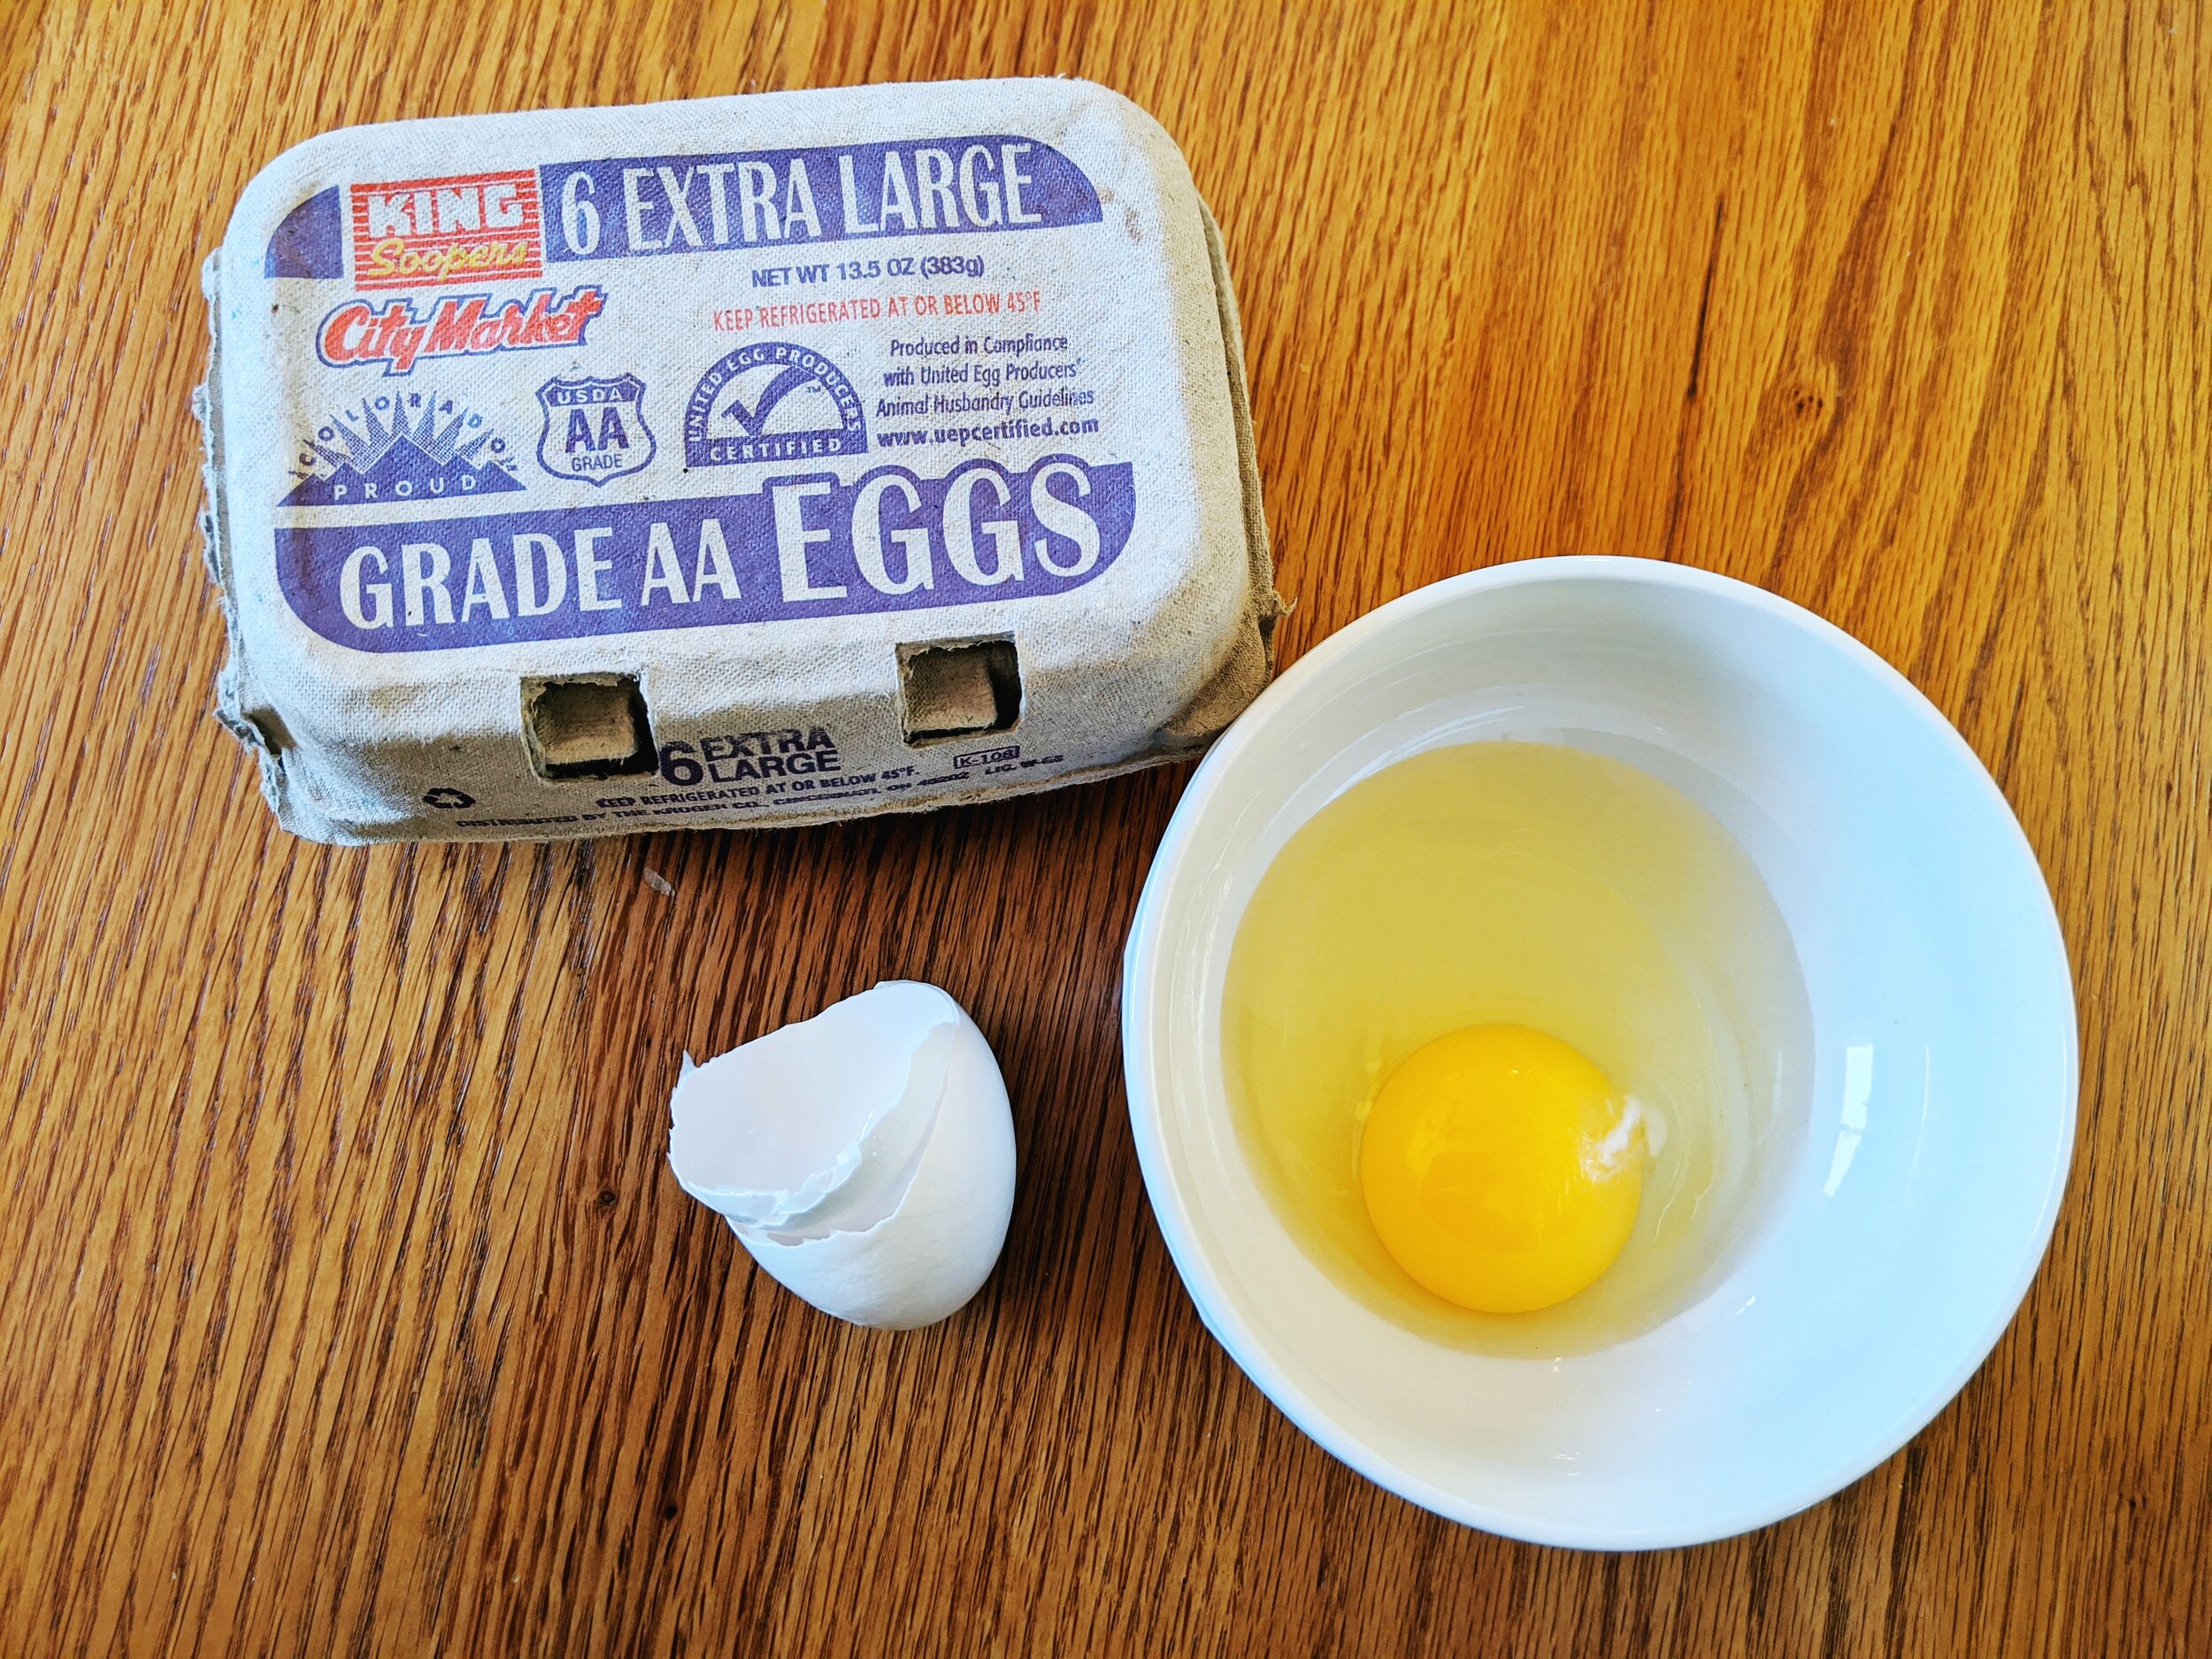
We purchased a variety of eggs from King Soopers and Natural Grocers to do these observations for this experiment. Please refer to the pictures and analysis below!

20200531_132911.jpg
20200531_132937.jpg

Farmer’s Hen House

This brand is my “bulk” go to egg for washing my hair.

Type of Egg: Free Range Large Brown Grade A from Natural Grocers
Price at Purchase Time:
$3.45
Labels on Carton:
Free Range
Description of Shell:
Good thickness, cracked only where hit and didn’t splinter. Fairly smooth.
Color of Yolk:
Dark yellow.
Spread of White:
Mostly holds together, with a little spread.

20200531_132810.jpg
20200531_132837.jpg

Vital Farms Pasture Raised

Type of Egg: Pasture Raised Large Brown Grade A
Price at Purchase Time:
$5.69
Labels on Carton:
Pasture Raised
Description of Shell:
Very smooth, a little thin but broke mostly clean.
Color of Yolk:
Dark, deep yellow
Spread of White:
Held tightly together

20200531_132727.jpg
20200531_132751.jpg

Happy Egg Free Range Eggs

This is the brand that I recommend as a good starting point in looking at higher quality eggs. They are a more accessible egg brand, available at both King Soopers and Natural Grocers.

Type of Egg: Happy Egg Free Range Eggs
Price at Purchase Time:
$5.99
Labels on Carton:
Free Range Pasture Raised Large Brown Grade A Eggs
Description of Shell:
Smooth but a little thin
Color of Yolk:
Very deep orange
Spread of White:
Held together a little but runnier

20200531_132552.jpg
20200531_132638.jpg

Simple Truth Cage Free Eggs

Type of Egg: Cage Free Large Brown Eggs from Simple Truth
Price at Purchase Time:
$2.99
Labels on Carton:
Cage Free Large Brown Eggs Grade AA
Description of Shell:
A little difficult to crack and slightly bumpy
Color of Yolk:
Light yellow
Spread of White:
Runny and not held together

20200531_132434.jpg
20200531_132457.jpg

King Soopers City Market Extra Large Eggs

Type of Egg: King Soopers City Market Extra Large Grade AA Eggs
Price at Purchase Time:
$1.39
Labels on Carton:
Extra Large
Description of Shell:
Thin and bumpy
Color of Yolk:
Light yellow
Spread of White:
Liquid, doesn’t hold together.
Taste of Egg:

20200531_132158.jpg
20200531_132221.jpg

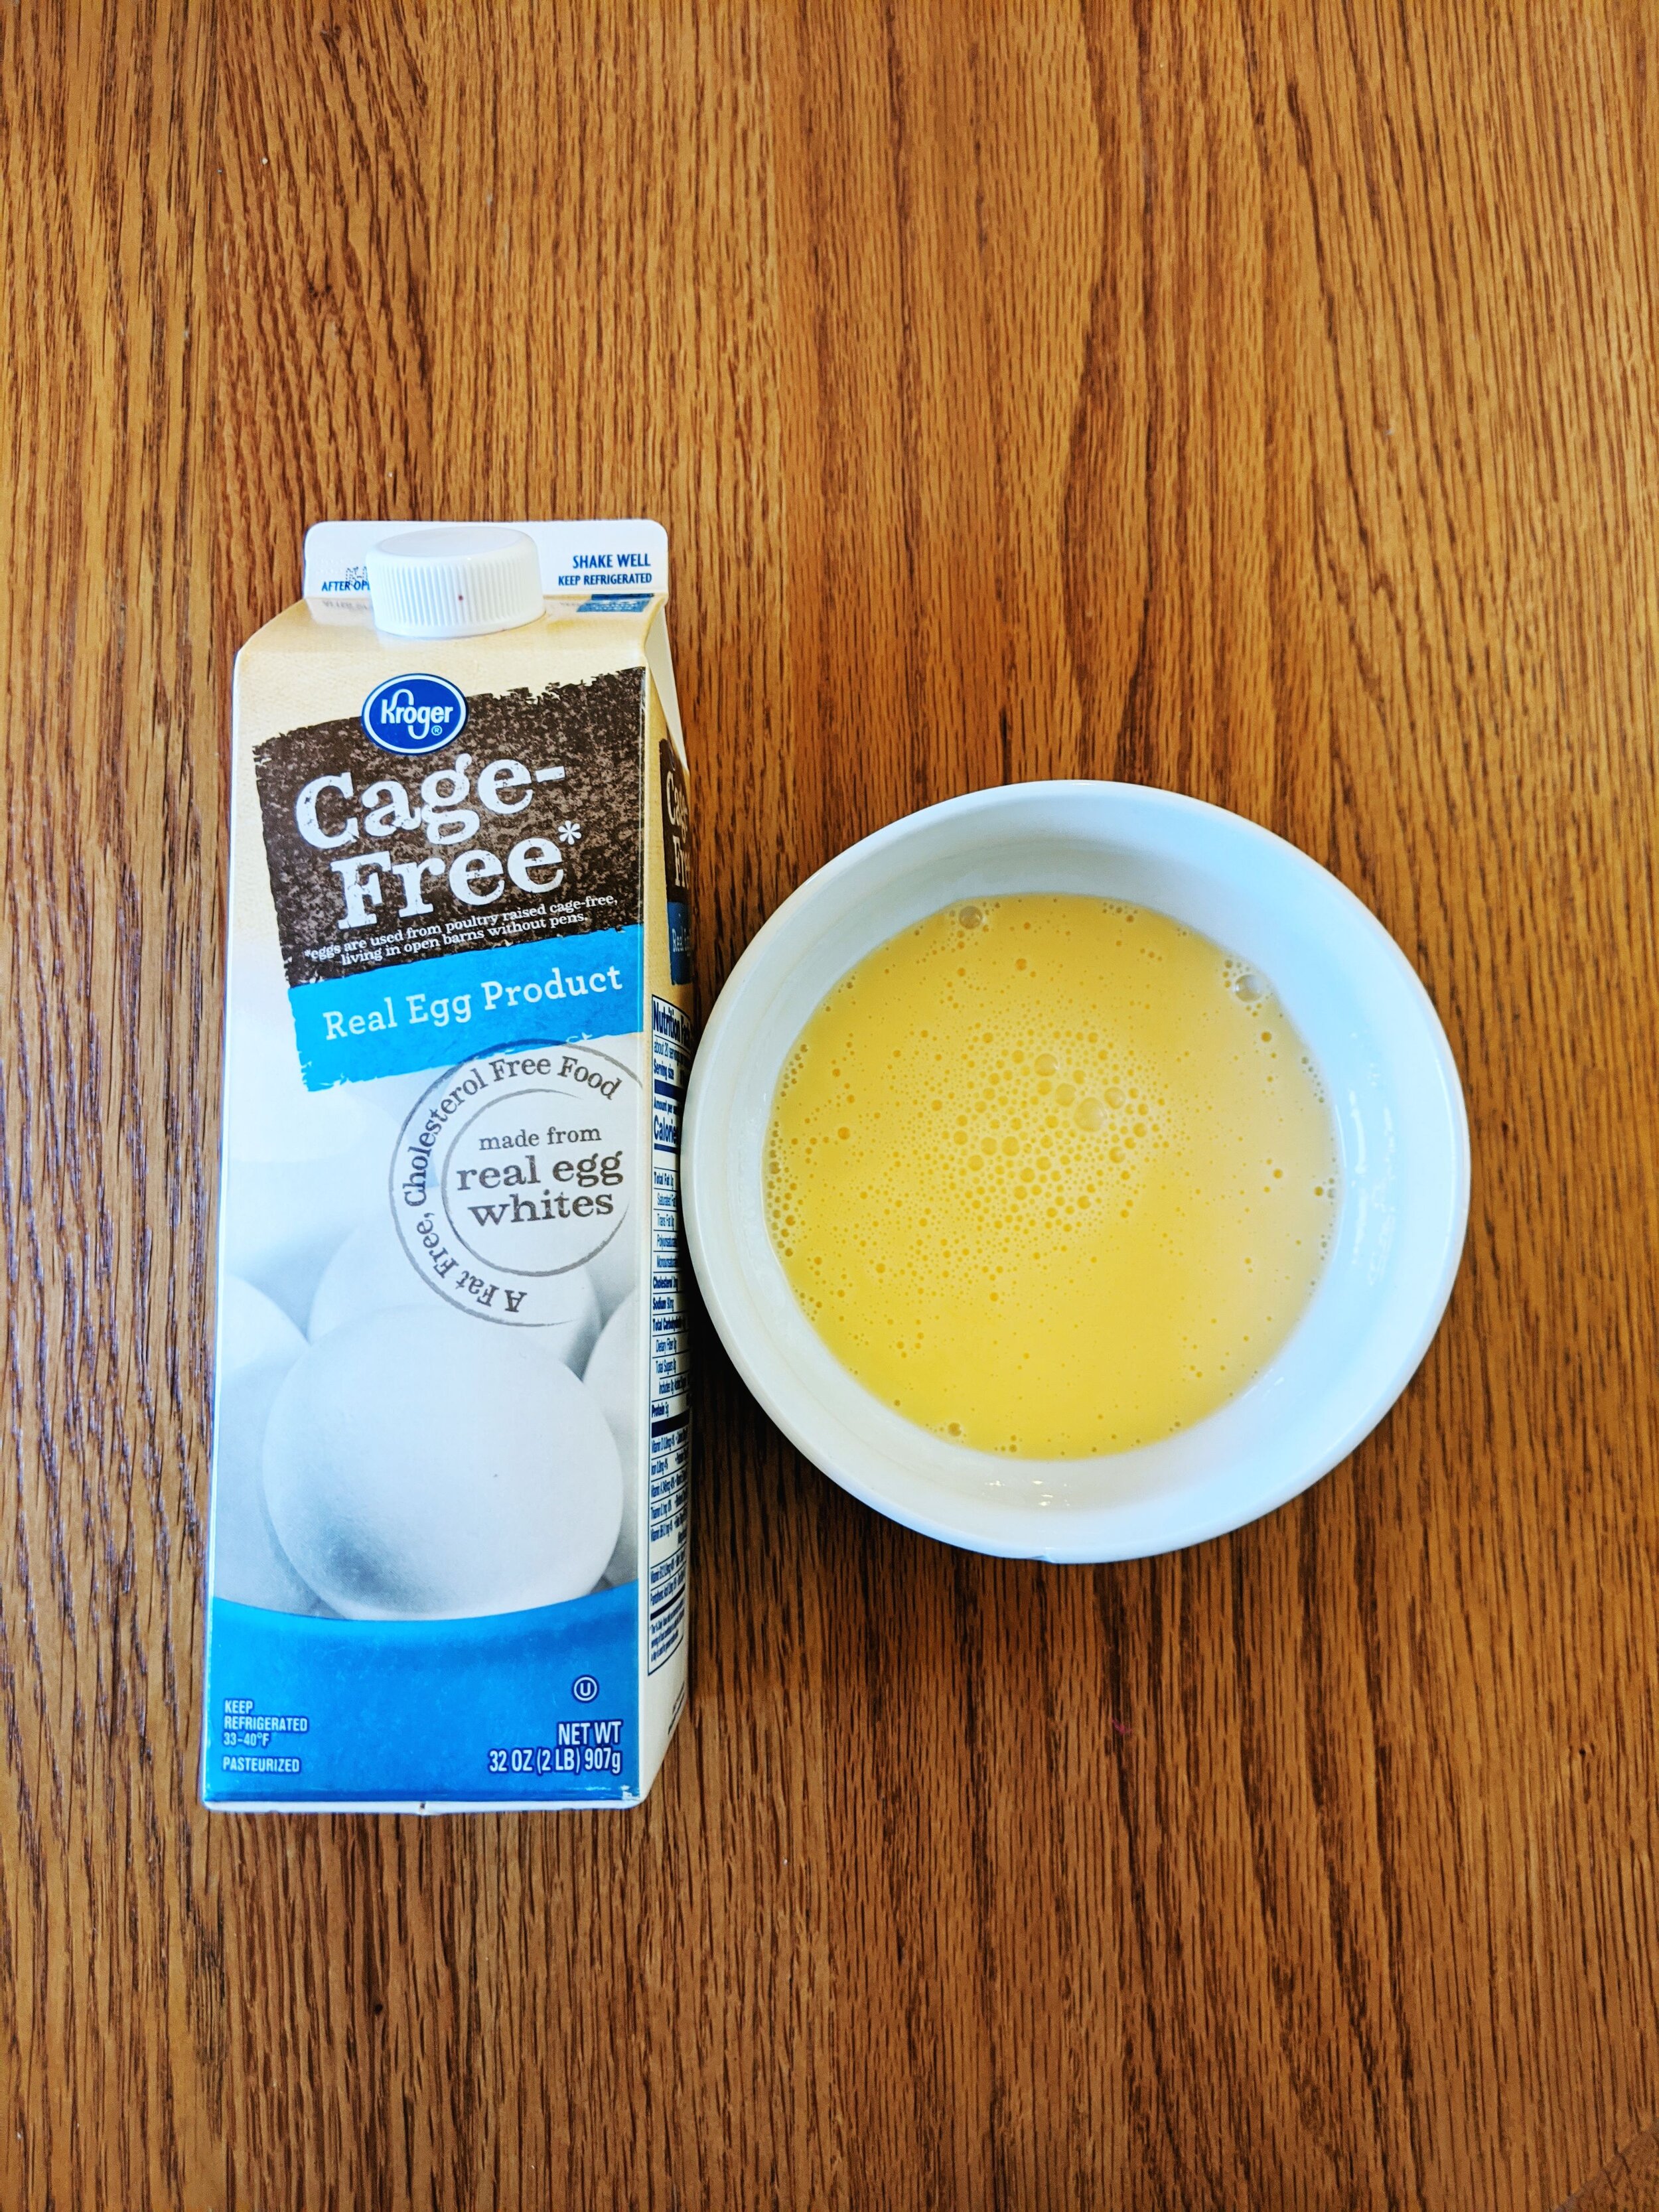
Cage Free Real Egg Product

For comparison, we purchased a “real egg product.” Unlike an egg, which needs no ingredient description, this product contains 19 added ingredients, vitamins, and minerals. I think in this product they are making up for lack of egg yolk (which they omitted) which contains most of the nutritional value of an egg. Let’s do the same analysis of this product!

Type of Egg: Cage Free “Real Egg Product'“ from Kroger
Price at Purchase Time:
$4.49
Labels on Carton:
Cage Free, Made from Real Egg Whites, Cholesterol Free, Fat Free Food
Description of Shell:
Unknown, Not Present
Color of Yolk:
Unknown, Not Present
Spread of White:
Unknown

How to Make Soup Without a Recipe

I have made a lot of soup in the last seven years. For a long time, I was fine with a simple soup of onions, chicken, stock soup over and over and over...until I wasn’t! I longed for soups that were full of flavors and textures and that were interesting to my body but still nutritious.

Good soup is a great way to gets lots of nourishing food. It’s an essential part of the GAPS protocol because of it’s healing properties. Most of the digestion work is done for you already when soup is simmered for a long time. Nutrients are allowed to come of the protein or fiber where they are bound as free floating amino acids, vitamins, and minerals are all released. This makes them easily digested and able to be used and absorbed by our bodies quickly. Amino acids and collagen from meat stocks and meat are helpful to heal a leaky gut and help our organs be fed. Vegetables and salts add a lot of trace minerals.

Sometimes we don’t have everything we need for a particular soup recipe. Or we might get stuck in a rut, making the same recipe over and over. Variety is the key to success with soups because it’s easy to get bored. There’s a helpful algorithm to making soup. It will help you learn how to think through making a soup creatively.

Download my pdf on Making Soup Without a Recipe here to keep for later. You can also watch the video below on how to cook soup without a recipe.

If you were never taught cooking or aren’t comfortable in the kitchen, you might think you’re behind and unable to cook without a recipe. Fear not! There are many resources to help you get more comfortable. Look to others. Take cooking classes. And most of all, cook! The simple act of cooking and experimenting with your food will help you become more comfortable with creating meals without a recipe.

The basic components of a soup are:

  • Meat Stock or Bone Broth (we’ll talk about the difference below!)

  • Meat

  • Vegetables

  • Fat

  • Salt

  • Peppercorns

  • Herbs and/or Spices

Let’s go through them step by step.

IMG_0436.jpg

Meat Stock and Bone Broth

I almost always recommend meat stock over bone broth. The primary difference between the cooking of meat stock and bone broth is the ratio of meat to bone and the cooking time. Meat stock has a short cooking time and a ratio of 80/20 meat to bone. Bone broth has a longer cooking time and a ratio of 20/80 meat to bone.

Meat stock heals and seals the gut lining and reverses inflammation to complete the gut healing process. Bone broth is totally fine to eat once your gut is healed. It also has many minerals in it like meat stock. However, it also has high glutamic acid which can be neurologically irritating, which might cause migraines or joint pain among other things. Once your gut is healed, bone broth is a great way to reuse meat stock bones which helps with sustainable eating and eating well on a budget.

I recommend an adult eat 3-6 cups of meat stock a day if they are healing and a child 1-3 cups a day. You can of course have more if your body wants it. Getting 3-6 cups in a day can be difficult. Soup is a great way to consume meat stock! (See more ideas for consuming meat stock here.)

Any meat can be used for stock. Find good sources for your meat if you can. Beef, poultry, and seafood are all great choices but also try bison, rabbit, or duck. Even bear! Any game meat does tend to have a stronger taste so I would recommend using it for a more heavily flavored soup.

My preference is to choose meat and joints from the same animal when I make my stock but you can certainly mix and match if you need to.

To learn to make your own stock step by step, click this link or watch me make it below!

Meat

The meat you use can be deboned meat that was already cooked in your stock since it’s not cooked for very long or it can be fresh meat.

Meat can also be seared in good fat before you add it to a recipe to add additional flavor. If you’re following the GAPS Protocol, wait until Stage 4 before eating seared meat.

You can also add ground meat, either loose or made into meatballs. (Flavored or not!) Get a recipe for meatballs here. Fish and shellfish can also be added but be sure you don’t overcook them.

Be sure to add skin and cartilage back in with your meat! That’s the good stuff.

If you’re following the GAPS Protocol, make sure you are not using too much muscle meat, like a chicken breast or thigh. Muscle meat on its own is very low in nutrition and be constipating.

IMG_0171.jpg
creamy-garlic-chicken-soup-gaps-stage-1-soup-GAPS-diet-soups-recipes-for-the-GAPS-diets.jpg

Vegetables

Any vegetable is a good vegetable for most of us! IF you are following the GAPS Protocol, refer to the Allowed/Not Allowed vegetable list in the yellow GAPS Diet book. If you are No Plant GAPS, avoid vegetables.

There are two times you can add vegetables to a soup. The first is when you make your stock. Or you can wait to add vegetables when you make the soup itself. You can also reuse your vegetables from your stock if you like well cooked vegetables.

If you have any issues with bloating, cramping, ulcers or bleeding, avoid vegetables with a lot of fiber or starchy vegetables. (Celery might not be a good choice for you, for example…)

Experiment with what vegetables you like in your soup! You can also sear your vegetables in fat before you add them to the soup for more flavor. Be sure to add the fat into your soup that you cook your vegetables in. Eggplant, for example, absorbs a lot of fat so they will continue to absorb the fat while they are cooked in the soup.

Fat

The most healing healthy fats are mostly animal fats, like lard, tallow, butter, sour cream or creme fraiche, and ghee.

Eat as much fat in a day as you want and can tolerate. I recommend 1/2 cup per day. Work your way up gradually. If you experience issues like burping, nausea, headaches, etc. it probably means your bile is not moving fast enough to help digest the fat. Beet Kvass is a great way to help with this! Learn to make it here!

Bad fats are rancid oils, canola oil or other poorly processed oils, soy bean and peanut oil. Your body doesn’t know what to do with these fats.

To learn more about fat, click here.

How-To-Make-Your-Own-Sausage-GAPS-Legal-Sausage-Whole-30-Sausages-Recipe-DIY-Sausage-GAPS-Diet

Salt

Salt makes food taste GOOD but we also need salt for our bodies to function! Our immune and adrenal systems need minerals to function, which is what real salt is. Detoxification processes and our brain also require a lot of minerals!

When I talk about salt, I’m not talking about sodium chloride. That’s not salt! Everything “bad” about salt is true if you are eating sodium chloride.

A good, real, whole salt is where we get a lot of these minerals. It’s important to eat a variety of sea salts. From my understanding the highest to lowest salts by mineral content are Baja Gold Sea Salt, Celtic Sea Salt, Redmond’s Real Salt, and Himalayan Sea Salt. Learn more about choosing the right salt for you below!

I always recommend having salt on the table in addition to lightly salting your food while you’re cooking. Choosing how much salt we need is an important part of listening to our bodies. Some of us need more salt than others and some days we need more salt than others! Start children on eating salt too and help them salt their food.

Peppercorns

Peppercorns can be whole or ground when they are added to your soup. You can add them to your stock or to your soup after - or both!

Whole or freshly ground peppercorns provide the highest nutritional properties. Once a peppercorn is broken or ground, the nutritional properties decrease.

Sometimes, it can be irritating to have full peppercorns. Try adding whole peppercorns to your soup while it cooks and then remove them before you eat them.

Herbs and/or Spices

It’s important to flavor your soups well to provide variety, prevent soup burnout, and make a soup delicious!

If you are following the GAPS Protocol, fresh herbs can be used on GAPS Intro Stage 1. Be sure to listen to your body. Dried herbs can be irritation so, for most people, avoid adding them until Full GAPS.

Now that you know the components, it’s time to build your soup!

  1. Choose a flavor profile:

    Research different cuisines and what their recipes include. You’re not looking for a specific recipe here; you’re simply learning what other cuisines use for flavor profiles. For example, what spices and herbs make up Indian, Greek, or Moroccan food?

    Try experimenting with new herbs or spices than you normally use. This will change your soup’s flavor profile.

OR

  1. Choose ingredients from the fridge!

What ingredients do you need to use up right now? What do you have a lot of? Sometimes, the ingredients can make the taste profile.

2. Start your stock

How much stock you need will depend on how much soup you’re going to make. I tend to cook 6-8 cups of stock at a time as a single person. I want leftovers of soup to freeze and reuse. Plus, if it’s a really great soup, I tend to eat a few cups of it in the first day!

3. Add your vegetables and meat

Generally, vegetables take longer to get soft and well cooked than meat does. Some harder cuts of meat may do better with a long simmer but generally, I add my vegetables first and then my meat. Kale, spinach, and other leafy vegetables should be added near the end because of their short cooking time.

4. Add some herbs and spices

Be BOLD with flavors if your gut can handle it! This will keep soup interesting!

5. Add some salt

Salt lightly and be sure there’s more on the table. Go light even if you’re cooking only for yourself. Some days you will want more salt than others and overly salting is a good way to ruin a soup.

6. Finish with toppings

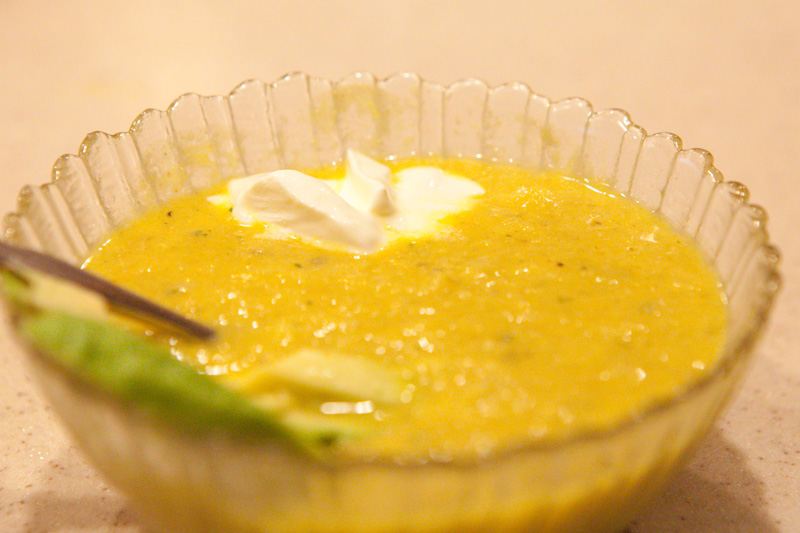
There’s few things I enjoy more with food than topping a delicious soup with a slice of avocado or dollop of sour cream. Freshly pressed garlic is a great topping that is both anti-parasitic and anti-fungal. Whey, the drippings from yogurt or milk kefir, has a lot of nutritive healing properties as well. Ferments and fermented juices can also be added to a soup. Start with just a little bit and work your way up.

Remember: salt, fat and acid help soup taste good and will help you avoid soup burnout.

Simmer everything for 20-30 minutes until everything is cooked then add your final toppings and enjoy!

Now you’re a soup master!

sometimes you just need a recipe…

Here are some of my favorite soups to make. Use these recipes as a jumping off point for creating your own!

Beef Sliders

This meal is very versatile! It’s a quick, easy, and mobile protein. However, it can also be dressed up to make an elegant dish. (Not pictured today.)

You can make sliders as simple as plain ground beef boiled in water or you can add spices to the ground beef mixture before cooking depending on what you are tolerating.

In general, I buy the highest quality meat I can. This means the flavor of the beef itself can stand on its own. I often do not need to add any additional spices for this as I enjoy the taste of the beef alone. If you also enjoy the taste of the beef alone, you can skip the mixing steps and go straight to the cooking. Otherwise, you can modify this recipe to your preferred spice palate before cooking these sliders.

One great way to get more fat into your diet is to buy 80% ground beef. Read more on why fat is important here.

Other potential ingredients, depending on what you are tolerating, are soy sauce or worcestershire sauce, chilis or jalapenos, or pepper flakes. If you’re feeling adventurous, try folding cheese into the center of your slider. I usually eat mine with sour cream on the side and slices of red pepper.

Ingredients for Beef Sliders:

  • 1 lb Ground Beef

  • 2-3 tbsp Onion

  • 3 cloves Garlic

  • ¼ - ½ tsp Salt

  • ¼ tsp Ground Pepper

Directions for Beef Sliders:

IMG_8992.jpg

Finely mince onion until you have 2-3 tbsp.

In a bowl, mix together beef, onion, garlic, salt and pepper. Add ¼ to ½ tsp of salt to the mixture. You can always salt more on the table!

IMG_9008.jpg

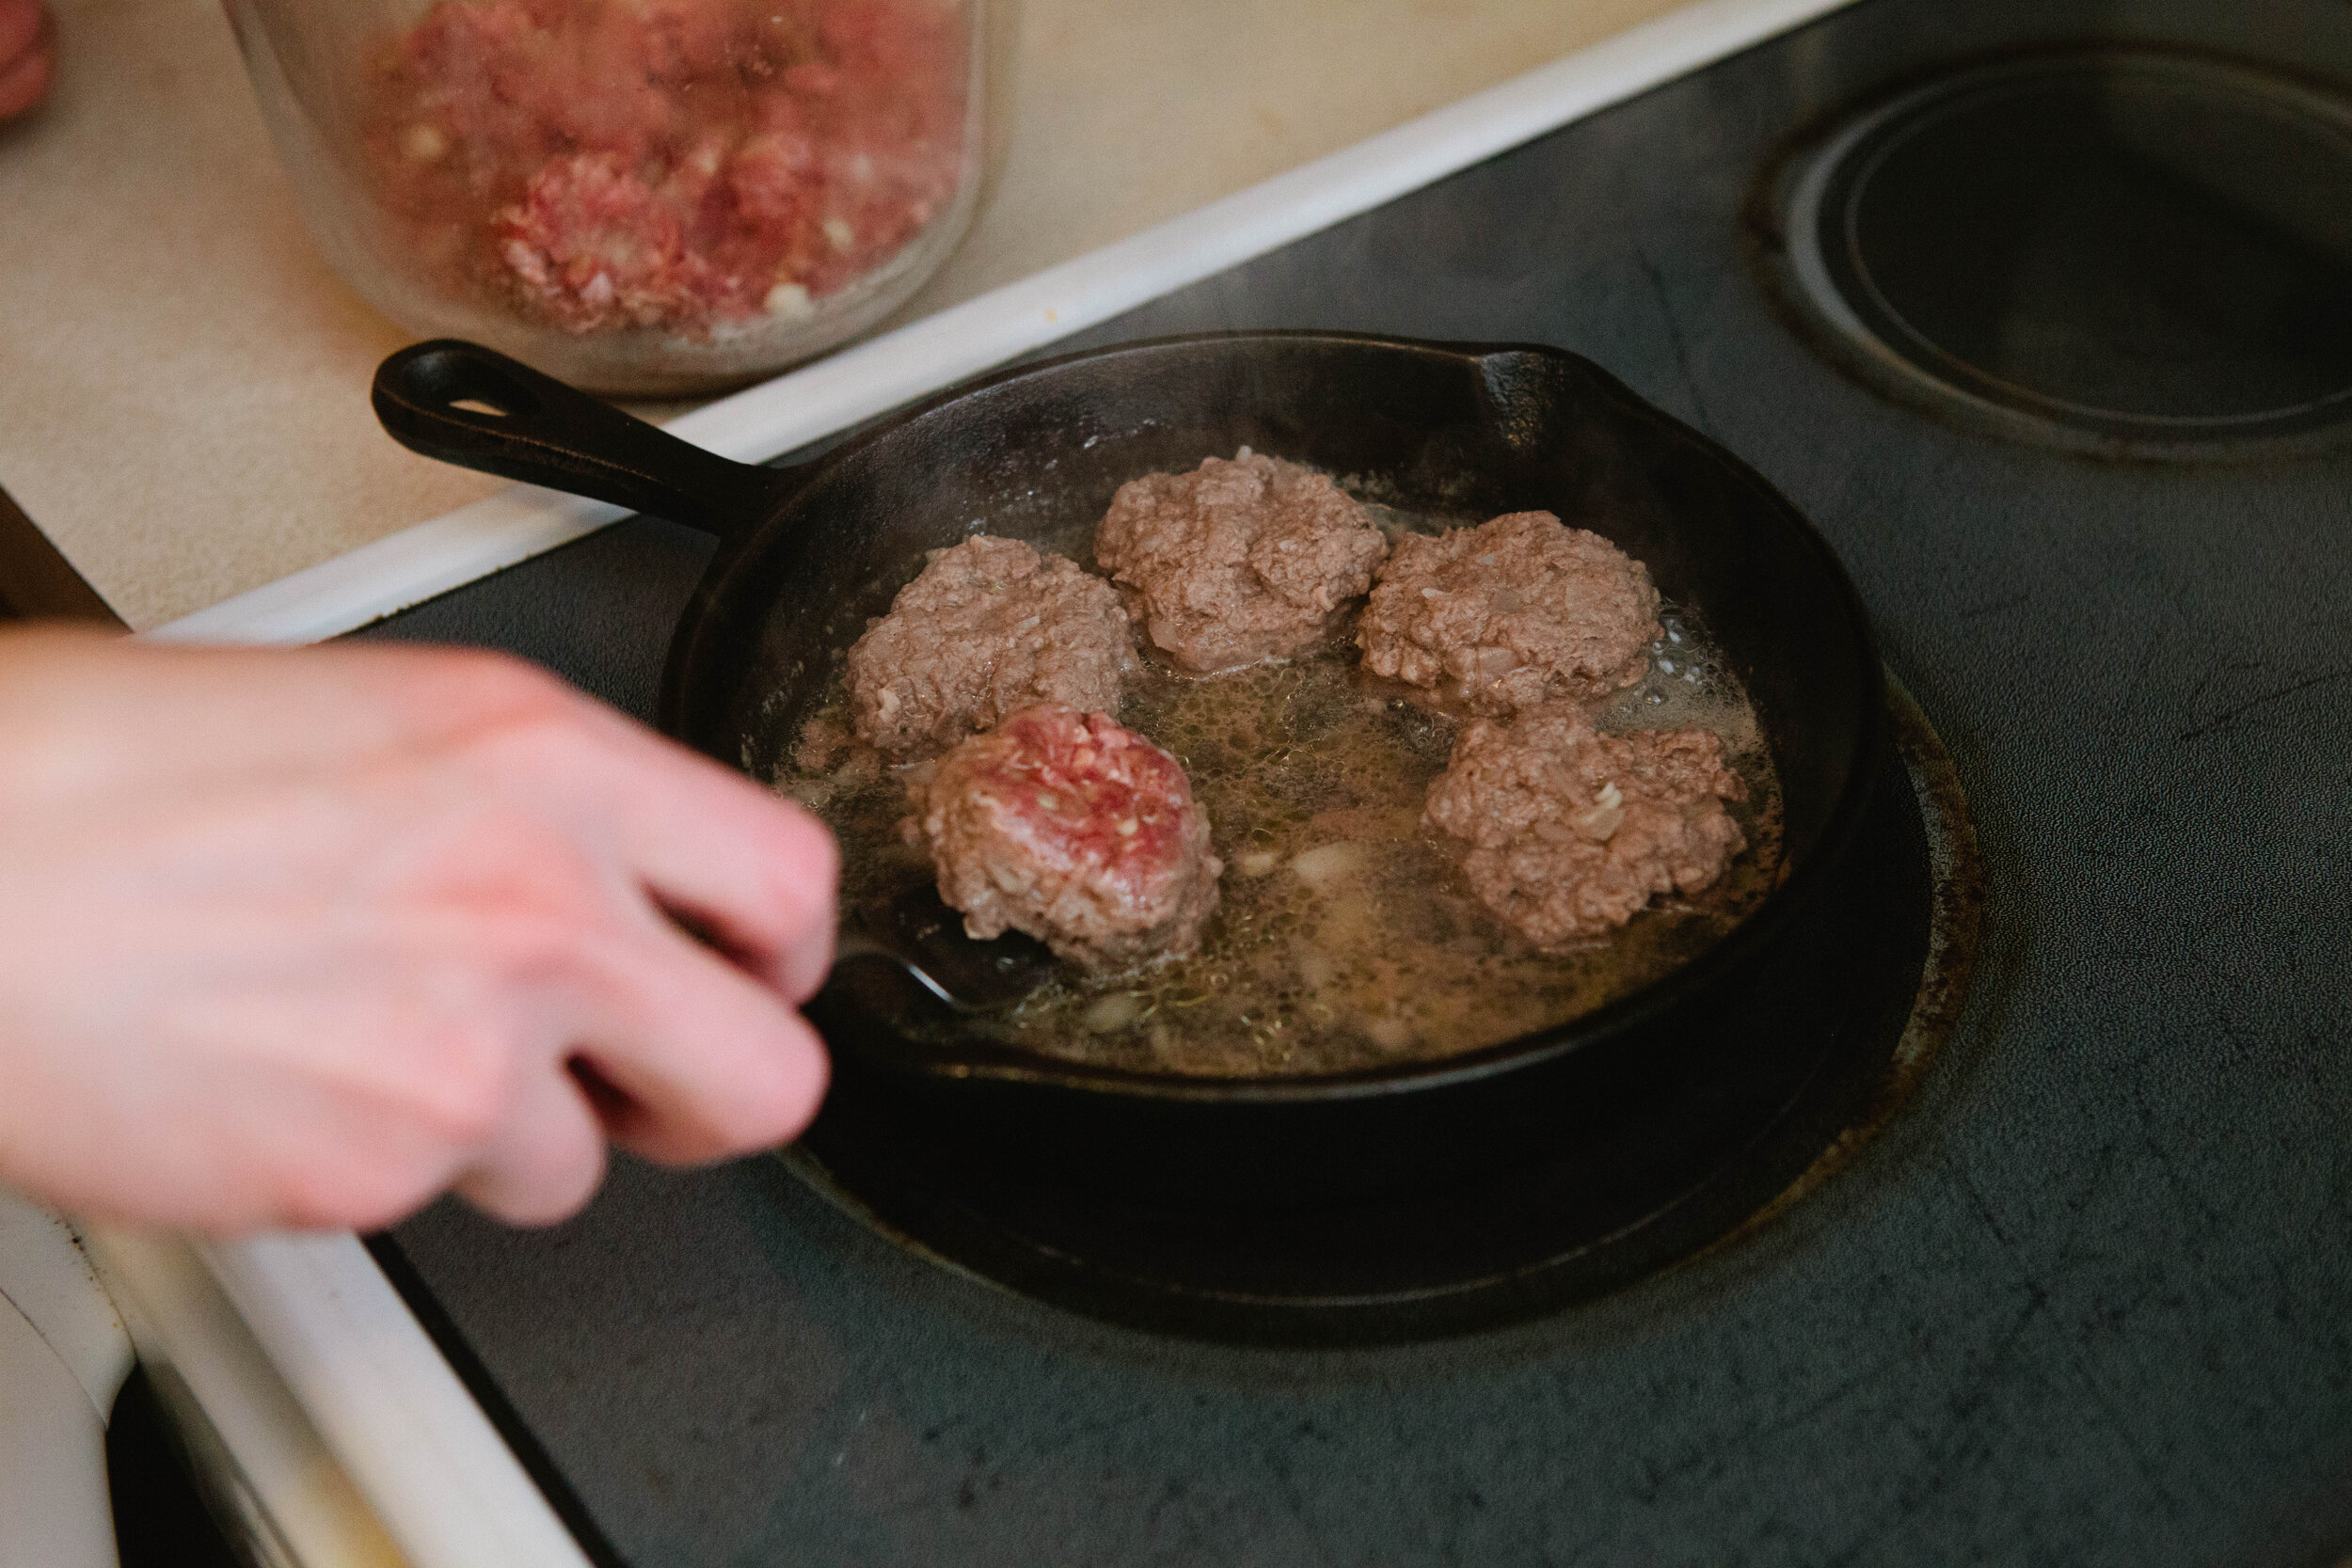
Add about ½ inch of water to a cast iron pan. 

Once the water is boiling, add small formed patties of similar sizes to the water.

If you are not adding seasoning to your patties, salt them once you add them to the pan.

IMG_9023.jpg

Turn as needed to ensure even cooking. Do not overcrowd the pan; only add as many as comfortably fit. They only take a couple minutes on each side to cook.

Top as you like and enjoy!


BeefSlidersforGAPS.png

Beef Sliders

Author:
Prep time: Cook time: Total time:

Ingredients:

  • 1 lb Ground Beef
  • 2-3 tbsp Onion
  • 3 cloves Garlic
  • ¼ - ½ tsp Salt
  • ¼ tsp Ground Pepper

Instructions:

  1. Finely mince onion until you have 2-3 tbsp.
  2. In a bowl, mix together beef, onion, garlic, salt and pepper. Add ¼ to ½ tsp of salt to the mixture. You can always salt more on the table!
  3. Add about ½ inch of water to a cast iron pan.
  4. Once the water is boiling, add small formed patties of similar sizes to the water.
  5. If you are not adding seasoning to your patties, salt them once you add them to the pan.
  6. Turn as needed to ensure even cooking. Do not overcrowd the pan; only add as many as comfortably fit. They only take a couple minutes on each side to cook.
  7. Top as you like and enjoy!
Created using The Recipes Generator

Pork Rub and a Crock Pot Pork Shoulder

This pork is a crowd favorite that I often bring to potlucks. It can be added to anything, including a sandwich or salad.  It also freezes well so you can make it into individual portions.

I recommend only using pasture raised pork. Pigs don’t sweat. If pigs from birth are able to put their noses into the dirt and ground, they will have a proper biome. If pigs have the proper biome, they are better able to eliminate toxins that they’re bodies are exposed to. Additionally, properly raised pigs, as opposed to those raised in barns on cement standing in their own waste, will of course be exposed to fewer toxins. All of this means a nutrient dense food that you can enjoy!

IMG_9357.jpg

Ingredients for Crock Pot Pork Shoulder:

For the Pork Rub:

  • 1 tbsp ancho chile powder

  • 1 tbsp course sea salt

  • 1/2 tbsp paprika

  • 1/2 tbsp onion powder

  • 1/2 tbsp dry mustard

  • 1/2 tsp cayenne pepper

For the Pork Shoulder:

  • 2.5 lb ish pork shoulder

Directions for Crock Pot Shoulder:

IMG_8708.jpg

In a small bowl, make your rub. Mix with dry fingers.

Rinse your pork shoulder under filtered water and pat it dry.

IMG_8720.jpg

Generously add rub mixture to pork shoulder. Make sure you get it in all the crevices!

Add the pork shoulder to a crockpot for 6 hours. Low and slow will make a more delicious pork!

IMG_9353.jpg

Using two forks, try to shred the pork shoulder. If the pork does not shred easily, it is not done yet!

Once you know it is done cooking, allow it to cool completely before shredding with two forks. This will make it much easier to shred.

Serve and enjoy!


PorkRubandPorkShoulder.png

Pork Rub and a Crock Pot Pork Shoulder

Prep time: Cook time: Total time:

Ingredients:

For the Pork Rub
  • 1 tbsp ancho chile powder
  • 1 tbsp course sea salt
  • 1/2 tbsp paprika
  • 1/2 tbsp onion powder
  • 1/2 tbsp dry mustard
  • 1/2 tsp cayenne pepper
For the Pork Shoulder
  • 2.5 lb ish pork shoulder

Instructions:

  1. In a small bowl, make your rub. Mix with dry fingers.
  2. Rinse your pork shoulder under filtered water and pat it dry.
  3. Generously add rub mixture to pork shoulder. Make sure you get it in all the crevices!
  4. Add the pork shoulder to a crockpot for 6 hours. Low and slow will make a more delicious pork!
  5. Using two forks, try to shred the pork shoulder. If the pork does not shred easily, it is not done yet!
  6. Once you know it is done cooking, allow it to cool completely before shredding with two forks. This will make it much easier to shred.
  7. Serve and enjoy!
Created using The Recipes Generator

Real Food Seven Layer Dip

I don’t know about you, but I grew up loving seven-layer dip! It was the best day ever when my mom would put it together and throw it in the oven to warm. Usually it was for a party or potluck we were attending, but sometimes she made it just for us, for lunch!

One day recently I was missing it, then realized how easy it would be to make it the real-food way! It’s an amazing mix of fats and fresh vegetables, with some beans to make it even more sustaining! If you make a large batch of sprouted refried beans and freeze them, the first layer of this recipe is as simple as pulling those beans to defrost. Then the rest of the layers just flow!

If you can’t eat chips right now, don’t worry! You can use sliced vegetables like peppers, cucumbers or zucchini as your “chip.” Mmm… delicious!

Enjoy!

IMG_9002.jpg
IMG_9086.jpg

Ingredients for Seven Layer Dip

Directions:

Preheat oven to 350.

IMG_9111.jpg

In a large serving dish, add a layer of refried beans. If you make them specifically for this recipe, allow them to cool before you add the additional layers.

IMG_9254.jpg

Add a layer of guacamole, then a layer of sour cream. Spread each layer evenly without pressing too hard or you’ll squish it into the layer below.

IMG_9270.jpg

Spoon your pico de gallo over the top. Try to avoid getting too much of the water onto the dip.

IMG_9283.jpg

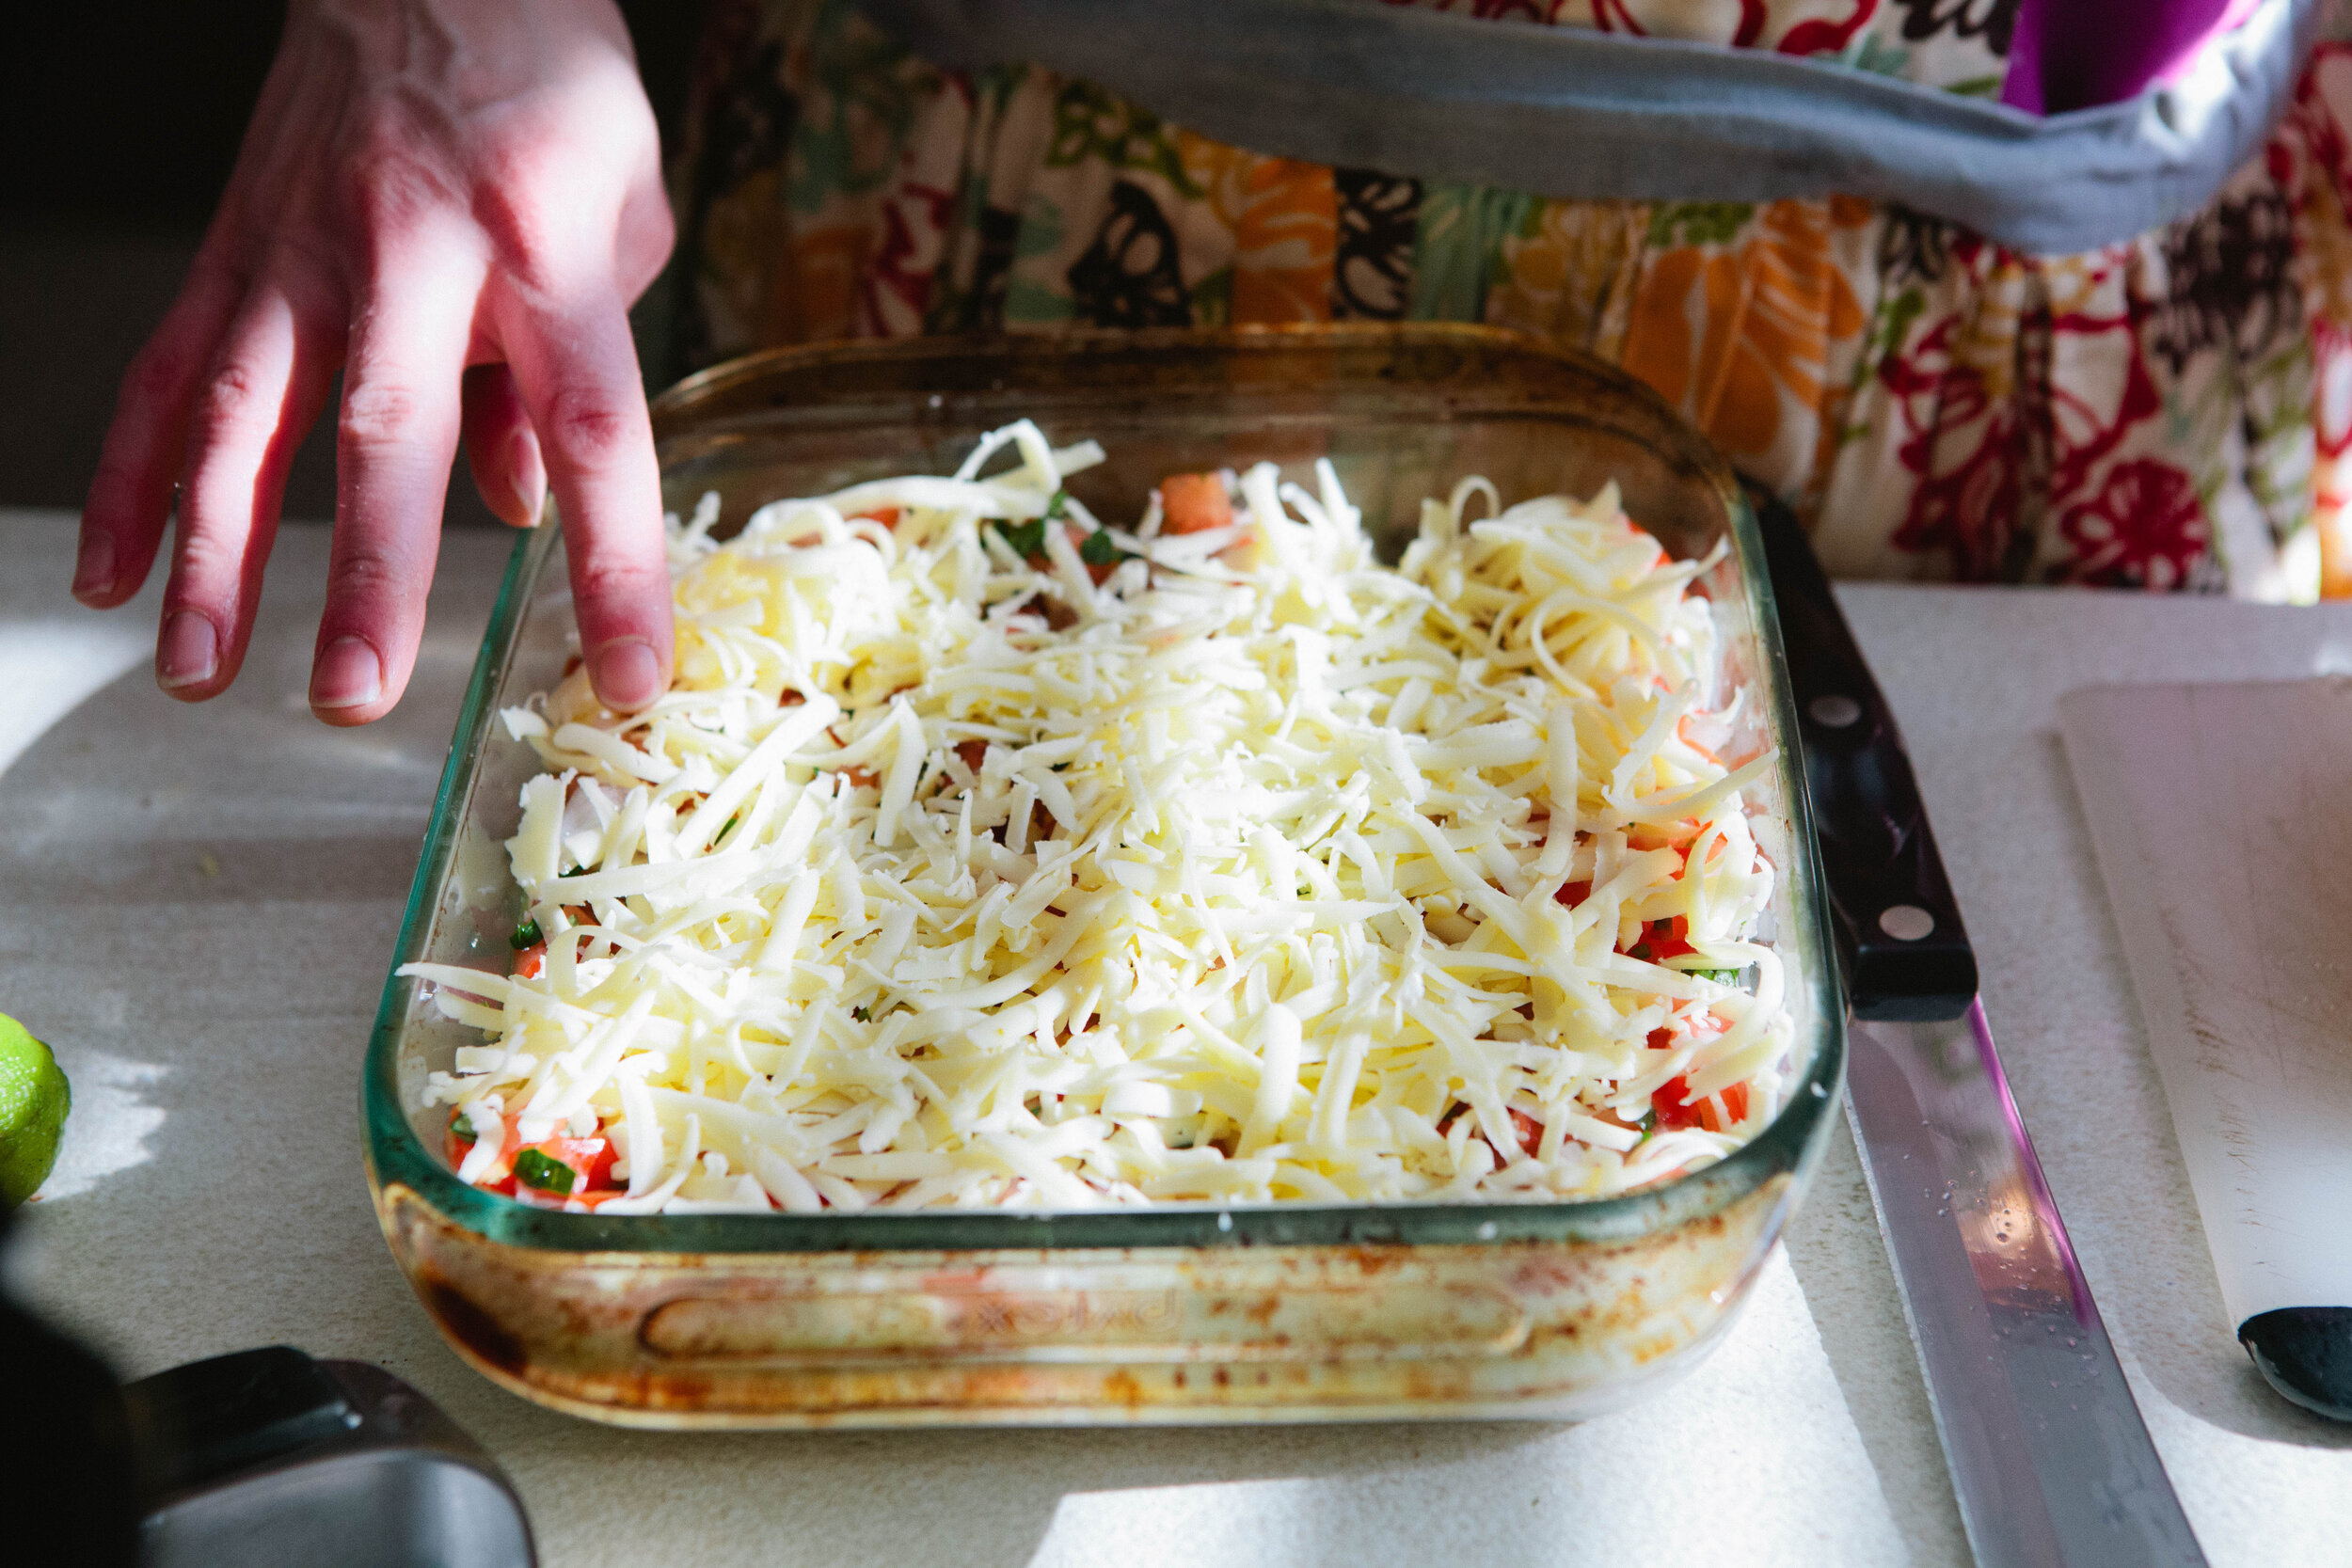
Top with grated cheese. You want a white cheese; most yellow cheeses contain artificial coloring. Grate it yourself to avoid preservatives.

Slice olives and tomatoes and sprinkle over the top.

IMG_9330.jpg

Pop the dip into the oven for 10-15 minutes just to heat it. You can serve this cold, but warmed is just so much better!


HomemadeSevenLayerDip.png

Seven Layer Dip

Author:
Prep time: Cook time: Total time:

Ingredients:

Instructions:

  1. Preheat oven to 350.
  2. In a large serving dish, add a layer of refried beans. If you make them specifically for this recipe, allow them to cool before you add the additional layers.
  3. Add a layer of guacamole, then a layer of sour cream. Spread each layer evenly without pressing too hard or you’ll squish it into the layer below.
  4. Spoon your pico de gallo over the top. Try to avoid getting too much of the water onto the dip.
  5. Top with grated cheese. You want a white cheese; most yellow cheeses contain artificial coloring.
  6. Slice olives and tomatoes and sprinkle over the top.
  7. Pop the dip into the oven for 10-15 minutes just to heat it. You can serve this cold, but warmed is just so much better!
Created using The Recipes Generator

4 Ingredient Pico de Gallo

 I used to dislike pico because of the cilantro in it. But I’ve come a long way! I love this simple recipe, it is a delicious and fresh addition to your table. It’s best made at least a few hours beforehand so the flavors have a chance to blend! Feel free to adjust to your taste, and I hope you enjoy it!

Ingredients for Pico de Gallo:

  • 3 ripe tomatoes

  • ⅓ of a White or Yellow Onion

  • 1-2 Limes

  • 2 tbsp Cilantro

Directions for Pico de Gallo:

IMG_9070.jpg

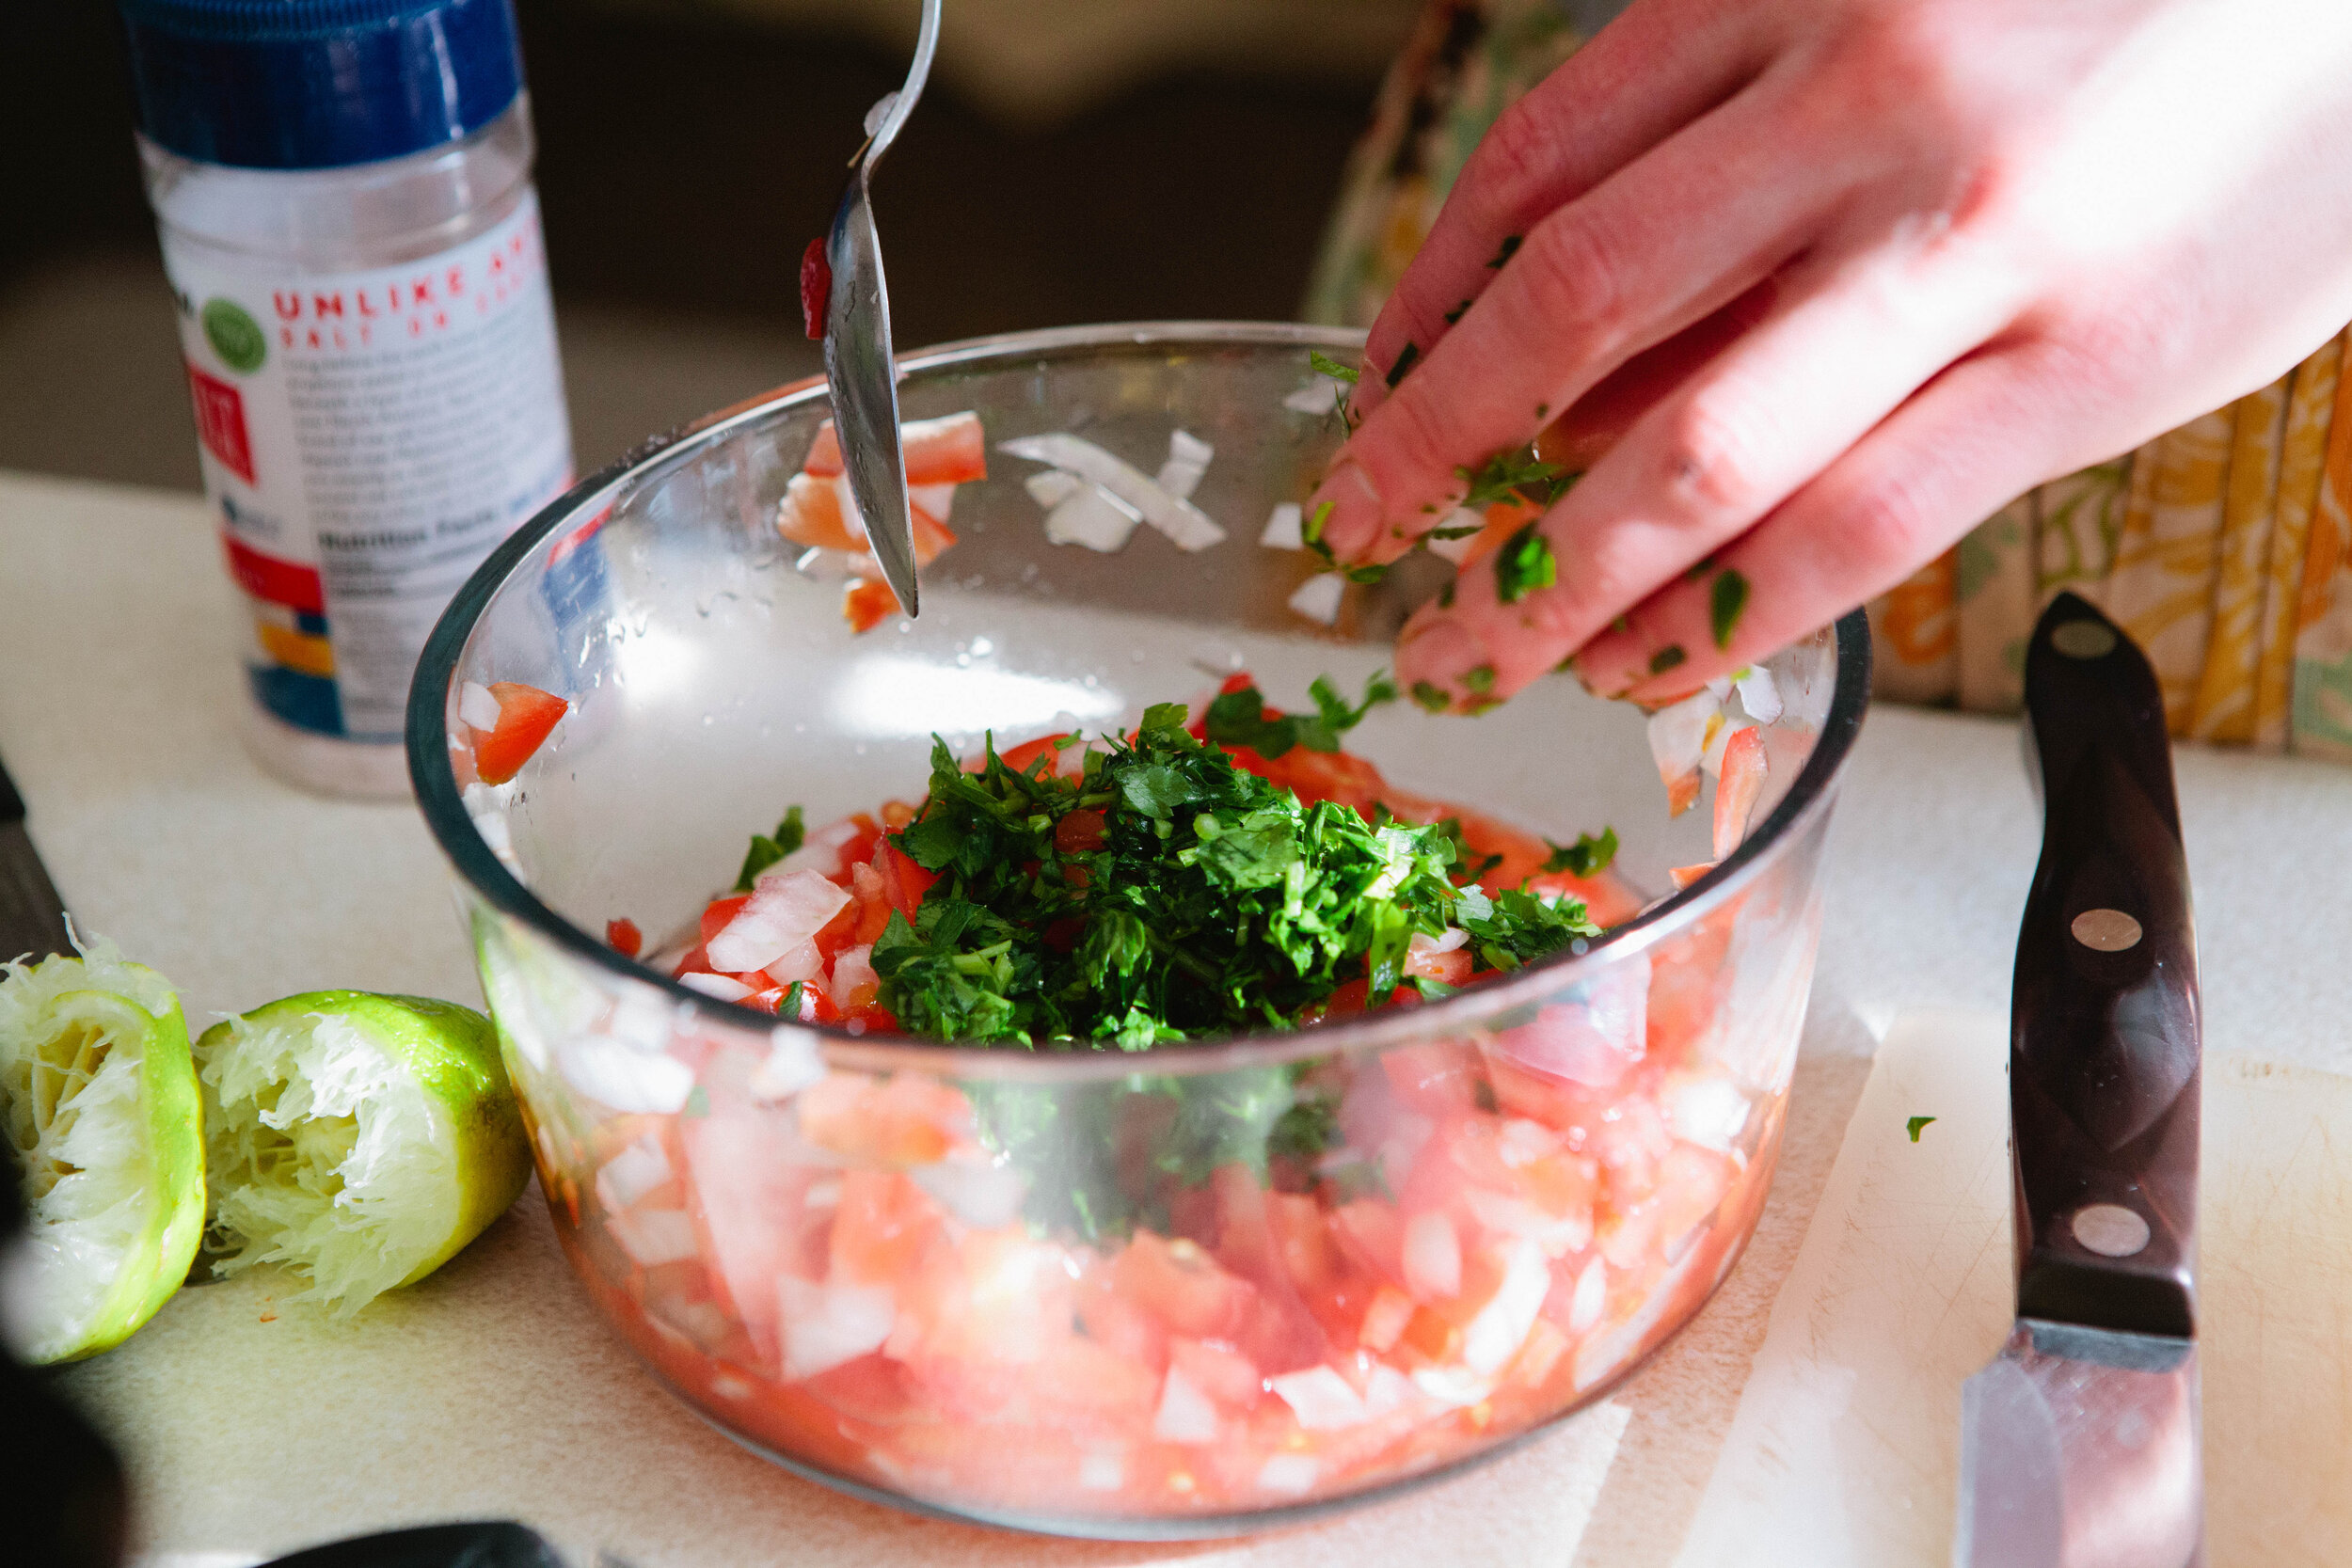
Finely chop tomatoes and onions.

IMG_9221.jpg

Add to a bowl. Add the juice of 1 - 2 limes, depending on how juicy they are.

Add a few shakes of salt to taste.

IMG_9235.jpg

Finely mince cilantro and add to the bowl.

IMG_9237.jpg

Stir everything together to let the flavors meld. 

Enjoy!


picodegallo.png

4 Ingredient Pico de Gallo

Author:
Prep time: Cook time: Total time:

Ingredients:

  • 3 ripe tomatoes
  • ⅓ of a White or Yellow Onion
  • 1-2 Limes
  • 2 tbsp Cilantro

Instructions:

How to cook 4 Ingredient Pico de Gallo

  1. Finely chop tomatoes and onions.
  2. Add to a bowl. Add the juice of 1 - 2 limes, depending on how juicy they are.
  3. Add a few shakes of salt to taste.
  4. Stir everything together to let the flavors meld.
  5. Enjoy!
Created using The Recipes Generator

GAPS Carrot Raisin Dessert Salad

This is a quick and easy recipe to whip up. It’s a GAPS Legal dish but is sure to be a crowd pleaser even for those who aren’t on GAPS.

While technically a salad, this is a very sweet dish. I recommend consuming it at the end of a meal as a treat. The amount of honey you add will depend on your own personal tastes and how sweet your carrots are.

This feeds approximately 4 people. It’s also great to bring to parties and something that’s so easy and quick to prepare. It’s also dairy free!

Ingredients for Carrot Raisin Dessert Salad:

  • 3-4 large carrots

  • ½ cup Raisins

  • 1- 2 tbsp Honey

Directions for Carrot Raisin Dessert Salad:

gaps-legal-carrot-salad-dessert-salad-dessert-on-gaps-sweet-food-on-gaps-gaps-party-dishes-gaps-diet-recipes

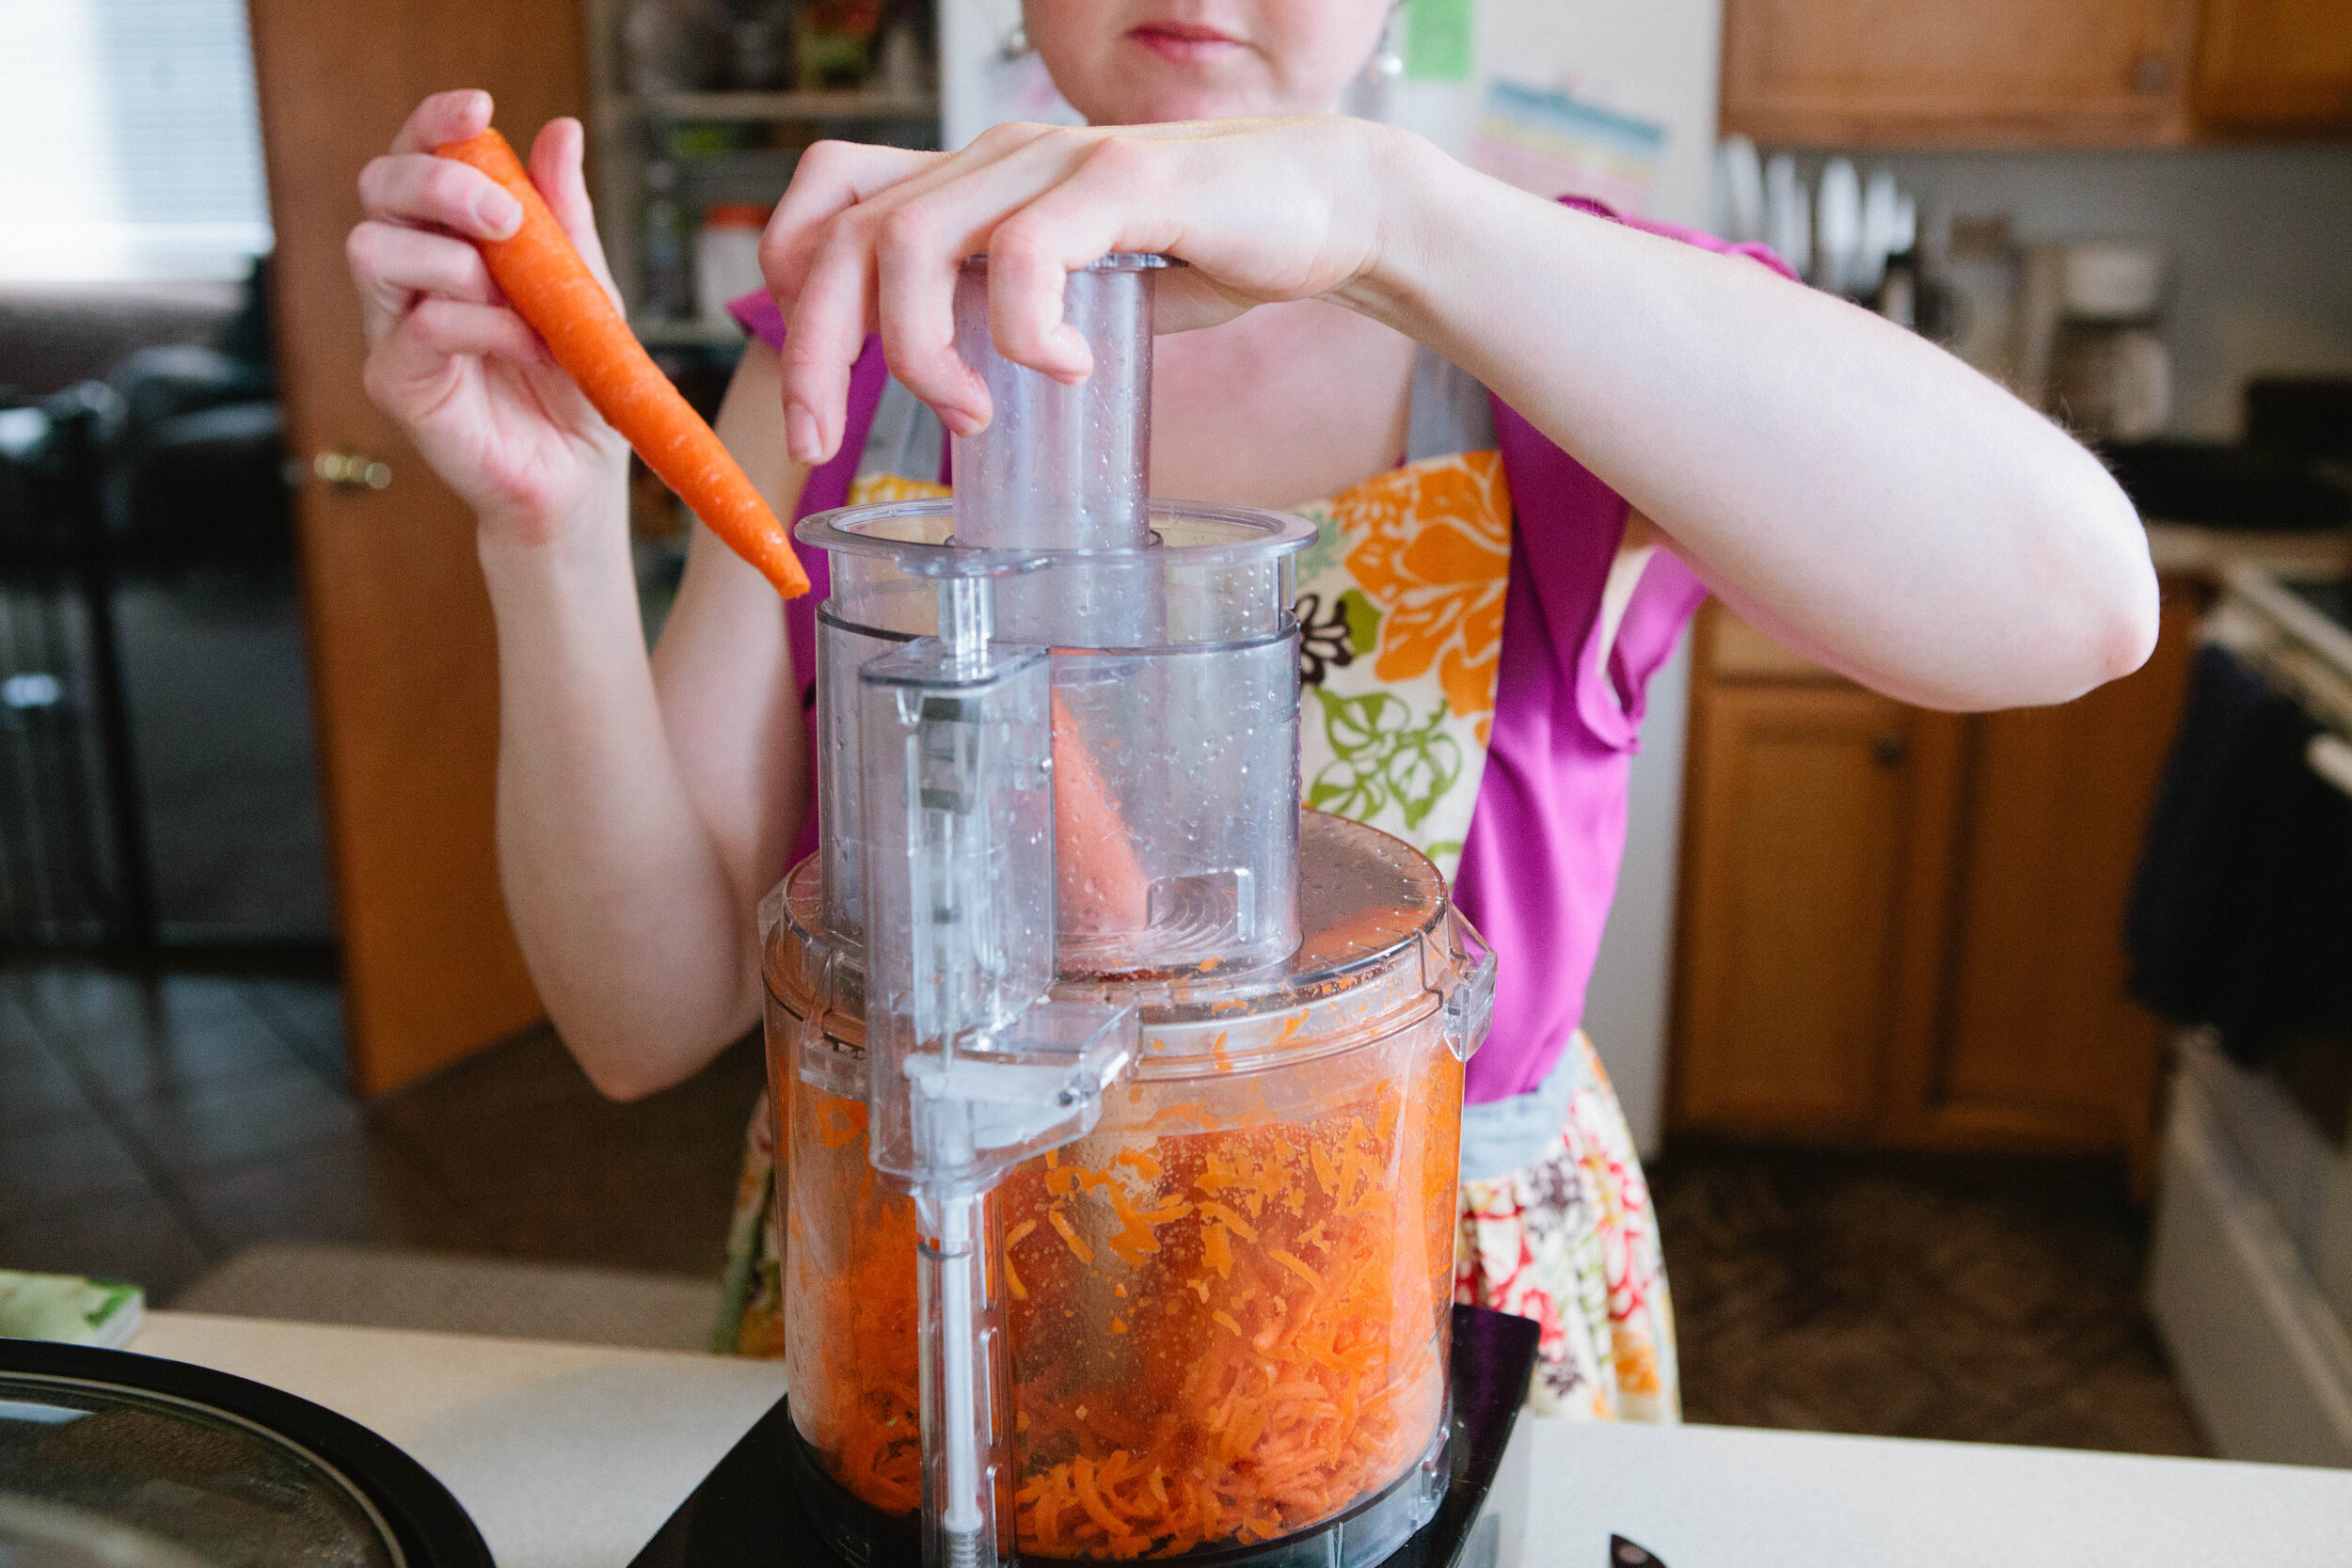
Finely shred carrots in a food processor.

gaps-legal-carrot-salad-dessert-salad-dessert-on-gaps-sweet-food-on-gaps-gaps-party-dishes-gaps-diet-recipes

Add carrots and raisins to a bowl.

gaps-legal-carrot-salad-dessert-salad-dessert-on-gaps-sweet-food-on-gaps-gaps-party-dishes-gaps-diet-recipes

Add in 1-2 tbsp of honey, depending on how sweet you want it to be. Toss to coat carrots well with honey.

Serve and enjoy!


GapsLegalCarrotRaisinSaladDessert.png

GAPS Carrot Raisin Dessert Salad

Author:
Prep time: Cook time: Total time:

Ingredients:

  • 3-4 large carrots
  • ½ cup Raisins
  • 1- 2 tbsp Honey

Instructions:

How to cook GAPS Carrot Raisin Dessert Salad

  1. Finely shred carrots in a food processor.
  2. Add carrots and raisins to a bowl.
  3. Add in 1-2 tbsp of honey, depending on how sweet you want it to be. Toss to coat carrots well with honey.
  4. Serve and enjoy!
Created using The Recipes Generator

Mayo Free Egg Salad

Eggs are a great non-meat protein source. While I usually recommend eating eggs yolks running to preserve the cholesterol on them, sometimes a hard boiled egg is hard to beat!

This is a recipe that could easily be doubled or tripled for a party. You can serve it spread on a romaine lettuce leaf, as shown, or you can use it as a dip for cucumber slices or carrots.. Feel free to use whatever herbs you have in the fridge and experiment to find your favorites.

This recipe is legal on GAPS Stage 3 if you omit the paprika. Otherwise, it is legal on GAPS Stage 6. The ingredient list is for 1-2 servings.

Ingredients for Mayo Free Egg Salad:

  • 4 Eggs

  • ½ cup Sour Cream or Creme Fraiche

  • 1 small stalk Celery

  • 1 large Green Onion

  • ¼ - ½  tsp Salt

  • 1 tsp Pepper

  • ½ tsp Paprika

  • Parsley

Directions for Mayo Free Egg Salad:

Hard boil eggs. (Recipe here)

mayo-free-egg-salad-recipe-egg-salad-on-gaps-sour-cream-egg-salad

Once eggs are cooled, peel them.

mayo-free-egg-salad-recipe-egg-salad-on-gaps-sour-cream-egg-salad

Coarsely chop eggs, celery and green onion.

Add to a mixing bowl and add in pepper, salt to taste, and sour cream. 

mayo-free-egg-salad-recipe-egg-salad-on-gaps-sour-cream-egg-salad

Gently mix to coat and then sprinkle paprika over the top. Mix gently.

Serve and enjoy!

mayo-free-egg-salad-recipe-egg-salad-on-gaps-sour-cream-egg-salad

Mayo Free Egg Salad

Author:
Prep time: Cook time: Total time:

Ingredients:

  • 4 Eggs
  • ½ cup Sour Cream or Creme Fraiche
  • 1 small stalk Celery
  • 1 large Green Onion
  • ¼ - ½ tsp Salt
  • 1 tsp Pepper
  • ½ tsp Paprika
  • Parsley

Instructions:

How to cook Mayo Free Egg Salad

  1. Hard boil eggs. (Recipe here.)
  2. Once eggs are cooled, peel them.
  3. Coarsely chop eggs, celery and green onion.
  4. Add to a mixing bowl and add in pepper, salt to taste, and sour cream.
  5. Gently mix to coat and then sprinkle paprika over the top. Mix gently.
  6. Serve and enjoy!
Created using The Recipes Generator
EggSalad.png

Easy Jambalaya

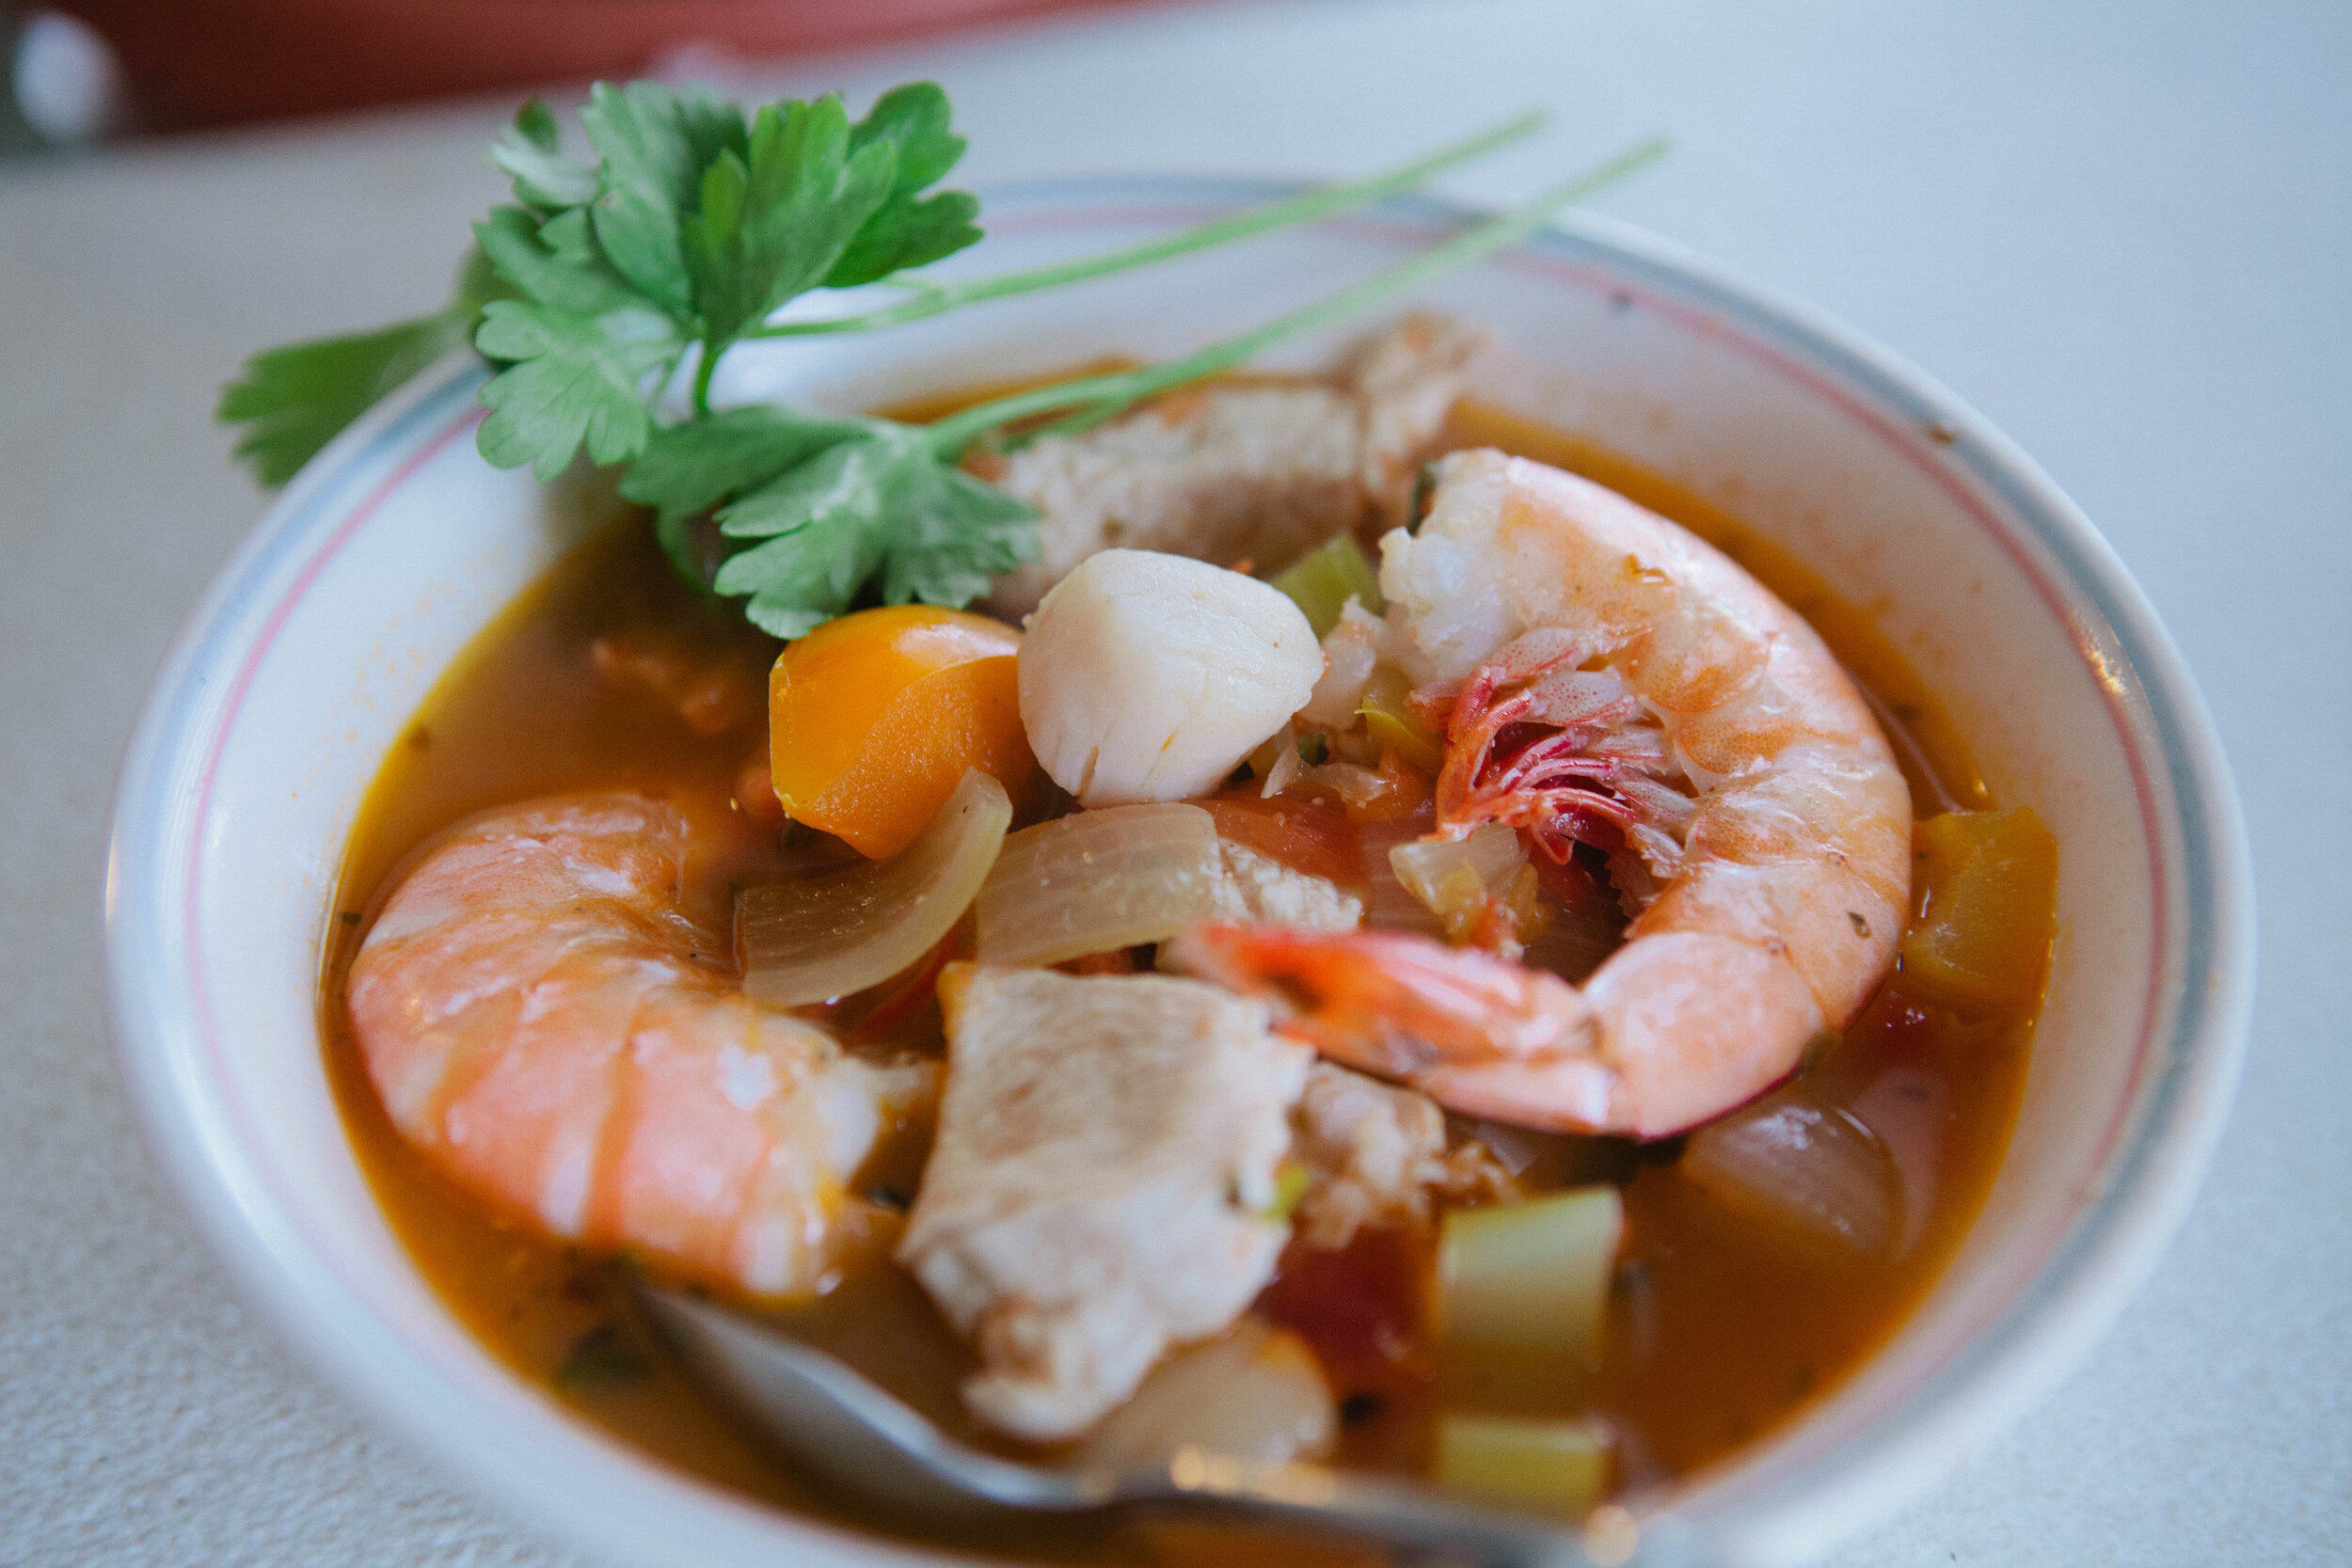
I know from personal experience that eating soups for most or all meals can become routine and unappealing. So I have been looking for soup recipes with unique tastes or flavor profiles to shake things up. 

I’ve never really had traditionally made jambalaya so I’m not sure how well this stacks up but it is delicious! It’s legal on Stage 4 of the GAPS Diet as long as you are tolerating nightshades (tomatoes and peppers.)

jambalaya-how-to-make-jambalya-on-the-gaps-diet-eating-seafood-on-gaps-how-to-eat-seafood-on-gaps-what-to-eat-on-gaps-diet-soups-for-gaps-easy-jambalaya-recipe

One of the most important ways to replenish a malnourished body is to eat a variety of nutrients that come from a variety of sources. Depending on where you live (i.e. a landlocked state like Colorado) seafood may not be a class of food you commonly partake in. When you purchase seafood, it should always be wild caught and sourced from a location that is not off the coast of China. When seafood is fresh, it tastes very mild. As it ages, it will become more and more “fishy.” Flash frozen seafood is often the best because was preserved in the freshest state possible.

Jambalaya is traditionally served over rice. While rice isn’t GAPS Legal, if it is something you are tolerating or eating currently, I have a blog post on how to properly prepare rice here. If you are on full GAPS, wild rice is legal and you can learn how to properly prepare wild rice here. I think it’s delicious to eat this jambalaya on it’s own and don’t miss the rice.

Ingredients for Jambalaya:

  • 3 tbsp Lard

  • 7 cups of Stock

  • 2 Chicken Breasts, cubed

  • 1 lb. Scallops

  • 10 oz. Salmon

  • 2 lb Jumbo Shrimp

  • 9-10 Medium Tomatoes

  • 3 Stalks of Celery

  • ½ Large Onion

  • 2 Bell Pepper

  • 2 ½ tbsp Salt

  • 1 tbsp Paprika

  • 1 tbsp Cayenne Pepper

  • 1 tbsp Freshly Ground Pepper

  • 1 tbsp Dried Oregano

  • ⅛ cup parsley

Directions for How to Prepare Jambalaya:

jambalaya-how-to-make-jambalya-on-the-gaps-diet-eating-seafood-on-gaps-how-to-eat-seafood-on-gaps-what-to-eat-on-gaps-diet-soups-for-gaps-easy-jambalaya-recipe

In a large stock pot, add 2 tbsp of lard and heat on medium high heat. Add chicken once it’s heated and stir to cook in lard. 

In a bowl, combine the spices. Roughly chop the parsley.

Generously coat the chicken with a few shakes of the spice mixture.

Remove the chicken pieces from the pan while leaving the juices in the pot.

Roughly chop the tomatoes. Add them to the pot. Add 1 - 2 tsp of the spice mixture. Simmer for about 10 - 15 minutes until soft. Stir constantly to prevent sticking. Immersion blend them tomatoes slightly. You still want a few chunks in.

jambalaya-how-to-make-jambalya-on-the-gaps-diet-eating-seafood-on-gaps-how-to-eat-seafood-on-gaps-what-to-eat-on-gaps-diet-soups-for-gaps-easy-jambalaya-recipe

Pour the stock into the pot with the tomatoes. Add in chopped parsley.

Chop celery into small half moons. Add the celery to the pot with the tomato and stock mixture.

Chop the onions into bite size pieces. Cut the bell pepper into chunks. 

jambalaya-how-to-make-jambalya-on-the-gaps-diet-eating-seafood-on-gaps-how-to-eat-seafood-on-gaps-what-to-eat-on-gaps-diet-soups-for-gaps-easy-jambalaya-recipe

In a cast iron skillet, heat 1 tbsp of lard. When it’s melted, add the onions and bell peppers to fry. Sprinkle with 1 - 2 tsp of seasoning mixture.

Mince the garlic. Add to the pan with the onions and bell peppers. Cook for about a minute.

Add the chicken back into the tomato mixture pot. 

jambalaya-how-to-make-jambalya-on-the-gaps-diet-eating-seafood-on-gaps-how-to-eat-seafood-on-gaps-what-to-eat-on-gaps-diet-soups-for-gaps-easy-jambalaya-recipe

If necessary, remove the skin from the salmon. Cube the salmon into chunks. Add the salmon to the onion and bell pepper mixture.

jambalaya-how-to-make-jambalya-on-the-gaps-diet-eating-seafood-on-gaps-how-to-eat-seafood-on-gaps-what-to-eat-on-gaps-diet-soups-for-gaps-easy-jambalaya-recipe

Rinse the scallops with filtered water. Add the scallops to the onion and bell pepper mixture. Sprinkle the remaining seasoning mixture over the top of the scallops and stir. Let cook for a few minutes.

Rinse the jumbo shrimp. Add them directly to the pot of the tomato mixture.

jambalaya-how-to-make-jambalya-on-the-gaps-diet-eating-seafood-on-gaps-how-to-eat-seafood-on-gaps-what-to-eat-on-gaps-diet-soups-for-gaps-easy-jambalaya-recipe

After a few minutes, add the scallops, salmon, onions, and bell pepper mixture to the large stock pot with the tomatoes.

Simmer everything for about 15 to 20 minutes to allow the seafood to cook and the flavors to meld. Be careful to not overcook your seafood.

Enjoy!

jambalaya-how-to-make-jambalya-on-the-gaps-diet-eating-seafood-on-gaps-how-to-eat-seafood-on-gaps-what-to-eat-on-gaps-diet-soups-for-gaps-easy-jambalaya-recipe

EasyGAPSJambalaya.png

Easy Jambalaya

Author:
Prep time: Cook time: Total time:

Ingredients:

  • 3 tbsp Lard
  • 7 cups of Stock
  • 2 Chicken Breasts, cubed
  • 1 lb. Scallops
  • 10 oz. Salmon
  • 2 lb Jumbo Shrimp
  • 9-10 Medium Tomatoes
  • 3 Stalks of Celery
  • ½ Large Onion
  • 2 Bell Pepper
  • 2 ½ tbsp Salt
  • 1 tbsp Paprika
  • 1 tbsp Cayenne Pepper
  • 1 tbsp Freshly Ground Pepper
  • 1 tbsp Dried Oregano
  • ⅛ cup parsley

Instructions:

How to cook Easy Jambalaya

  1. In a large stock pot, add 2 tbsp of lard and heat on medium high heat. Add chicken once it’s heated and stir to cook in lard.
  2. In a bowl, combine the spices. Roughly chop the parsley.
  3. Generously coat the chicken with a few shakes of the spice mixture.
  4. Remove the chicken pieces from the pan while leaving the juices in the pot.
  5. Roughly chop the tomatoes. Add them to the pot. Add 1 - 2 tsp of the spice mixture. Simmer for about 10 - 15 minutes until soft. Stir constantly to prevent sticking. Immersion blend them tomatoes slightly. You still want a few chunks in.
  6. Pour the stock into the pot with the tomatoes. Add in chopped parsley.
  7. Cop celery into small half moons. Add the celery to the pot with the tomato and stock mixture.
  8. Chop the onions into bite size pieces. Cut the bell pepper into chunks.
  9. In a cast iron skillet, heat 1 tbsp of lard. When it’s melted, add the onions and bell peppers to fry. Sprinkle with 1 - 2 tsp of seasoning mixture.
  10. Mince the garlic. Add to the pan with the onions and bell peppers. Cook for about a minute.
  11. Add the chicken back into the tomato mixture pot.
  12. If necessary, remove the skin from the salmon. Cube the salmon into chunks. Add the salmon to the onion and bell pepper mixture.
  13. Rinse the scallops with filtered water. Add the scallops to the onion and bell pepper mixture. Sprinkle the remaining seasoning mixture over the top of the scallops and stir. Let cook for a few minutes.
  14. Rinse the jumbo shrimp. Add them directly to the pot of the tomato mixture.
  15. After a few minutes, add the scallops, salmon, onions, and bell pepper mixture to the large stock pot with the tomatoes.
  16. Simmer everything for about 15 to 20 minutes to allow the seafood to cook and the flavors to meld. Be careful to not overcook your seafood.
  17. Enjoy!
Created using The Recipes Generator

Make Your Own Ranch Dressing

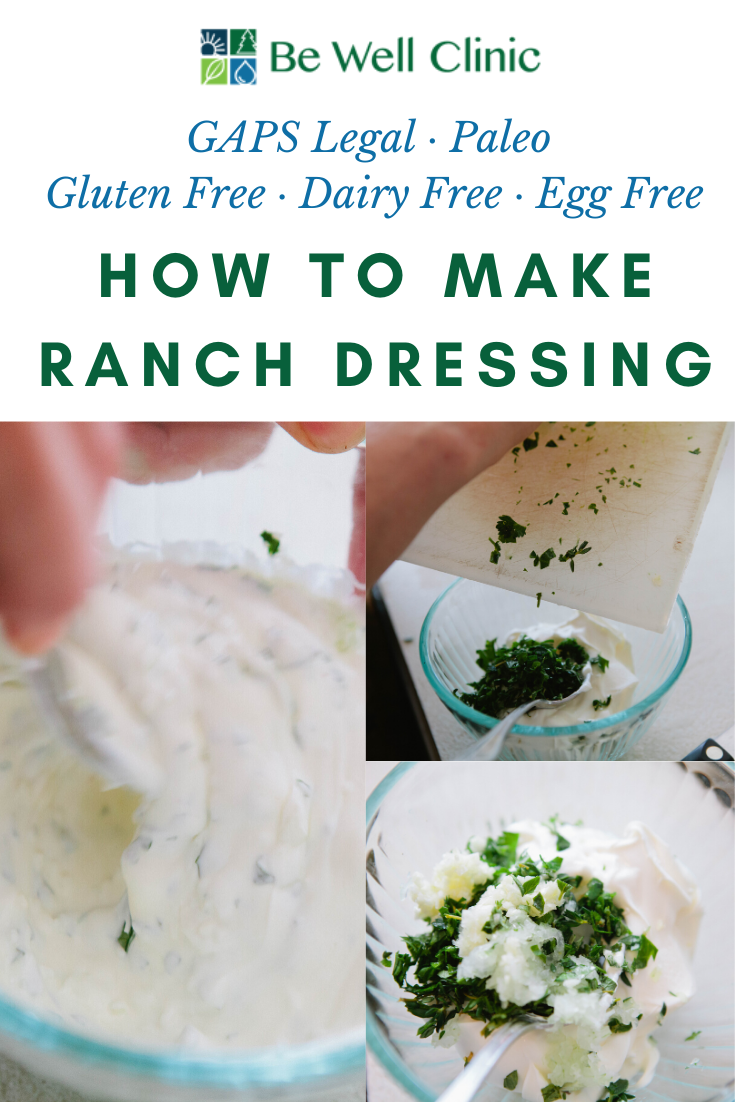
My brother absolutely loves ranch dressing! I have fond memories of it as well but I mostly remember how much he loved it. Making your own ranch dressing is fairly simple and allows you to avoid the undesirable additives like MSG that are commonly found in commercially made condiments. 

Ranch dressing is typically used as a dip and you can definitely dip any number of cut vegetables into this mixture. However, you could also use this delicious blend as an added flavoring for lots of dishes, like on top of a steak, in this Chicken Pot Pie Soup or in this Pumpkin Soup.

Making your own ranch dressing is very easy! You can make it with dried herbs or fresh herbs. It’s GAPS Legal and you can use it as a dressing or as a dip. Recipe by Amy Mihaly, Certified GAPS Practitioner in Colorado.

This is legal on GAPS Stage 5 because of the herbs, even though we’re using fresh herbs. If you’re tolerating dried herbs, you could use a dried Italian Herb mixture. Otherwise, think Italian herbs like thyme, parsely, and oregano. 

Once I’ve mixed everything, I like to return it to the original container. I would suggest making this dressing about an hour before you’re going to use it so that the flavors can meld. If you use it immediately after you mix it, it’s still delicious but not as flavorful.

Ingredients for Making Your Own Ranch Dressing:

  • 7.5 oz Sour Cream or Creme Fraiche

  • Italian Herbs

  • 1 clove garlic

  • 1 tbsp minced onion

  • 5-6 Grinds of Pepper

Directions for Making Your Own Ranch Dressing:

Making your own ranch dressing is very easy! You can make it with dried herbs or fresh herbs. It’s GAPS Legal and you can use it as a dressing or as a dip. Recipe by Amy Mihaly, Certified GAPS Practitioner in Colorado.

Finely mince garlic, onion and herbs.

Making your own ranch dressing is very easy! You can make it with dried herbs or fresh herbs. It’s GAPS Legal and you can use it as a dressing or as a dip. Recipe by Amy Mihaly, Certified GAPS Practitioner in Colorado.

Add to a bowl with sour cream or creme fraiche. Mix well and enjoy!

Making your own ranch dressing is very easy! You can make it with dried herbs or fresh herbs. It’s GAPS Legal and you can use it as a dressing or as a dip. Recipe by Amy Mihaly, Certified GAPS Practitioner in Colorado.

HowToMakeYourOwnRanchDressing.png

How to Make Your Own Ranch Dressing

Author:
prep time: cook time: total time:

ingredients:

  • 7.5 oz Sour Cream or Creme Fraiche
  • Italian Herbs
  • 1 clove garlic
  • 1 tbsp minced onion
  • 5-6 Grinds of Pepper

instructions:

How to cook How to Make Your Own Ranch Dressing

  1. Finely mince garlic, onion and herbs.
  2. Add to a bowl with sour cream or creme fraiche.
  3. Mix well and enjoy!
  4. I would suggest making this dressing about an hour before you’re going to use it so that the flavors can meld. If you use it immediately after you mix it, it’s still delicious but not as flavorful.
Created using The Recipes Generator

Guacamole

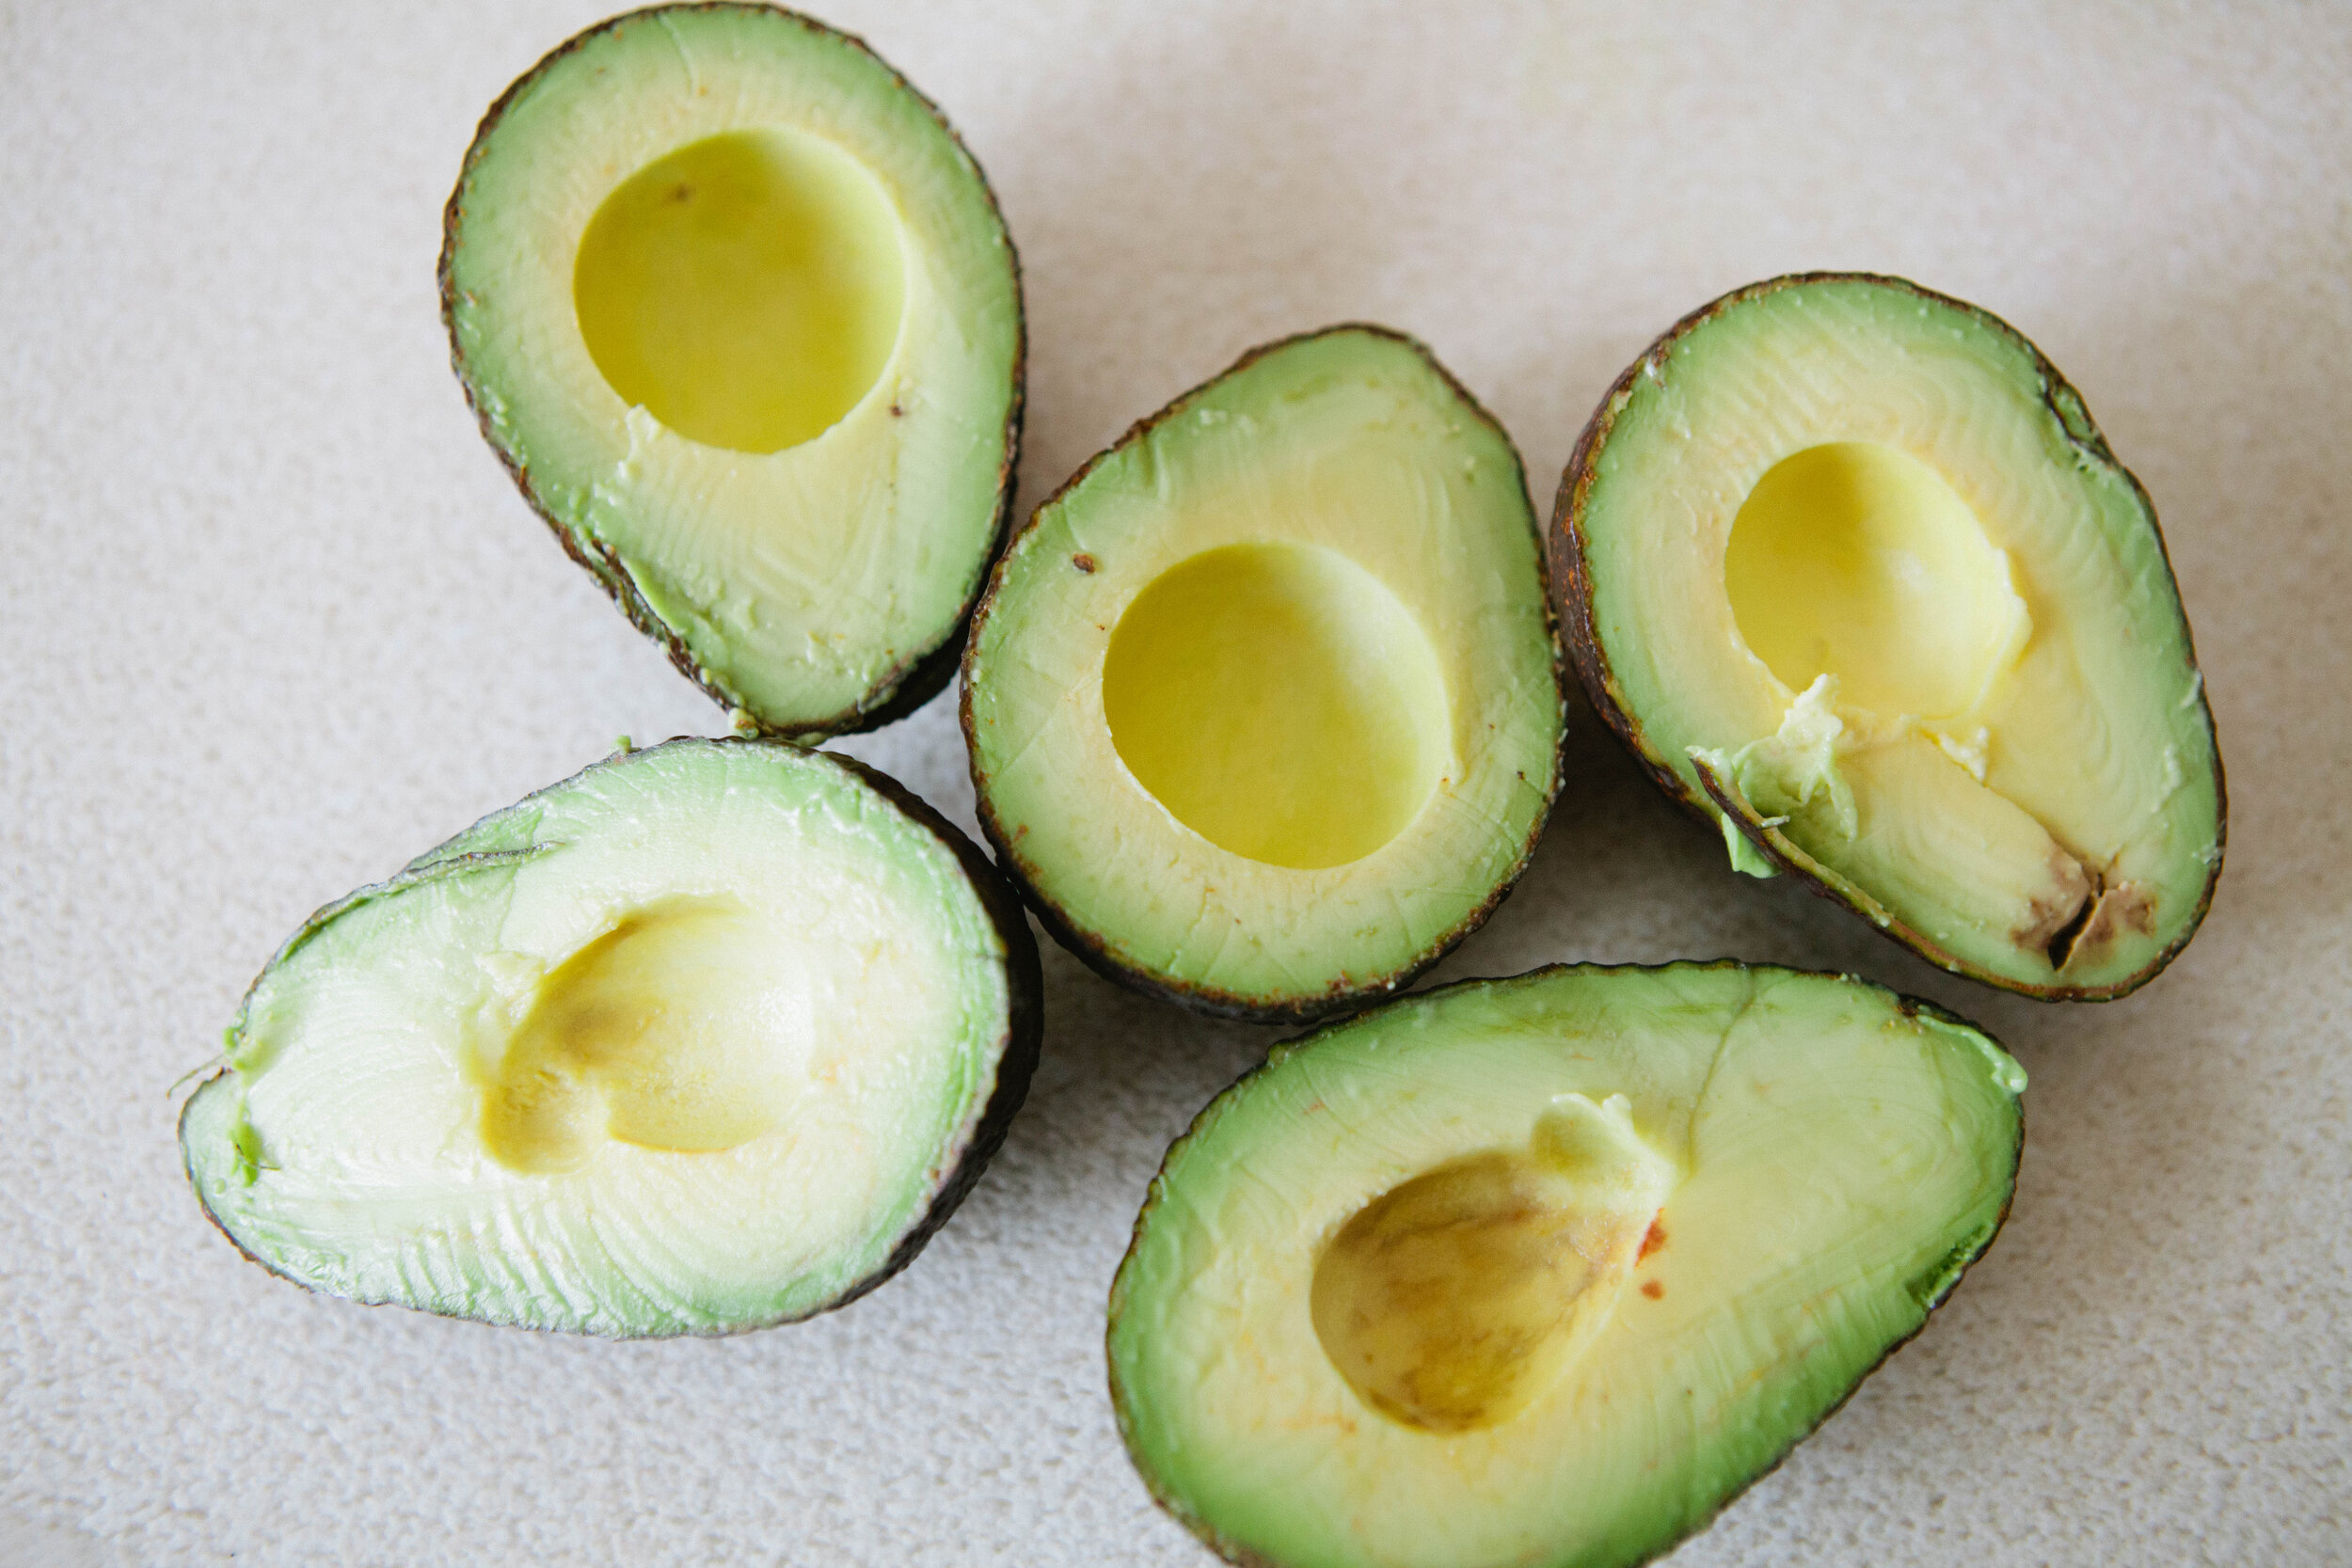
I learned to make this guacamole recipe when I was in Guatemala. It reminds me of my time there and that’s why I like it so much! I have very fond memories of my time in Guatemala.

Avocados are legal on GAPS stage 3 as is salt. However, if you add citrus juice to your guacamole, it’s not legal until stage 6. 

You know the meme about avocados taking forever to ripen and then suddenly going to mush? I have found that organic avocados tend to stay riper a little longer without going mushy quickly or having brown spots soon after they ripen. 

Enjoy this guacamole with any type of cut up vegetables. I also like it on top of eggs, like an omelette. Pressing it tightly into a container and adding a pit to the top will help it to not turn brown. Off the GAPS diet, enjoy with your canola, soybean and safflower free corn chips! Coconut chips are the best option to buy in stores. 

Ingredients for Guacamole:

  • 3 ripe avocados

  • 1 tbsp Finely Minced Onions or Onion Powder

  • 2 cloves of Garlic

  • 1 tsp Salt

  • Juice of 1 Lime, about 1 tbsp.

Directions for Guacamole:

IMG_7780.jpg

Cut avocados in half and remove the pits. Using a spoon, scoop the avocados into a bowl. 

Finely mince onion and add to the bowl. Or add onion powder.

Finely chop garlic cloves and add to the bowl.

IMG_7818.jpg

Cut lime into wedges and add juice to a bowl. Add salt.

Mix well and enjoy!


Guacamole

Author:
prep time: cook time: total time:

ingredients:

  • 3 ripe avocados
  • 1 tbsp Finely Minced Onions or Onion Powder
  • 2 cloves of Garlic
  • 1 tsp Salt
  • Juice of 1 Lime, about 1 tbsp.

instructions:

How to cook Guacamole

  1. Cut avocados in half and remove the pits. Using a spoon, scoop the avocados into a bowl.
  2. Finely mince onion and add to the bowl. Or add onion powder.
  3. Finely chop garlic cloves and add to the bowl.
  4. Cut lime into wedges and add juice to a bowl. Add salt.
  5. Mix well and enjoy!
Created using The Recipes Generator
Guacamole.png

What to do with Chicken on the GAPS Diet

Chicken is such a versatile and easy to meat to cook! It’s a mild meat so it can be easily adapted to many different recipes and flavors.

Purchase the highest quality meat you can afford! For me, this means buying chickens directly from farmers whenever possible. If I buy a chicken from a store, I buy organic and antibiotic free. And make sure you get the organs whenever possible! If you have the space, time and allowance from your city, consider raising your own chickens. I loved raising chickens, both for the fresh eggs and the delicious meat. I knew exactly where my food was coming from - and everything that had gone into it!

To help your budget, make sure you’re using as much of your chicken as possible. Chicken feet and gizzards can be added to stocks. The skin and joint cartilage can be blended in a stock. Liver can be made into pate. And the chicken heart is my favorite treat!

Below are some of my favorite recipes for chicken!

Chicken Stock

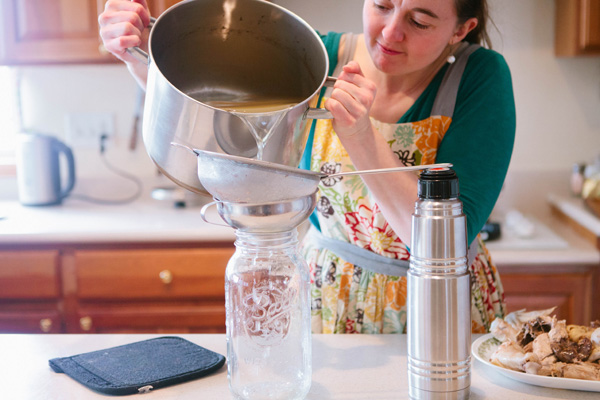
Meat stock can be made into a soup or simply drunk on its own as a hot beverage with a meal. You can also poach a couple eggs in your stock for a rich breakfast. Stock can also be used to cook rice or other soaked grains to increase their digestibility and nutritional content. In short, this should be considered a staple to have in your kitchen at all times, either in the fridge or the freezer.

Gluten Free, Dairy Free, Egg Free

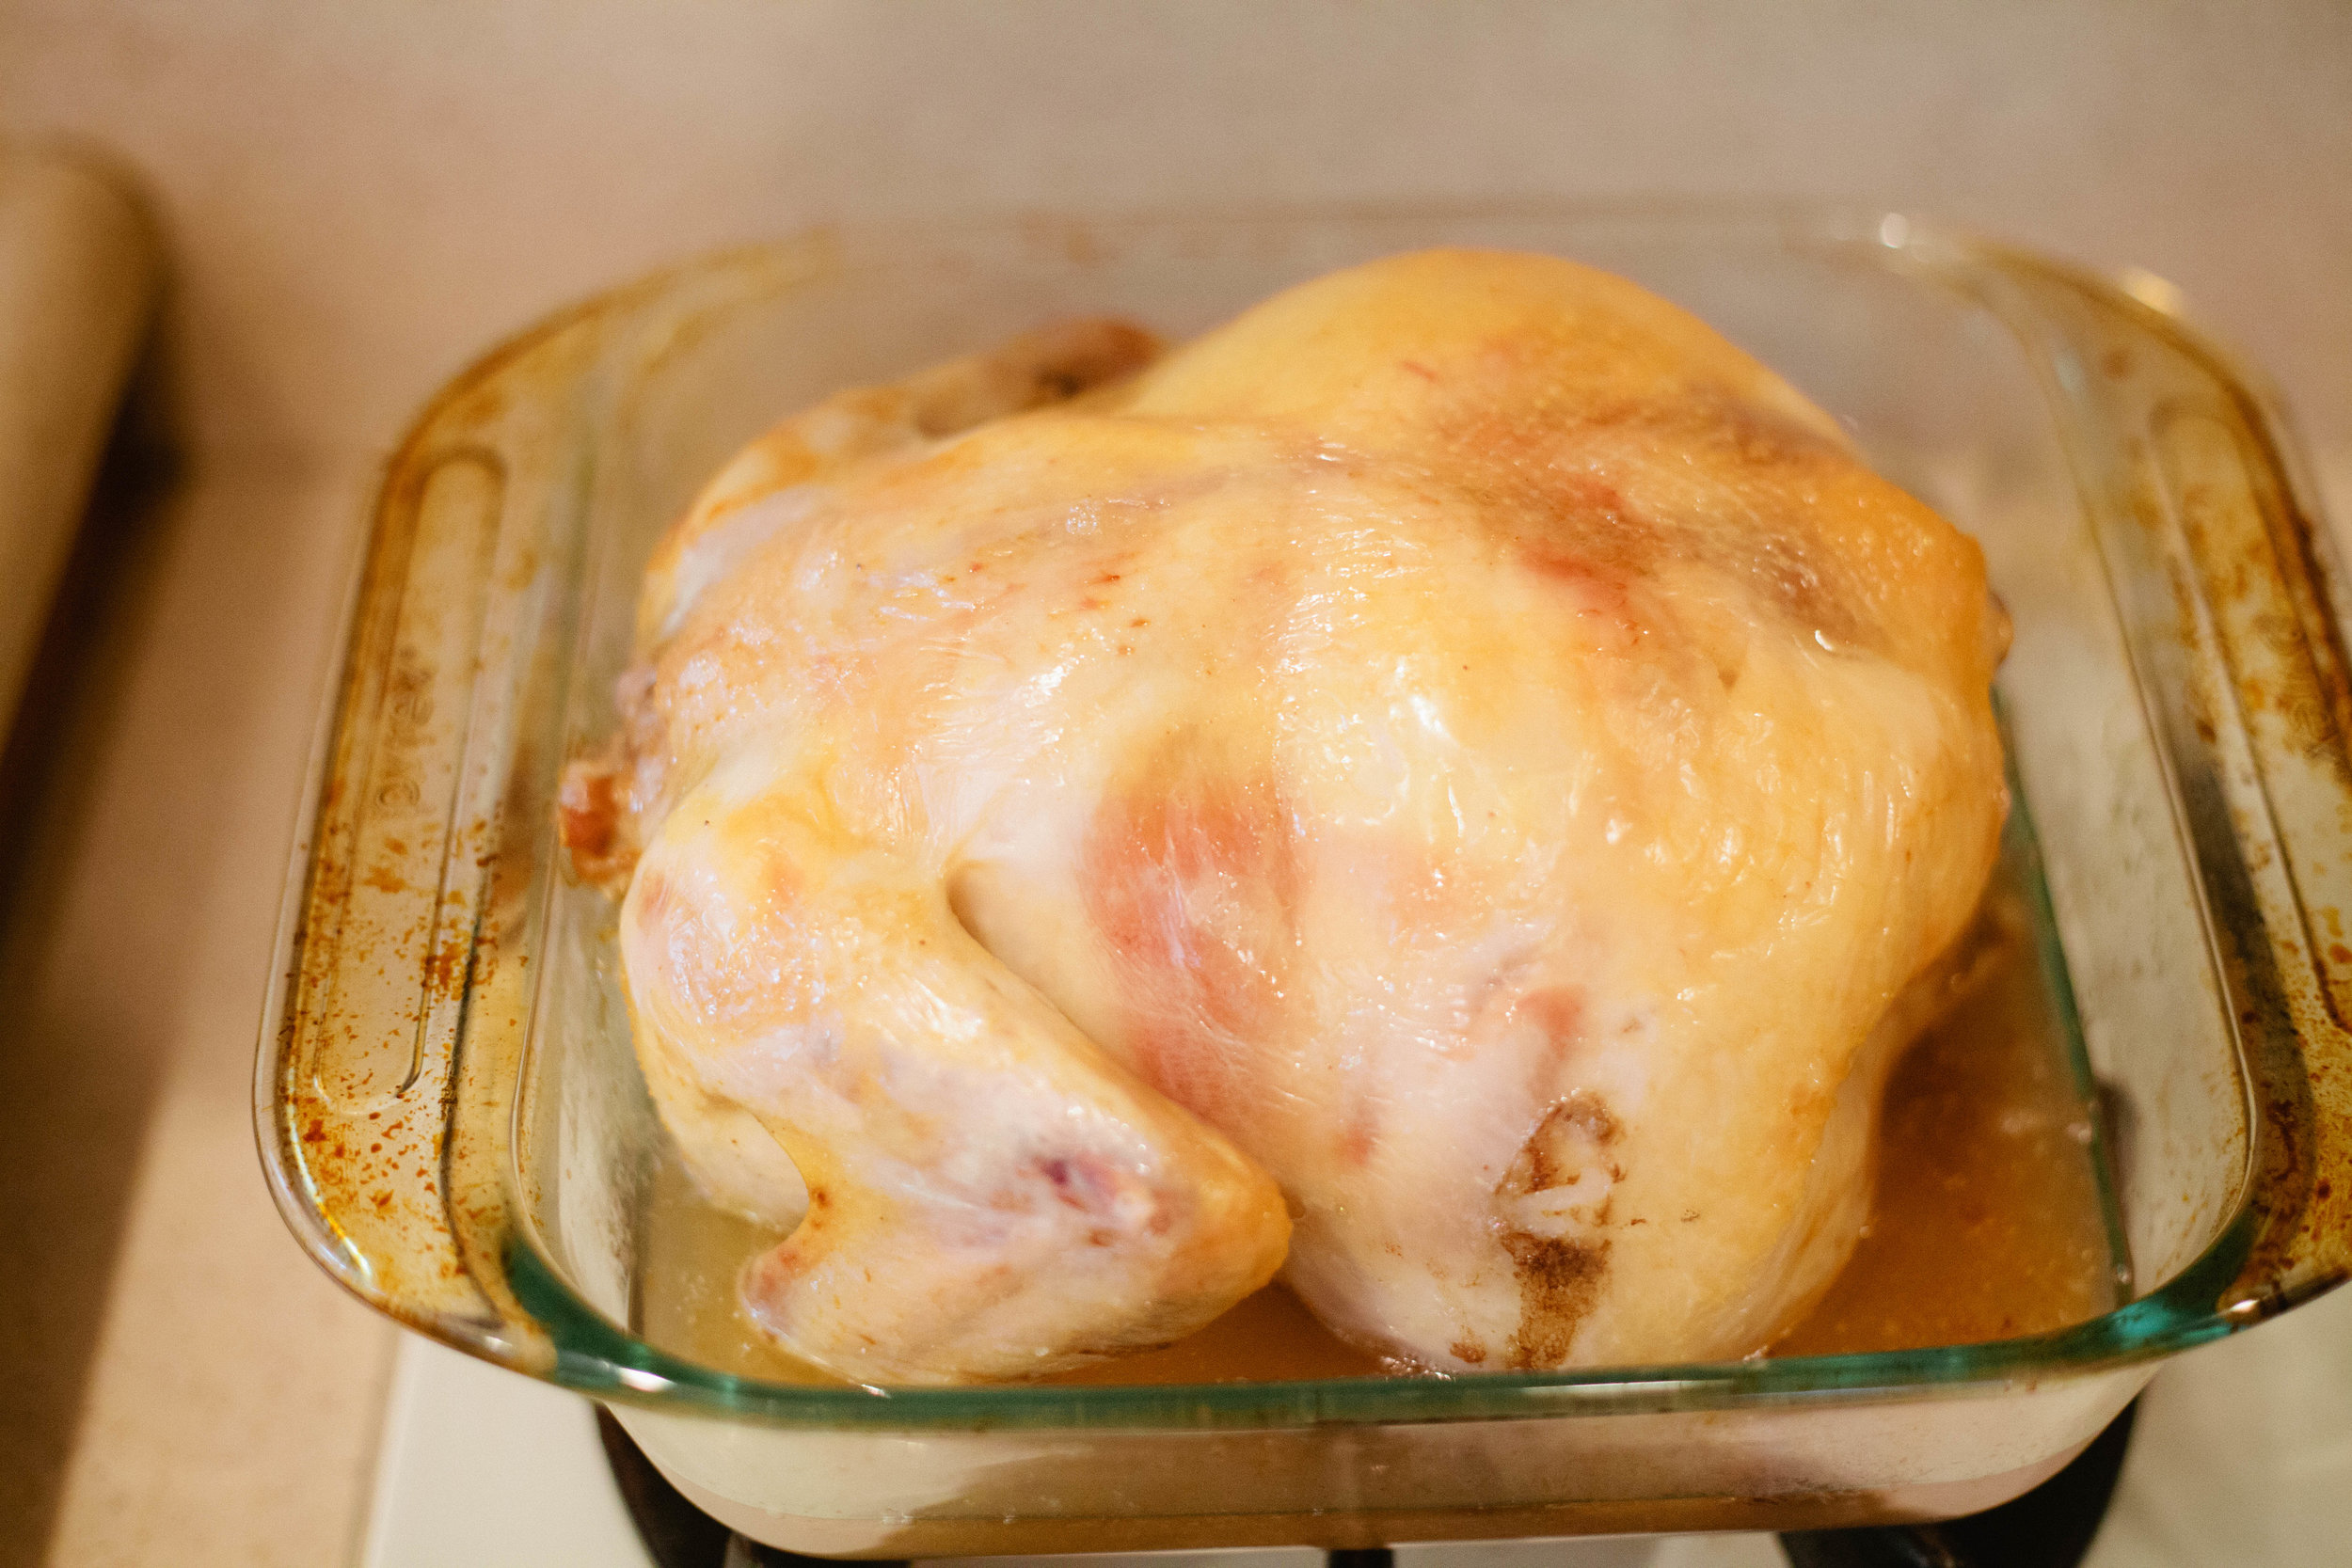
Whole Roasted Chicken with Salt

This is a very simple recipe that makes a whole, juicy roasted chicken. It takes just two simple ingredients and is a very hands off recipe.

Gluten Free, Dairy Free, Egg Free

Honey Roasted Chicken

Roasting a chicken is a great and simple way to make a meal. This particular roasting recipe requires a little more attention than others, as you need to baste and adjust the temperature often, but it's definitely worth it!

Gluten Free, Dairy Free, Egg Free

Chicken Tortilla Soup

This is a good GAPS soup because of all of the sour cream. It wasn't too spicy, and it's different than plain meat stock that you typically eat on Stage 1. There are many different ways to make it, so it's also easy to switch up to match your tastes.

Gluten Free, Dairy Free, Egg Free

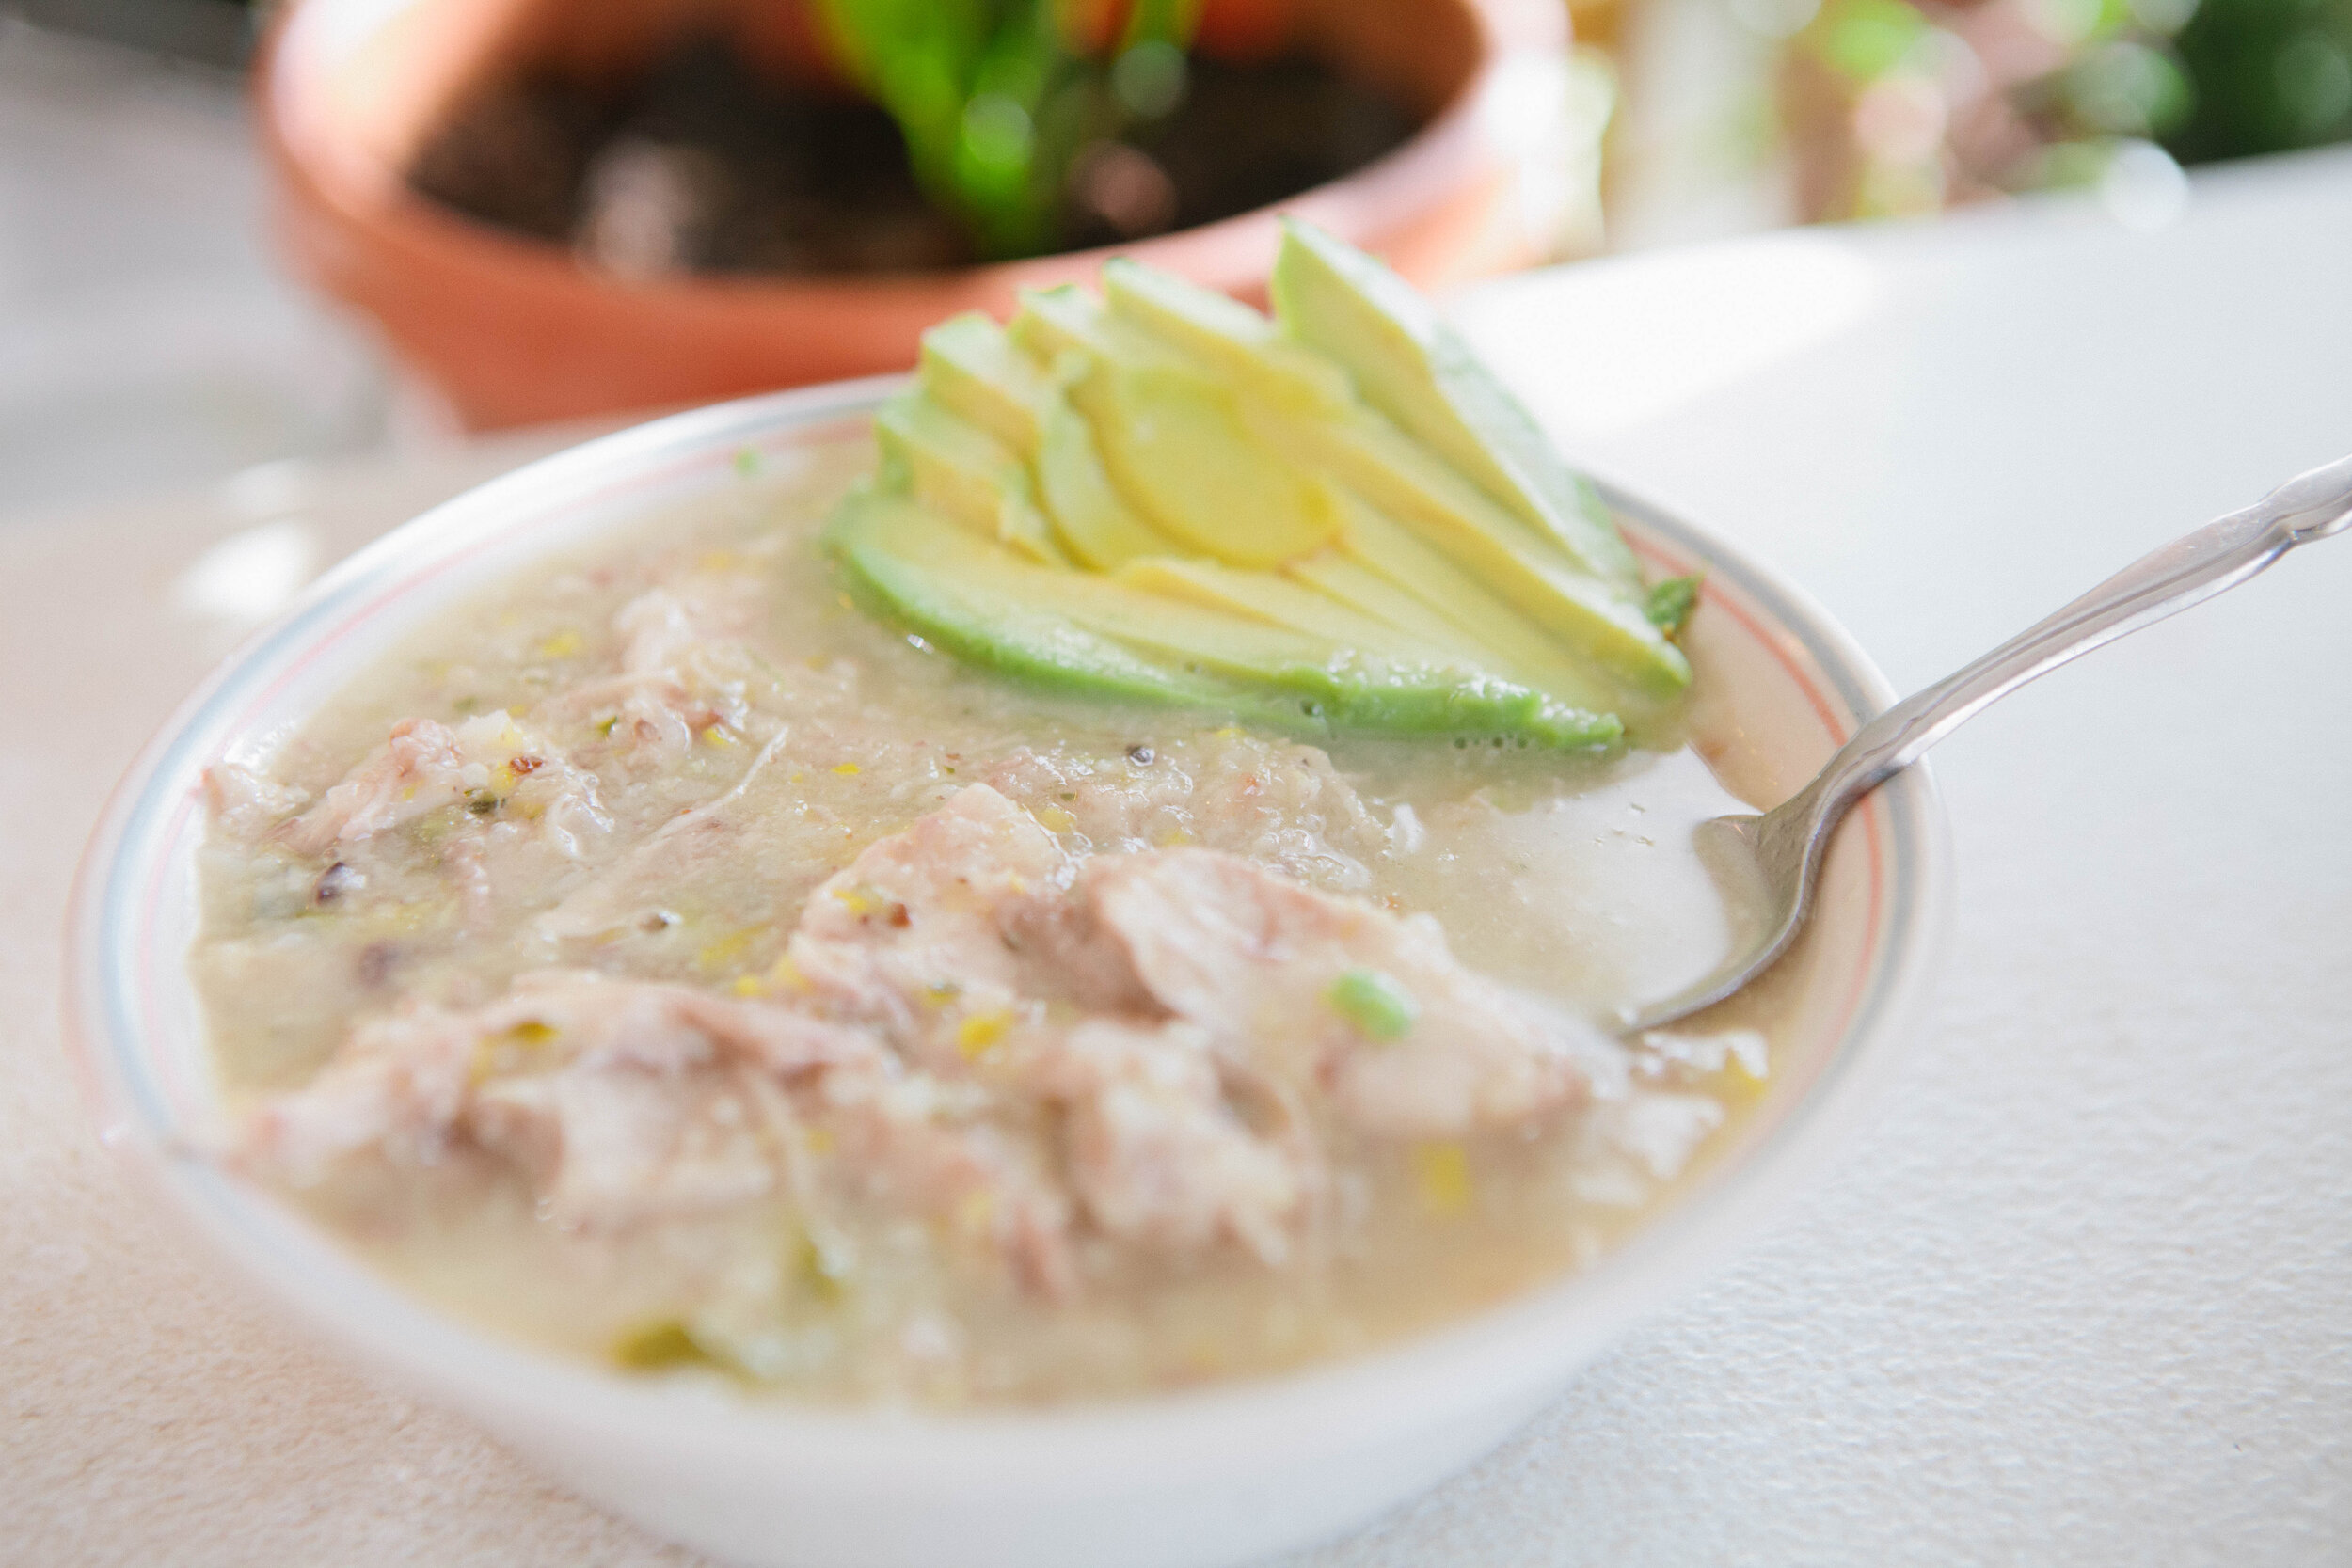
Creamy Garlic Chicken Soup

Because you immersion blend the vegetables into the stock, this is a great recipe to also blend in the the joint cartilage, skin and any of the other parts of the chicken that you may be tempted to throw away. I separate the chicken into three parts usually - bones, chicken meat, and everything else.

Gluten Free, Dairy Free, Egg Free

Creamy Chicken Pot Pie Soup

The key to this soup being reminiscent of a pot pie is to cut the vegetables into bite size pieces and make a consistency that’s more like a stew than a soup. Included in this recipe are a few tricks to thicken the soup so it more closely resembles the gravy that we associate with chicken pot pie.

Gluten Free, Dairy Free, Egg Free

Coconut Carrot Gluten Free Birthday Cake

IMG_9185.jpg

In celebration of my friend's birthday years ago, I made an "Amazingly Delicious Carrot Cake" (that's what the recipe was called, at least). I’ve modified the recipe a bit and I am so excited to have found such a delicious-looking recipe.

One ingredient in it that I have never even heard of *gasp, I know* is coconut butter (or coconut manna--they can be used interchangeably). This is not a more expensive version of coconut oil, as I first thought, but a coconut puree. I bought a jar (a bit pricey) at our local health food grocery store, or you can make your own.

Coconut butter is very sweet, and can be used as a little sweet snack. However, because there is more fiber, and it is much sweeter than coconut oil, if you are following GAPS, you should not introduce it until Introduction stage 6 or full GAPS. But if you can tolerate it, I would recommend trying this delicious coconut treat!

Sometimes I wonder why we even want to eat processed sugar, this cake is so rich, moist and delicious! Sadly for you, the photos cannot portray the enticing aroma I am experiencing! You will just have to try it out for yourself!

I have also made this recipe using the leftover pulp from juicing carrots. Add a little bit of additional water to keep the cake from getting too dry.

I made this as one cake in a 9x13 pan and then cut it in half and stacked to decorate it. You can also make it in two smaller pans. Just make sure you are using glass, not aluminum to bake with. Baking it as a sheet cake also means you can cut it into shapes for themed birthdays.

Ingredients for Coconut Carrot Gluten Free Birthday Cake:

For the Cake

  • 2 cups coconut manna (1 15 oz jar)

  • 9 dates

  • 1 cup carrots, about two large carrots

  • 2 tsp cinnamon

  • ½ cup raisins

  • ½ cup shredded coconut (if you have coconut flakes, just put them in a food processor for a minutes)

  • 1 tsp sea salt

  • 1 tsp vanilla extract

  • 10 organic eggs

For the Frosting

  • 2 cups cultured cream or sour cream

  • 2 tbsp honey 

  • 1 tsp vanilla extract

  • Zest of 1 Lemon

  • ½ tsp Lemon Juice

  • Pinch of sea salt

Directions for Coconut Carrot Gluten Free Birthday Cake:

IMG_8785.jpg

In a pot on the stove, start your coconut manna melting by adding the jar to water. Melt over low heat. It can take up to 30 minutes to melt depending on how big and full your jar is.

Start your dates rehydrating. Remove the pits and add the dates to a bowl that can have hot water in it (I use glass.). Add boiling water to the bowl, enough to cover the dates. Let sit for 20 minutes until dates are rehydrated

IMG_8810.jpg

Finely shred two large carrots with a food processor. 

Once dates are soft and squishy, about 20 minutes, put them in a food processor, without liquid. Slowly add more liquid as they blend until they are a smooth consistency but not too liquidy.

IMG_8804.jpg

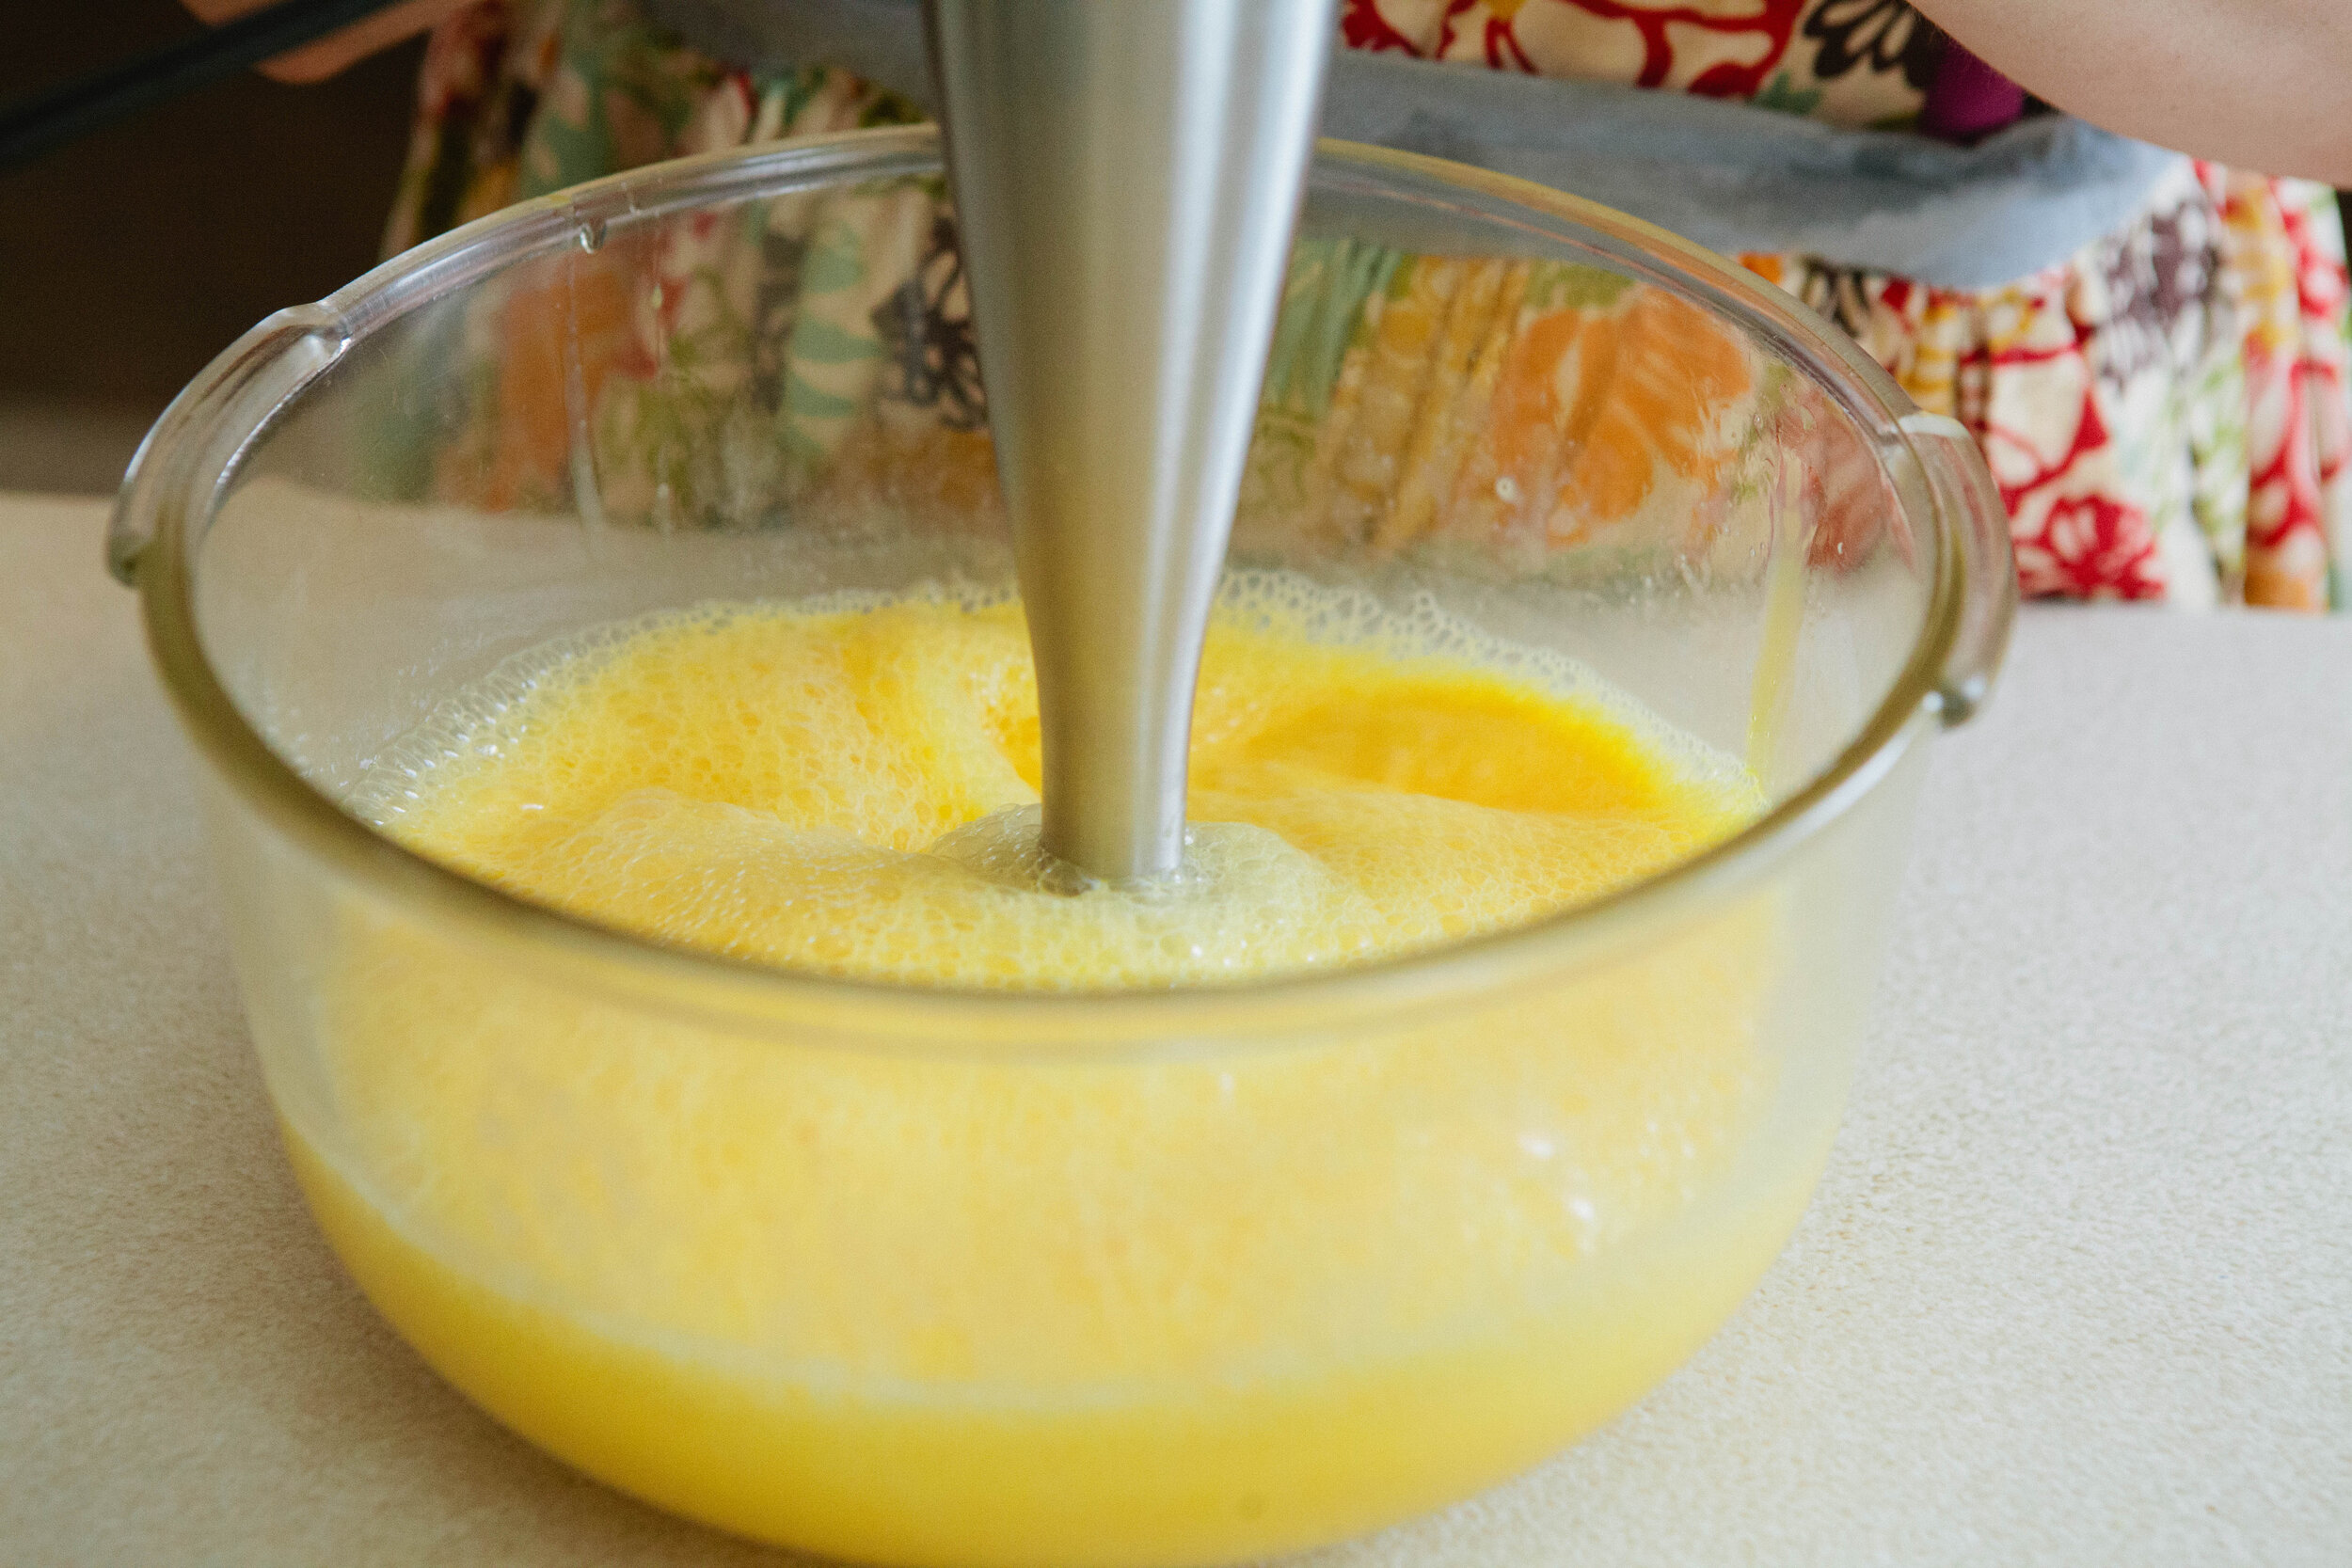
In a large bowl, crack all the eggs. Whisk with an electric whisk or immersion blender to get the maximum amount of air into them.

Grease the baking dish with butter or the fat of your choice. If you have a butter allergy, coconut oil is acceptable.

Stir the ingredients into the bowl with eggs until they are all distributed evenly.

IMG_8880.jpg

Add the mixture to the greased baking dish.

Bake in the preheated oven for 40 minutes until the top is golden and the cake is set.

Allow to cool slightly before removing from the pan.

IMG_9123.jpg

Mix the frosting in a bowl. 

Decorate the cake as desired and enjoy!

IMG_9173.jpg

If you don’t have a tray, plate or board to decorate your cake on:

IMG_9134.jpg

Make one simply with leftover cardboard and aluminum foil.

IMG_9137.jpg

Cut your cardboard to size. Cover with aluminum foil and tape underneath so nothing slips.

Add parchment paper to the top where the cake will sit so your food is not sitting on metal.

IMG_9168.jpg

Decorate your cake!


Author:
prep time: cook time: total time:

ingredients:

For the Cake
  • 2 cups coconut manna (1 15 oz jar)
  • 9 dates
  • 1 cup carrots, about two large carrots
  • 2 tsp cinnamon
  • ½ cup raisins
  • ½ cup shredded coconut (if you have coconut flakes, just put them in a food processor for a minutes)
  • 1 tsp sea salt
  • 1 tsp vanilla extract
  • 10 organic eggs
For the Frosting
  • 2 cups cultured cream or sour cream
  • 2 tbsp honey
  • 1 tsp vanilla extract
  • Zest of 1 Lemon
  • ½ tsp Lemon Juice
  • Pinch of sea salt

instructions:

How to cook

  1. In a pot on the stove, start your coconut manna melting by adding the jar to water. Melt over low heat. It can take up to 30 minutes to melt depending on how big and full your jar is.
  2. Start your dates rehydrating. Remove the pits and add the dates to a bowl that can have hot water in it (I use glass.). Add boiling water to the bowl, enough to cover the dates. Let sit for 20 minutes until dates are rehydrated
  3. Finely shred two large carrots with a food processor.
  4. Once dates are soft and squishy, about 20 minutes, put them in a food processor, without liquid. Slowly add more liquid as they blend until they are a smooth consistency but not too liquidy.
  5. In a large bowl, crack all the eggs. Whisk with an electric whisk or immersion blender to get the maximum amount of air into them.
  6. Grease the baking dish with butter or the fat of your choice. If you have a butter allergy, coconut oil is acceptable.
  7. Stir the ingredients into the bowl with eggs until they are all distributed evenly.
  8. Add the mixture to the greased baking dish.
  9. Bake in the preheated oven for 40 minutes until the top is golden and the cake is set.
  10. Allow to cool slightly before removing from the pan.
  11. Mix the frosting in a bowl.
  12. Decorate the cake as desired and enjoy!
If you don’t have a tray, plate or board to decorate your cake on:
  1. Make one simply with leftover cardboard and aluminum foil.
  2. Cut your cardboard to size. Cover with aluminum foil and tape underneath so nothing slips.
  3. Add parchment paper to the top where the cake will sit so your food is not sitting on metal.
  4. Decorate your cake!
Created using The Recipes Generator
CoconutCarrotBirthdayCake.png

A Simple Cabbage Soup Recipe

I love this cabbage soup. Maybe it’s because of my German roots. 

Cabbage is good for stimulating hydrochloric acid production in your stomach. This is an important first step of food digestion. If your stomach pH is greater than 3 (meaning less acidic) the enzymes that we use to digest protein don’t even get turned on! This means your body won’t give the signal to digest the protein and the proteins that you eat won’t get digested. Cabbage is also very high in Vitamin C. The Vitamin C concentration is much higher in sauerkraut, however eating cabbage in any form is a great way to get important nutrients into your body. Cabbage also contains high amounts of Vitamin K. Vitamin K is a fat soluble vitamin that helps with inflammation.

Try cutting your cabbage into long strips to resemble noodles for pasta loving children. 

I recommend pairing this soup with our meatballs. You can drop balls of raw meat in to cook in the stock and the pairing would be legal on GAPS Stage 1. If you’re on more advanced stages (or not following the GAPS Diet) you can drop frozen pre-cooked meatballs into the soup or serve the meatballs on the side.

Ingredients:

  • 1 Cabbage

  • 1 stalk of Celery

  • 5 cloves of Garlic

  • 6 cups Stock (I used pork as a nod to my German roots but you can also use chicken or beef)

  • 2 tsp salt

Directions:

Bring stock to a boil in a large pot.

Chop up cabbage into bite size pieces. Slice the celery into half moons. Remove the garlic wrappings and cut in half.

Cabbage soup is very simple! It takes just a few simple ingredients but it’s a very filling and nutritious soup. It’s GAPS legal so try it today! Recipe by Amy Mihaly, Certified GAPS Practitioner in Colorado.

Add the cabbage, celery and garlic into the stock. Add salt to the pot to help draw out the moisture in the cabbage.

Simmer on medium heat for 30 to 45 minutes until the cabbage is soft.

Enjoy!

Cabbage soup is very simple! It takes just a few simple ingredients but it’s a very filling and nutritious soup. It’s GAPS legal so try it today! Recipe by Amy Mihaly, Certified GAPS Practitioner in Colorado.

Cabbage soup is very simple! It takes just a few simple ingredients but it’s a very filling and nutritious soup. It’s GAPS legal so try it today! Recipe by Amy Mihaly, Certified GAPS Practitioner in Colorado.

Cabbage Soup

Author:
prep time: cook time: total time:

ingredients:

  • 1 Cabbage
  • 1 stalk of Celery
  • 5 cloves of Garlic
  • 6 cups Stock (I used pork as a nod to my German roots but you can also use chicken or beef)
  • 2 tsp salt

instructions:

How to cook Cabbage Soup

  1. Bring stock to a boil in a large pot.
  2. Chop up cabbage into bite size pieces. Slice the celery into half moons. Remove the garlic wrappings and cut in half.
  3. Add the cabbage, celery and garlic into the stock. Add salt to the pot to help draw out the moisture in the cabbage.
  4. Simmer on medium heat for 30 to 45 minutes until the cabbage is soft.
  5. Enjoy!
Created using The Recipes Generator

Meal Prep Recipes for the GAPS Diet

Meal prep means preparing your meals for the week ahead (or even longer) in advance. You can do as much of the process as you want ahead of time. The goal of meal prep is to make eating well easier for you and your family. If meal prep stresses you out, then it’s not helping!

The process of planning your meal prep starts with…you guessed it - planning your meals! I use Plan to Eat to help layout meals. You simply add your favorite recipes to the queue and then drag and drop them to the calendar. Plan to Eat even does your grocery list for you! Start a free trial here. You can also meal plan with any calendar app or simply pen and paper. It’s really up to you and what works best for you and your family.

Whether you’re an avid meal prepper or you’re just looking for a few meals to fill your freezer, these recipes are a great way to always have filling, nutritious, real food on hand to feed yourself and your family.

There’s a few recipes that are always great to have on hand. These are the basic building blocks for a lot of other recipes.

Fermented Garlic

This is an easy beginner ferment to make. Raw garlic, has many supportive health benefits. And when raw garlic is fermented, many of these increase. The fermentation process takes about 6 weeks to complete!

Gluten Free, Dairy Free, Egg Free

Chicken Stock

Meat stock is a pillar in healing a leaky gut but this rich food is beneficial to anyone. It provides large amounts of the immune system’s favorite foods, is very easy to digest, and is a great base to modify for other healing and nutritious recipes. This recipe can be modified for any type of meat stock.

Gluten Free, Dairy Free, Egg Free

Spaghetti Sauce

I’ve always liked spaghetti and spaghetti sauce but when I started making my own spaghetti sauce, I realized I liked my own sauce best of all! I love making my own spaghetti sauce because I get to be in charge of the flavor, texture, and strength. Plus, I know everything that’s in it!

Gluten Free, Dairy Free, Egg Free

Salad Dressing

I was searching for the perfect sausage recipe. I discovered I don’t like a sausage that is heavily flavored with sage. My ideal tasting sausage was Jimmy Dean’s sausage which, of course, contains MSG. 

I needed to find a recipe that would keep me from occasionally caving and eating Jimmy Dean.

Gluten Free, Dairy Free, Egg Free

Lovely Lard

Eating animal fat is important to our body's health. But eating enough fat can be challenging, especially when there is a dairy allergy. Lard is a great alternative to butter, and its taste is more mild than that of tallow. You can buy lard at the store, but it is expensive and may be hydrogenated or of poor quality. Making your own lard is simple and easy, and can be done for a fraction of the price.

Gluten Free, Dairy Free, Egg Free

Beef Tongue

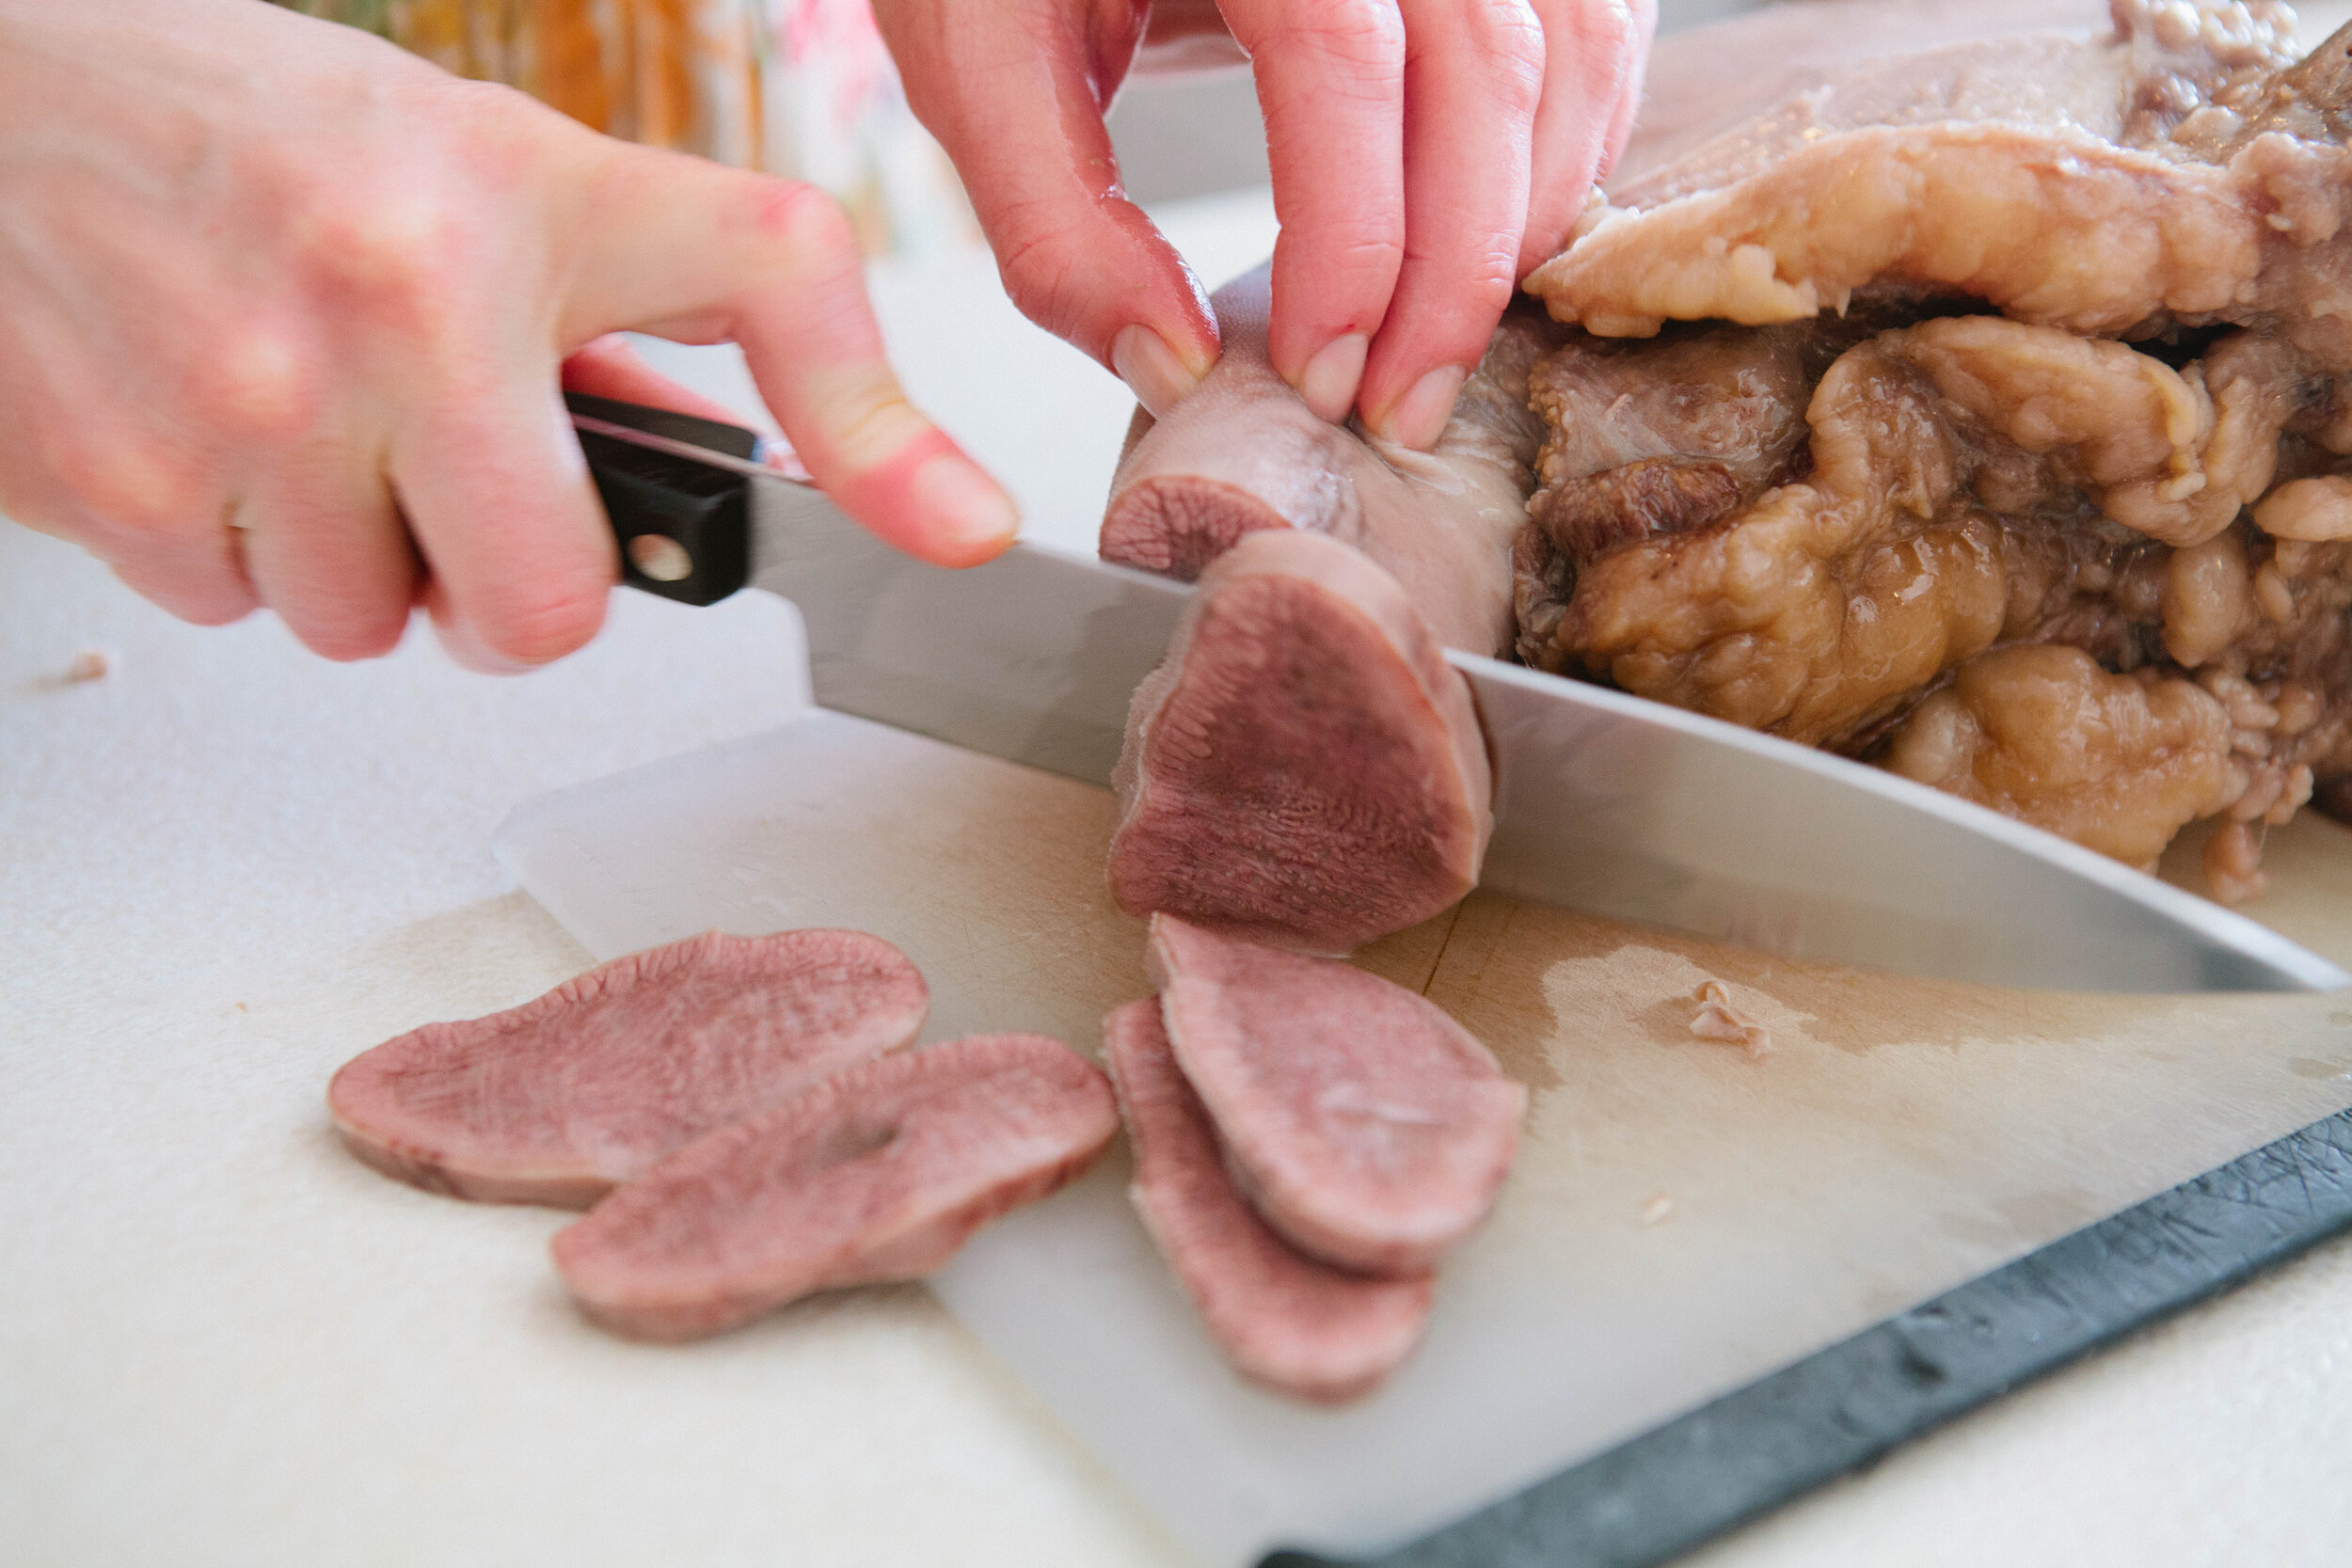
Beef tongue is very simple to prepare. I prefer to boil it, but you can also put it in a slow cooker for 8 hours. Either way, the stock that you’re left with is rich and delicious. I’ve kept my beef tongue stock before and used it to make Egyptian Lentil Soup. You can also shred beef tongue to use it in tacos or slice it to use in a stir fry.

Gluten Free, Dairy Free, Egg Free

The recipes below are easy to make in large quantities and freeze well, making them the ideal meals for meal prepping on the GAPS Diet!

Sprouted Refried Navy Beans

Beans make everything delicious! When they’re properly prepared and you can tolerate them, navy beans are a good addition to your diet. These are great served with anything that has a Mexican theme with them. I like them next to eggs, like a Huervos Rancheros sort of feel.

Gluten Free, Dairy Free, Egg Free

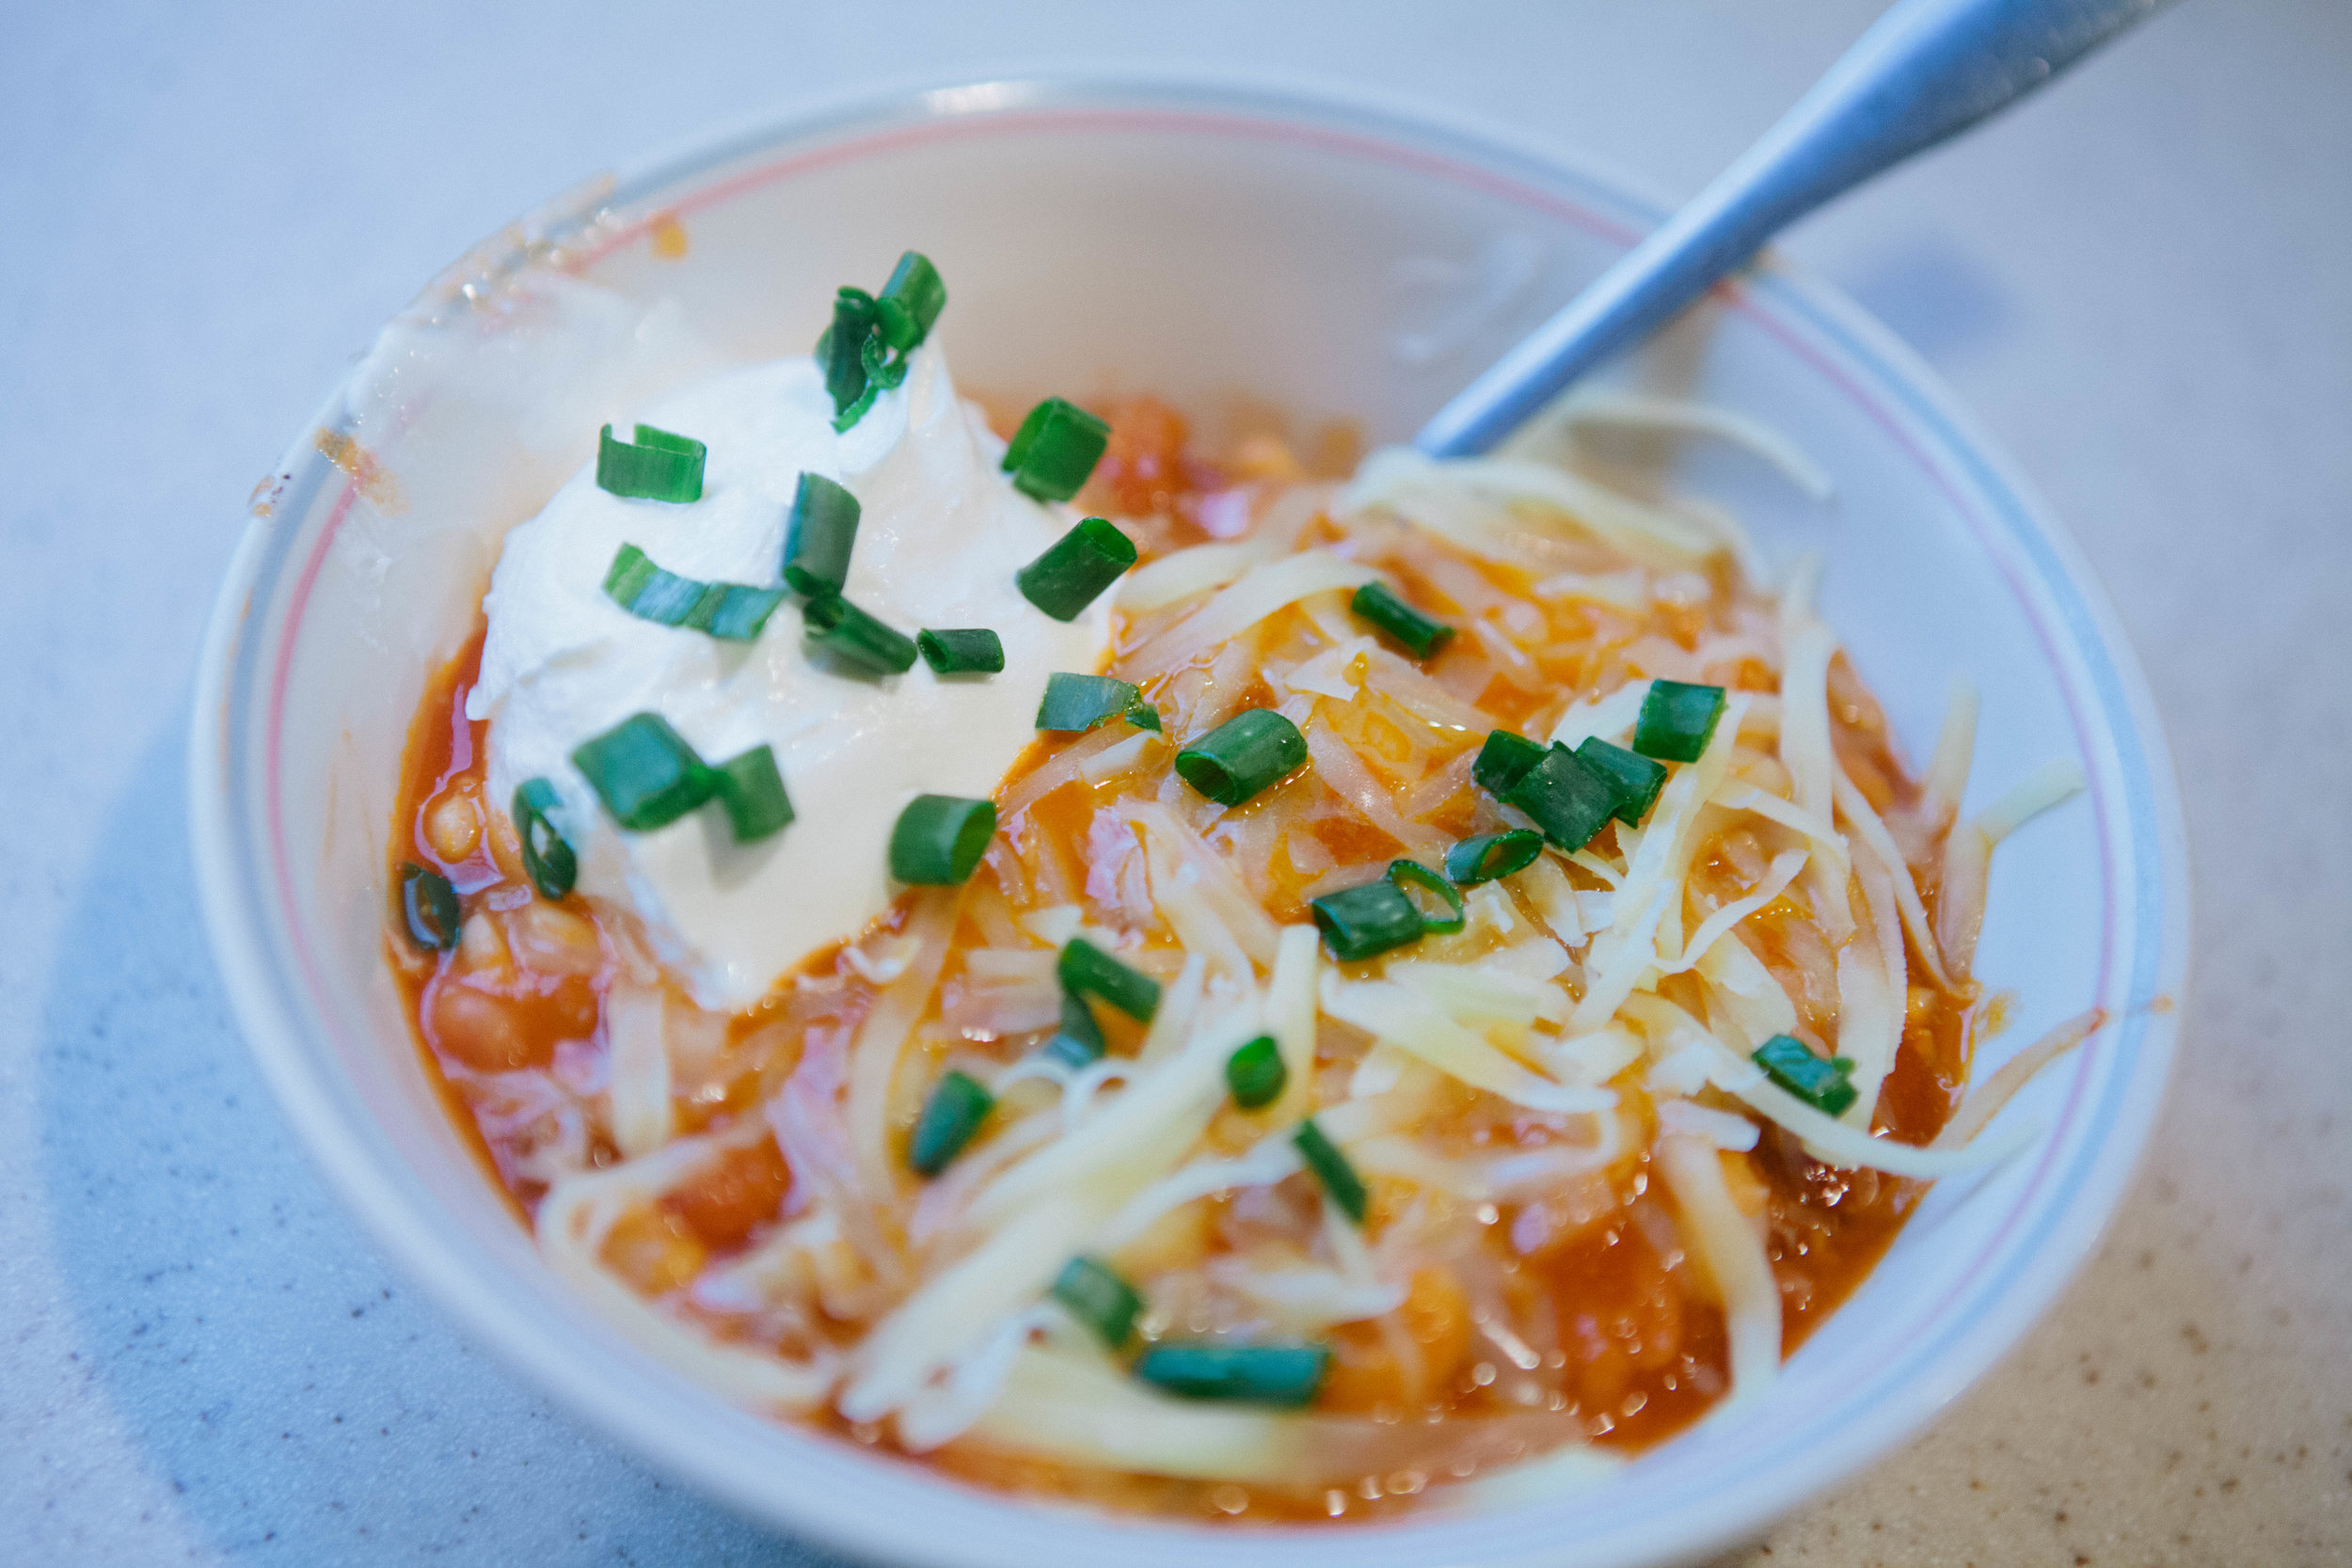
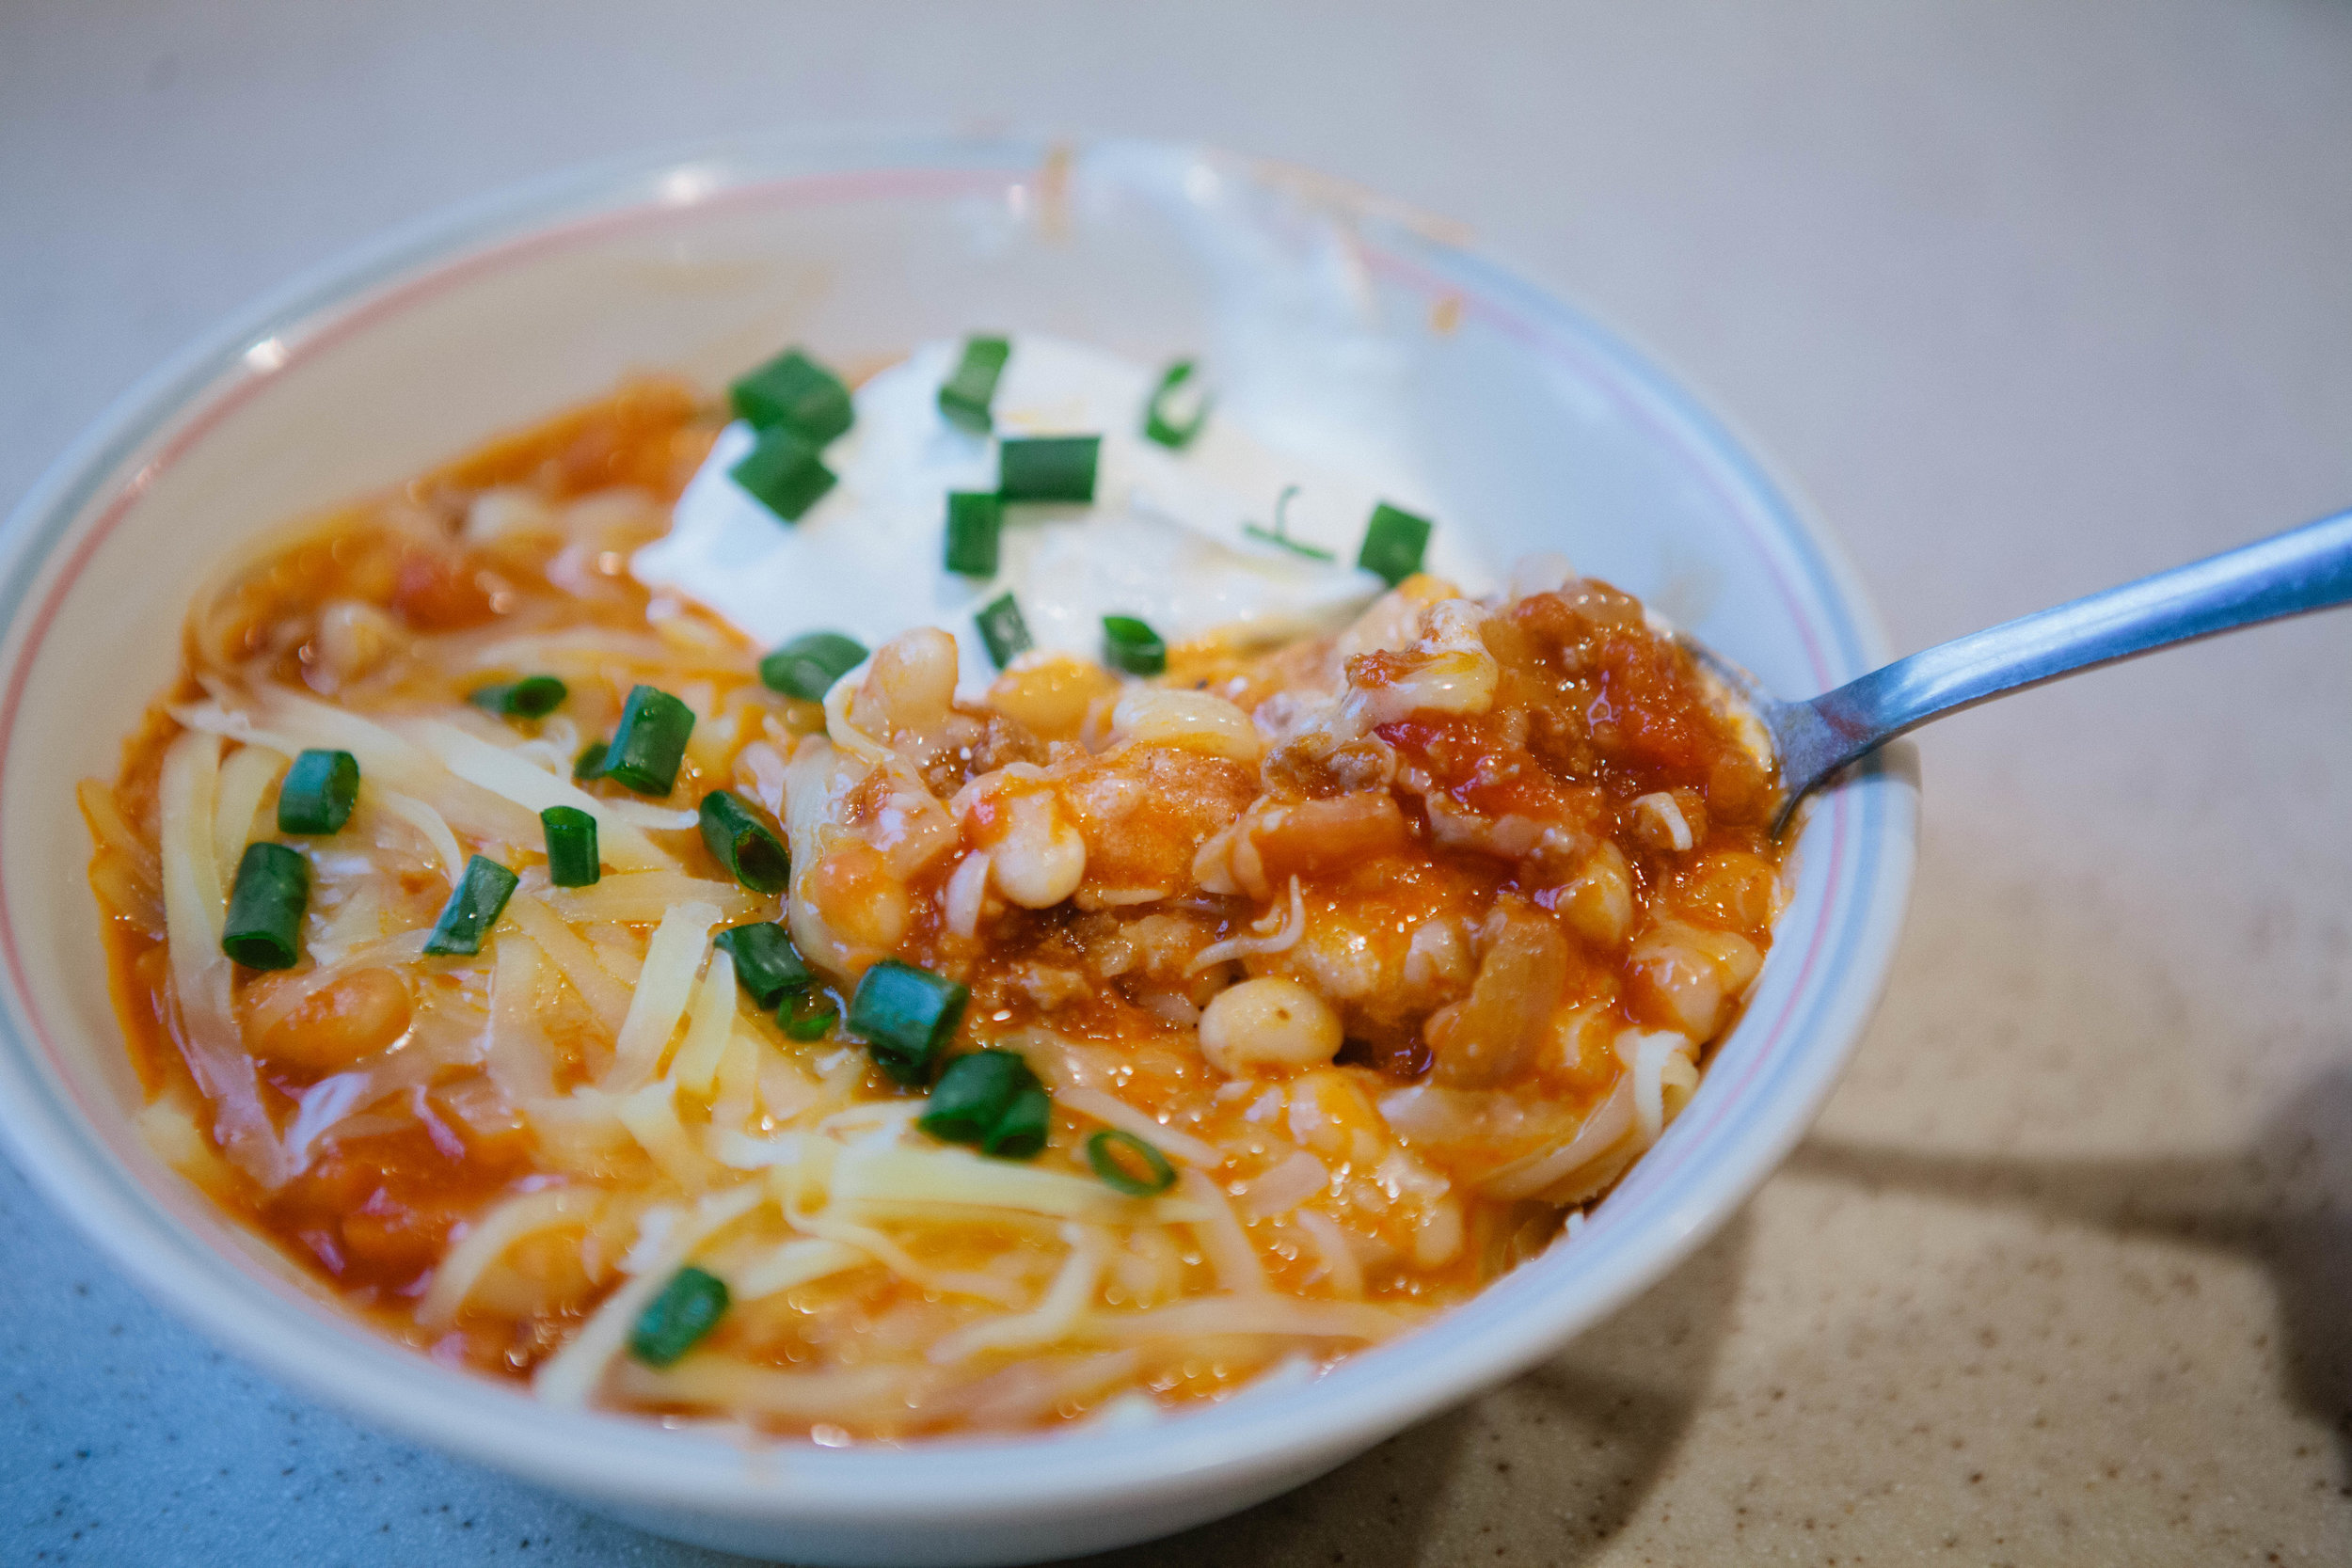
How to Make GAPS Legal Chili with Sprouted Beans. Chili for the GAPS Diet makes a large batch, making it ideal for meal prepping. See more ideas for how to meal prep on the GAPS Diet. Recipes by Amy Mihaly, Certified GAPS Practitioner in Colorado.

GAPS Legal Chili

I was excited to make this chili as I hadn’t had it for years! This homemade chili was well worth the effort because of how delicious it was - and how many meals it made!

Gluten Free, Dairy Free, Egg Free

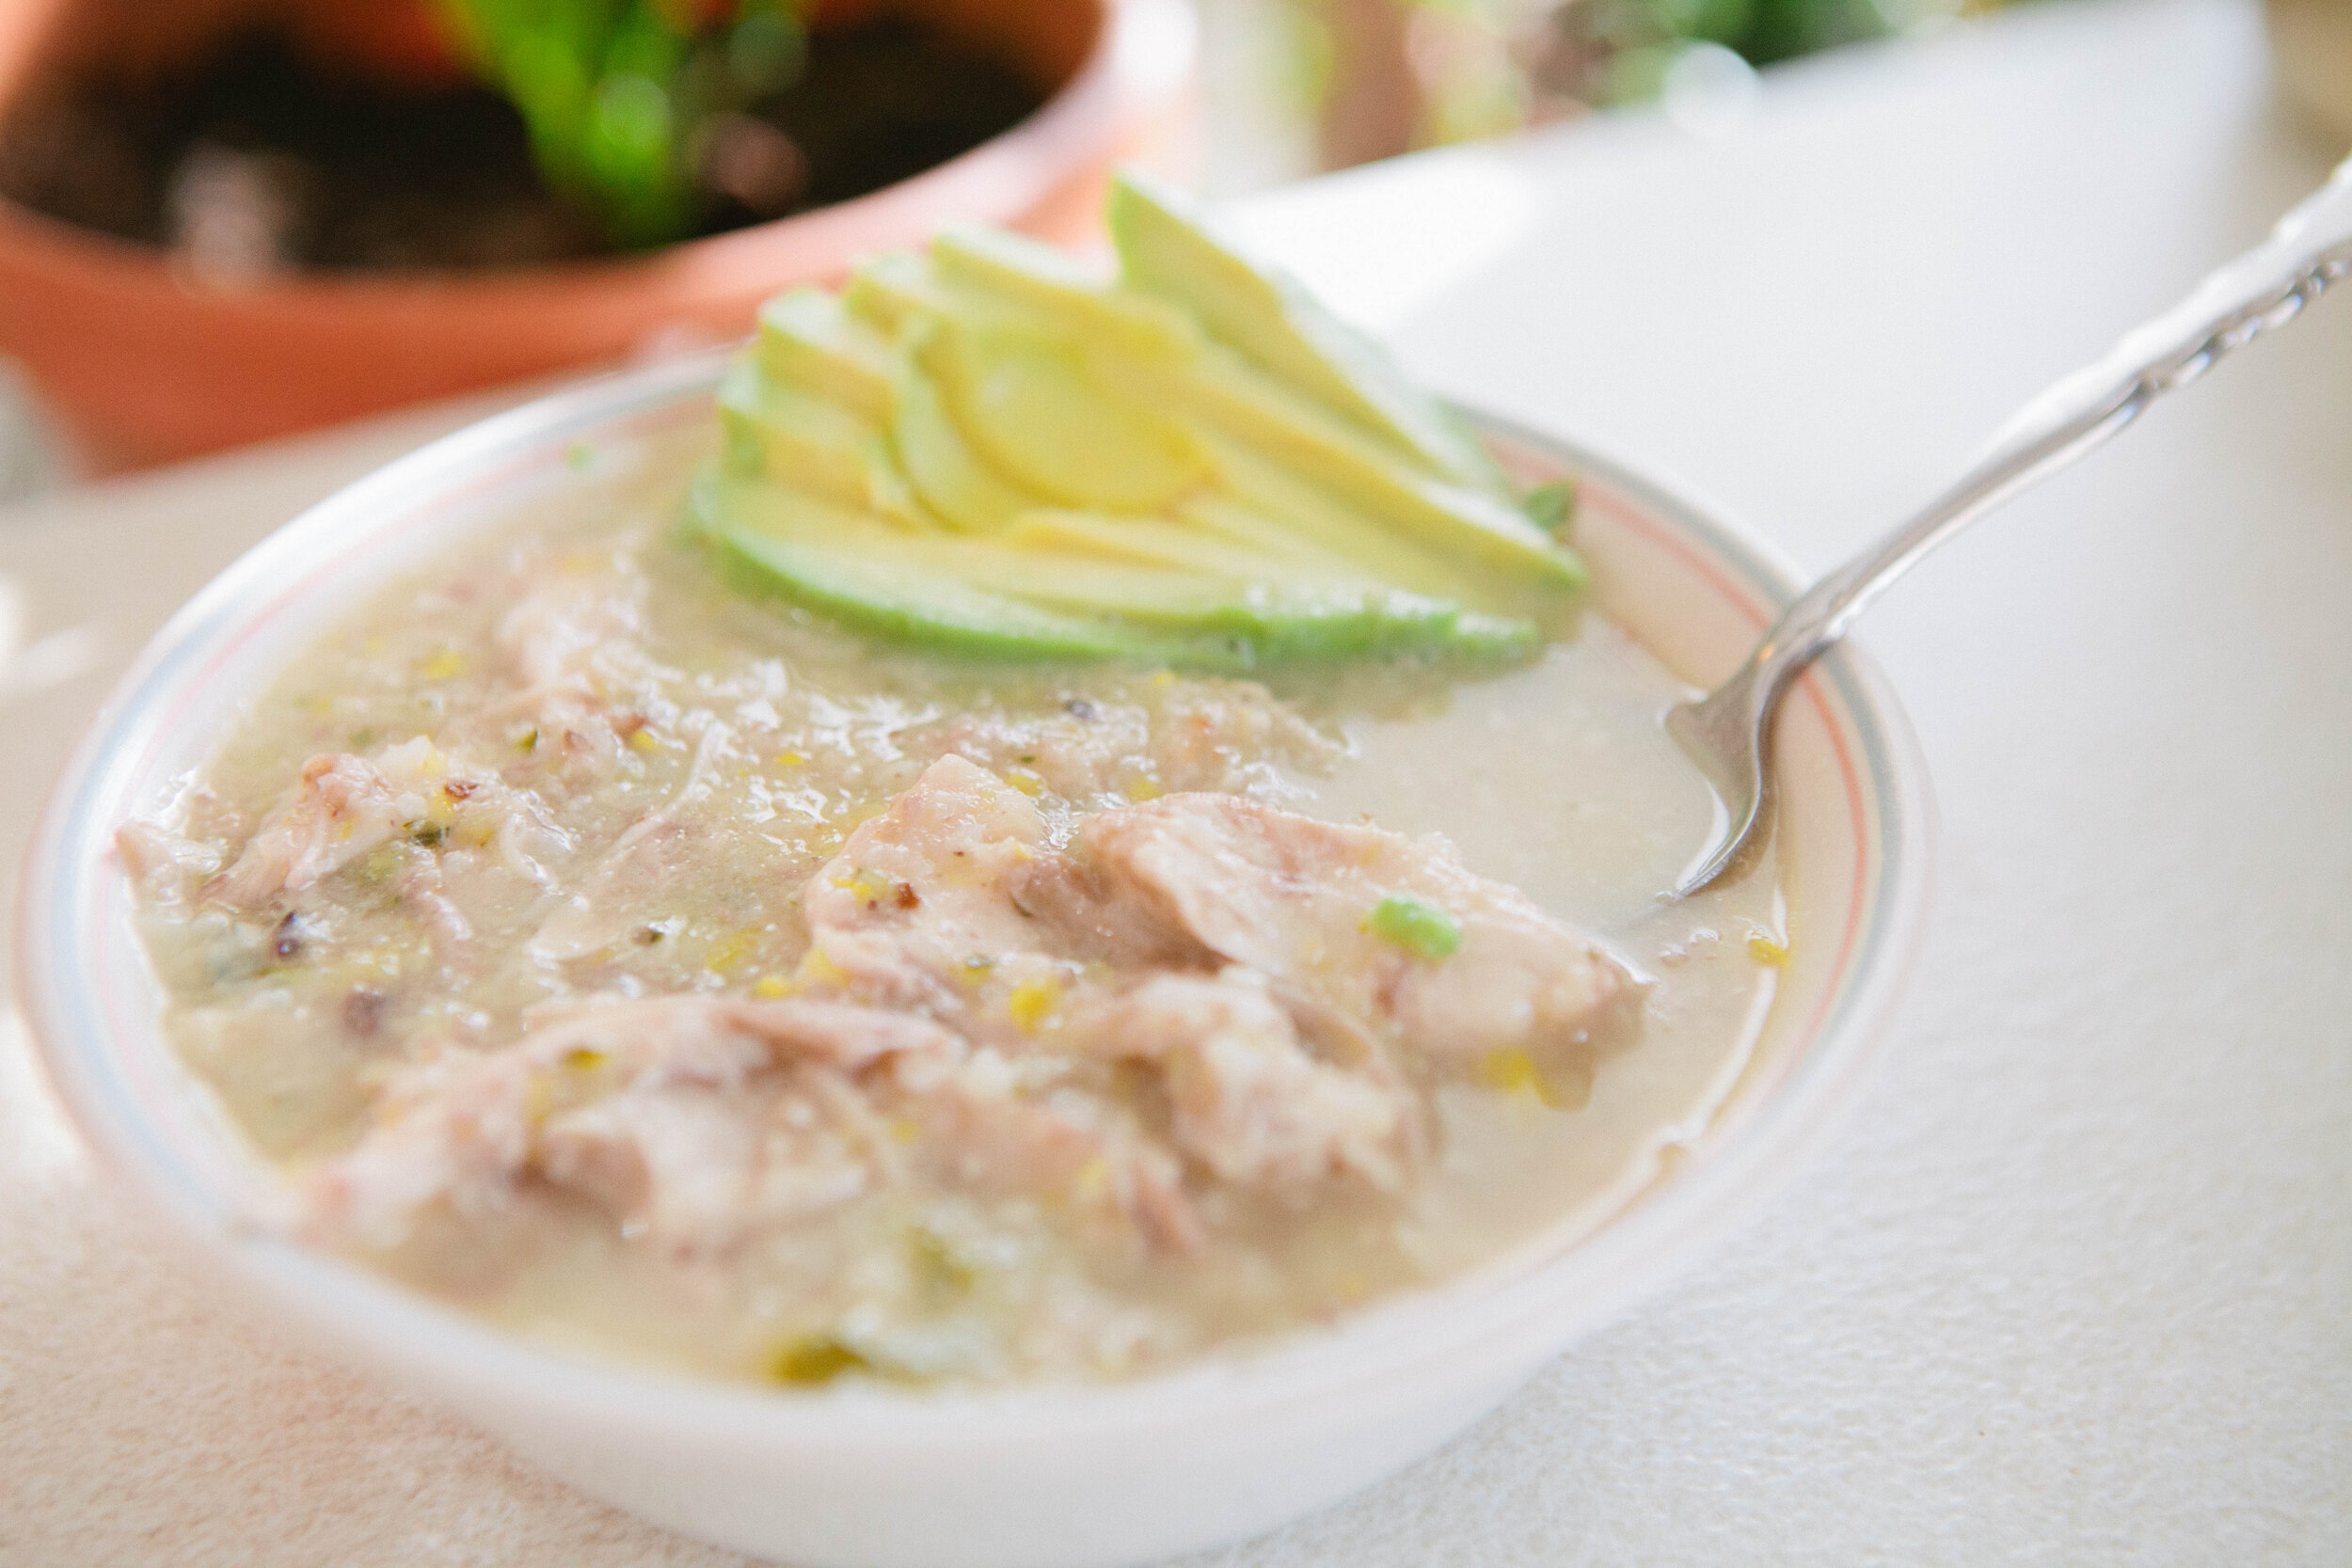
If you’re looking for a meal that makes large portions and is GAPS Legal, check out this recipe that can feed a crowd! It’s creamy, garlicy and delicious. Creamy Garlic Chicken Soup is great to prepare in advance. See more ideas for how to meal prep…

Creamy Garlic Chicken Soup

This is one of my favorite soups! It’s warm and creamy and so delicious. This soup is easy to make in large or small batches depending on how many servings you need.

Gluten Free, Dairy Free, Egg Free

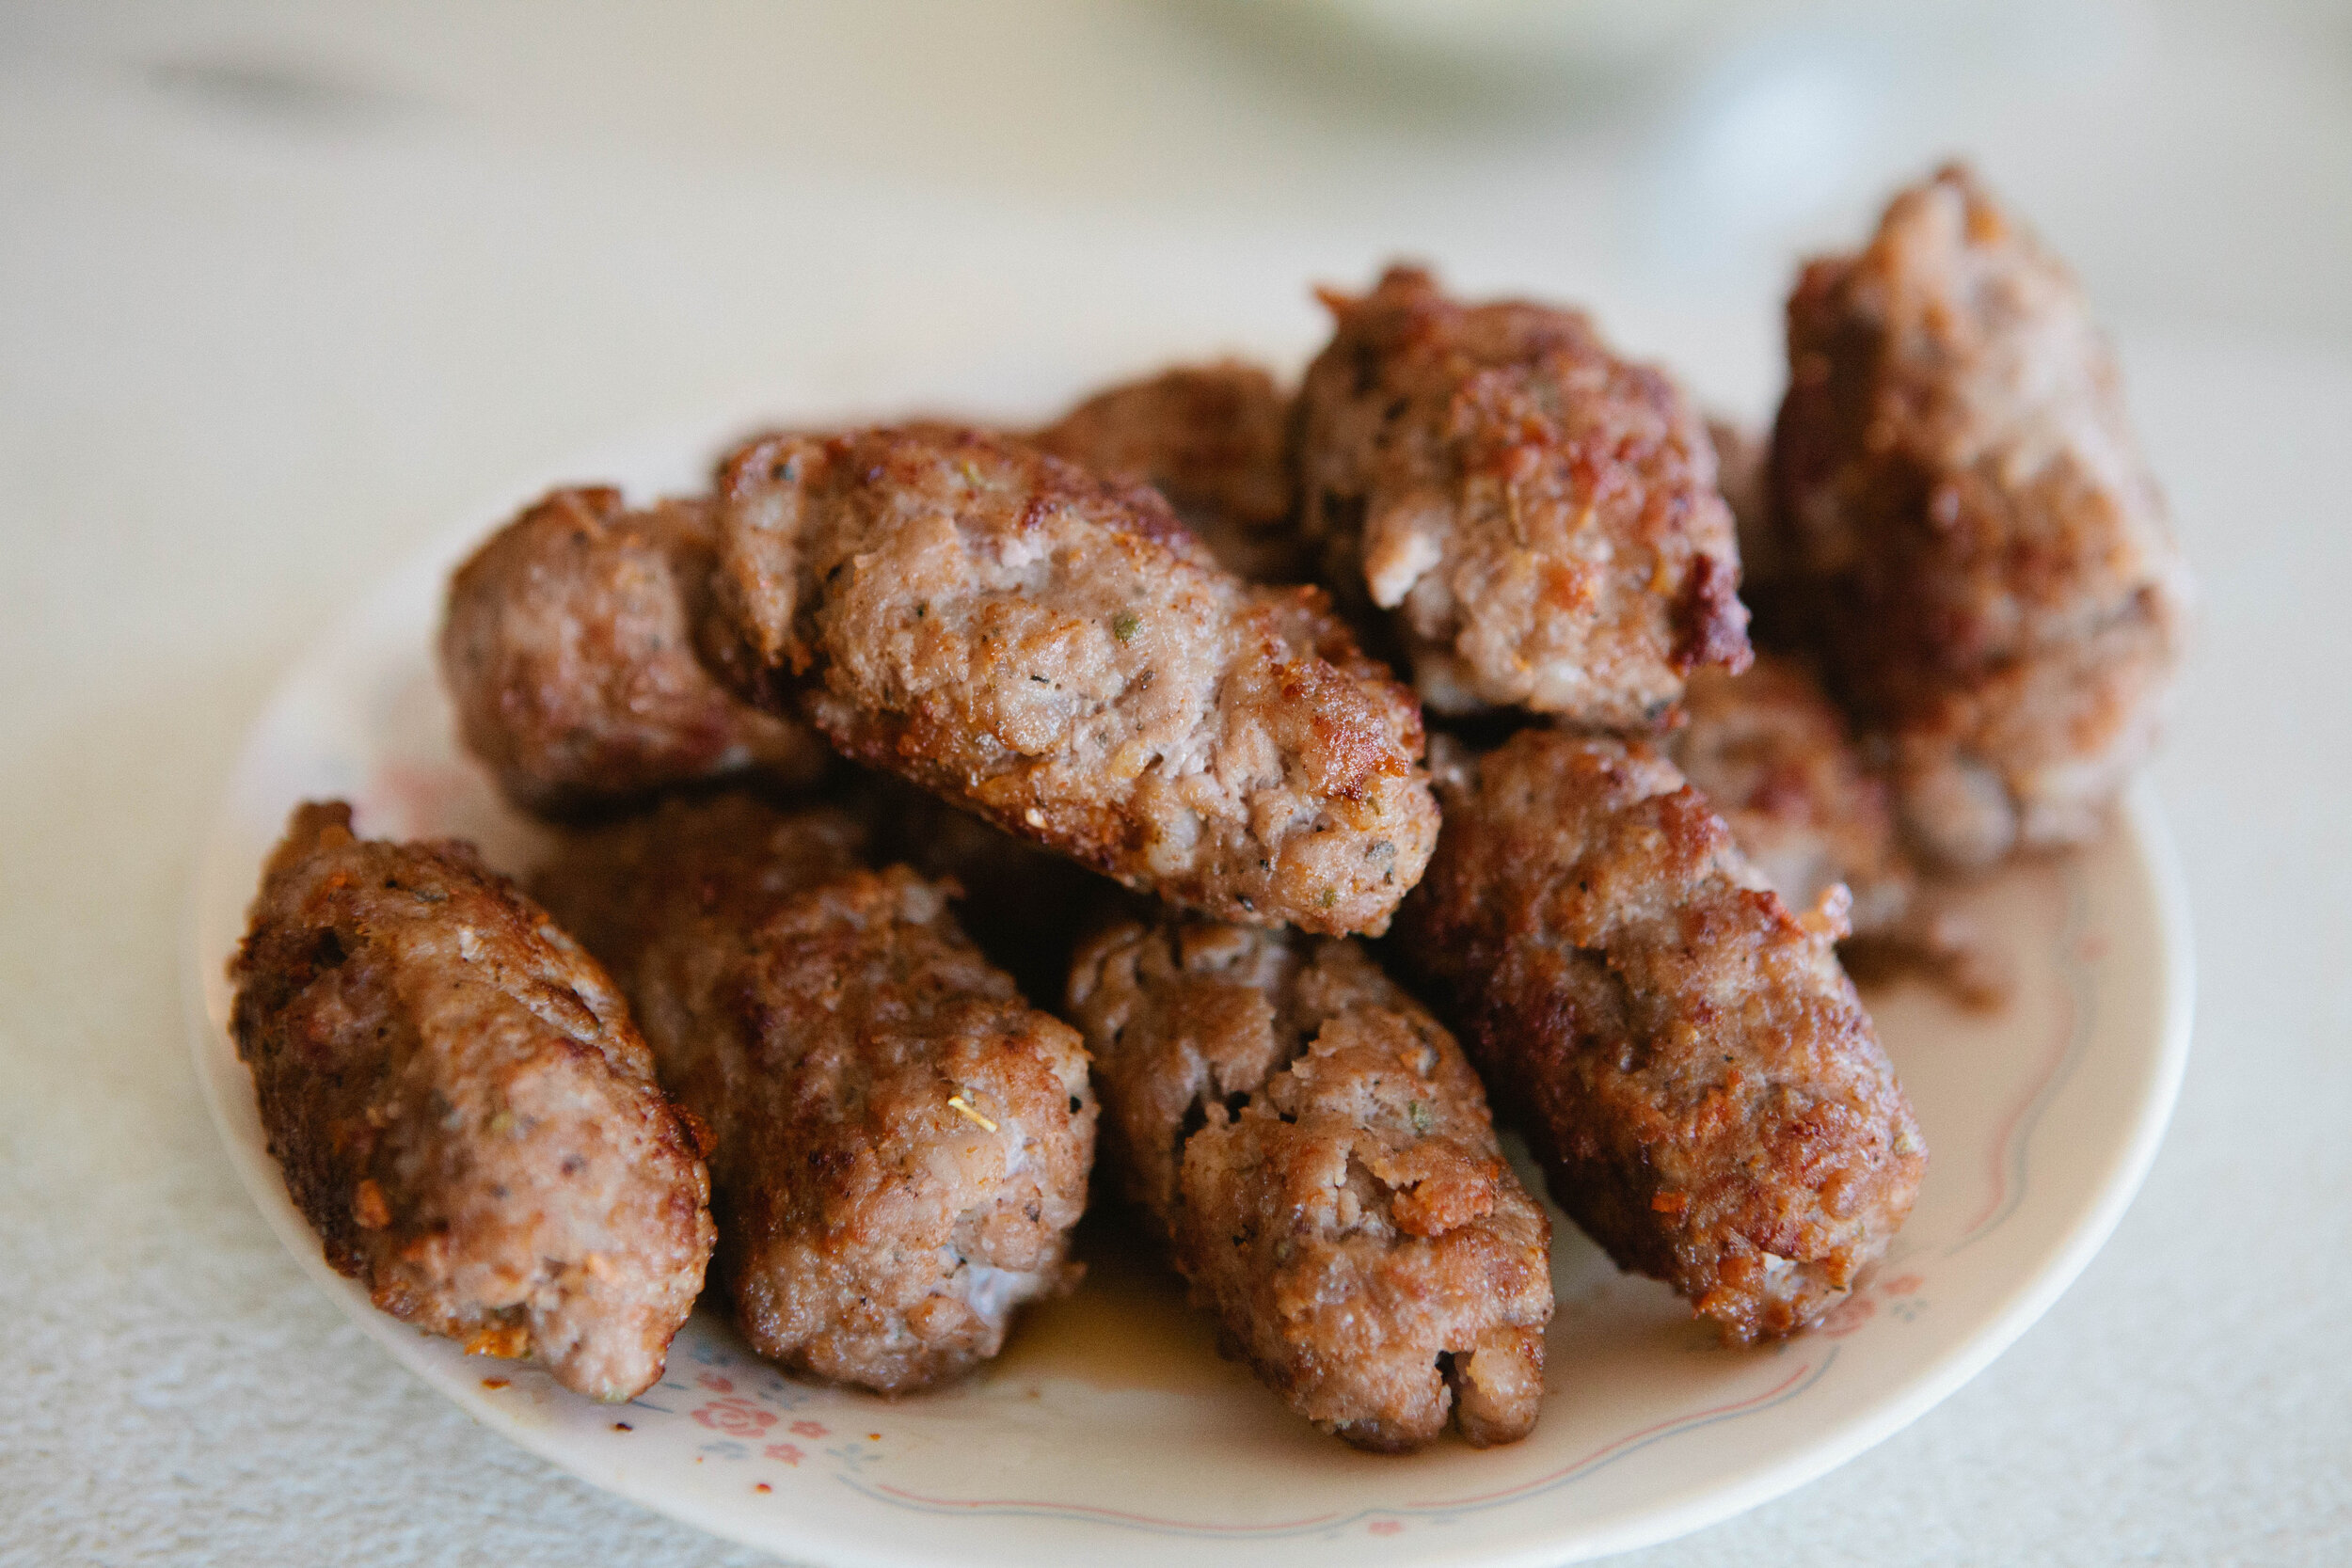
DIY Sausage

I was searching for the perfect sausage recipe. My ideal tasting sausage was Jimmy Dean’s sausage which, of course, contains MSG. 

I needed to find a recipe that would keep me from occasionally caving and eating Jimmy Dean.

Gluten Free, Dairy Free, Egg Free

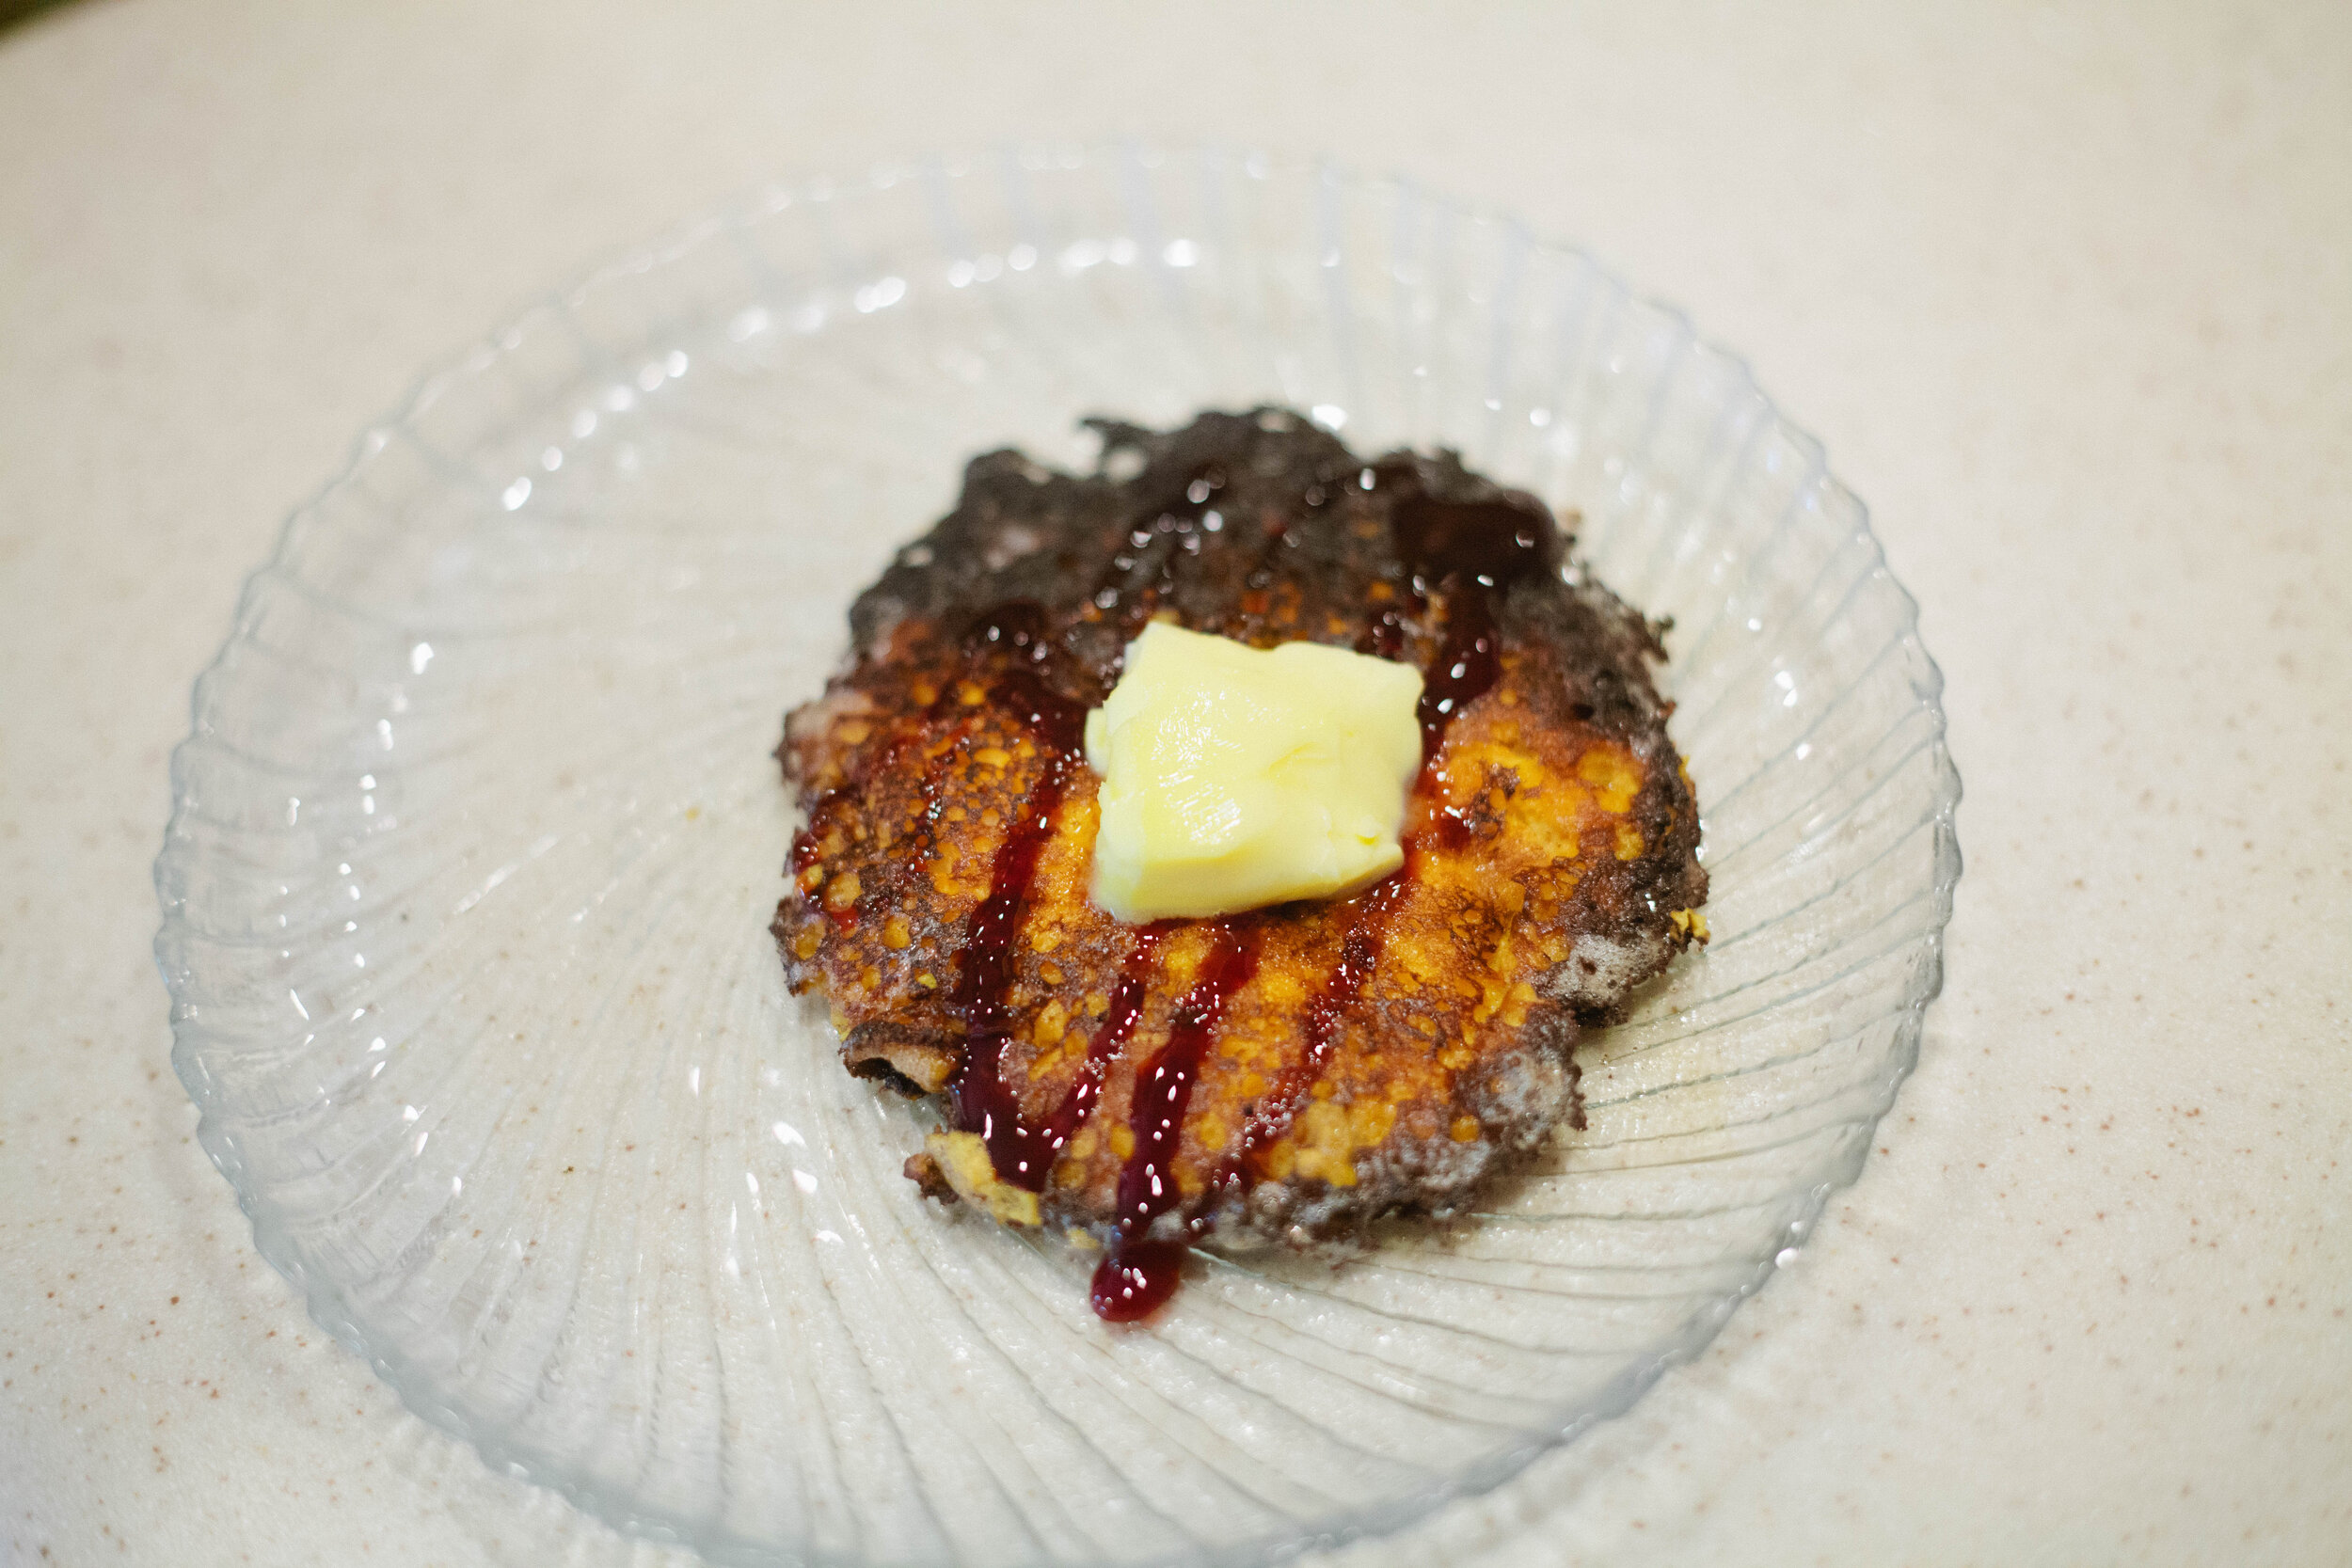
GAPS Legal Pancakes

These pancakes are a basic of the GAPS Diet. They can be made with butternut squash or pumpkin. It’s easy to make a large batch and they freeze well for a quick snack.

Gluten Free, Dairy Free

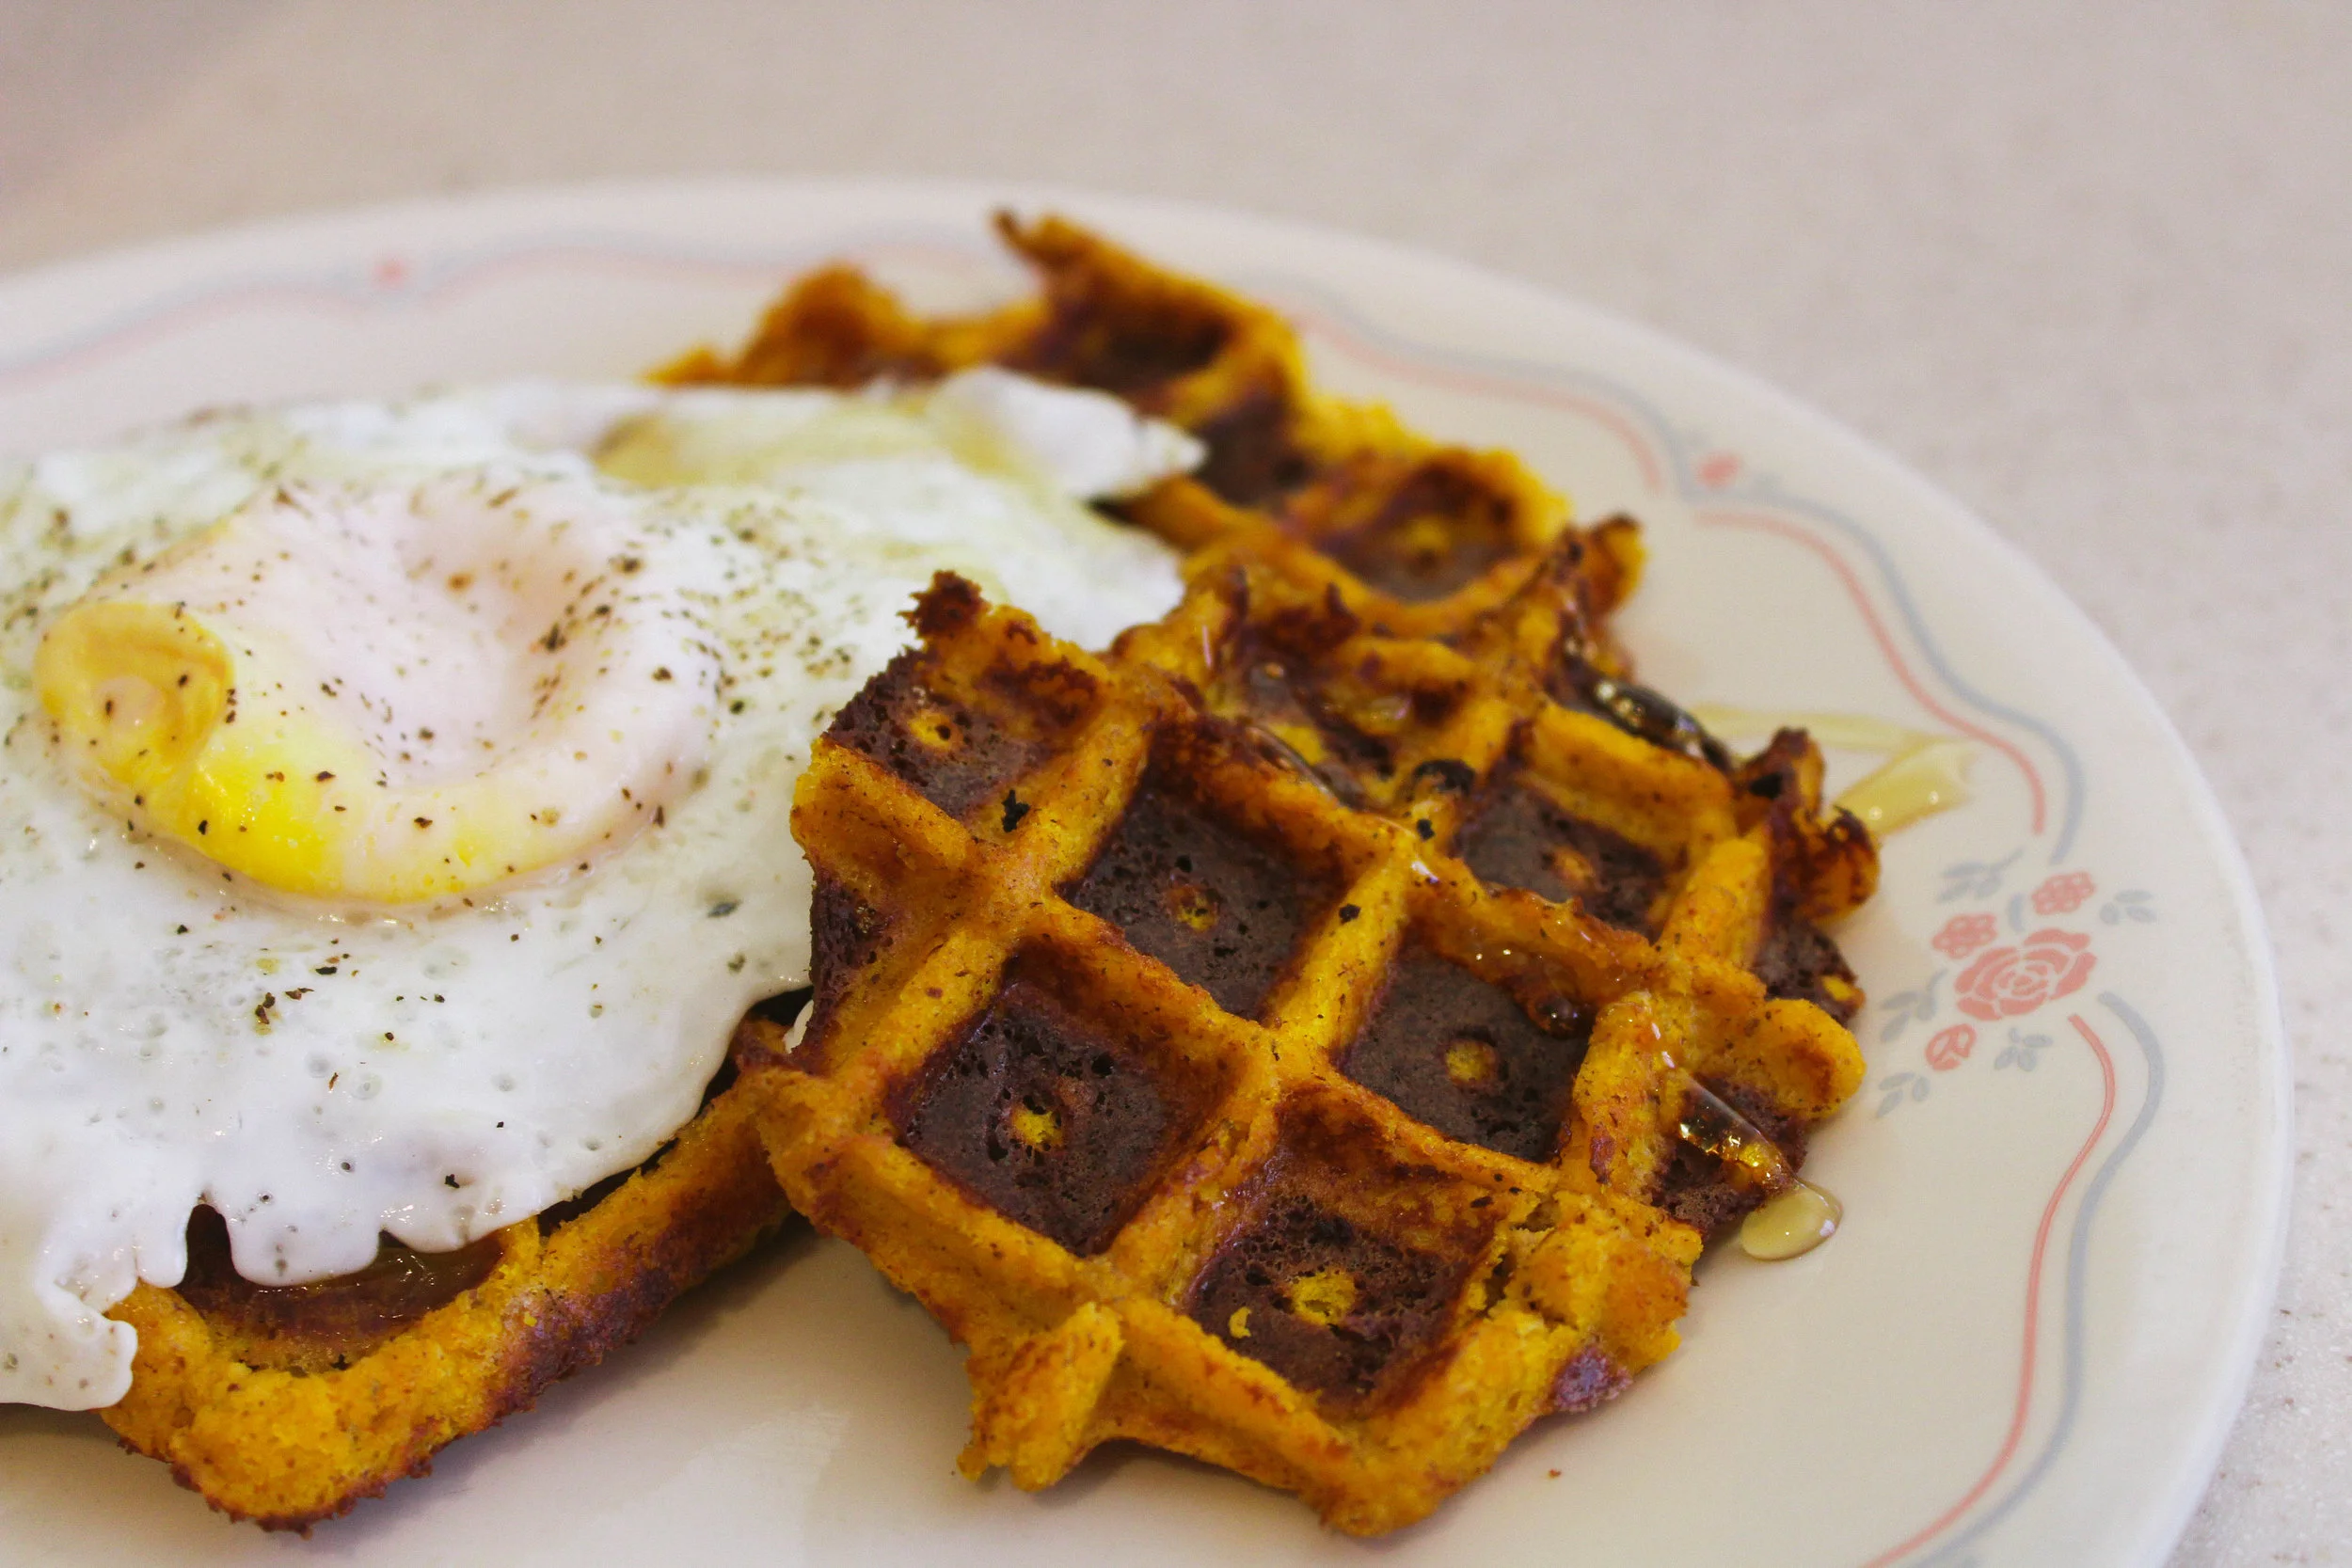
GAPS Legal Waffles

Recently the idea struck me to try to make a GAPS waffle. I had made many GAPS pancakes, so I thought maybe it could be done. And it turns out... it can! These can also be made with butternut squash or pumpkin.

Gluten Free, Dairy Free

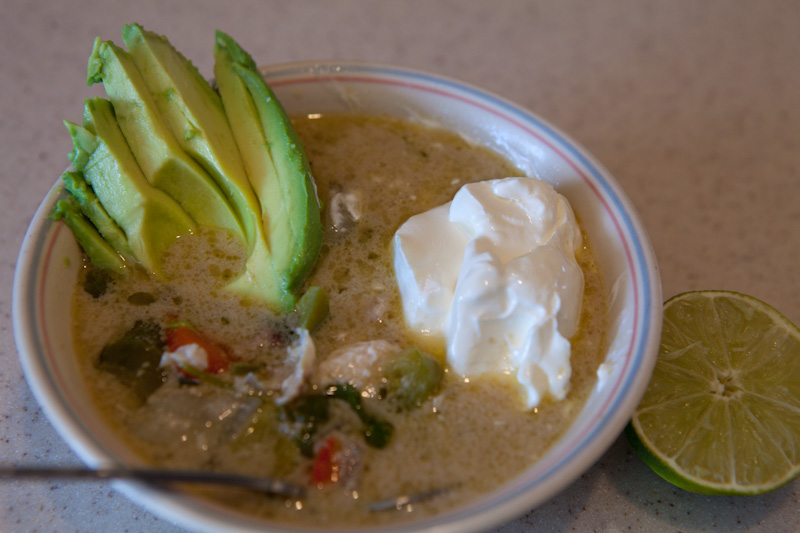
Chicken Tortilla Soup

This Chicken Tortilla Soup recipe is a result of me expanding my horizons in genres of food that I cook and eat! It wasn't too spicy, and it's different than plain meat stock that you typically eat on Stage 1. There were tons of suggestions about different ways to make it, so it's also easy to switch up to match your tastes.

Gluten Free, Dairy Free, Egg Free

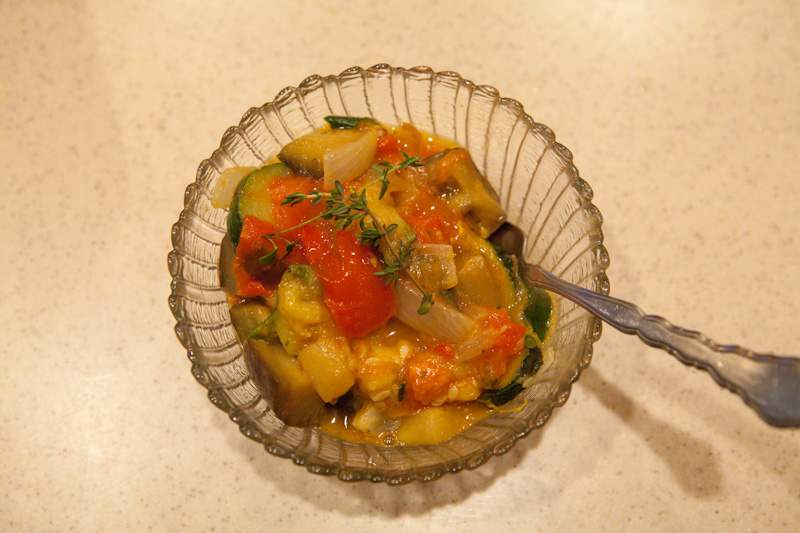
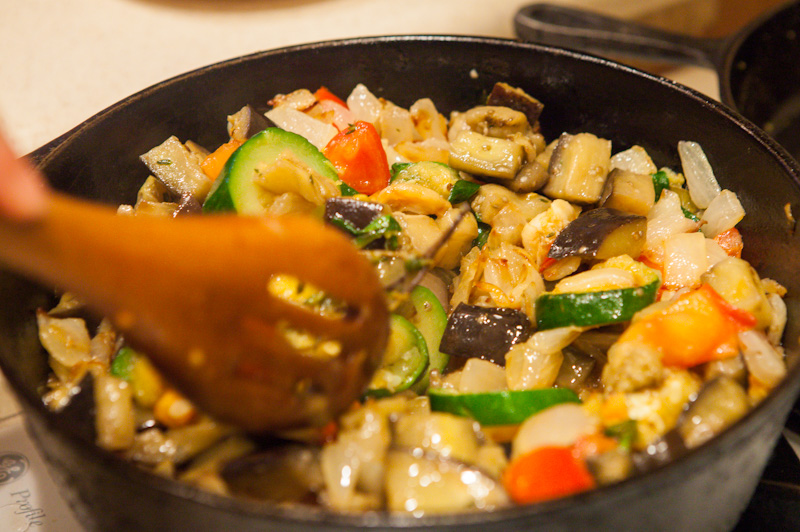
Ratatouille

This recipe is a warm and filling side, and can even function as a meal on days your body is wanting very little meat. The lard creates a stoutness to this recipe that fills you up without making it feel like a heavy meal. I have found this recipe to be a wonderful support food when I am stressed, cold or tired and need a little more in the way of carbohydrates and fat.

Gluten Free, Dairy Free, Egg Free

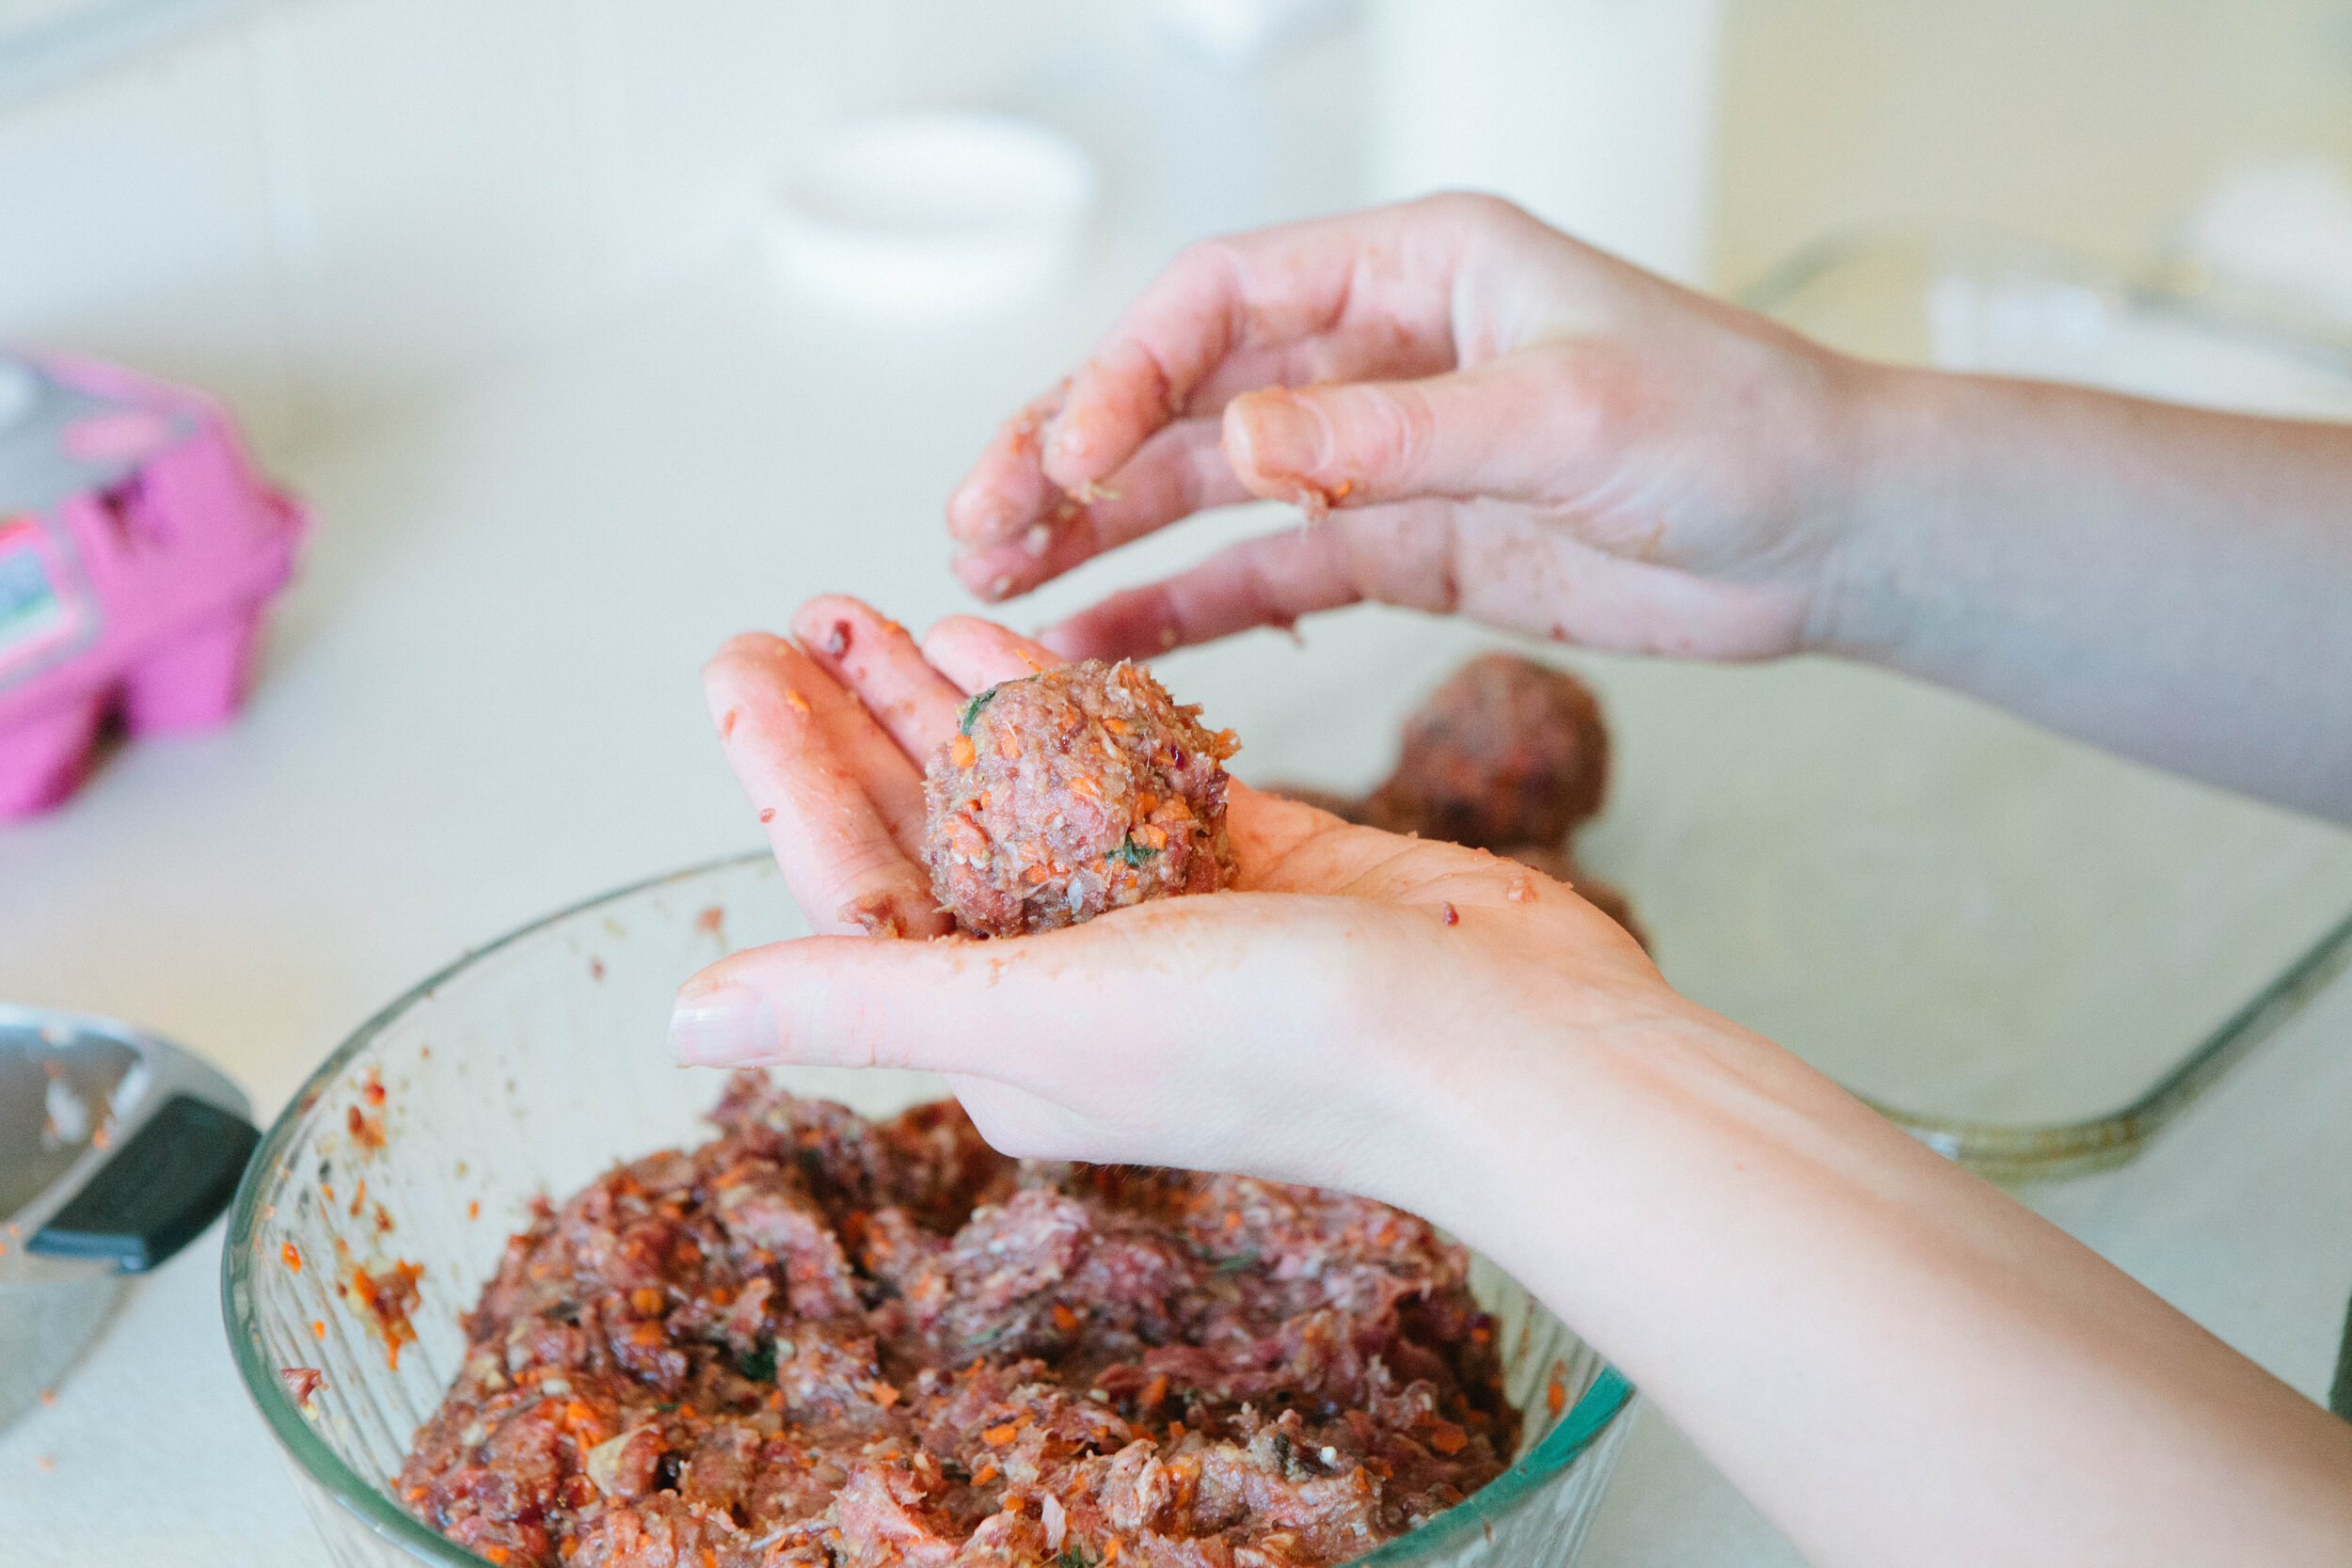
Liver Meatballs

Liver is an amazing superfood! This is a recipe that I recommend to a lot of moms! It’s a great way to help your kids eat a little bit of liver every day, which is the best way to eat liver. This recipe makes a lot of meatballs so you can freeze them and take out a few at a time to have for lunch or dinner.

Gluten Free, Dairy Free, Egg Free

Lamb Meatballs

Meatballs are a simple way to add variety to your diet. They can also be a great way to get your kids to eat vegetables! Add finely chopped onions, zucchini, peppers, etc. in to your meatballs to add vegetables.

I’m making these meatballs with lamb burger but you can do it with any kind of burger.

Gluten Free, Dairy Free, Egg Free

Egyptian Lentil Soup

This delicious soup is legal on Full GAPS, and has been a hit with every single one of the many people I have served it too. This is not a leftover that gets forgotten in the fridge... it has disappeared much sooner than you want it to be gone!

Gluten Free, Dairy Free, Egg Free

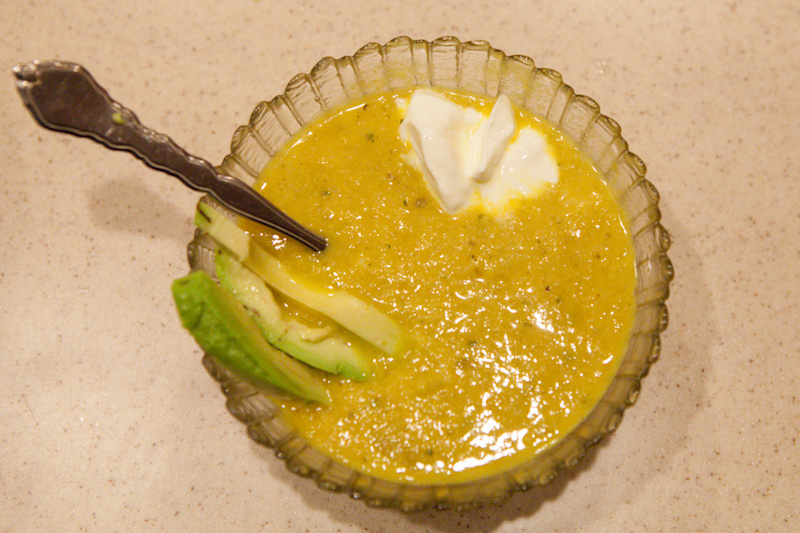
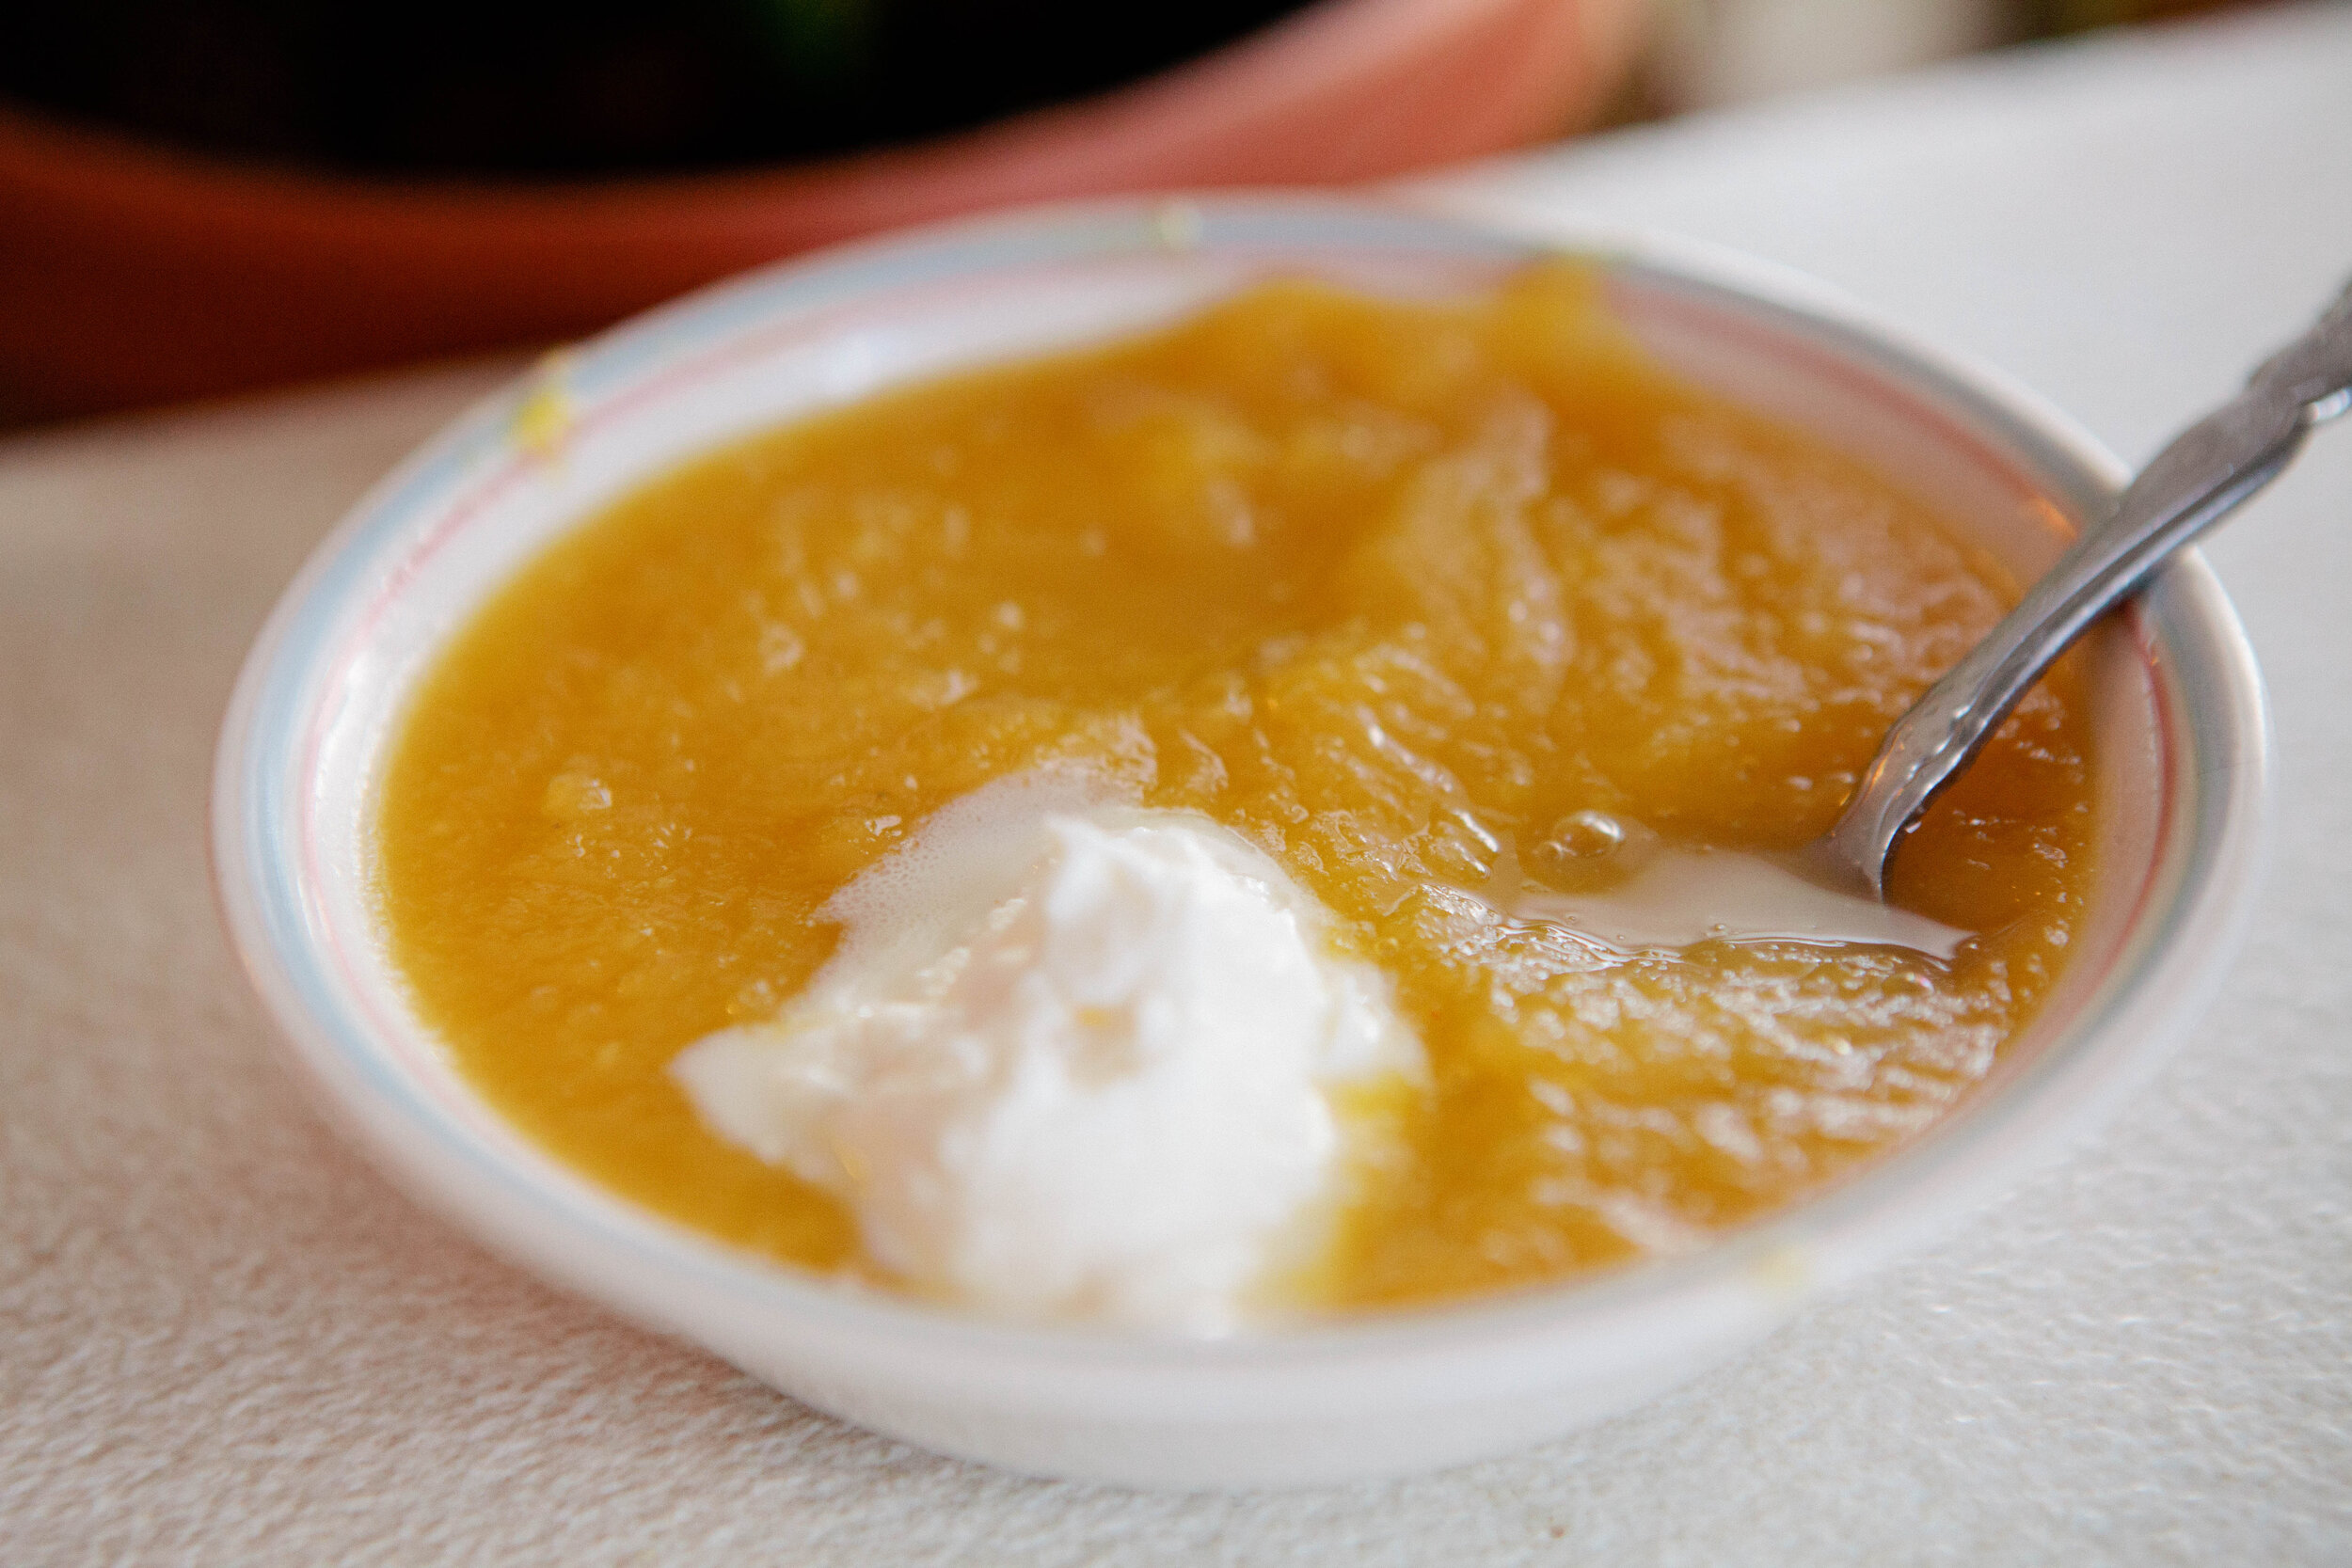
Pumpkin puree soup is GAPS Legal and very warm and filling. It freezes well so it’s great to meal prep with. See more ideas for how to meal prep on the GAPS Diet. Recipes by Amy Mihaly, Certified GAPS Practitioner in Colorado.

Pumpkin Soup

Once you have the puree for this pumpkin soup recipe, you can also use it to make a pumpkin pie or use it to make GAPS Pancakes.

I usually eat a small bowl of pureed soup alongside a much larger bowl of another soup. It’s a great way to have a multi course meal on the GAPS Intro Diet. 

Gluten Free, Dairy Free, Egg Free

GAPS Legal Pumpkin Soup

Pumpkin is a winter squash but it contains less sugar than most winter squashes, making it ideal for the GAPS Introduction Diet. Pumpkins are also very easily grown so if you’re a beginner gardener looking for an easy first crop or if you only have a small amount of growing space available. 

While other winter squashes like butternut squash can be tolerated by people on the GAPS Introduction Diet, it’s best to do pumpkin because it’s milder and with less sugar.

Pumpkin puree is very easy to freeze in individual portions. You can also sprout the pumpkin seeds. Both mean you can enjoy your own homegrown produce throughout the winter! Once you have the puree for this pumpkin soup recipe, you can also use it to make a pumpkin pie or use it to make GAPS Pancakes.

I usually eat a small bowl of pureed soup alongside a much larger bowl of another soup. It’s a great way to have a multi course meal on the GAPS Intro Diet. 

Ingredients for Pumpkin Soup:

  • 2-3 Small Pumpkins

  • 4 cups of Chicken Stock

  • ¼ of a White Onion

  • 1 inch of Fresh Ginger

  • 1 tsp Salt

  • 2 Bay Leaves

  • 1 Cinnamon Stick

Directions for Pumpkin Soup:

Pumpkins are great for your digestive system! This pumpkin soup is made with a few simple ingredients and is legal on the GAPS Diet. Find the pumpkin soup recipe and other GAPS recipes at bewellclinic.net. Recipe by Amy Mihaly, Certified GAPS Practi…

Preheat the oven to 400.

Cut each pumpkin in half. Remove the seeds and set aside to make sprouted pumpkin seeds.

Set each pumpkin open face side down on a baking sheet lined with parchment paper. Place the pumpkins in the oven.

Pumpkins are great for your digestive system! This pumpkin soup is made with a few simple ingredients and is legal on the GAPS Diet. Find the pumpkin soup recipe and other GAPS recipes at bewellclinic.net. Recipe by Amy Mihaly, Certified GAPS Practi…

Roast the pumpkins for about 45 minutes in the oven until the tops are soft.

Remove them from the oven and flip the pumpkins over so they cool faster.

Pumpkins are great for your digestive system! This pumpkin soup is made with a few simple ingredients and is legal on the GAPS Diet. Find the pumpkin soup recipe and other GAPS recipes at bewellclinic.net. Recipe by Amy Mihaly, Certified GAPS Practi…

Using a fork, carefully remove the pumpkin flesh from the skin and add to a bowl. If it’s not well cooked, it won’t remove from the skin easily.

Warm chicken stock on the stove.

Pumpkins are great for your digestive system! This pumpkin soup is made with a few simple ingredients and is legal on the GAPS Diet. Find the pumpkin soup recipe and other GAPS recipes at bewellclinic.net. Recipe by Amy Mihaly, Certified GAPS Practi…

Add 3 cups of pumpkin to the warmed stock. Immersion blend until well pureed. Pureeing the pumpkin on it’s own will allow the flavors of the other ingredients to meld better.

Pumpkins are great for your digestive system! This pumpkin soup is made with a few simple ingredients and is legal on the GAPS Diet. Find the pumpkin soup recipe and other GAPS recipes at bewellclinic.net. Recipe by Amy Mihaly, Certified GAPS Practi…

Chop onions into bite size pieces so they cook quickly. Add to the pureed mixture. 

Slice ginger and add to the pureed mixture. Add the salt and mix well.

Add bay leaves and cinnamon stick. Simmer for 20 minutes. Be sure to stir as the pumpkin and liquid will separate and the pumpkin will stick to the bottom of the pan. 

Pumpkins are great for your digestive system! This pumpkin soup is made with a few simple ingredients and is legal on the GAPS Diet. Find the pumpkin soup recipe and other GAPS recipes at bewellclinic.net. Recipe by Amy Mihaly, Certified GAPS Practi…

Remove the bay leaves and cinnamon stick from the mixture. Immersion blend everything again.

Enjoy! I topped mine with a dollop of creme fraiche but this is optional. Leave it off if you are not tolerating dairy.

Pumpkins are great for your digestive system! This pumpkin soup is made with a few simple ingredients and is legal on the GAPS Diet. Find the pumpkin soup recipe and other GAPS recipes at bewellclinic.net. Recipe by Amy Mihaly, Certified GAPS Practi…

Pumpkins are great for your digestive system! This pumpkin soup is made with a few simple ingredients and is legal on the GAPS Diet. Find the pumpkin soup recipe and other GAPS recipes at bewellclinic.net. Recipe by Amy Mihaly, Certified GAPS Practi…

GAPS Legal Pumpkin Soup

Author:
prep time: cook time: total time:

ingredients:

  • 2-3 Small Pumpkins
  • 4 cups of Chicken Stock
  • ¼ of a White Onion
  • 1 inch of Fresh Ginger
  • 1 tsp Salt
  • 2 Bay Leaves
  • 1 Cinnamon Stick

instructions:

How to cook GAPS Legal Pumpkin Soup

  1. Preheat the oven to 400.
  2. Cut each pumpkin in half. Remove the seeds and set aside to make sprouted pumpkin seeds.
  3. Set each pumpkin open face side down on a baking sheet lined with parchment paper. Place the pumpkins in the oven.
  4. Roast the pumpkins for about 45 minutes in the oven until the tops are soft.
  5. Remove them from the oven and flip the pumpkins over so they cool faster.
  6. Using a fork, carefully remove the pumpkin flesh from the skin and add to a bowl. If it’s not well cooked, it won’t remove from the skin easily.
  7. Warm chicken stock on the stove.
  8. Add 3 cups of pumpkin to the warmed stock. Immersion blend until well pureed. Pureeing the pumpkin on it’s own will allow the flavors of the other ingredients to meld better.
  9. Chop onions into bite size pieces so they cook quickly. Add to the pureed mixture.
  10. Slice ginger and add to the pureed mixture. Add the salt and mix well.
  11. Add bay leaves and cinnamon stick. Simmer for 20 minutes. Be sure to stir as the pumpkin and liquid will separate and the pumpkin will stick to the bottom of the pan.
  12. Remove the bay leaves and cinnamon stick from the mixture. Immersion blend everything again.
  13. Enjoy! I topped mine with a dollop of creme fraiche but this is optional. Leave it off if you are not tolerating dairy.
Created using The Recipes Generator

Roasted Fermented Pumpkin Seeds

Pumpkin seeds are like any seed (or bean or nut.) They should be properly prepared before consuming to neutralize the acid and make them easier to digest. Sprouting your seeds is essentially germinating. Germination changes the chemical structure of the seeds, chemically changing it from a closed off protector of the treasure inside to an open seed ready to bring nutrition.  It’s best to sprout or otherwise properly prepare your seeds to allow more nutrition to be bioavailable to you.

Pumpkin seeds also have an especially helpful quality in that they help rid your body of parasites by attacking the parasites and intestinal worms. If you suspect you have parasites or worms, consuming pumpkin seeds is a good idea. However, be sure to take it slow and don’t overdo it.

Ingredients for Fermented Pumpkin Seeds:

  • 3 small pumpkins

  • ½ tsp Real Salt

  • Water

Directions for Fermented Pumpkin Seeds:

Fermented pumpkin seeds can help your digestion by getting rid of parasites in your gut. Improve your gut health with this GAPS Diet legal recipe for fermented pumpkin seeds. Recipe by Amy Mihaly, Certified GAPS Practitioner in Colorado.

Cut the pumpkins in half.

Fermented pumpkin seeds can help your digestion by getting rid of parasites in your gut. Improve your gut health with this GAPS Diet legal recipe for fermented pumpkin seeds. Recipe by Amy Mihaly, Certified GAPS Practitioner in Colorado.

Remove the seeds from the inside and separate from the pumpkin flesh.

Fermented pumpkin seeds can help your digestion by getting rid of parasites in your gut. Improve your gut health with this GAPS Diet legal recipe for fermented pumpkin seeds. Recipe by Amy Mihaly, Certified GAPS Practitioner in Colorado.

Rinse the pumpkin seeds.

Fermented pumpkin seeds can help your digestion by getting rid of parasites in your gut. Improve your gut health with this GAPS Diet legal recipe for fermented pumpkin seeds. Recipe by Amy Mihaly, Certified GAPS Practitioner in Colorado.

Add the pumpkin seeds to a jar.

Cover the seeds with water, add salt and shake. Place in a sunny location and leave to soak overnight. As long as the jar is closed tightly, these can be put up next to other ferments.

Drain and rinse in the morning. Fill with new water.

Repeat draining, rinsing and adding new water until tiny sprouts have formed.

Rinse one final time. Season with salt and roast in the oven at 250 for several hours until cooked.


Roasted Fermented Pumpkin Seeds

Author:
prep time: cook time: total time:

ingredients:

  • 3 small pumpkins
  • ½ tsp Real Salt
  • Water

instructions:

How to cook Roasted Fermented Pumpkin Seeds

  1. Cut the pumpkins in half.
  2. Remove the seeds from the inside and separate from the pumpkin flesh.
  3. Rinse the pumpkin seeds.
  4. Add the pumpkin seeds to a jar.
  5. Cover the seeds with water, add salt and shake. Place in a sunny location and leave to soak overnight. As long as the jar is closed tightly, these can be put up next to other ferments.
  6. Drain and rinse in the morning. Fill with new water.
  7. Repeat draining, rinsing and adding new water until tiny sprouts have formed.
  8. Rinse one final time. Season with salt and roast in the oven at 250 for several hours until cooked.
Created using The Recipes Generator
RoastedFermentedPumpkinSeeds.png