0
items
$0


DIY Almond Flour from Nuts
Any seed wants to be a plant. Seeds include nuts, seeds, beans, and grains. To protect itself, a seed has phytic acid and other enzyme inhibitors and anti-nutrients. These substances attack the body of the animal that ate the seed, preventing the digestion of the seed. This is why we see whole seeds in bird poop.
Manually grinding seeds into flours does nothing to negate these enzyme inhibitors and anti-nutrients. We may not necessarily see whole seeds in our stools but we don’t need to for our bodies to experience the effects of these substances. Inflammation, poor absorption of foods, and leaky gut are some of the effects on our bodies of eating seeds that are not properly prepared. To learn more about properly preparing grains, check out my video.
HOW TO PREPARE GRAINS PROPERLY
When we properly prepare our grains however, we begin the germination process, which changes the seeds chemical structure. It neutralizes the anti-nutrients and enzyme inhibitors, and the seed prepares to bring life. When we eat a seed in this state, it’s nutrients are available to us and it brings life to our bodies.
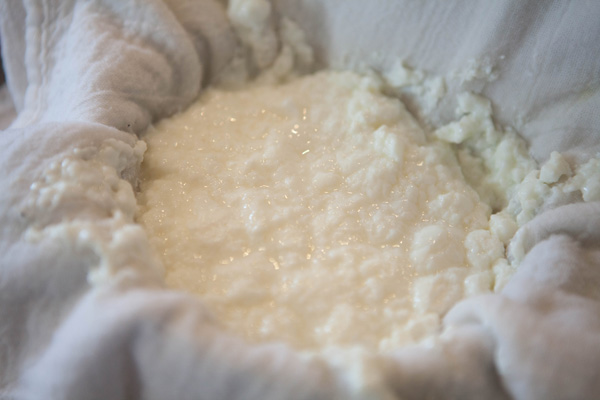
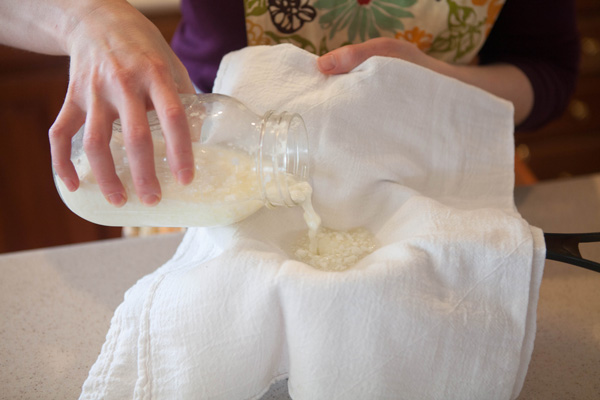
All seeds can be prepared in three ways - soaking, sprouting or fermenting. Fermenting is by far the most simple and the most beneficial. All it requires is whey. These directions are for almond flour but you can use the same concept to any nut, seed, or grain. For specific instructions on how to do this with whole seeds, see my recipe on trail mix.
The other benefit of using fermented almond flour is that it makes a much lighter end product. The fermentation process acts somewhat like a baking soda or powder, increasing the air space as your treat bakes, making it less dense.
This is a great way to make fermented almond flour if your recipe calls for a very specific ratio of wet to dry ingredients. It’s also great for recipes that call for frying, like these onion rings!
You can also make fermented flour with almonds already made into flour. See the recipe here.
Ingredients for Making Almond Flour from Fermented Nuts
3 cups Almonds
½ cup Whey
Filtered Water
Directions for Making Almond Flour from Fermented Nuts
Place your almonds in filtered water with whey. Allow to soak for 24 hours.

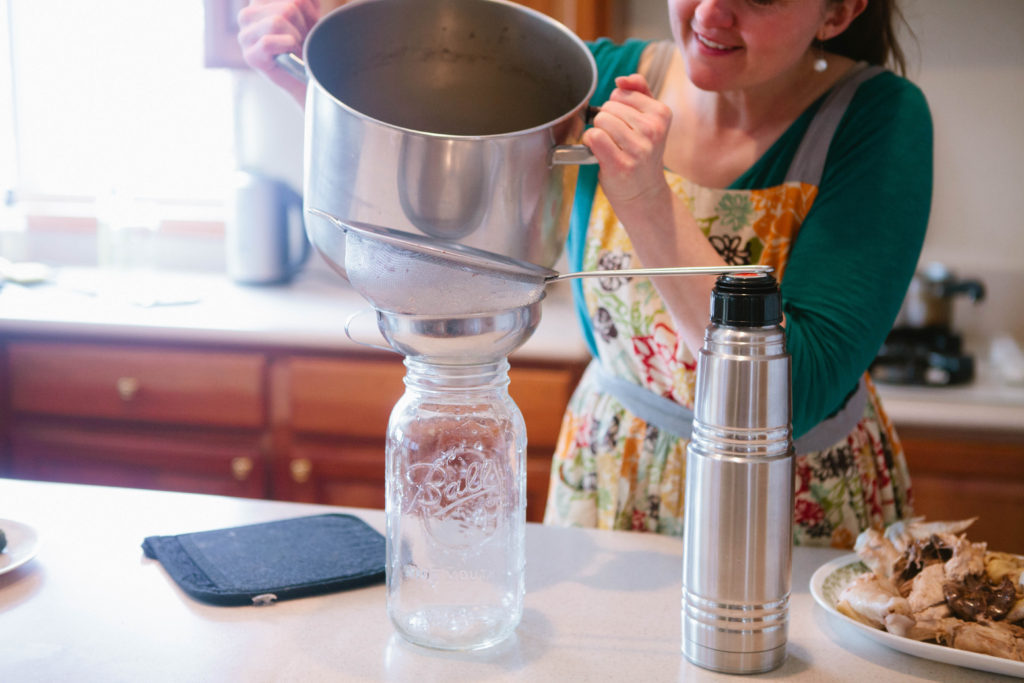
Drain the almonds in a colander and rinse with filtered water.
For the easiest almond flour, peel the almonds by squeezing them between your fingers until the skins pop off.
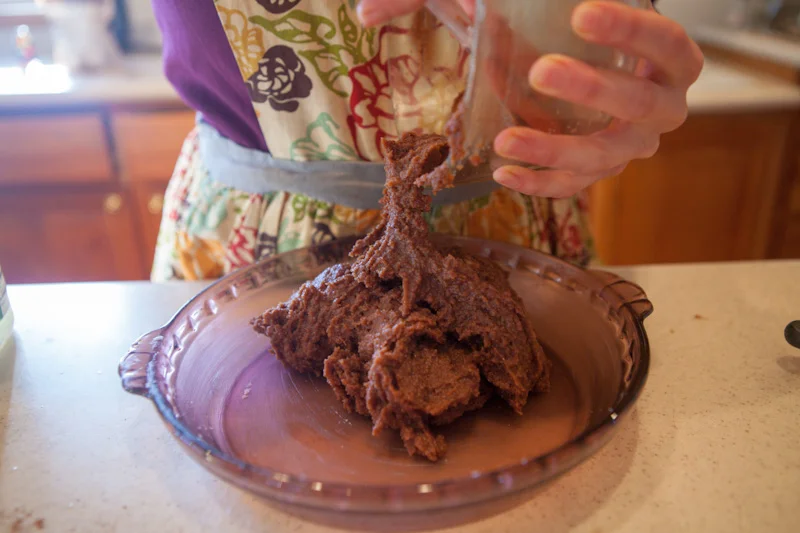
Drain the almonds well. If you don’t drain them well, your flour will be wet.
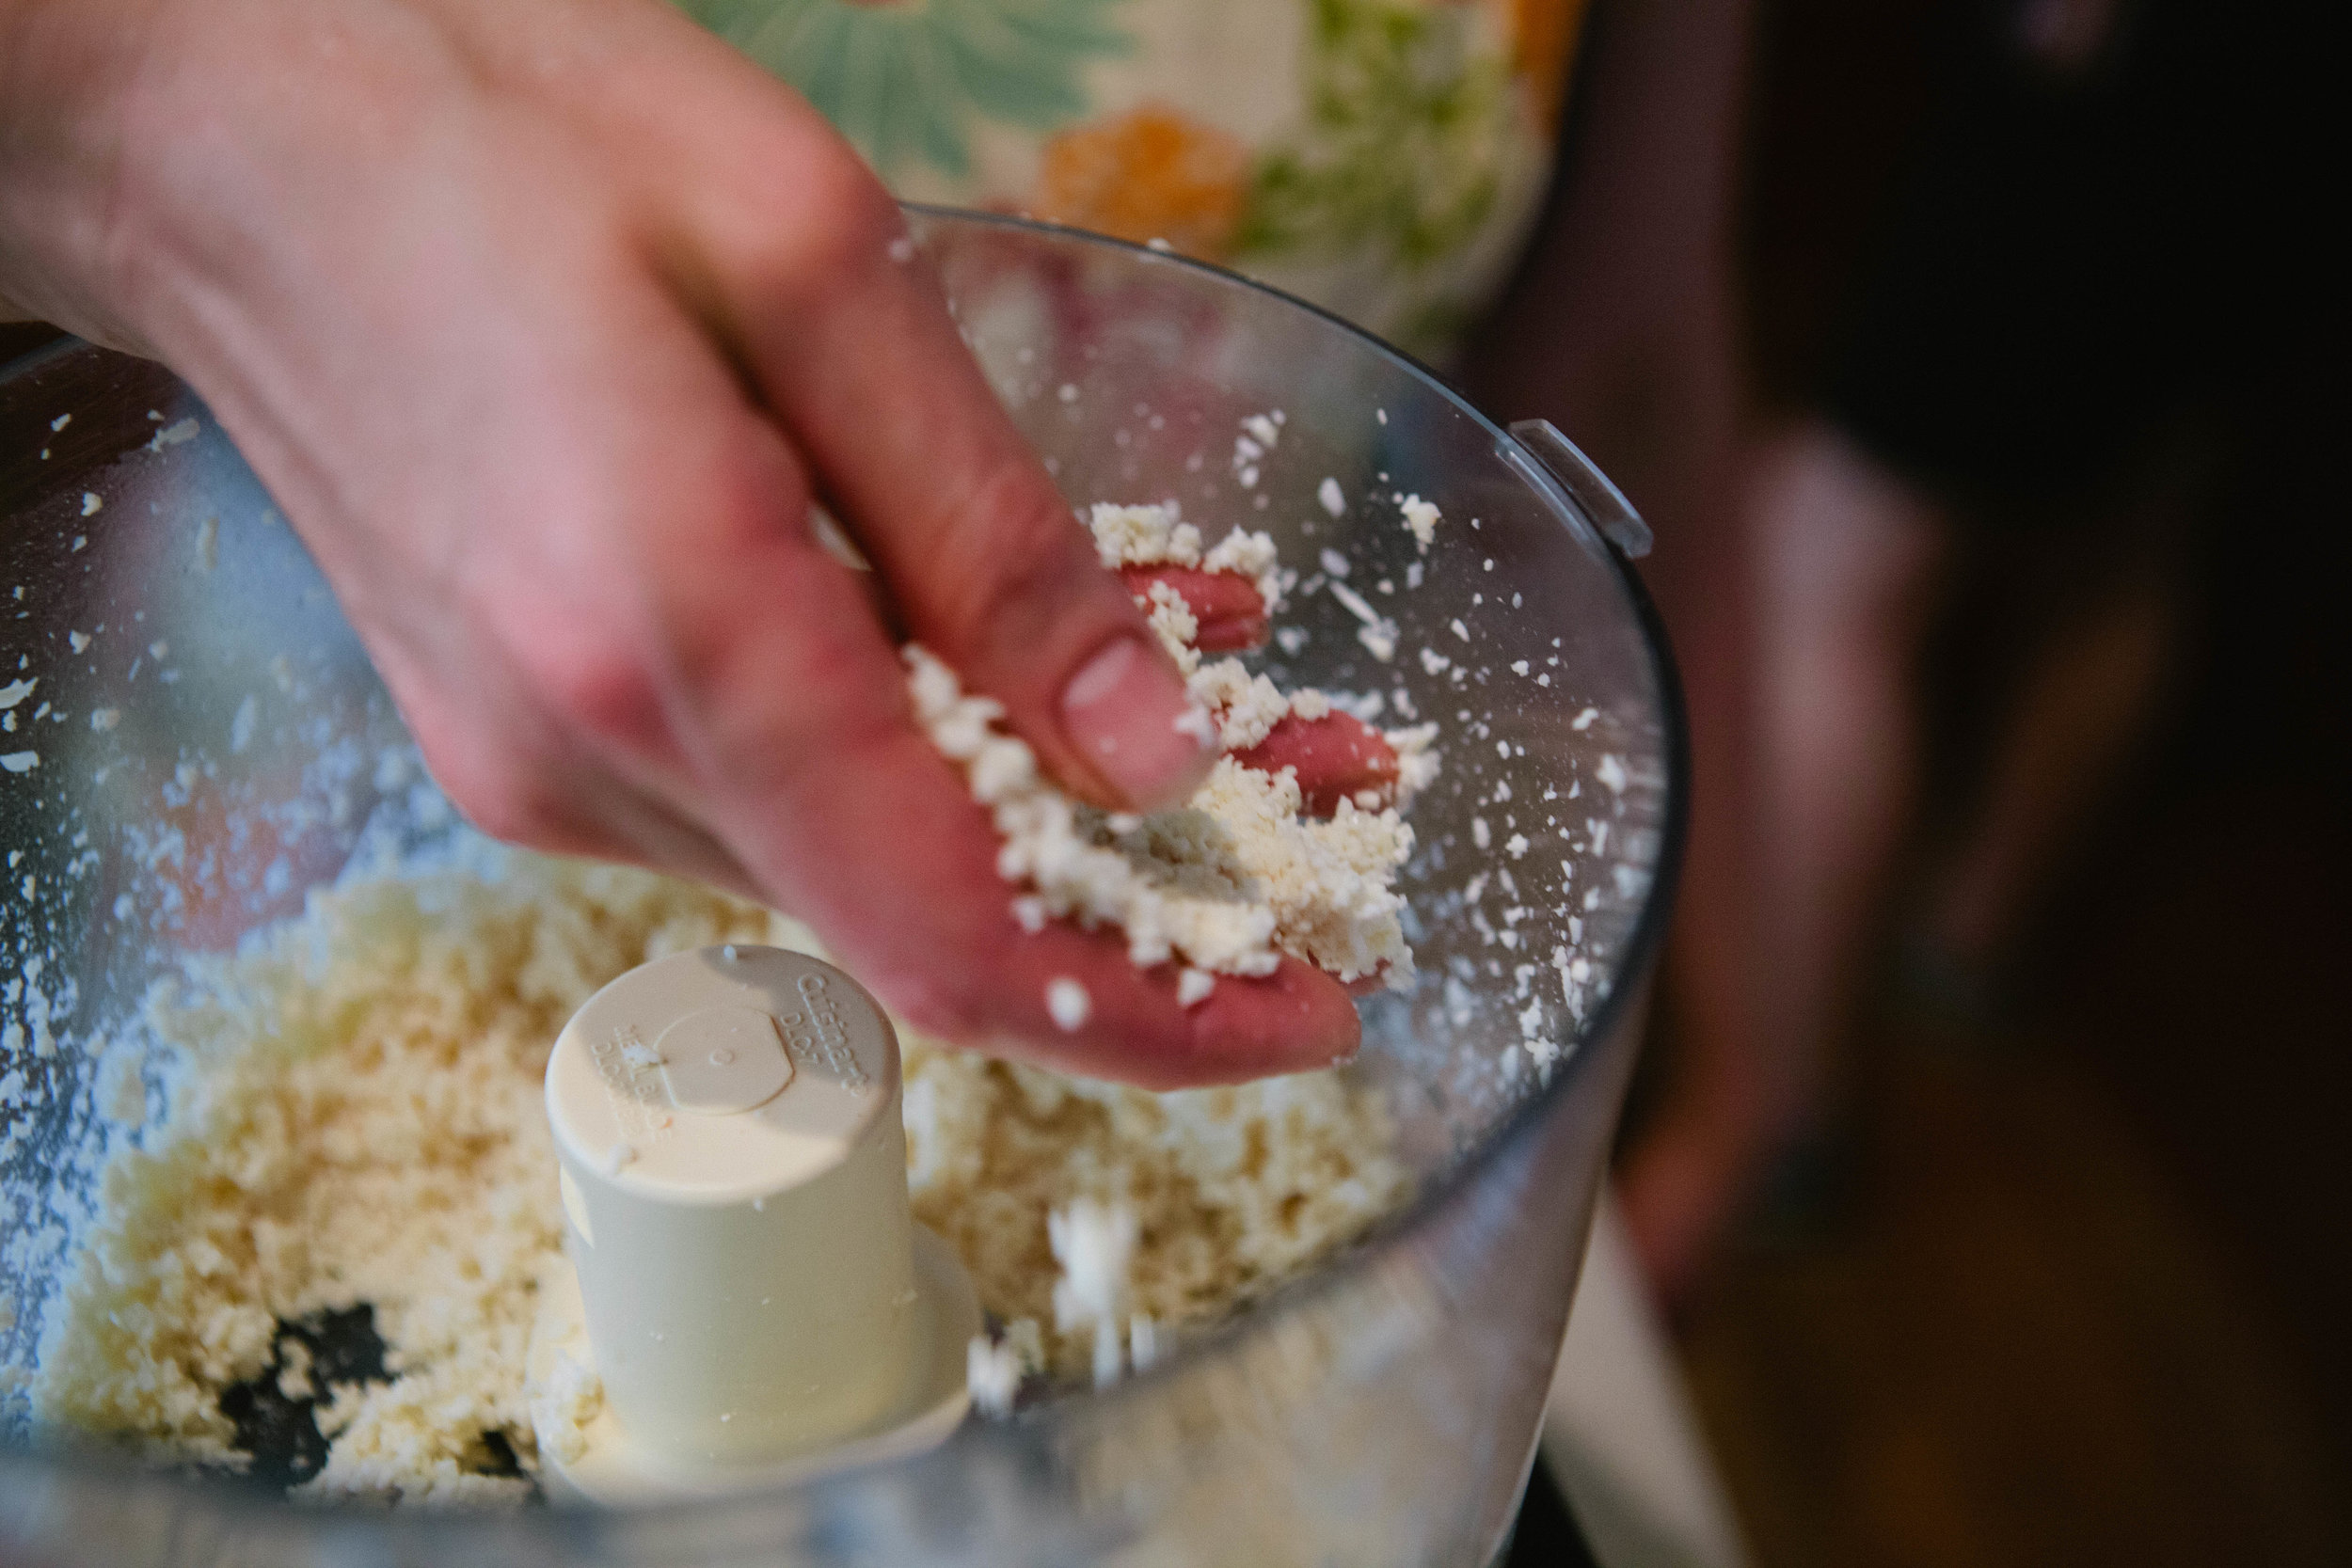
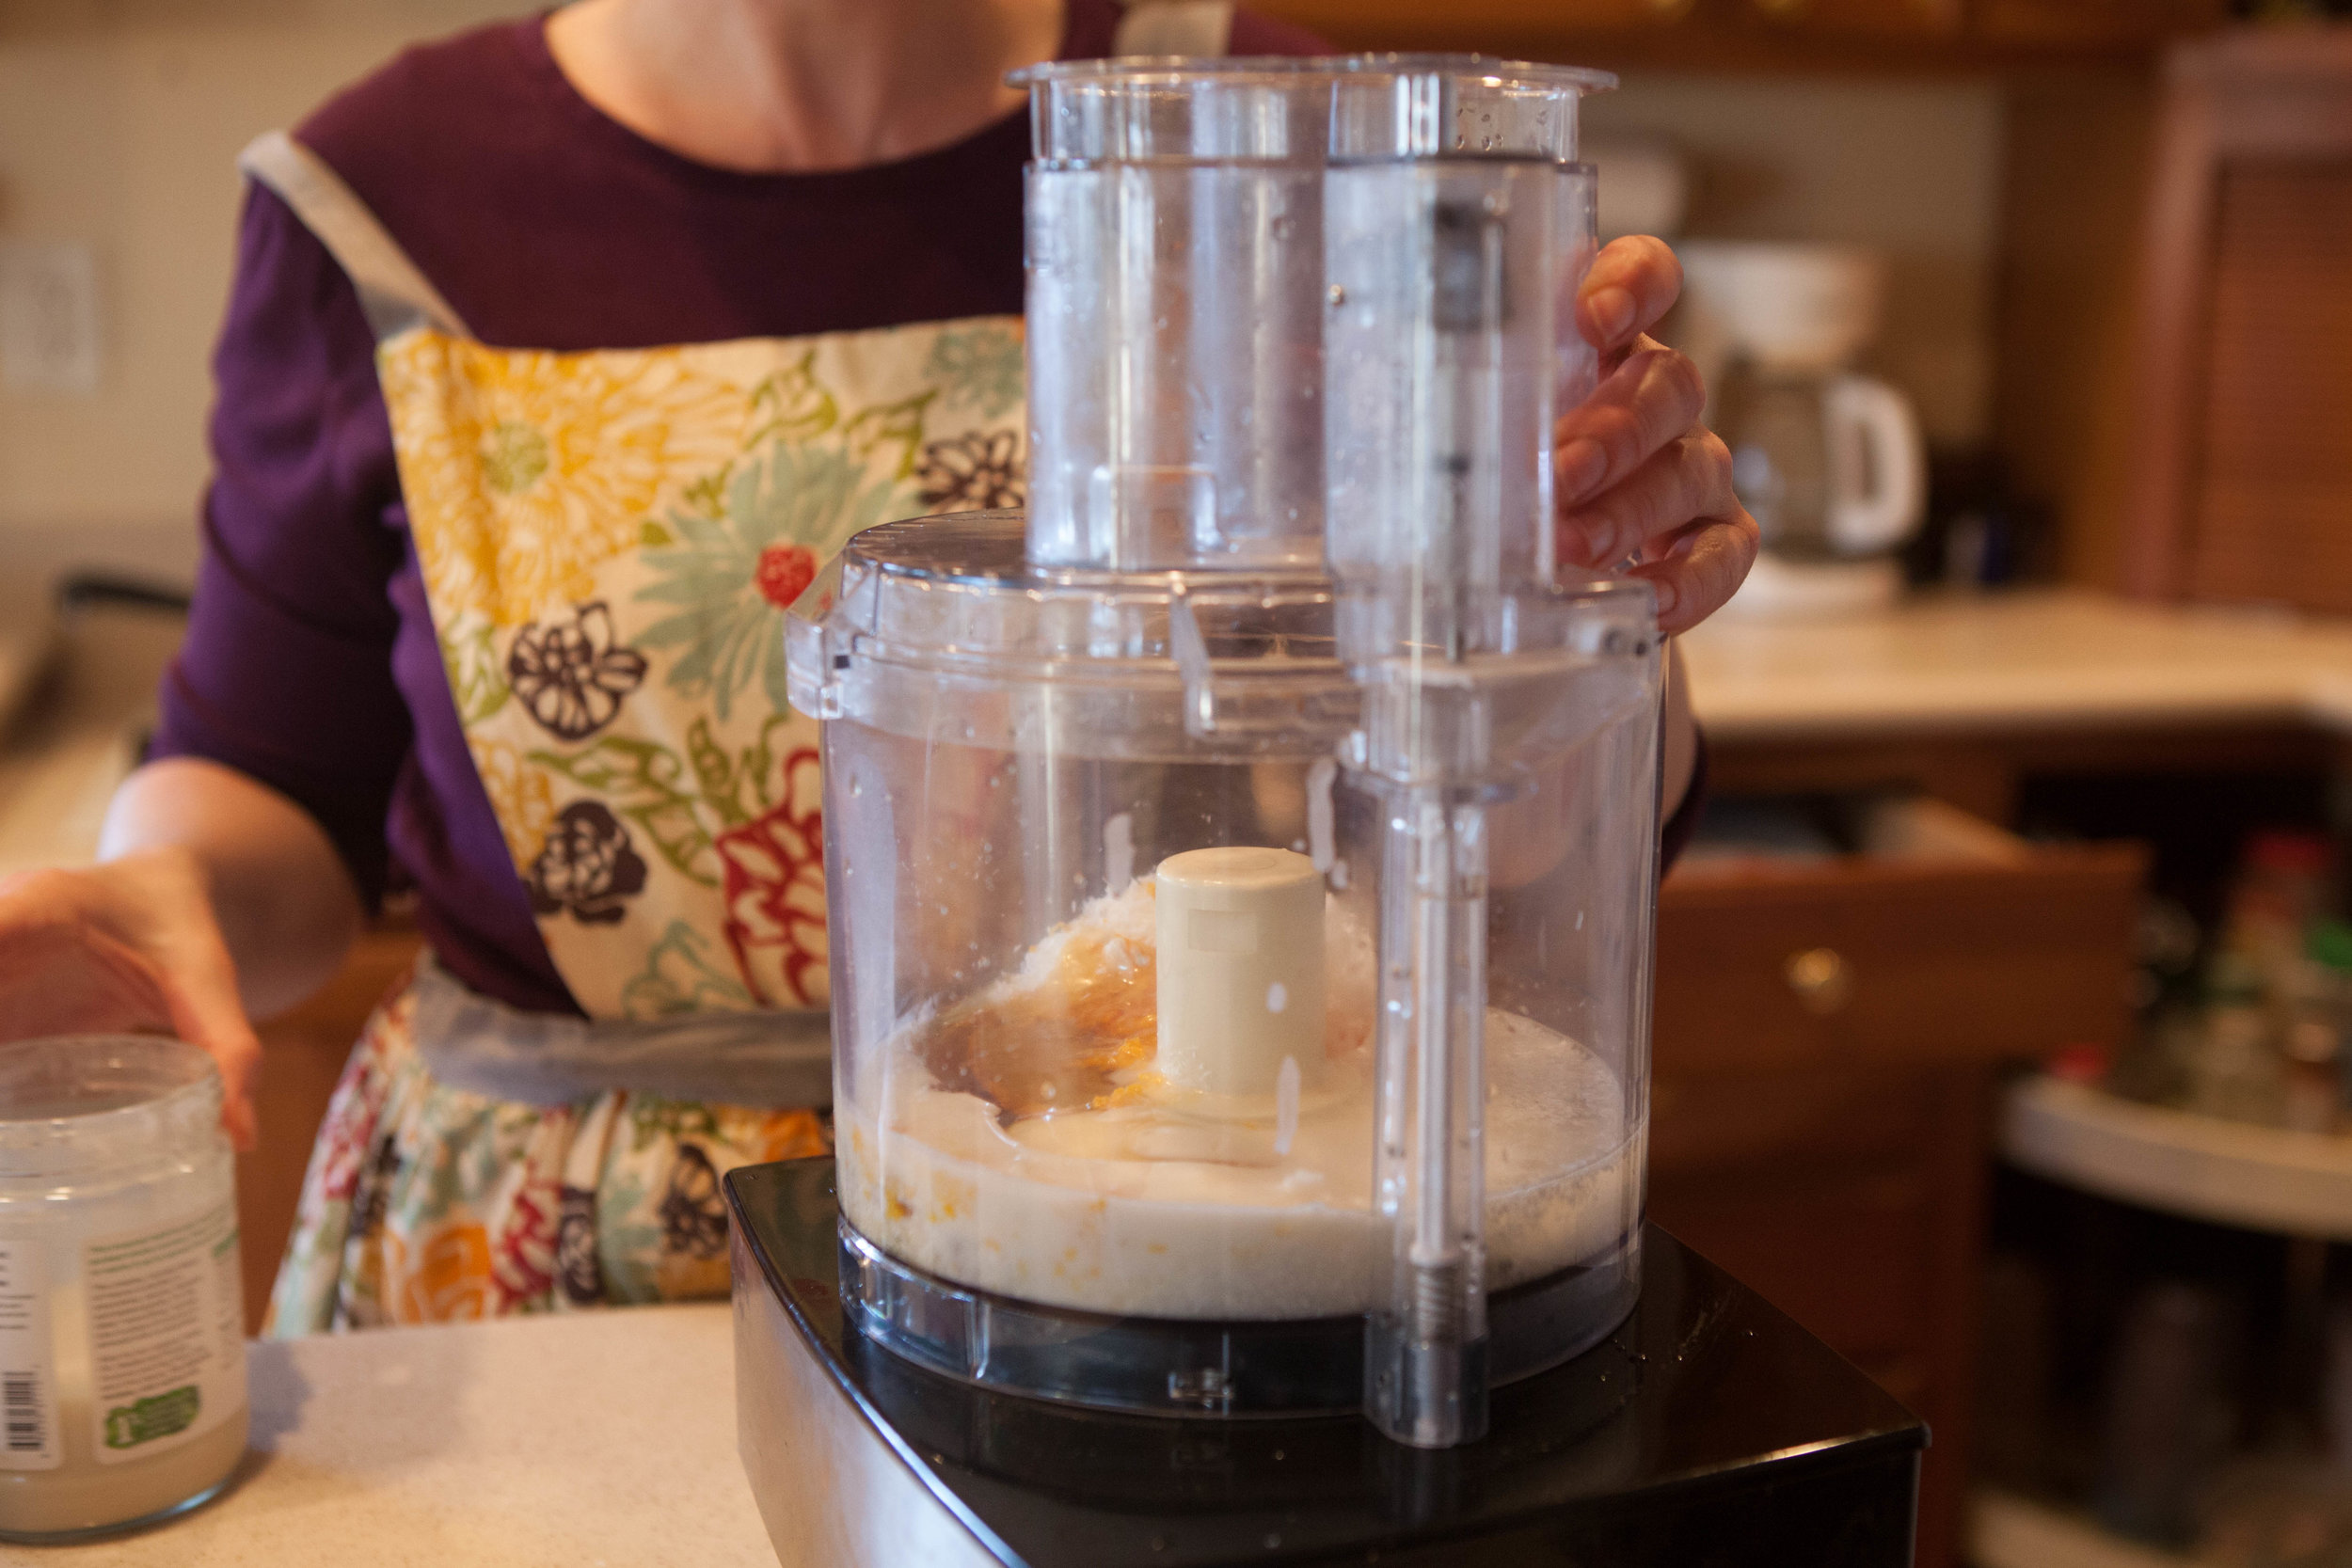
Place almonds into a food processor. Pulse them consistently for about 60 seconds in one second pulses. Scrape the sides of the food processor consistently to ensure almonds are all blended to the same size.
Don’t pulse for too long or you will get almond butter!
DIY Almond Flour
prep time: cook time: total time:
ingredients:
- 3 cups Almonds
- ½ cup Whey
- Filtered Water
instructions:
How to cook DIY Almond Flour
- Place your almonds in filtered water with whey. Allow to soak for 24 hours.
- Drain the almonds in a colander and rinse with filtered water.
- For the easiest almond flour, peel the almonds by squeezing them between your fingers until the skins pop off.
- Drain the almonds well. If you don’t drain them well, your flour will be wet.
- Place almonds into a food processor. Pulse them consistently for about 60 seconds in one second pulses. Scrape the sides of the food processor consistently to ensure almonds are all blended to the same size.
- Don’t pulse for too long or you will get almond butter!